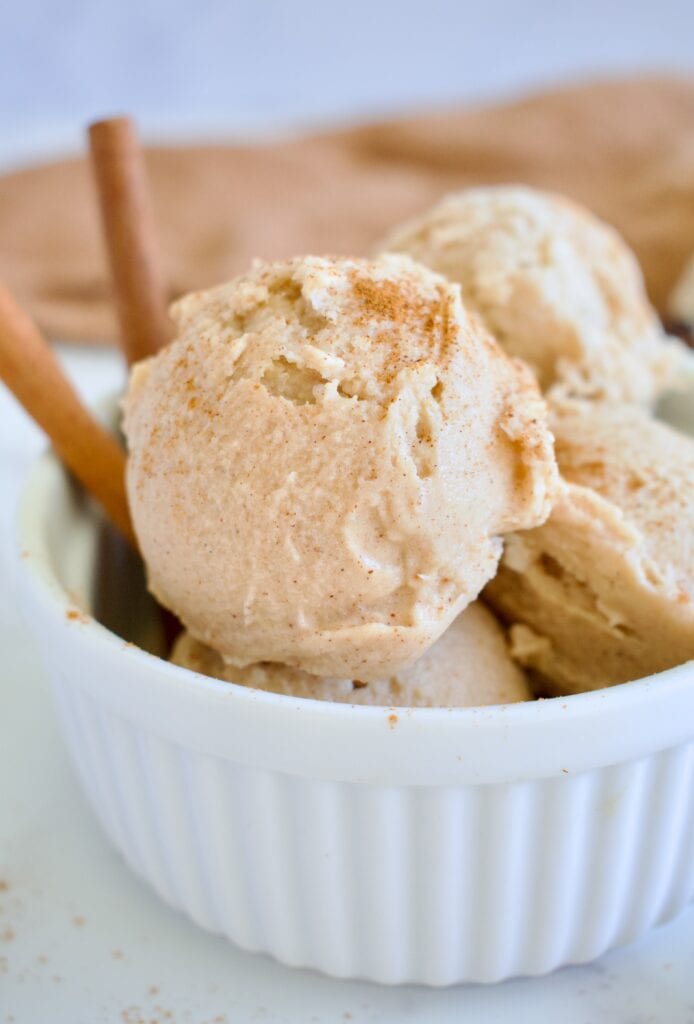
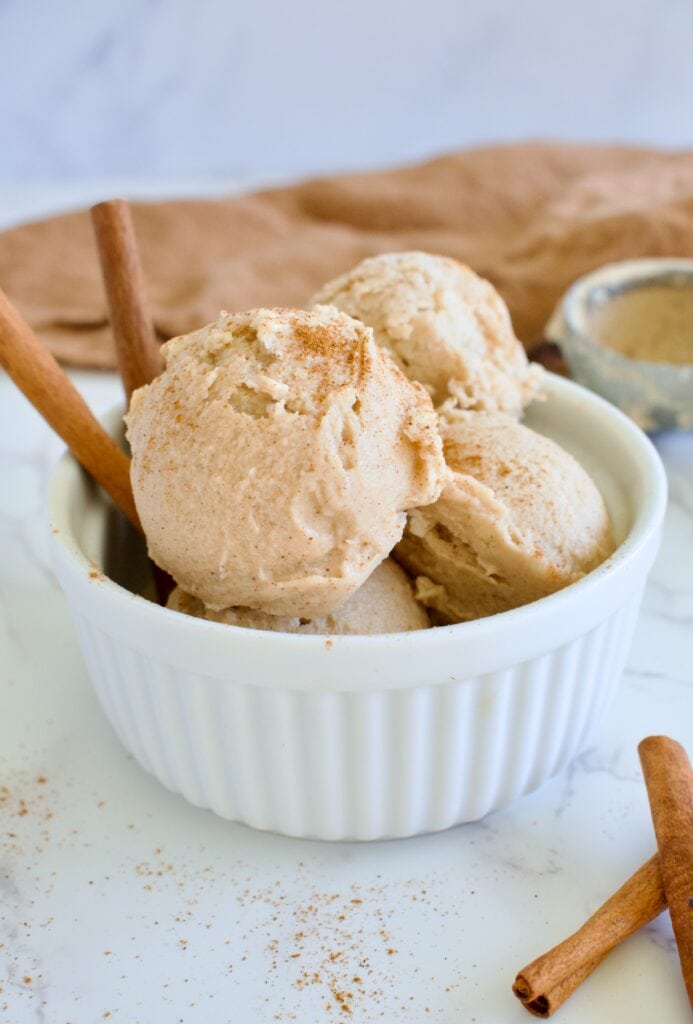
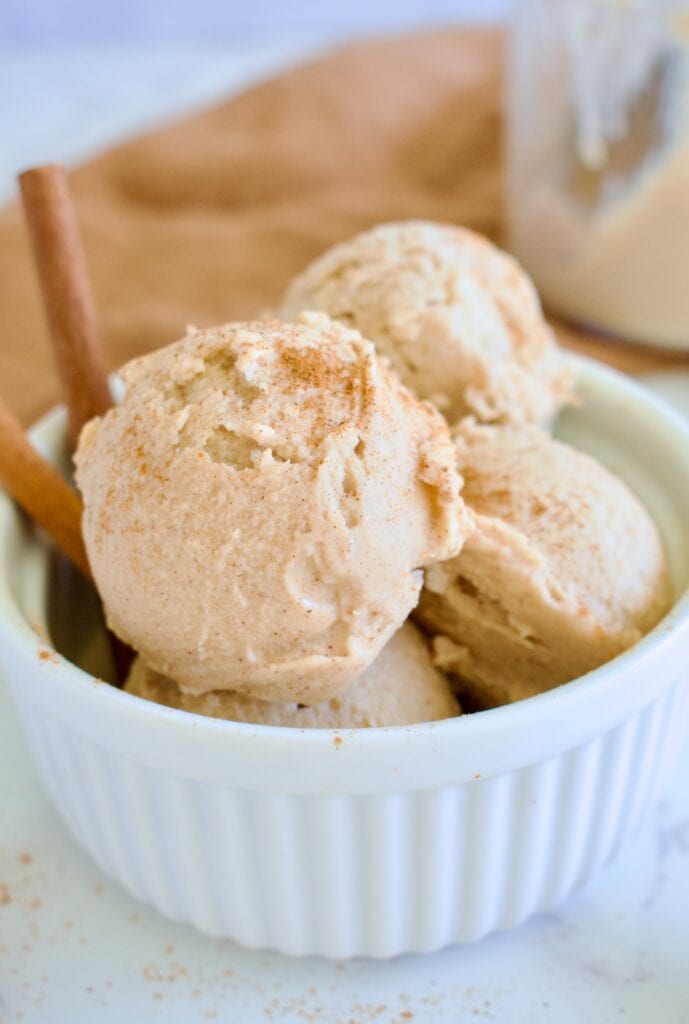
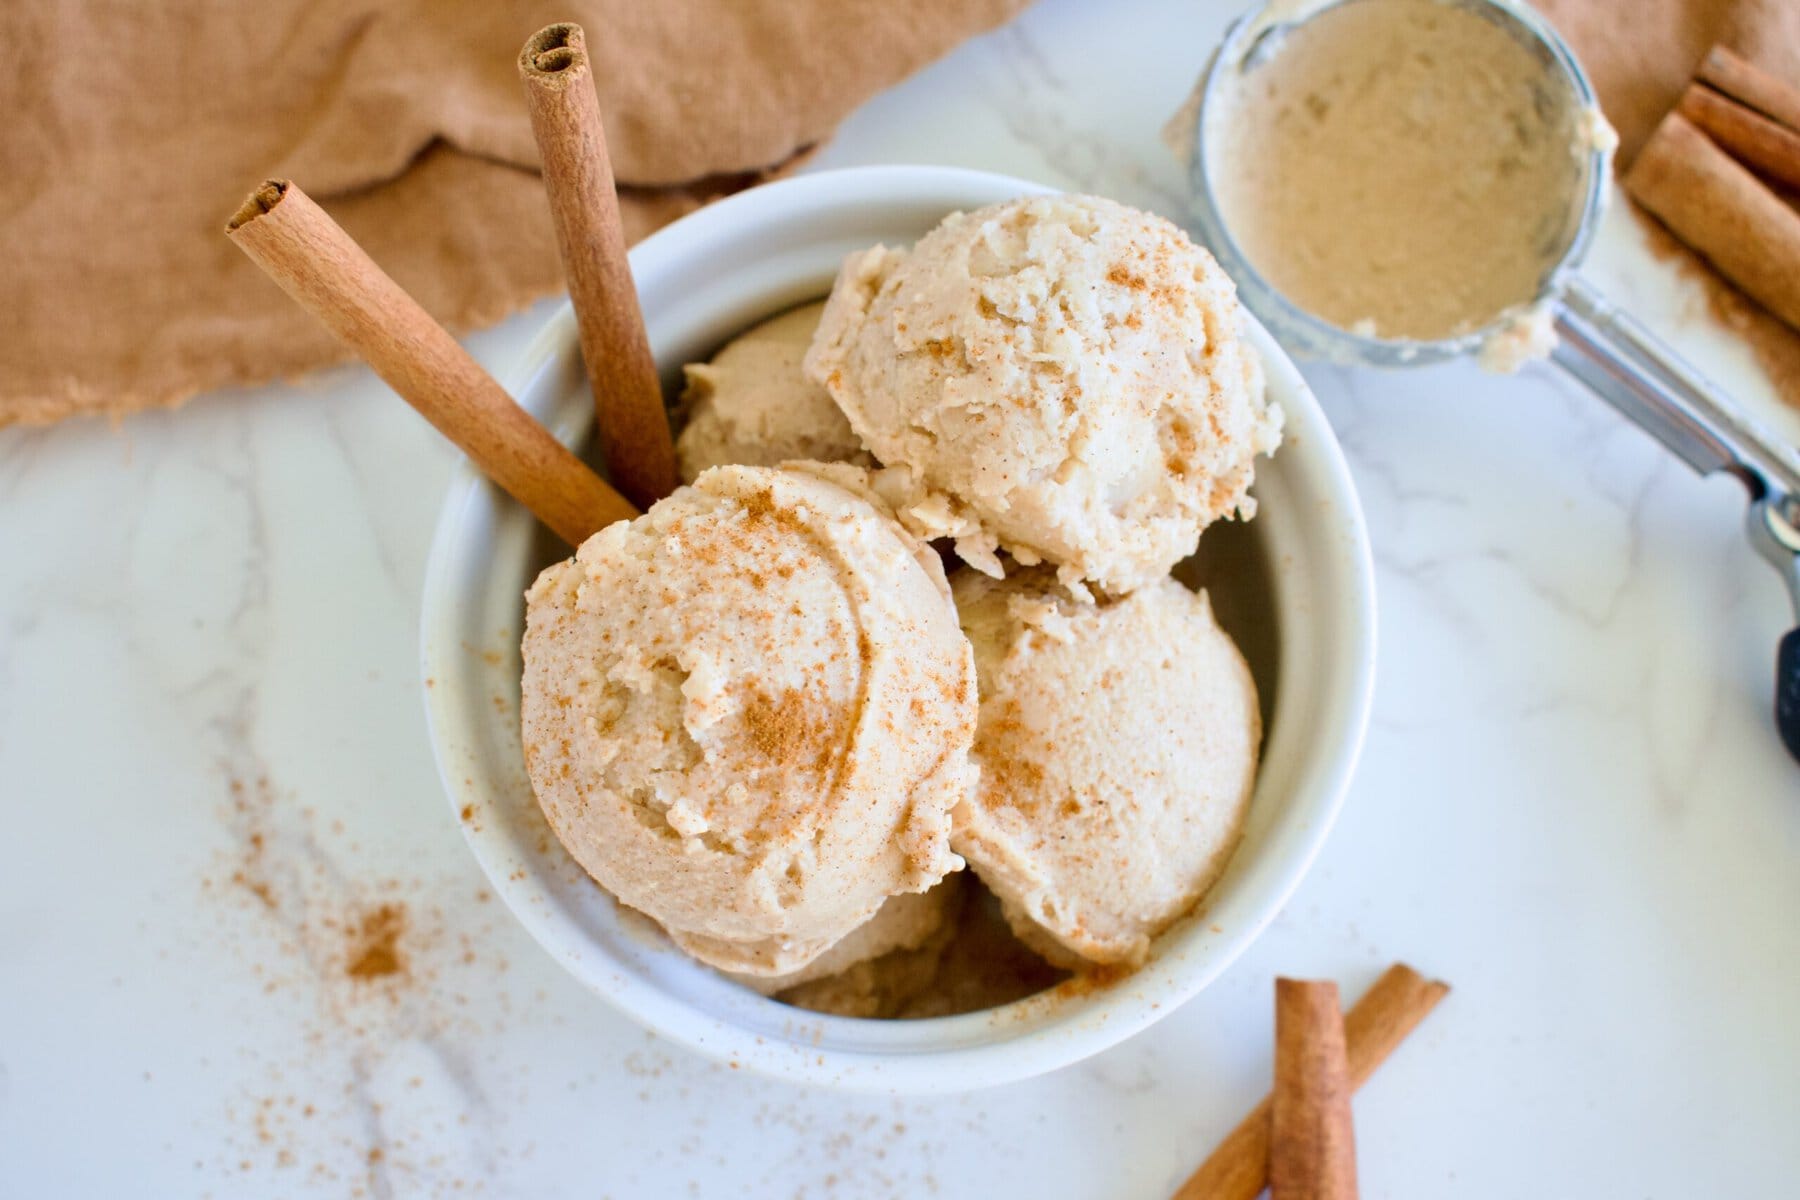
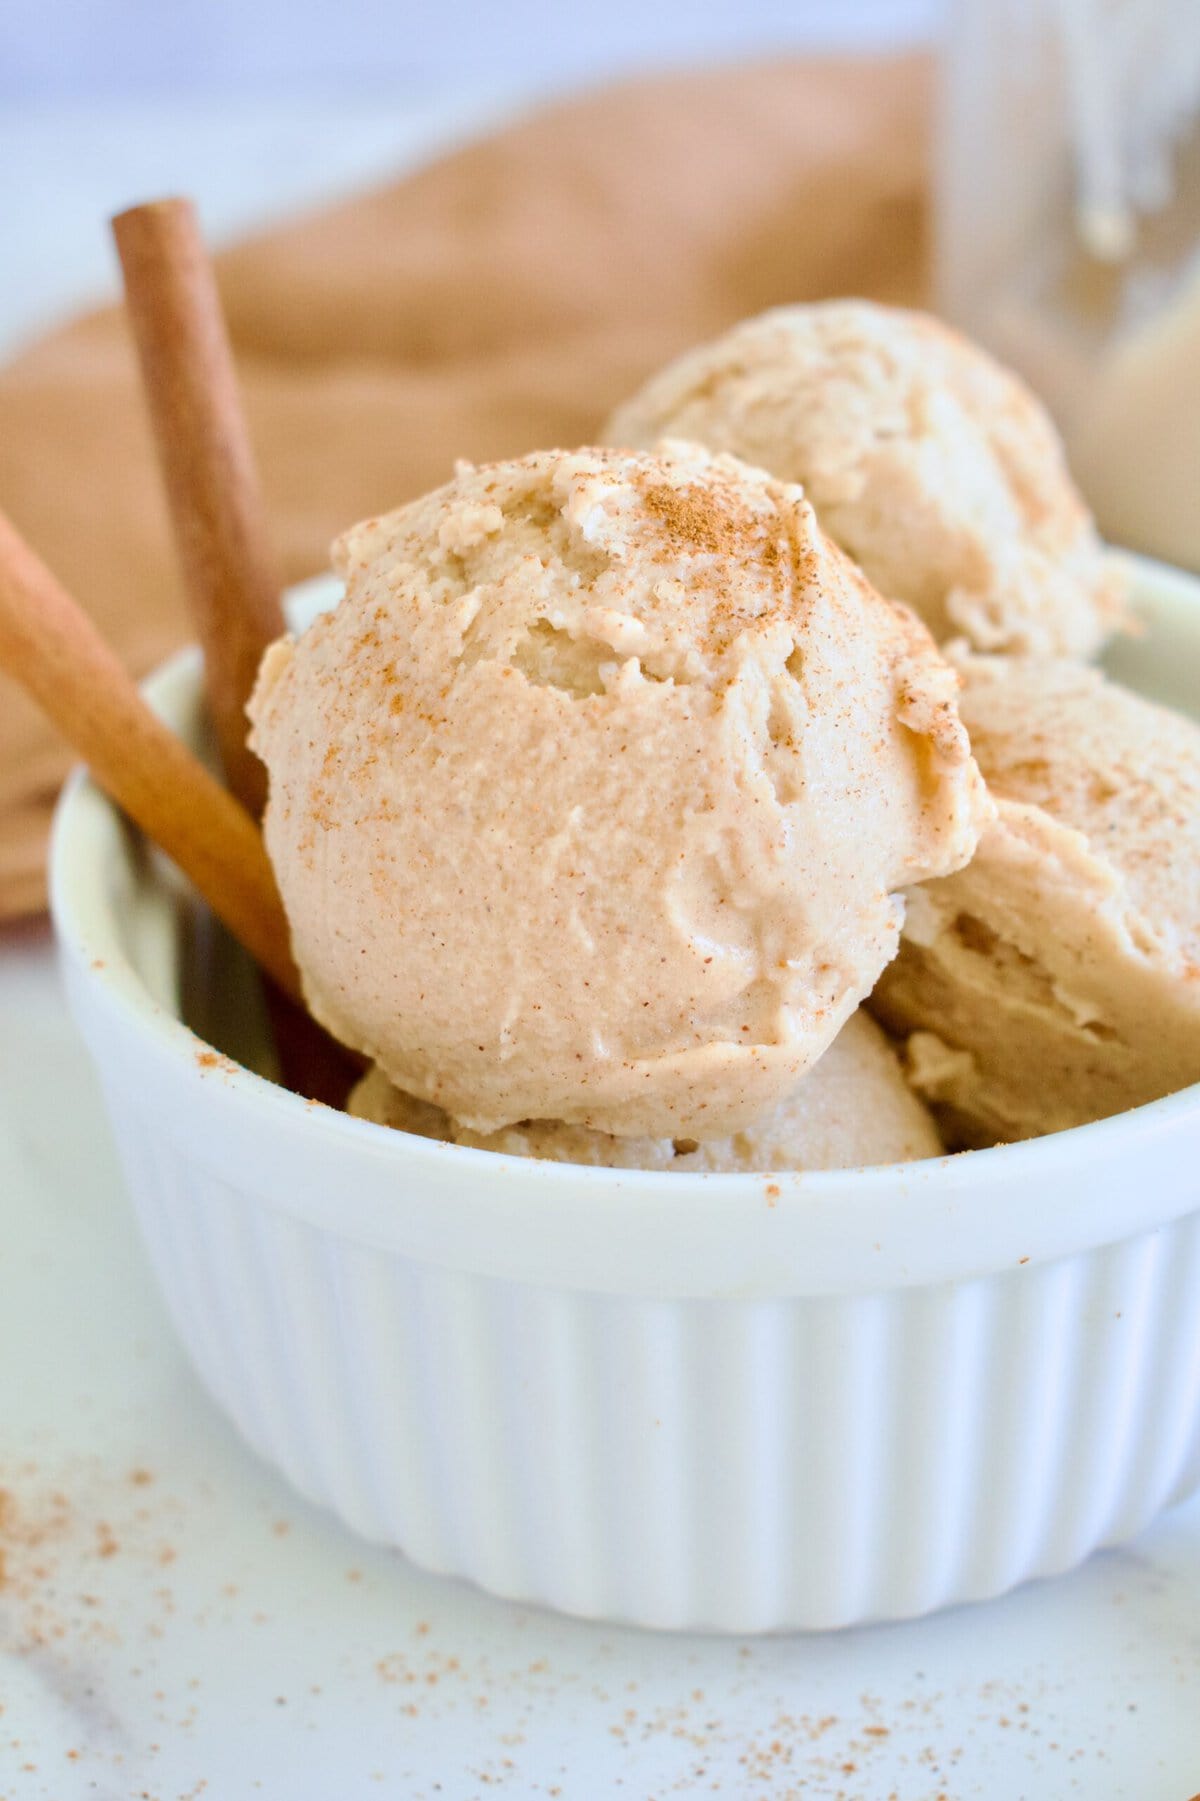
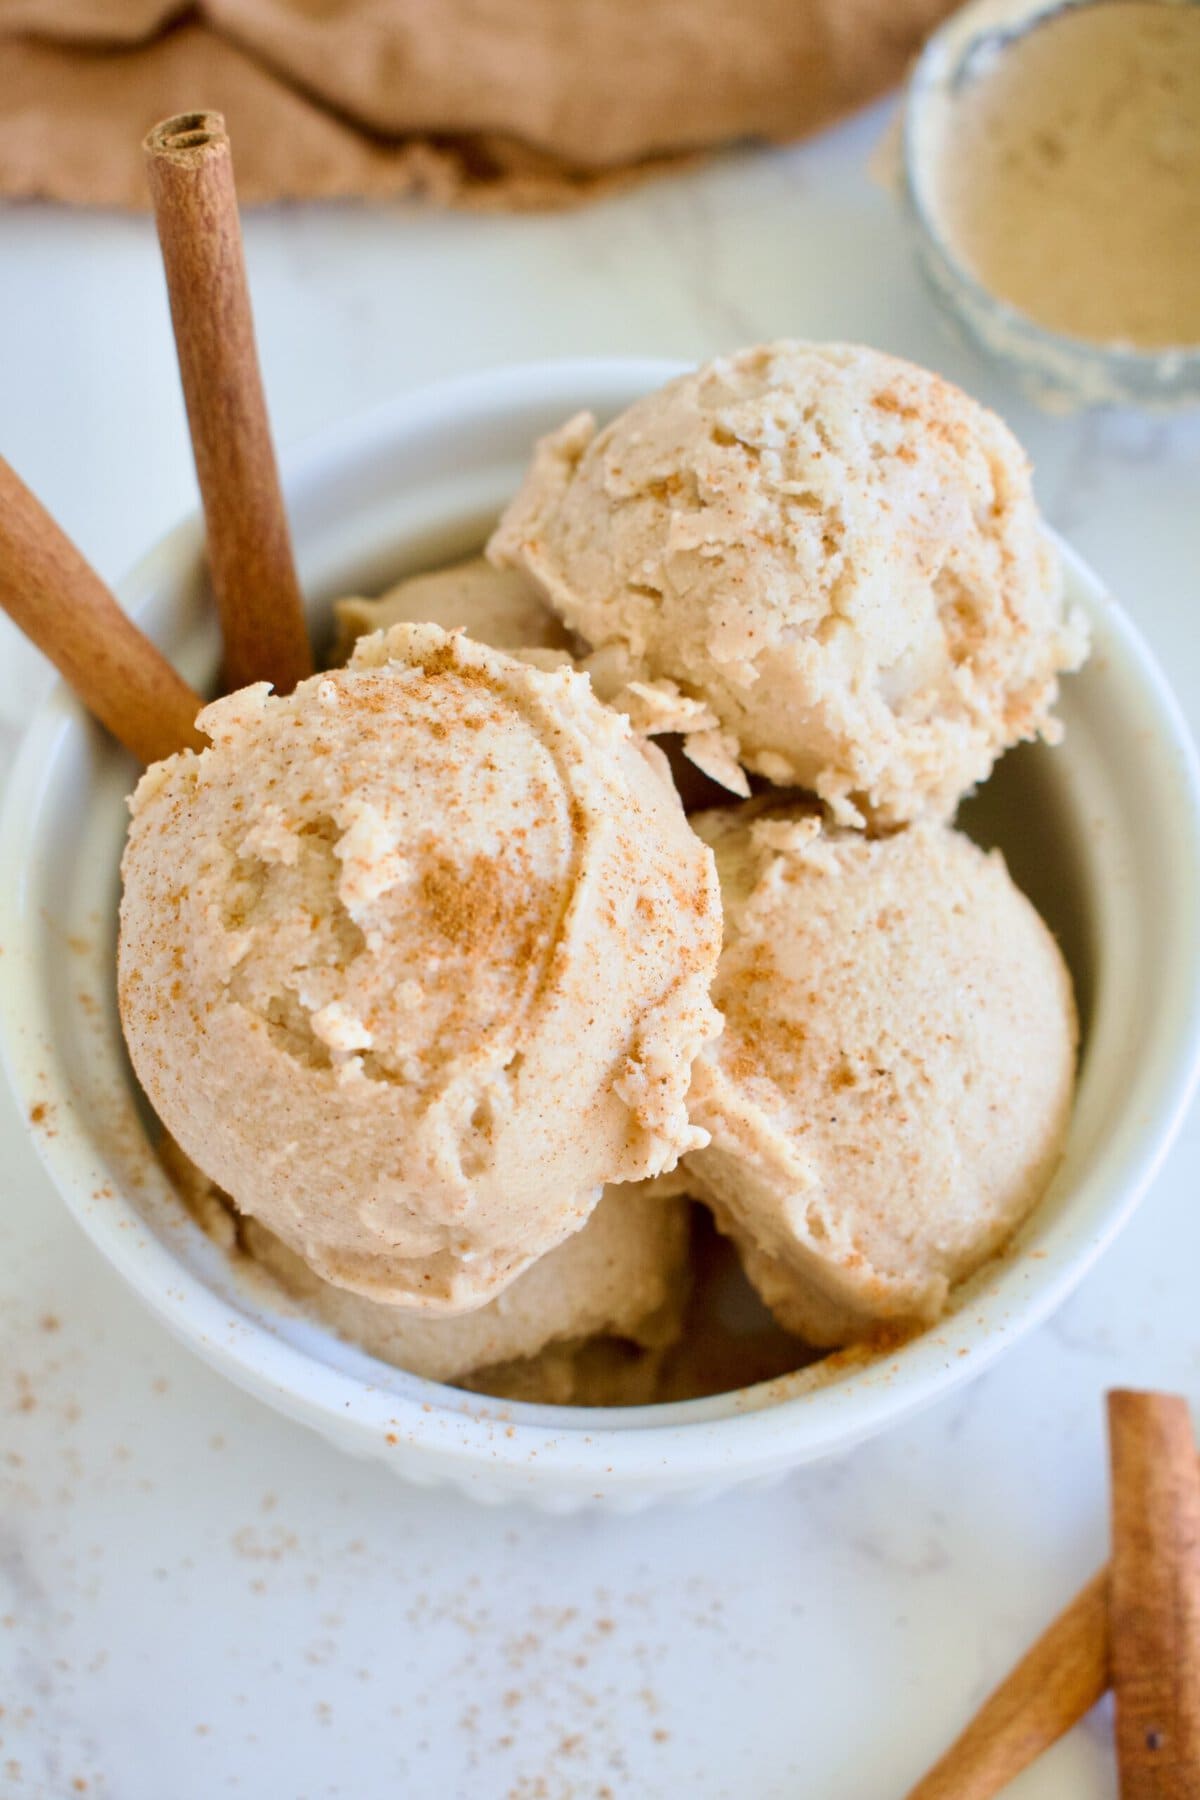
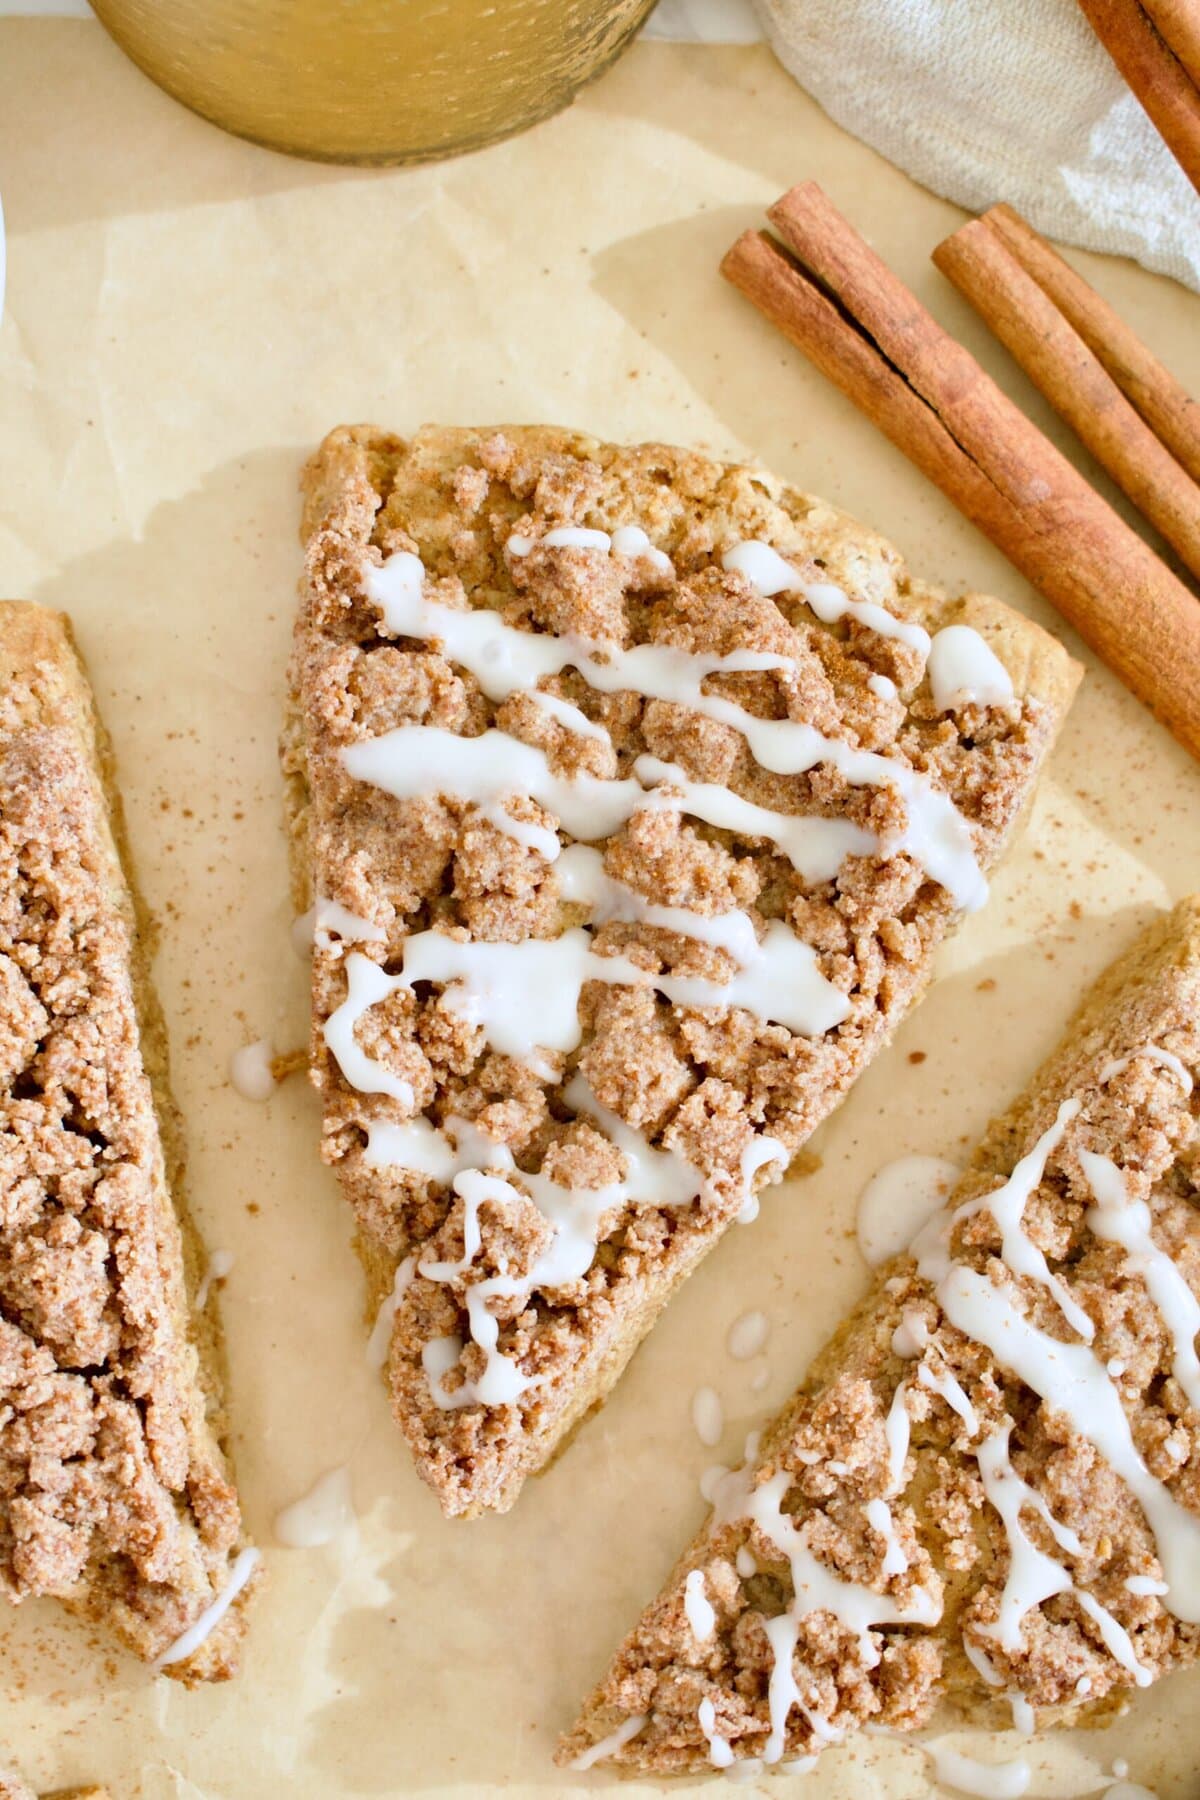
This Ninja Creami Vegan Golden Milk Ice Cream takes everything you love about a golden milk latte and turns it into the creamiest, most anti-inflammatory frozen treat you've ever made at home. Completely vegan, paleo, refined sugar free, and made with just a handful of pantry spices, there are no specialty ingredients needed. Who said dessert can't be anti-inflammatory and healing?

What is Golden Milk?
I'm not a caffeine drinker. I despise it in all forms, so my go-to drink at a cafe is a golden milk latte, also known as turmeric milk or turmeric latte. Turmeric milk, or Haldi Doodh in Hindi, is an Ayurvedic drink of milk infused with the herb turmeric. You can read more about the history and cultural relevance of golden milk here.
Golden milk lattes have become popular in western culture as an anti-inflammatory and immune supporting drink filled with healthy spices to help with inflammation, the immune system, and overall health. They are usually a mix of milk of choice, turmeric, cinnamon, ginger, black pepper (and sometimes some bonus herbs like cardamom), and an unrefined sweetener like honey, maple syrup, or coconut sugar.
Quite frankly, I could drink golden milk all day everyday because it's just that delicious. Since it's often made with coconut milk, I realized it would be perfect to make an ice cream version in the Ninja Creami ice cream machine! After making my Cinnamon Ice Cream, I knew I could make the perfect golden milk ice cream recipe by adding a few more spices. This incredible vegan ice cream has quickly become an absolute favorite and staple in my home.

Why You'll Love This Ninja Creami Golden Milk Ice Cream
- Allergy friendly: this delicious golden milk recipe is gluten free, paleo, and vegan.
- Refined sugar free: we use coconut sugar in this recipe which is a refined-sugar free option.
- Full of health benefits: from healthy fats to antioxidants, this ice cream packs a nutrient punch! See more below for all the details on its anti-inflammatory properties.
- Simple ingredients: we stick to pantry staple spices in my recipe, no speciality spices like saffron or cardamom needed. There's no doubt this ice cream will be a staple in your summer rotation.
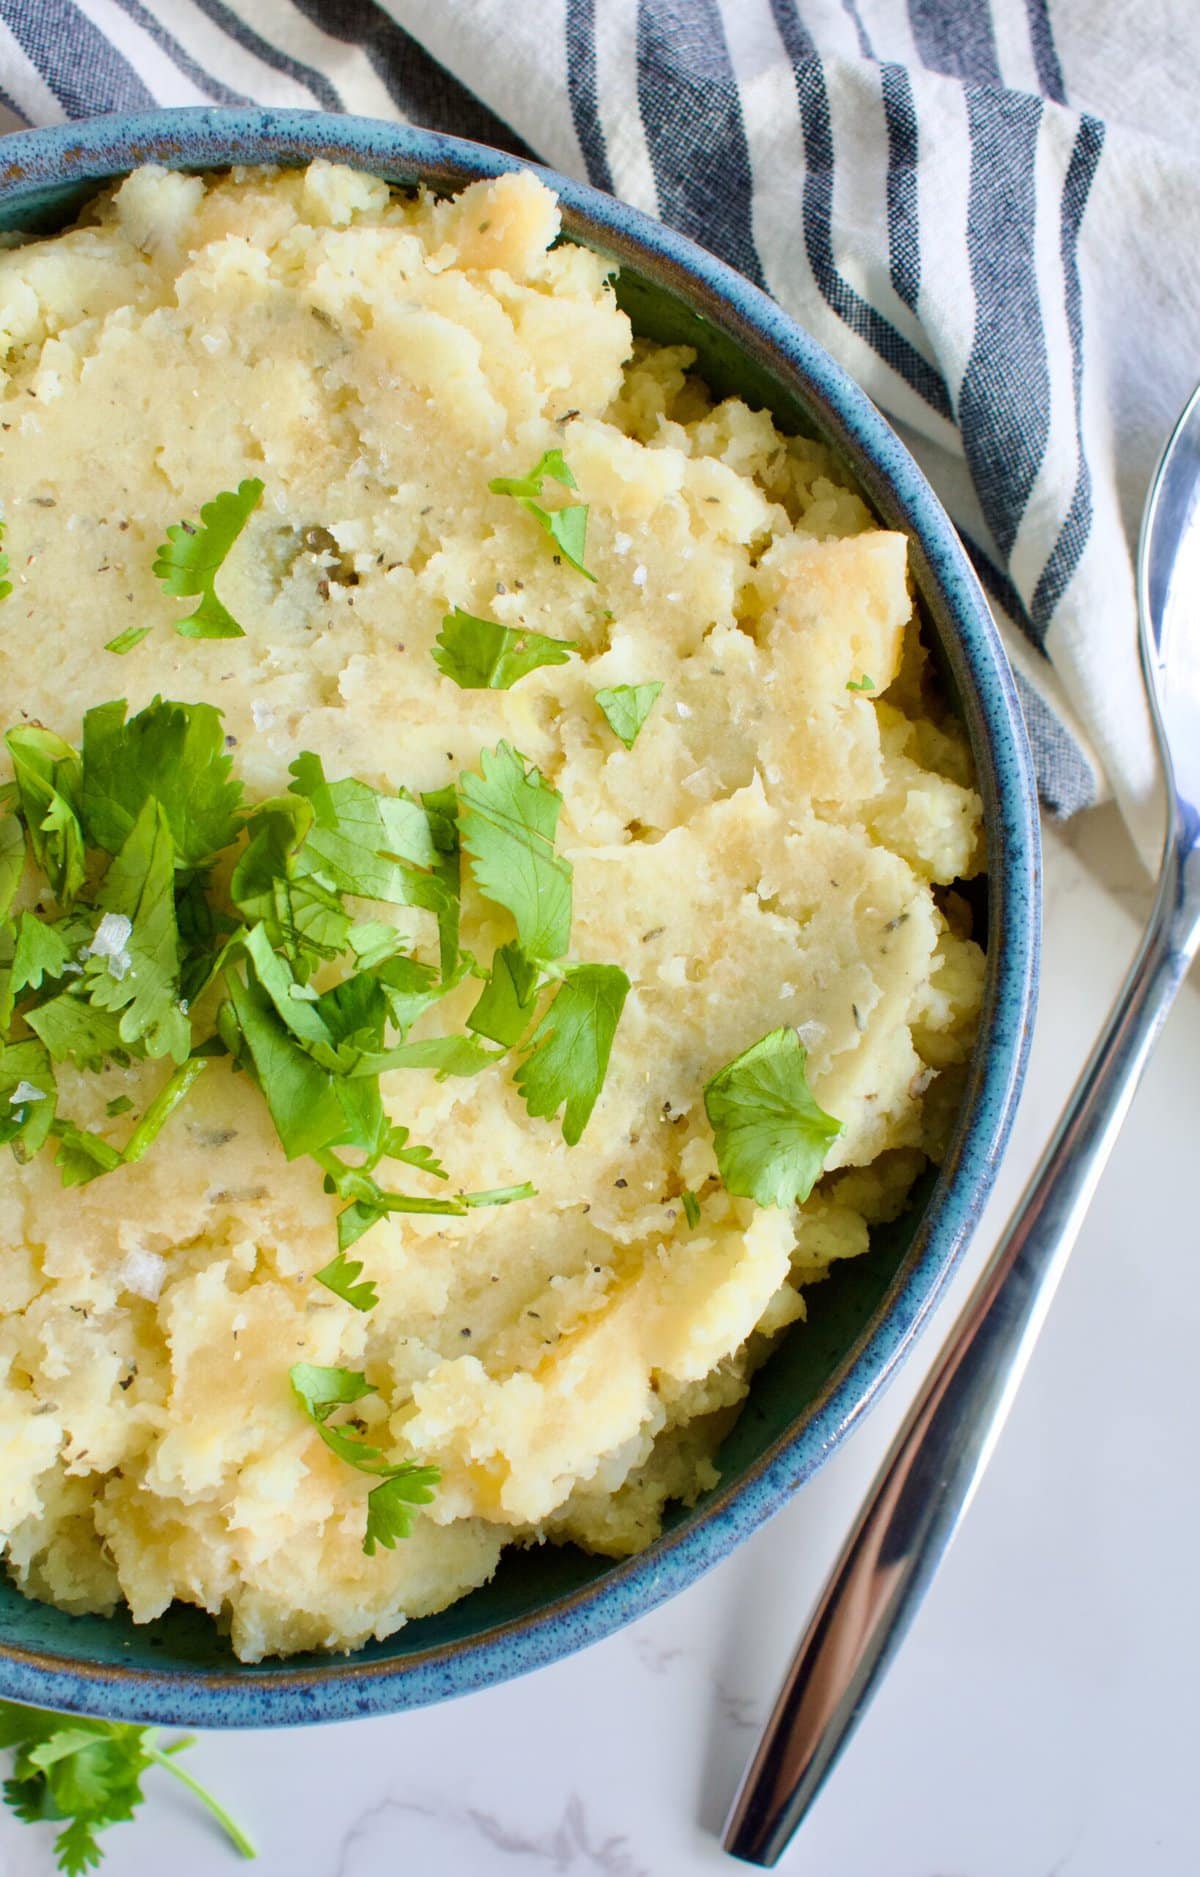
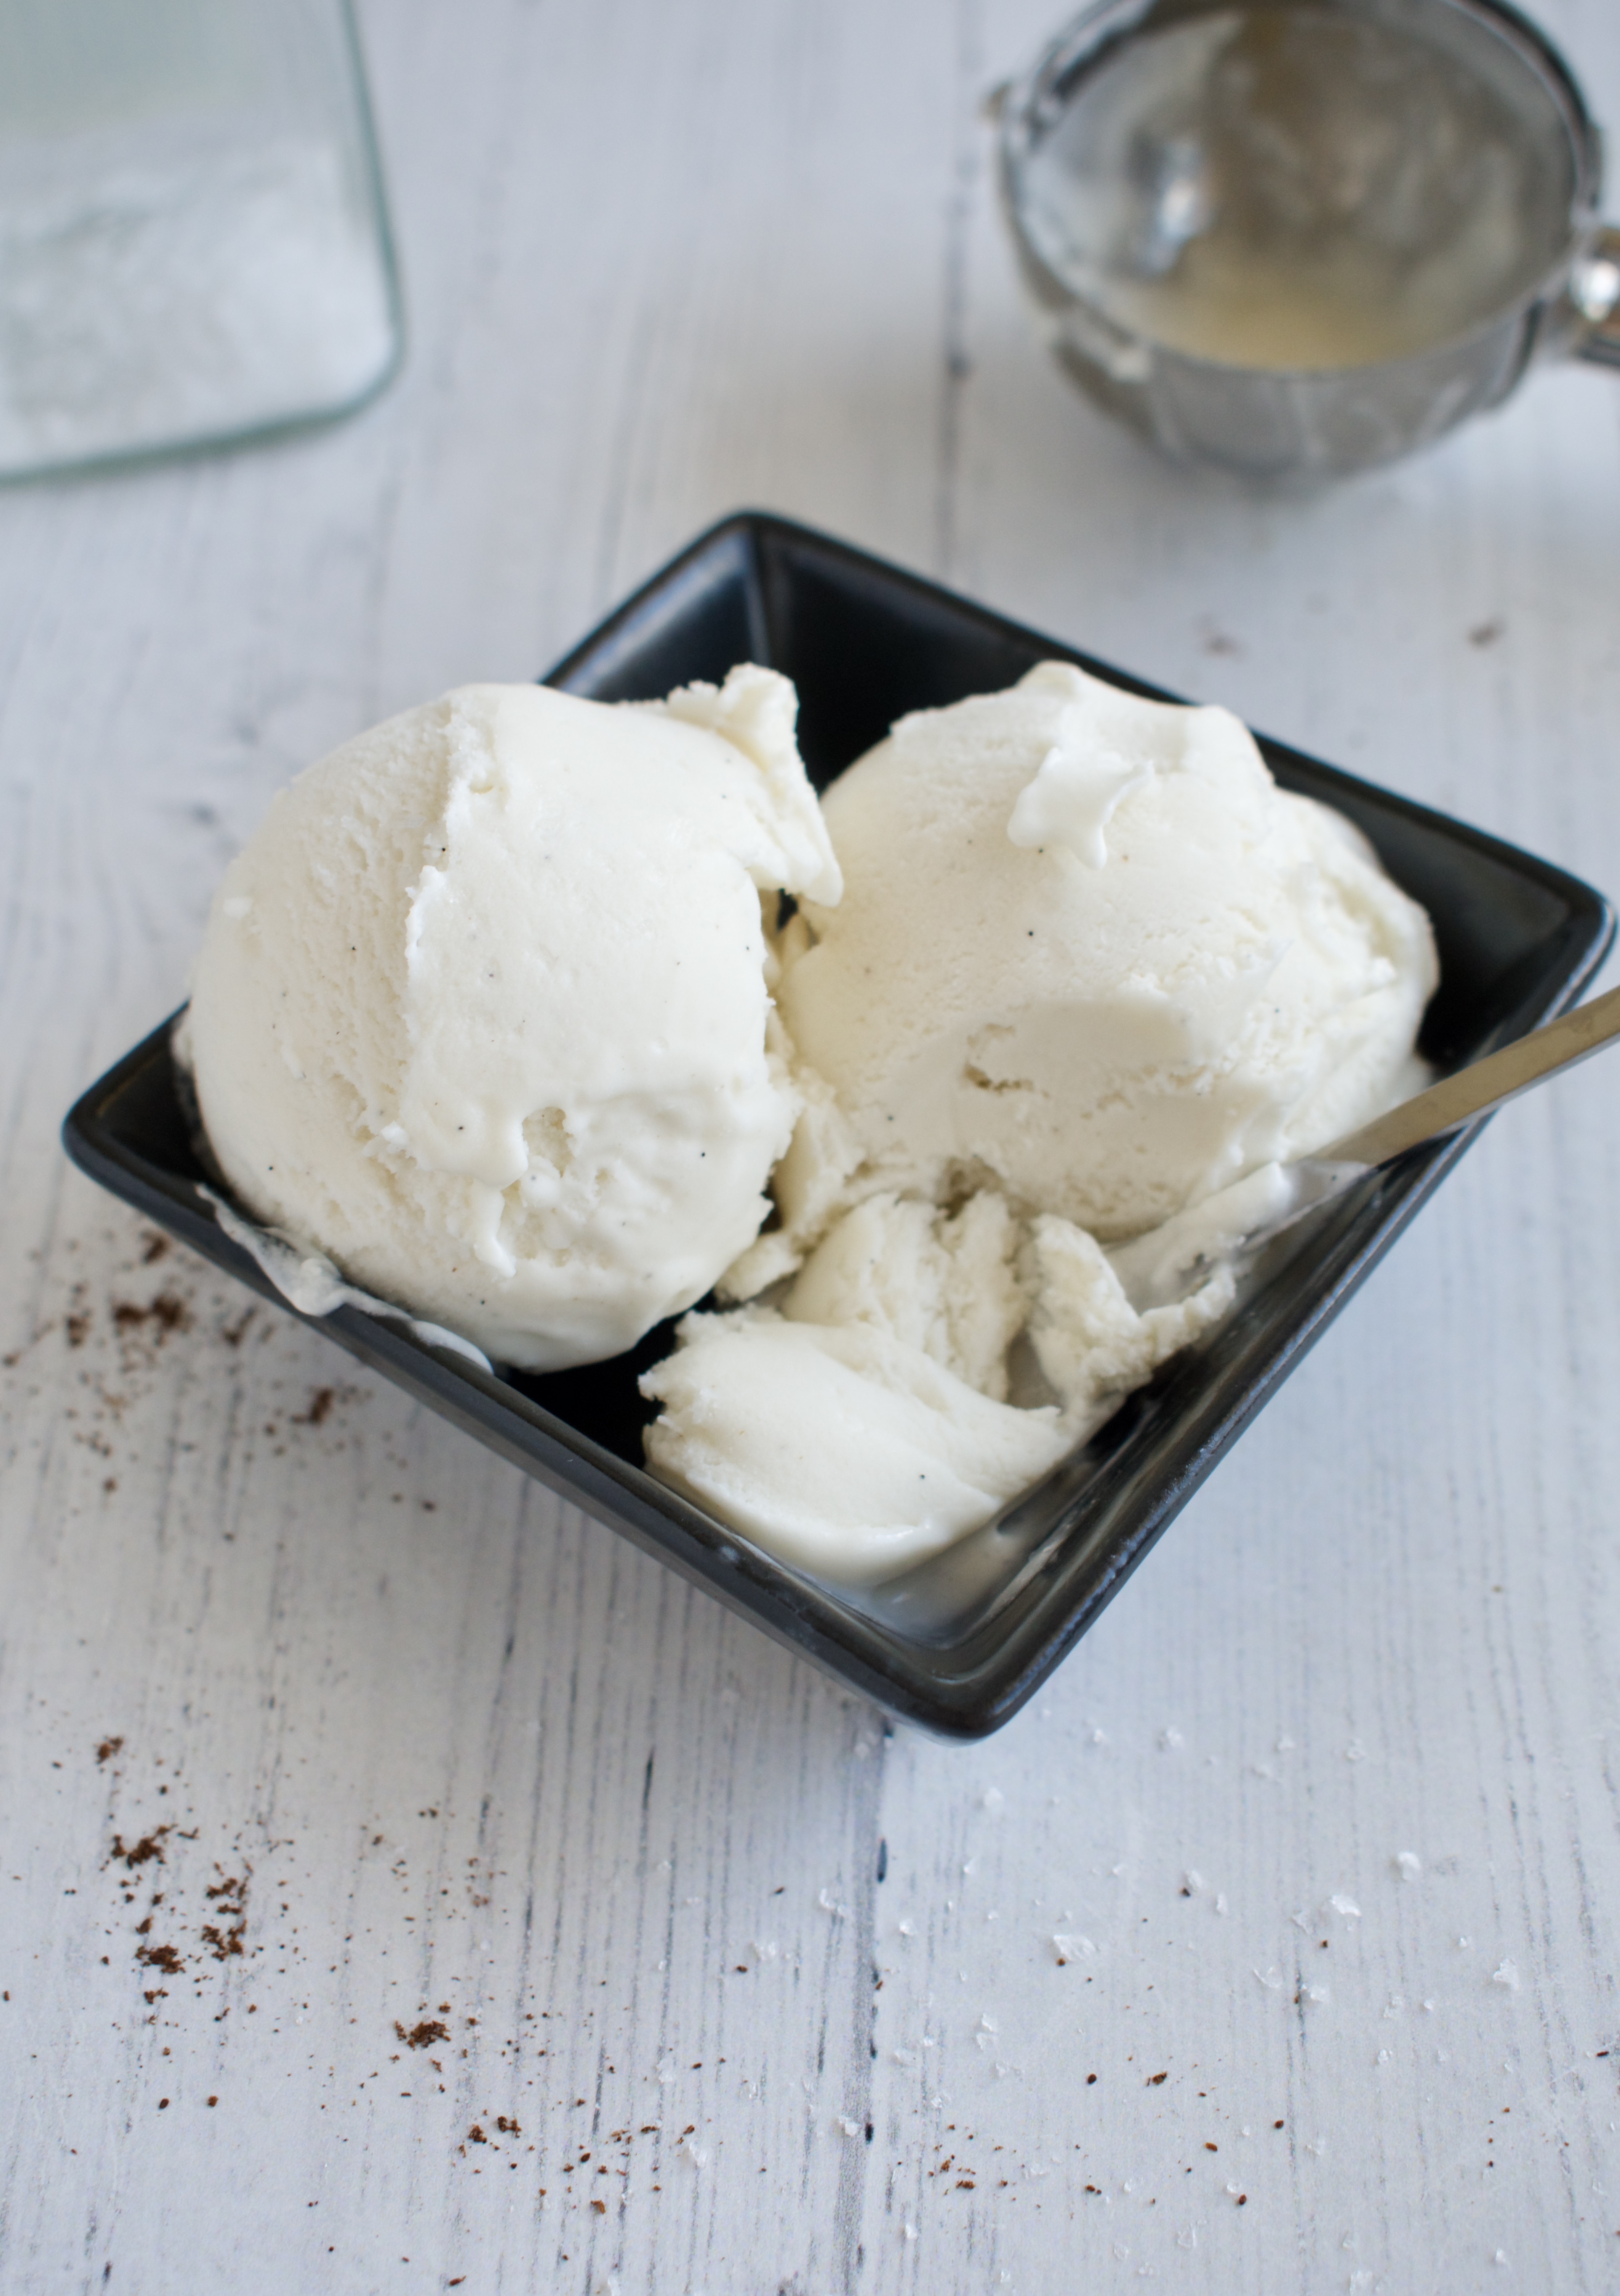
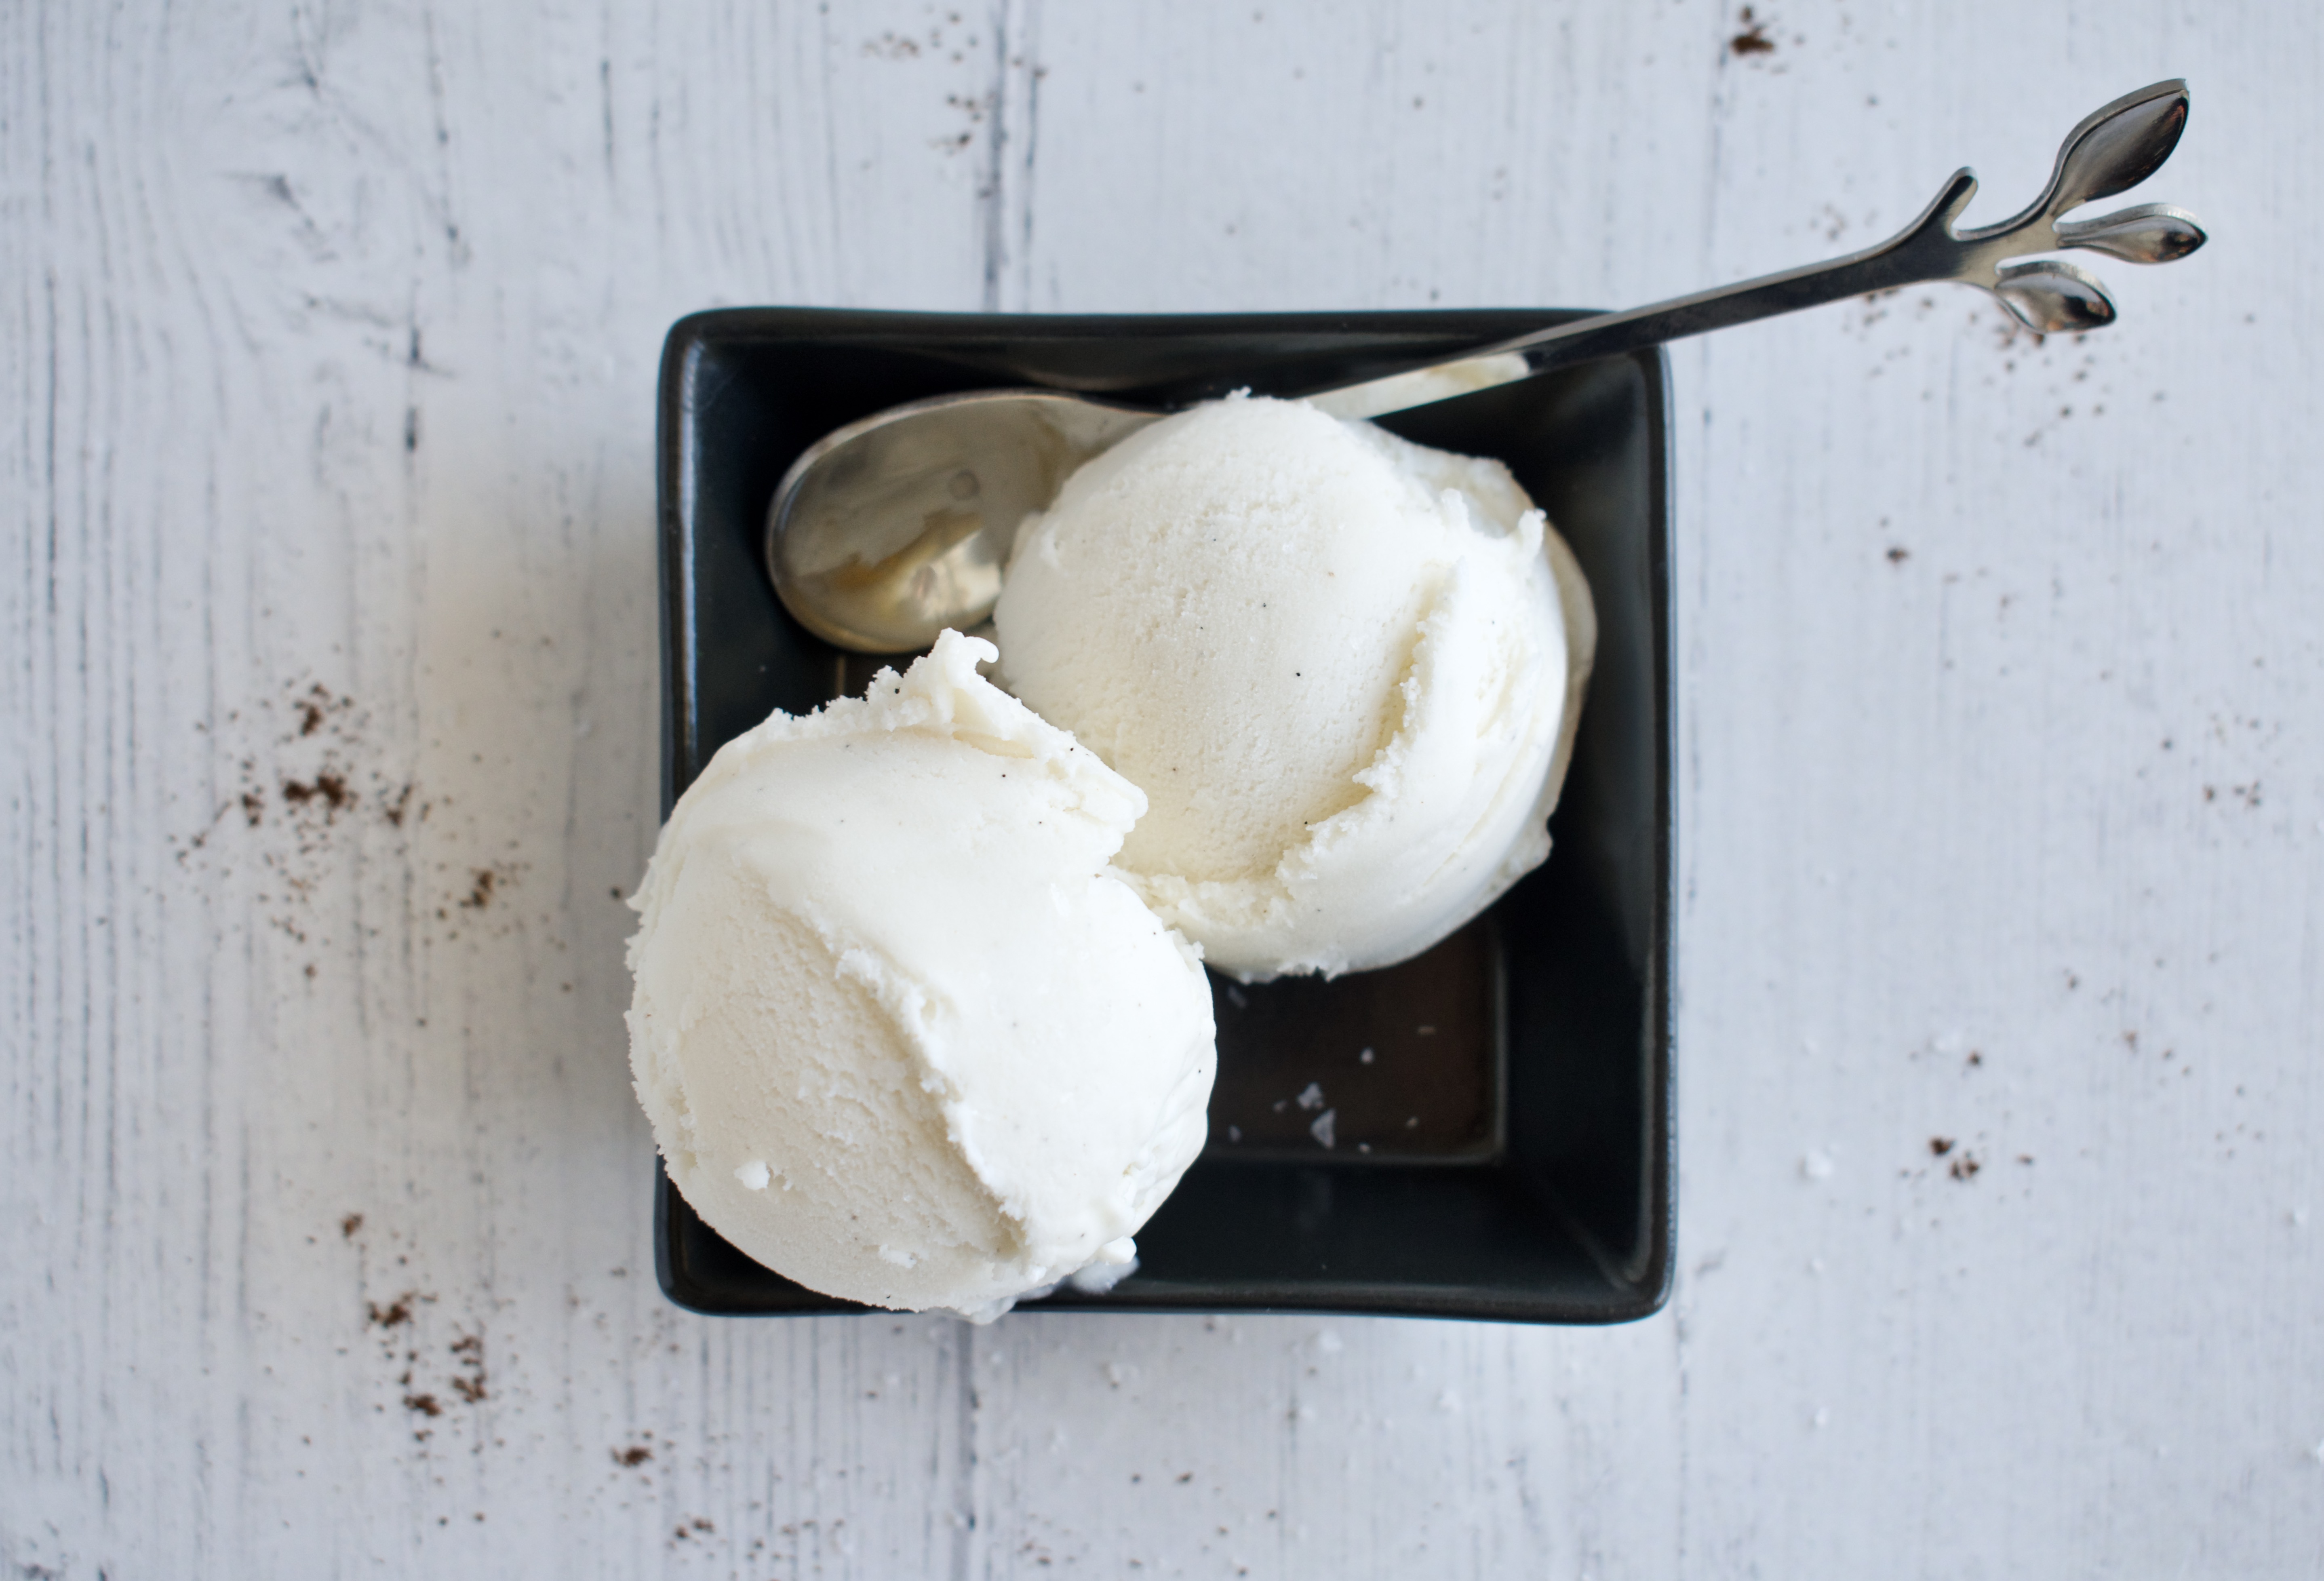
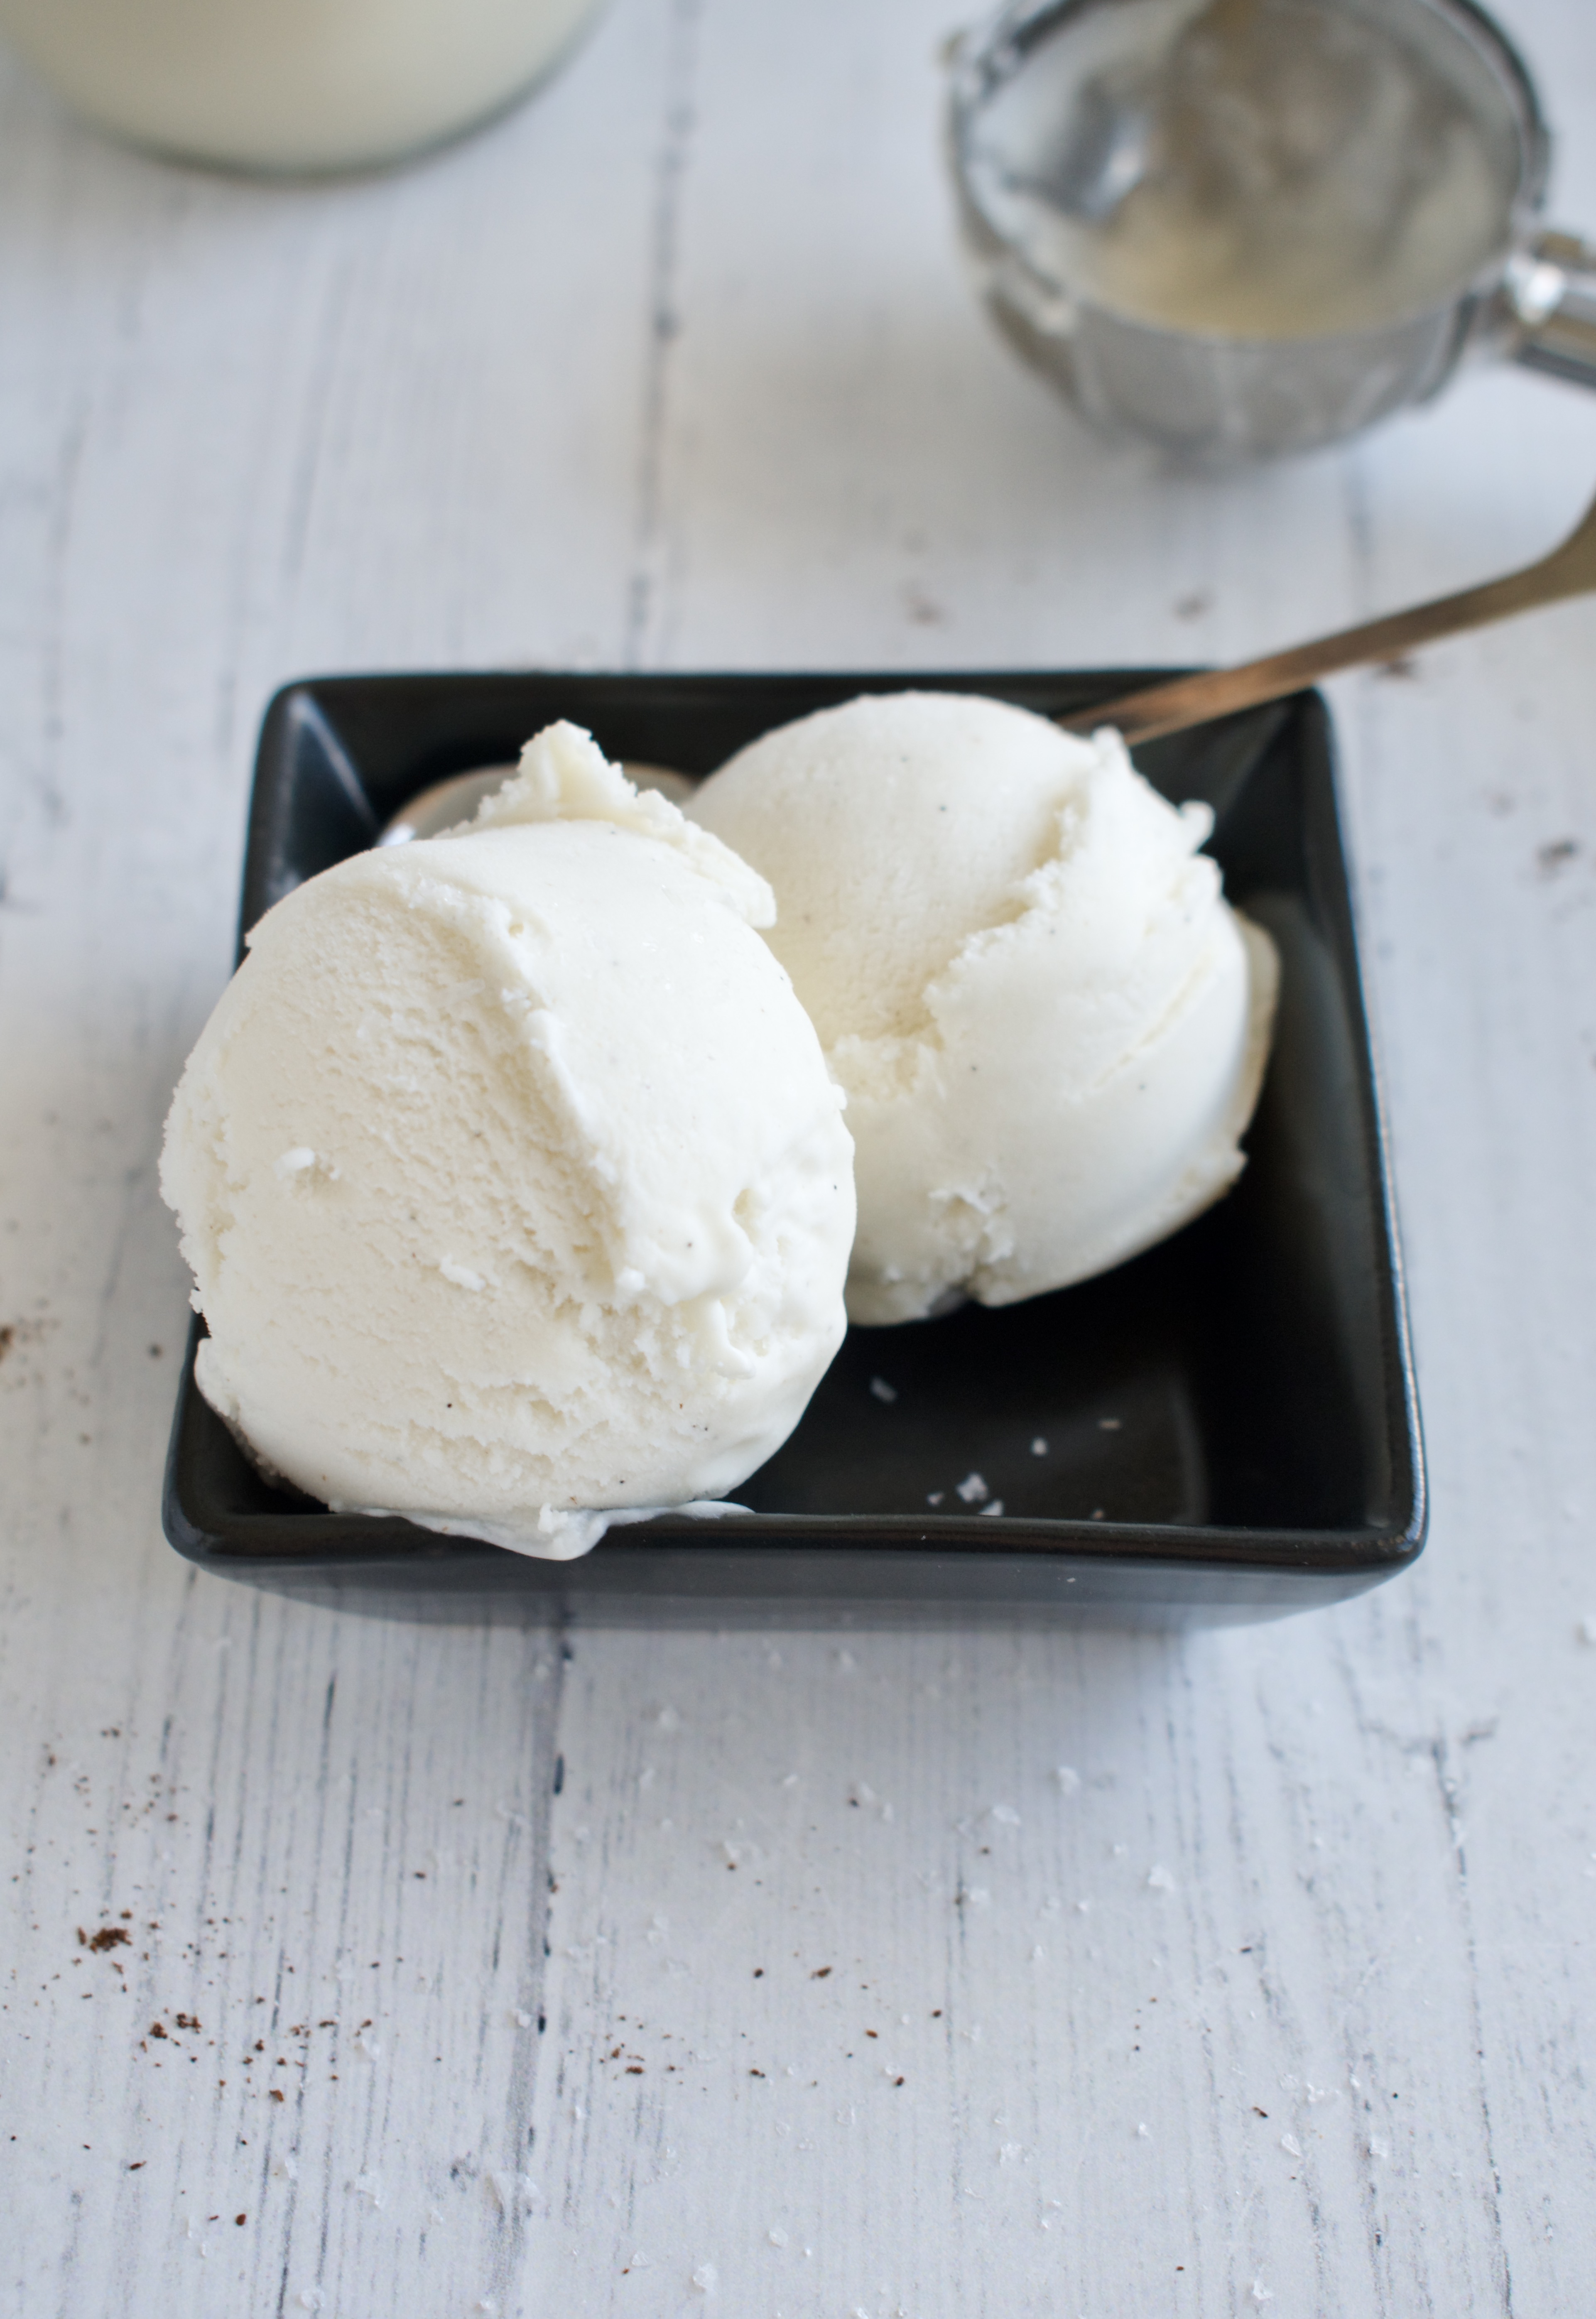
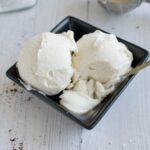
- Easy and beautiful: with just a handful of ingredients, all you do is mix, freeze, and spin. The result is a sunshiney-yellow vegan ice cream with the most beautiful golden hue,
Want more golden-hued treats? Try my Gluten Free Golden Milk Ice Cream Sandwiches or 2-Ingredient Ninja Creami Mango Sorbet.
Health Benefits of Golden Milk Ice Cream
- Healthy fats: full-fat coconut milk contains medium-chain triglycerides to support cholesterol levels. We're staying away from inflammatory cows milk!
- Lower glycemic index: coconut sugar is lower glycemic index than white sugar.
- Anti-inflammatory: golden milk is filled with anti-inflammatory spices that are also antioxidants to support heart health, gut health, and help regulate blood sugar.
- Turn it into protein ice cream: you have the option to add a scoop of protein powder to make this Ninja Creami ice cream recipe high protein and more filling!

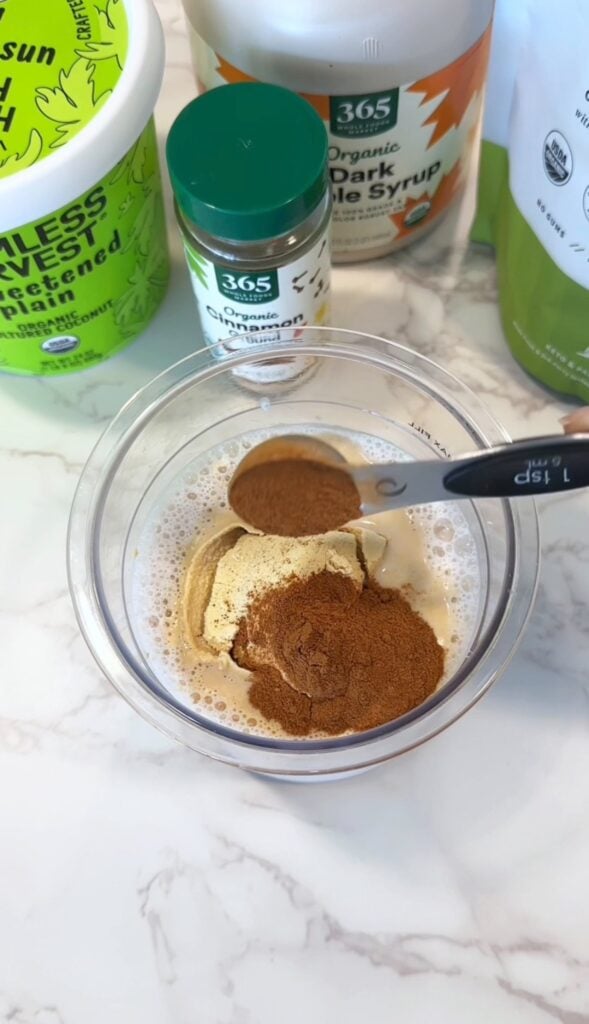
Golden Milk Ice Cream Ingredients
- Coconut milk: the base of this golden ice cream is made from creamy coconut milk. This aids in the rich and delicious flavor of golden milk and results in a super creamy vegan ice cream.
- Coconut sugar: the unrefined sweetener that pairs perfectly in this recipe.
- Turmeric powder, ginger powder, cinnamon: I tested this recipe a number of ways and found that the combination of these three spices led to the best outcome. I used dried spices and did not test fresh ginger or turmeric.
- Vanilla extract
- Pea protein: this is optional but adds a protein boost without even tasting it. I use the Sprout Living Pea Protein as it's only 1-ingredient with no additives. You can also use a vanilla protein powder for more flavor, if desired.
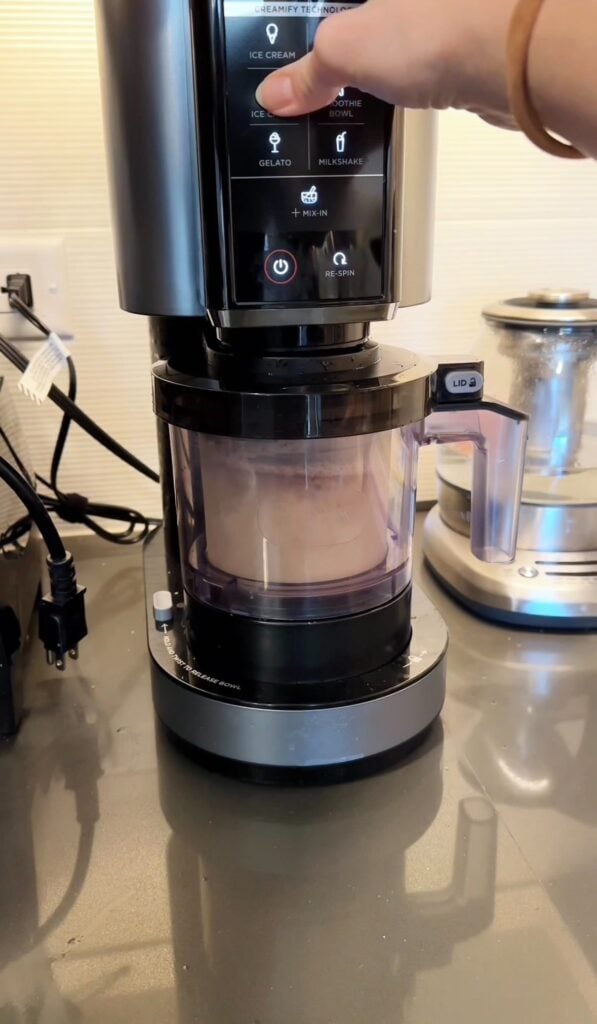
How to Make Golden Milk Ice Cream
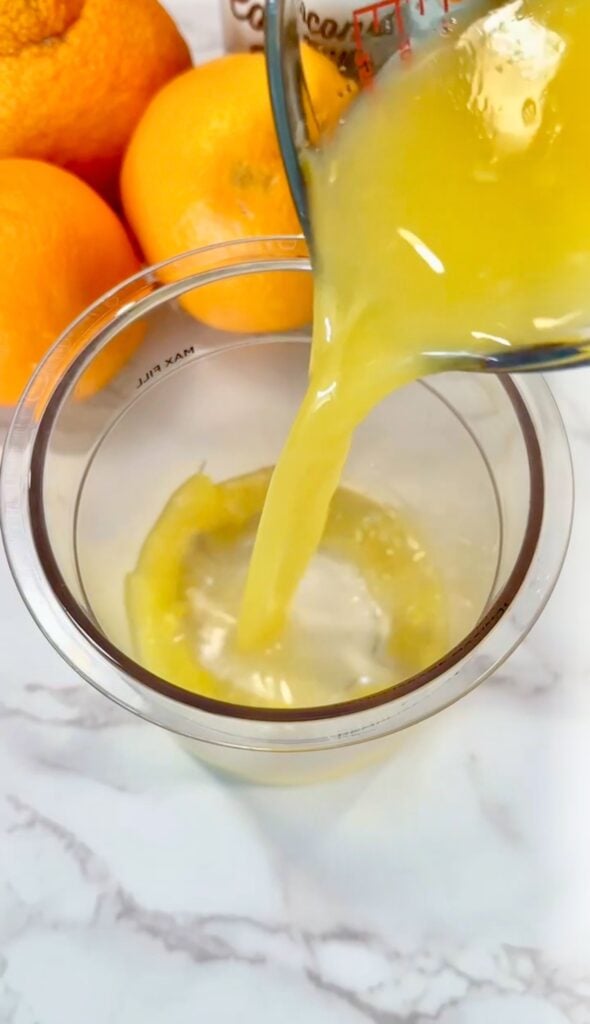
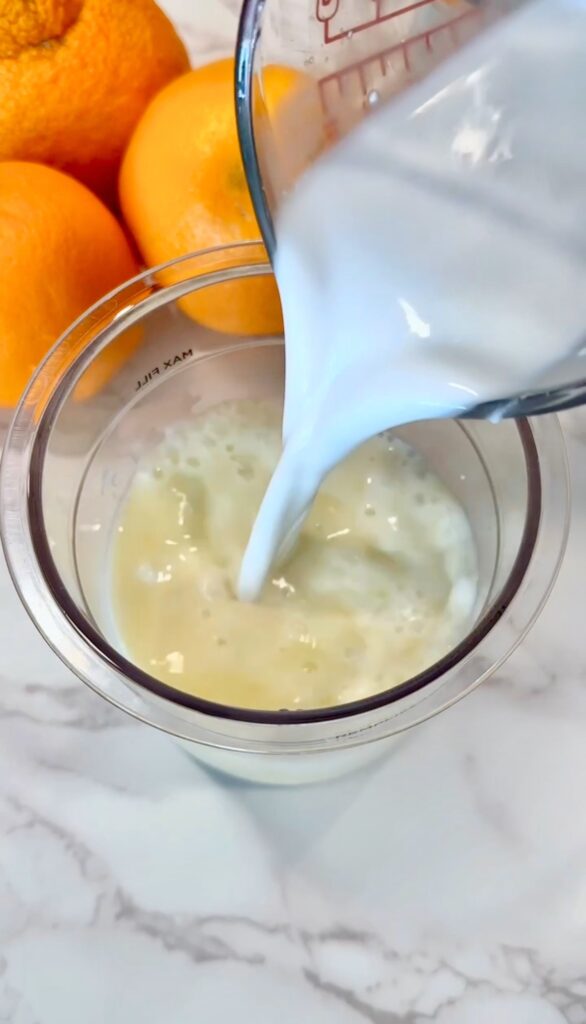
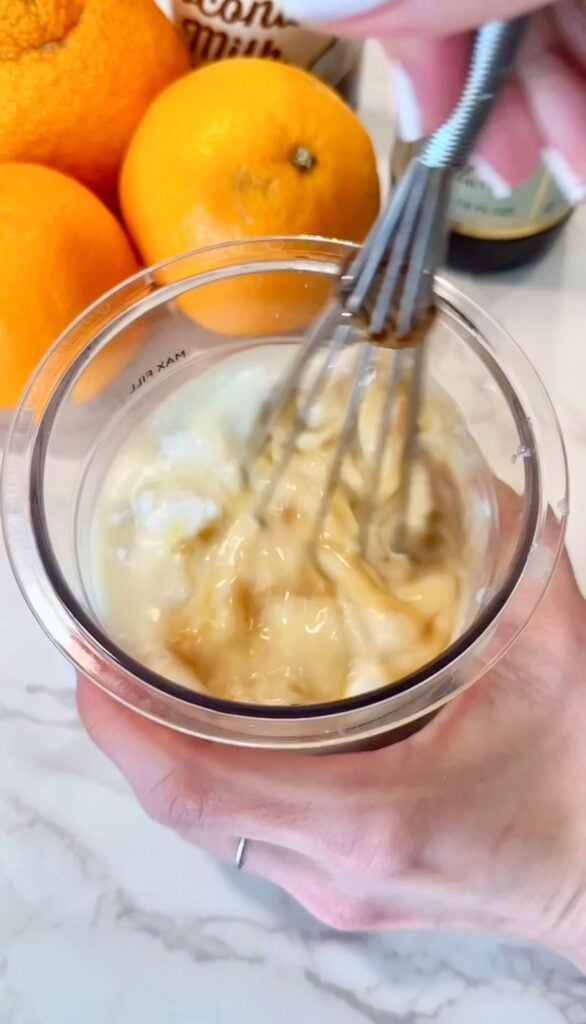
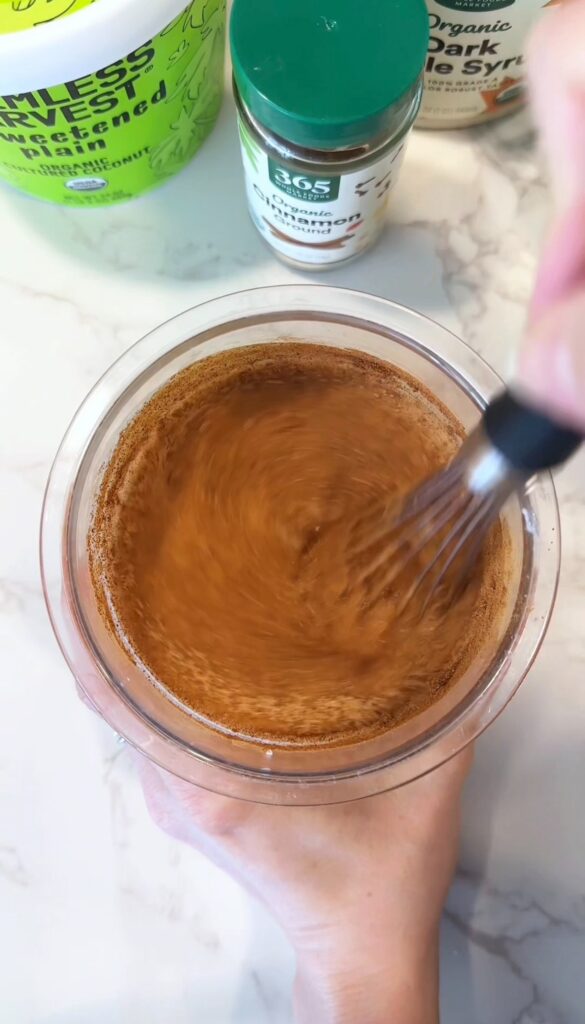
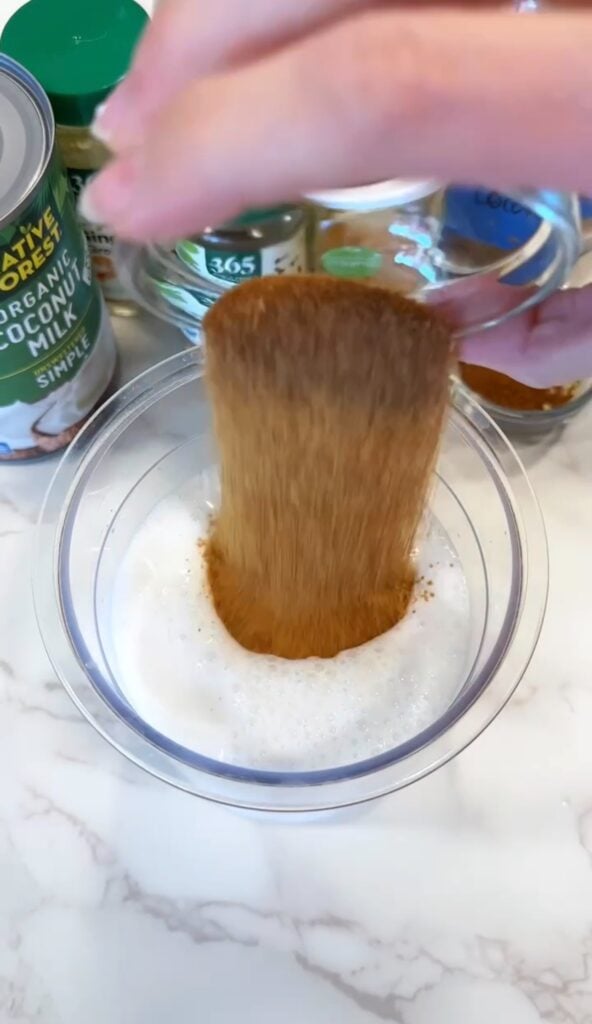
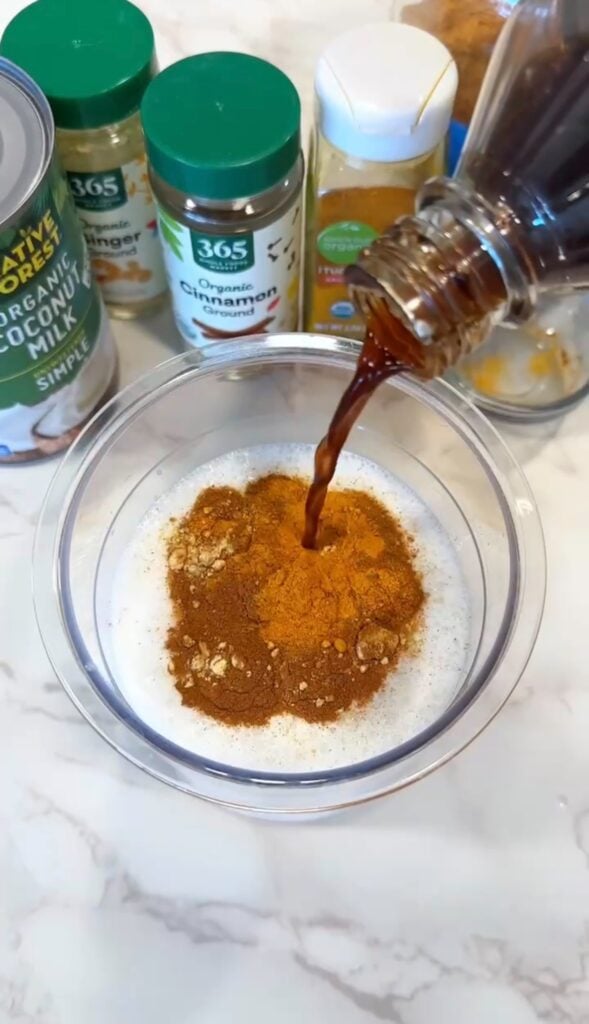
- Whisk or blend all of the ingredients together.
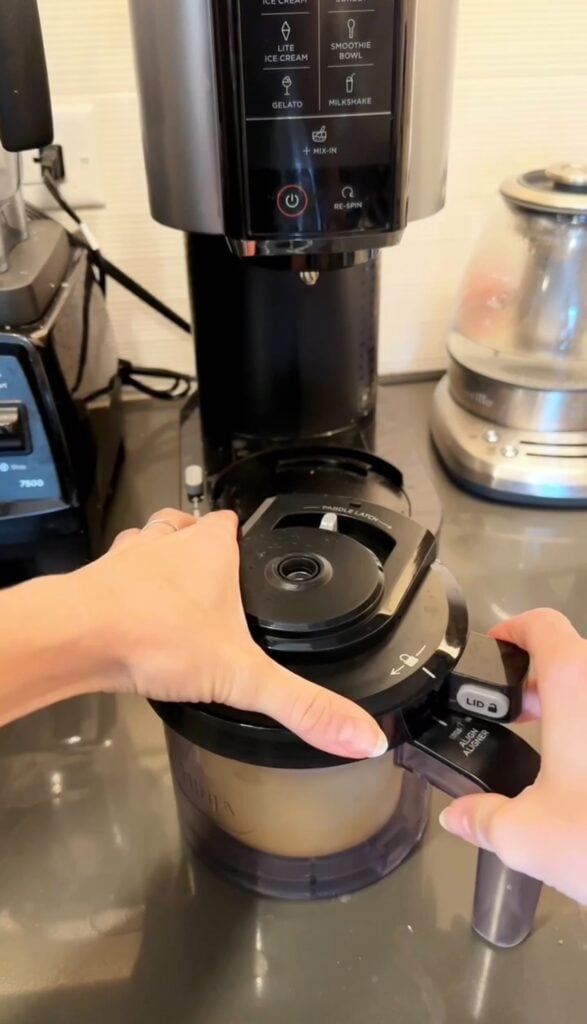
- Pour the blended mixture into a Ninja Creami pint container to the max fill line and freeze for 12-24 hours.
- When ready to spin, microwave the base for 40 seconds or run the outside of the pint container under hot water for a minute.
- Add the pint container to the Ninja Creami outside container and secure the outer bowl lid.
- Spin the ice cream on the lite ice cream setting.
- If the ice cream is crumbly after the first spin, add a tablespoon of milk and re-spin.
Substitutions and Variations
- Milk: although I think this ice cream tastes best with full fat coconut milk, the best vegan substitute would be cashew milk for its fat content. You can use almond milk, oat milk, or full fat regular milk. I find using a higher-fat milk yields the best texture. You can always use ½ cup of something like heavy cream, coconut cream, or plant-based yogurt and then 1 ½ cups of the lower fat milk you have on hand.
- Coconut sugar: you can also use maple syrup or agave syrup.
- Spices: traditional golden milk contains black pepper as it helps activate the turmeric. I found that even the slightest pinch of black pepper really stood out in this recipe since we are only making a pint. You can certainly try it if you'd like, but the flavor will be strong! Cardamom and saffron are also popular additions, but again, you'll want to use just a tiny pinch. You have to be careful with the spice blend so that it isn't too over powering.
- Variations: mix-in some candied ginger, coconut flakes, or crushed pistachios. Try drizzling on a little bit of olive oil for extra health benefits (trust me, olive oil on ice cream is actually really good!)
Storage
If you don't finish the pint, smooth over the top of your homemade vegan ice cream and re-freeze any leftovers. You can re-spin the ice cream when ready to eat the rest, following the same directions as above.

Ninja Creami Tips for the Creamiest Results
- Fat ratio matters: using full fat coconut milk yields the creamiest, best texture.
- Heat the base before spinning. I always suggest microwaving the frozen ice cream base for 30-45 seconds or running the outside under hot water for a minute or two to soften the ice cream base for best results. This helps with ice crystals and the number of times you have to re-spin for a creamy texture.
- Re-spin, but don't overspin! It can be tempting to keep re-spinning your ice cream for an even smoother texture, but eventually it will be more like a milkshake. If you are new to the Ninja Creami ice cream machine, it might take a few tries before you learn just how many times to spin your ice cream mixture for the perfect creamy texture that still holds its scoop. If you prefer your ice cream to be more like the consistency of soft serve, then feel free to spin it an extra round!

FAQ
Yes, it is vegan as written! Just be sure to use a plant-based milk.
It tastes sweet and creamy with a subtle spice flavor. The turmeric and ginger are not overpowering bitter, but providing subtle warmth to this ice cream recipe.
I haven't tested this recipe with fresh turmeric, but you can try it! You may need to adjust the amount you use.
Yes, just double the recipe and use a traditional ice cream maker instead. Follow the directions of your ice cream maker for best results.
Easy- just add in a scoop of your favorite protein when mixing all of the ingredients together. All that golden goodness with its immune-boosting benefits plus some protein in your dessert? Yes please!
More Ninja Creami Recipes
Ninja Creami Vegan Vanilla Ice Cream
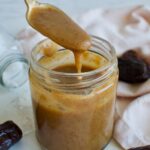
Vegan Salted Caramel Ice Cream (with dates)
Ninja Creami Vegan Blackberry Ice Cream
Dairy Free Salted Honey Ice Cream
Orange Creamsicle Ninja Creami
If you try this recipe, I'd love to hear how you enjoyed it! Leave a rating and review below, tag me in social media, and drop any questions in the comments.

Vegan Golden Milk Ice Cream
Equipment
Ingredients
- 2 cups full fat coconut milk*
- 2 tablespoon coconut sugar
- ½ teaspoon vanilla extract
- ¾ teaspoon turmeric powder
- ½ teaspoon cinnamon
- ¼ teaspoon ground ginger
- pinch of salt
- 1 scoop pea protein** optional
Instructions
- Whisk or blend all of the ingredients together.
- Pour the ice cream base into a Ninja Creami pint container and freeze for 12-24 hours.
- When ready to spin, microwave the base for 40 seconds or run the outside of the pint container under hot water for a minute.
- Add the pint container to the Ninja Creami outside container and secure the lid.
- Spin the ice cream on the lite ice cream setting.
- If the ice cream is crumbly after the first spin, add a tablespoon of milk and re-spin until desired consistency is reached.