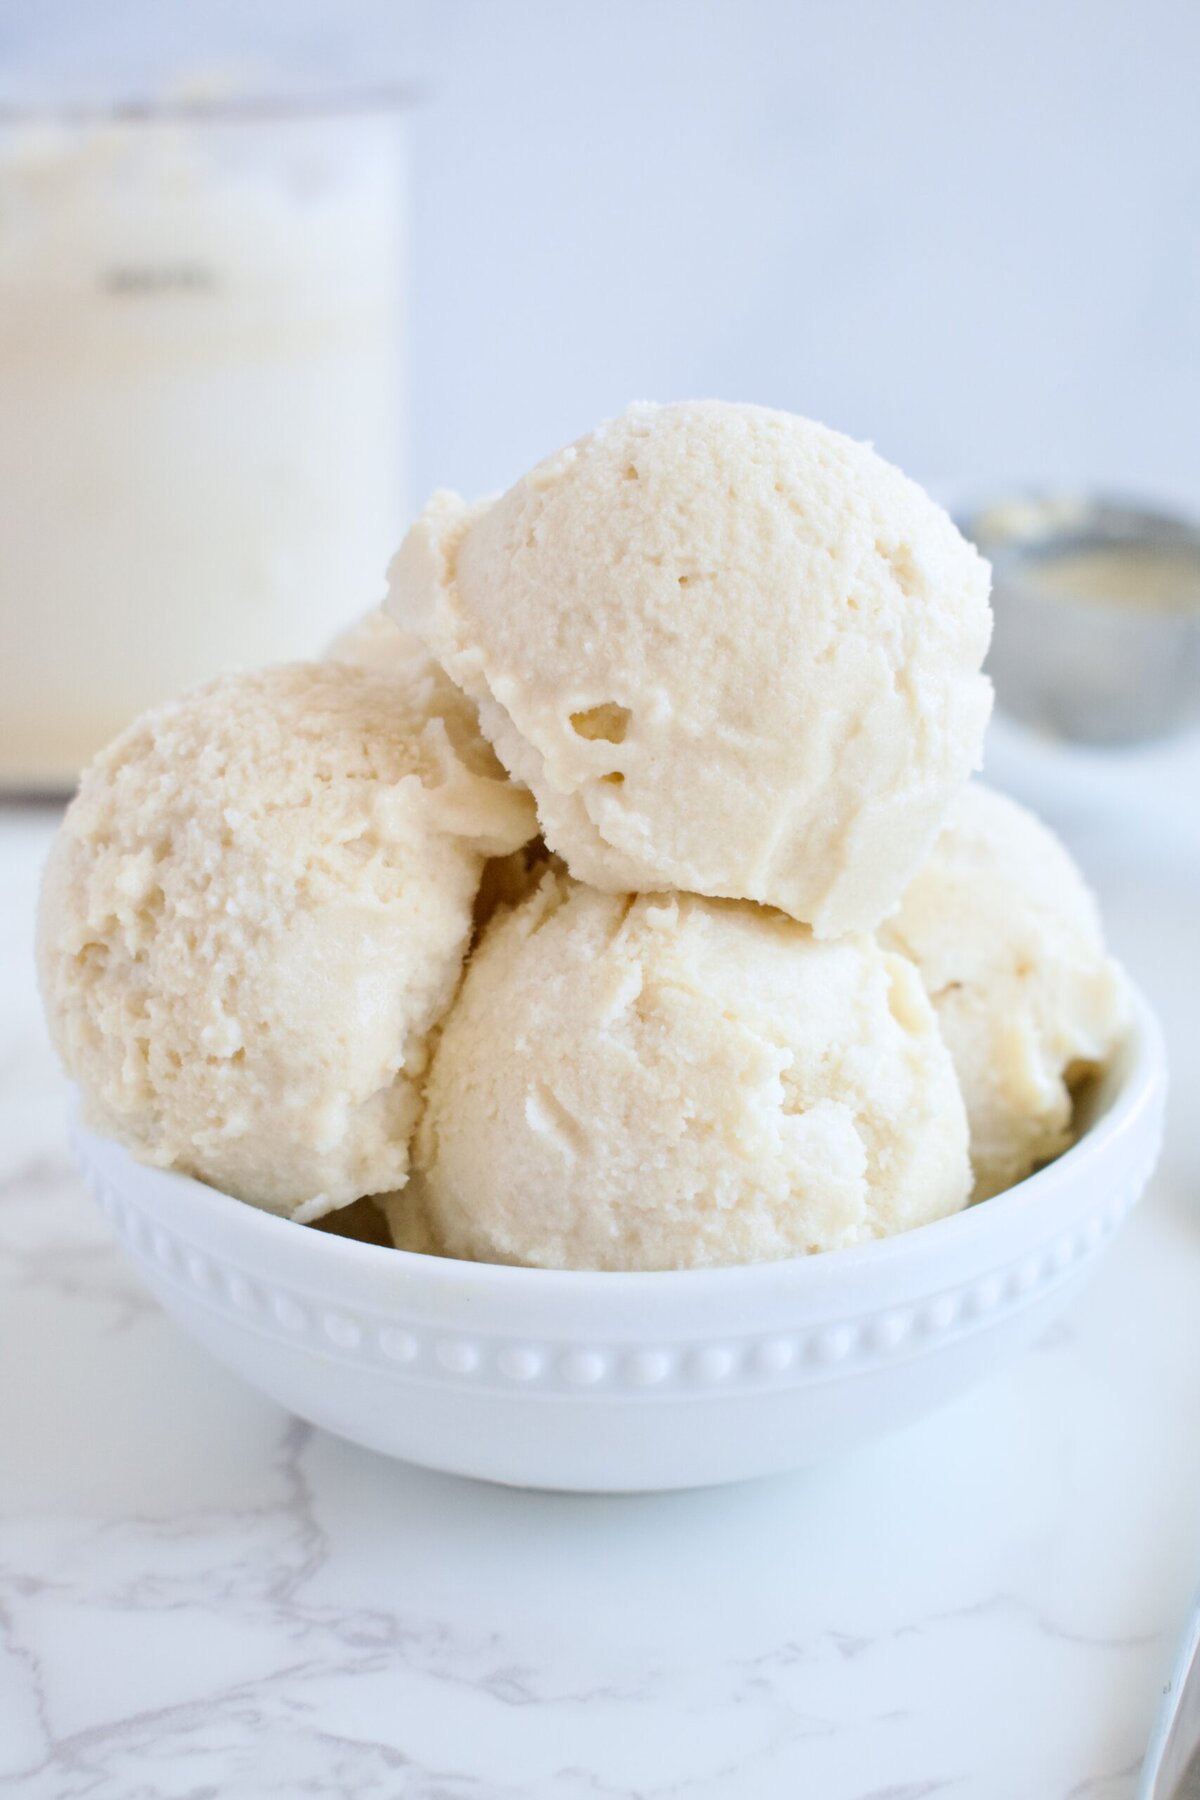
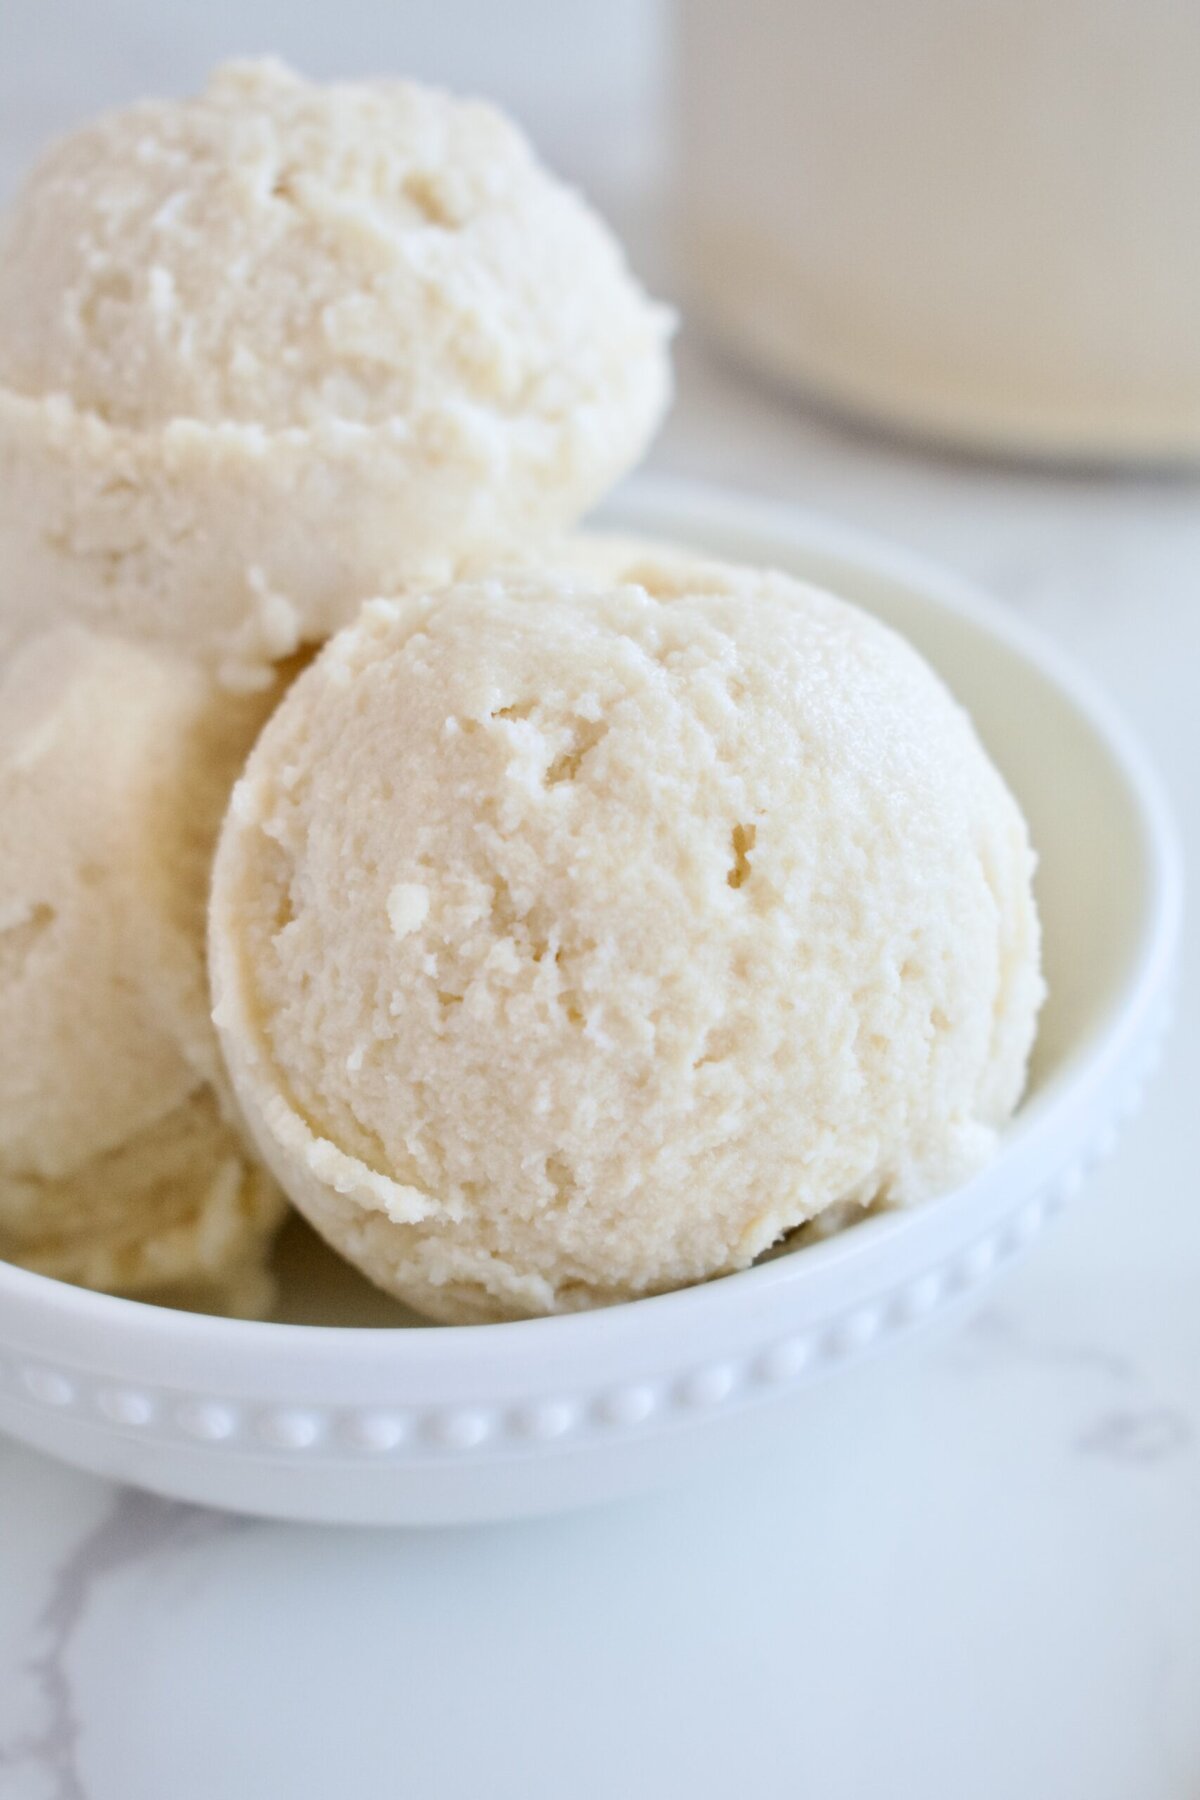
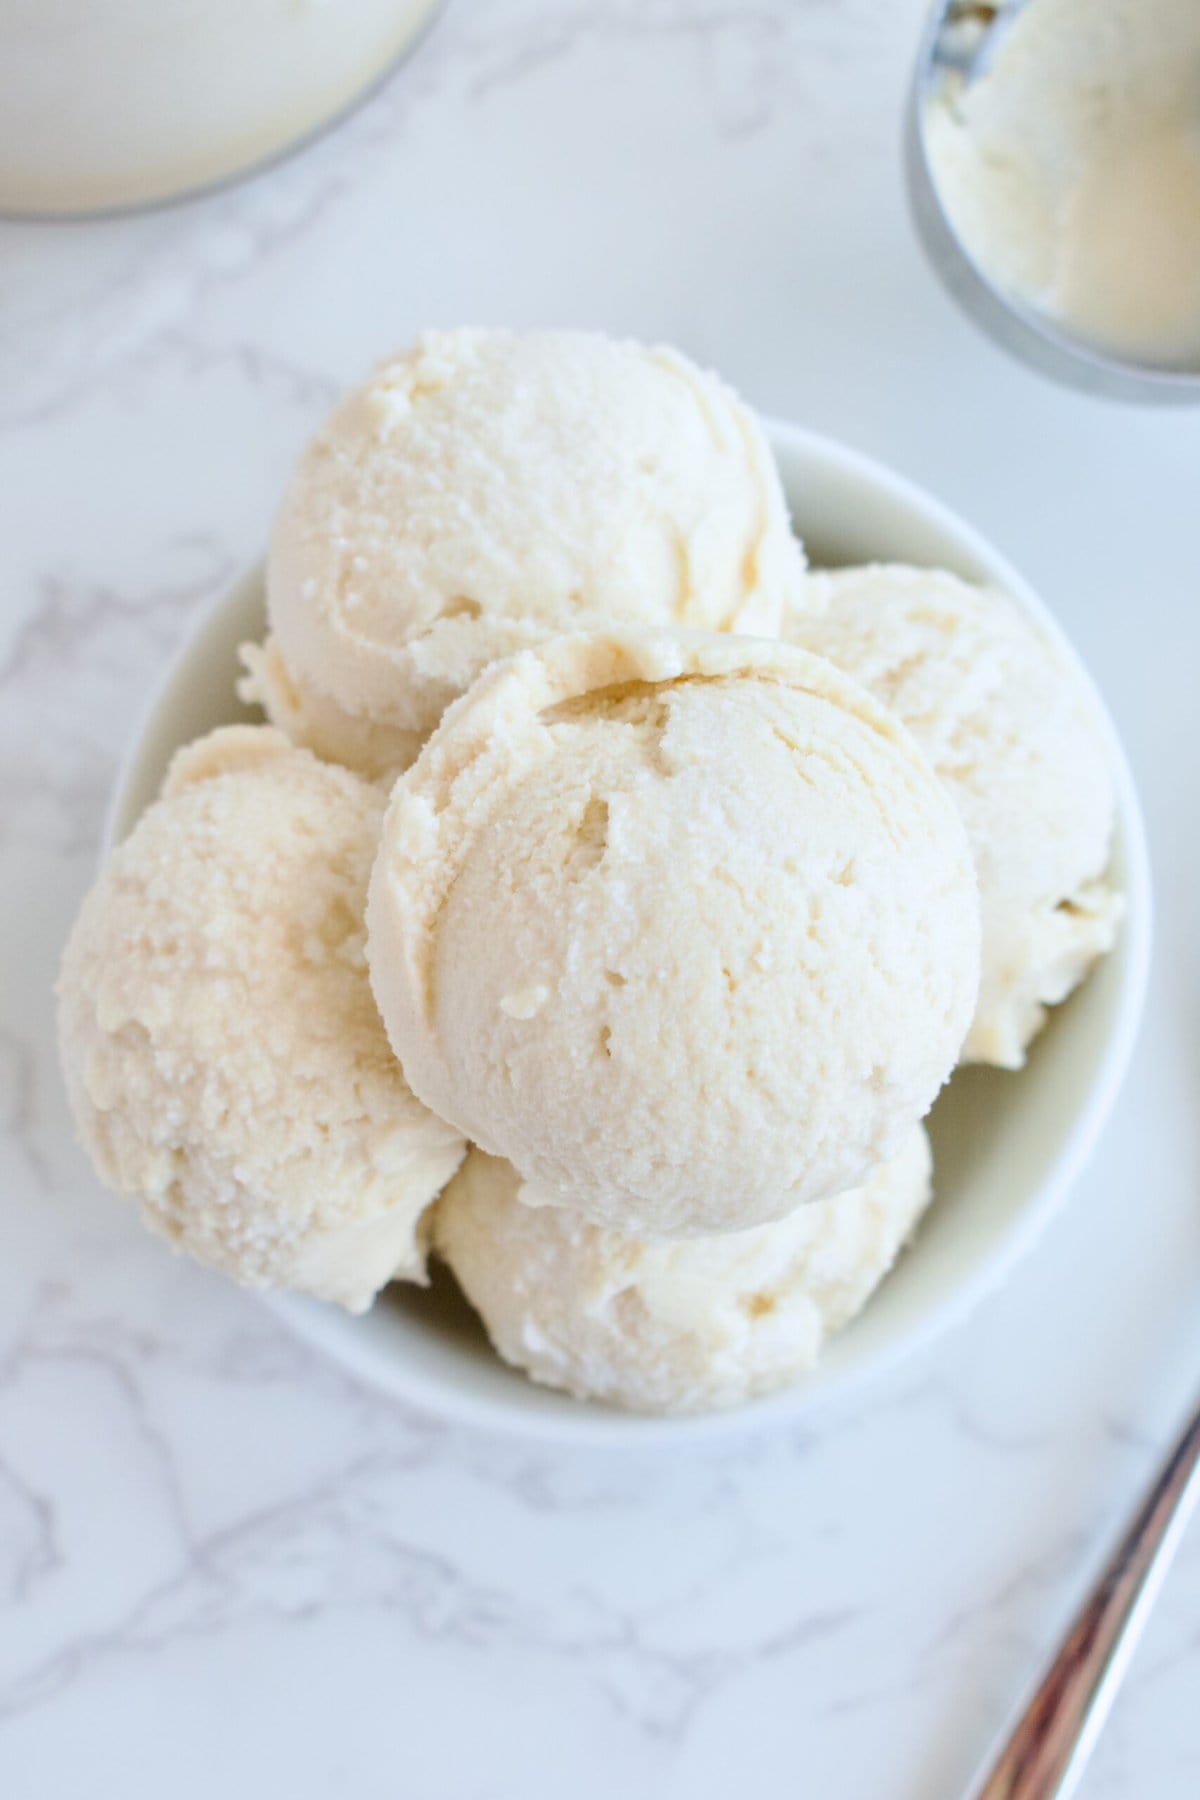
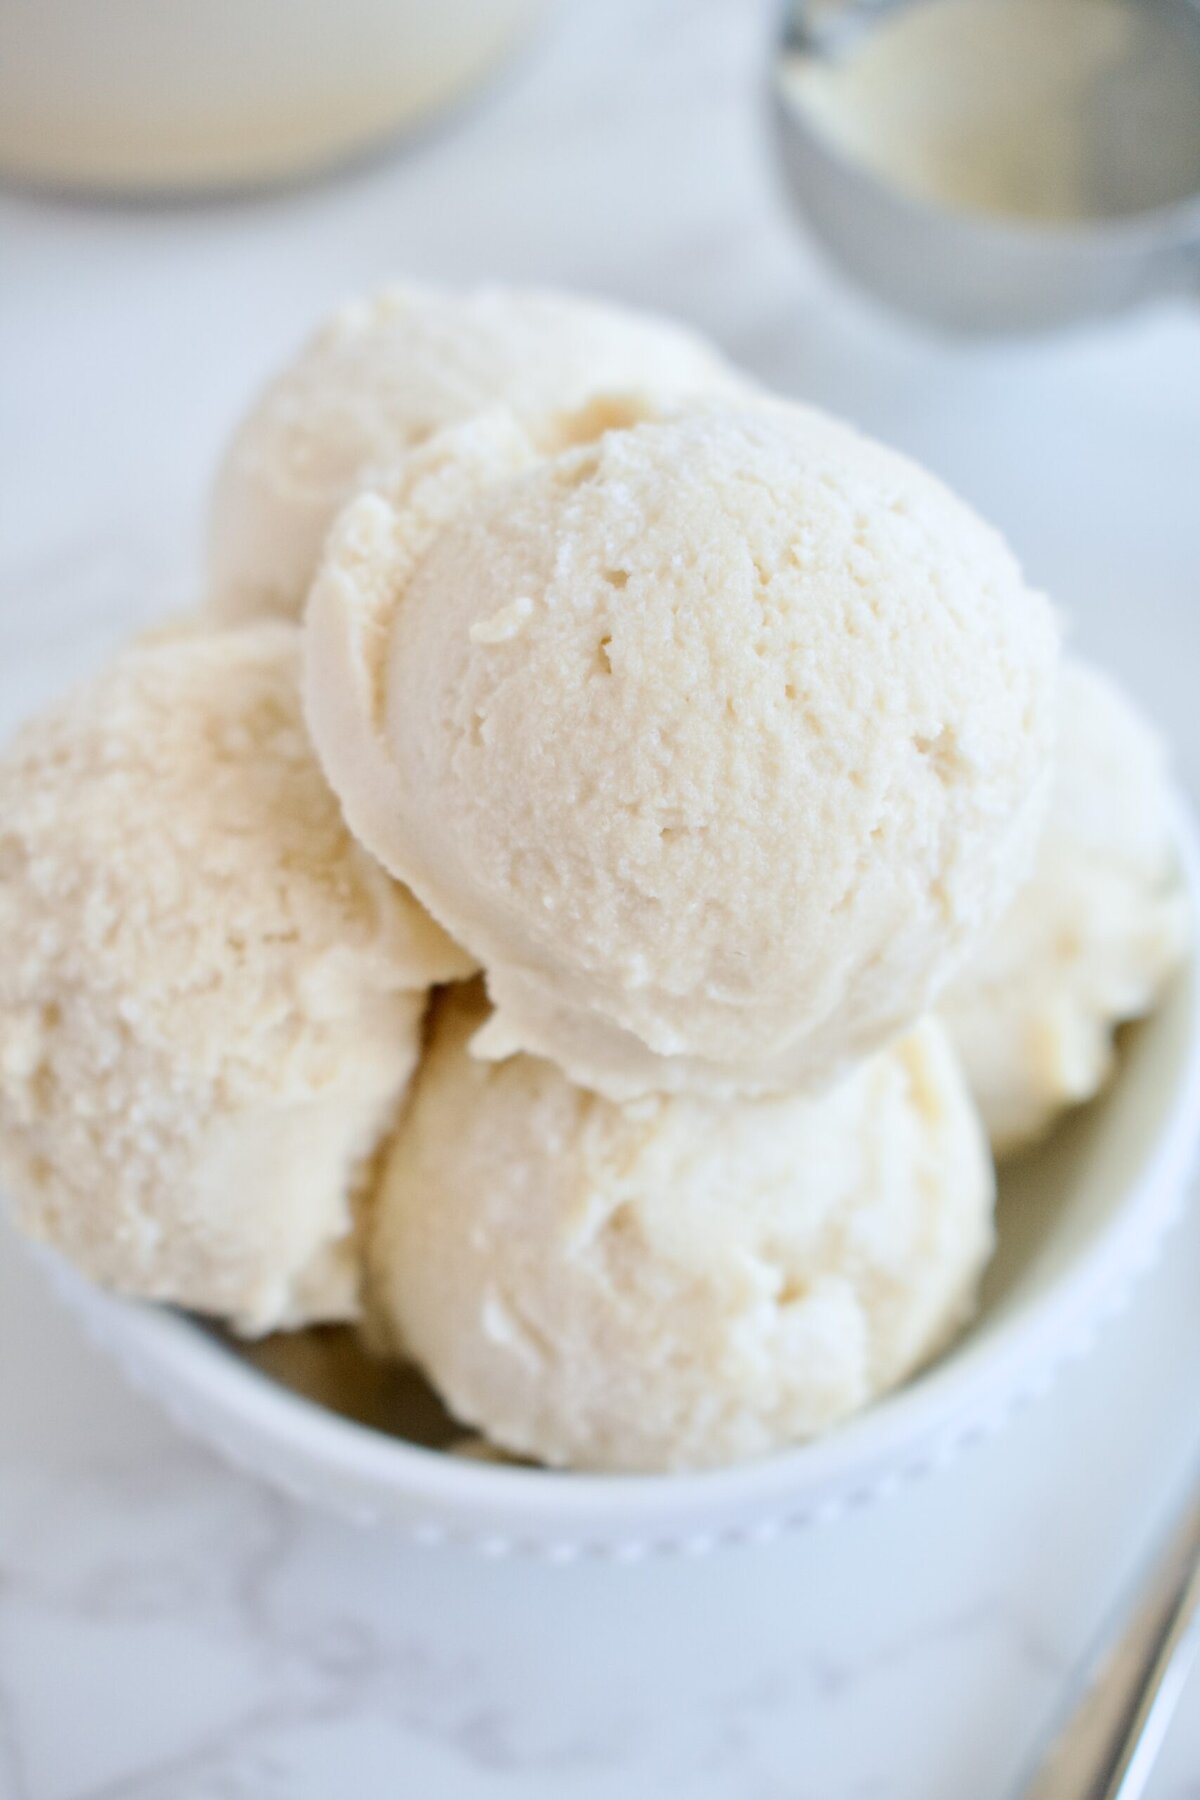
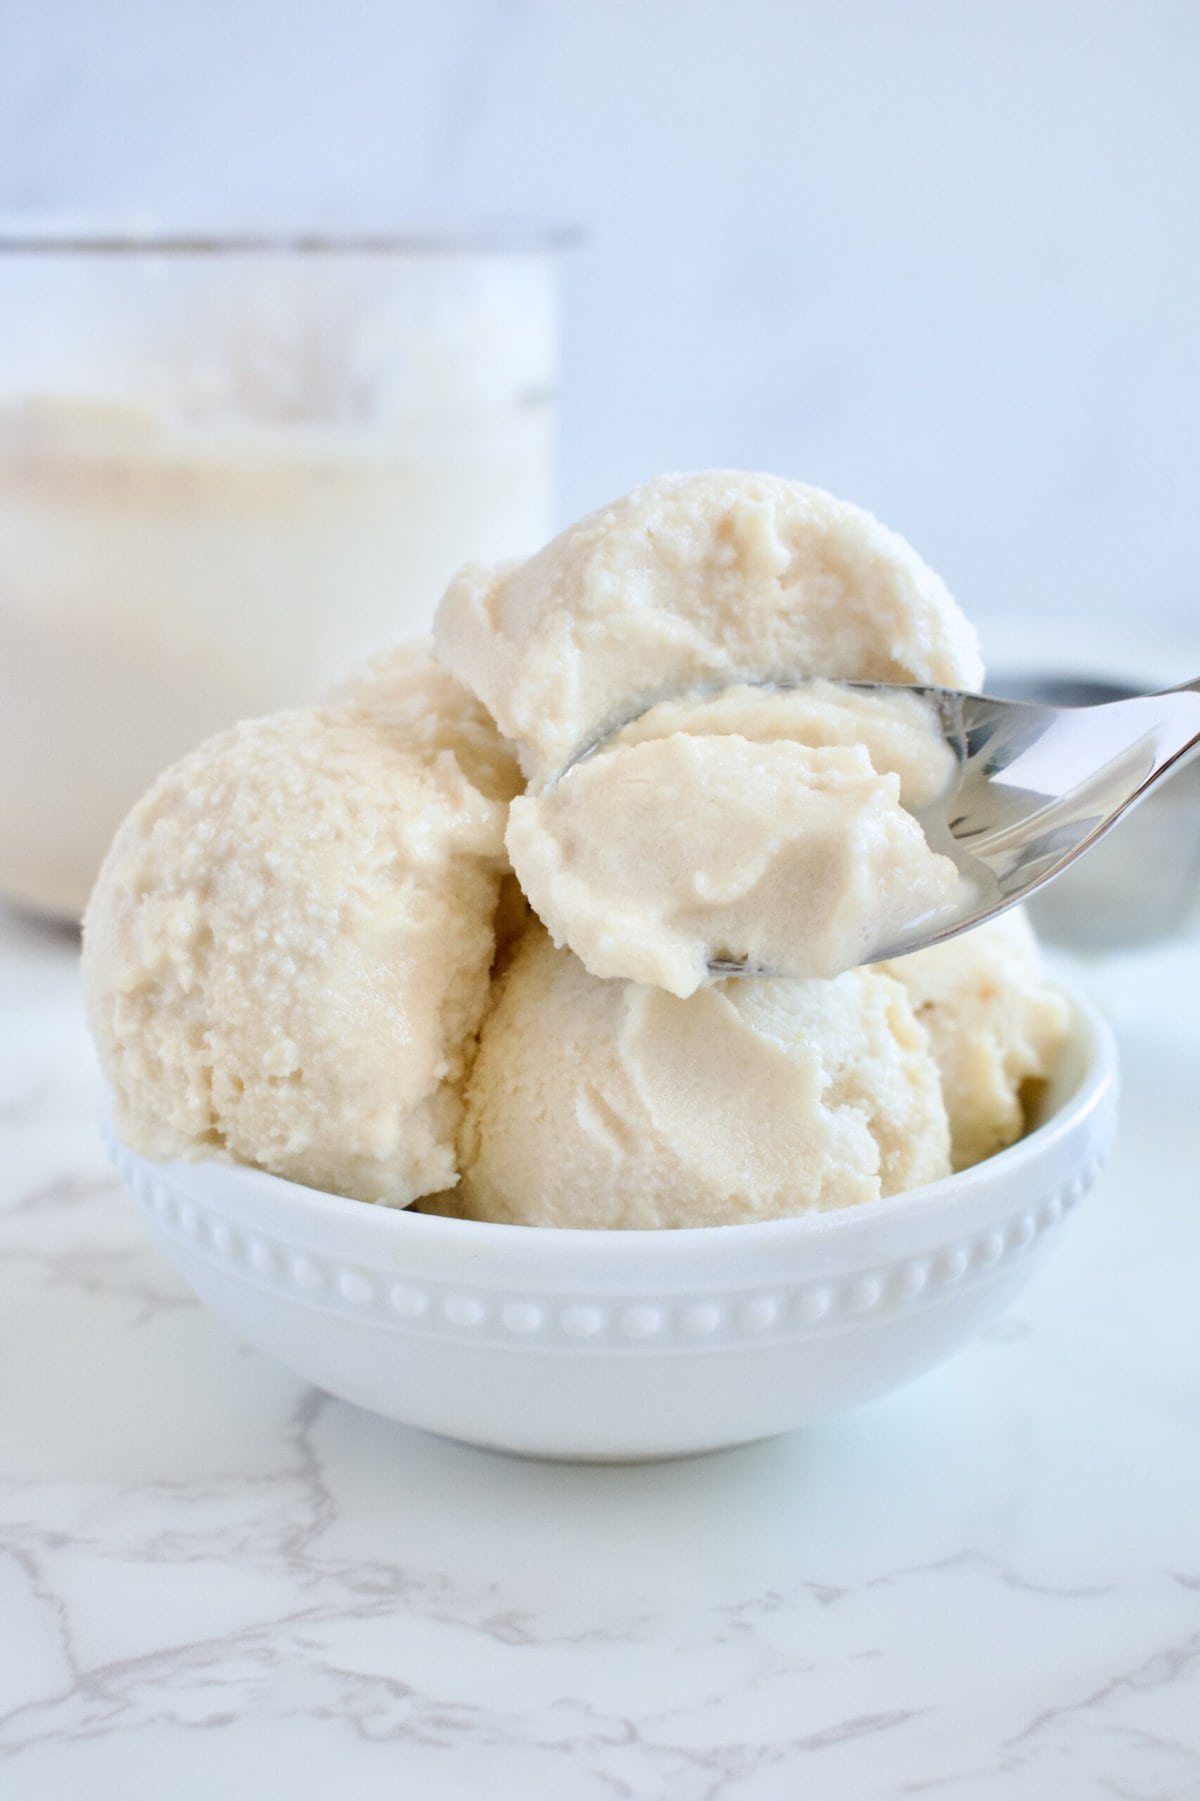
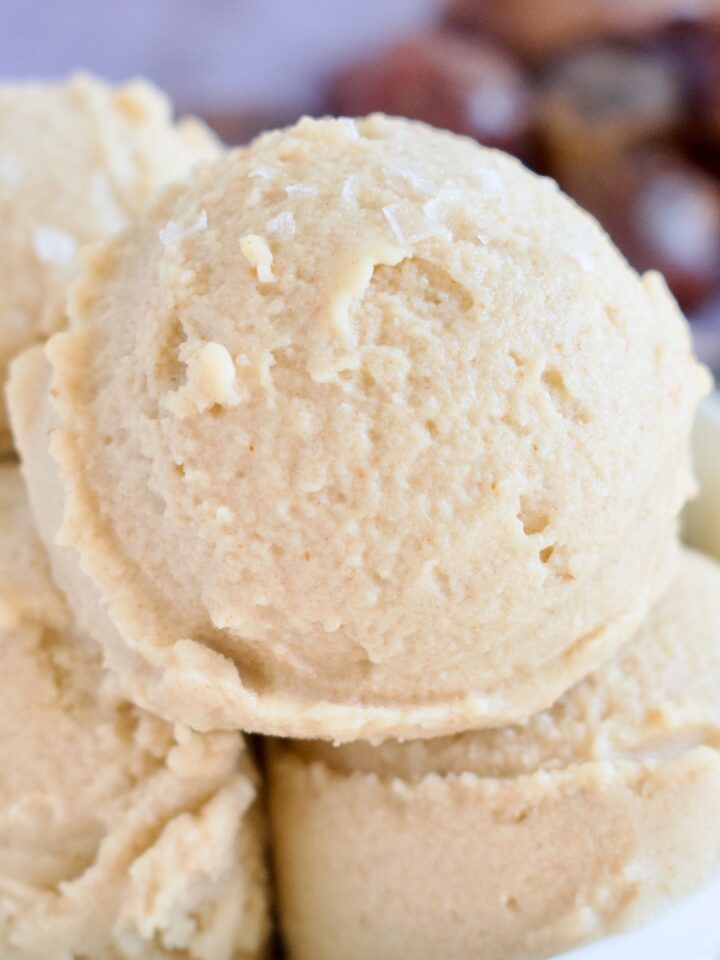
This Ninja Creami Vegan Vanilla Ice Cream is the only base recipe you'll ever need and it takes just 4 ingredients. Completely dairy free, refined sugar free, and gluten free, it's creamy, scoopable, and tastes like the real thing without any of the junk ingredients most store-bought dairy free ice creams sneak in. Make it as-is for a classic vanilla, add a scoop of protein powder for a high protein treat, or use it as your base for endless flavor combinations. Consider this recipe your Ninja Creami starting point.
In case you don't know, I'm absolutely obsessed with my Ninja Creami ice cream maker. If you're debating whether it's worth it or not, it is 100% worth every penny! I use it almost daily and love that I can make healthy, dairy-free ice cream easily at home with just a few basic ingredients. It's always just as creamy and delicious (if not more so) than store-bought! It's certainly cheaper in the end, that's for sure.
This recipe is not only a vanilla ice cream recipe, but my base Ninja Creami recipe. You can easily start with this recipe and blend in other flavors or mix ins depending on your mood (like some cocoa powder, fruit of choice, or favorite mix-ins like cookies). I'll refer back to this very recipe in many other posts as it's used as the base for a lot of my ice cream centered desserts.
Why You'll Love This Ninja Creami Vanilla Ice Cream Recipe
- Healthy ice cream: you heard me- healthy homemade ice cream! This creamy vanilla ice cream is completely vegan, gluten free, and refined sugar free. It's made with just 4 simple ingredients (5 if you want to add protein) and no added gums, sugar alcohols, or fake flavorings like many store-bought dairy free ice creams contain.
- No pudding mix: many Ninja Creami recipes call for using instant pudding mix as a thickener, but that is filled with artificial flavors and colors. We don't need that for a delicious vegan ice cream and instead rely on full fat dairy free yogurt or milk.
- Low sugar and low fat: regular ice cream is LOADED with sugar and often made with heavy cream, but my recipe uses just a couple of tablespoons of natural sweeteners for a light and low glycemic treat you can feel good about. We also use (dairy free) yogurt as the main fat, so you're getting some gut healthy probiotics in your dessert.
- Make it high protein: you can easily turn this recipe into a Ninja Creami high protein vegan vanilla ice cream by adding a scoop of your favorite plant based protein. My go-to is the Sprout Living Pea Protein because it is one simple ingredient without added sugar or flavorings. It mixes perfectly and you can't even taste it. Plus it acts like the instant pudding mix does, thickening the ice cream for a super thick and creamy result!
- It's easy to make: this is such a simple recipe! All you do is whisk together a few ingredients, freeze, and spin. It's that simple. There is no need to heat the base, temper eggs, or wait 20+ minutes for the ice cream to churn.
Recipes to Serve This Dairy Free Vanilla Ice Cream with
Thick and Chewy Chocolate Chip Cookies
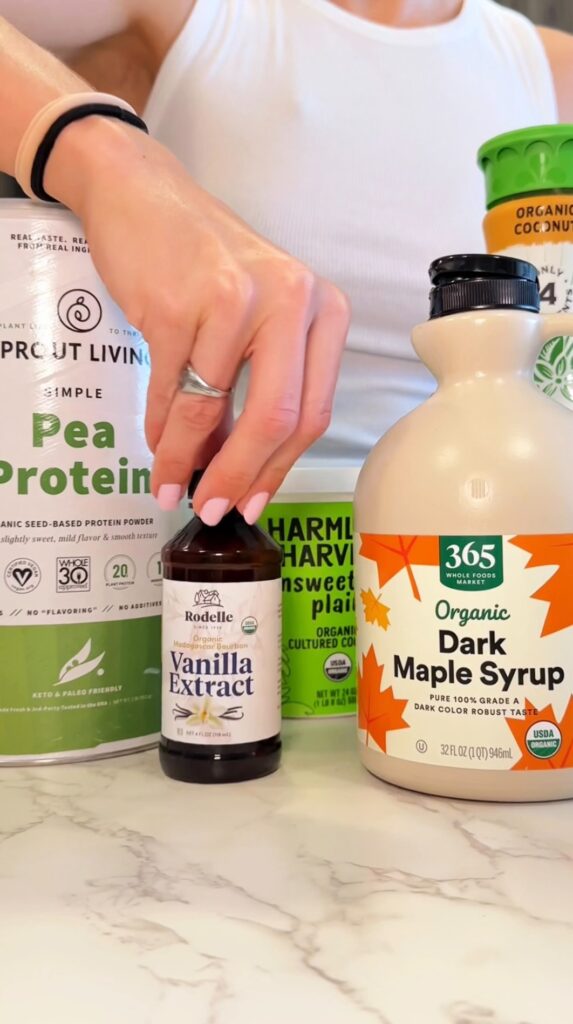
Vegan Vanilla Ice Cream Ingredients
- Dairy-free milk: I opt for coconut milk as I find it results in the creamiest outcome, but you can use almond milk, oat milk, or any other milk you like!
- Dairy-free yogurt: I again opt for a coconut milk yogurt, but any dairy-free (or dairy full) yogurt will work. This just adds a bit of fat for better texture and flavor.
- Maple syrup: be sure to use pure maple syrup.
- Vanilla extract: vanilla ice cream is a classic flavor, so be sure to use pure vanilla extract for the best results.
- Protein powder: This is optional, but I love getting the protein boost! I use Sprout Living pea protein since it has no added flavors or sugars (use code LEMONSNLYME20 for 20% off). You can use your favorite protein powder though and can even opt for a flavored one to make Ninja Creami protein ice cream.
How to Make Ninja Creami Vegan Vanilla Ice Cream
- Whisk or blend all of the ingredients together until smooth.
- Pour base mixture into a Ninja Creami pint container to the max fill line, place storage lid on top, and freeze for 12-24 hours. Be sure the pint is sitting on a level surface in the freezer.
- Before spinning, microwave the ice cream base for 30 seconds or run the outside under hot water for a minute.
- Add the pint to the Ninja Creami container and add the outer bowl lid.
- Spin on the lite ice cream setting. If the ice cream is chalky after the first spin, add a splash of milk and hit the re-spin button until you have a creamy ice cream.


Substitutions and Variations
- Milk and yogurt: you can combine this into one ingredient by using full fat canned coconut milk. You can also feel free to use any variety of milk or yogurt you like, including dairy products. If you can tolerate dairy, try Greek yogurt for an added protein boost!
- Maple syrup: you can sub this for coconut sugar if desired.
- Vanilla: opt for vanilla bean powder if you want those vanilla bean specks! You could even try using vanilla bean paste for a stronger vanilla flavor.
- Protein: I have also tested the plain Equip beef protein which results in a fluffier texture, but is still delicious! If you use this protein, blend everything in a blender, do not try to whisk it as this protein gets clumpy easily.
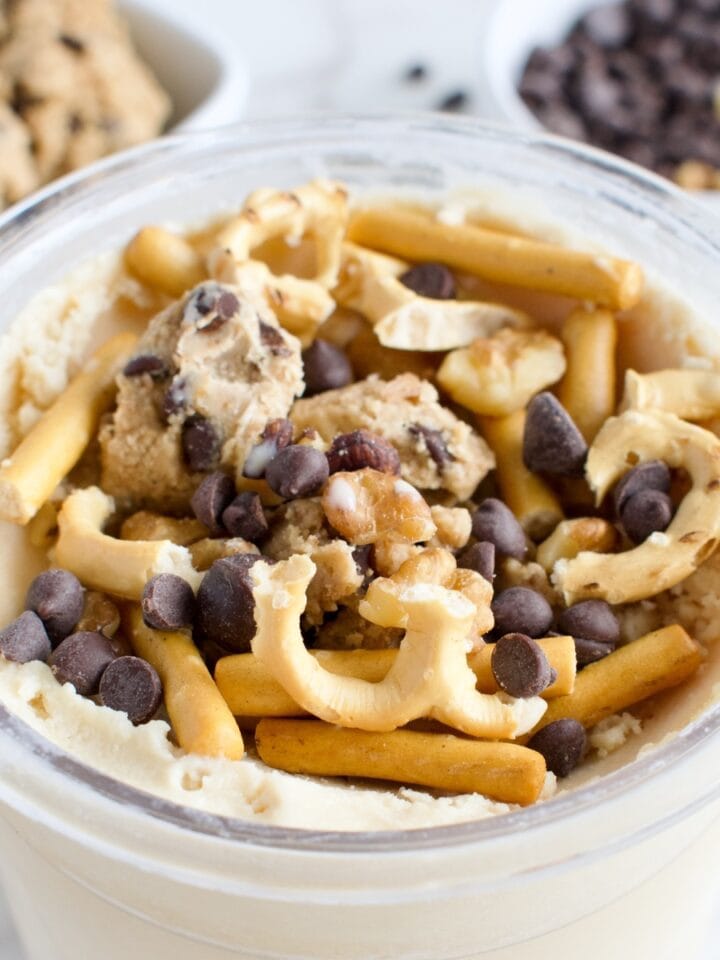
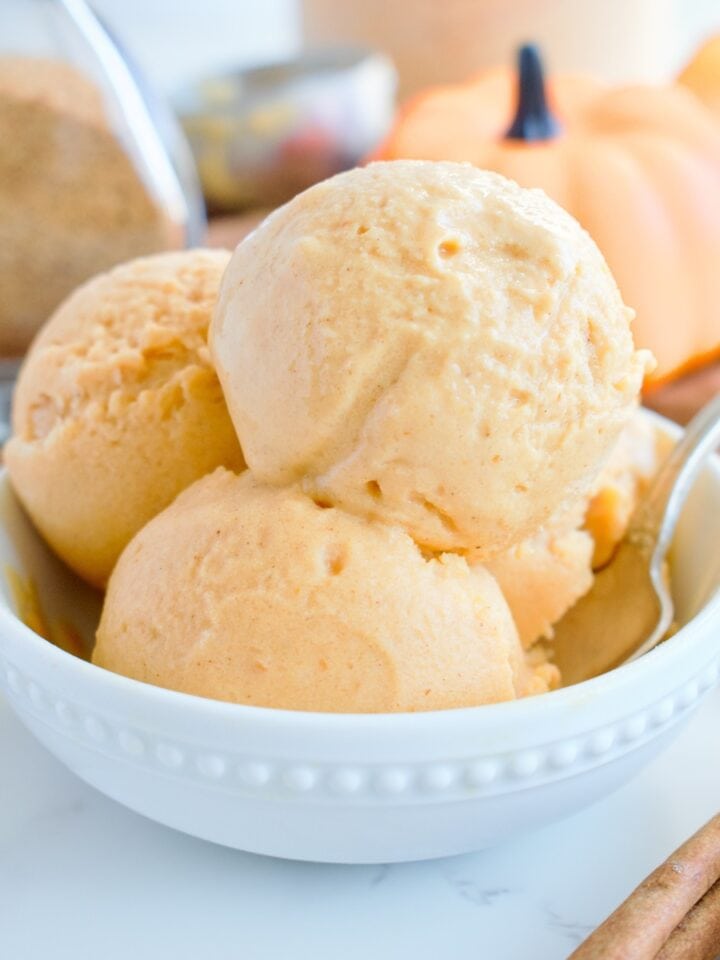
- Variations: this is just a base recipe, so feel free to mix in fresh fruit, chocolate chips, peanut butter, or whatever you love!
How to Store Leftover Ninja Creami Vanilla Ice Cream
If you don't finish your vegan vanilla ice cream, smooth over the top of the pint and re-freeze any leftovers. You can re-spin the ice cream when ready to eat the rest, following the same directions as above.
Mix-In Ideas for Ninja Creami Vegan Vanilla Ice Cream
With vanilla as the base, the mix-ins are endless! Here are a few ideas to get you started, just opt for the mix-in feature when adding any of these.
- Your favorite cookies
- Brownie pieces
- Cake pieces or edible cookie dough
- Chocolate pieces
- Sprinkles
- Nuts
- Frozen fruit
Tips for the Best Dairy Free Vanilla Ice Cream:
- Heat the base before spinning. I always suggest microwaving the frozen ice cream base for 30 seconds or running the outside under hot water for a minute or two to soften the ice cream base some for best results. This helps with ice crystals and the number of times you have to re-spin for a creamy texture.
- Don't overspin! It can be tempting to keep re-spinning your ice cream for an even smoother texture, but eventually it will be more like a milkshake. If you are new to the Ninja Creami ice cream machine, it might take a few tries before you learn just how many times to spin your ice cream mixture for the perfect creamy texture that still holds its scoop.
- The official Ninja Creami book recommends adding a tablespoon of cream cheese (or vegan cream cheese in this case) for the best outcome and many people online opt for pudding mix as a low calorie option. I don't find that you need either and, but the pea protein works great if you decide to add it (although not necessary).
FAQ
I find 8-12 hours can be sufficient (you may not even need to microwave it at all before spinning). This will depend on your freezer, so you may have to test freeze times for best results.
That's okay! I have a dairy free vanilla ice cream recipe that is made in a classic ice cream maker.
Any plant-based milk will do, whatever your favorite one is. You can use almond milk, oat milk, or cashew milk, My personal favorite is the Califia Farms coconut milk as it has no gums or additives.
This can happen on the first spin with the Ninja Creami and is totally normal! Just add a splash of milk and re-spin.
Yes! Just add a scoop of your favorite plant based protein to the base when mixing. Stick to a plain protein or use a flavored one.
Of course! Add any of your favorite mix-ins or see the Mix-In section above for ideas. After spinning the base once, add your favs then hit the mix-in button. Even if the ice cream is chalky or crumbly after the first spin, you'll still want to do this step as it will mix both the ice cream and the add-ins.
Yes! This recipe is completely vegan, dairy free, gluten free, and refined sugar free. Just make sure to use your favorite plant based milk and dairy free yogurt. If adding protein, stick to a vegan protein powder or use a milk-free option for a dairy free vanilla ice cream.
Loved this Ninja Creami dairy-free vanilla ice cream? Here are more dairy free Ninja Creami recipes

Ninja Creami Vegan Vanilla Ice Cream (High Protein Option)
Equipment
Ingredients
- ½ cup dairy free or regular yogurt I use coconut yogurt
- 1 cup dairy free milk of choice
- 2-4 tablespoon maple syrup
- 1 teaspoon vanilla extract
- 1 scoop pea protein* optional, see notes
- pinch of salt optional
Instructions
- Whisk or blend all ingredients together then pour into a Ninja Creami cup and place in the freezer for 12-24 hours.
- Before blending, microwave for 30 seconds or run outside of container under hot water for a couple of minutes.
- Blend on the lite ice cream setting.
- If crumbly upon first blend, add a splash of milk and re-spin.
Leave a Reply