Switch up your summer berry desserts with this Ninja Creami Vegan Blackberry Ice Cream. This blackberry ice cream recipe is rich, creamy, bursting with real blackberry flavor, and made with just 5 simple ingredients. It's completely dairy free, paleo friendly, refined sugar free, and easily made high protein. Pure blackberry flavor that tastes like summer in every single bite.

As a kid, I'd visit my aunt and uncle in Oregon in the summer and we'd get these delicious blackberry milkshakes at Burgerville during the height of blackberry season. They were made with fresh Oregon blackberries and tasted so good! Of course, they didn't make dairy-free ice cream, so I absolutely had to re-create a Ninja Creami version and this blackberry ice cream does not disappoint!
I'm not a big sorbet fan, so if you feel the same, but love summer fruit, then this vegan blackberry ice cream recipe is for you. A coconut milk ice cream base is blended with ripe blackberries for the perfect naturally sweetened ice cream. What I would give to have blackberry bushes where I could pick my own fresh blackberries to use...

Why You'll Love This Ninja Creami Vegan Blackberry Ice Cream:
- Allergy friendly: this homemade ice cream is completely gluten free, dairy free, vegan, nut free, and is paleo and AIP friendly!
- Refined sugar free: this healthy ice cream is sweetened with maple syrup and the sweetness of fresh blackberries, not refined sugar.
- Made with real blackberries: homemade blackberry ice cream made with ACTUAL juicy blackberries and no artificial flavoring, so you get that authentic blackberry flavor.
- Healthy ice cream: blackberries are one of the most antioxidant-rich fruits you can eat! They're packed with vitamin C, vitamin K, fiber, and anthocyanins, the compounds behind their deep purple color that are associated with heart health and reduced inflammation.
- Simple ingredients: made with just 5 ingredients, this ice cream is easy to make with whole food ingredients!
- High protein option: add a scoop of protein to make this ice cream nutritiously loaded.

Vegan Blackberry Ice Cream Ingredients
- Dairy free yogurt: I love using coconut yogurt for its thick and creamy texture- this helps to mimic the texture of dairy-filled creamy ice cream.
- Dairy free milk of choice: we use a combo of yogurt and milk for a not too heavy ice cream. Feel free to use full fat coconut milk or your favorite dairy free milk like almond milk or oat milk.
- Maple syrup: the unrefined sweetener in this recipe that pairs perfectly with the blackberries.
- Vanilla extract, salt
- Protein powder (optional): I love adding a scoop of protein since you can't taste it, but it helps you reach your protein goals and boosts the nutrient content of this dessert. My favorite is the Sprout Living Pea Protein as it helps with the creaminess and you can't taste it! Use code LEMONSNLYME20 for 20% off your order.
- Blackberries: opt for in-season fresh berries for the best flavor, but you can also use frozen blackberries if needed! Ninja Creami recommends using frozen fruit for mix-ins, but I've used both and it's worked fine either way.
How to Make Ninja Creami Blackberry Ice Cream
- Blend together all of the ingredients in a high-speed blender then pour the ice cream mixture into a Ninja Creami cup.
- Freeze for 12-24 hours.
- When ready to spin, microwave for 30 seconds or run the outside of the container under hot water for a couple of minutes.
- Blend the blackberry mixture on the lite ice cream setting. If crumbly, add a splash of milk and re-spin once. Don't over-spin here as we are adding mix-ins which will help us achieve the final creamy texture.
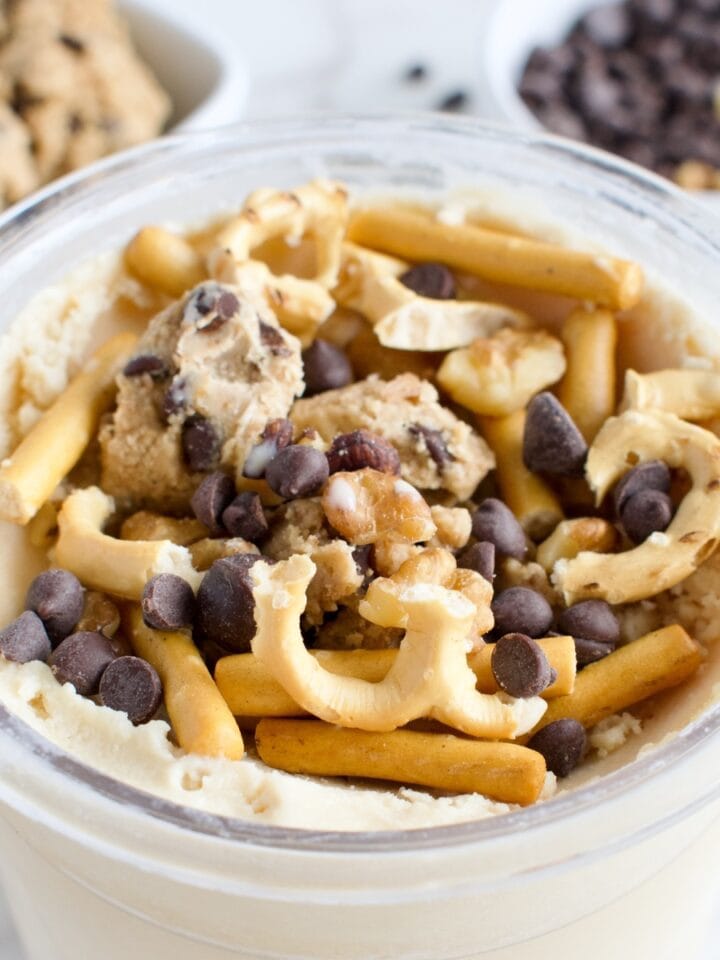
- Add more blackberries and spin on the mix-in setting.
- Enjoy!


Substitutions and Variations
- Yogurt: you can also use full fat canned coconut milk.
- Milk: as mentioned above, you can use your favorite milk. Keep this recipe low fat by using only a lower fat milk option, just know the ice cream won't be as creamy. Or skip the yogurt and use full fat canned coconut milk all around.
- Maple syrup: you can also use coconut sugar as another unrefined sugar option. You could also try swapping out the maple syrup for a couple of medjool dates.
- Blackberries: in a pinch, you can use blackberry jam. If you aren't a blackberry fan (which would be a tragedy because they're an underrated berry that are so delicious!), you can sub in your favorite fruit like blueberries, raspberries, strawberries, or even cherries.
- Protein: I stick to a plain protein, but feel free to use a vanilla flavored protein powder.
- Variations: serve with a little lemon zest on top for a zingy flavor or add the zest of one lemon to the base before blending for a blackberry lemon ice cream if that's your jam! Mix in some chocolate chips for a blackberry chocolate chip combo which I think would be delicious!
Serving and Storage
Serve with:
- Warm gluten free blackberry crumble or crisp
- Drizzle with a little honey or maple syrup for extra sweetness
- Top with fresh blackberries and a sprinkle of granola
- Mix-in ideas: white chocolate chips, lemon zest, coconut flakes
If you don't finish the pint, smooth over the top of your homemade vegan ice cream and re-freeze any leftovers. You can re-spin the ice cream when ready to eat the rest, following the same directions as above, just be aware that re-spinning will fully blend any blackberry chunks in so you can always mix-in more.
The base can also be made and frozen up to two weeks ahead of time. So make a few pints and keep them stored and ready to go for a hot day!
Tips and Tricks for the Best Blackberry Ice Cream
- Use some fat! Adding some full fat yogurt or coconut milk yields a super creamy and delicious texture.
- Heat the base before spinning. I always suggest microwaving the frozen ice cream base for 30 seconds or running the outside under hot water for a minute or two to soften the ice cream base some for best results. This helps with ice crystals and the number of times you have to re-spin for a creamy texture.
- Don't over-spin the ice cream: I normally suggest re-spinning as much as needed until you have a smooth and creamy texture. With this recipe, though, I suggest only one re-spin as needed until you have a somewhat smooth texture that still has a few crumbles. This is because we are adding a mix-in which will smooth out the ice cream fully. If you have a soft, smooth texture before adding the mix-ins, your ice cream will be too melty in the end.

FAQ
It is fully vegan as written, just be sure to use vegan yogurt and milk.
It can be made completely paleo and AIP friendly as long as you use paleo-approved milk and yogurt. Stick to a minimal ingredient milk like Califia farms or Malk brand. Opt for a coconut yogurt to keep this recipe AIP. If adding protein, try the Prime Protein that is paleo safe.
Yes, you can use frozen blackberries! Ninja Creami actually recommends using frozen berries for the mix-in, although I've found either works.
Use the lite ice cream setting for best results with dairy free ice creams.
This is totally normal on the first spin! Add a splash of milk and re-spin.
Just add a scoop of your favorite protein powder when mixing all the ingredients together. Opt for an unflavored or vanilla.
You sure can! Try blueberries, raspberries, or strawberries instead.
You can also make this dairy-free blackberry ice cream in a regular ice cream machine. I just suggest doubling it since that is a bigger machine. Since there are no egg yolks in this recipe, you don't need to cook and cool the mixture. You can just blend all of the ingredients then churn ice cream right away. Add fresh blackberries towards the end of churning to mix in.
Don't worry, I got you! Blend all of the ingredients together then freeze the mixture in ice cube trays. Once frozen, blend in a high-speed or food processor blender until smooth. Don't over blend or you'll end up with a smoothie, but if you do, just pop the mixture back in the freezer for a few minutes.

More Fruity Vegan Ninja Creami Ice Cream Recipes
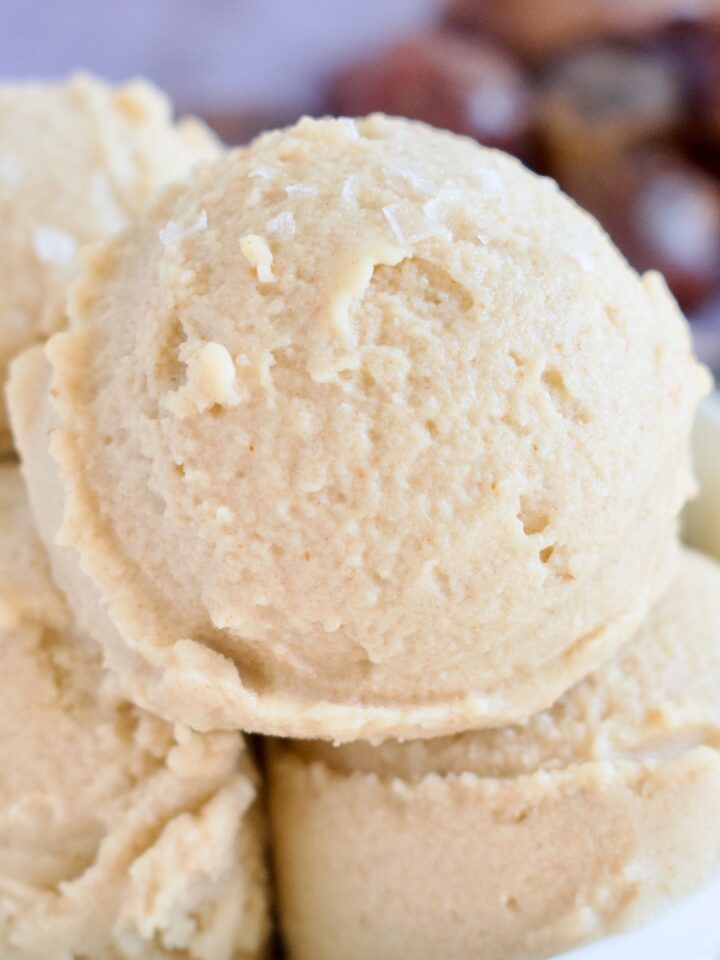
Want more summer fruit flavors? Try my Vegan Peach Crisp Ice Cream or Vegan Salted Caramel Ice Cream
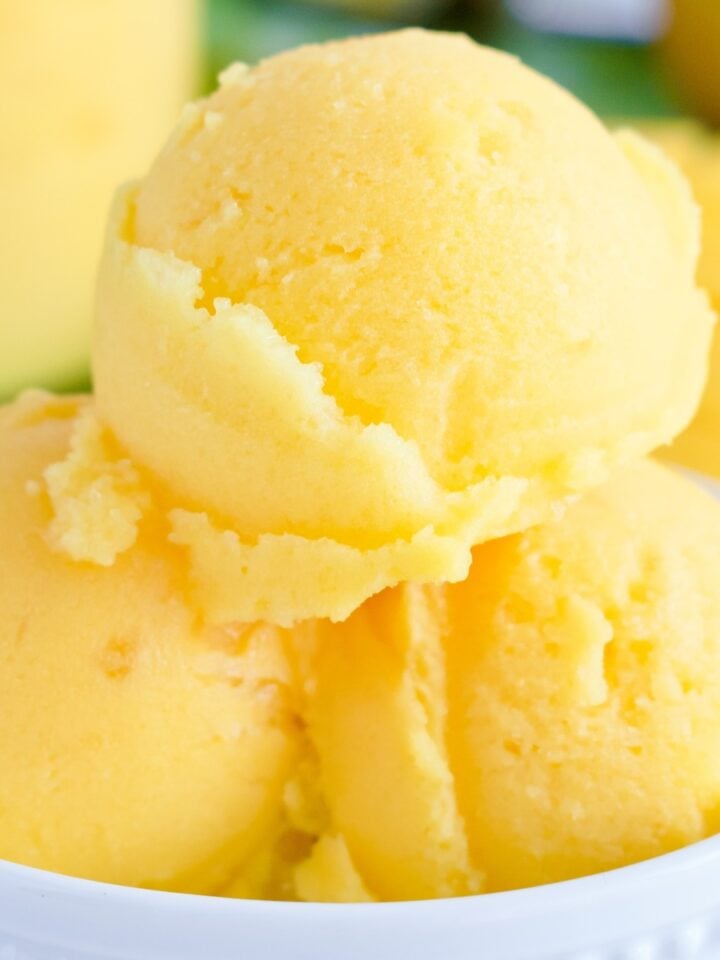
In the mood for Sorbet? My 2-Ingredient Watermelon Sorbet or 2-Ingredient Mango Sorbet are super hydrating on hot days!
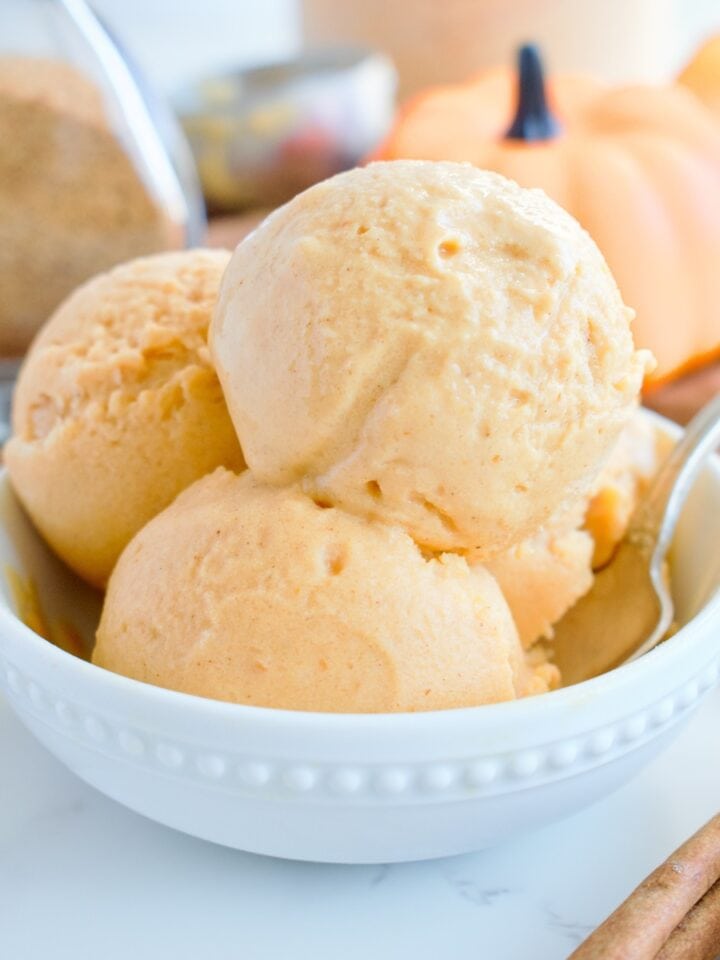
Want cozier fall or winter flavors? Try my Orange Creamsicle Ice Cream or Vegan Apple Crisp Ice Cream
If you try this recipe, please leave a rating and review below, and tag me on social media! Feel free to ask any questions in the comments.

Ninja Creami Vegan Blackberry Ice Cream
Equipment
Ingredients
- 1 cup full fat coconut milk*
- 1 cup milk of choice*
- 2-4 tablespoon maple syrup
- 1 teaspoon vanilla extract
- 1 scoop protein powder optional
- pinch of salt
- 1 cup blackberries, divided**
Instructions
- Blend together all of the ingredients and ½ cup of blackberries until smooth. Start with 2 tablespoon of maple syrup and add more based on desired sweetness.
- Pour the mixture into a Ninja Creami pint cup and freeze for 12-24 hours.
- When ready to spin, microwave for 30 seconds or run the outside of the pint container under hot water for a minute or two.
- Add pint container to Ninja Creami and spin on lite ice cream setting. Re-spin once if needed.
- Add remaining blackberries and choose the mix-in setting.
- Smooth over the top of any leftovers and re-freeze.
Anna says
Hi, what’s the nutrition information for this recipe?
Victoria Faling says
Hi! I don't track macros, but you are welcome to plug this recipe into a macro tracking app.