Fall in ice cream form, this Vegan Ninja Creami Pumpkin Ice Cream is packed with pumpkin spice flavor and none of the dairy. Made fully vegan and allergy friendly, this healthy ice cream recipe is perfect as a fun seasonal dessert or served with Thanksgiving pie.
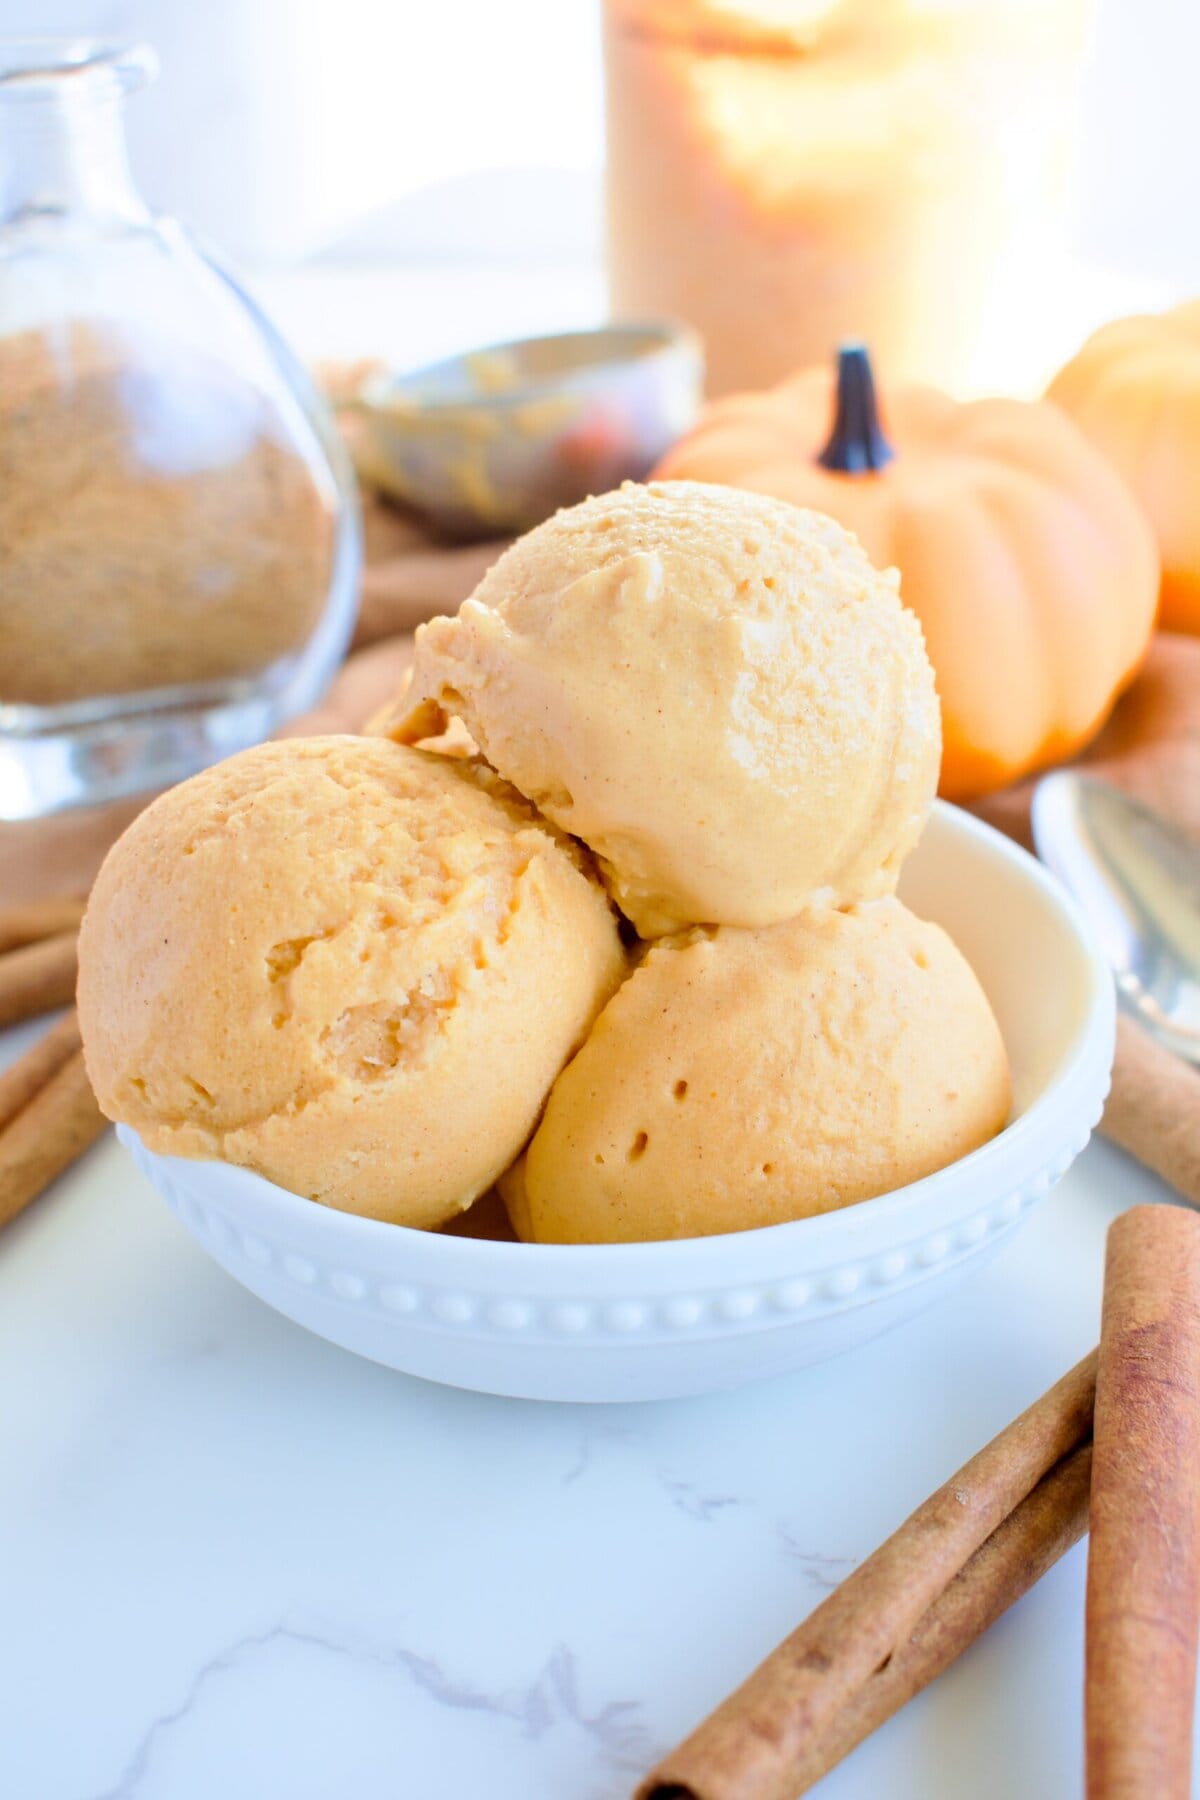
As a summer lover, I am an ice cream all year round kind of gal. No matter how cold it gets, I need my fix! I satisfy the craving by making seasonal ice creams and this easy pumpkin ice cream recipe is perfect for the fall season. It's made with simple ingredients in the Ninja Creami, so it's quick, easy, and super creamy.
If you've been around for a minute, you'll know I'm obsessed with the Ninja Creami Ice Cream Maker. If you're new here, hi, I'm Victoria and I'm completely obsessed with the Ninja Creami Machine. It's worth every penny and makes the most perfect homemade ice cream every time!

Why You'll Love This Ninja Creami Pumpkin Ice Cream Recipe
- Allergy friendly: this pumpkin ice cream is not only dairy free but fully vegan, gluten free, and paleo. It can be made nut free, corn free, and fully AIP as well. As someone with a number of food allergies, finding store-bought ice cream that fits all my restrictions is hard. That's why I love making my own at home!
- Low sugar: my shtick is making healthier and lower sugar recipes that still taste sweet and amazing- I promise you won't miss the sugar at all. This vegan pumpkin spice ice cream contains a quarter of the sugar in traditional ice cream and uses a refined sugar free sweetener to keep this dessert lower glycemic index.
- Healthy and nutrient packed: made without inflammatory dairy and refined sugars, this homemade pumpkin ice cream is already a winner over store-bought options. Besides that, we use real pumpkin puree which is packed with vitamins and antioxidants, including vitamin C and A for immune support, eye health, skin health, and so much more! Plus, pumpkin spice mix is filled with antioxidant rich spices that are great for metabolism, digestion, and reducing inflammation. Lastly, this recipe calls for probiotic rich yogurt (dairy free, of course!) for gut supportive benefits.
- High protein option: not only is this ice cream already nutrient packed per the above point, but you can also make it high protein for an even healthier dessert option!

Vegan Ninja Creami Pumpkin Ice Cream Ingredients
- Yogurt: be sure to use a vegan yogurt option to keep this recipe dairy free. I like to use a thick coconut yogurt, like the one from Harmless Harvest which also does not utilize corn starch as the thickener. If you tolerate dairy, feel free to use Greek yogurt for a higher protein option.
- Milk: I stick to a non-dairy milk like coconut milk, but any milk will work. Almond milk, oat milk, or even dairy-full milk.
- Maple syrup: maple syrup compliments the pumpkin perfectly and is a great refined sugar free sweetener, just be sure to use pure maple syrup.
- Pumpkin puree: whether homemade or store-bought, you'll need pure pumpkin puree for the best pumpkin flavor, not pumpkin pie filling.
- Protein powder: this is optional, but a scoop of the Sprout Living pea protein adds a protein boost and improves the texture without any added flavor or guar gum. You can use code LEMONSNLYME20 for 20% off your order.
- Pumpkin pie spice: I've linked my homemade version in case you don't want to buy a whole jar just for this recipe. It's also nightshade free.
- Vanilla extract, salt
How to Make Ninja Creami Pumpkin Ice Cream
- Whisk or blend all of the ingredients together until smooth.
- Pour mixture into a Ninja Creami pint container to the max fill line, place storage lid on top, and freeze for 12-24 hours. Be sure the pint is sitting on a level surface in the freezer.
- Before spinning, microwave the ice cream base for 30 seconds or run the outside under hot water for a minute.
- Add the pint to the outer bowl of the Ninja Creami and add the outer bowl lid.
- Spin on the lite ice cream setting. If the ice cream is chalky after the first spin, add a splash of milk and re-spin until you have a creamy ice cream.


Substitutions and Variations
- Milk and yogurt: you can combine this into one ingredient by using full fat canned coconut milk (also great for keeping this recipe autoimmune paleo friendly). You can also feel free to use any variety of milk or yogurt you like, including dairy products if you tolerate them. Swamp out the yogurt for cottage cheese for a super high protein option!
- Maple syrup: you can sub this for coconut sugar or even 3-4 dates (just soak in hot water for 10 minutes to soften then blend them with the remaining ingredients). You can also use light brown sugar in a pinch, but this will not be refined sugar free.
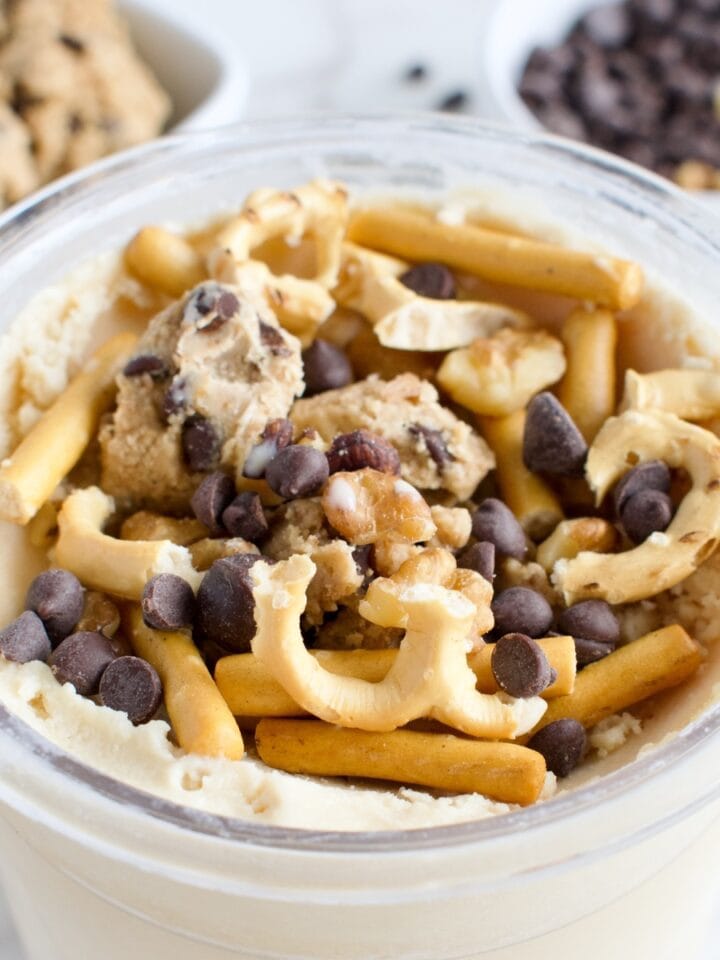
- Variations: mix-in gluten free graham crackers for a pumpkin pie ice cream vibe or even some granola, pecans, or cooked pie crust! The chocolate and pumpkin combo is underrated in my opinion, so try adding some dark chocolate chips as a mix-in

How to Store Leftover Ninja Creami Pumpkin Ice Cream
If you don't finish the entire pint in one sitting, smooth over the top of your Ninja Creami leftovers and re-freeze any leftovers. You can re-spin the ice cream when ready to eat the rest, following the same directions as above.
Serving Suggestions
Scoop and serve as is or
- Sprinkle with chocolate chips, nuts, granola.
- Drizzle on some nut/seed butter.
- Make it into an ice cream sandwich by squeezing a scoop between two graham crackers.
- Serve with pumpkin pie at Thanksgiving for a pumpkin overload!
Tips for the Making the Best Dairy Free Pumpkin Ice Cream
- Heat the base before spinning. I always suggest microwaving the frozen ice cream base for 30-40 seconds or running the outside under hot water for a minute or two to soften the ice cream base for best results. This helps with ice crystals and the number of times you have to re-spin for a creamy texture.
- Don't overspin! It can be tempting to keep re-spinning your ice cream for an even smoother texture, but eventually it will be more like a milkshake. If you are new to the Ninja Creami ice cream machine, it might take a few tries before you learn just how many times to spin your ice cream mixture for the perfect creamy texture that still holds its scoop.
- The official Ninja Creami book recommends adding a tablespoon of cream cheese (or vegan cream cheese in this case) for the best outcome and many people online opt for pudding mix as a low calorie option. I don't find that you need either and the pea protein works great if you decide to add it.

FAQ
I find 8-12 hours can be sufficient (you may not even need to microwave it at all before spinning). This will depend on your freezer temperature, so you may have to test freeze times for best results.
If you added more than one scoop of protein powder, this can happen. Scoop out some of the ice cream, add some extra milk and maple syrup and re-spin.
Sure! Bake or steam fresh pumpkin then puree until smooth. You only need ¼ cup for this recipe.
You won't need a whole can of pumpkin puree, so why not bake up one of my other healthy pumpkin recipes! Try my Gluten Free Pumpkin Coffee Cake, Gluten Free Pumpkin Pie Cookies, Healthy Pumpkin Chickpea Blondies, or Gluten Free Pumpkin Chocolate Chip Cookies.

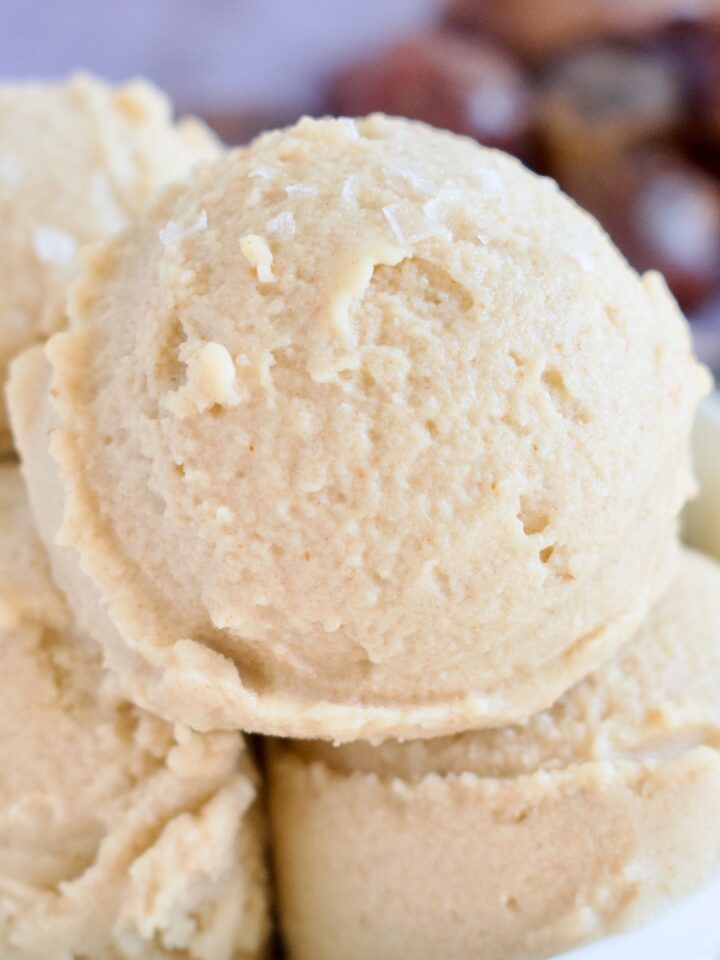
More Ninja Creami Fall Ice Cream Recipes
Dairy Free Salted Honey Ice Cream
If you try this Vegan Ninja Creami Pumpkin Ice Cream, leave a rating and comment below — I’d love to hear how you served yours!

Vegan Ninja Creami Pumpkin Ice Cream
Equipment
Ingredients
- ½ cup yogurt of choice* I use coconut yogurt
- 1 cup milk of choice* I use dairy free
- ¼ cup pumpkin puree
- ¼ cup maple syrup
- 1 teaspoon vanilla extract
- ¾ teaspoon pumpkin pie spice
- Pinch of salt
- 1 scoop pea protein** optional
Instructions
- Whisk or blend all of the ingredients together until smooth.
- Pour mixture into a Ninja Creami pint container to the max fill line, place storage lid on top, and freeze for 12-24 hours. Be sure the pint is sitting on a level surface in the freezer.
- Before spinning, microwave the ice cream base for 30 seconds or run the outside under hot water for a minute.
- Add the pint to the outer bowl of the Ninja Creami and add the outer bowl lid.
- Spin on the lite ice cream setting. If the ice cream is chalky after the first spin, add a splash of milk and re-spin until you have a creamy ice cream.
Leave a Reply