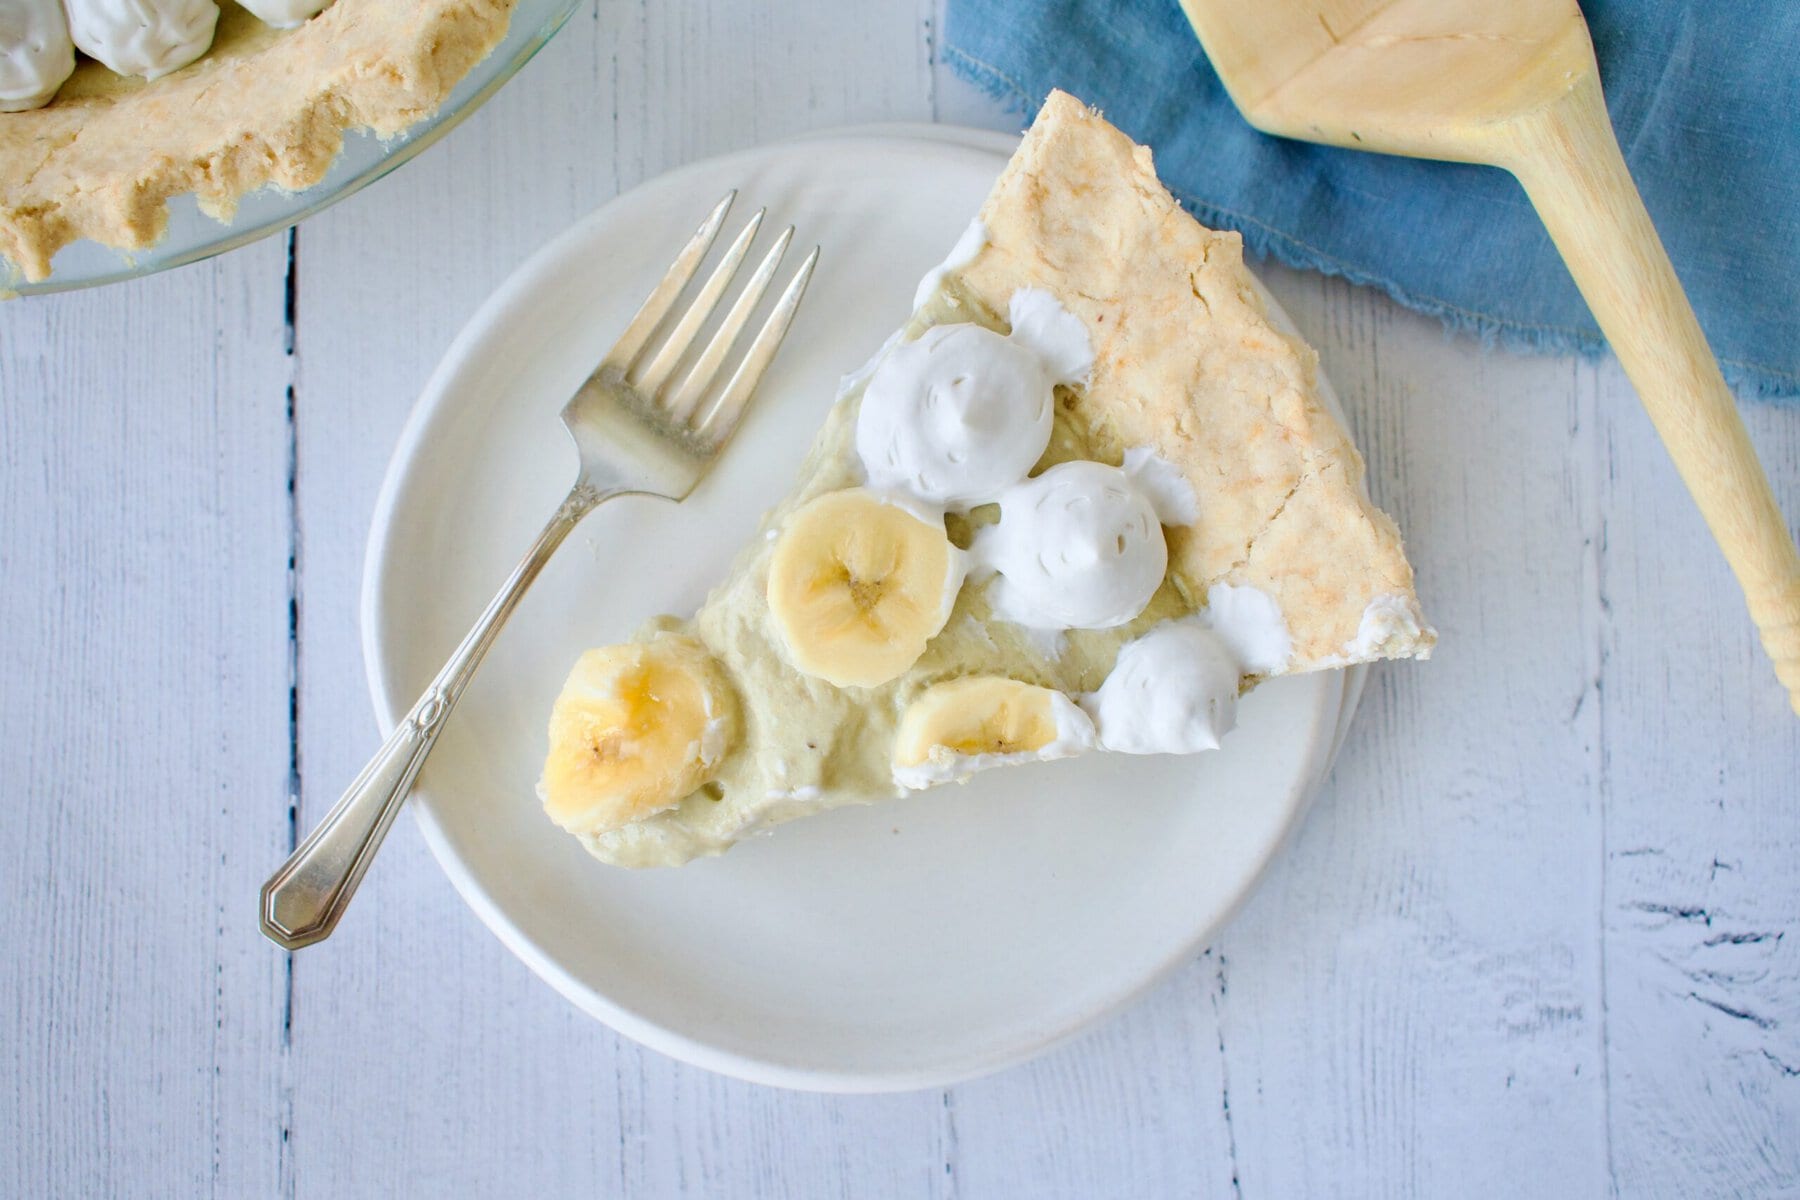
This Gluten Free Vegan Banana Cream Pie is everything a classic banana cream pie should be. It has a flaky crust, layers of fresh bananas, real banana pudding filling, and fluffy coconut whipped cream... plus, it's completely dairy free, egg free, and refined sugar free. Unlike most banana cream pie recipes that use pudding mix, this one is made with an actual banana pudding filling for maximum banana flavor in every single bite. If you've been looking for a showstopper allergy friendly dessert for your next summer BBQ or holiday table, you just found it.

I have a confession... I'd never had banana cream pie before I attempted baking it myself! I had banana pudding as a kid, but never banana cream pie. So, I was really excited to try making my own version. This is the perfect dessert to bring to a summer BBQ or holiday party like the 4th of July.
Why You'll Love This Healthy Banana Cream Pie:
- Allergy friendly: gluten free, nut free, egg free, corn free, soy free, and fully vegan... everyone can have a slice of this pie!
- Refined sugar free: made with coconut sugar and maple syrup, there's no refined white sugar in this recipe.
- Made with REAL bananas: most recipes use a banana or vanilla pudding mix, but for something called BANANA CREAM, I felt like we needed to make a banana pudding filing with real bananas. We make an easy homemade banana pudding that tastes like banana in every bite. No instant pudding mix here!
- Flaky traditional pie crust: no graham crackers here, we're making a classic rolled pie crust for authentic flavor.
Gluten Free & Vegan Banana Cream Pie Ingredients
- Gluten free flour: a 1:1 gluten free flour is used to make the gluten-free pie crust.
- Tapioca or arrowroot starch: used as the thickener for the banana pudding.
- Plant-based butter: to keep this recipe dairy-free, use a vegan butter to mimic a real buttery crust like in an old-fashioned banana cream pie.
- Apple cider vinegar: a little bit of vodka or vinegar in the crust helps it be flaky!
- Bananas: you will need about 4 ripe bananas for this recipe.
- Dairy free milk: any milk will work for making the banana pudding, just pick your favorite.
- Coconut sugar, maple syrup: the unrefined sweeteners used in this gluten free pie recipe.
- Coconut milk: you will need a couple of cans of full-fat coconut milk for the whipped coconut cream which will go in both the pudding and topping.
- Vanilla extract, salt
How to Make Vegan Gluten Free Banana Cream Pie
This healthy vegan banana cream pie isn't all that labor intensive, but it does take time as you have to cook and set the individual components. Be sure to read the recipe in advance so that you make sure to have enough time to actually make and assemble the pie. This can be done in one day, but to plan in setting time, you'll want to start in the morning.
Crust
- Pulse dry ingredients in a food processor.
- Add the cold, cubed butter and pulse until you have little pebbles. Add the apple cider vinegar and pulse until just combined.
- Use ice water to bring the dough together (better to have slightly wetter dough with gluten free crusts).
- Form the dough into a disc, wrap in plastic wrap and place in the fridge for 30+ minutes
- When ready to bake the crust, use a rolling pin to roll it out the crust on parchment paper. Transfer the crust to a pie pan.
- Bake until you have golden edges. Remove the crust and let it cool.
Banana Pudding
- Blend the bananas, 1 cup of the milk, and maple syrup until smooth. Add this mixture to a medium saucepan and heat on medium-low heat.
- Whisk together the other ½ cup of milk and the tapioca starch then add it to the banana mixture. Whisk frequently until the mixture thickens and resembles the consistency of pudding.
- Remove the pudding from the heat and whisk in the vanilla extract. Let the mixture cool to room temperature then place in the fridge.
Coconut Cream
- In the cold bowl, add the coconut cream from the cans of coconut milk (the solid, white part that has risen to the top of the can). Beat on medium speed with an electric mixer until you get whipped cream that holds peaks.
- Add the maple syrup and vanilla and whip to combine.
- Place the coconut cream back in the fridge for the last hour.
Assembly
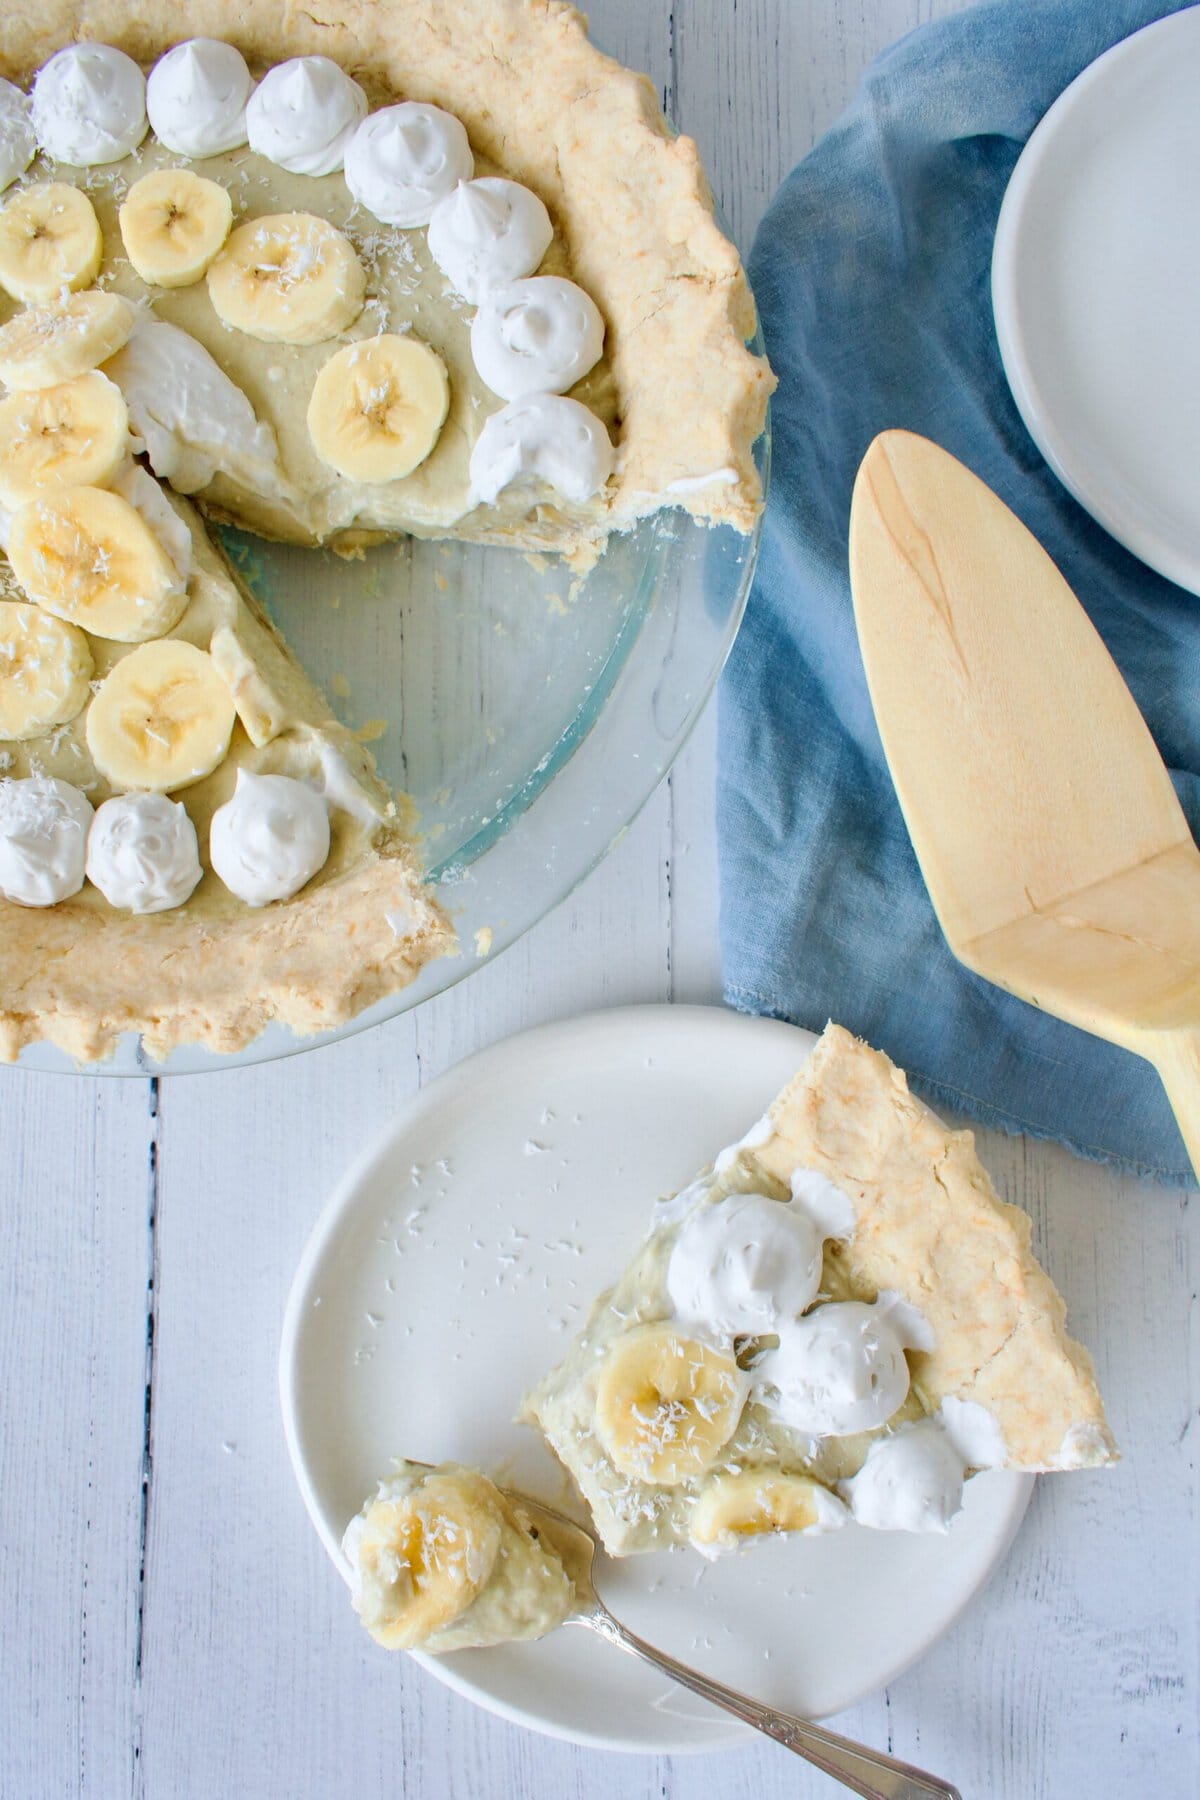
- Decorate with more bananas and enjoy! I do suggest letting the pie set for another hour or so, but it is not mandatory.
- When ready to assemble, take 1 cup of the coconut cream mixture and fold it into the banana pudding mixture- this is your banana cream filling. Set aside.
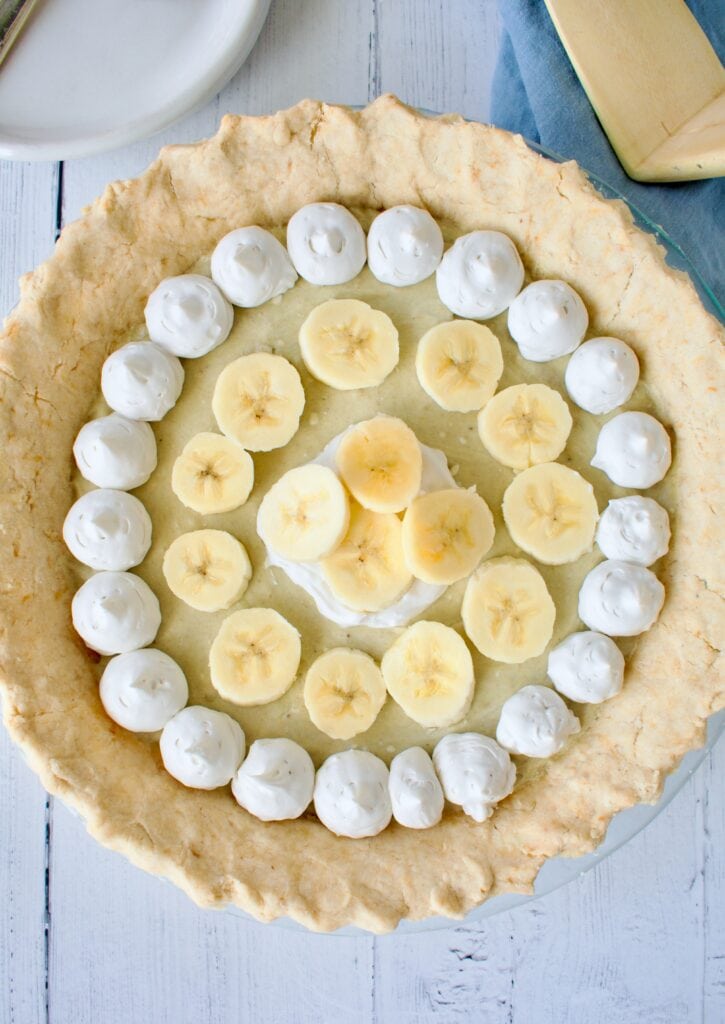
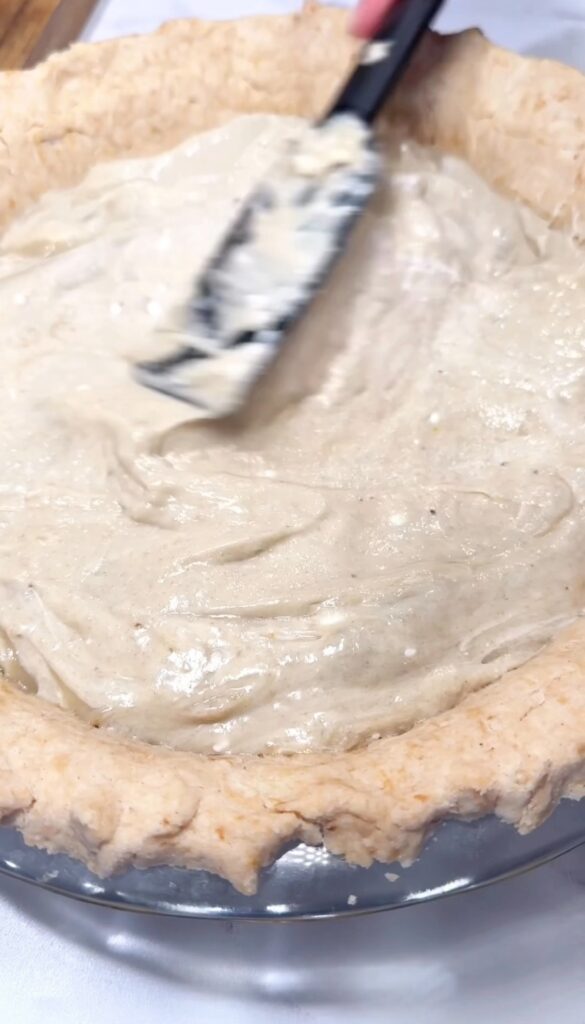
- Line the bottom of the crust in a single layer with the banana slices then evenly spread the banana pudding mixture on top.
- You can using a piping bag to add the remaining coconut cream to the top of the pie or however you desire.


Substitutions and Variations
- Crust: you can also use coconut oil in the crust or regular butter if you tolerate dairy. Feel free to sub the traditional crust for a gluten-free graham cracker crust, if desired.
- Pudding: any milk will work, from almond milk to cows milk if that's your jam!
- Whipped cream: if you tolerate dairy, you can use heavy whipping cream to make the homemade whipped cream or buy store-bought coconut or regular whipped cream.
Storage and Making Ahead
This gluten free vegan banana cream pie can be stored in the fridge for up to 3 days. It does not freeze well and whipped cream can go bad easily, so I would not suggest eating it past 3 days.
This pie has multiple components but is very make-ahead friendly. The pie crust can be baked up to 2 days in advance and stored at room temperature. The banana pudding can be made a day ahead and kept in the fridge. The coconut cream should be whipped the day of for best results. Assemble the pie at least a few hours before serving so it can set and add banana slices before serving.
Tips for the Best Gluten Free Vegan Banana Cream Pie
- Keep the butter cold for the crust. Make sure to start with cold butter or coconut oil and minimize handling it as the heat from your hands will melt the butter.
- Use medium-ripe bananas. Don't use banana that are too ripe (like banana bread worthy bananas) or they won't give you the best flavor and texture for this pie.
- Be sure to use a cold bowl for the whipped cream. To make the best homemade whipped cream, you always want to start with a cold bowl. Pop a bowl in the fridge or freezer 30-60 minutes before ready to whip. If your coconut whip isn't whipping, either the bowl wasn't cold enough or it was the brand. Thai Kitchen and or Aroy-D work best.
- Prevent bananas from browning: toss banana slices in a squeeze of lemon juice before layering to keep their color. Or add them just before serving.
FAQ
Yes, it is gluten free as written. Just be sure to check your ingredient labels and use a certified gluten free flour.
It is vegan as written as long as you use dairy free milk and dairy free butter or coconut oil.
This can happen if the bowl isn't cold enough or due to the brand of coconut milk used. If the bowl isn't cold enough, the coconut milk will basically just melt, so be sure to pop a bowl in the freezer at least 30 minutes before whipping. My favorite brands of canned coconut milk are Aroy-D and Thai Kitchen.
Yup, you can! You can use your favorite store bought gluten-free pie crust or graham cracker crust instead.
It's best fresh, but does need time to set, so making it no more than the day before is ideal.
All of my recipes are corn free, so I don't suggest it. Although they are all starches, they aren't a 1:1 substitute.
More Gluten Free Banana Recipes
Banana Pudding Ice Cream Sandwiches (Gluten free and dairy free)
Paleo Chocolate Chip Banana Bars
Gluten Free Banana Pudding Muffins


Gluten Free Vegan Banana Cream Pie
Ingredients
Crust
- 2 cups 1:1 gluten free flour
- ½ teaspoon salt
- 2 tablespoon coconut sugar
- 1 cup butter* I used a vegan butter
- 2 tablespoon apple cider vinegar
- ½ cup ice water
Banana Pudding
- 2 ripe bananas
- 1.5 cups milk of choice I used a dairy free milk
- ¼ cup maple syrup
- 3 tablespoon arrowroot or tapioca starch
- 1 tsp vanilla extract
Coconut Cream
- 2 cans coconut milk make sure it is the canned coconut milk and you chill these cans in the fridge 24 hours before hand.
- 2 tablespoon maple syrup
- 1 teaspoon vanilla extract
Assembly
- 1-2 more bananas
Instructions
- First, make sure you chill your coconut milk in the fridge for 24 hours before starting. You want to separate the cream from the liquid.
Crust
- You will make the crust first. In a food processor, combine the flour, salt, and coconut sugar. Pulse a few times to mix everything together.
- Add the cold, cubed butter and pulse until you have little pebbles. Add the apple cider vinegar and pulse until just combined.
- Pour the dough into a bowl and use your hands to bring it together. If the dough is too crumbly and not coming together, add ice cold water 1 tablespoon at a time, gently working the dough until it holds together. You do want to work quickly so the butter doesn't all melt.
- Form the dough into a disc, wrap in plastic wrap, and place in the fridge for at least 30 minutes.
- While the dough chills, make the banana pudding below.
- When ready to bake the crust, preheat the oven to 350F. Roll it out on a piece of parchment paper until it is about 2 inches larger in diameter than your pie dish. The dough should be about ¼ inch thick.
- Transfer the crust to the pie dish (I do this by placing the pie dish upside down over the crust then sliding my hand under the parchment paper and flipping everything). Shape the dough to the dish and use cold water on your finger to fix any cracks. You can flute the edges if desired. Poke the bottom of the crust a few times with a fork.
- Fill your crust with pie weights and bake for 20 minutes. Increase oven temperature to 375F, remove the weights, and bake another 5 minutes until crust is just beginning to golden on the edges and is baked.
- Remove the crust and let it cool.
Banana Pudding
- Combine the bananas, 1 cup of the milk, and maple syrup together in a blender and blend until smooth. Add this mixture to a saucepan and heat on medium-low heat.
- Whisk together the other ½ cup of milk and the starch then add it to the banana mixture on the stove. Whisk frequently until the mixture thickens. It should look like pudding.
- Remove the pudding from the heat and whisk in the vanilla extract. Let the mixture cool to room temperature then place in the fridge for 3 hours, while crust cools.
- Place a medium size bowl in the freezer at this time- the one you will use to beat the coconut cream.
Coconut Cream
- An hour before you are ready to assemble your pie, you'll make the whipped cream.
- In your cold bowl, add the coconut cream from the cans of coconut milk (the solid, white part that has risen to the top of the can. Keep the coconut water for smoothies or drinking). Beat on medium speed with an electric mixer until you get a nice, whipped cream consistency and it holds peaks.
- Add the maple syrup and vanilla and whip to combine.
- Place the coconut cream back in the fridge for the last hour.
Assembly
- When ready to assemble, take 1 cup of the coconut cream mixture and fold it into the banana pudding mixture. Set aside.
- Line the bottom of your pie crust with sliced bananas then evenly spread the banana pudding mixture on top.
- You can using a piping bag to top the pie with the remaining coconut cream or however you desire.
- Decorate with more bananas and enjoy! I do suggest letting the pie set for another hour or so, but it is not mandatory.
- This pie can keep in the fridge for up to 3 days.
Leave a Reply