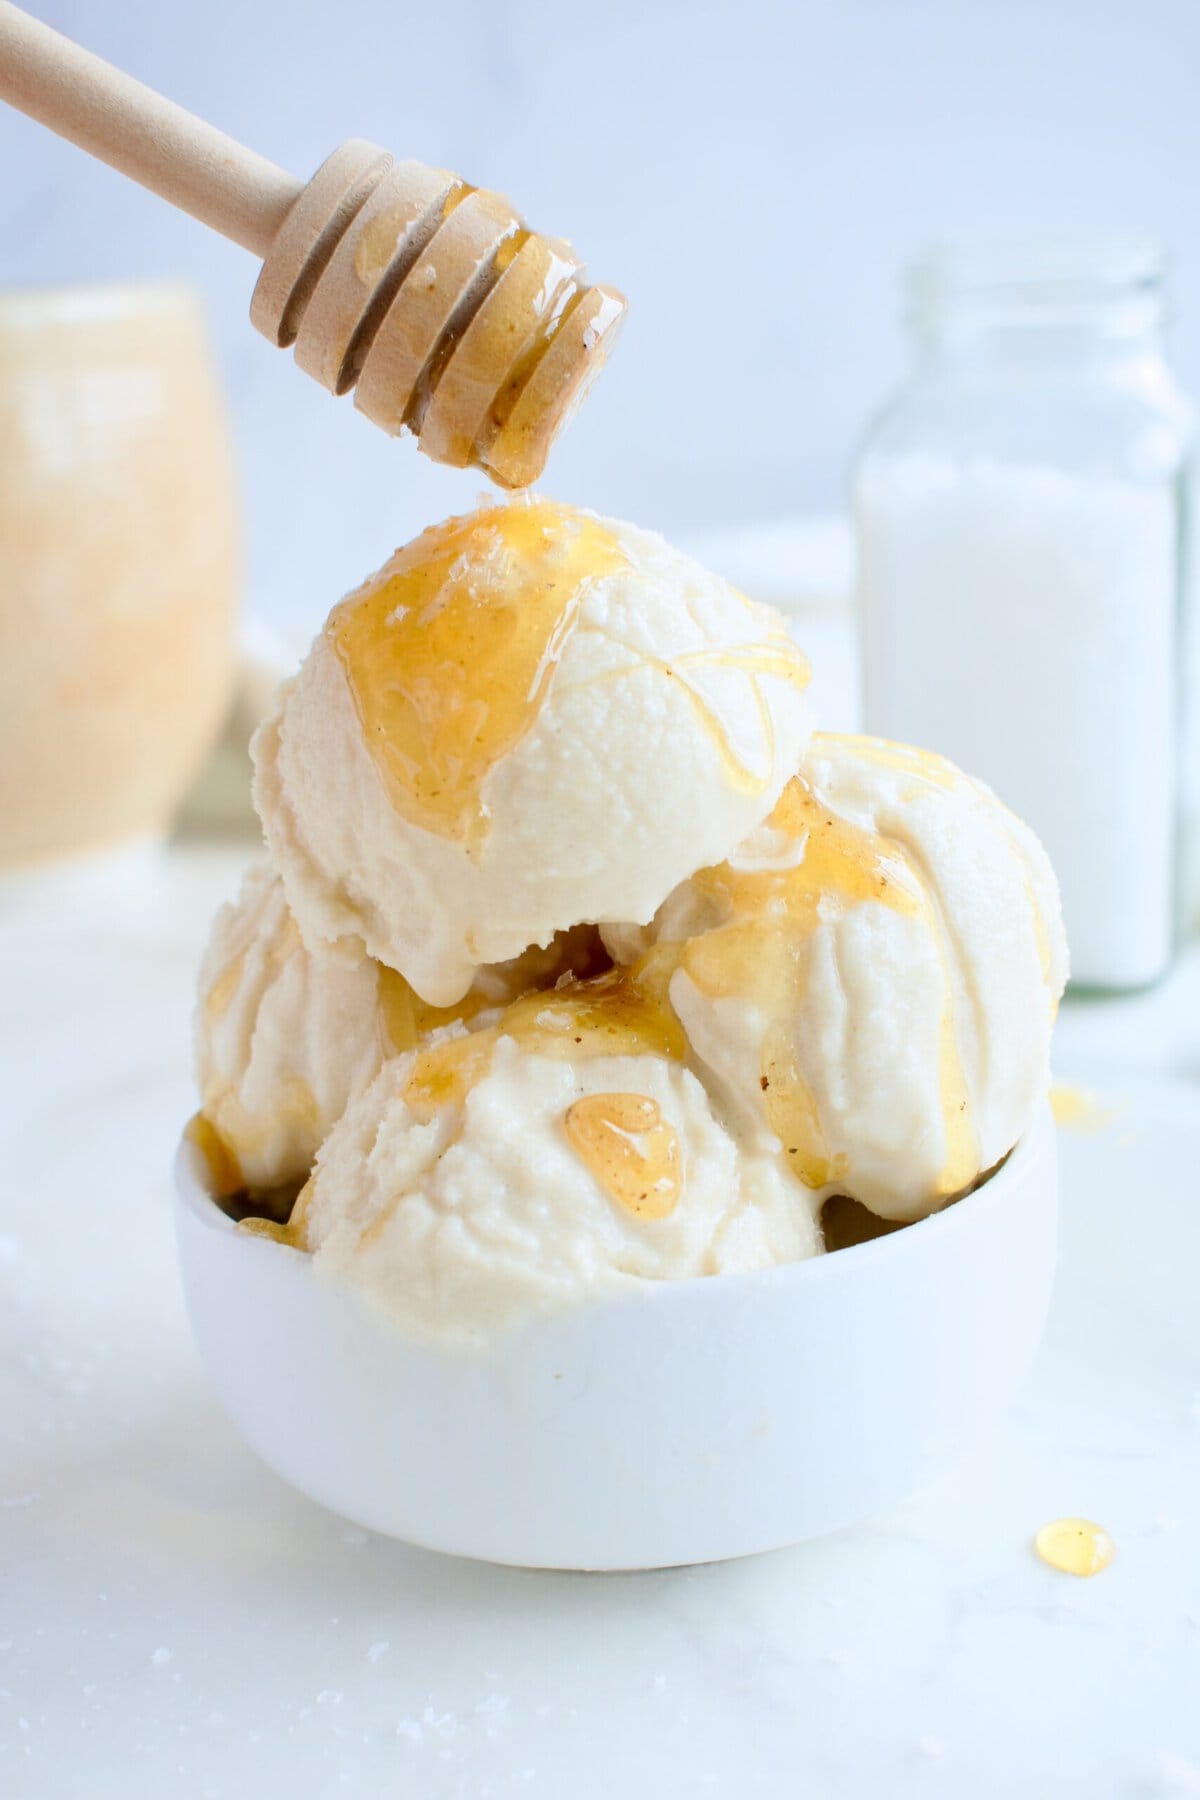
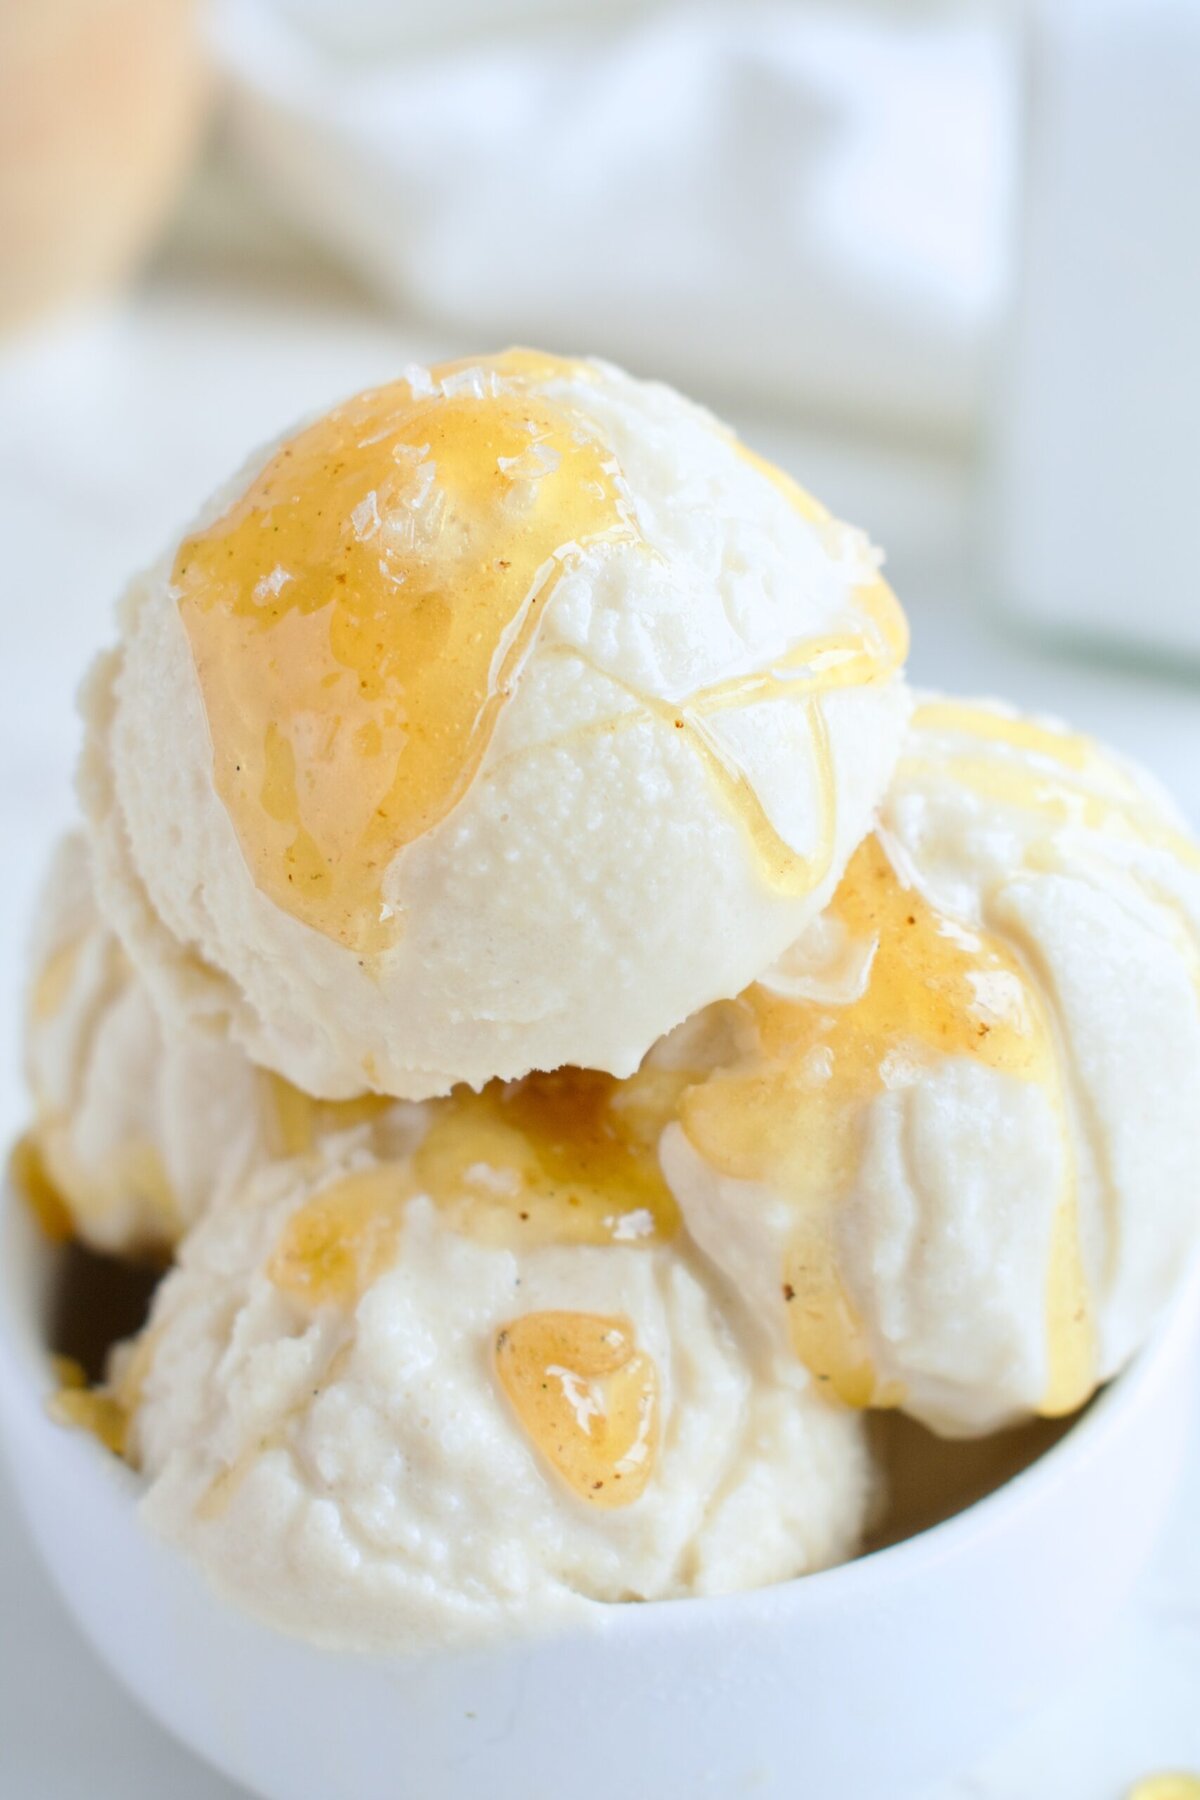
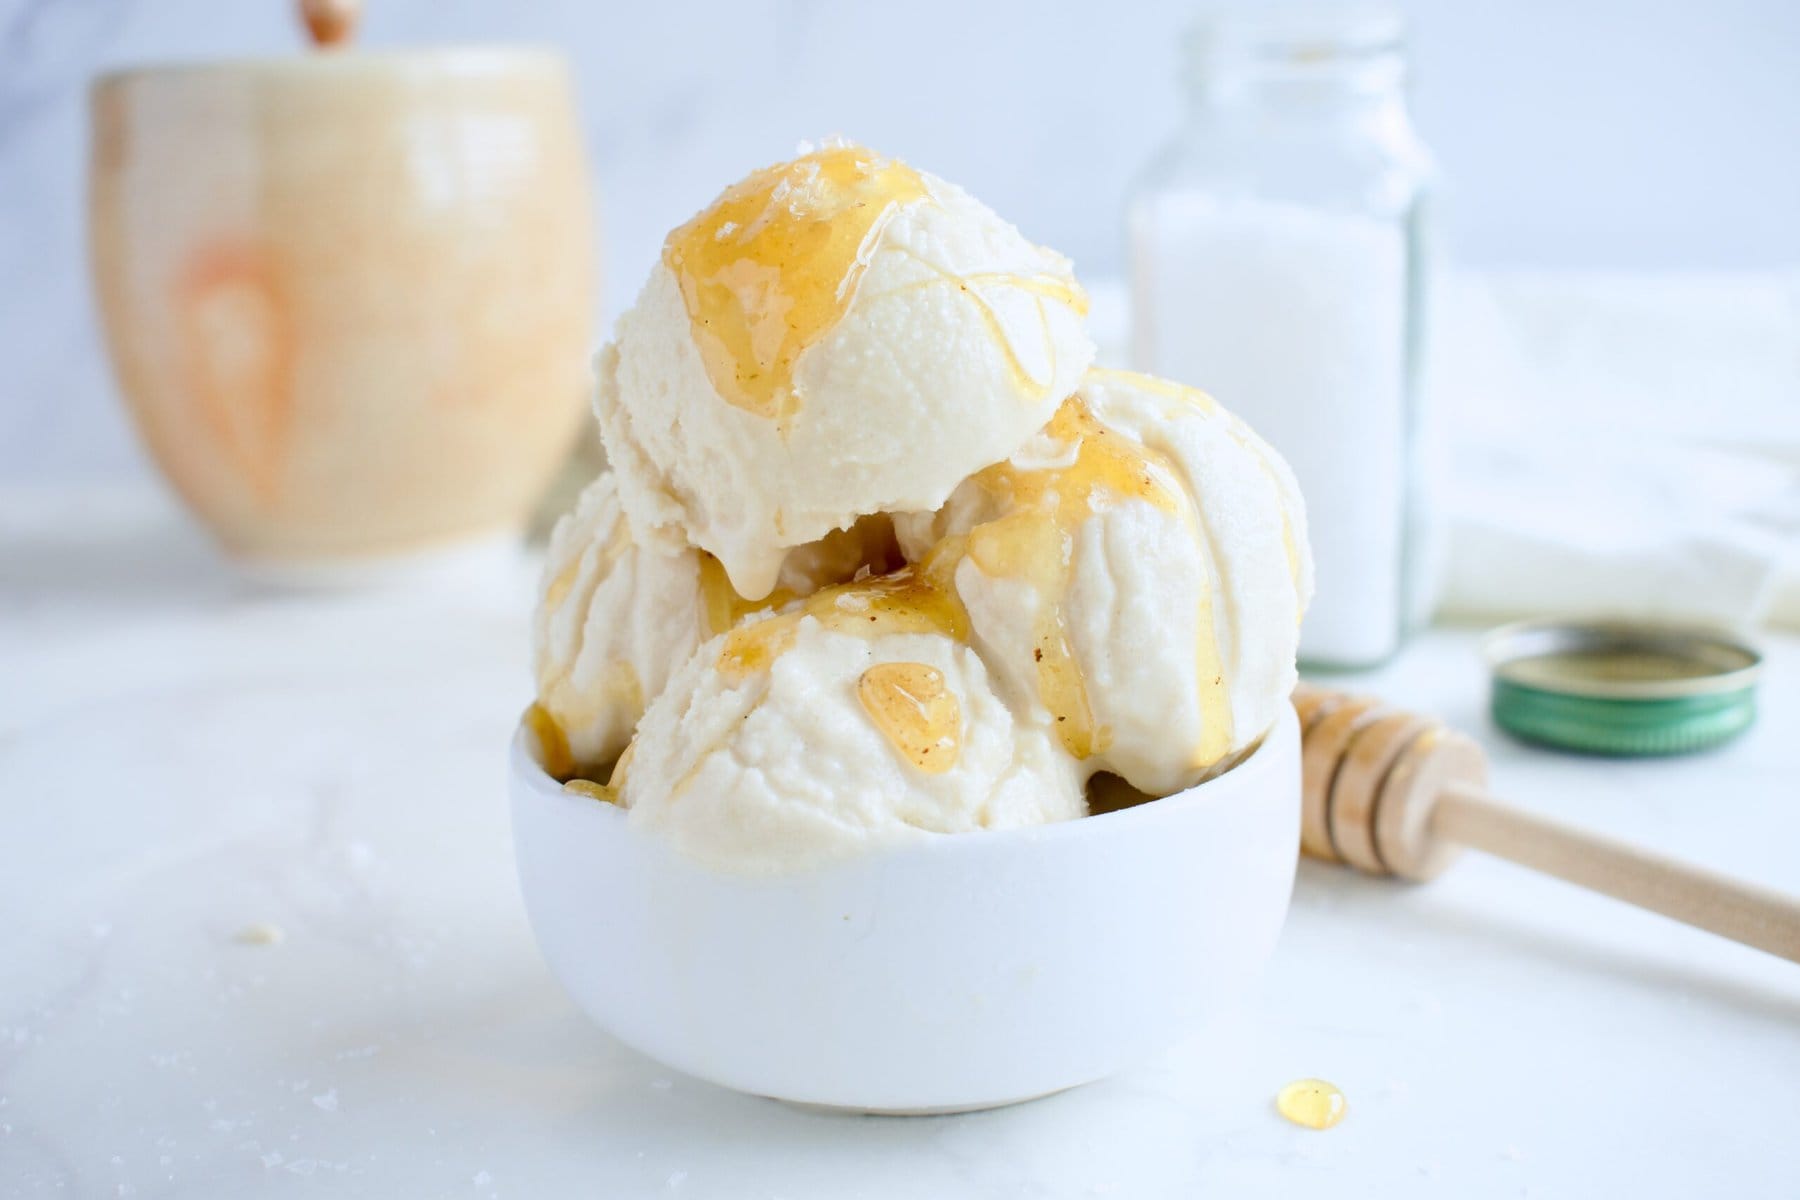
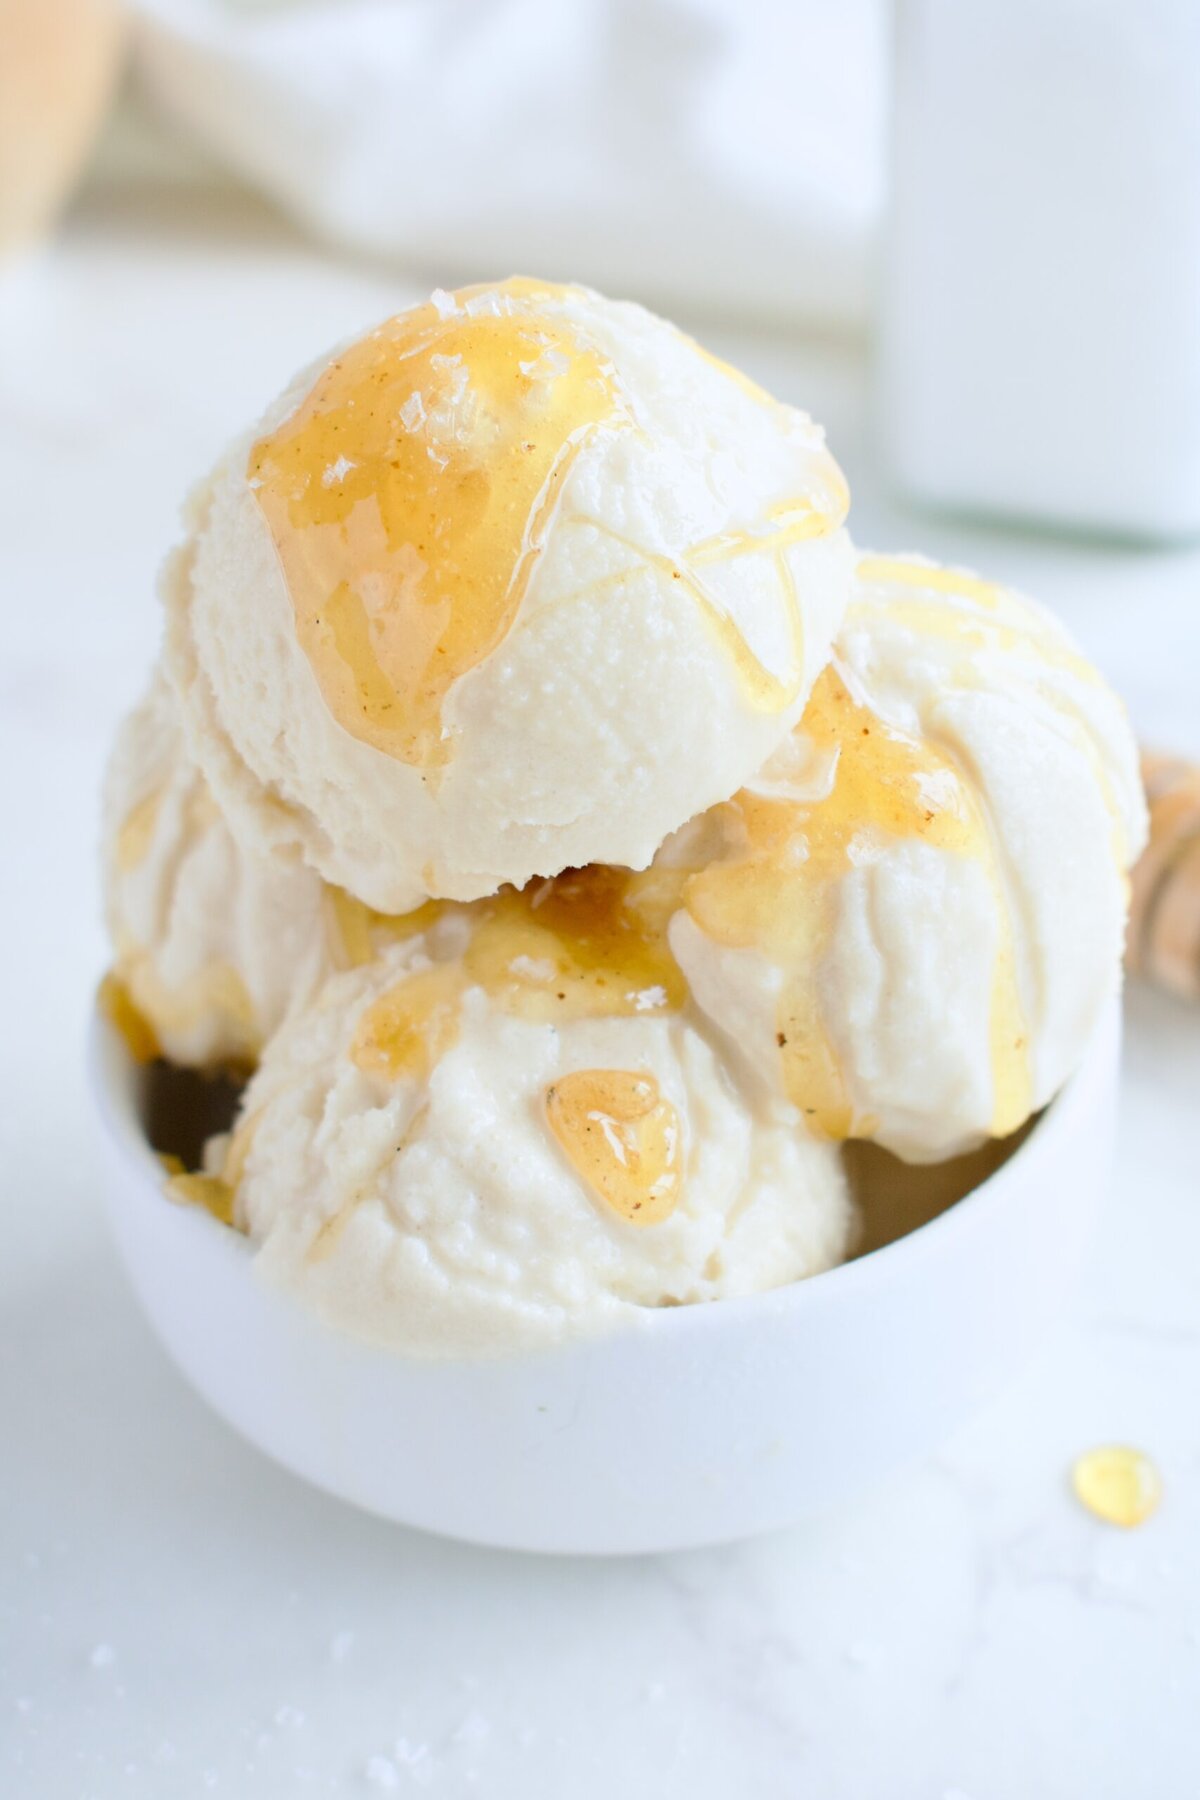
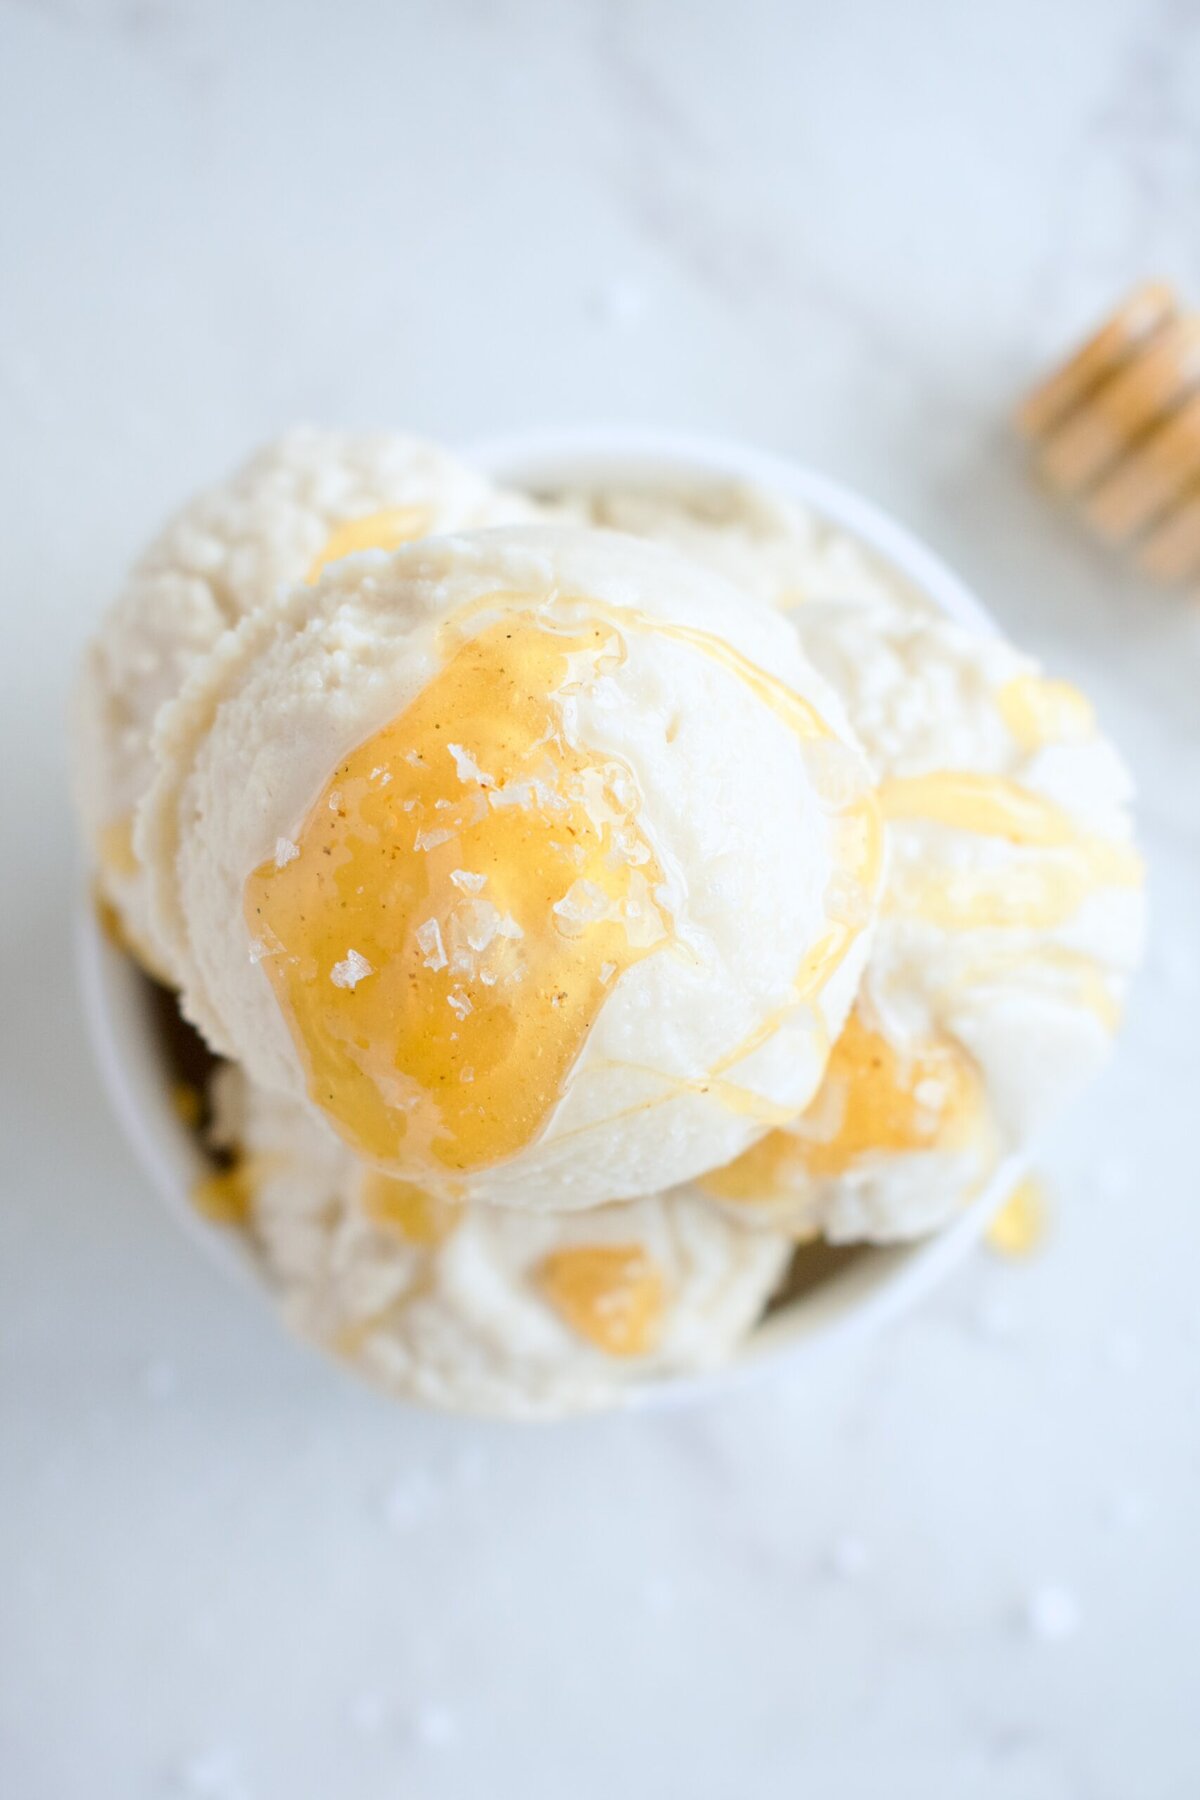
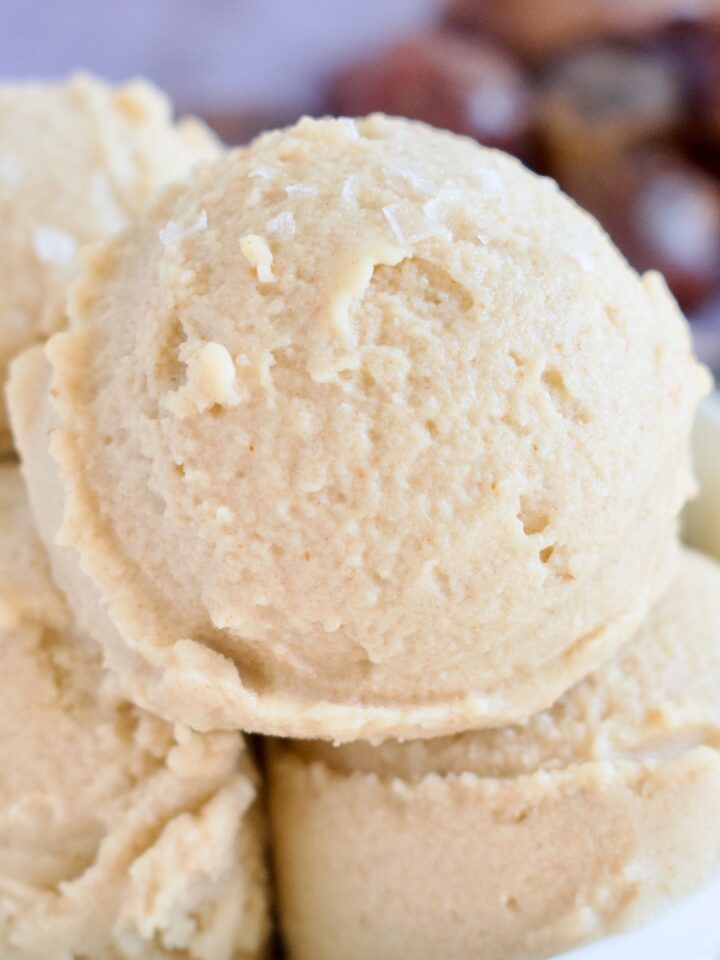
There is no better combo than sweet and salty, and this Dairy Free Salted Honey Ice Cream hits the mark on both. Silky coconut milk, golden honey, and flaky sea salt make for a genuinely addictive combo. Completely dairy free, paleo, AIP, and honestly better than anything in the freezer aisle. Plus, it can be made in a traditional ice cream maker or the Ninja Creami with no eggs involved!
The honey and salt combo isn't just delicious, it's genuinely functional. This recipe is excellent for anyone with POTS, dysautonomia, or who needs an electrolyte boost after sweating in the summer heat. Consider it dessert with benefits. I'm a salt fanatic, so whenever I can make a dessert with a salty kick, I'm in. This homemade ice cream definitely hits the salt mark, but can be adjusted based on your preference.
Why You'll Love this Salted Honey Ice Cream
- Allergy friendly: this honey ice cream is dairy free, gluten free, and paleo. Made with only a handful of wholesome ingredients, it's allergy friendly while being full of flavor. Since this recipe contains honey, it's not fully vegan, but it does not contain any egg yolks.
- No eggs: forget babysitting a custard. This recipe skips the egg yolks entirely for a genuinely easy ice cream that doesn't require tempering.
- It's healthy: made with coconut milk, we're getting a great dose of healthy fats. There are no refined sugars in this ice cream and honey is rich in antioxidants!
- Supports electrolytes: the honey and salt combo is actually great for supporting electrolyte balance, making this dessert perfect for hot summer days when you've been sweating a lot. I often consume a spoonful of honey with lots of salt on top before/after workouts or when I'm feeling extra tired.
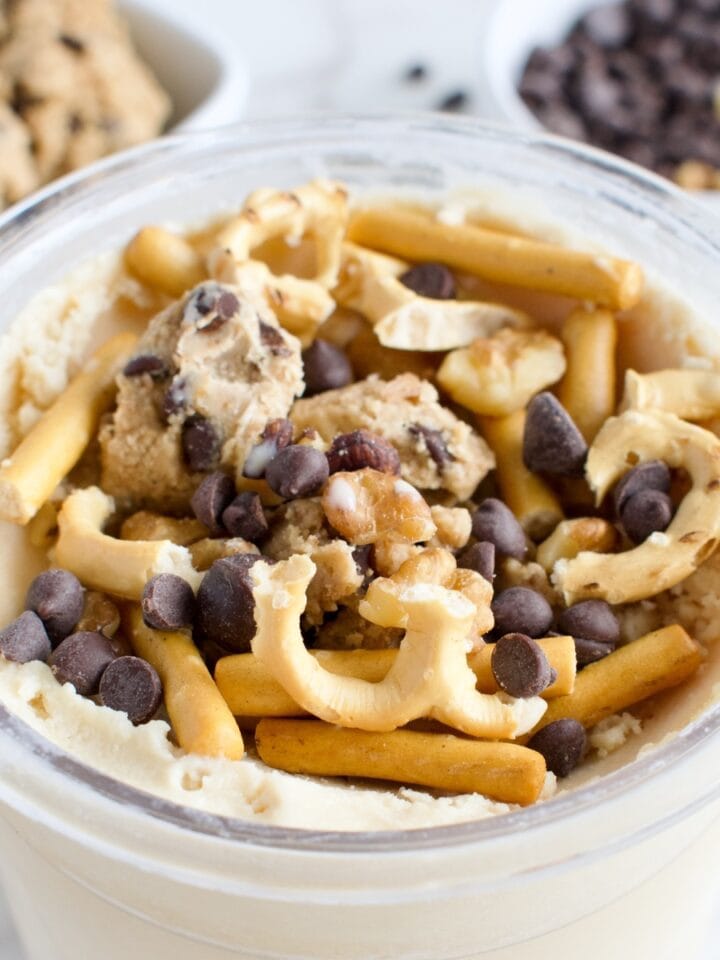
- Two ways to make it: I originally developed this recipe to be made in a traditional ice cream maker (like the Cuisinart ice cream maker), but have since also developed a Ninja Creami version. So, it's easy to make no matter what ice cream maker you have at home!
Salted Honey Ice Cream for Electrolyte Support
If you have POTS, dysautonomia, or any condition that requires extra sodium and electrolyte support, this ice cream is genuinely functional. Honey provides quick-absorbing natural sugars while flaky sea salt delivers the sodium your body needs. I personally consume a spoonful of honey with salt before or after workouts, and this ice cream is a delicious way to get those same benefits... especially when it's too hot to eat much of anything else! Always consult your doctor about your specific electrolyte needs.
Dairy Free Salted Honey Ice Cream Ingredients
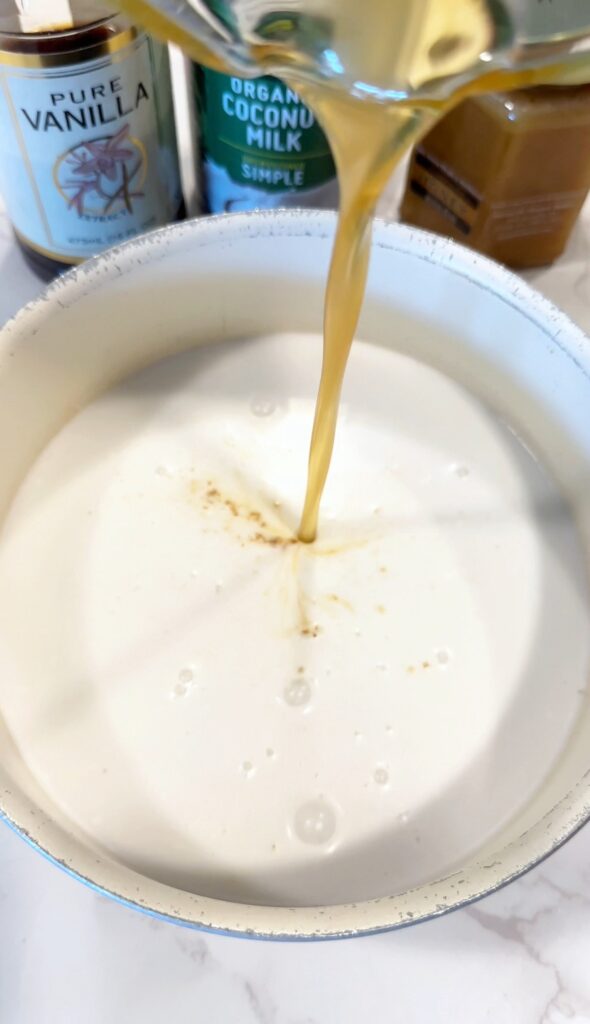
- Coconut milk: stick to full fat coconut milk for the best texture.
- Honey: any honey will do, although I advise sticking to a lighter variety for best results. Darker honey can have a much richer flavor which is almost over-powering in this recipe. Lighter honey varieties provide a mellow sweetness that pairs well with the coconut milk.
- Coconut sugar: just a little bit of coconut sugar goes into the ice cream base to balance the flavors.
- Arrowroot or tapioca starch: to keep this recipe egg free and easy to make, starch helps thicken the ice cream base for the best texture of the ice cream once churned. You can leave this out if making in the Ninja Creami.
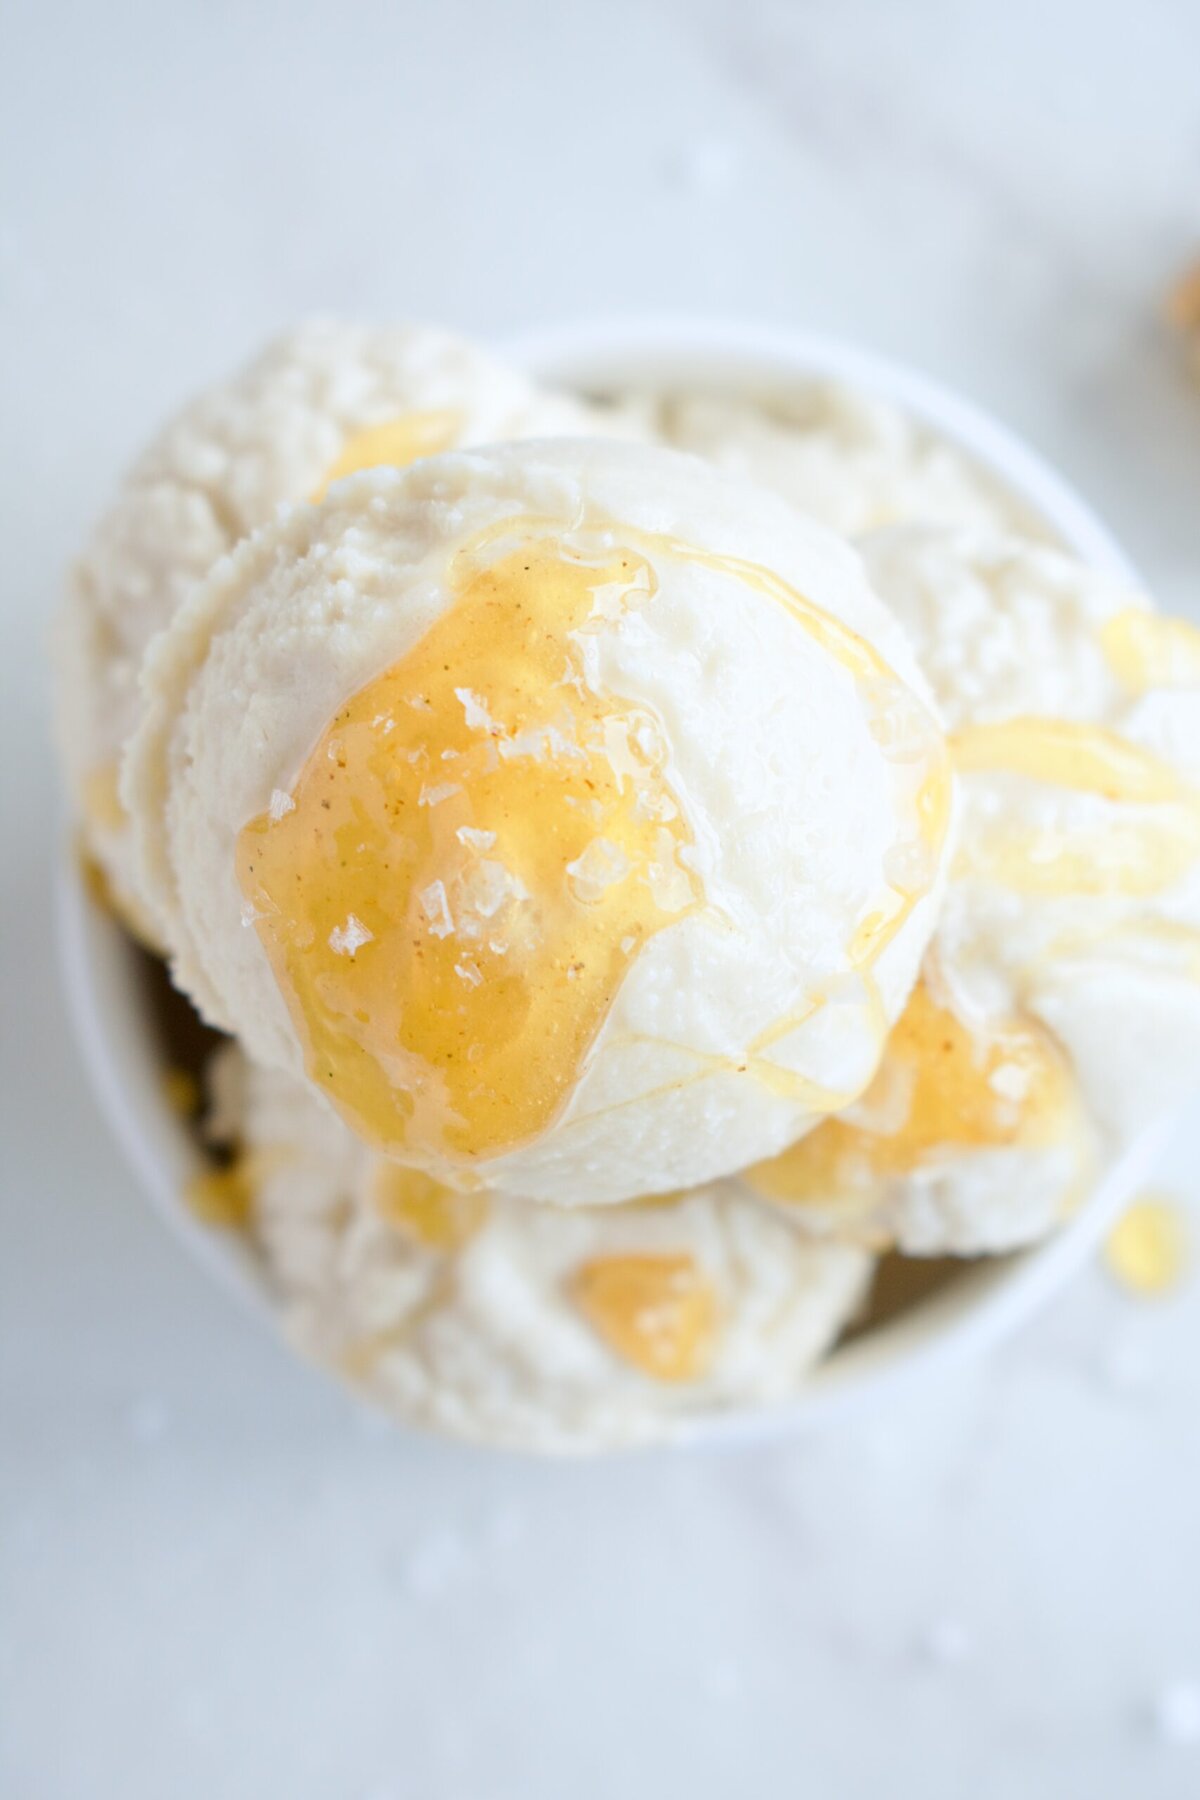
- Sea salt: we will be using plenty of salt in this honey ice cream. Stick to flaky salt in this recipe.
- Vanilla extract
How to Make Salted Honey Ice Cream
Traditional ice-cream maker:
- Make sure the ice cream maker bowl has been frozen for at least 24 hours before churning.
- Combine milk, honey, coconut sugar, 1 teaspoon of salt in a blender until combined.
- Pour the milk mixture into a medium saucepan over medium heat. While the ice cream base is heating up, whisk the starch and reserved coconut milk together. Once the base has warmed, add the starch mixture and whisk occasionally until the mixture has thickened. You'll find it starts to thicken on the bottom and edges of the pan first and will coat the back of a spoon. Don't let it boil.
- Remove from heat and stir in the vanilla extract. Let cool to room temperature then place in the fridge, whisking every 30 minutes until completely cooled (about 2 hours).
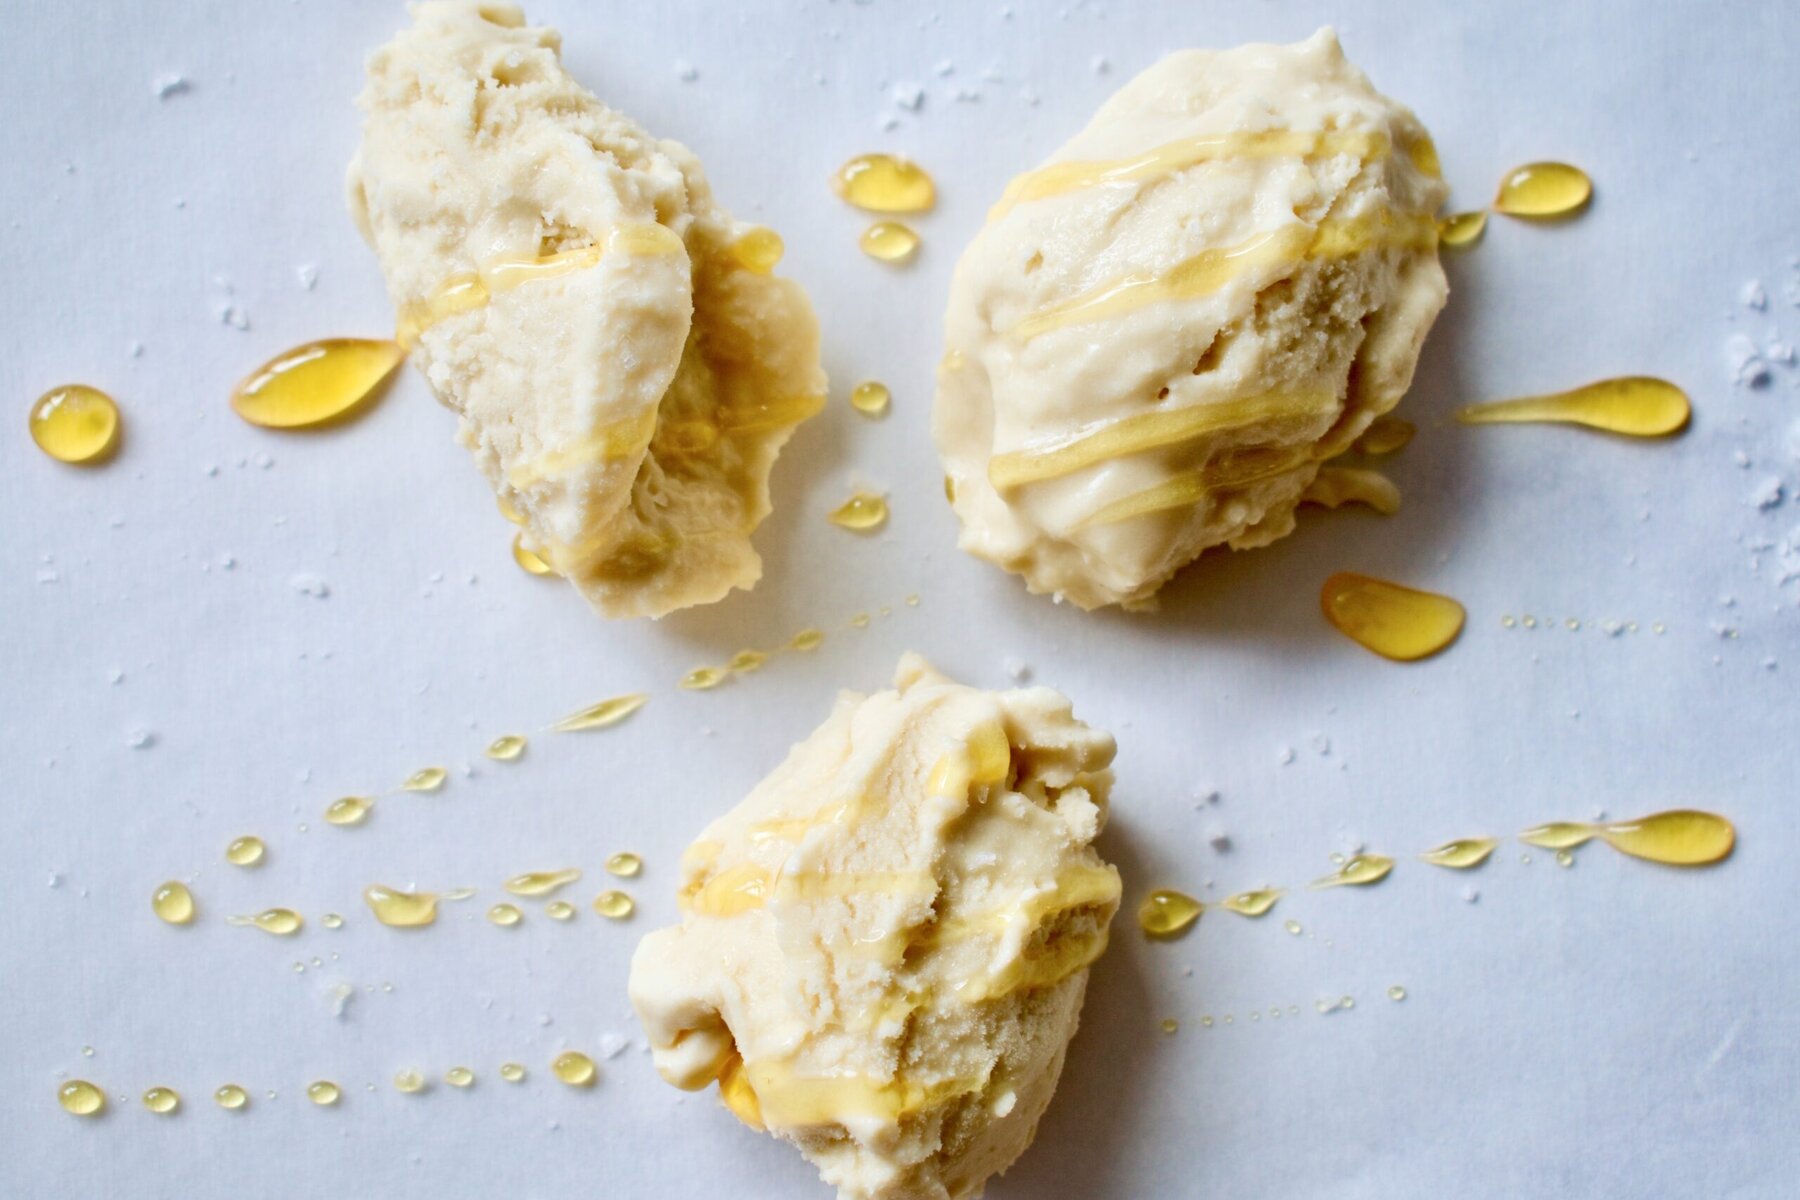
- Transfer ice cream mixture to ice cream maker and churn per manufacturer's instructions until you have a soft-serve consistency. Towards the end of churning, drizzle in the 2 tablespoon of honey and some more salt so they streak through the ice cream.
- Transfer to a freezer-safe container and freeze for several hours to harden completely. When ready to serve, drizzle with more honey and salt as desired.


Ninja Creami:
- To make Ninja Creami honey ice cream, you will cut the recipe in half or make two pints.
- You can skip the starch for this version or even switch it out for a scoop of protein powder (I like using the Sprout Living Pea Protein, code LEMONSNLYME for 20% off)
- Blend all ingredients together and pour into a Ninja Creami cup to the max fill line. Add the lid and freeze on a level surface for 12-24 hours.
- When ready to spin, microwave the base for 30 seconds or run the outside under hot water for a 1-2 minutes then spin on the lite ice cream setting.
- If needed, add a splash of milk and re-spin.
- Use a knife to swirl in the remaining honey and salt or just drizzle on top when ready to serve. I do not suggest using the mix-in function as that will completely mix in the honey without leaving streaks of it through the ice cream.
Substitutions and Variations
- Milk: for a lower fat version, use half full fat coconut milk and half milk of choice (like almond milk or oat milk). This will result in a less creamy texture, but still taste good.
- Honey: opt for a lighter, runny honey like clover or alfalfa honey. Set honey will also work. I love getting local honeys from the farmers market to use. Experiment with what flavor you love most!
- Coconut sugar: you can skip the coconut sugar entirely if desired. The honey provides enough sweetness on its own, the coconut sugar is just for balance.
- Starch: arrowroot and tapioca starch are interchangeable here. Skip entirely for the Ninja Creami version.
- Variations: use a flavored honey like orange honey or lavender honey to switch up the flavor profile.
Storage
Store leftover ice cream in a freezer-safe container for up to 2 weeks for best results. For best texture, press a piece of plastic wrap directly onto the surface of the ice cream before putting the lid on, this helps prevent ice crystals from forming. To serve, let sit at room temperature for 5-10 minutes to soften slightly.
If you made this ice cream in the Ninja Creami and don't finish the pint, smooth over the top of the pint and re-freeze any leftovers. You can re-spin the ice cream when ready to eat the rest. Note that this will mix in any honey you may have swirled into the pint.
How to Serve This Salt and Honey Ice Cream
Serve with an extra drizzle of honey and pinch of salt as desired. This ice cream tastes great over other desserts, like my Blueberry Crumble Pie, Strawberry-Peach Crumble, or Pear and Persimmon Cobbler. It also tastes fantastic over fresh berries. It truly elevates whatever you pair it with and has become one of my favorite ice cream flavors.
Tips for The Best Honey and Sea Salt Ice Cream
- Use a lighter honey: dark honey overwhelms the flavor while lighter varieties create a more balanced, floral sweetness.
- Don't let the base boil: once the starch is added, keep the heat medium-low. Boiling breaks down the starch and you lose the thickening power.
- Cool completely before churning: rushing this step leads to icy ice cream. Whisk every 30 minutes in the fridge for the smoothest result if using a traditional ice cream maker.
- Swirl in the honey: don't use the mix-in setting on the Ninja Creami. Use a knife to manually swirl the honey through for beautiful golden streaks instead of completely blending it in.
- Use flaky salt not fine salt: flaky Maldon-style salt dissolves differently and gives you those distinct salty pockets that make this recipe special.
FAQ
Yes, it is both paleo and autoimmune paleo as written as long as you use coconut milk.
Yes, it is dairy free as written! It is not completely vegan since it uses honey, though.
Honey is not considered vegan, so no. Using maple syrup or agave will not result in the same outcome. If you're looking for a vegan ice cream made with maple syrup, try my Ninja Creami Vanilla Ice Cream recipe.
No, maple syrup will not give you the same effect or flavor. Unfortunately, there are no genuine vegan honey substitutes.
The type of honey does not matter, but you can really taste the difference if you use a high-quality honey, like a local variety. I use my favorite one from a local honey store. I do suggest sticking to a lighter colored honey for the best honey flavor in this ice cream, as the darker ones have a deeper, richer more molasses type of flavor which I don't think pairs as well.
This does not matter if you use a blender to blend all ingredients, but be sure to use liquid honey for the drizzle. You can melt your solid honey on a very low heat until it's liquid. When you heat honey, it cooks off all it's nutrients so you want to try and avoid microwaving it or heating it too much.
If you are making this salted honey ice cream in the Ninja Creami, use the lite ice cream setting to spin the base.
Although this ice cream will keep fine in the freezer for up to 2 months, it tastes best within a couple weeks of making it so that the honey and salt still maintain their distinct flavors.
Yes, you can skip the coconut sugar and reduce the amount of honey you drizzle on top.
You can skip the salt and make a pure honey ice cream, if desired, but the combo is absolutely delicious!
More Delicious Ice Cream Recipes
Ninja Creami Vegan Vanilla Ice Cream
Easy Dairy Free Vanilla Ice Cream
If you try this recipe, please leave a rating and review. Comment below what ice cream flavor you'd love to see next!

Dairy Free Salted Honey Ice Cream
Equipment
Ingredients
- 2 cans full fat coconut coconut milk ¼ cup reserved
- ¼ cup + 2 Tbsp honey
- 2 tablespoon coconut sugar
- 3 teaspoon flaked salt, divided I use Maldon Sea Salt
- 1 tablespoon arrowroot starch or tapioca
- 2 teaspoon vanilla extract
Instructions
Traditional Ice Cream Maker
- Blend the coconut milk (except the ¼ cup reserved), ¼ cup honey, the coconut sugar, and 1 teaspoon of salt in a blender until combined.
- Heat over medium heat. While the ice cream base is heating up, whisk the starch and ¼ cup reserved coconut milk together in a small bowl. Once the base has warmed, add the starch mixture and whisk occasionally until the mixture has thickened. You'll find it starts to thicken on the bottom and edges of the pan first and will coat the back of a spoon. You may get some small bubbles, but don't let it boil.
- Remove from heat and stir in the vanilla extract. Pour into a glass dish and place in the fridge, whisking every 30 minutes until completely cooled (about 2 hours).
- Once your base has cooled, transfer to ice cream maker per manufacturers directions. I have this Cuisinart ice cream maker and it takes about 15 minutes for the ice cream to finish churning.
- Once done churning, transfer half of the ice cream into your freezer safe dish. Drizzle with 1 tbs of honey and ½-1 teaspoon of salt and use a knife to marble it into the ice cream. Top with the remaining ice cream and complete the same process with the last tablespoon of honey and another ½-1 teaspoon of salt.
- Freeze for several hours to harden completely and remove about 10+ minutes before serving to soften slightly. Enjoy!
Ninja Creami
- To make Ninja Creami honey ice cream, you will cut the recipe in half, using just 1 can of coconut milk and leaving out the starch (you can sub this with protein powder if desired). Or you can use the same recipe and just fill two pints!
- Blend all ingredients together (use ¼ teaspoon of salt) and pour mixture into a Ninja Creami cup to the max fill line. Add the lid and freeze on a level surface for 12-24 hours.
- When ready to spin, microwave the base for 30 seconds or run the outside under hot water for a 1-2 minutes then spin on the lite ice cream setting. If needed, add a splash of milk and re-spin.
- Use a knife to swirl in the remaining 1 tablespoon of honey and ¼-1/2 teaspoon salt or just drizzle on top when ready to serve. I do not suggest using the mix-in function as that will completely mix in the honey without leaving streaks of it through the ice cream.
Leave a Reply