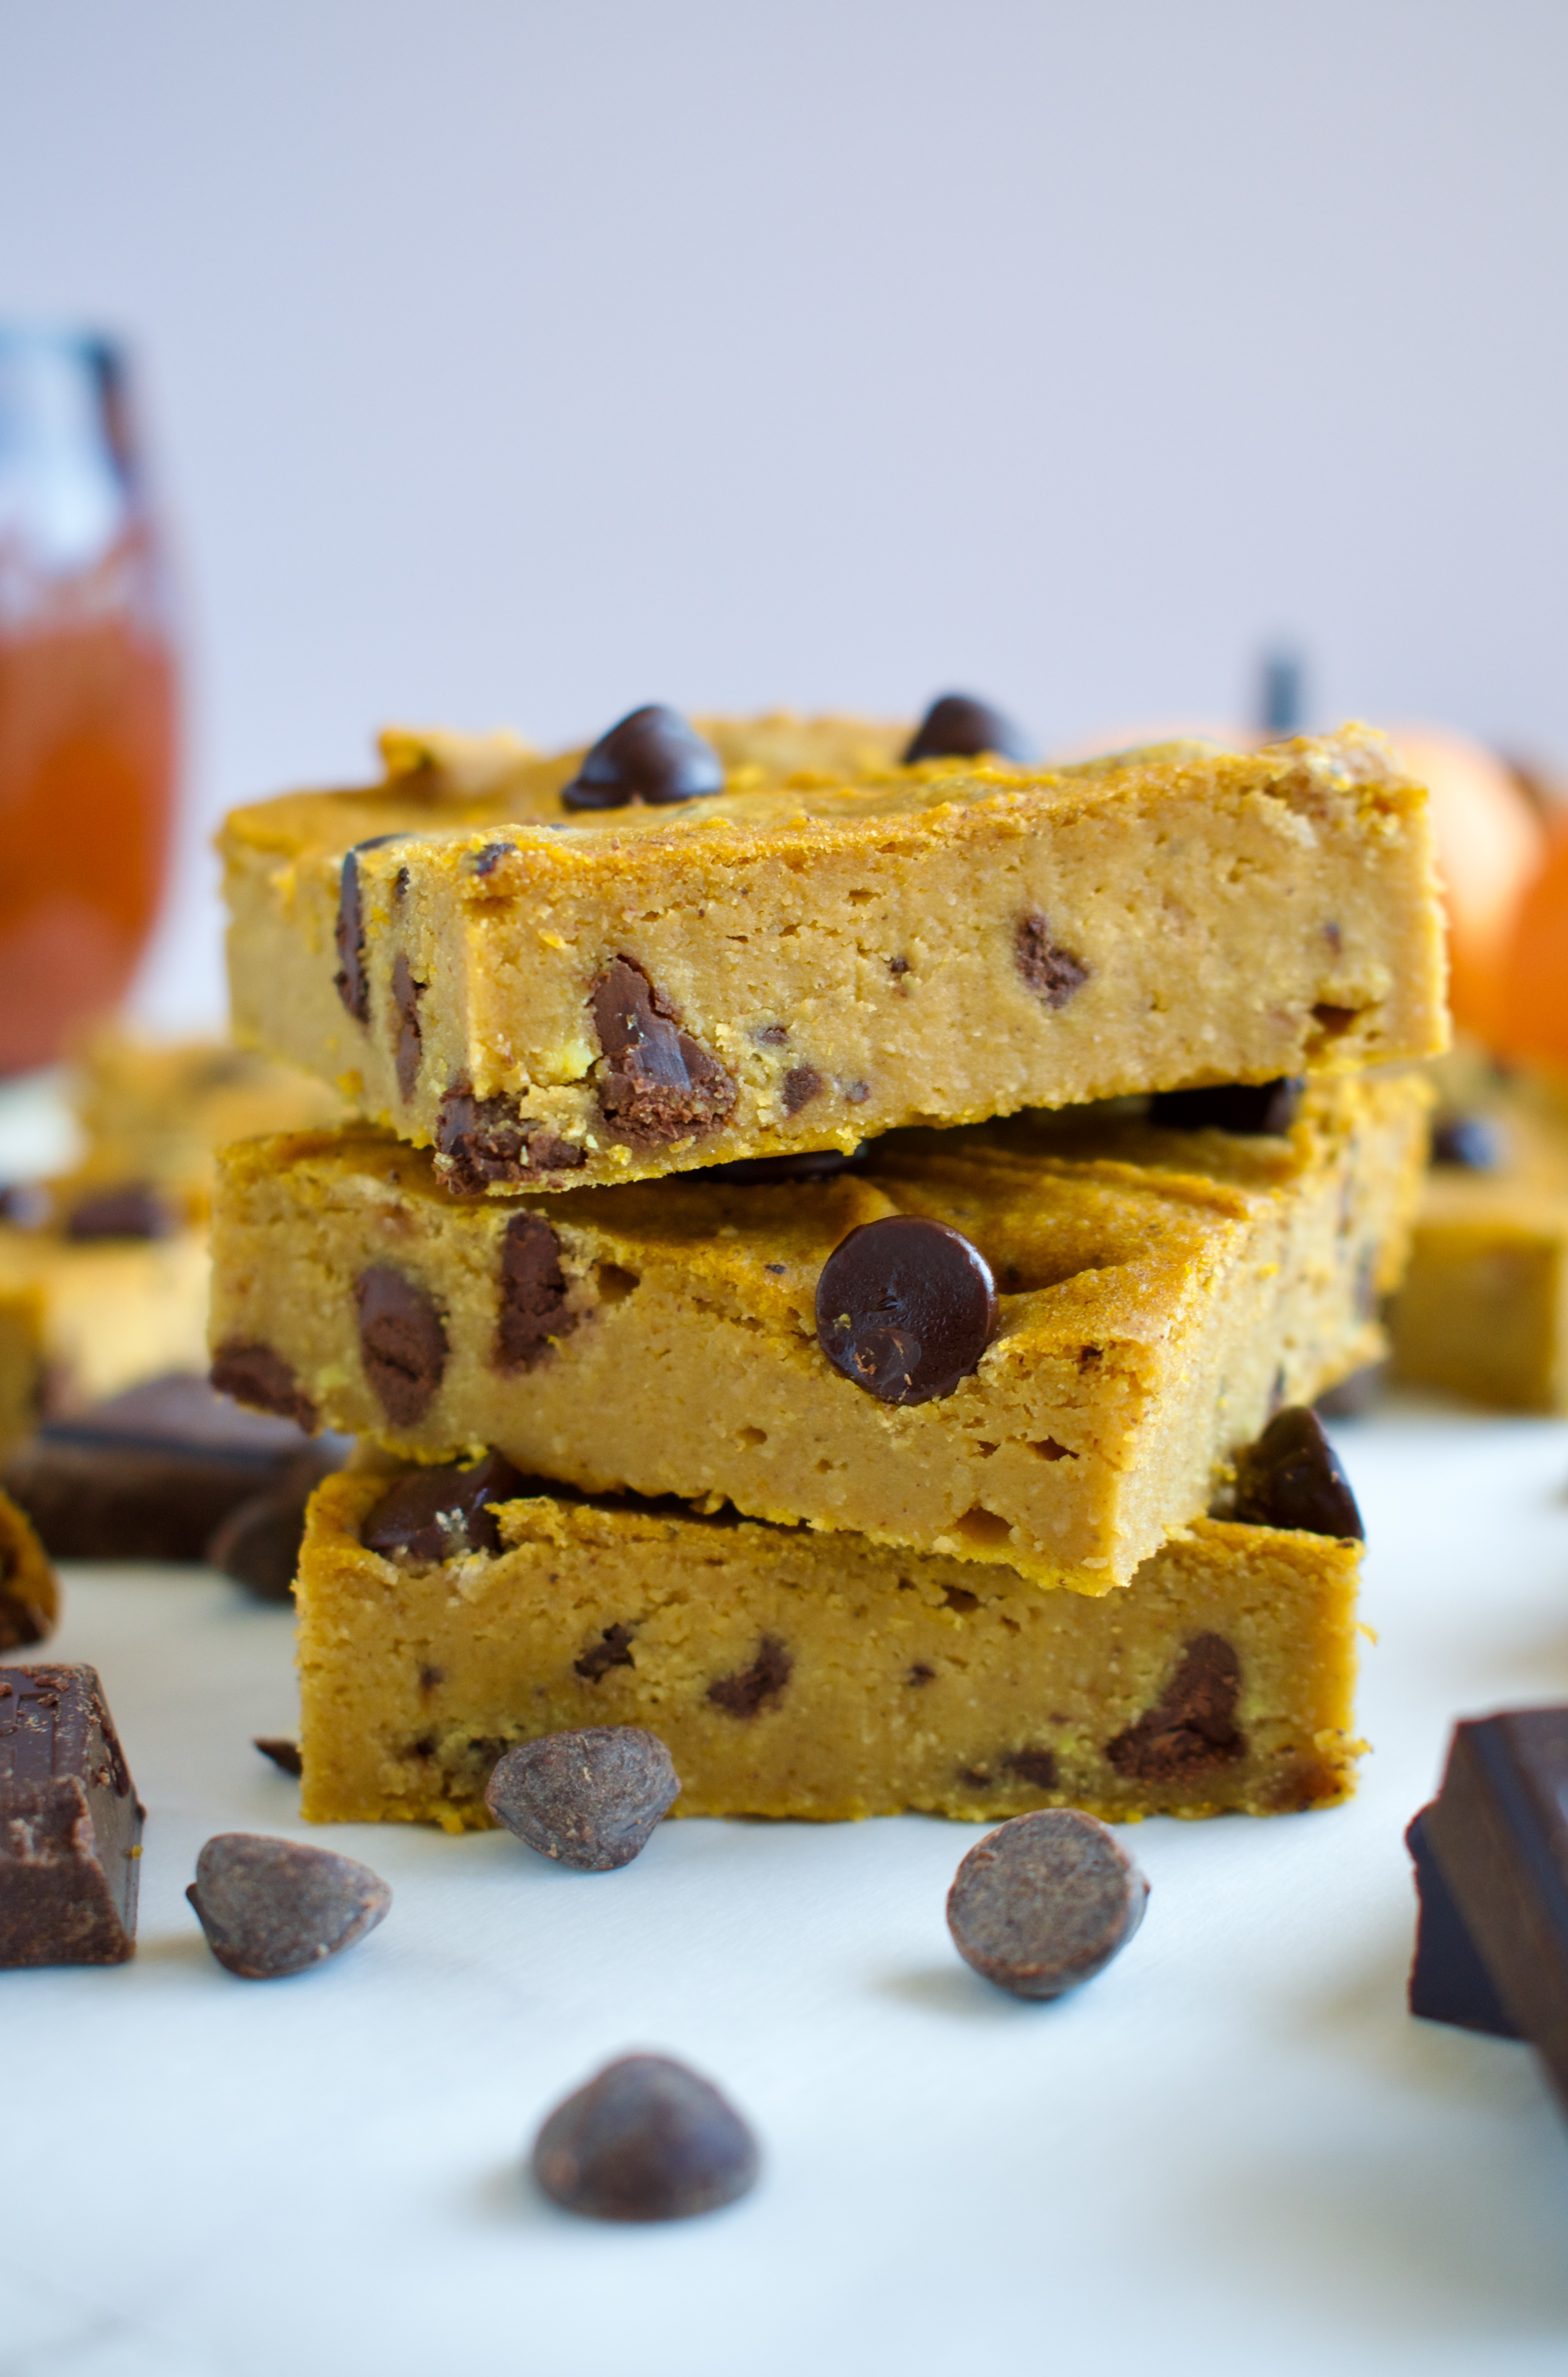
This healthy fall dessert is packed with fiber and protein! Chickpeas are the star ingredient in these Chocolate Chip Pumpkin Blondies that are also gluten free, dairy free, and refined sugar free.
healthy gluten free pumpkin blondies
As we head into the holiday season, some of you might already be dreading all the sugar and heavy foods that await us. That’s why I love this recipe! Let me show you that you can still eat and enjoy delicious treats while staying healthier. These gluten free pumpkin blondies are made with chickpeas and oat flour to keep them high fiber & higher protein. They are combined with maple syrup to keep them refined sugar free.
These healthy chocolate chip pumpkin blondies are not only completely gluten free, but also dairy free, nut free, and lower sugar than the traditional blondie. Plus, they are made in the blender, so they are super easy and quick to make. You’ll be amazed how good they taste and you can reach for more, guilt free!
How to Make Gluten Free Chocolate Chip Pumpkin Blondies
Pumpkin Blondie Ingredients
-Chickpeas: we are adding fiber and protein to this recipe by utilizing chickpeas as the base of these blondies. You can’t even taste them!
-Pumpkin: duh
-Maple syrup: no refined sugar in the base of these blondies
-Oil: coconut oil, olive oil, or melted butter will work in this recipe
-Egg
-Oat flour: we are all about the healthier ingredients here! Be sure to use certified gluten free oats/oat flour to keep this recipe gluten allergy safe
-Cinnamon
-Baking powder
-Baking soda
-Salt
-Chocolate: I like to use a combination of chopped HU chocolate (use code LEMONSNLYME for 15% off your order) and chocolate chips (you can use HU gems or another variety of your choice. I also like Enjoy Life, but they are not refined sugar free)
Pumpkin Blondie Instructions
This is one of the easiest desserts you’ll ever make! All you have to do is blend all of the ingredients, except the chocolate, in a blender, then fold in the chocolate chips. Add to a baking dish, bake, cool, and eat up!
Don’t worry, you can’t taste the chickpeas at all! This recipe doesn’t taste like beans. Just make sure to rinse your chickpeas before using them to wash off some of the starch.
Can I Make These Pumpkin Blondies Vegan?
I haven’t tested a vegan version of this recipe, but I’m sure an egg substitute would work just fine. If you try it, leave a comment and let us know how it went!
Can I Substitute the Oat Flour?
I have not tested this recipe with any other flour. I can’t promise the results of using 1:1 gluten free flour or tigernut or almond flour, but if you try it, let us know how it went.
More Pumpkin Recipes
Looking for more delicious, fall inspired pumpkin recipes? Try these!
These gluten free chocolate chip pumpkin blondies are the perfect healthy treat this holiday season. Made with chickpeas, oat flour, and maple syrup, they are dairy free and refined sugar free. This allergy friendly fall dessert is easy to make and sure to please!
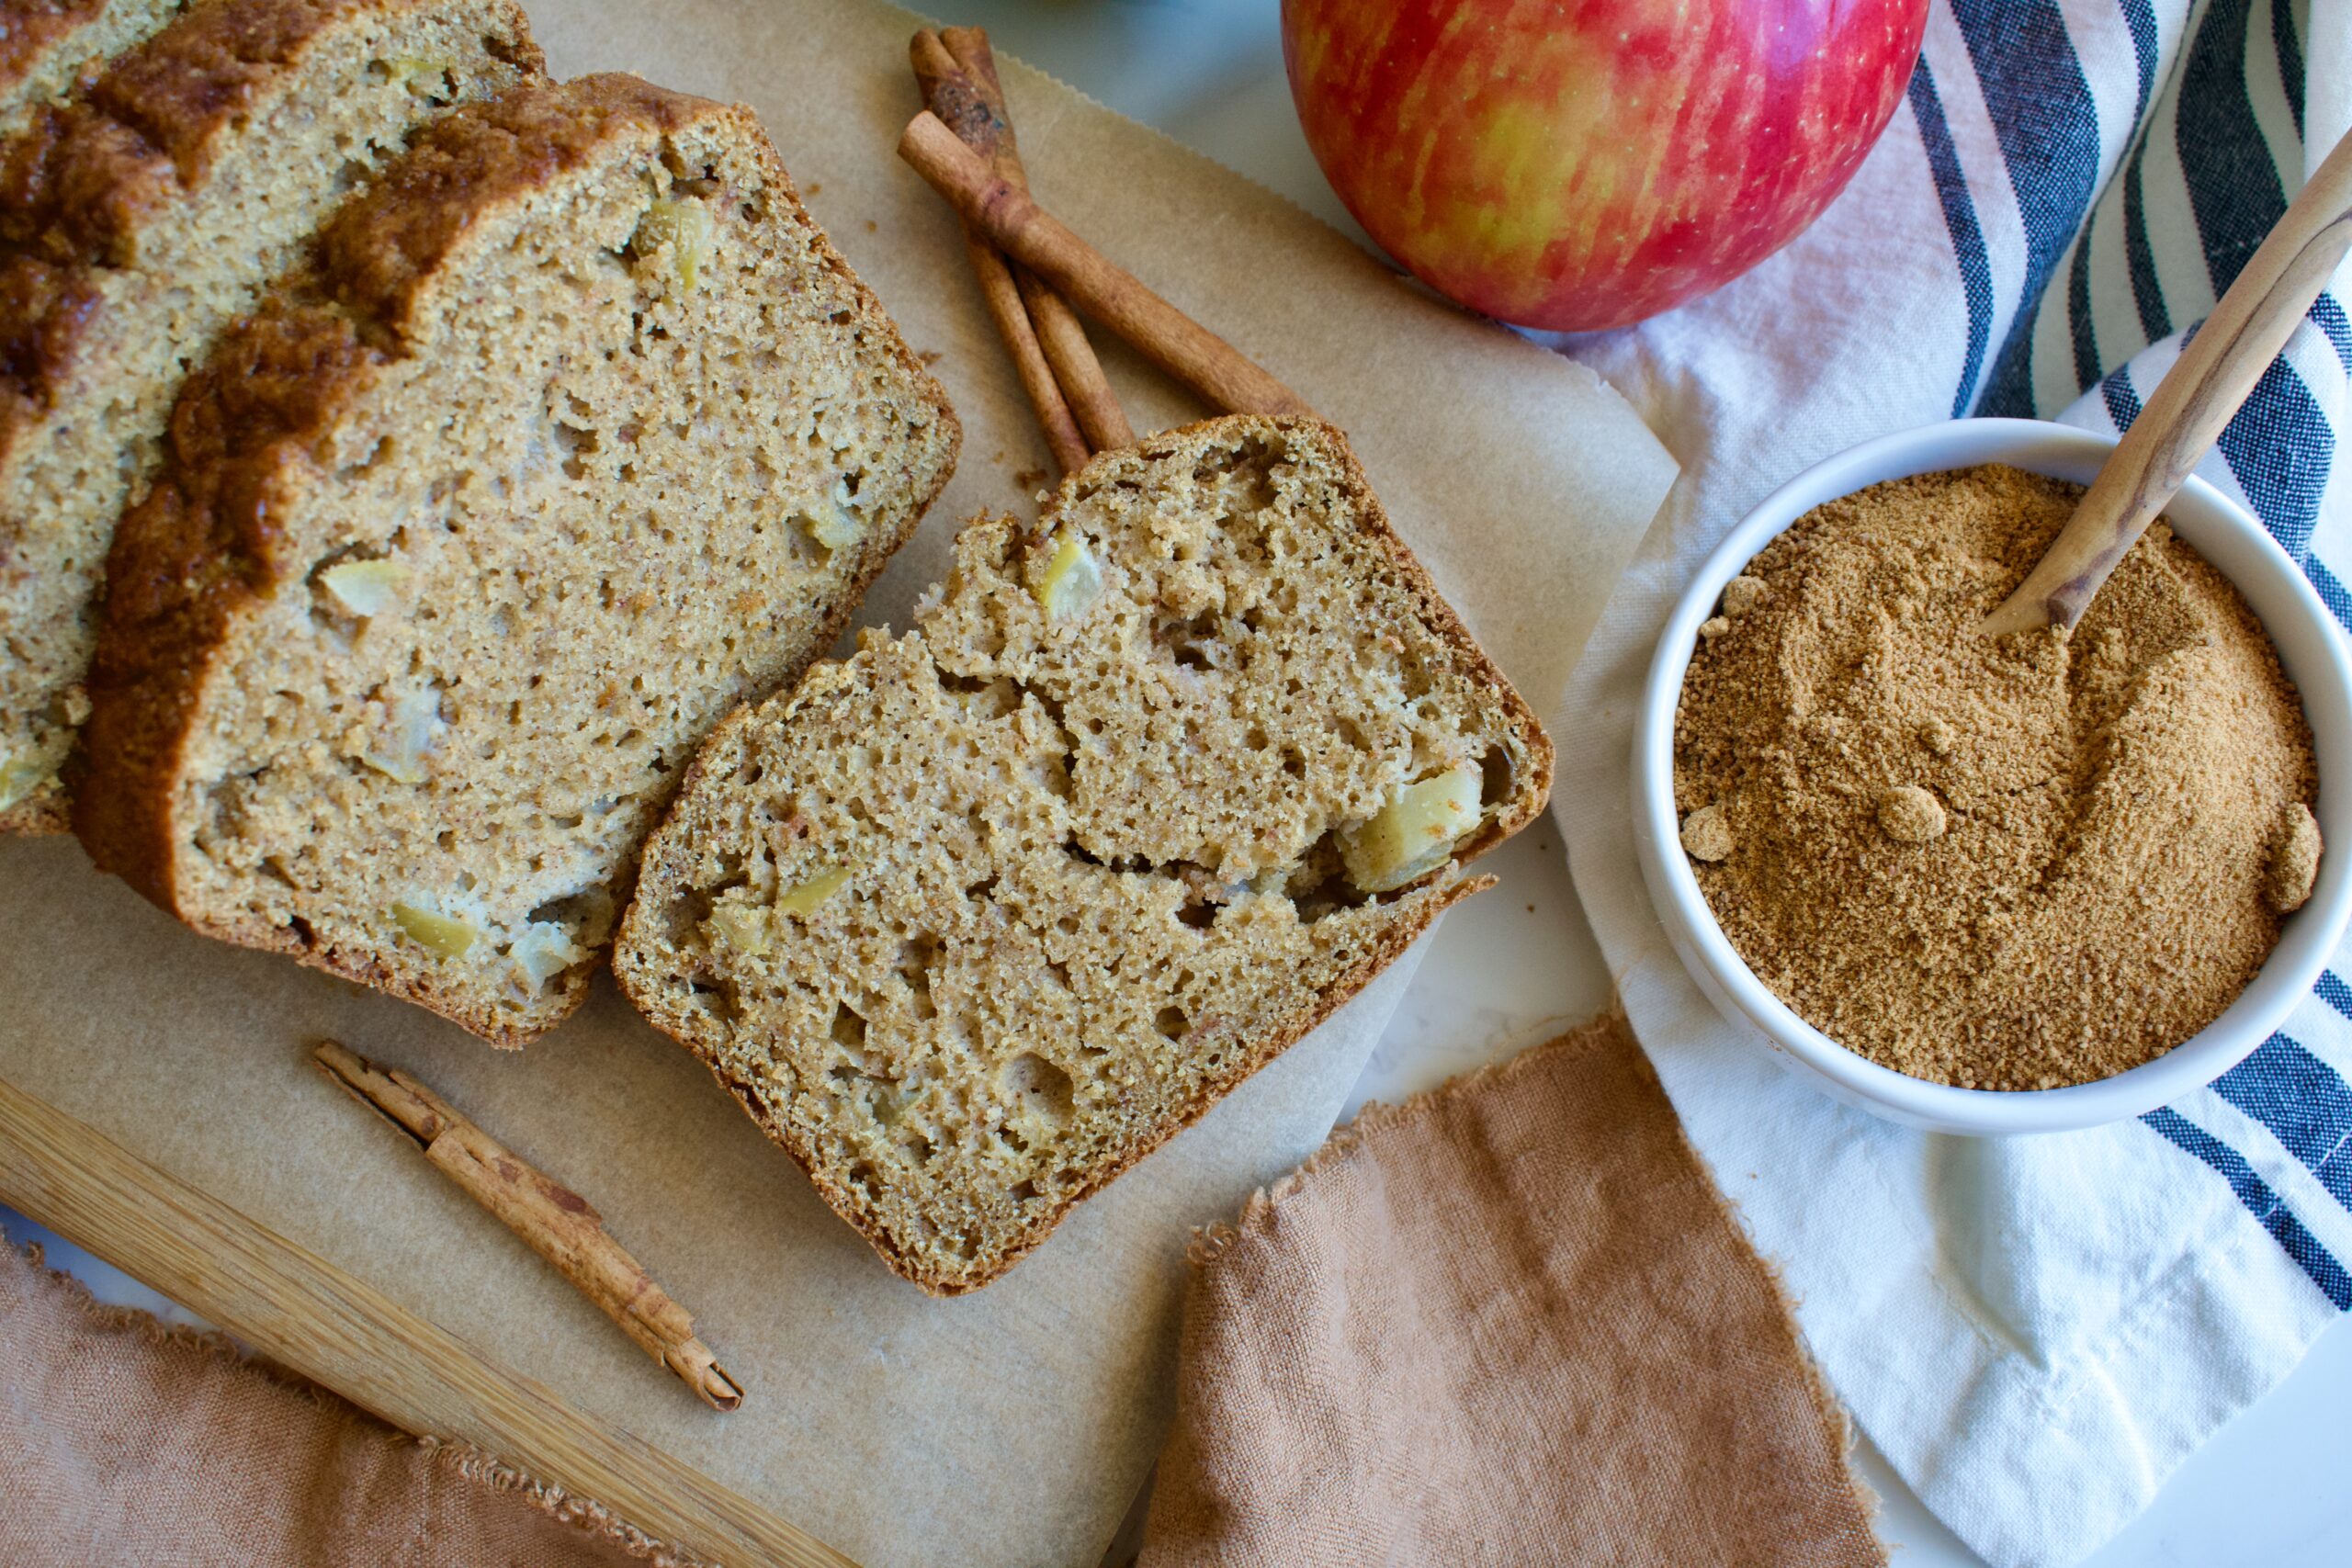
This warming Gluten Free Apple Cinnamon Bread is a delicious way to use apples this fall season. Dairy free and refined sugar free, this loaf is just the right amount of sweetness and spice!
gluten free apple cinnamon bread
If you are looking for the perfect, easy apple cinnamon bread, then look no further! This delicious gluten free bread isn’t too sweet and has just the right amount of cinnamon flavor. It’s the perfect fall dessert. This apple bread is sweetened with maple syrup and applesauce to keep it refined sugar free and amp up the apple flavor.
Sift all the dry ingredients together in a medium bowl and set aside.
In a large bowl or in a stand mixer, beat together all the wet ingredients until combined.
Add the dry ingredients to the wet and mix on low until just combined.
Mix your chopped apple with cinnamon and flour then fold into the batter.
Pour batter into a lined loaf pan and bake for 45-50 minutes, until a toothpick comes out clean.
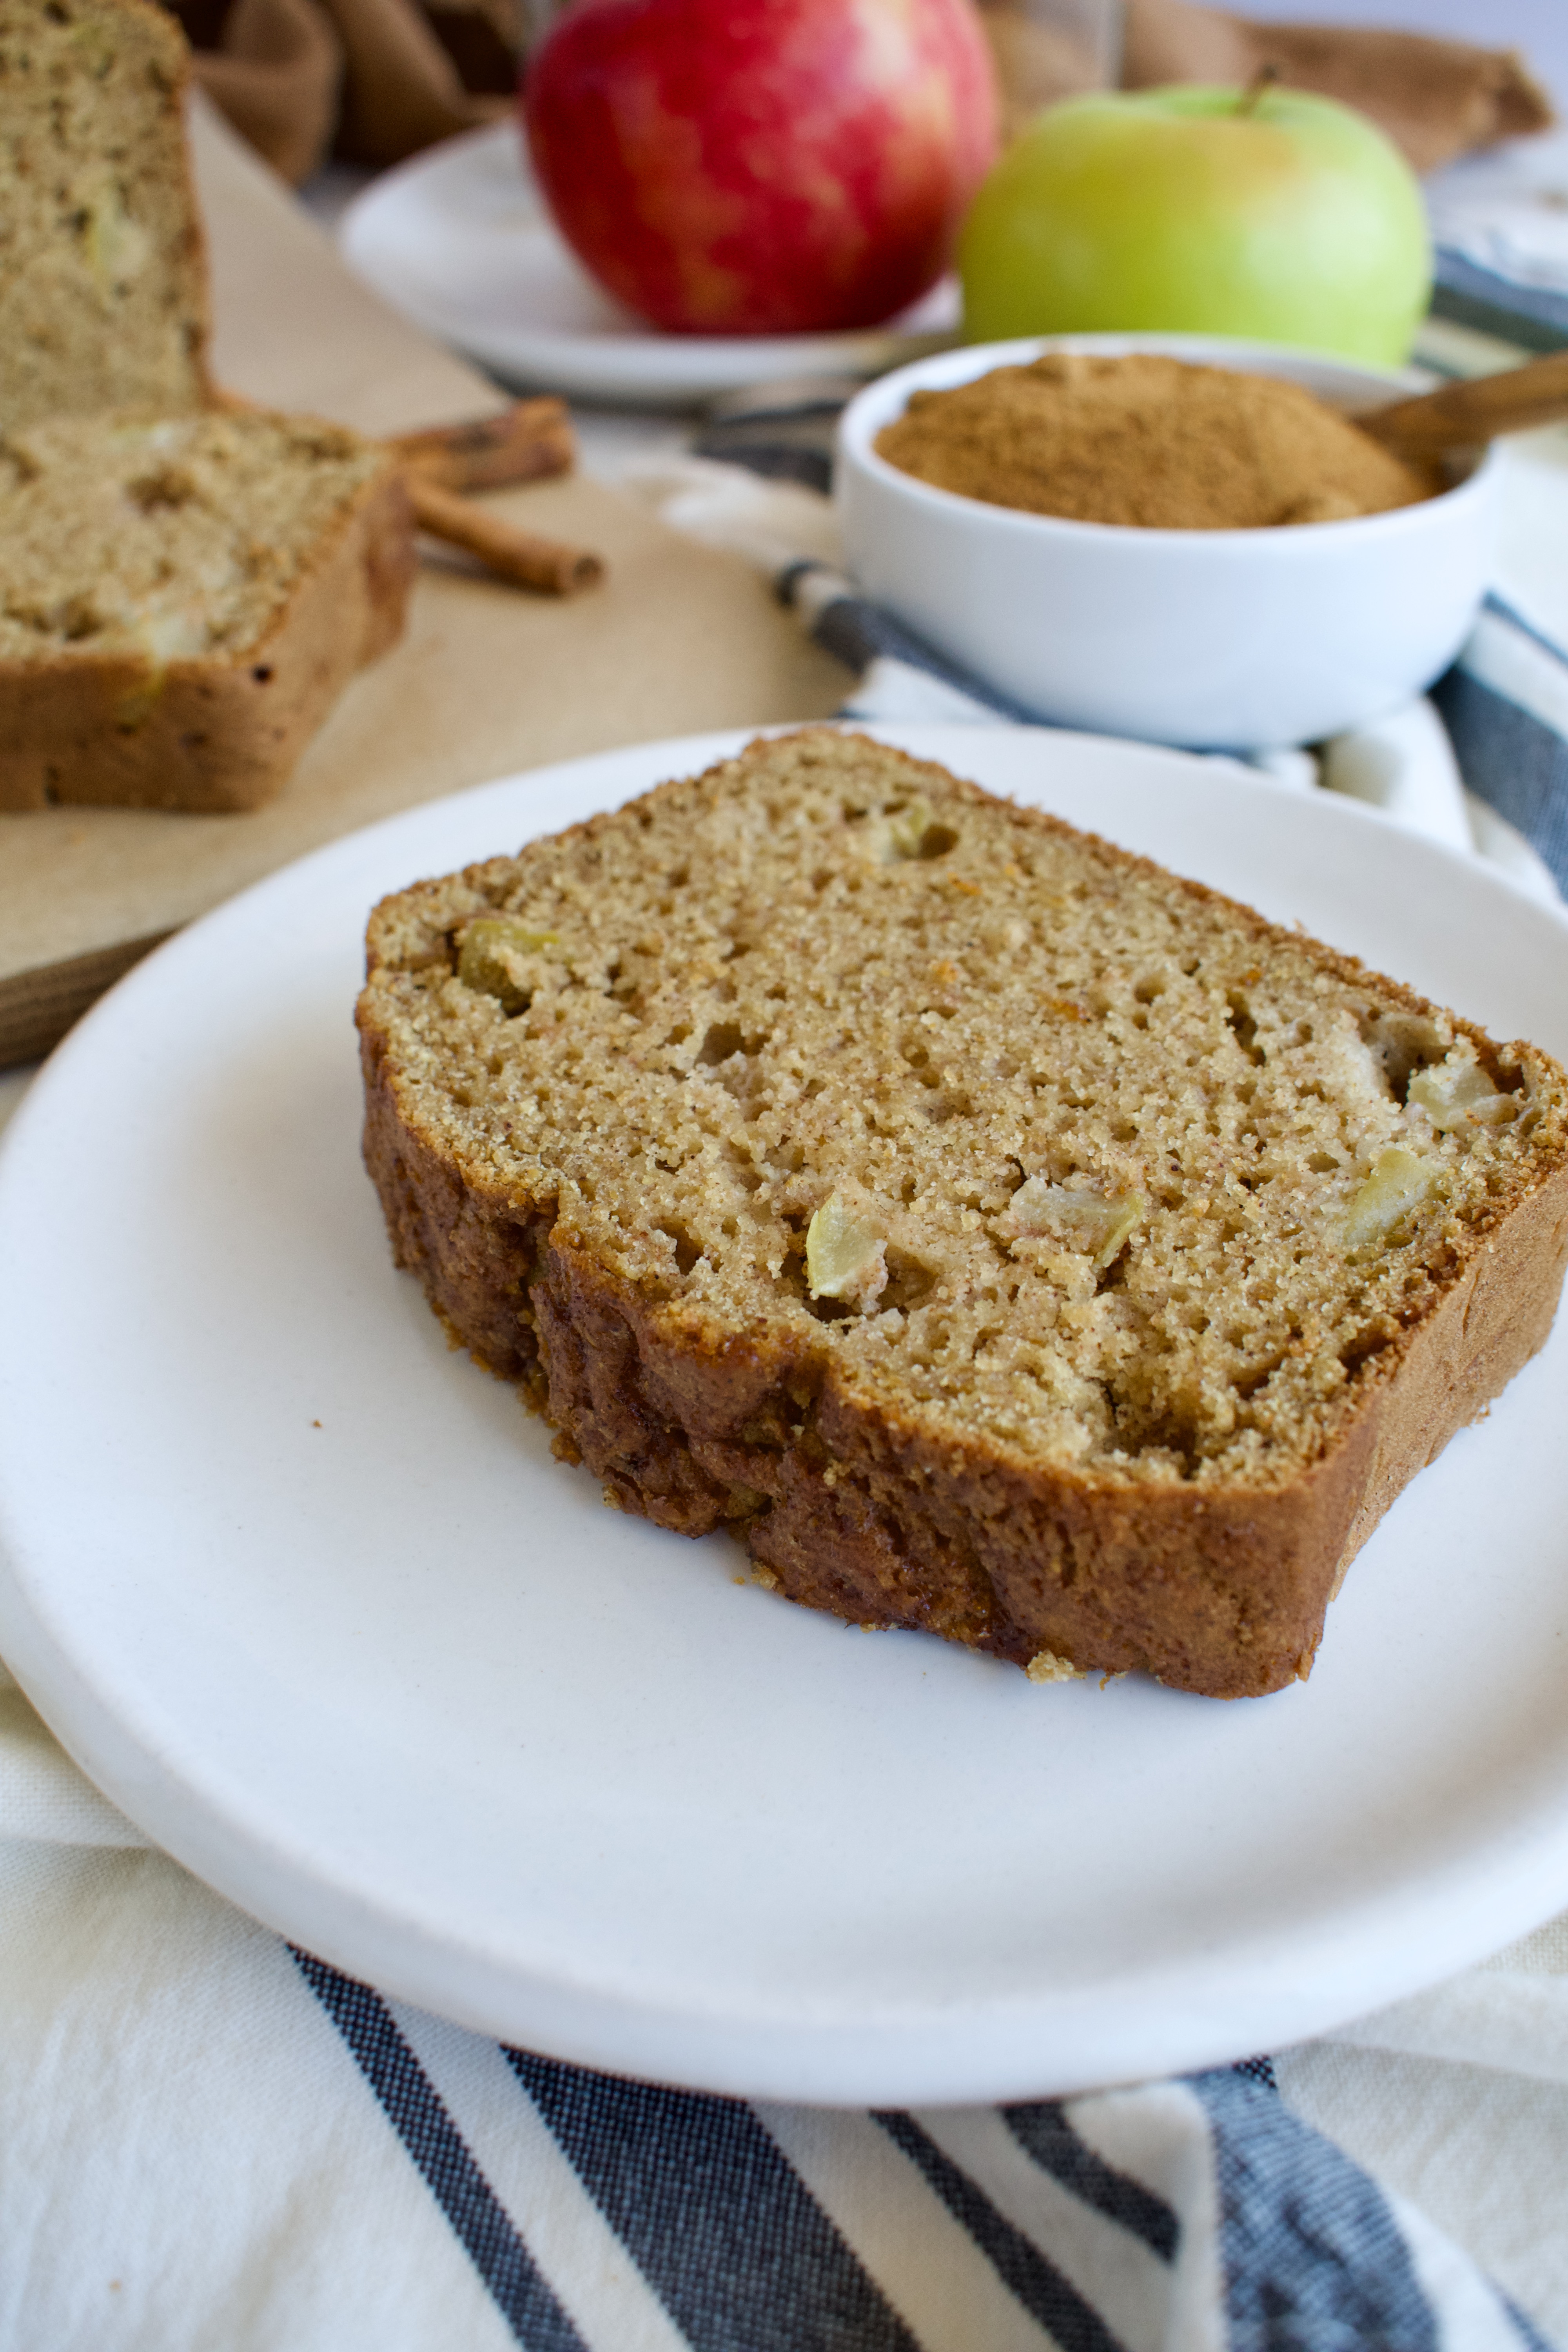
gluten free and dairy free apple cinnamon bread
How to Serve This Apple Cinnamon Bread
Slice and enjoy this bread as is as a snack or for dessert, but it tastes fantastic with a scoop of vanilla ice cream. I highly suggest warming a slice up (either in the oven for 15-30 seconds in the microwave). Warming it up really brings out the flavor and if you add ice cream, it melts perfectly on top.
How to Store This Apple Bread
Slice and store in an airtight container for up to 3 days or in the fridge for up to 5. You can wrap individual slices in plastic wrap and place in a freezer bag then freeze slices to last longer! Just thaw and warm up before eating.
gluten free and refined sugar free apple cinnamon bread
This warming Gluten Free Apple Cinnamon Bread is a delicious way to use apples this fall season. Dairy free and refined sugar free, this loaf is just the right amount of sweetness and spice!
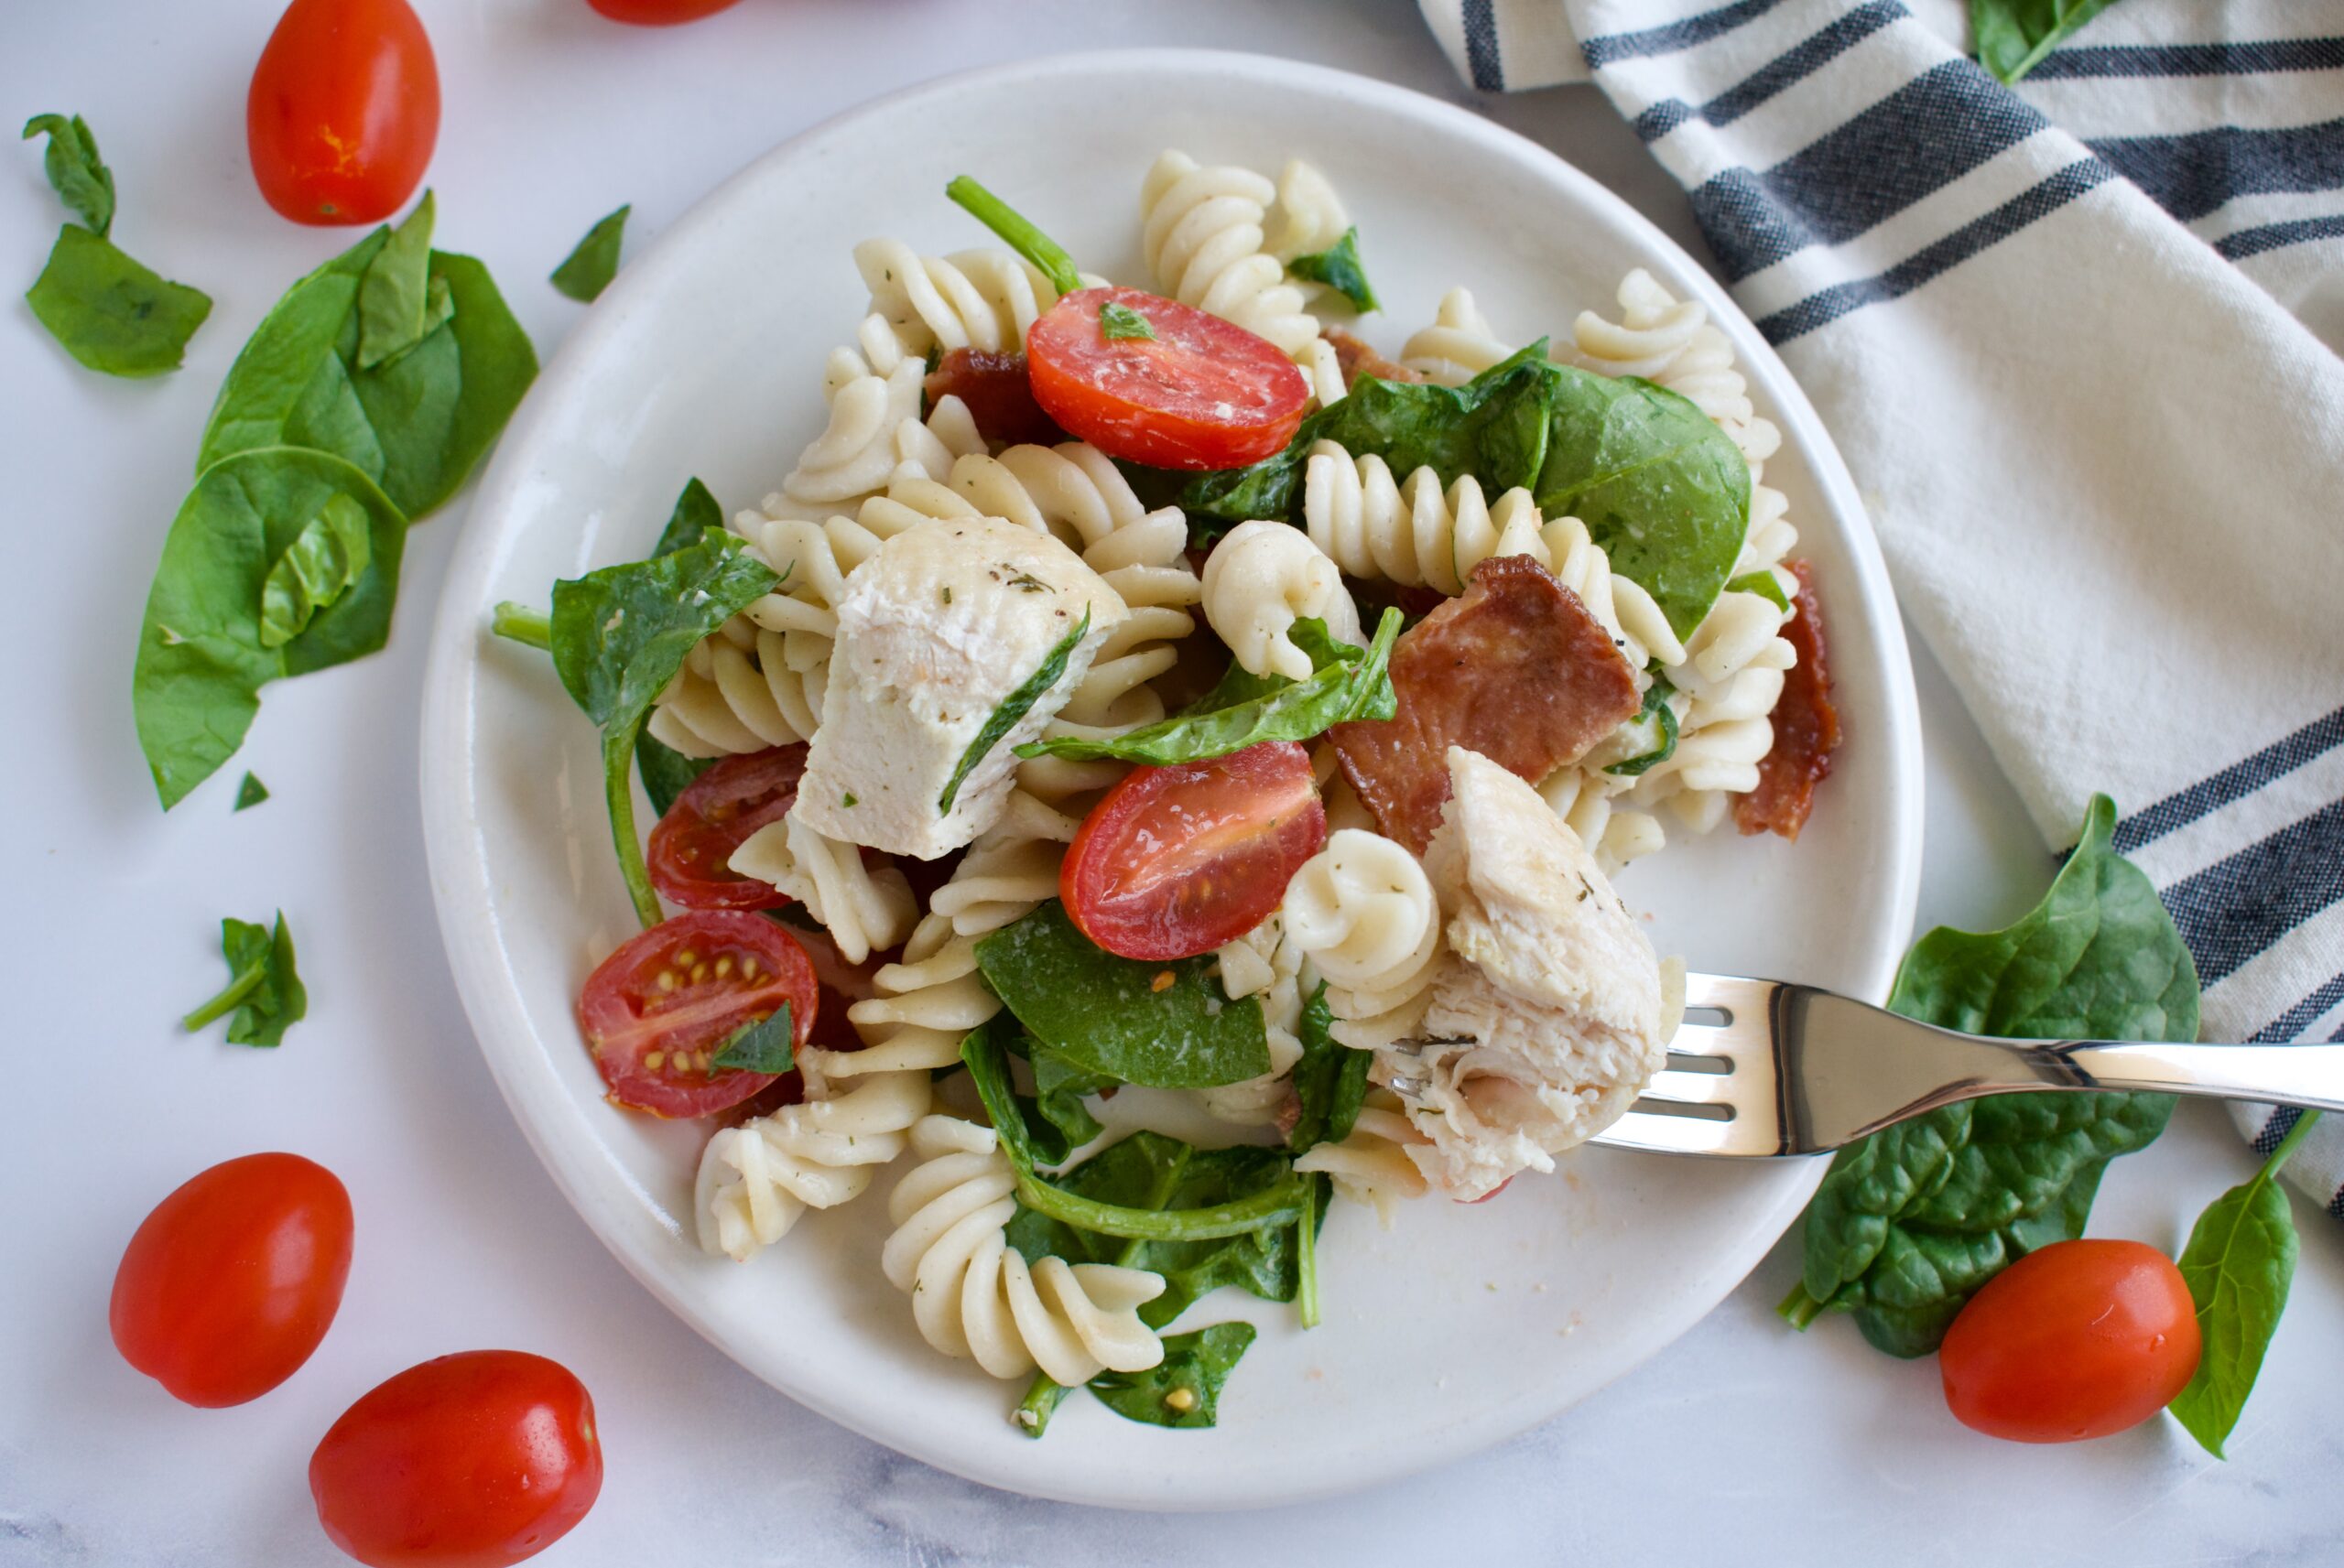
This gluten free BLT Pasta Salad is an easy dinner option that’s perfect when you don’t know what to make.
gluten free BLT pasta salad
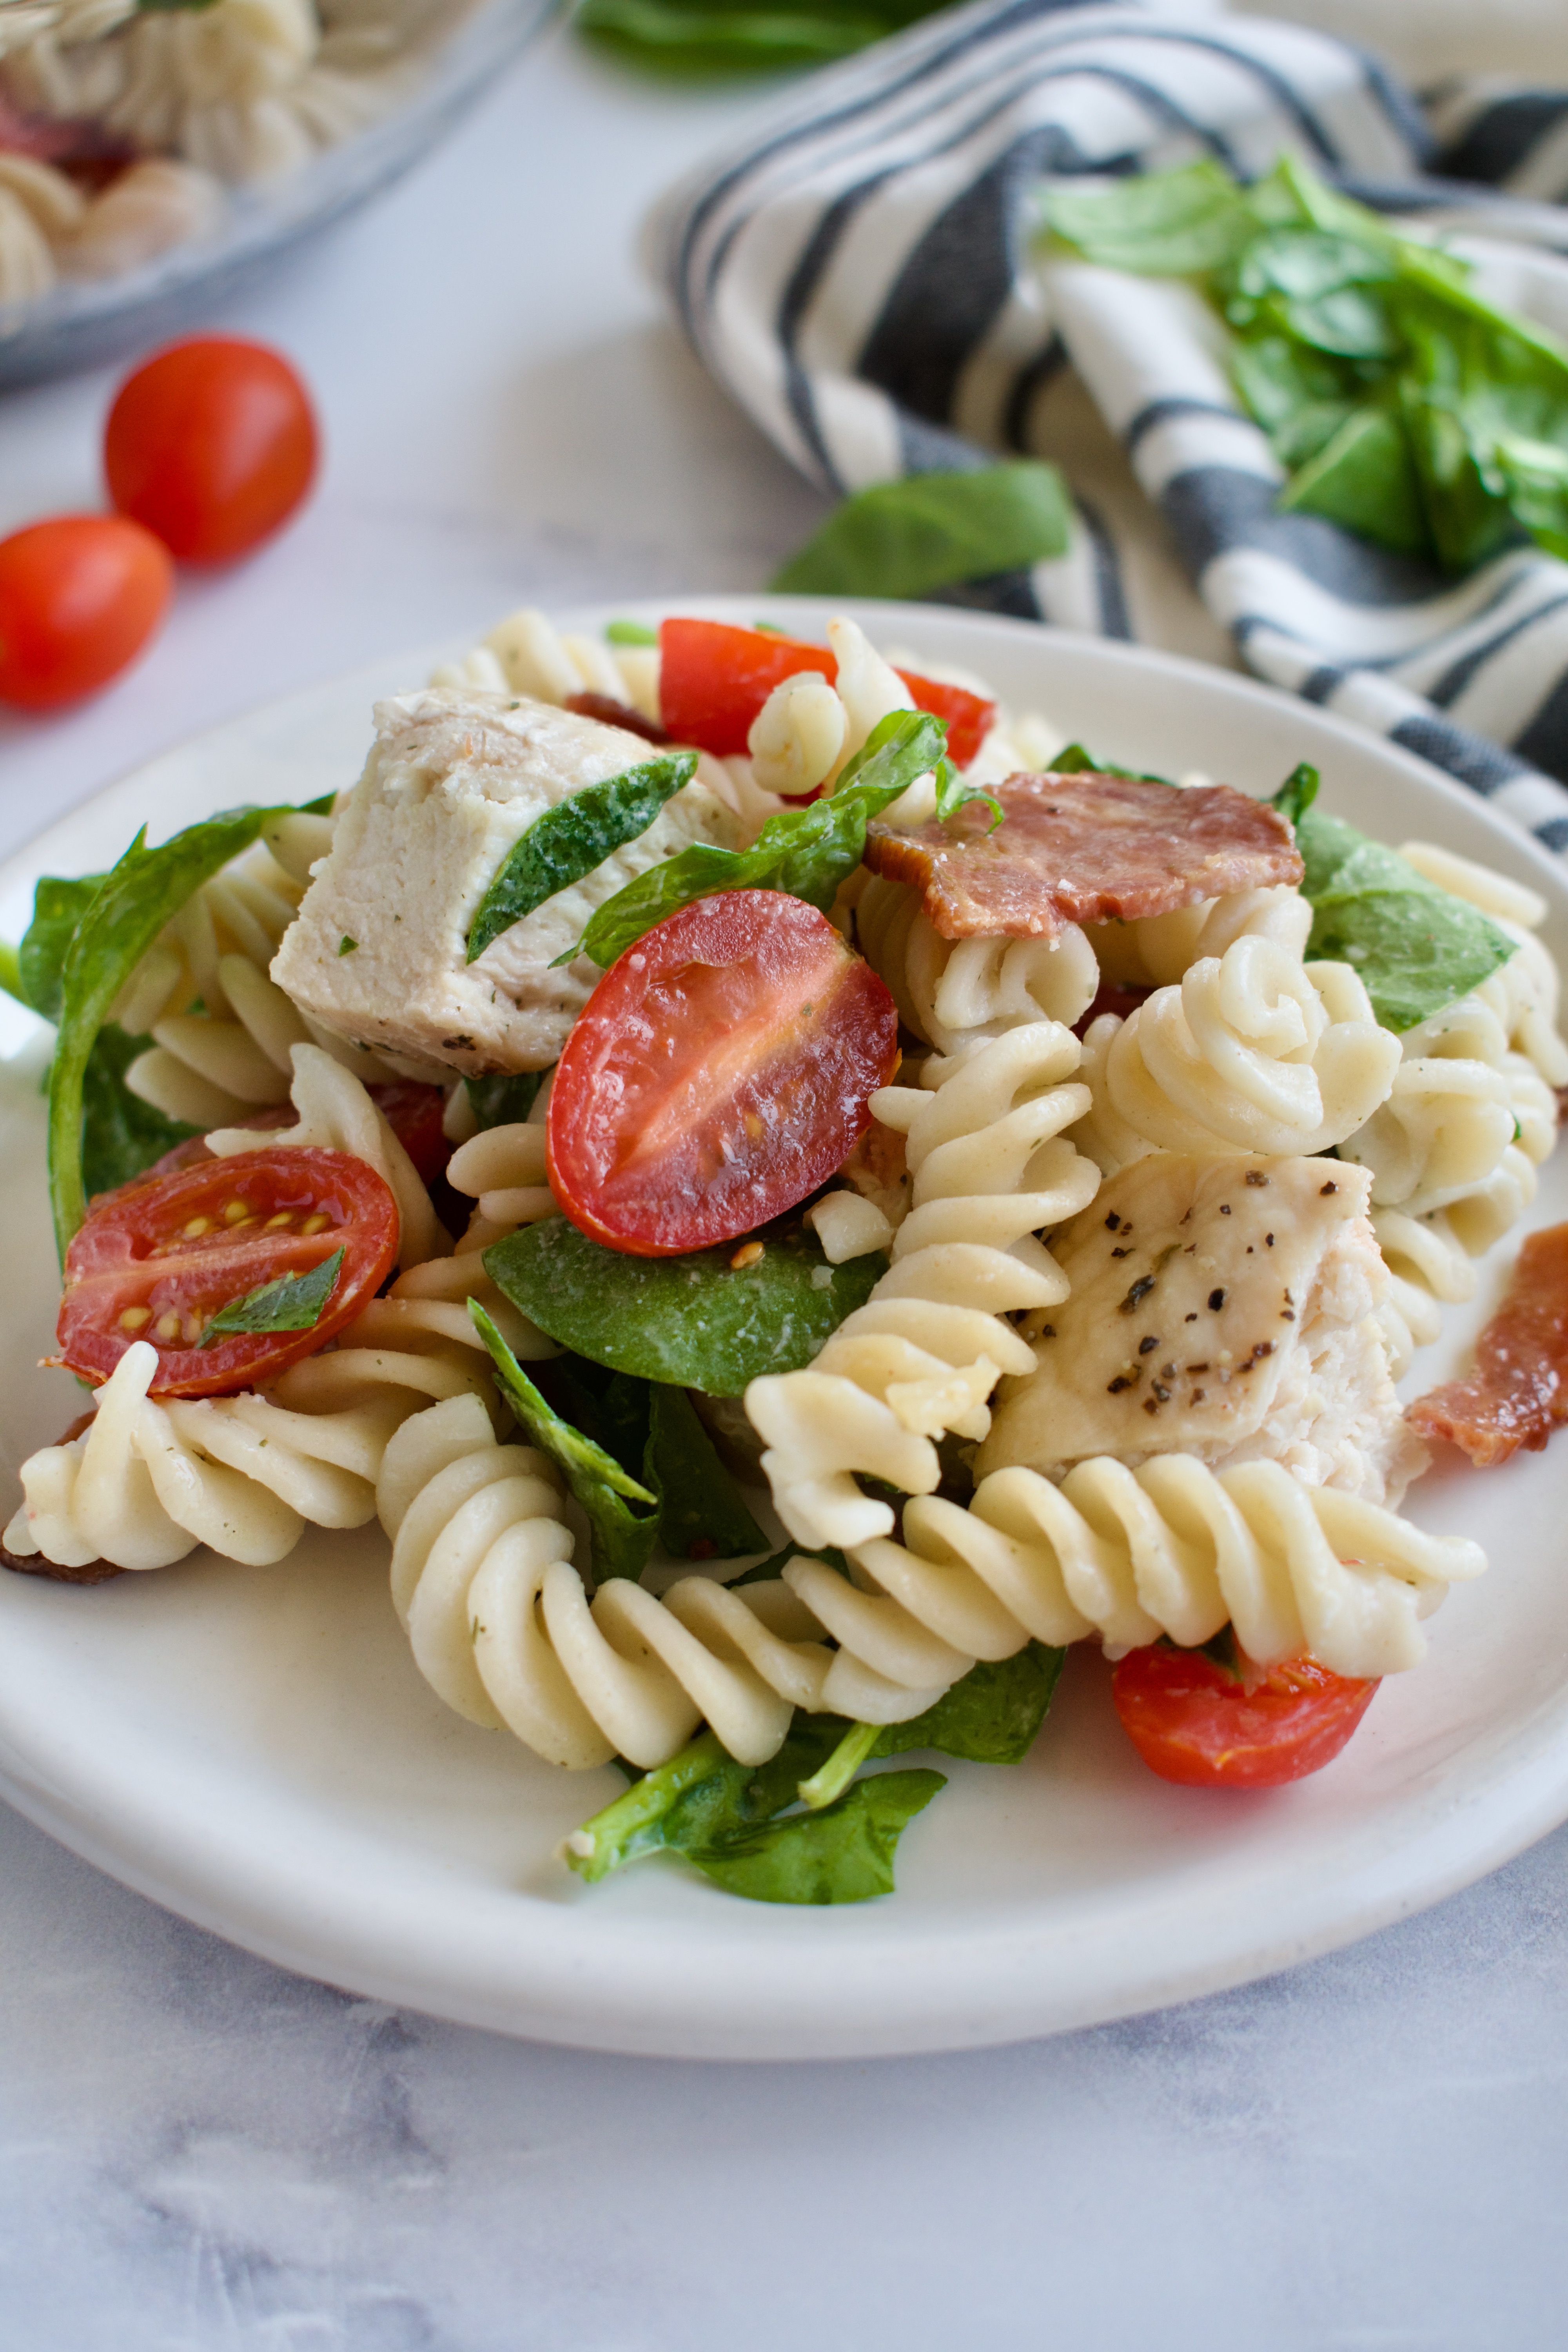
Pasta salad is a classic, but let’s combine it with another classic- a BLT. This BLT pasta salad is gluten free and dairy free and packed with the classic BLT components. Gluten free pasta is mixed with chopped bacon, tomatoes, and spinach then served with either a more classic oil and vinegar dressing or a creamy yogurt-based dressing, depending on what you like. I threw in some chicken breast for good measure and to amp up that protein content!
gluten free BLT pasta salad
Gluten Free Pasta Salad
BLT Pasta Salad Ingredients
1 16 oz box of gluten free pasta of choice
1 package bacon of choice (I used turkey bacon due to preference)
1 lbs cooked chicken breast, sliced
1-2 cups cherry tomatoes, sliced in half
2 large handfuls spinach, chopped
Pasta Salad Dressing
Option 1: creamy ranch style dressing
1/2 cup Greek or vegan yogurt
1 tsp apple cider vinegar
1 Tbsp garlic infused olive oil
1/4 tsp dried cilantro
1/4 tsp salt
Option 2: traditional oil and vinegar dressing
1/4 cup olive oil
1/4 cup balsamic vinegar
1 Tbsp rice wine vinegar
1/2 tsp dried cilantro
1 tsp dried oregano
1/4 tsp salt
pepper, to taste
Instructions
Cook and drain your pasta according to the box and set aside.
While pasta is cooking, cook your bacon your preferred way.
When bacon is done, chop into bite size pieces.
Toss all ingredients for the salad together in a large bowl.
Mix all ingredients together for whichever dressing you prefer then pour over the salad and mix to combine.
This pasta salad is a gluten free take on the classic BLT. Packed with gluten free pasta, fresh veggies, chicken and bacon, it's the perfect meal prep or family dinner!
Course Main Course
Cuisine American
Keyword dairy free, gluten free
Prep Time 20 minutesminutes
Cook Time 20 minutesminutes
Total Time 45 minutesminutes
Servings 4-6 servings
Author Victoria Faling
Ingredients
116 oz box of gluten free pasta of choice
1package bacon of choice
1lbscooked chicken breast, sliced
1-2 cupscherry tomatoes, sliced in half
2large handfulsspinach, chopped
Dressing
Option 1: creamy ranch style dressing
1/2cupGreek or vegan yogurt
1tspapple cider vinegar
1Tbspgarlic infused olive oil
1/4tspdried cilantro
1/4tspsalt
Option 2: traditional oil and vinegar dressing
1/4cupolive oil
1/4cupbalsamic vinegar
1Tbsprice wine vinegar
1/2tspdried cilantro
1tspdried oregano
1/4tspsalt
pepper, to taste
Instructions
Cook and drain your pasta according to the box and set aside.
While pasta is cooking, cook your bacon your preferred way.
When bacon is done, chop into bite size pieces.
Toss all ingredients for the salad together in a large bowl.
Mix all ingredients together for whichever dressing you prefer then pour over the salad and mix to combine.
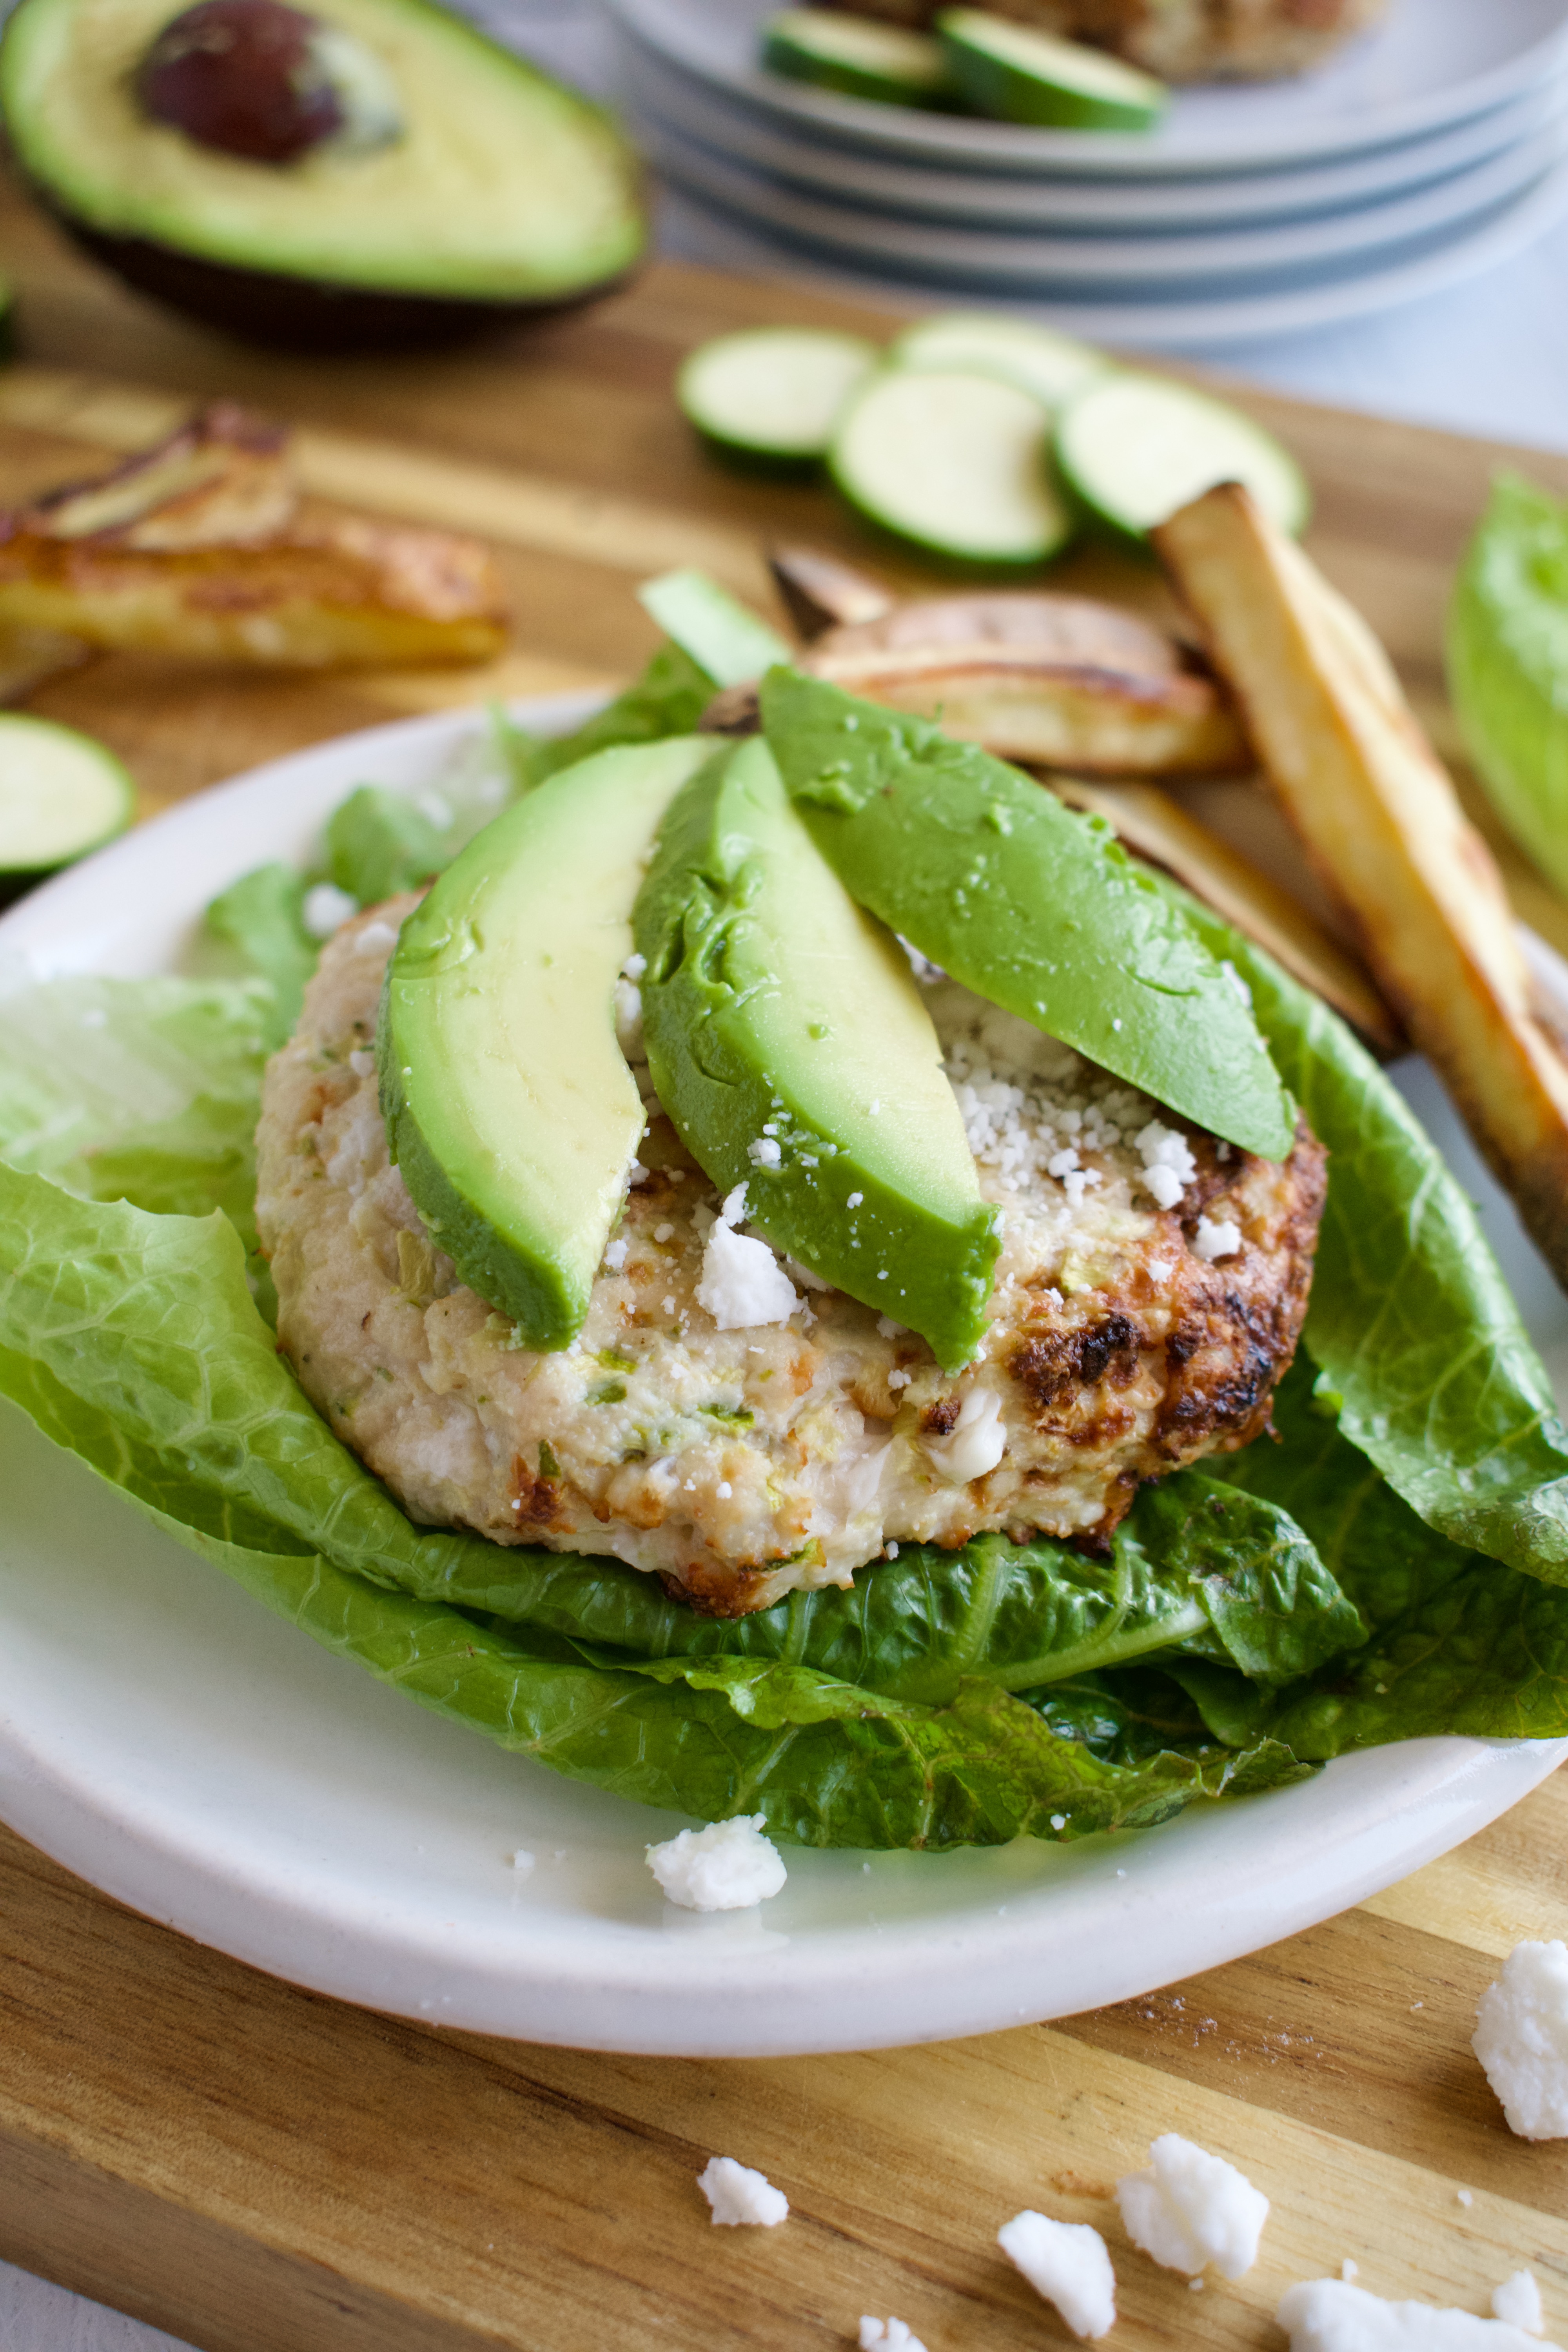
If you’ve got summer zucchini, then you have to make these Zucchini Feta Turkey Burgers. Shredded zucchini and (vegan) feta are mixed into ground turkey for juicy and flavorful burgers!
zucchini feta turkey burgers
I love amping up a classic burger and these zucchini feta burgers really take it up a few notches. The zucchini helps keep the burgers moist and the feta adds so much delicious flavor. I use a vegan feta to keep these turkey burgers dairy free and it’s just as delicious.
zucchini feta turkey burgers
Ingredients for Zucchini Feta Turkey Burgers
1 lbs ground turkey breast
3/4 cup shredded zucchini, about 1 medium zucchini
1/2 cup (vegan) feta 2-3 oz. I love the Follow Your Heart feta crumbles
1 tsp dried oregano
1/4 tsp salt
How to Cook These Turkey Burgers
These burgers are super easy to make and come together in under 30 minutes. You can cook these turkey burgers three different ways:
Grill: cook on high for 4-5 minutes on each side, until internal temperature reaches 165F.
Air Fry: cook at 360F for about 10-15 minutes, until internal temperature reaches 165F.
Bake: cook at 375F for about 15-20 minutes, until internal temperature reaches 165F.
How to Serve Turkey Burgers
Since these turkey burgers already have a lot of flavor, they don’t need a ton of toppings. They still taste great on a gluten free bun with any traditional toppings, though, like sliced tomato, onion, lettuce, or avocado.
I love serving them alongside some sweet potato fries or a big, fresh salad.
These turkey burgers are so juicy, packed with flavor, and made in under 30 minutes! Fresh zucchini and feta are mixed with ground turkey and grilled for the perfect summer burger. These gluten free burgers can be made dairy free by using a vegan feta.
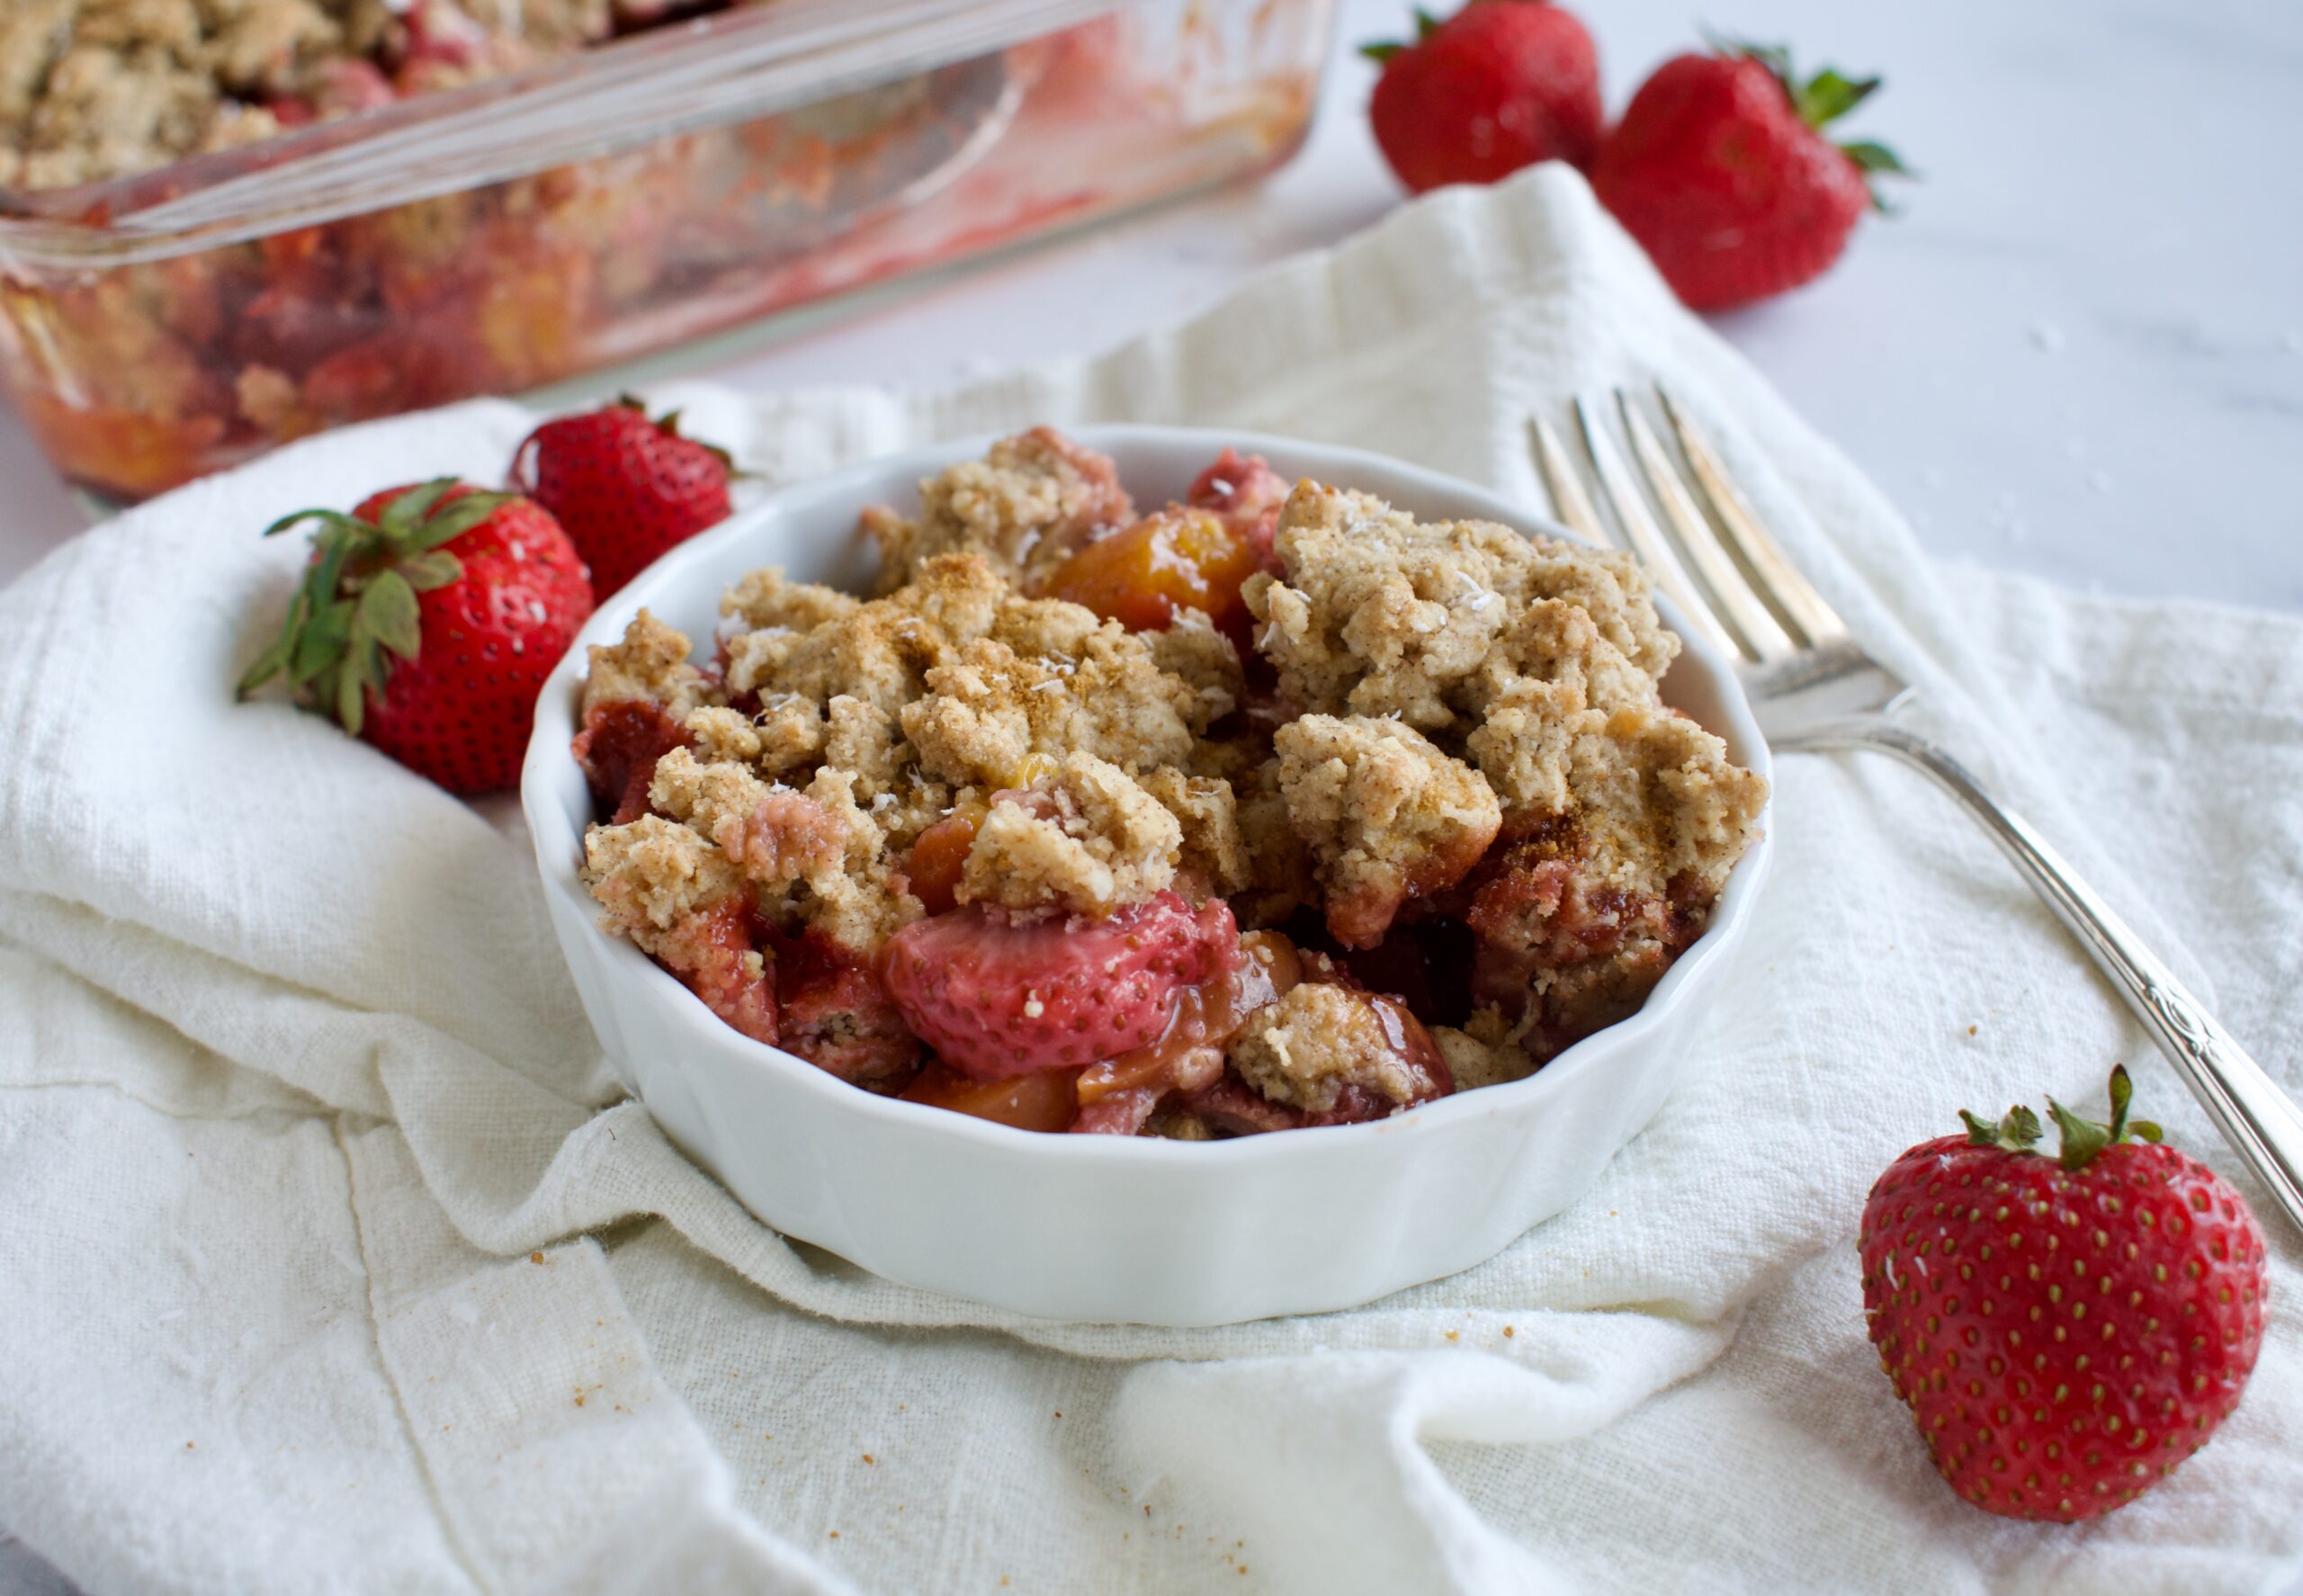
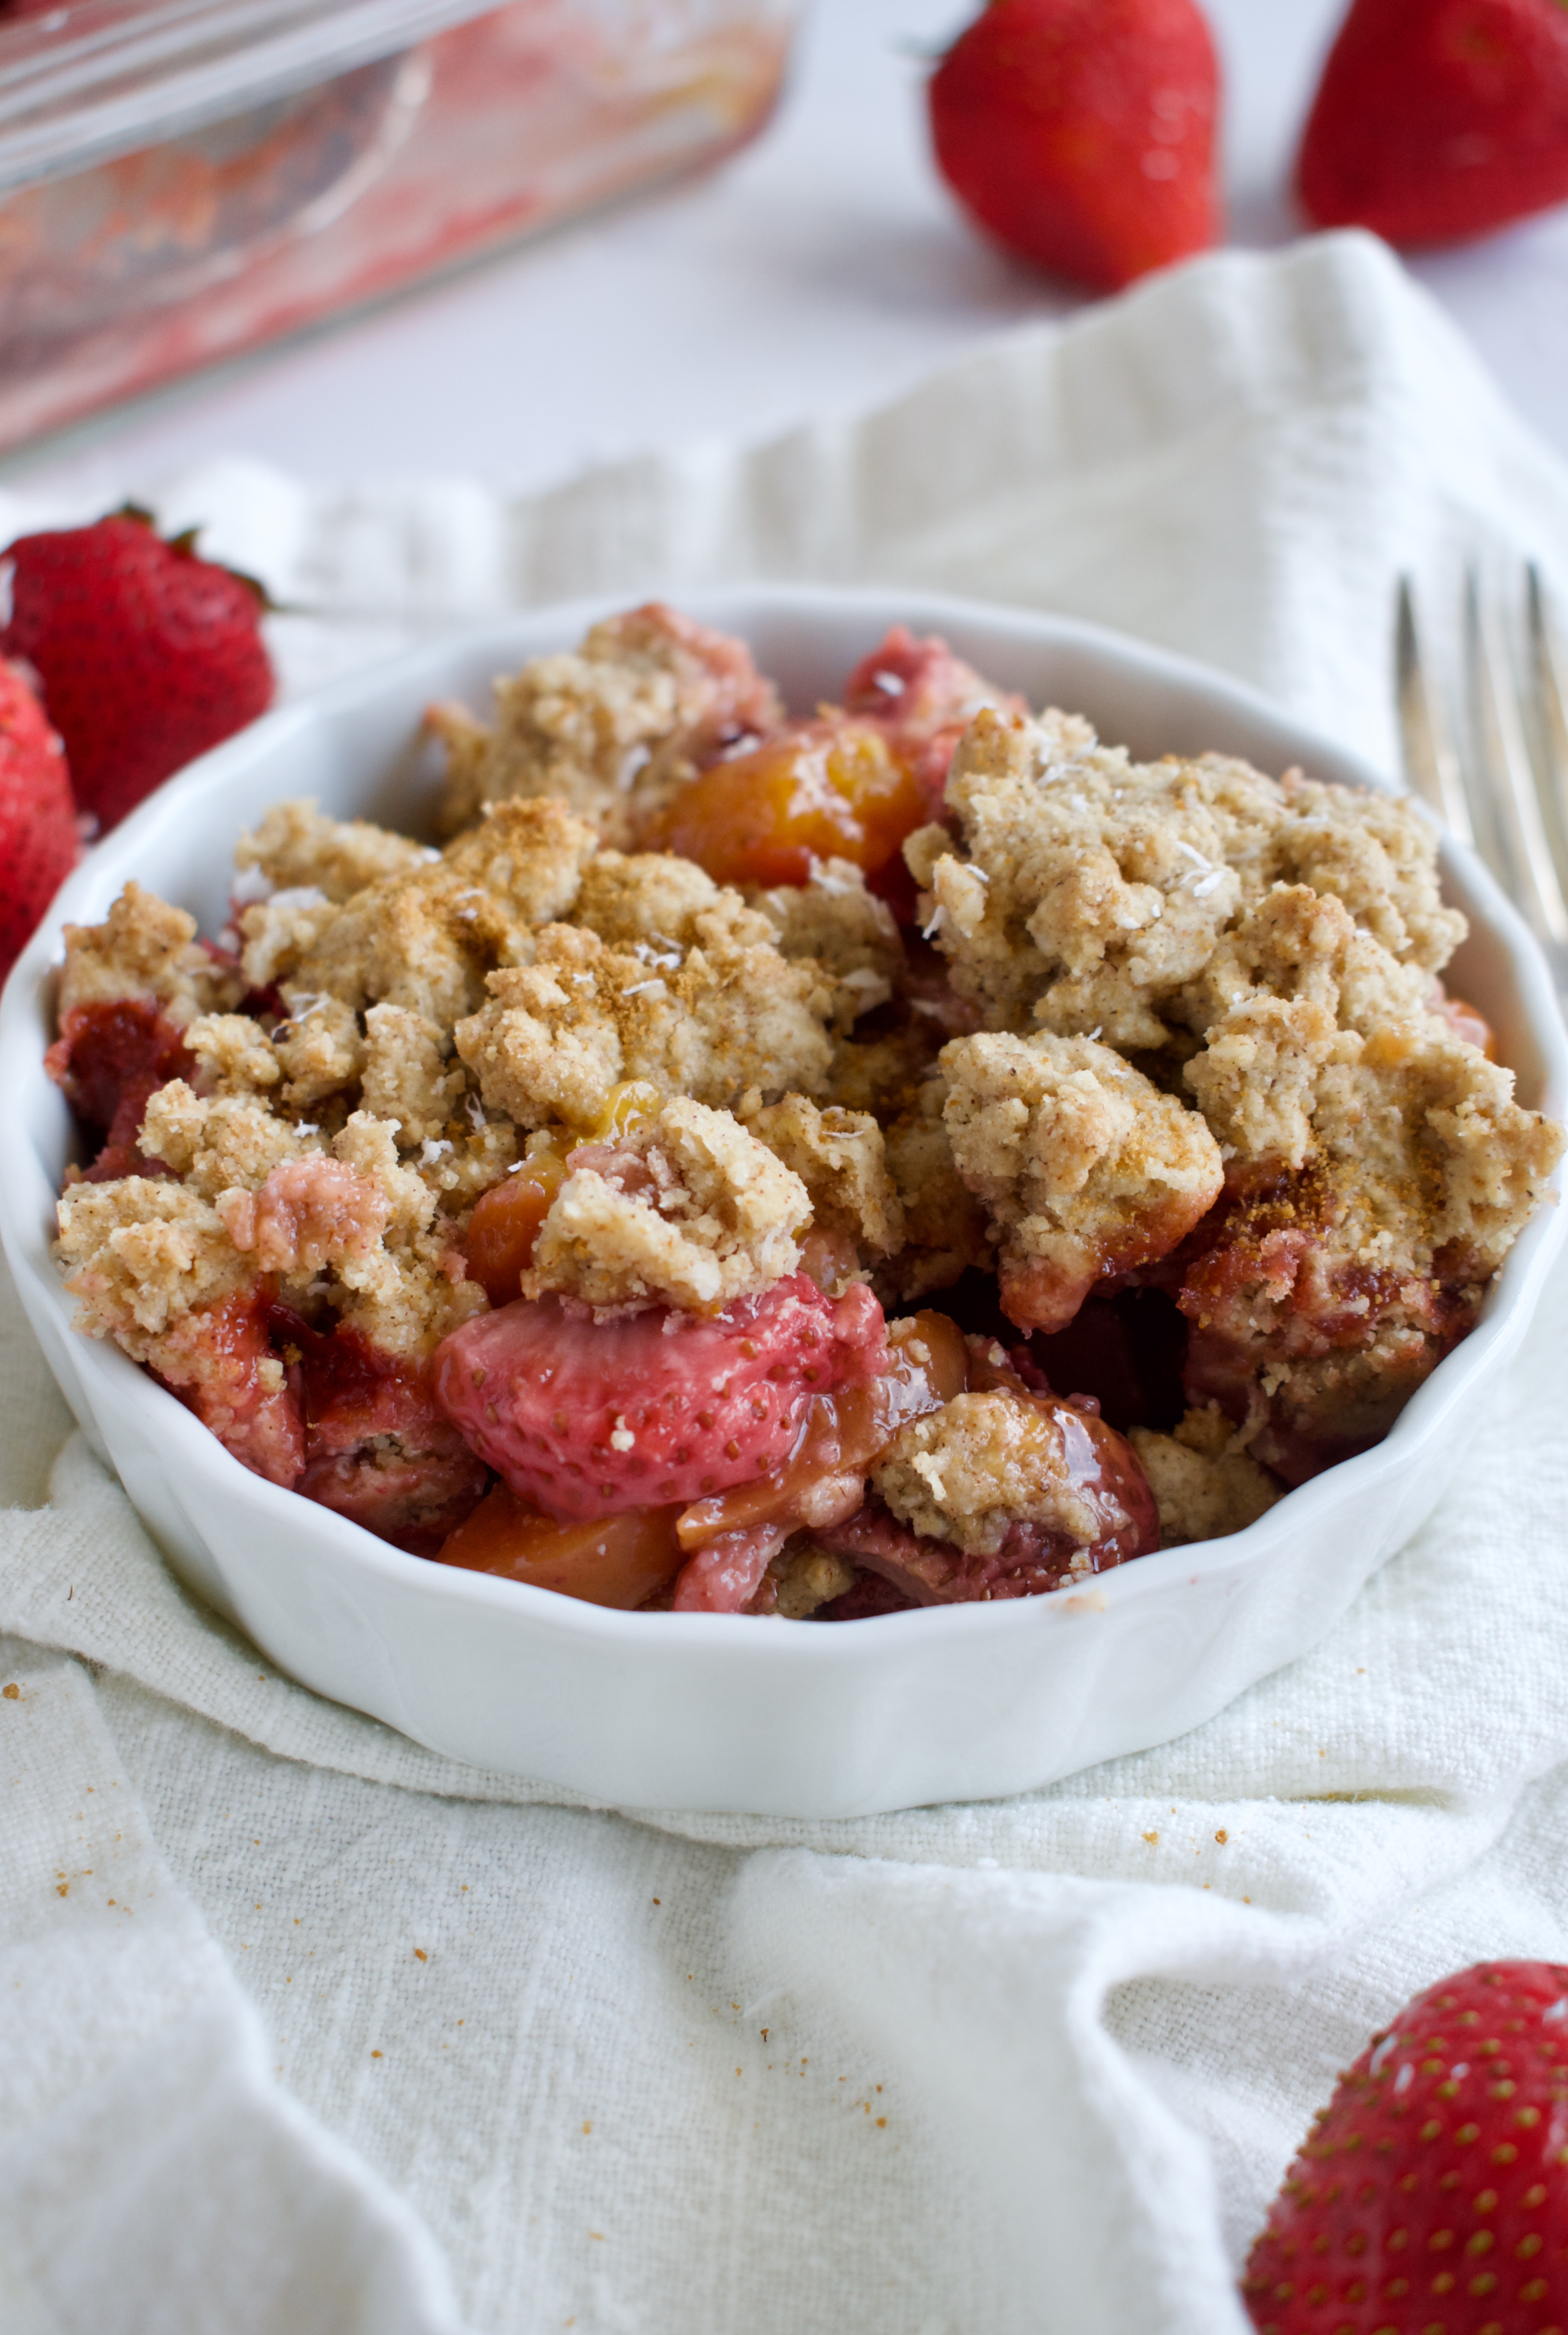
Fresh fruit is topped with a completely gluten free crumble topping to make the easiest and yummiest summer Paleo Crumble dessert!
paleo fruit crumble
I’ve been making this crumble for years and after sharing the recipe with my mom, she’s now made it more than me. You could say this is a go-to dessert recipe in our house. We love making it with fresh summer fruit. It truly highlights the natural sweetness of fruit and has the perfect amount of doughy crumble topping.
Besides being an easy dessert recipe, the second best part about this fruit crumble is that is allergy friendly. It is completely gluten free, vegan, Paleo and Autoimmune Paleo friendly!
gluten free strawberry peach crumble
How to Make Paleo Fruit Crumble
This fruit crumble is super easy to make and the perfect dessert to whip up when you’re craving something sweet or need a last minute dessert for a get together.
Tigernut flour or almond flour (to keep this recipe nut free and AIP, use tigernut flour)
Coconut flakes or oats
Cinnamon
Salt
Maple Syrup
Coconut Oil
Vanilla
Instructions
Preheat oven to 350F.
Stir all the fruit filling ingredients together and pour into a 9×9 inch baking dish. Set aside while you make the topping.
For the topping, whisk together the dry ingredients.
Add the maple syrup, 2 Tbsp of oil, and vanilla extract. Mix to combine. If the dough is too crumbly, add more oil. The dough should be somewhat whet and hold together.
Sprinkle the topping evenly over the fruit and bake for ~30 minutes until golden.
Let cool slightly before serving.
gluten free and paleo strawberry peach crumble
Fruit Crumble Ingredient Notes
Can I use other fruit?
Yes! You can truly use whatever combination of fruit you want. You’ll need about 6-8 cups of fruit. I also love making this with rhubarb. The only change you need to make if using rhubarb, is that you’ll first want to sauté the rhubarb with the filling ingredients over low heat to soften it slightly. Peach and rhubarb, strawberry and rhubarb… it’s all delicious!
Can I use frozen fruit?
Technically you can. I suggest de-frosting the fruit first and pouring off some of the juice. This crumble truly tastes best with fresh fruit, though!
What if I’m not Paleo?
If you just want to make a gluten free crumble and don’t care about it being completely grain free, feel free to use gluten free oats instead of the coconut and gluten free flour instead of the starch. You’ll still want to use tigernut or almond flour, though.
This easy crumble can be made year round with almost any fruit, but it's a go-to summer dessert with all the fresh berries! Topped with a fully paleo, gluten free, and vegan crumble, you'll love this simple dessert recipe.
Stir all the fruit filling ingredients together and pour into a 9×9 inch baking dish. Set aside while you make the topping.
For the topping, whisk together the dry ingredients.
Add the maple syrup, 2 Tbsp of oil, and vanilla extract. Mix to combine. If the dough is too crumbly, add more oil. The dough should be somewhat whet and hold together.
Sprinkle the topping evenly over the fruit and bake for ~30 minutes until golden.
Let cool slightly before serving. Keep stored in the fridge.
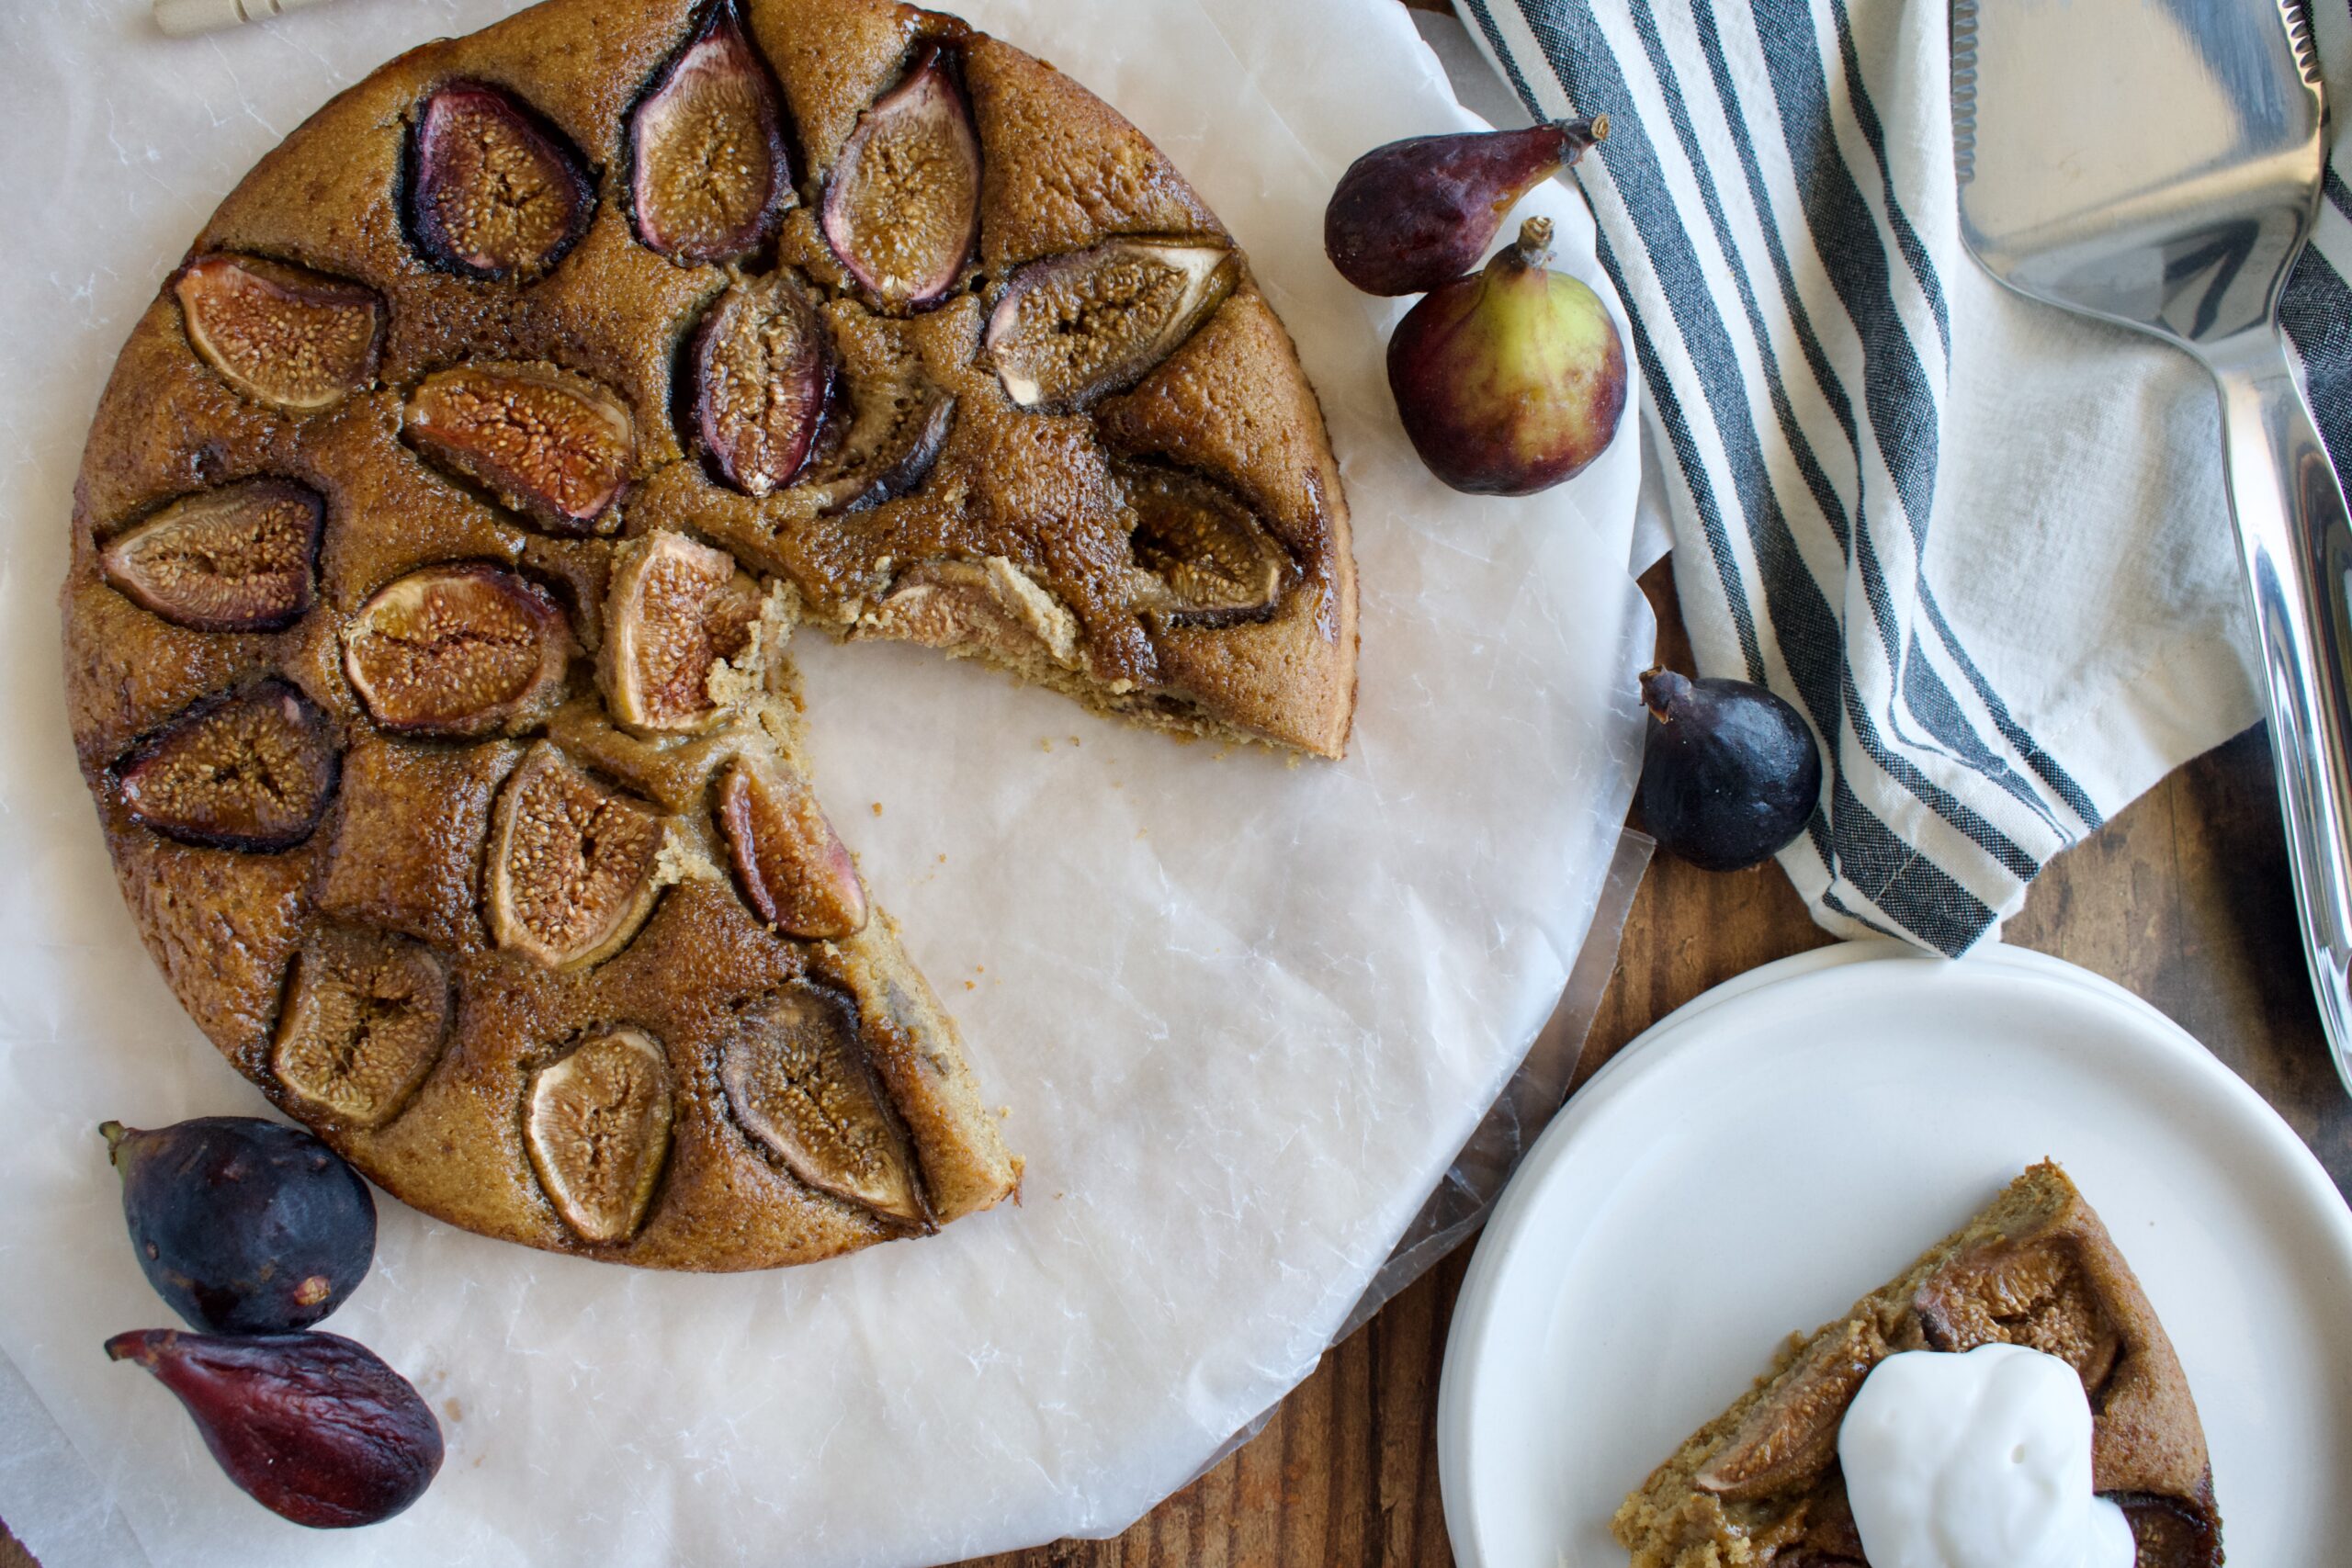
Use fresh summer figs in this delicious Gluten Free Fig Cake that is also dairy free, nut free, and refined sugar free. This super easy cake can be whipped up quickly and with little effort.
gluten free fig cake
This Fig Cake recipe is originally an old recipe from a newspaper that my mom has been making for years. The original recipe contains gluten and almonds, so I thought it would be fun to recreate a gluten free, nut free, and allergy friendly version of this cake. It’s quite a simple cake, but it’s delicious and the perfect summer dessert.
gluten free, dairy free, and nut free fig cake
To make this cake gluten free, I used a combination of 1:1 gluten free flour and tigernut flour. Tigernut flour is my favorite almond flour substitute. Tiger nuts are tubers, not nuts, but they have the same sweet-nutty flavor, making them the perfect almond flour sub.
I also made this cake completely dairy free by using vegan butter or coconut oil instead of regular butter. I’ve tested the recipe with both vegan butter and coconut oil and it works with either. I’m sure it would even work with olive oil!
Grease a tart pan or line a springform pan with parchment paper and set aside.
De-stem and slice your figs in half, set aside.
Whisk together the dry ingredients.
Beat together the wet ingredients.
Add dry to wet and combine.
Pour the batter into your prepared pan and then arrange the figs cut side up.
Sprinkle with coconut sugar.
Bake for about 40 minutes.
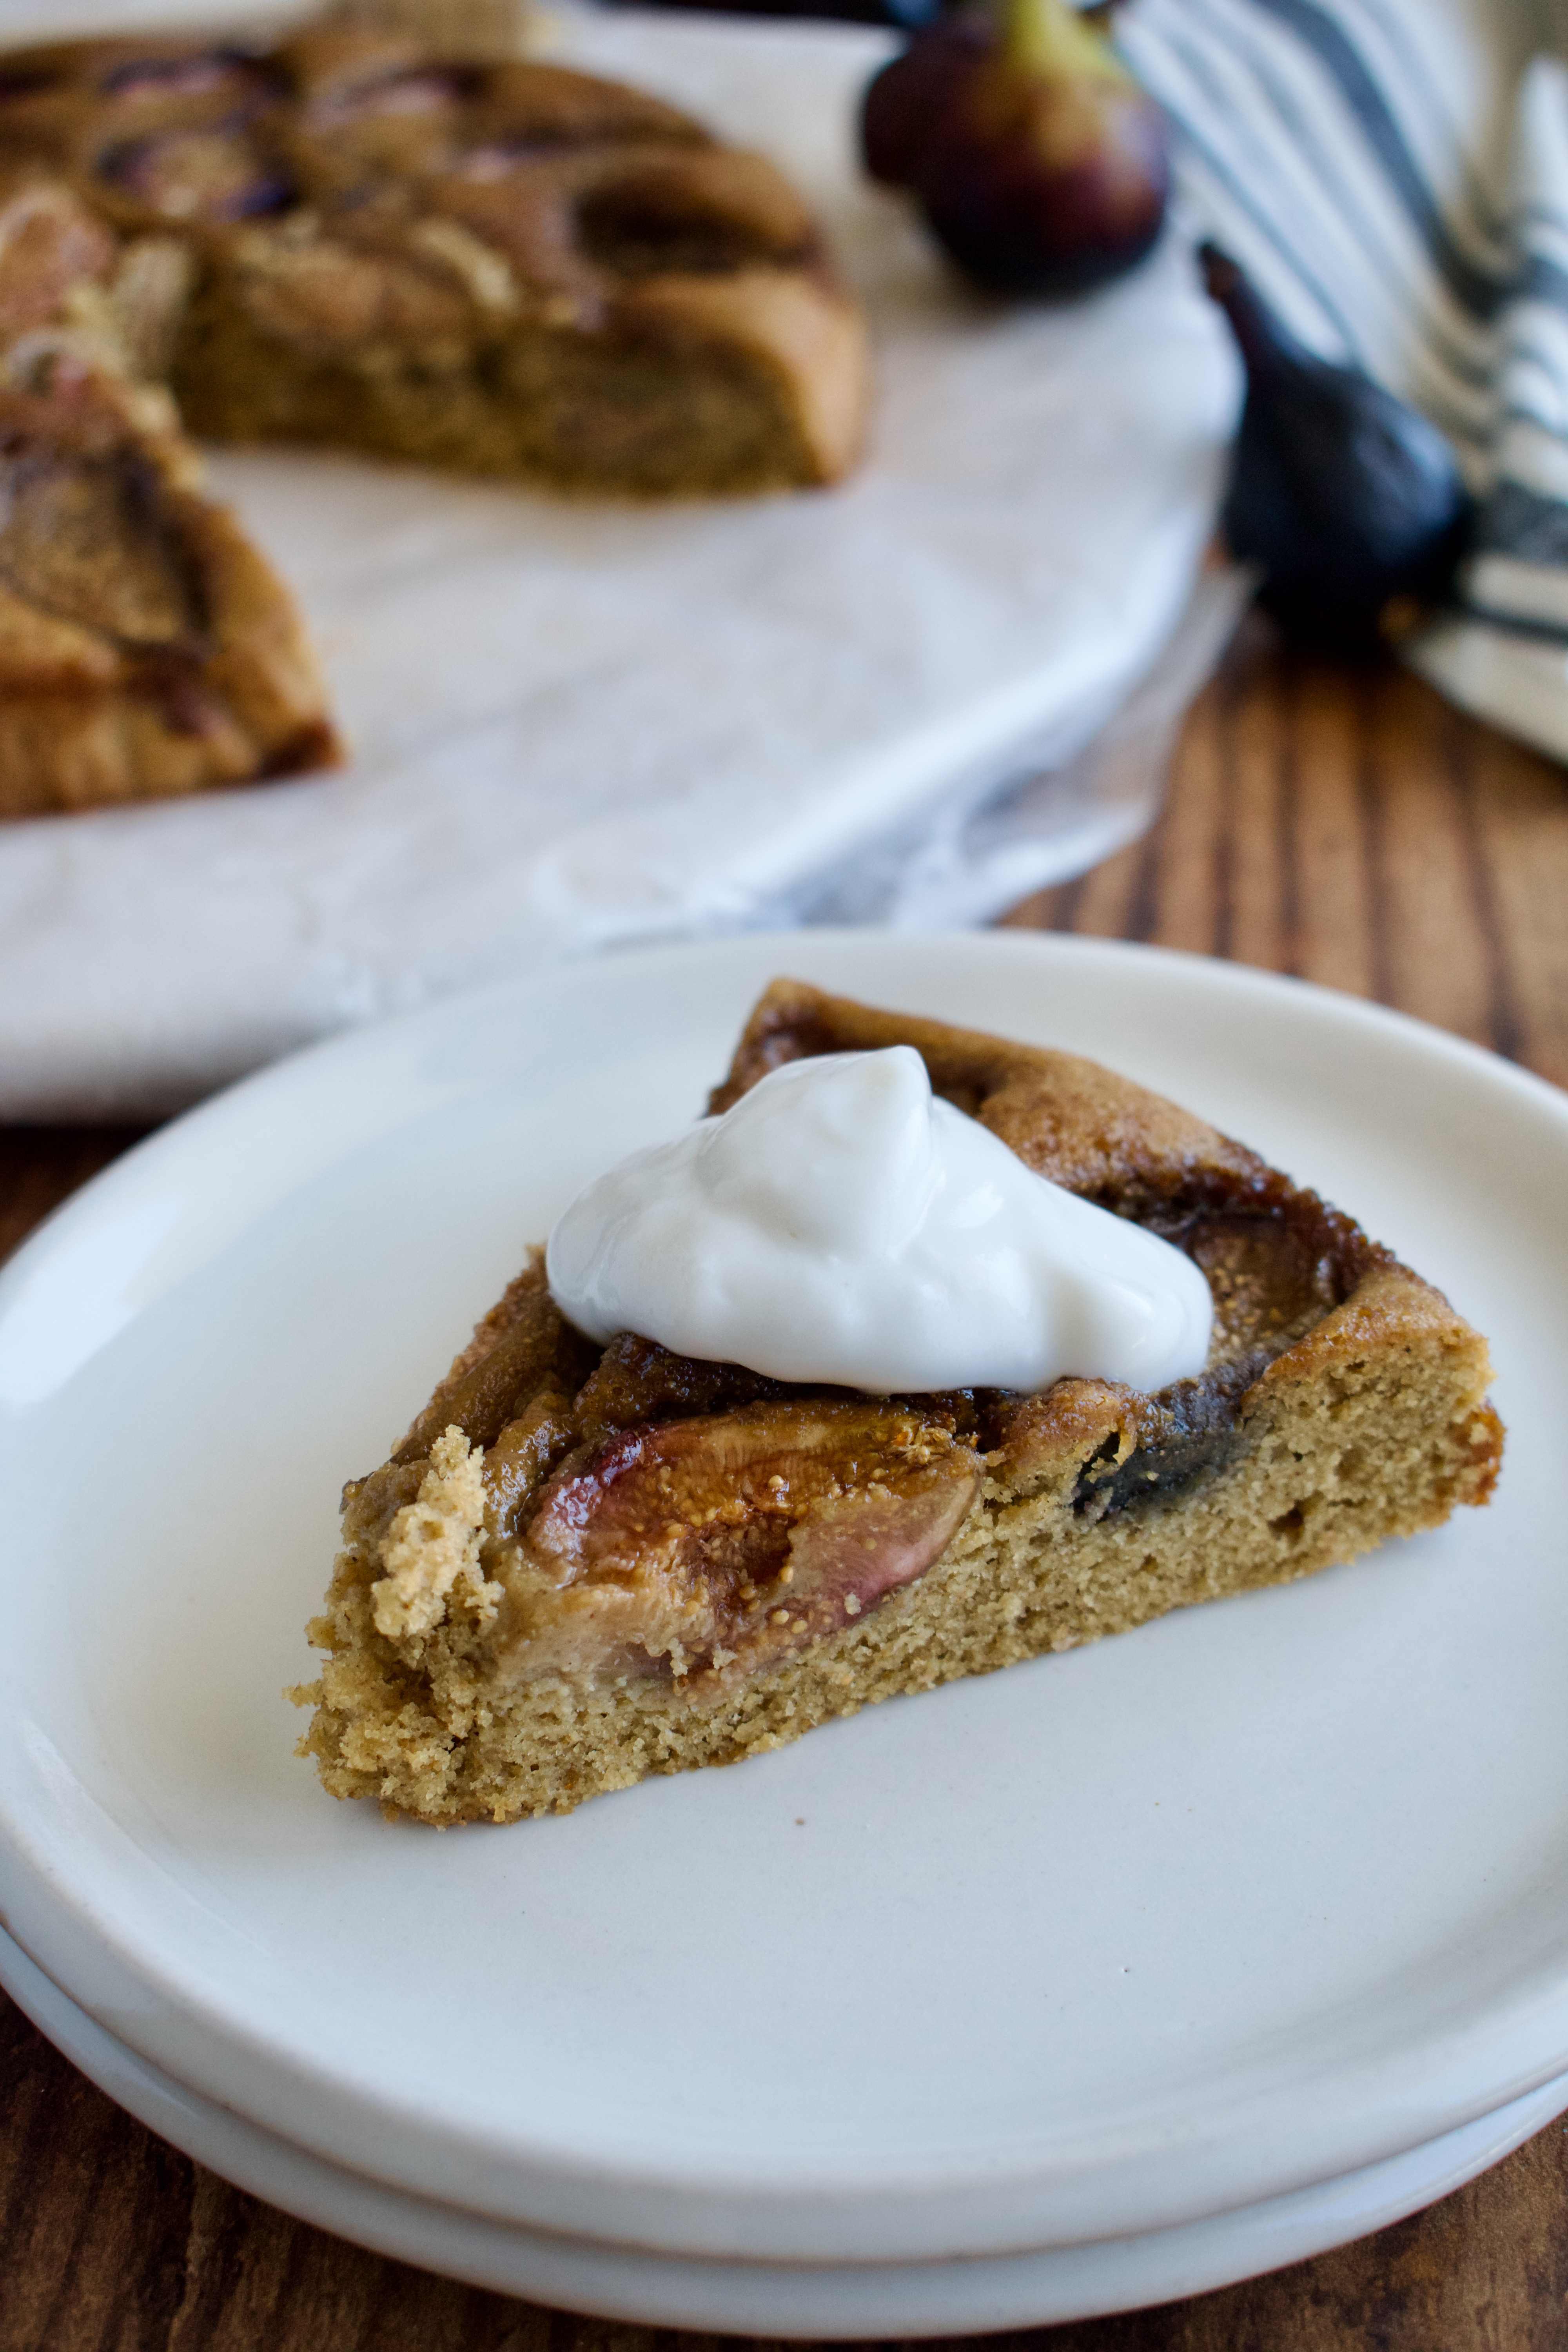
Let cool then serve with ice cream or whipped cream.
Can I use dried figs?
This cake is designed to be made with fresh figs and I have never tested it with dried figs. If you have no other option, I suggest soaking the dried figs in hot water for 10-20 minutes to rehydrate them before using. You do want the moisture from the fruit for this cake.
The best way to use fresh summer figs is in this gluten free fig cake that is also dairy free, nut free, and refined sugar free. This is the perfect summer dessert that you must try!
Grease a tart pan or line a springform pan with parchment paper and set aside.
De-stem and slice your figs in half, set aside.
Whisk together the flours, 1/4 cup coconut sugar, baking powder, cinnamon, and salt and set aside.
In a large bowl, beat together the melted butter/oil, eggs, maple syrup or honey, and vanilla until combined. Add the dry ingredients and mix on low until just combined.
Pour the batter into your prepared pan and then arrange the figs cut side up. I like to do this in concentric circles.
Sprinkle the extra tablespoon of coconut sugar on top.
Bake for about 40 minutes, until a toothpick comes out just clean.
Let cool before removing from the springform pan or slicing if in the tart pan.
Serve with your favorite ice cream or whipped cream and enjoy!
Hi! I'm Victoria. I was diagnosed with Lyme in 2012 and have been on a healing journey ever since. I love helping others on their road to healing through allergy friendly recipes, exercise, and overall well-being.