Gluten Free
Every recipe on y site is fully gluten free! Explore main dishes and dessert recipes to find what fits your needs.
-
Golden Milk Ice Cream Sandwiches (Gluten Free & Dairy Free)
-
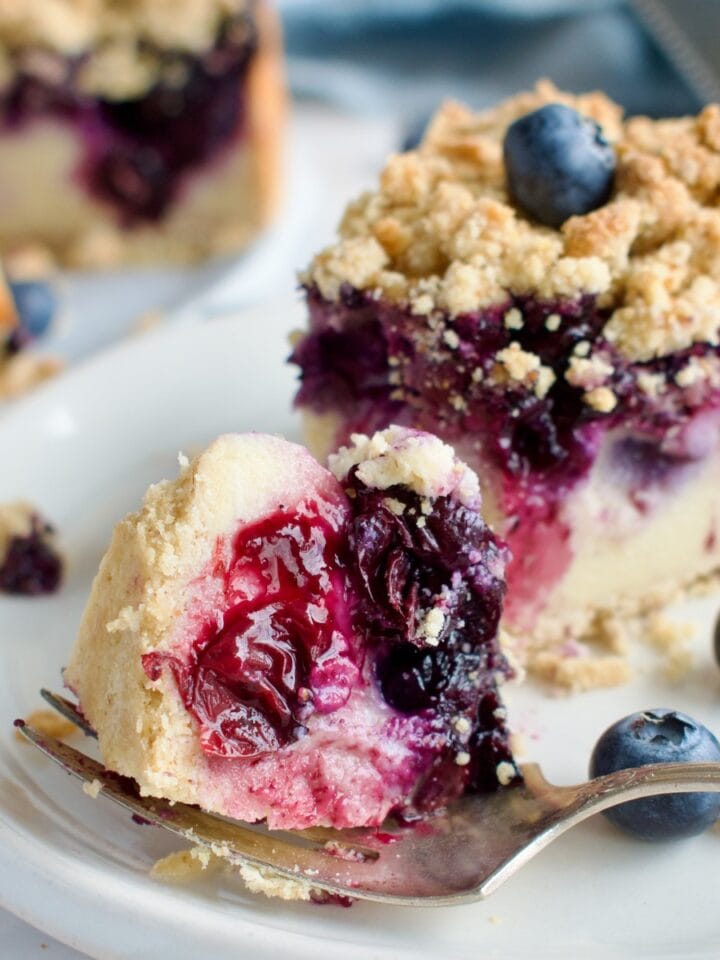
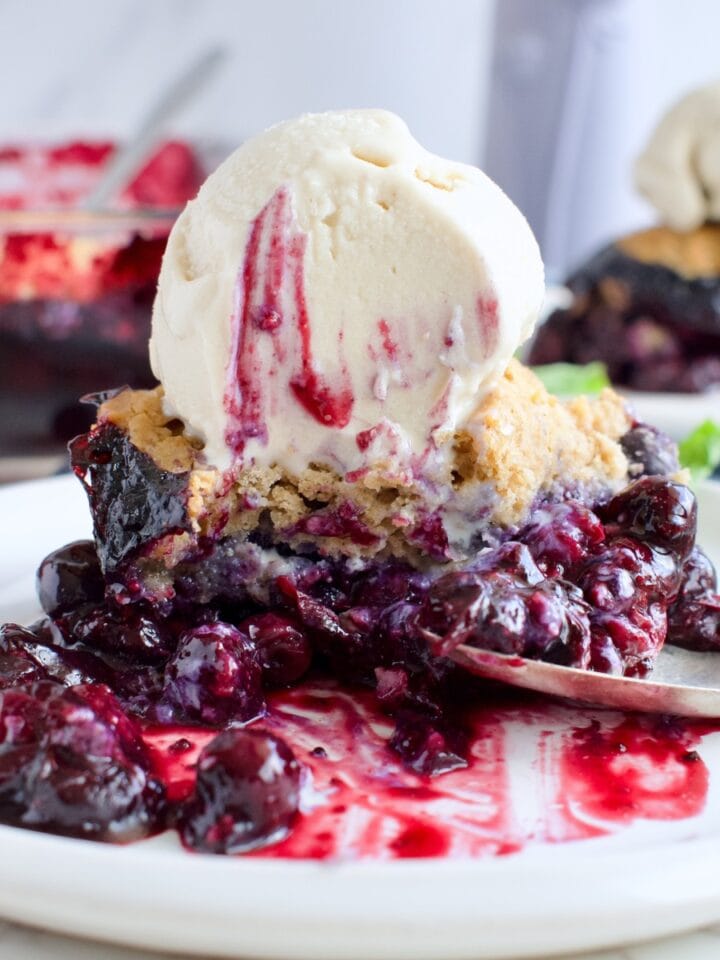
Gluten Free Blueberry Crumble Cheesecake (Dairy Free)
-
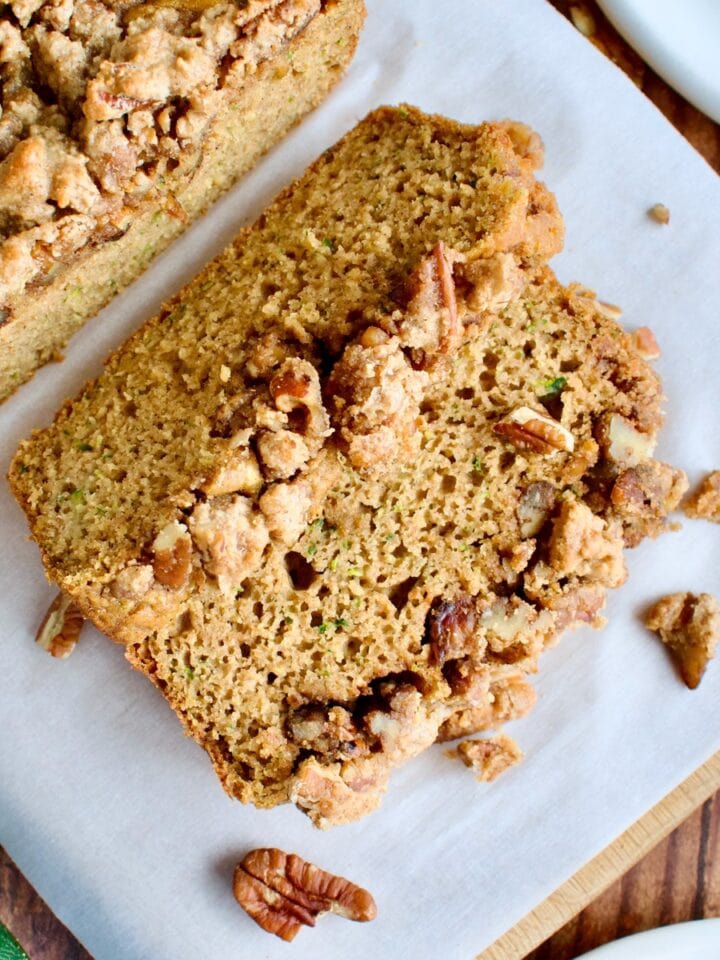
Gluten Free Zucchini Bread with Pecan Crumble
-
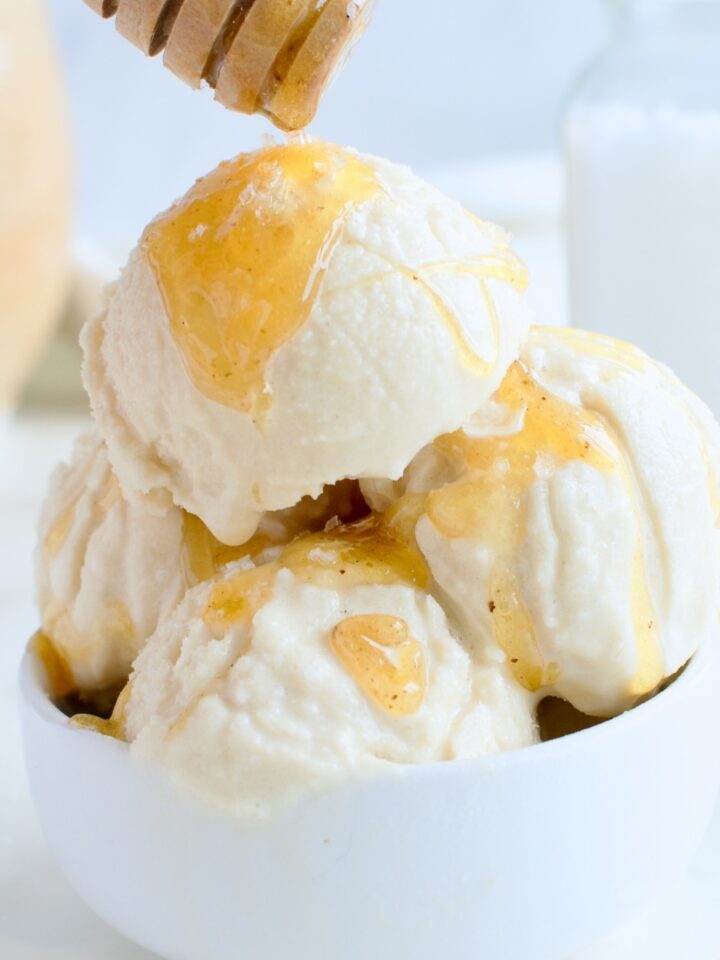
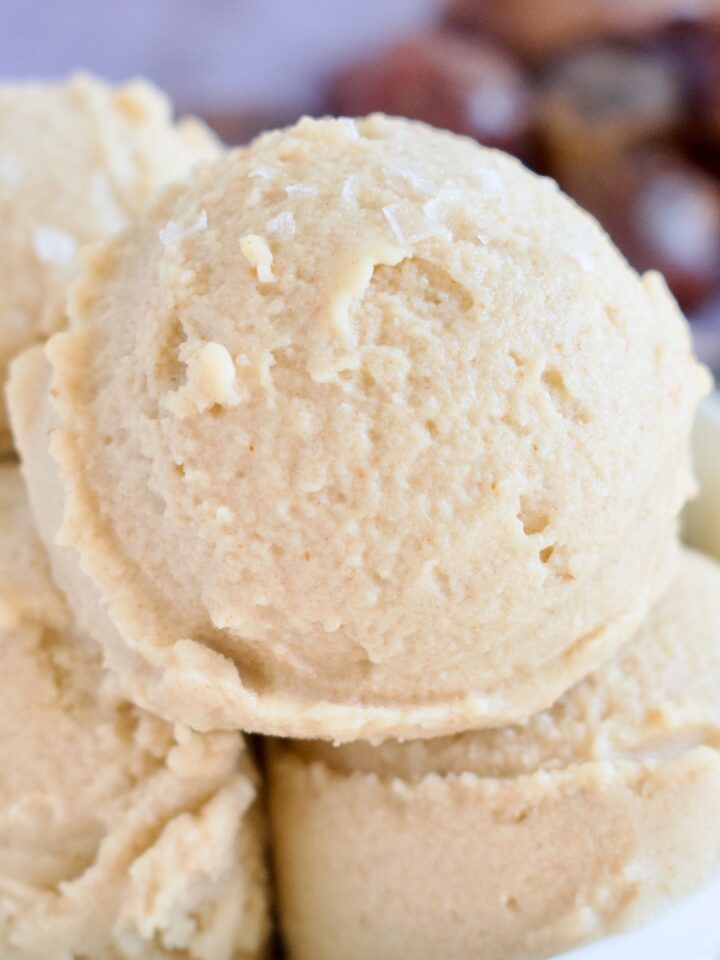
Dairy Free Salted Honey Ice Cream (Paleo, AIP)
-
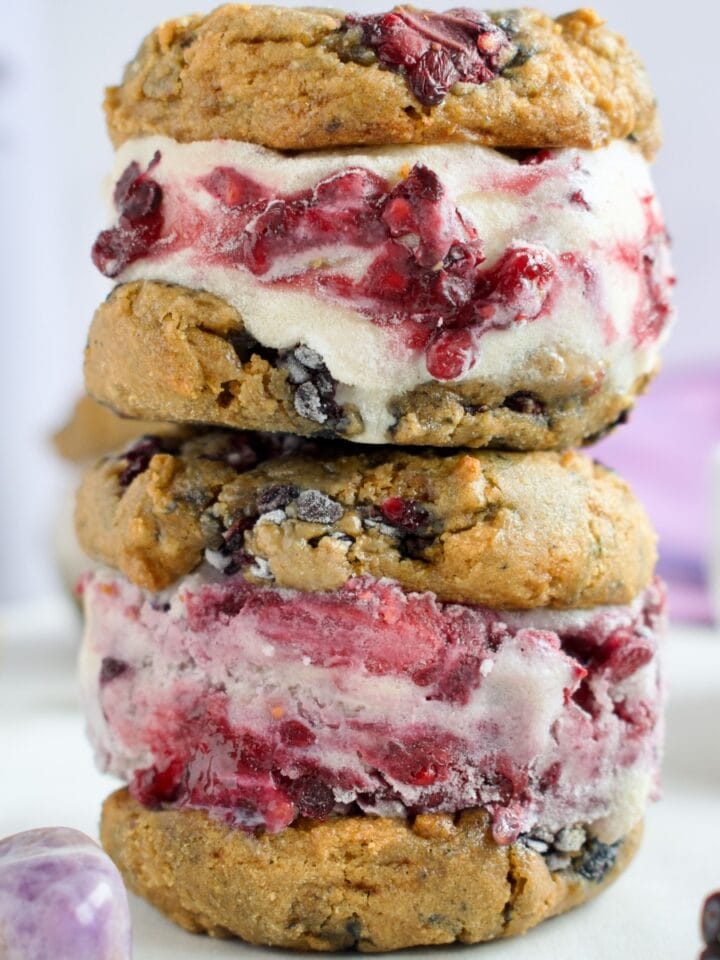
Gluten Free Blackberry Swirl Ice Cream Sandwiches (Dairy Free)
-
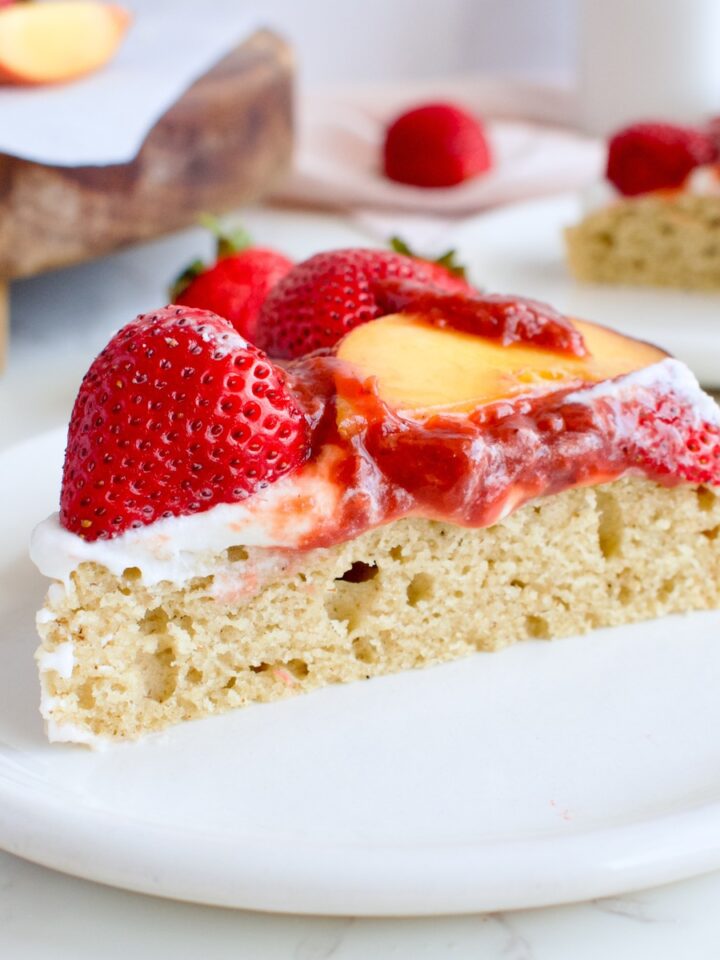
Gluten Free Strawberry Shortcake Cake with Peaches (Dairy Free)
-
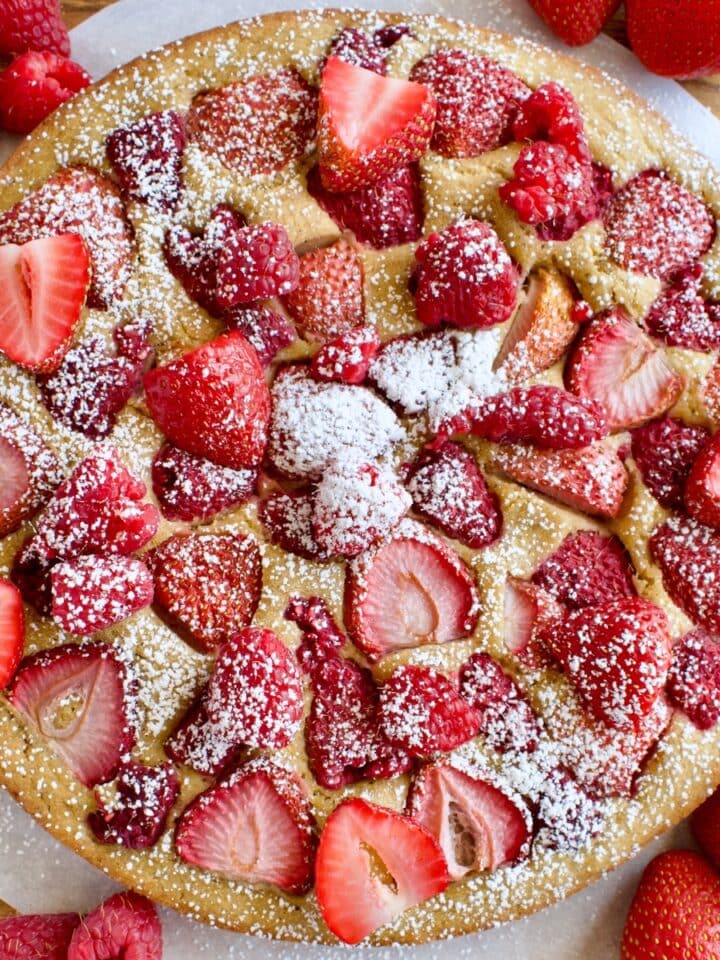
Gluten Free Strawberry Raspberry Cake (Dairy Free, Refined Sugar Free)
-
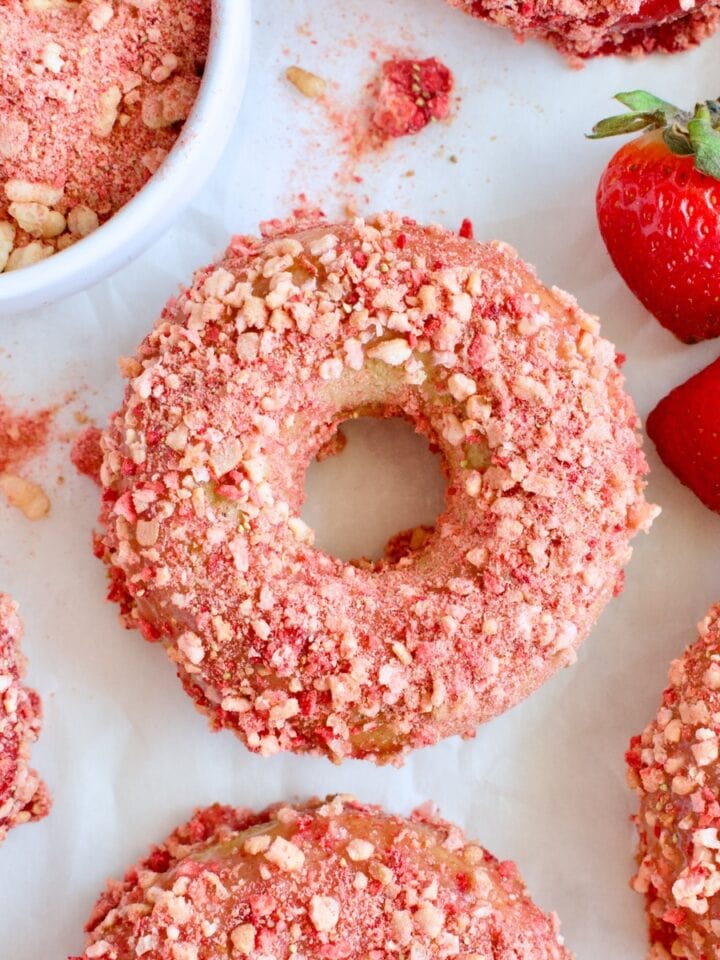
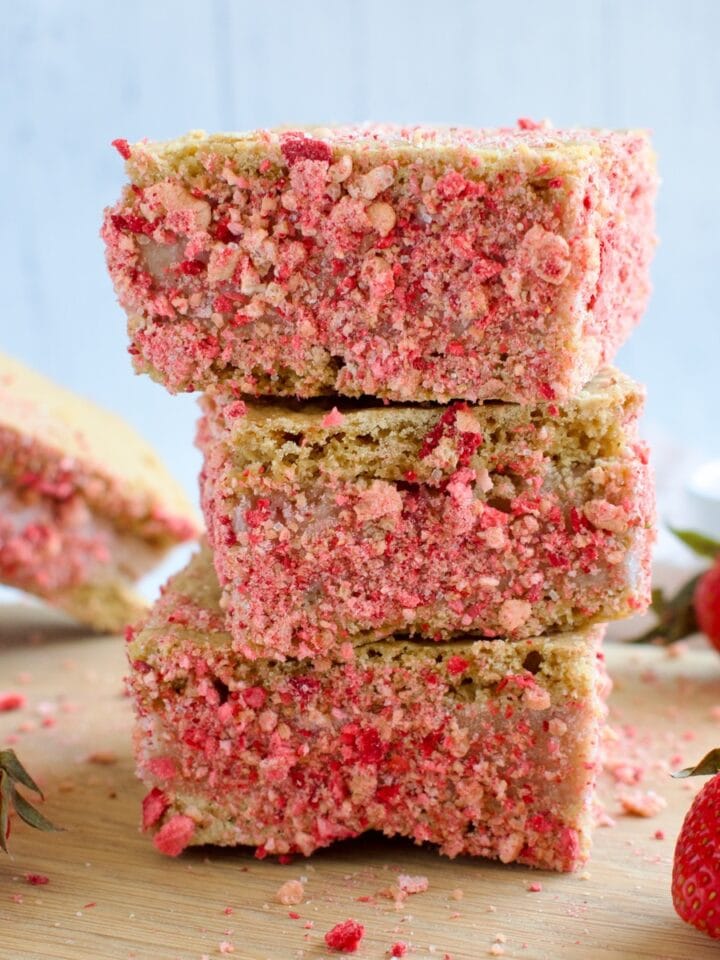
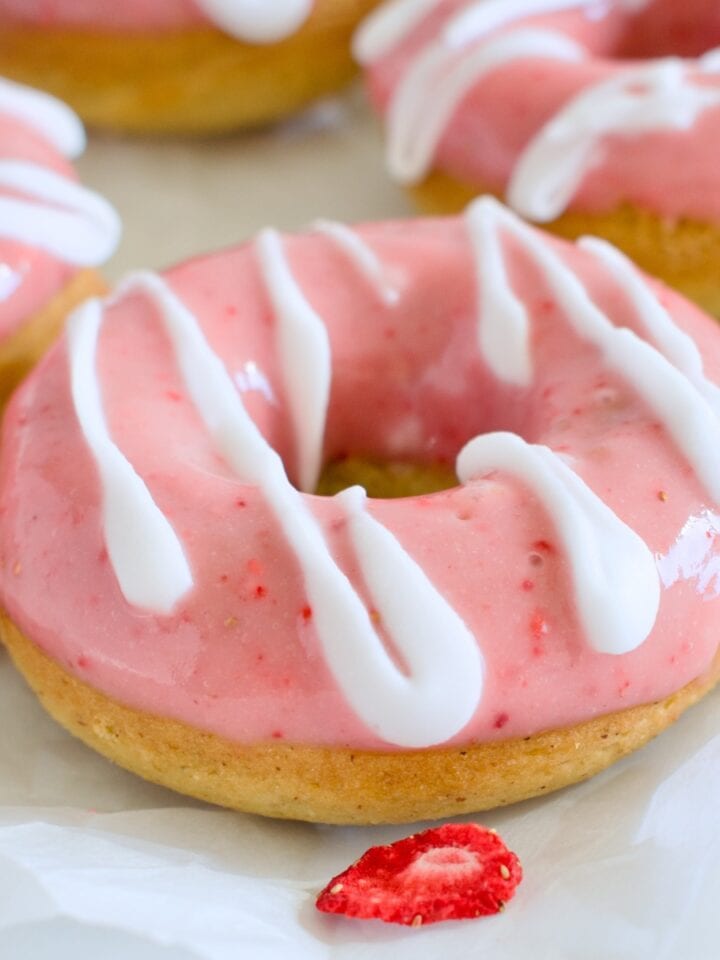
Gluten Free Strawberry Crunch Donuts (Dairy Free)
-
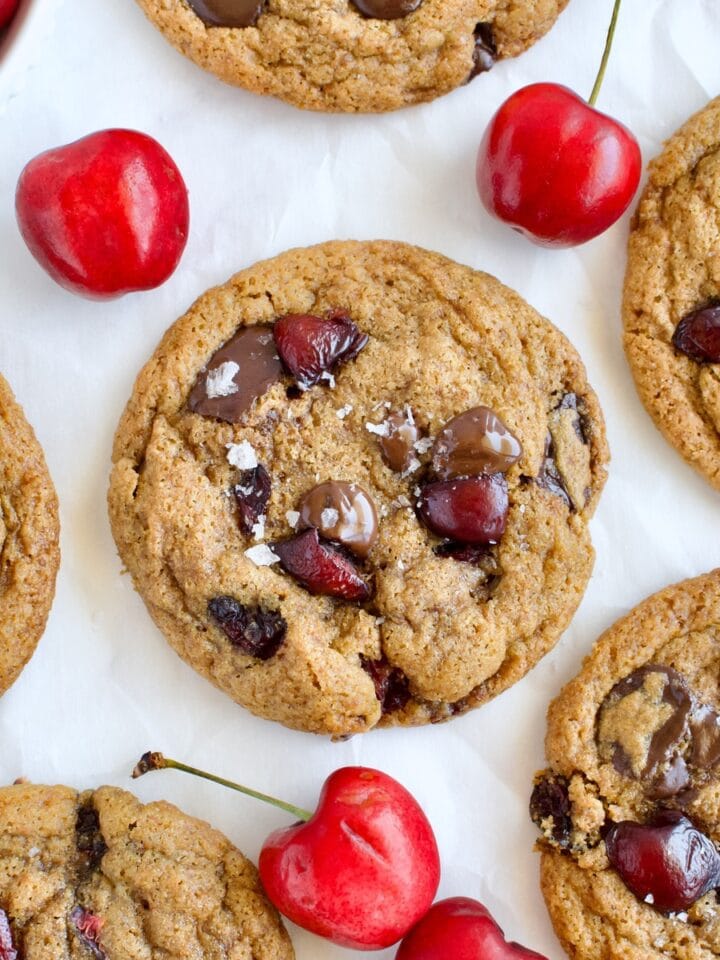
Gluten Free Cherry Chocolate Chip Cookies (Dairy Free)
-
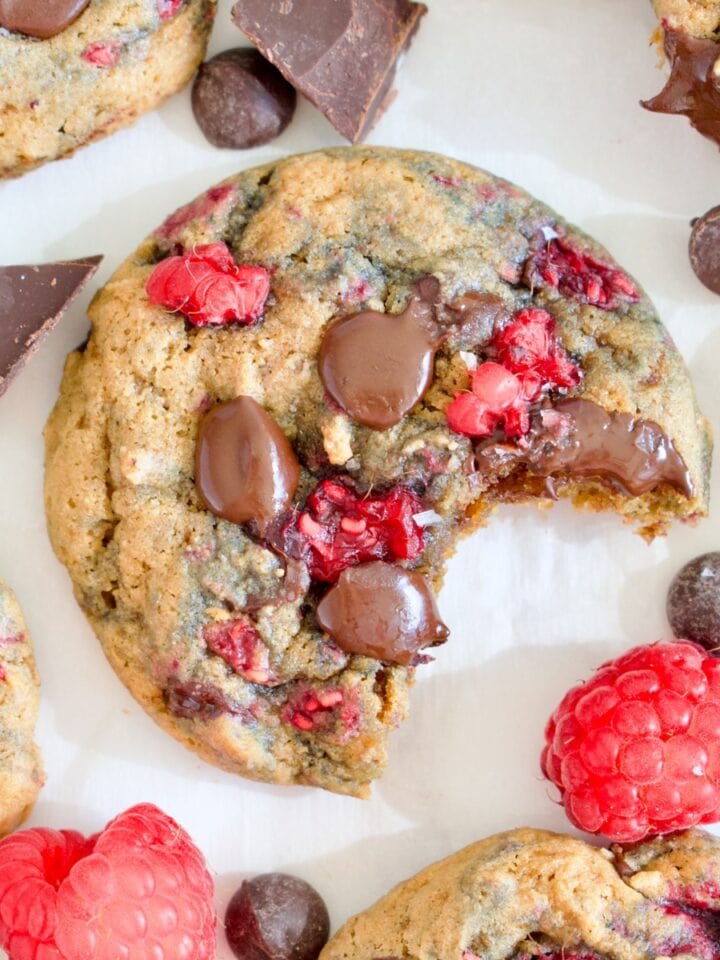
Gluten Free Raspberry Chocolate Chip Cookies (Dairy Free)
-
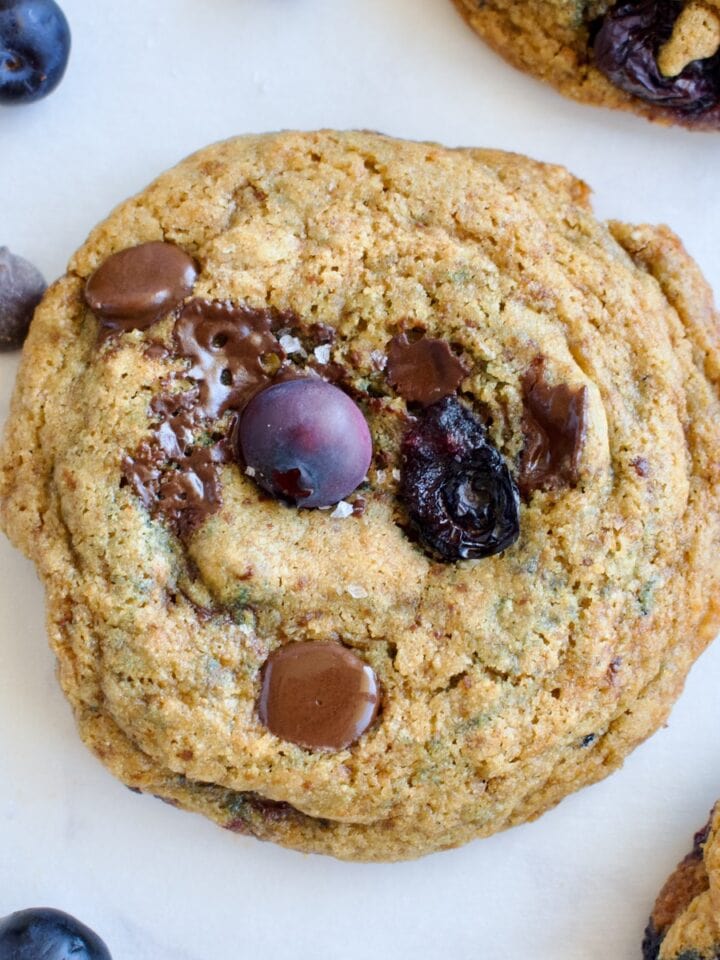
Chewy Blueberry Chocolate Chip Cookies (Gluten Free, Dairy Free)
-
Gluten Free Blueberry Mint Cobbler (Dairy Free)
-
Strawberry Shortcake Ice Cream Sandwiches (Gluten Free, Dairy Free)
-
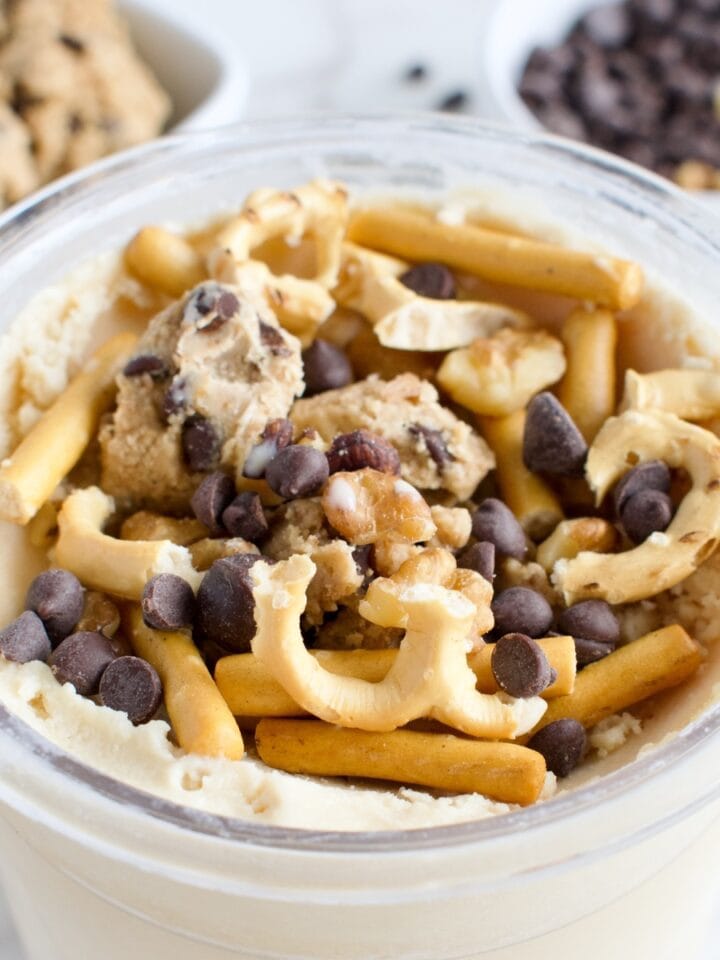
Ninja Creami Kitchen Sink Ice Cream (Gluten Free, Dairy Free)
-
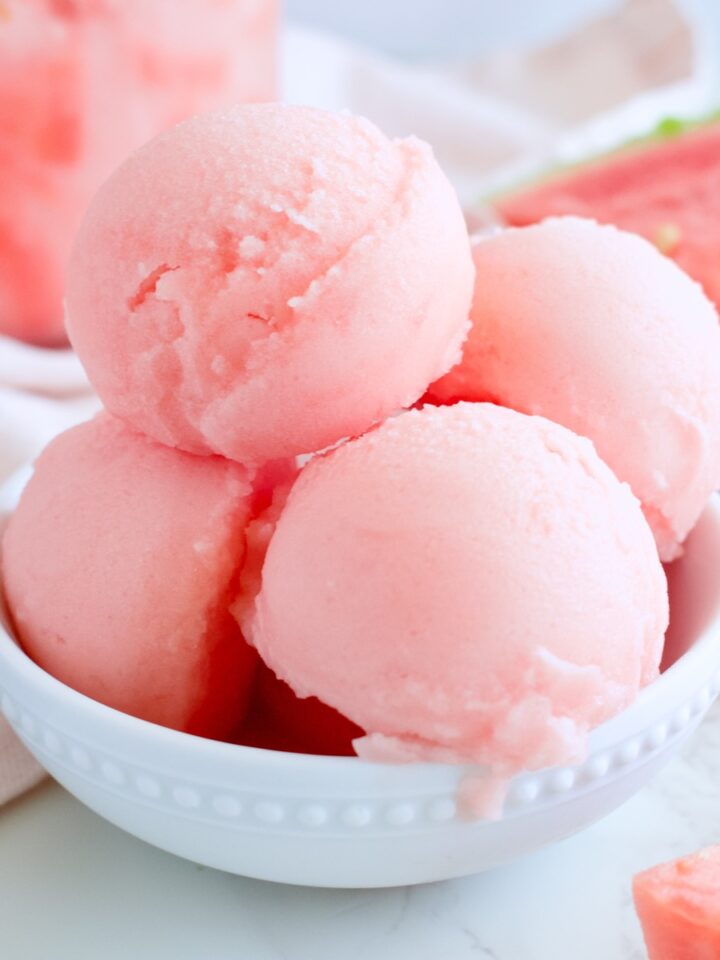
2-Ingredient Ninja Creami Watermelon Sorbet (No Added Sugar)
-
Homemade Gluten Free Dairy Free Ice Cream Sandwiches
-
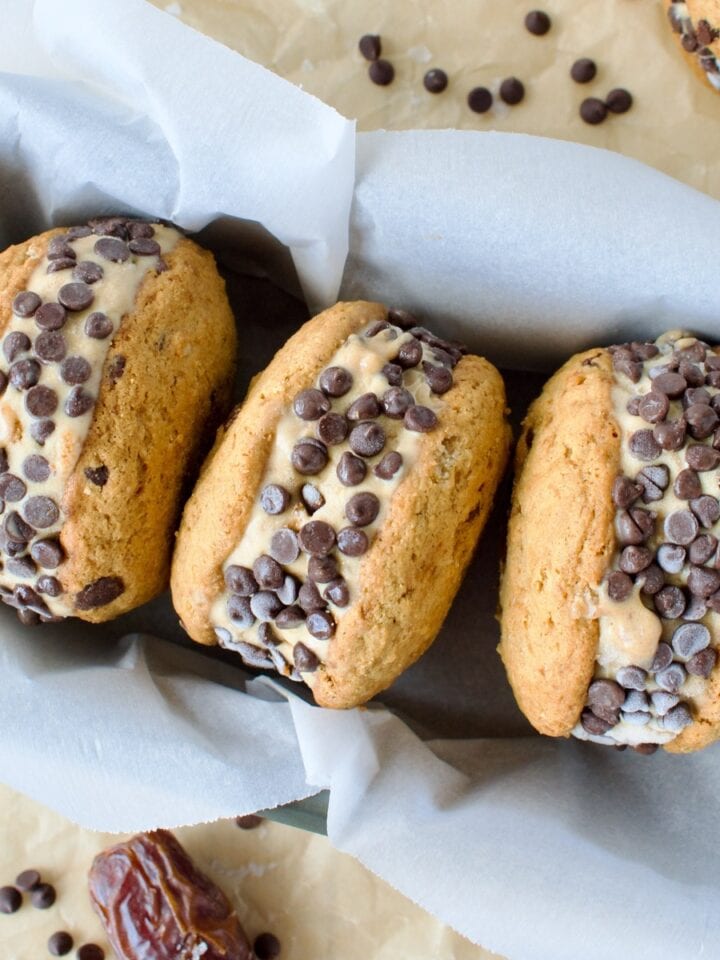
Gluten Free Chocolate Chip Cookie Ice Cream Sandwiches with Salted Caramel (Dairy Free)
-
Ninja Creami Vegan Blackberry Ice Cream (Refined Sugar Free)
-
Gluten Free Blueberry Crumble Cookies (Dairy Free, Refined Sugar Free)
-
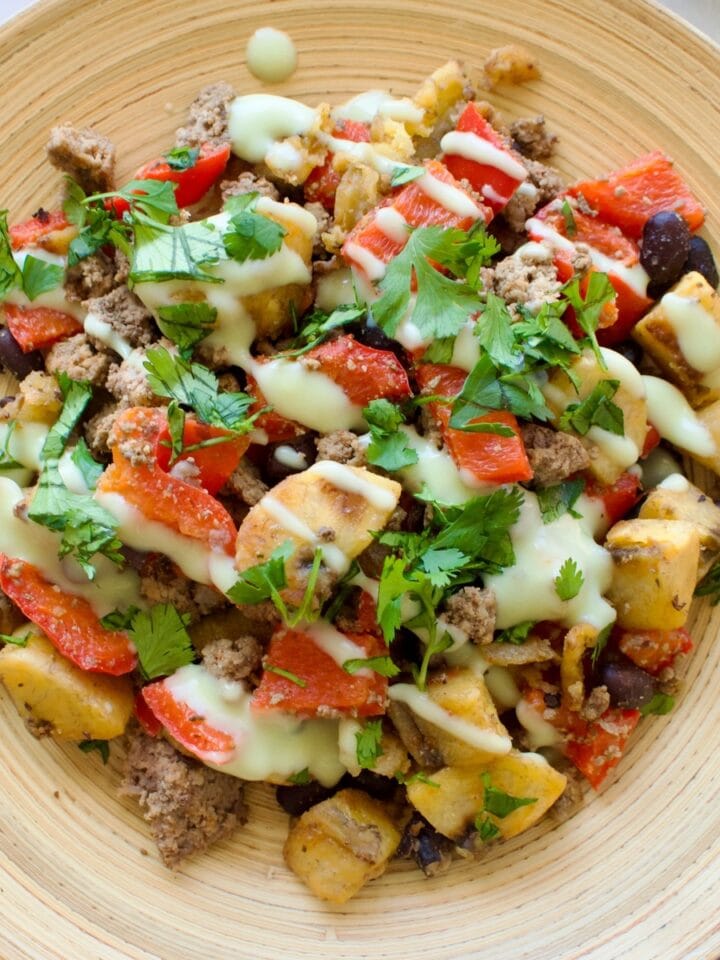
One Pan Plantain Taco Bowls (Gluten Free & Dairy Free)
-
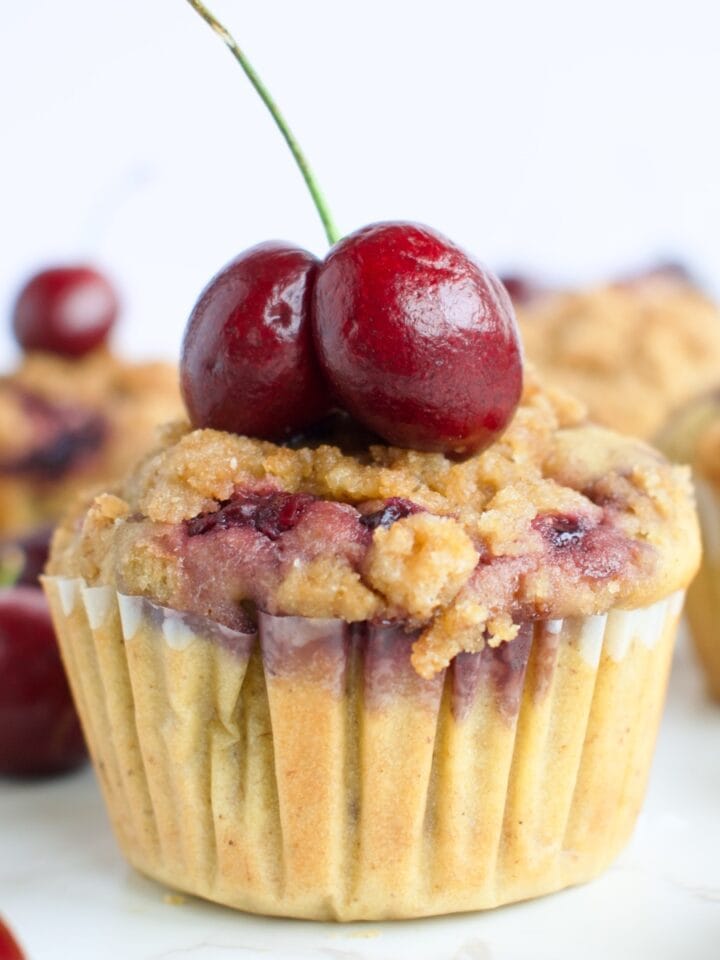
Gluten Free Cherry Crumble Muffins (Dairy Free)
-
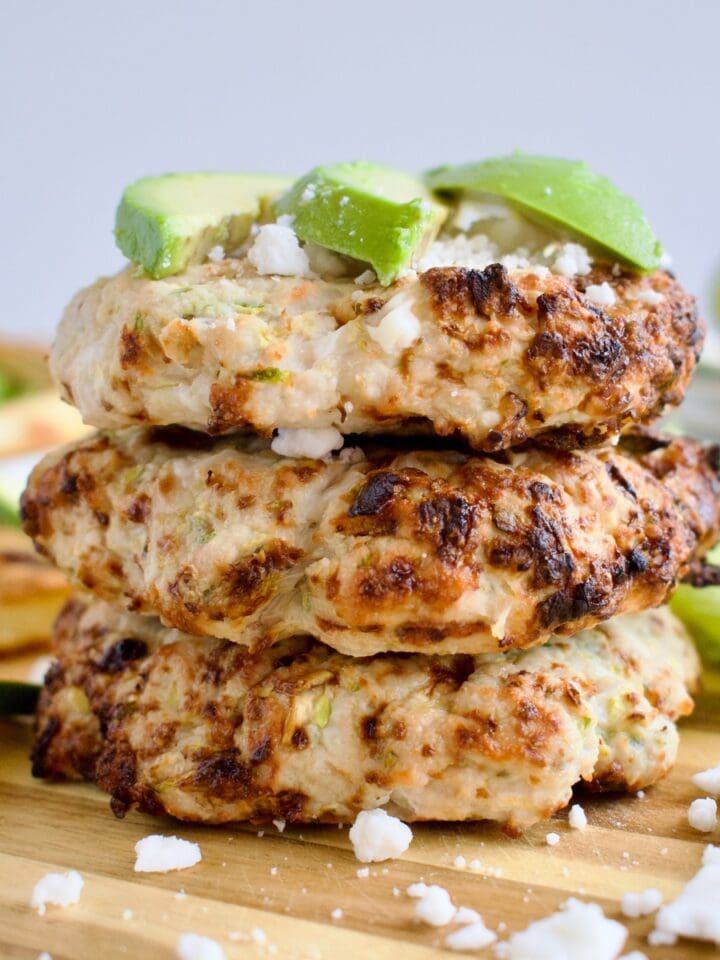
Gluten Free Turkey Burgers with Zucchini and Feta (Dairy Free)
-
Gluten Free Blueberry Crumble Pie (Dairy Free)
-
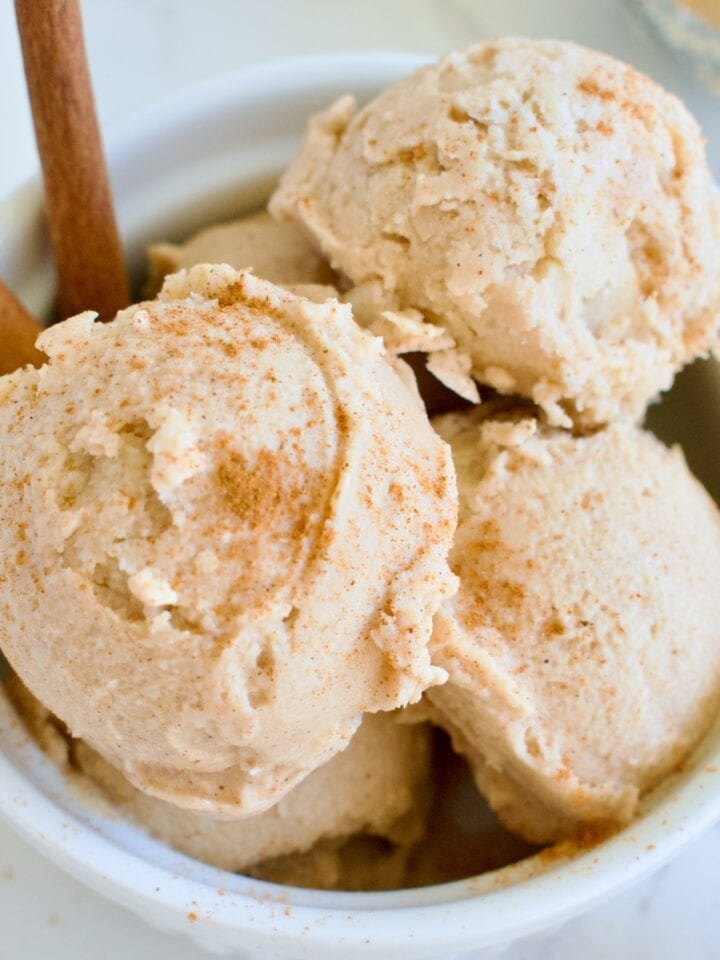
Ninja Creami Vegan Cinnamon Ice Cream (Refined Sugar Free)
-
Gluten Free Mixed Berry Crumb Cake (Dairy Free, Refined Sugar Free)
-
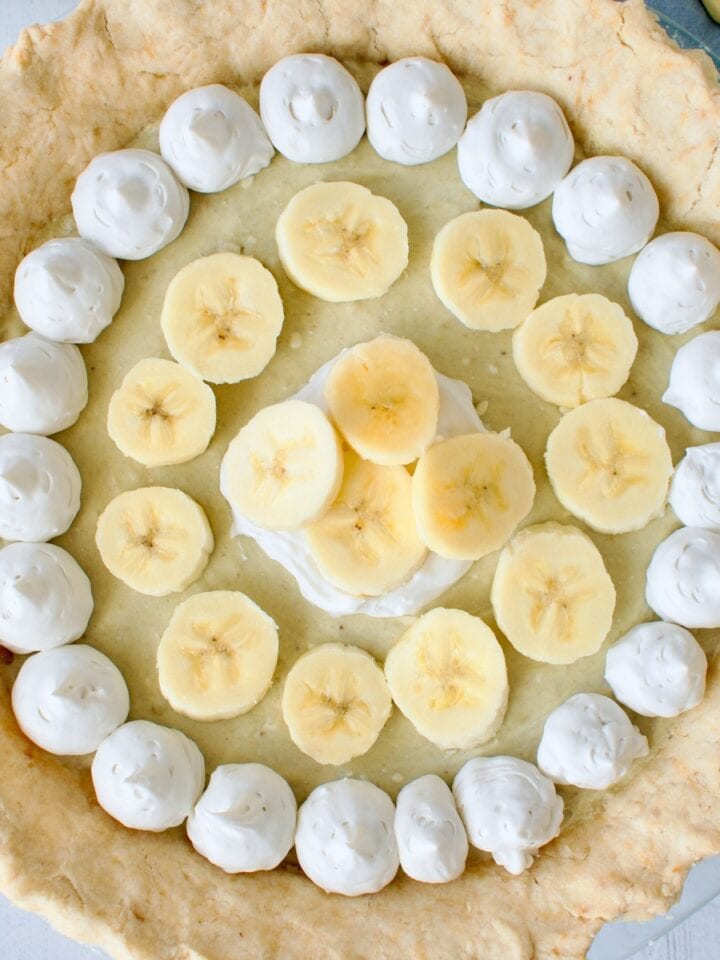
Gluten Free & Vegan Banana Cream Pie
-
Gluten Free Strawberry Glazed Donuts (Dairy Free)
-
Vegan Golden Milk Ice Cream (Ninja Creami)
-
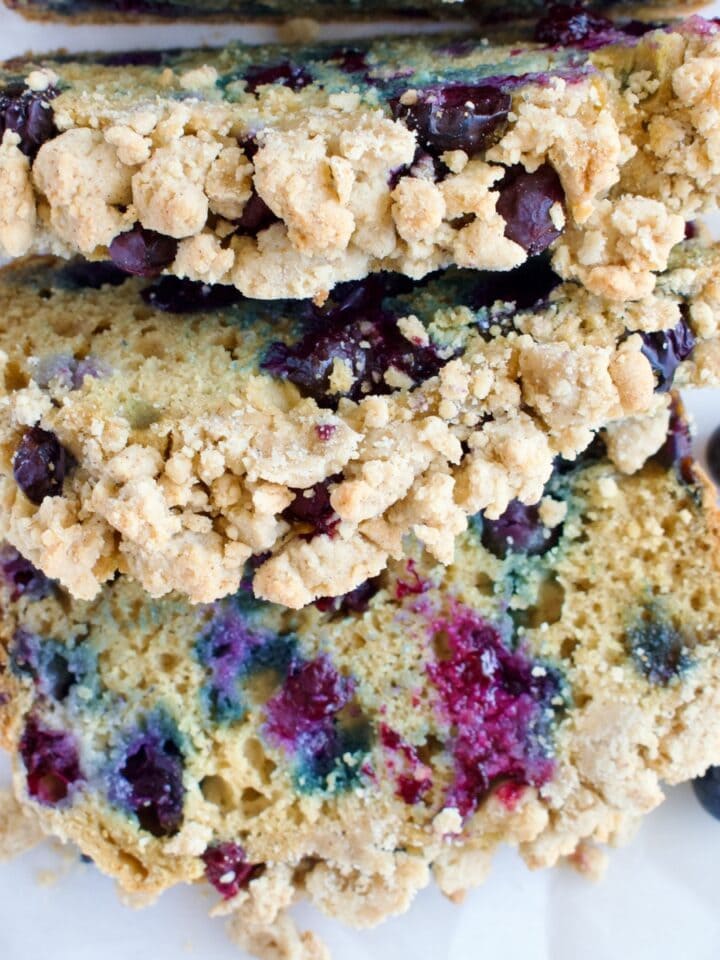
Gluten Free Blueberry Streusel Bread (Dairy Free, Refined Sugar Free)
-
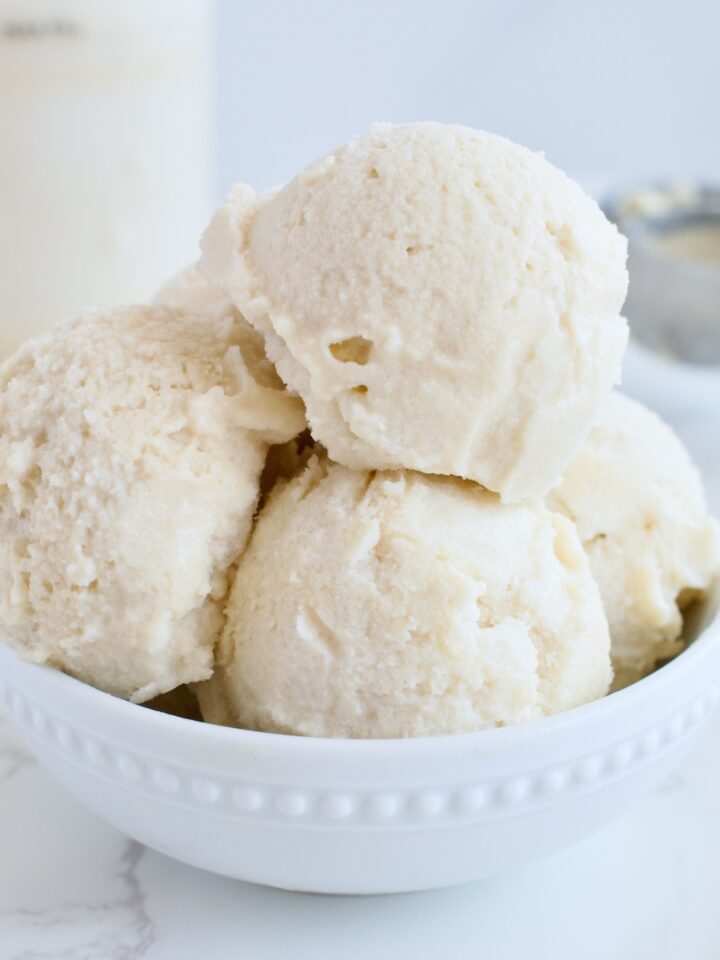
Ninja Creami Vegan Vanilla Ice Cream (High Protein Option)
-
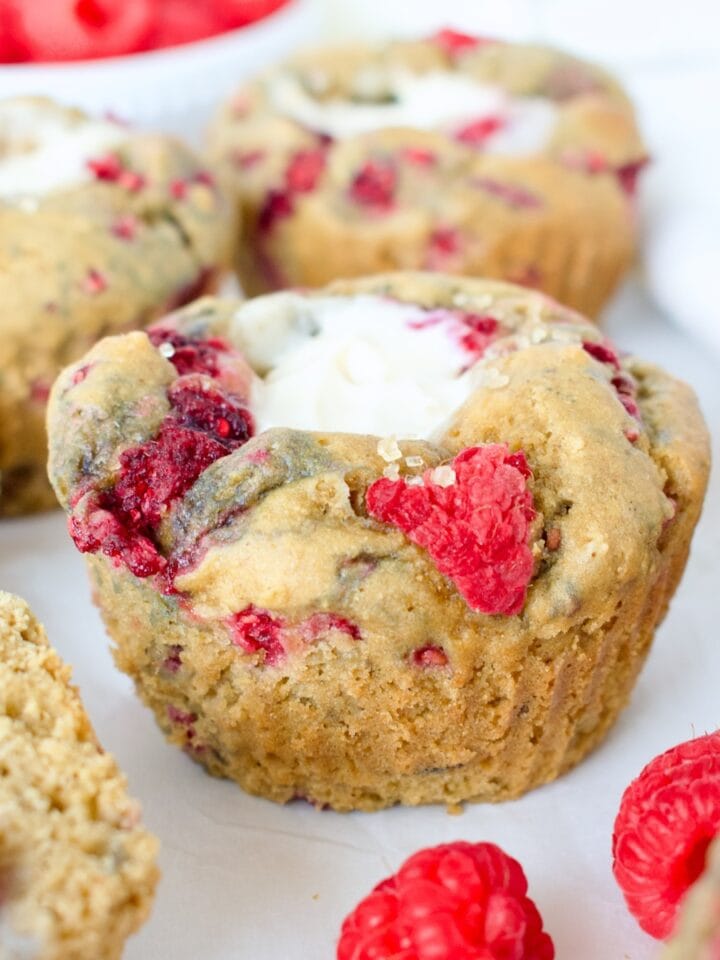
Gluten Free Raspberry Cream Cheese Muffins (Dairy free)
-
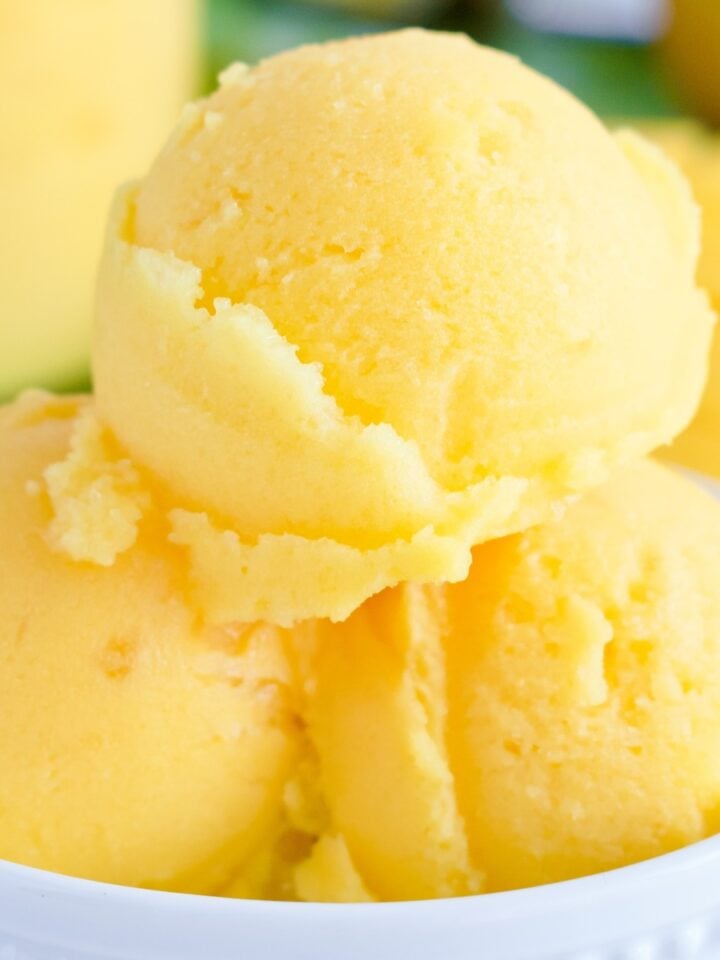
2-Ingredient Ninja Creami Mango Sorbet (with Coconut Water)
-
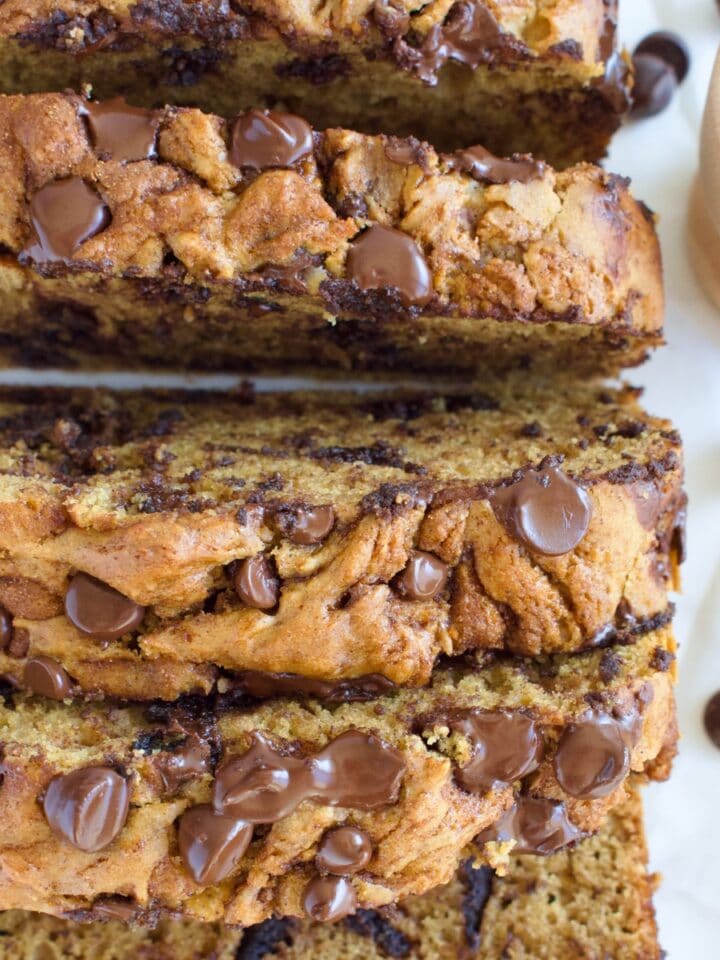
Gluten Free Cinnamon Chocolate Chip Bread (Dairy Free)
-
Gluten Free Strawberry Bread with Strawberry Glaze
-
Easy Gluten Free Mango Bread (Hawaiian Style, Dairy Free)
-
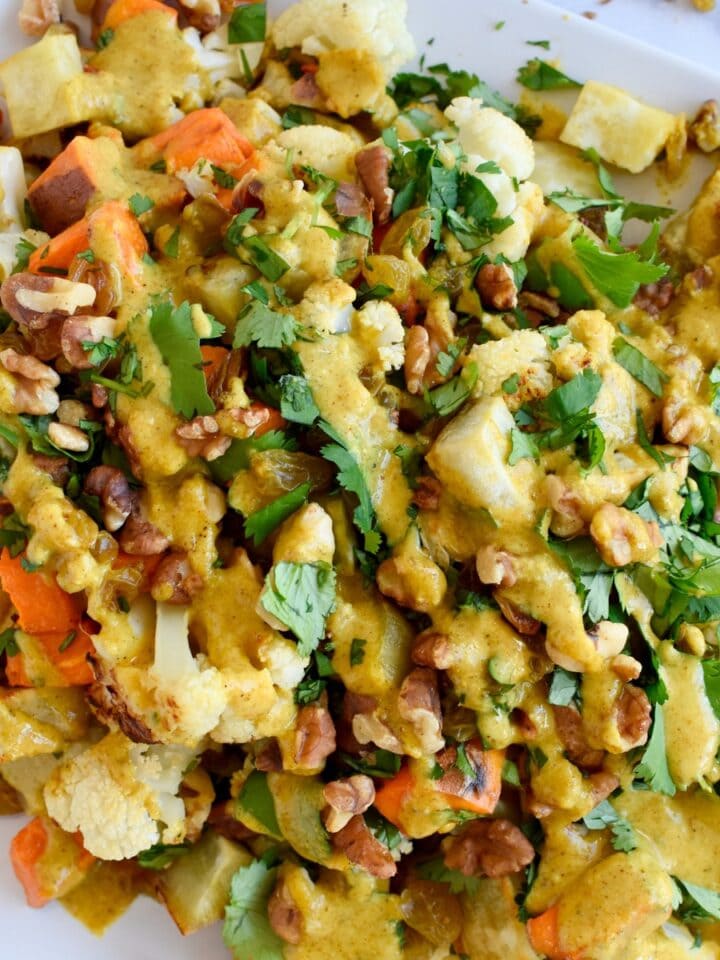
Curried Cauliflower and Sweet Potato Salad (Gluten Free & Vegan)
-
Ninja Creami Vegan Salted Caramel Ice Cream (Paleo)
-
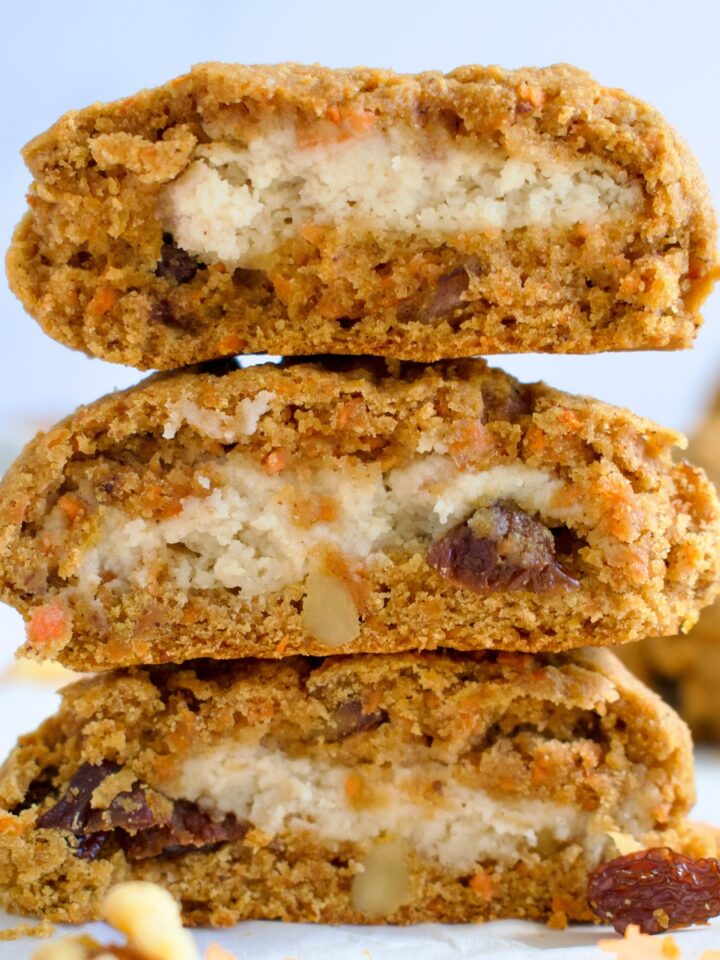
Stuffed Gluten Free Carrot Cake Cookies (Dairy Free)
-
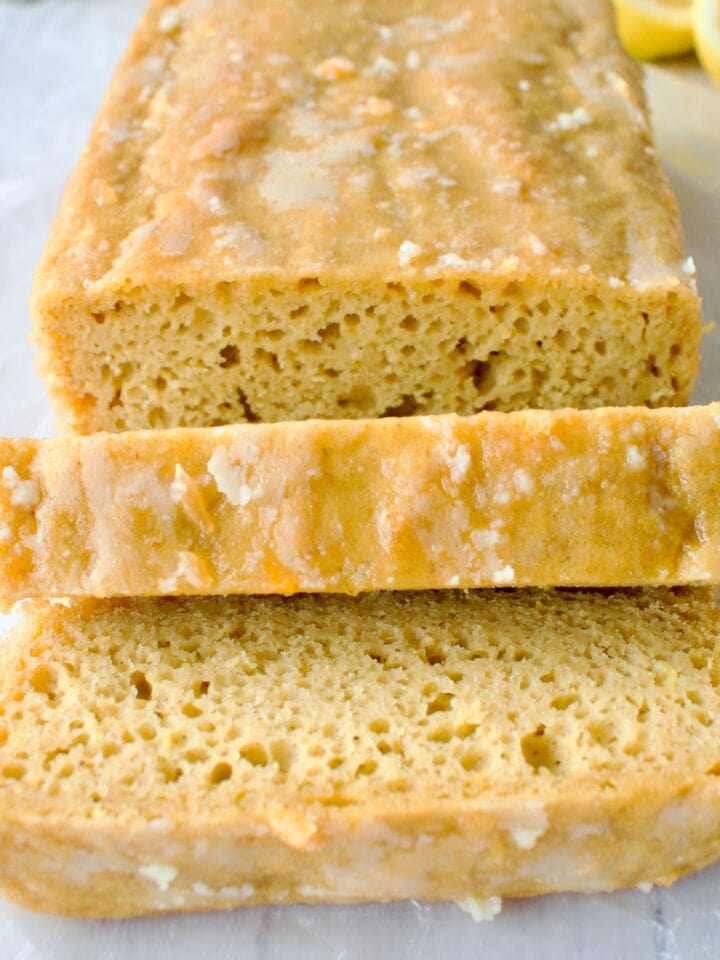
Gluten Free Lemon Loaf with Citrus Glaze (Dairy-Free)
-
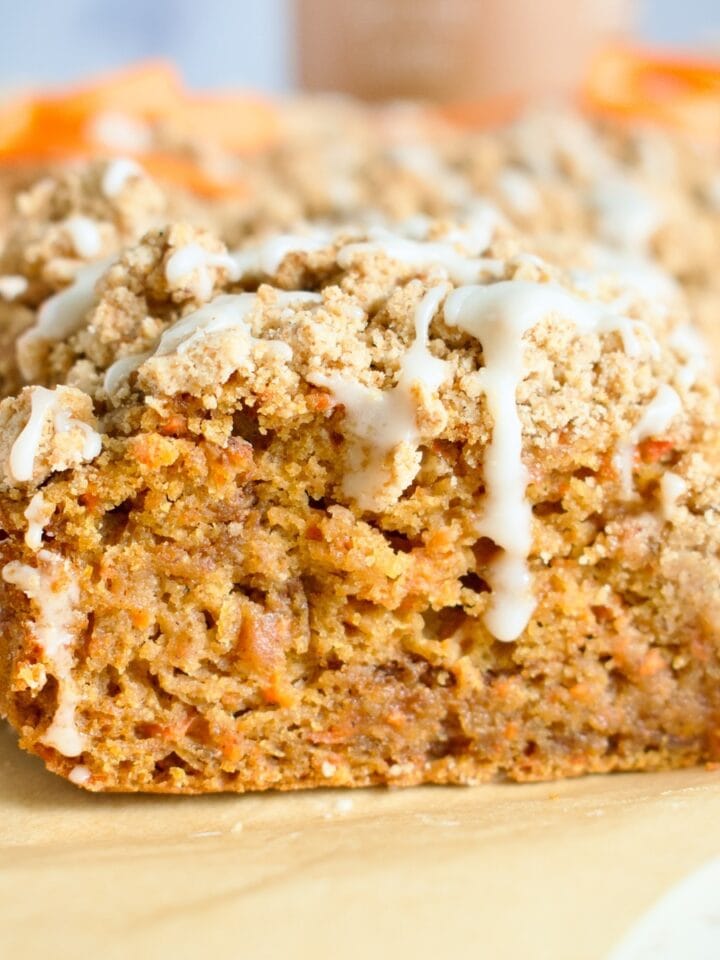
Gluten Free Carrot Coffee Cake (Dairy Free, Refined Sugar Free)
-
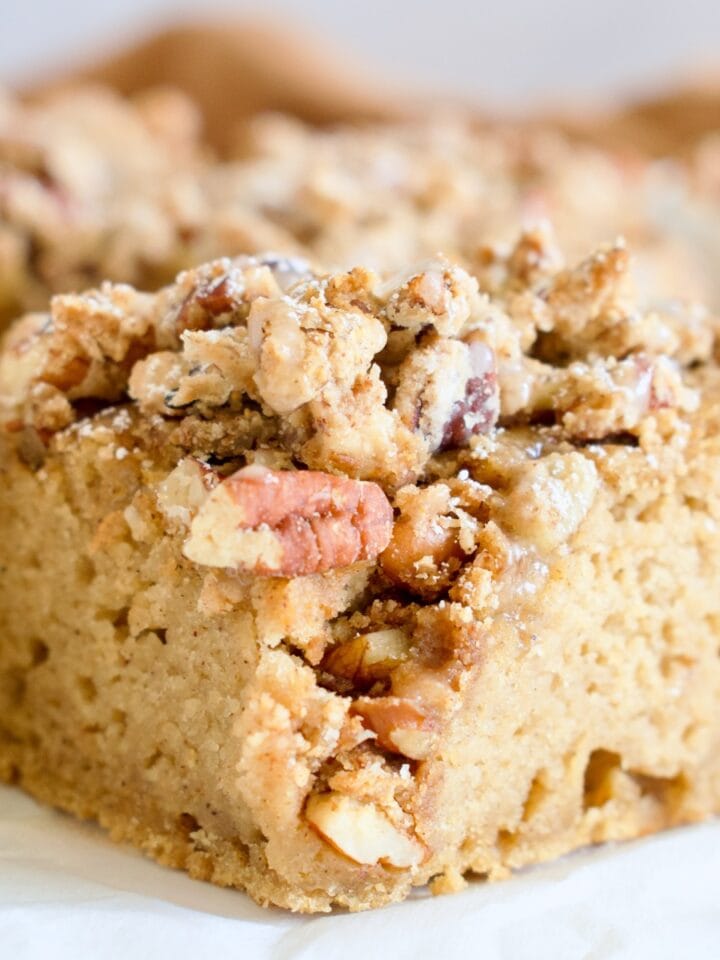
Maple Pecan Coffee Cake (Gluten Free, Dairy Free)
-
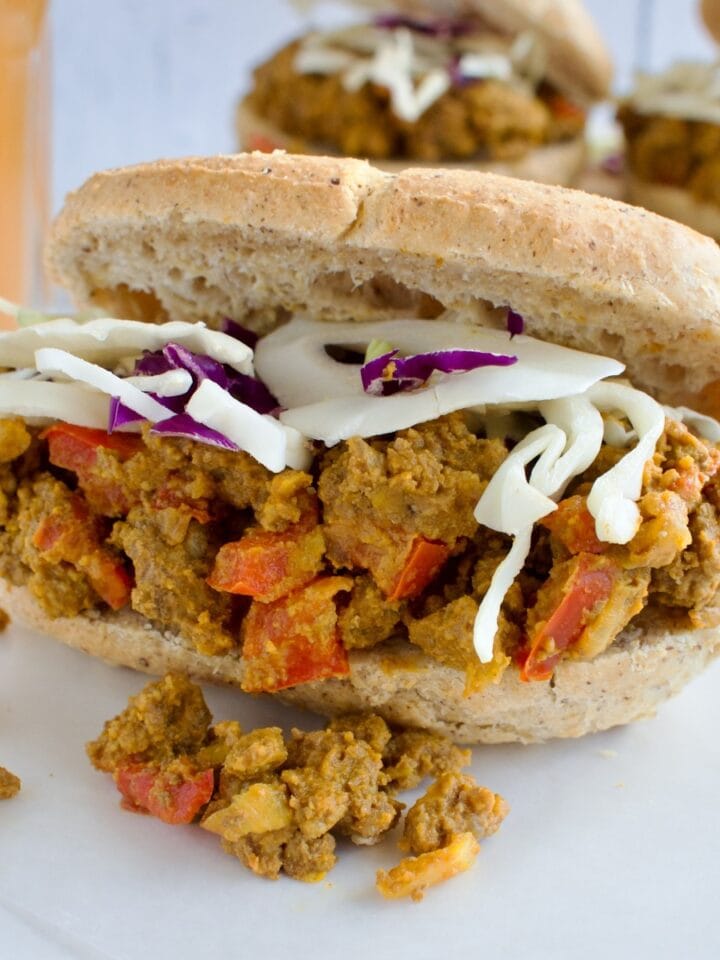
Tomato Free Sloppy Joes (Gluten Free)