Desserts & Baked Goods
Let me teach you how to make delicious baked goods that are gluten free, dairy free, and lower sugar than traditional options. From cakes to ice cream, there are dessert and baked goods recipes for every category!
-
Golden Milk Ice Cream Sandwiches (Gluten Free & Dairy Free)
-
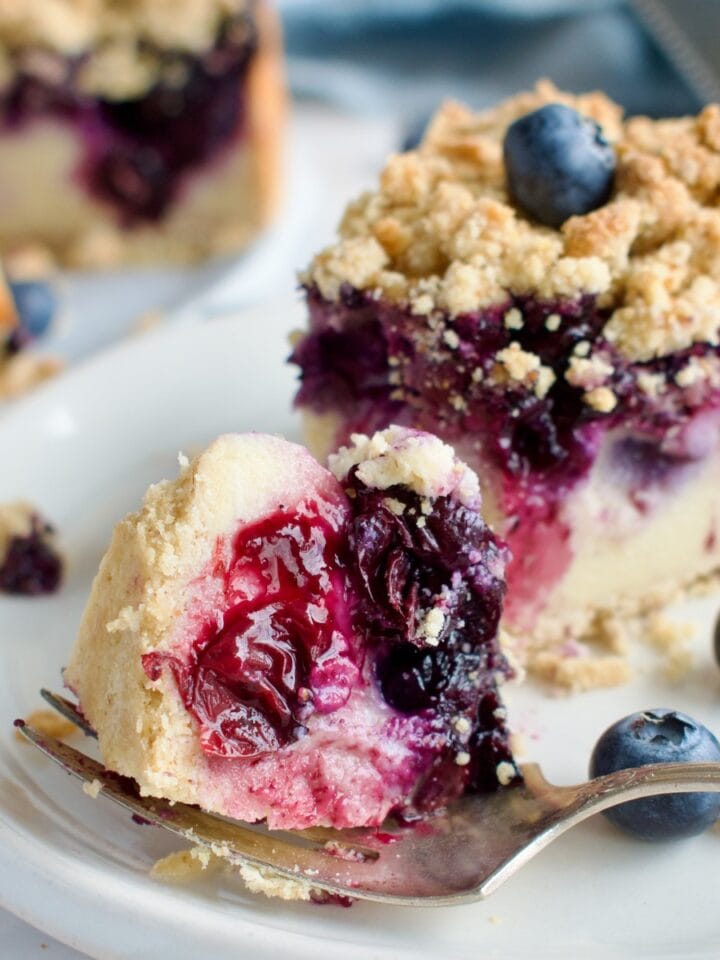
Gluten Free Blueberry Crumble Cheesecake (Dairy Free)
-
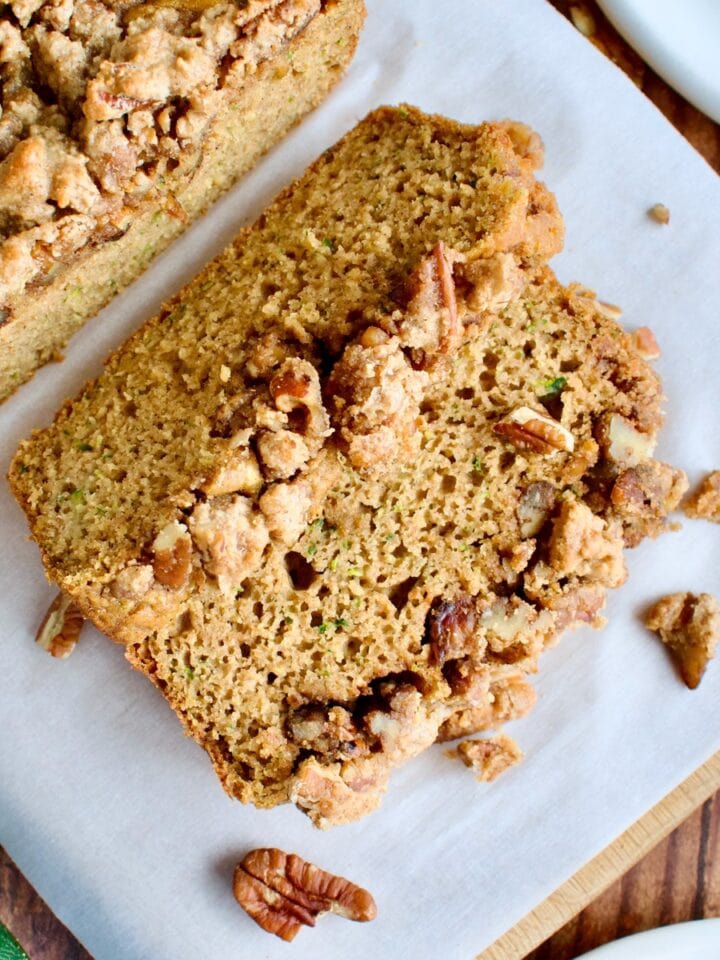
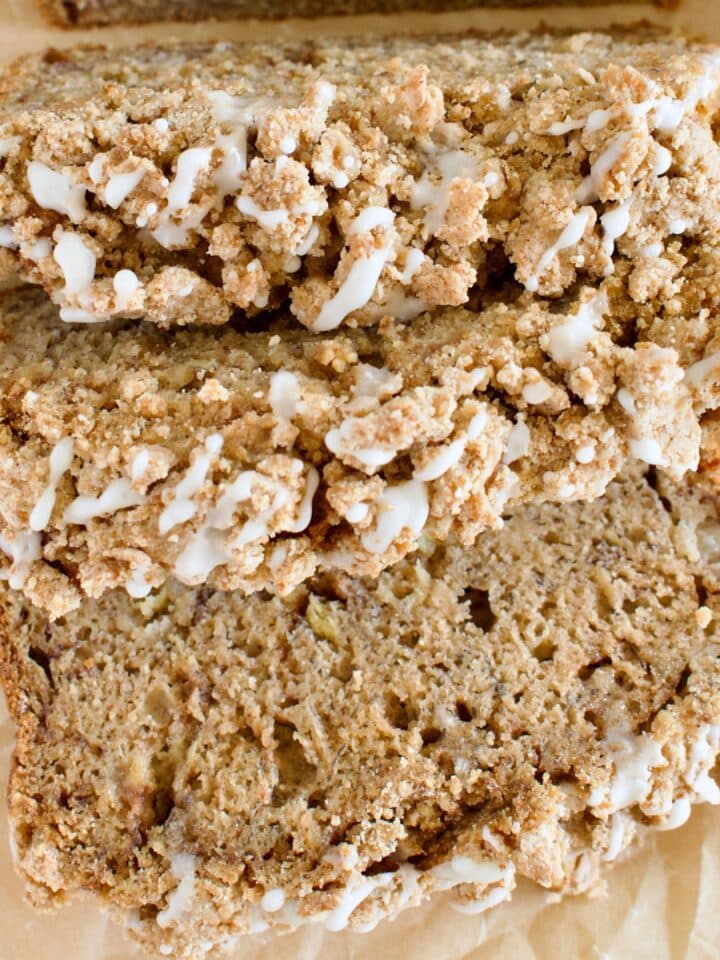
Gluten Free Zucchini Bread with Pecan Crumble
-
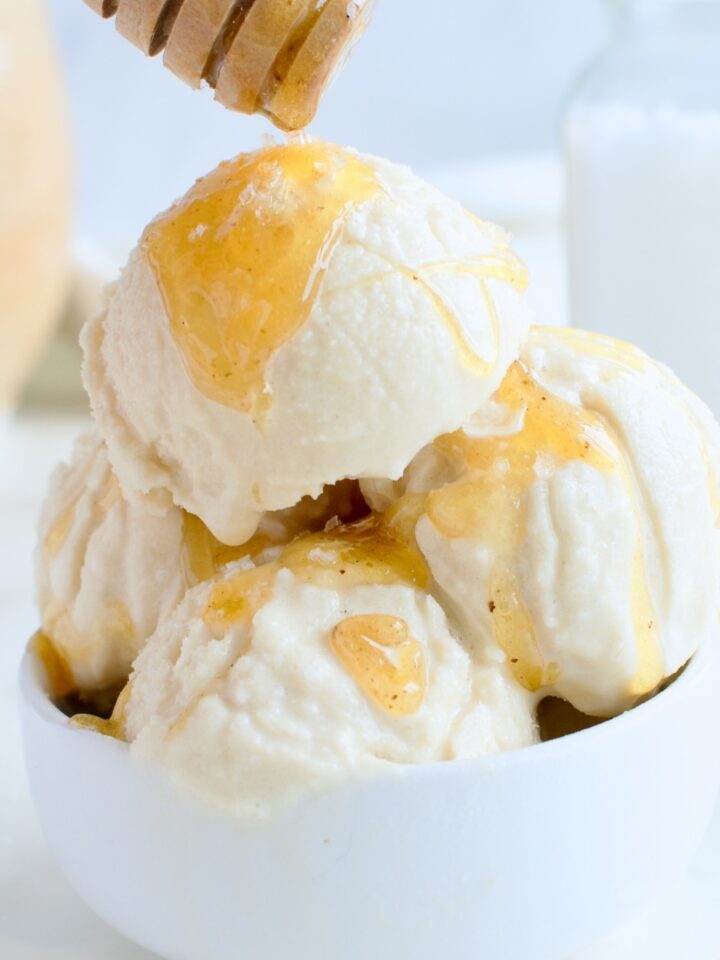
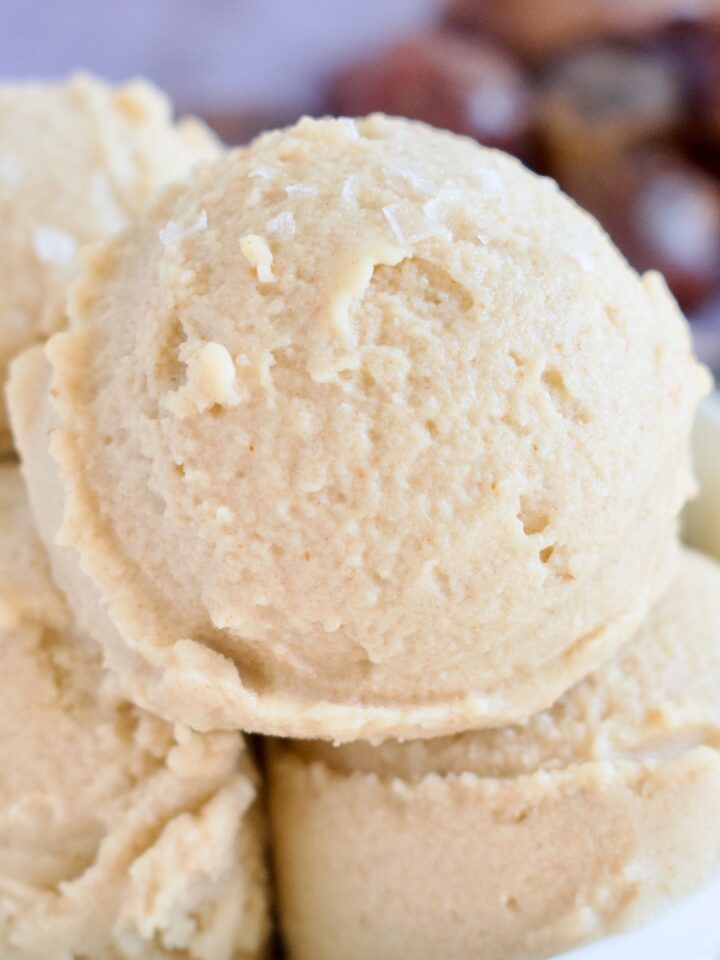
Dairy Free Salted Honey Ice Cream (Paleo, AIP)
-
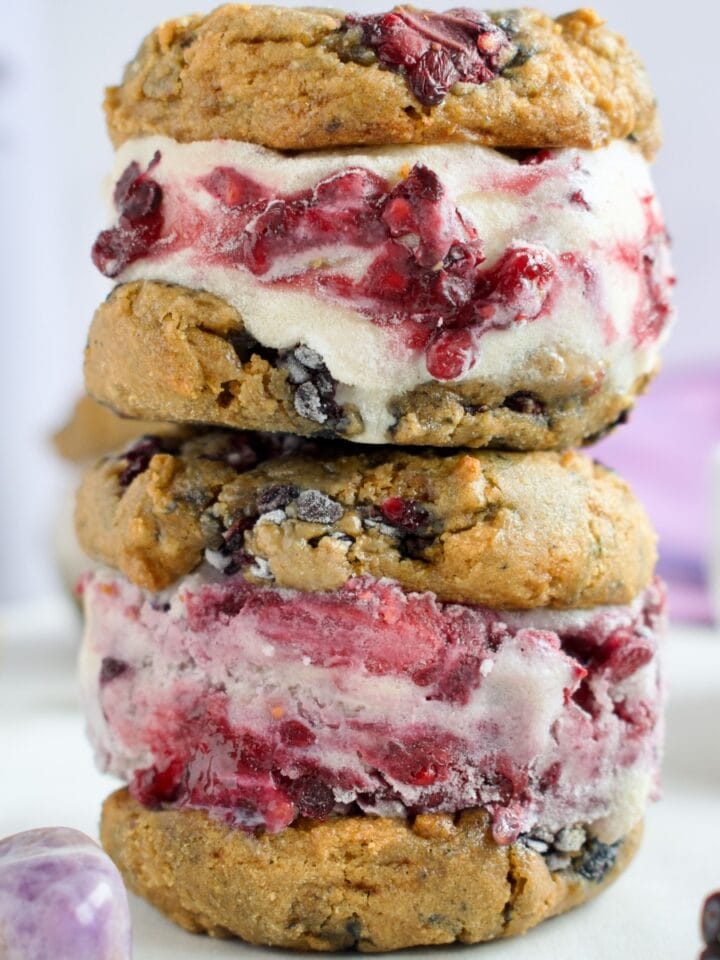
Gluten Free Blackberry Swirl Ice Cream Sandwiches (Dairy Free)
-
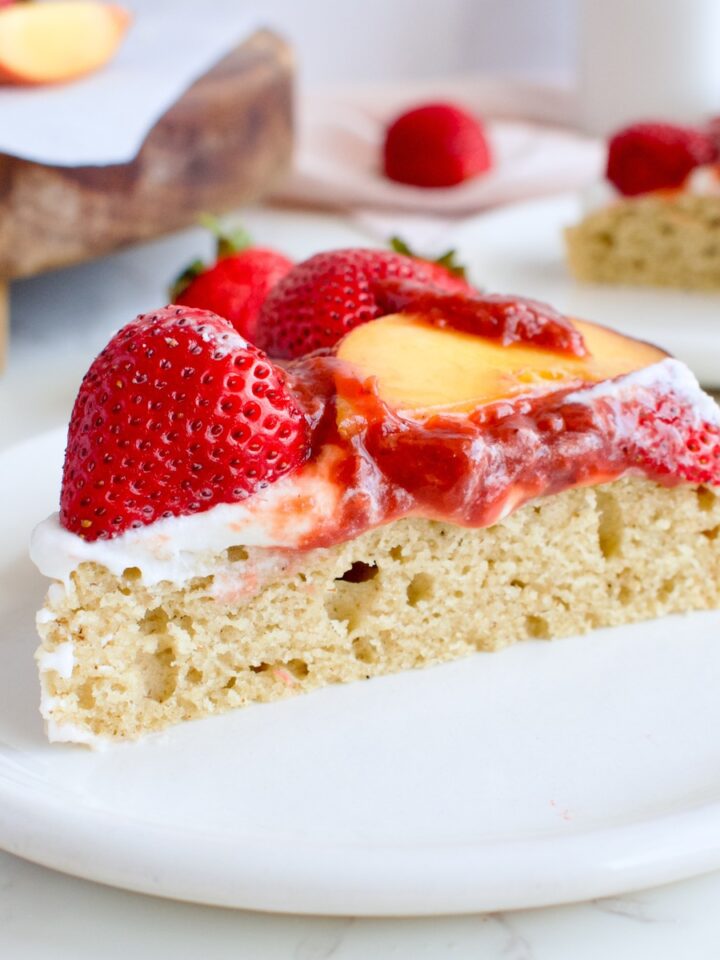
Gluten Free Strawberry Shortcake Cake with Peaches (Dairy Free)
-
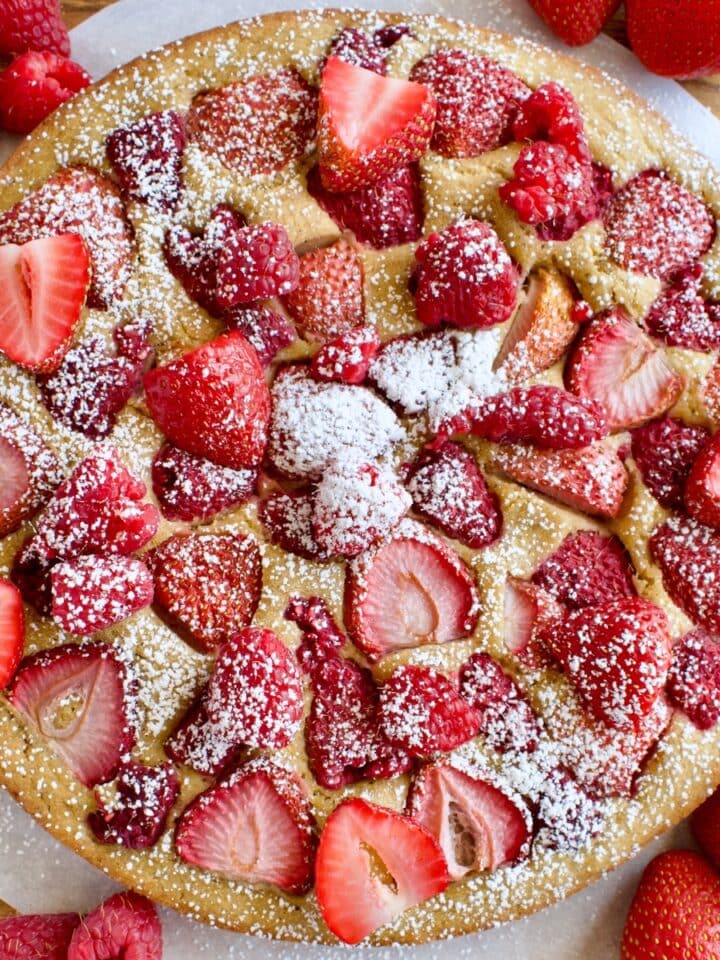
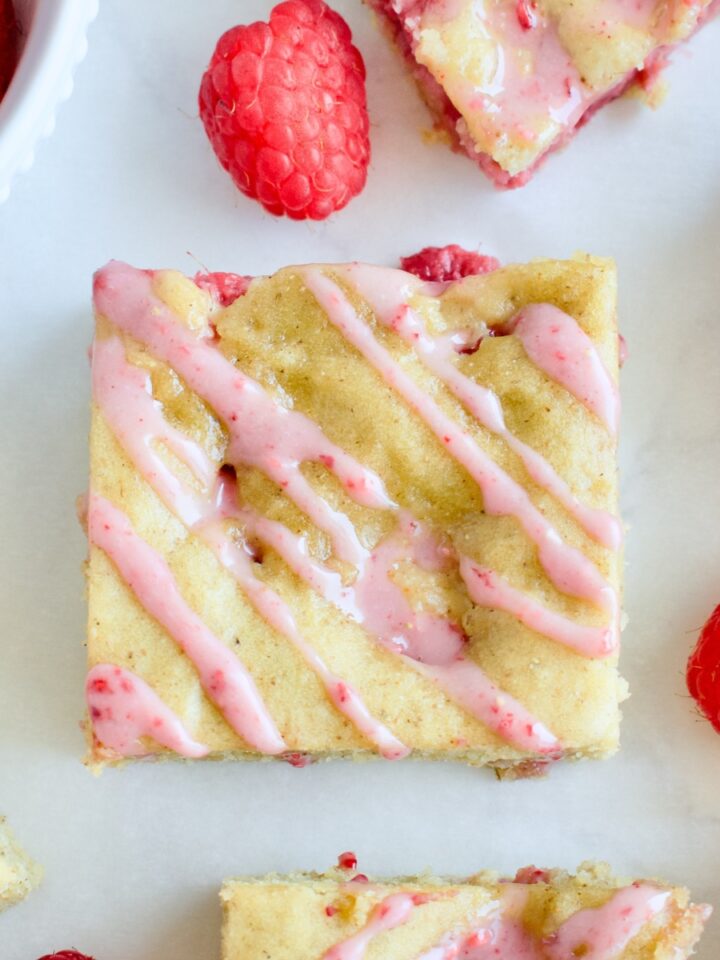
Gluten Free Strawberry Raspberry Cake (Dairy Free, Refined Sugar Free)
-
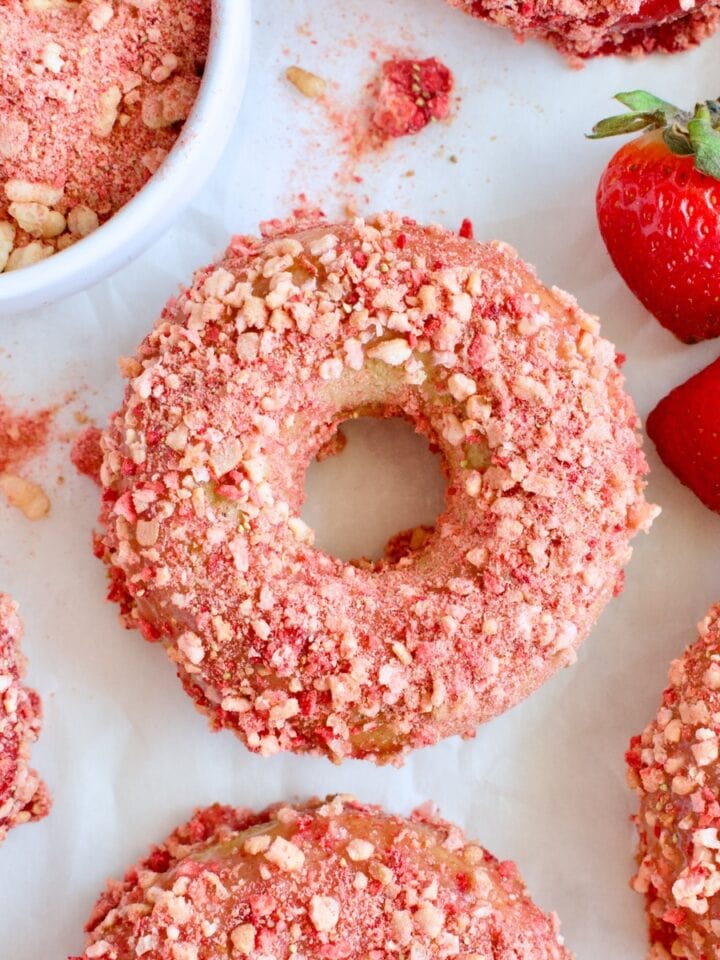
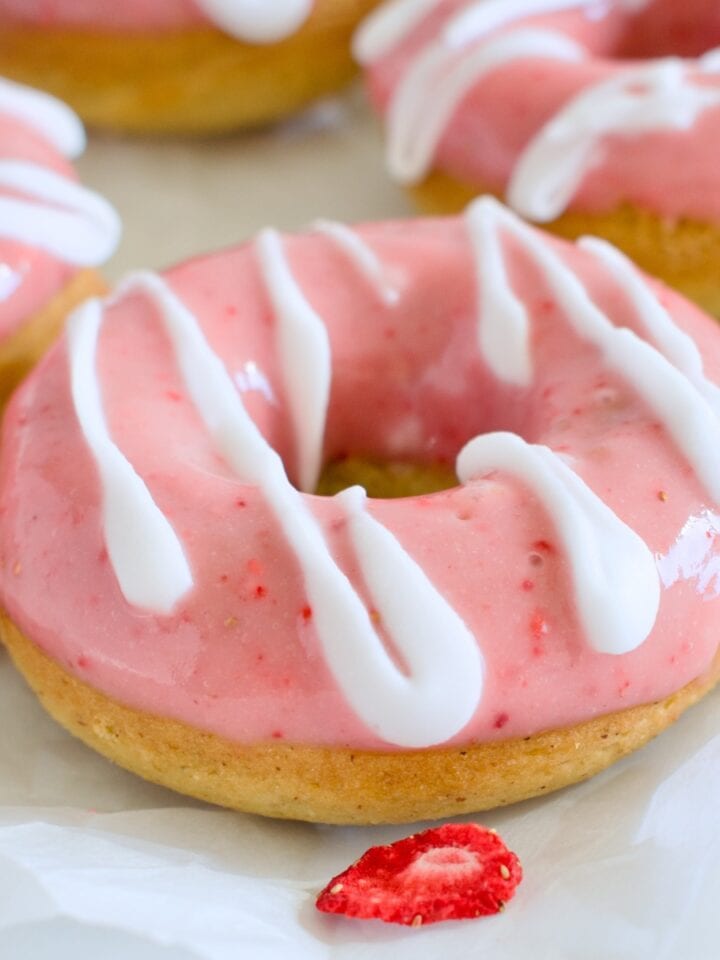
Gluten Free Strawberry Crunch Donuts (Dairy Free)
-
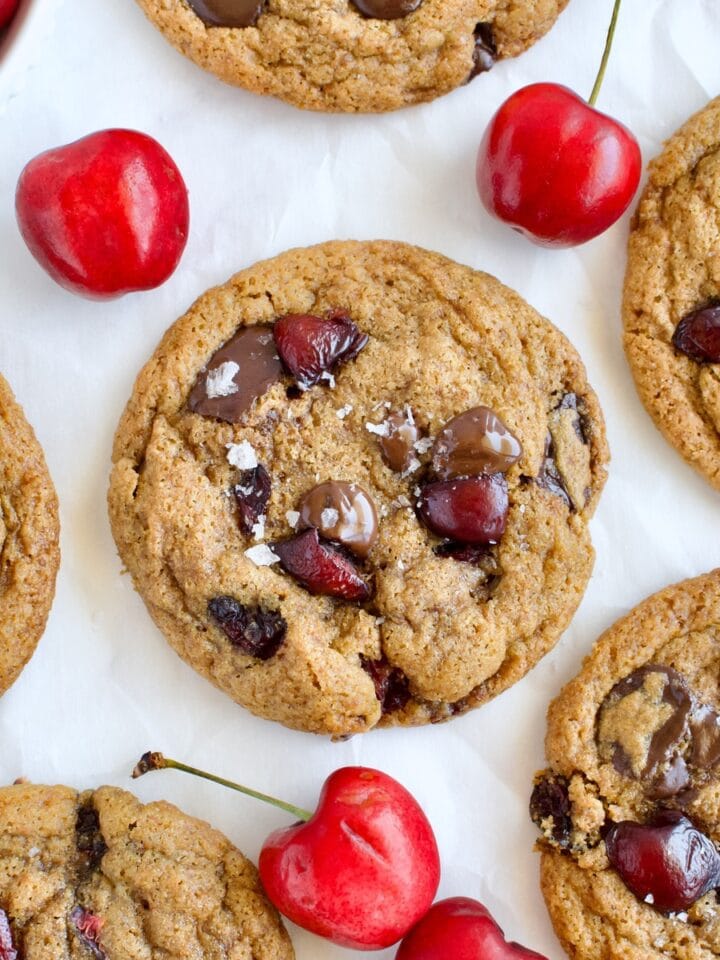
Gluten Free Cherry Chocolate Chip Cookies (Dairy Free)
-
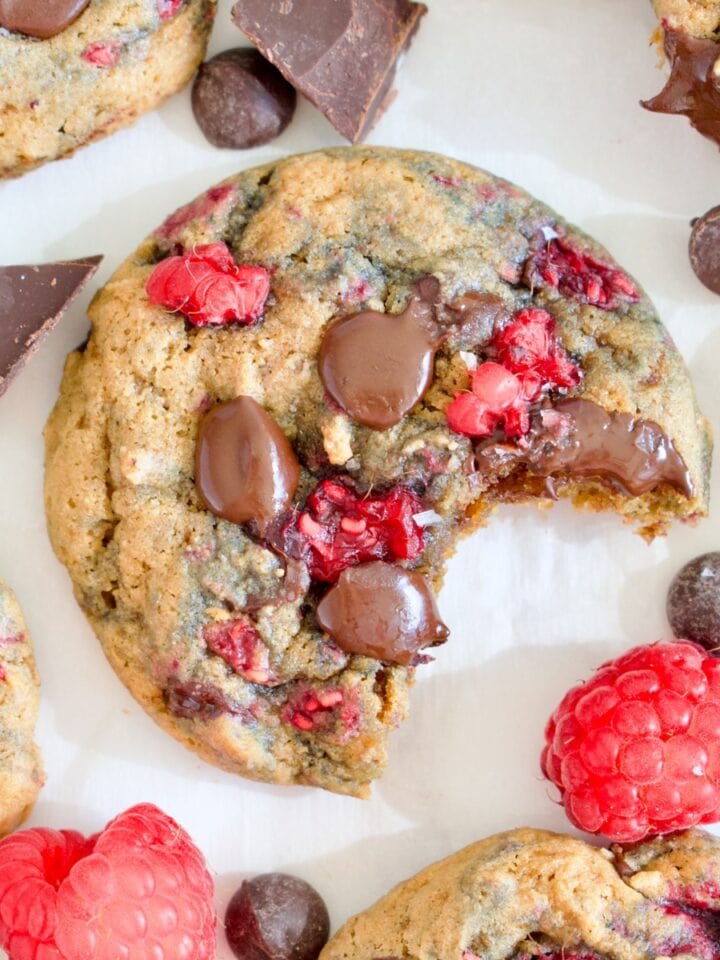
Gluten Free Raspberry Chocolate Chip Cookies (Dairy Free)
-
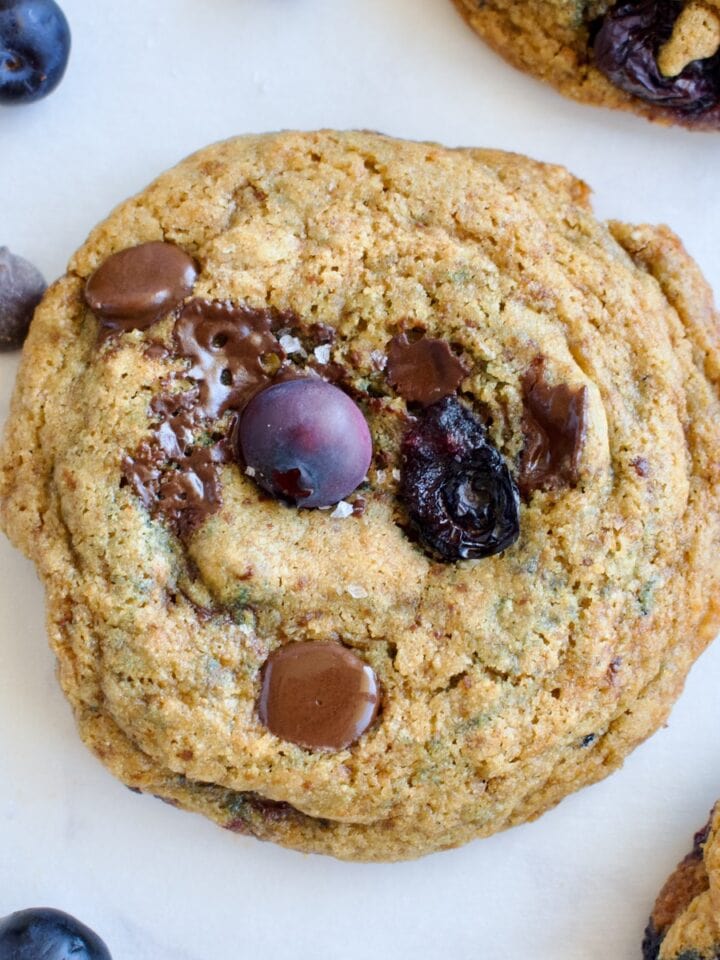
Chewy Blueberry Chocolate Chip Cookies (Gluten Free, Dairy Free)
-
Gluten Free Blueberry Mint Cobbler (Dairy Free)
-
Strawberry Shortcake Ice Cream Sandwiches (Gluten Free, Dairy Free)
-
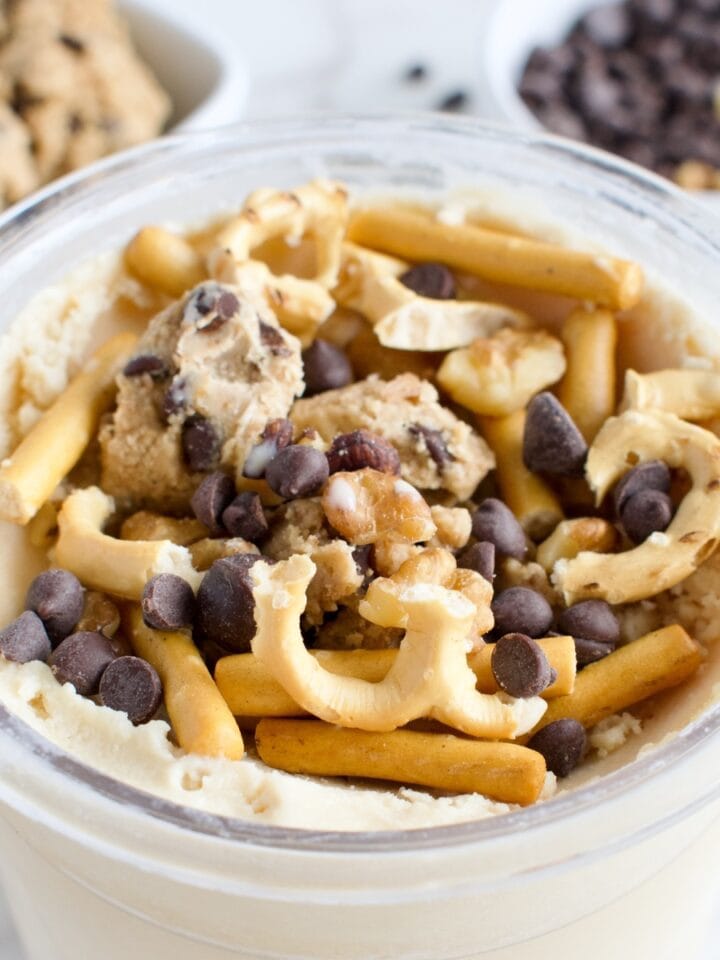
Ninja Creami Kitchen Sink Ice Cream (Gluten Free, Dairy Free)
-
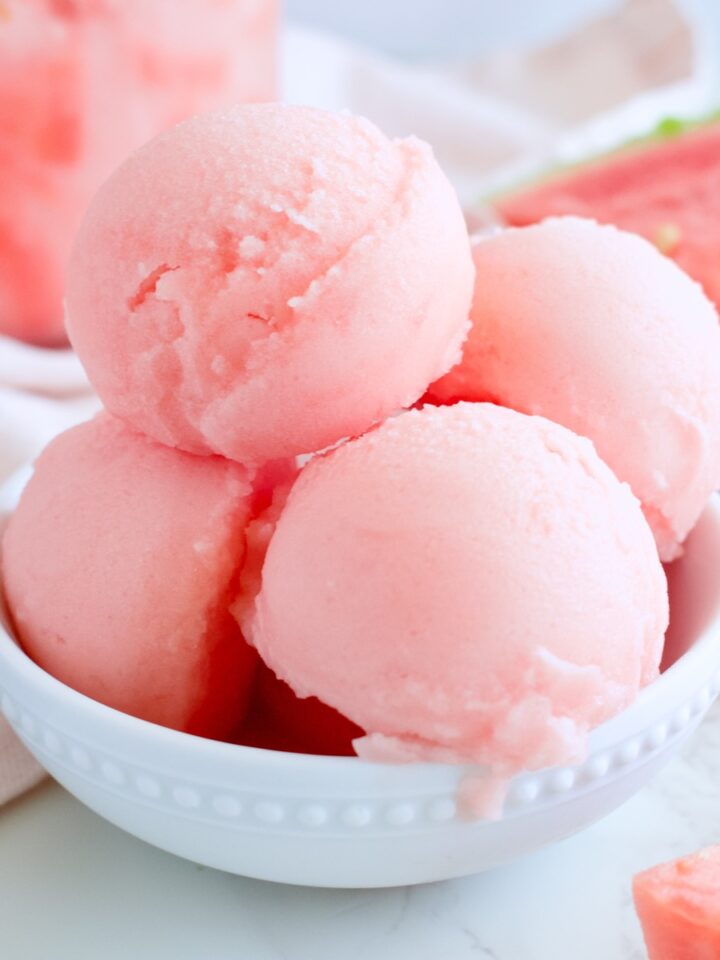
2-Ingredient Ninja Creami Watermelon Sorbet (No Added Sugar)
-
Homemade Gluten Free Dairy Free Ice Cream Sandwiches
-
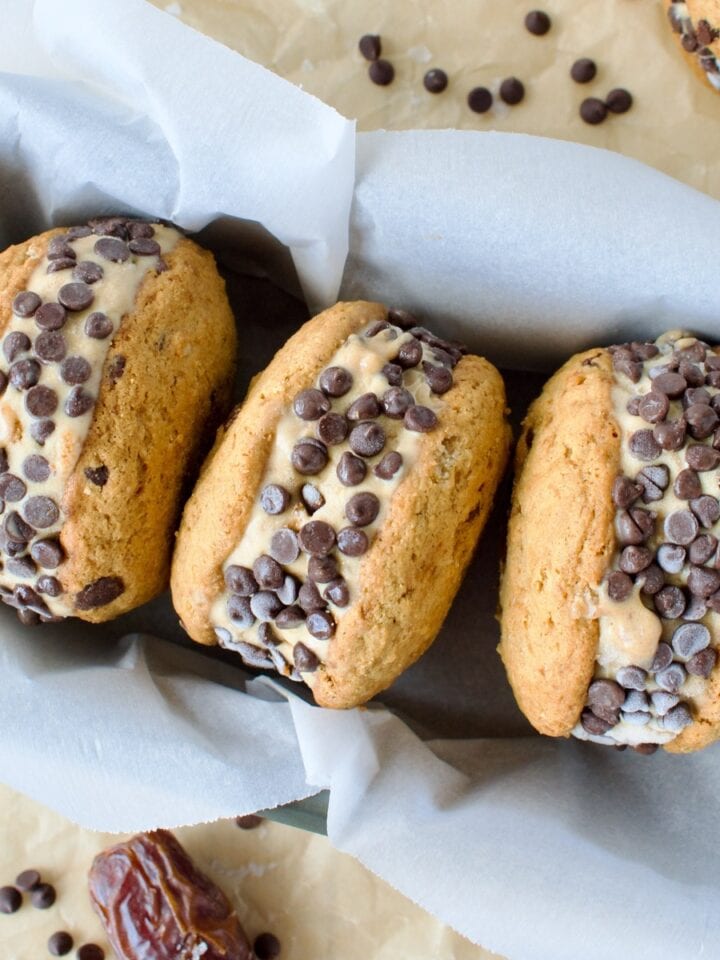
Gluten Free Chocolate Chip Cookie Ice Cream Sandwiches with Salted Caramel (Dairy Free)
-
Ninja Creami Vegan Blackberry Ice Cream (Refined Sugar Free)
-
Gluten Free Blueberry Crumble Cookies (Dairy Free, Refined Sugar Free)
-
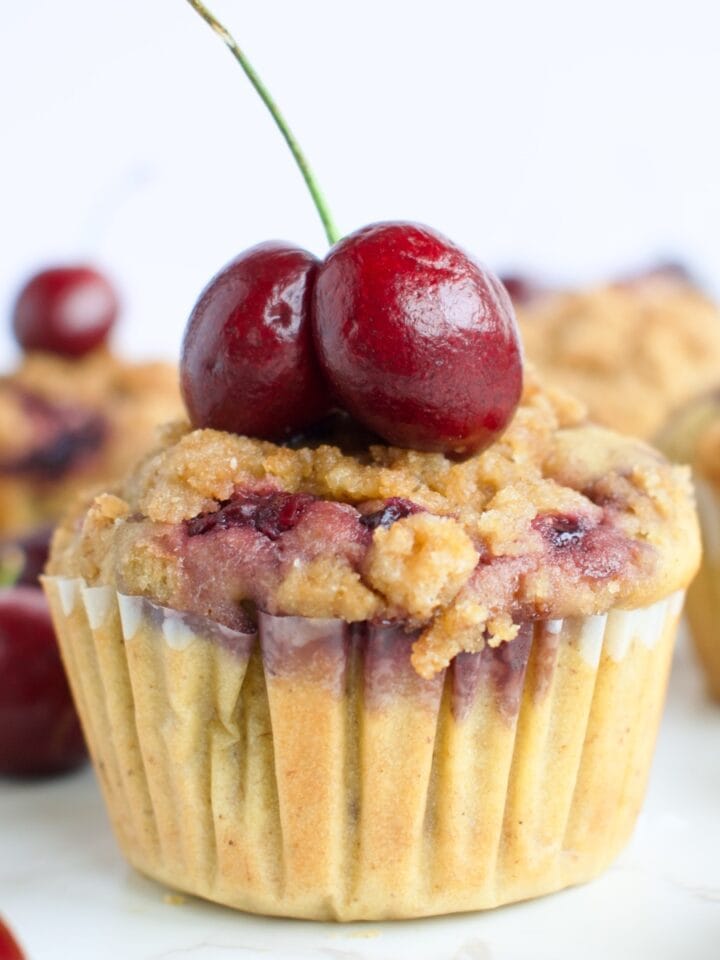
Gluten Free Cherry Crumble Muffins (Dairy Free)
-
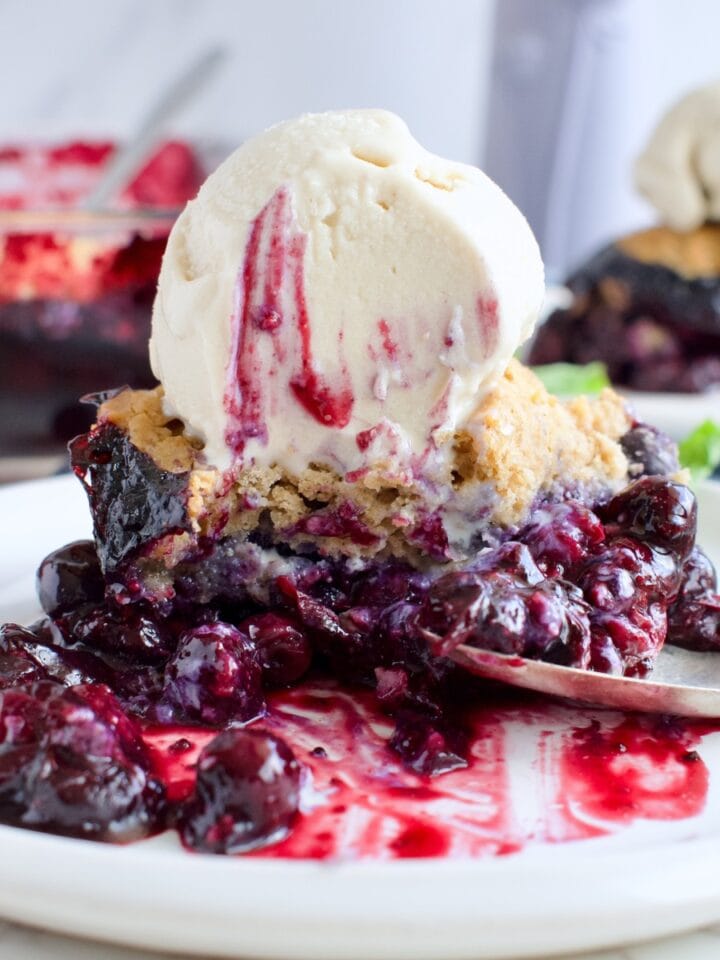
Gluten Free Blueberry Crumble Pie (Dairy Free)
-
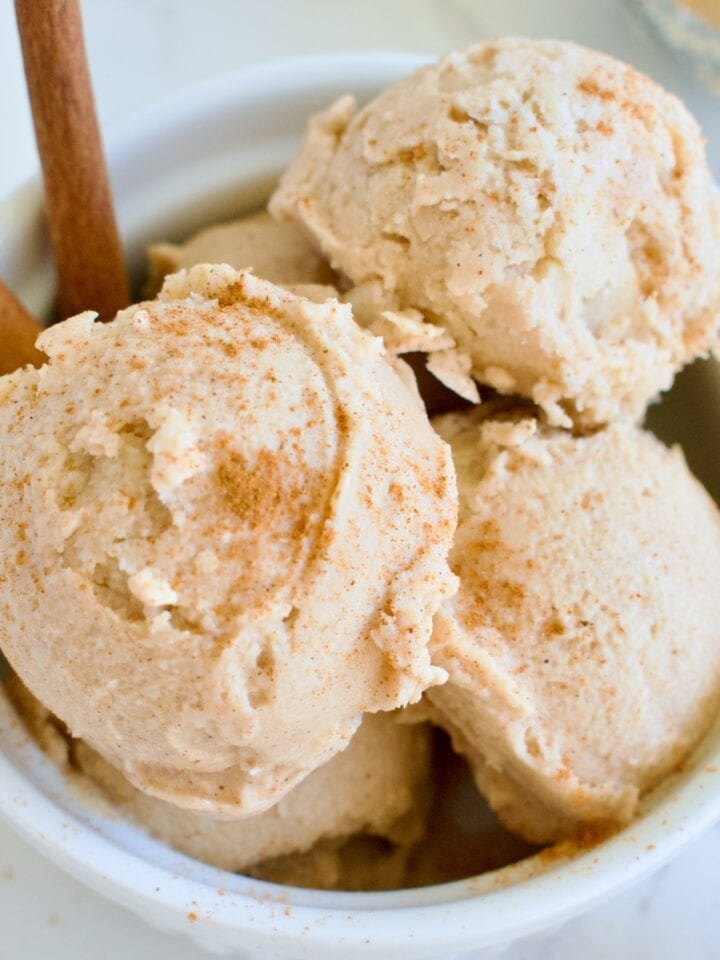
Ninja Creami Vegan Cinnamon Ice Cream (Refined Sugar Free)
-
Gluten Free Mixed Berry Crumb Cake (Dairy Free, Refined Sugar Free)
-
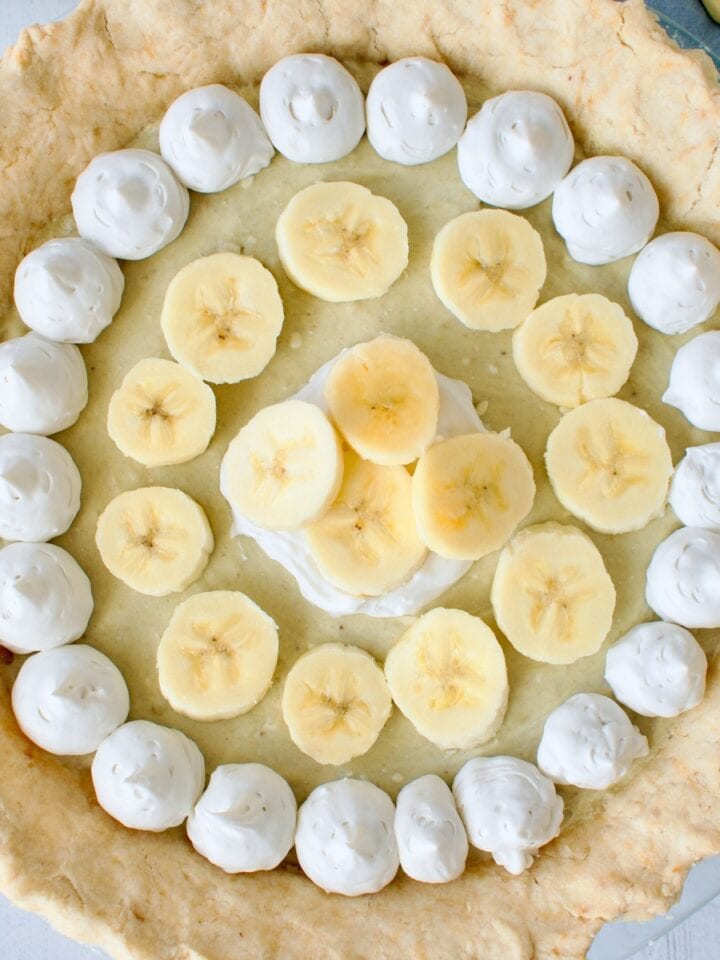
Gluten Free & Vegan Banana Cream Pie
-
Gluten Free Strawberry Glazed Donuts (Dairy Free)
-
Vegan Golden Milk Ice Cream (Ninja Creami)
-
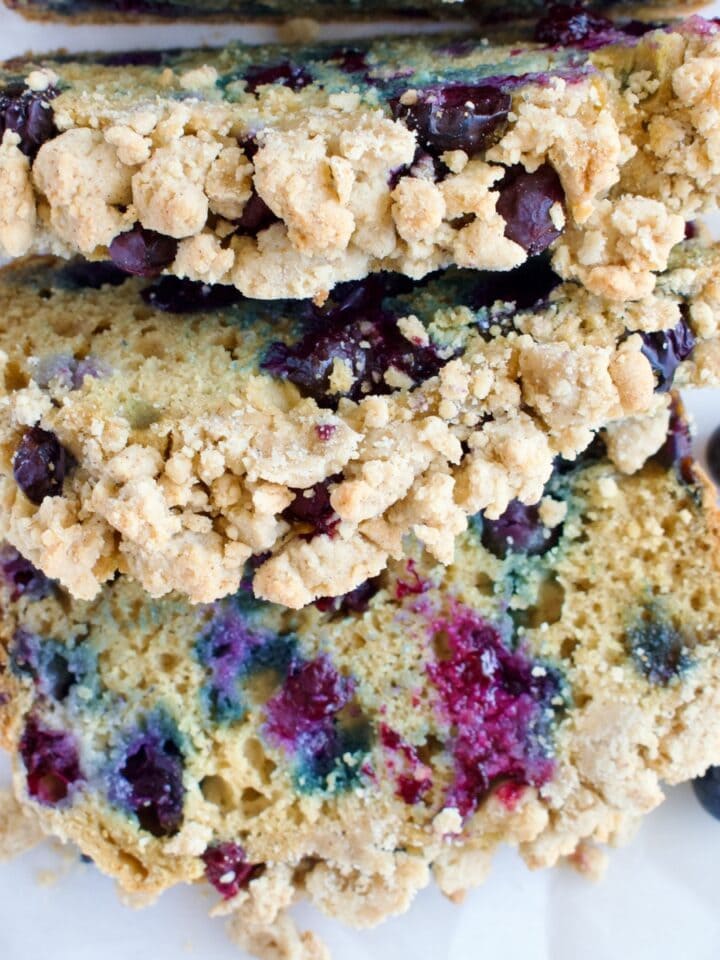
Gluten Free Blueberry Streusel Bread (Dairy Free, Refined Sugar Free)
-
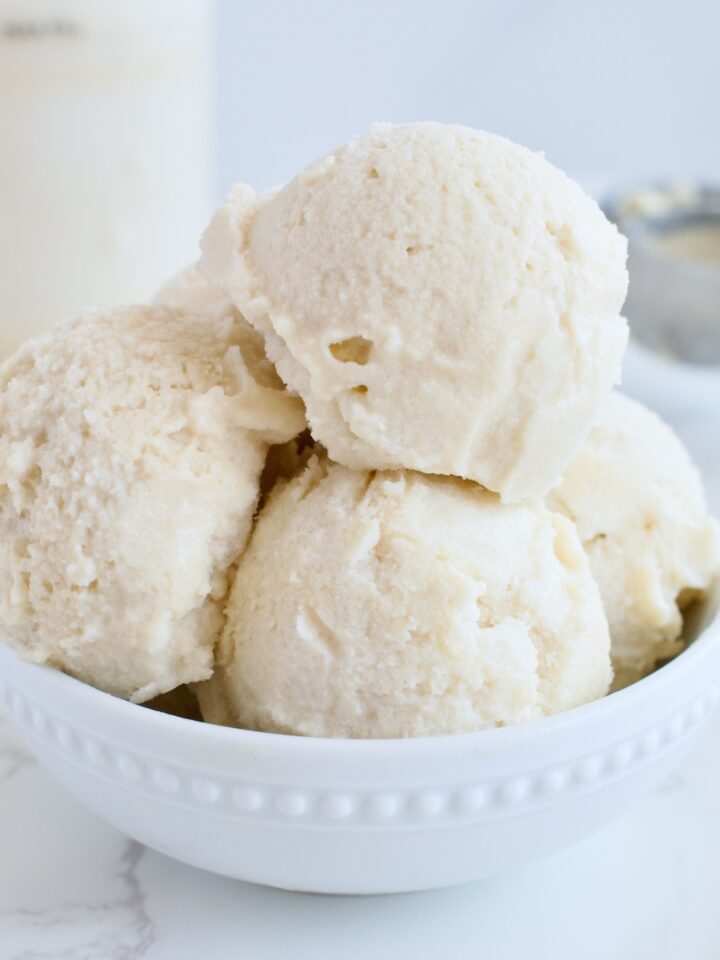
Ninja Creami Vegan Vanilla Ice Cream (High Protein Option)
-
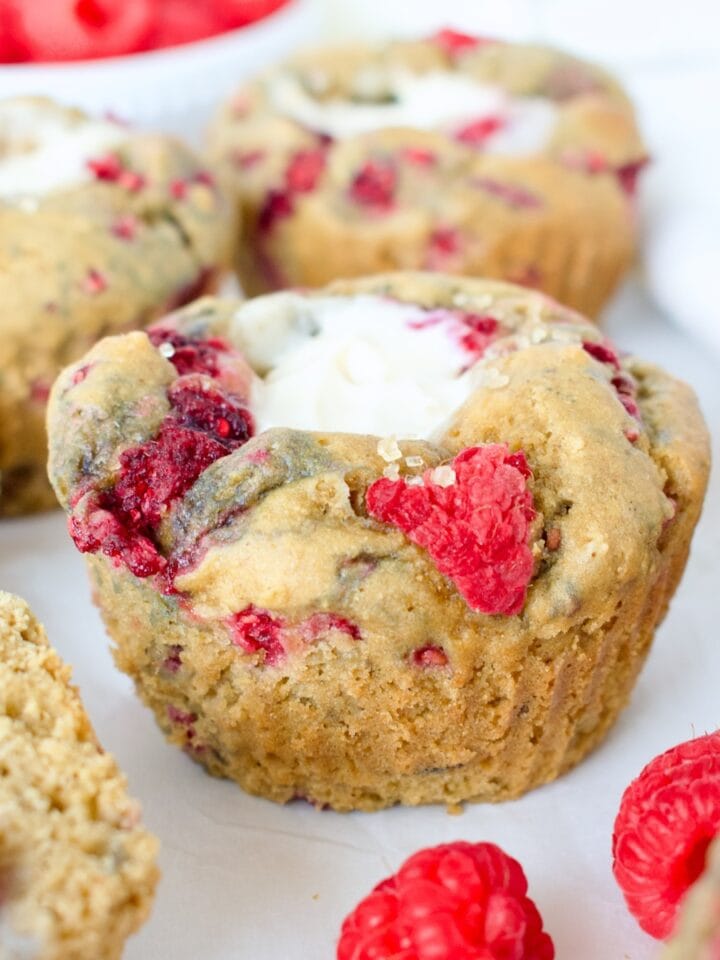
Gluten Free Raspberry Cream Cheese Muffins (Dairy free)
-
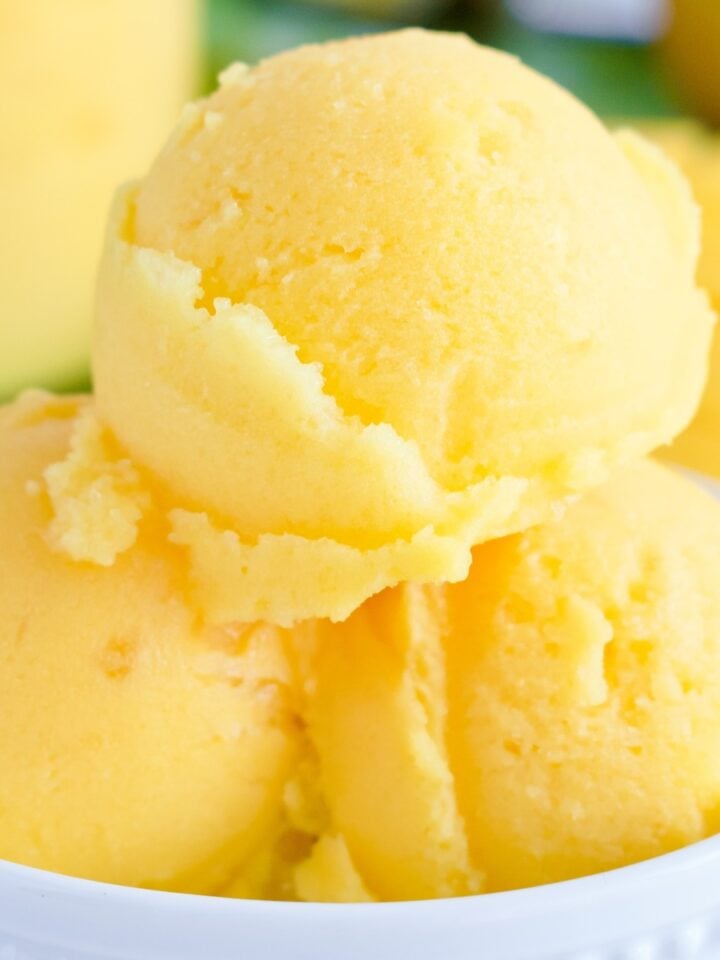
2-Ingredient Ninja Creami Mango Sorbet (with Coconut Water)
-
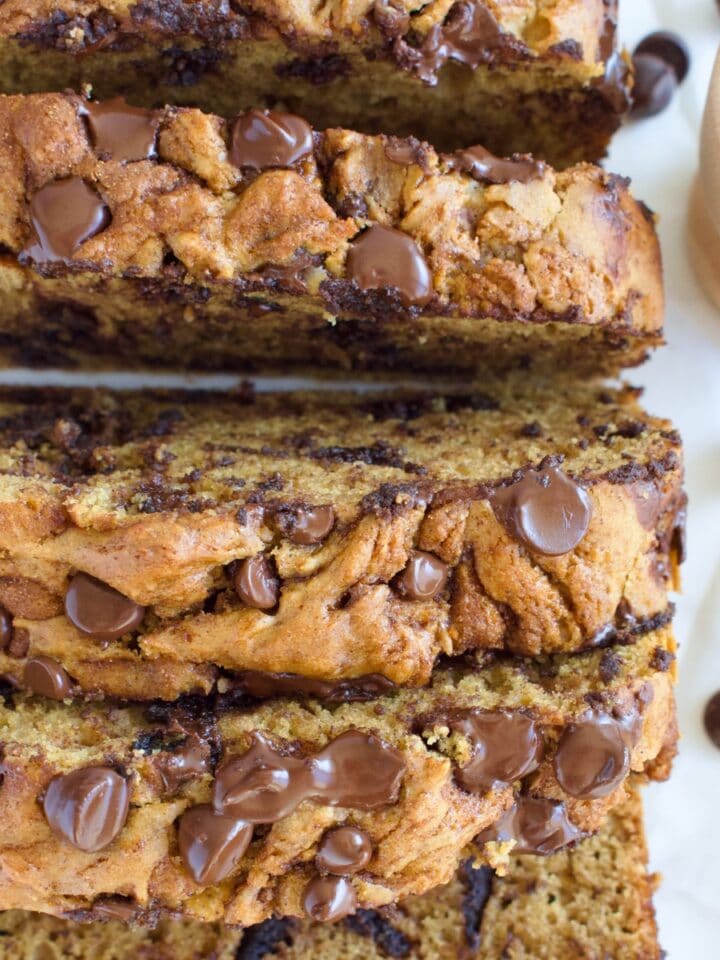
Gluten Free Cinnamon Chocolate Chip Bread (Dairy Free)
-
Gluten Free Strawberry Bread with Strawberry Glaze
-
Easy Gluten Free Mango Bread (Hawaiian Style, Dairy Free)
-
Ninja Creami Vegan Salted Caramel Ice Cream (Paleo)
-
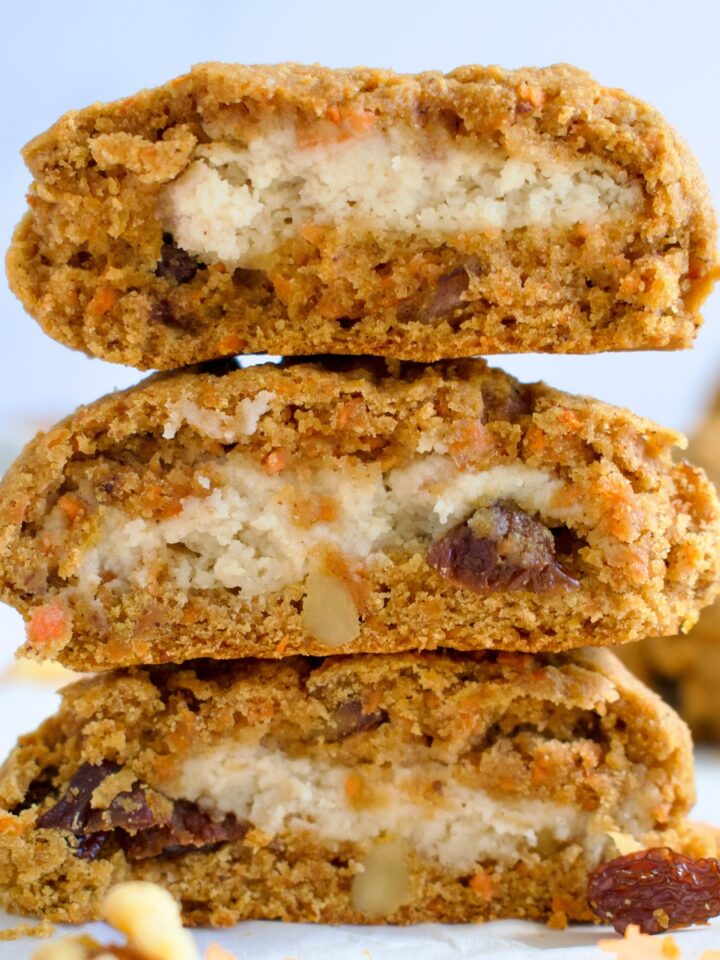
Stuffed Gluten Free Carrot Cake Cookies (Dairy Free)
-
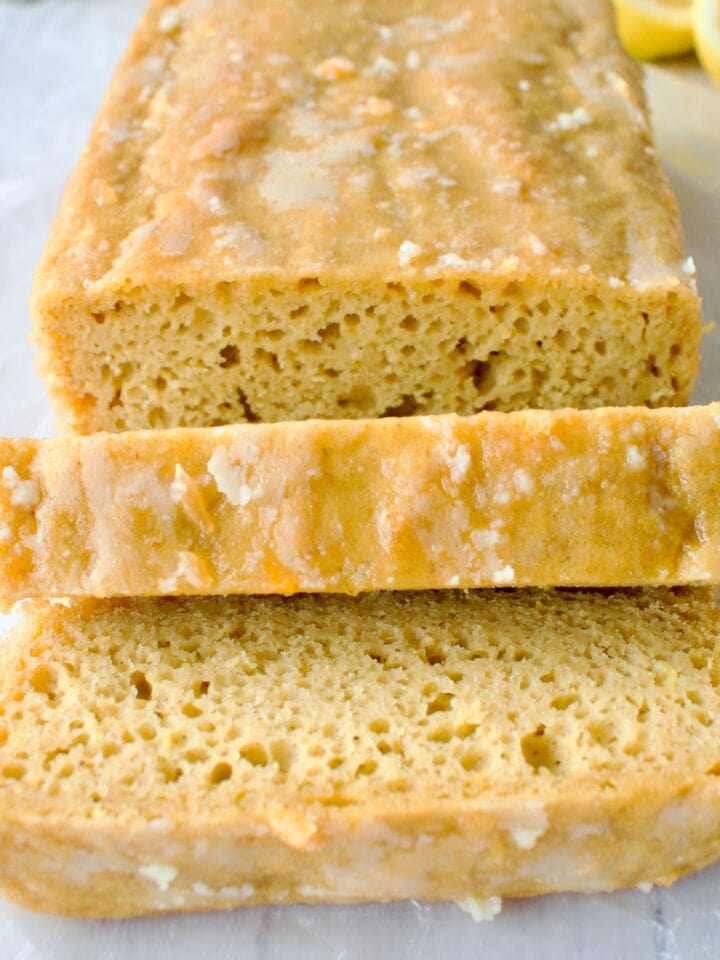
Gluten Free Lemon Loaf with Citrus Glaze (Dairy-Free)
-
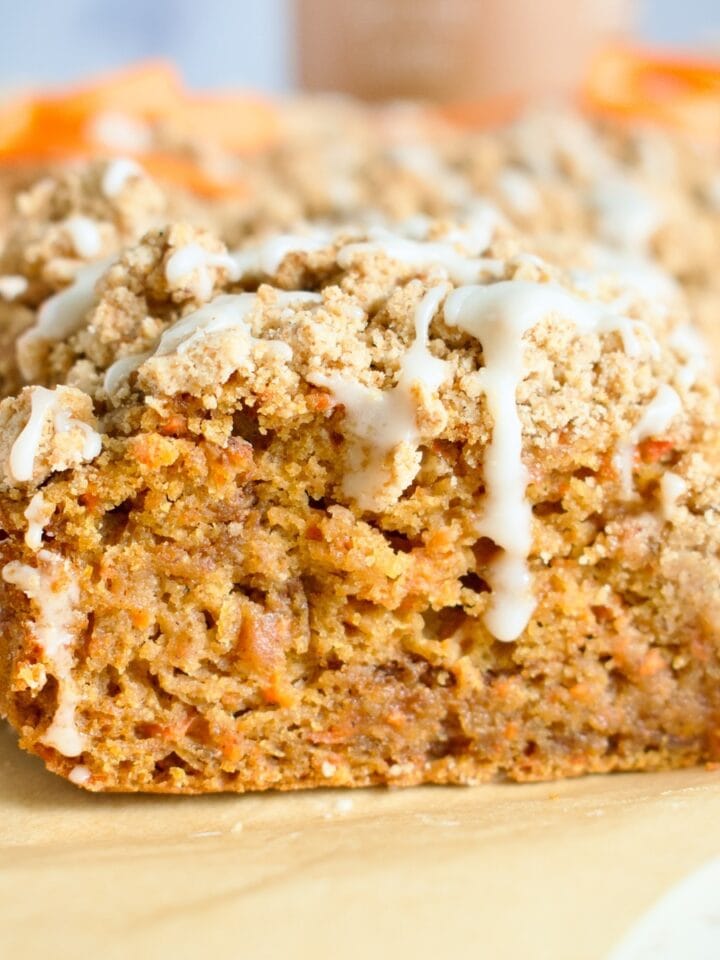
Gluten Free Carrot Coffee Cake (Dairy Free, Refined Sugar Free)
-
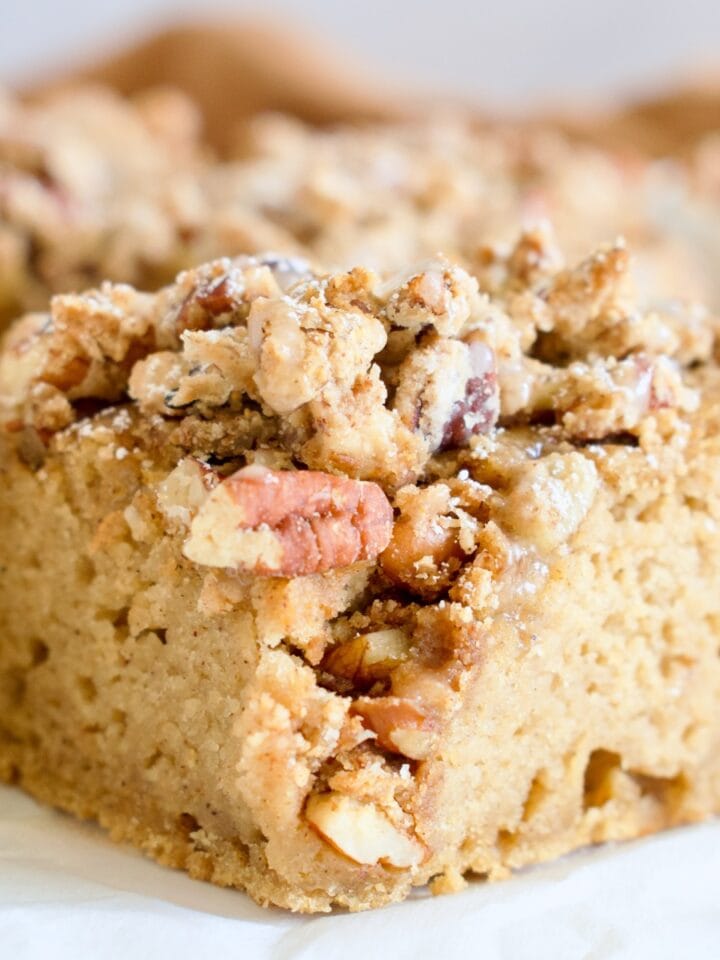
Maple Pecan Coffee Cake (Gluten Free, Dairy Free)
-
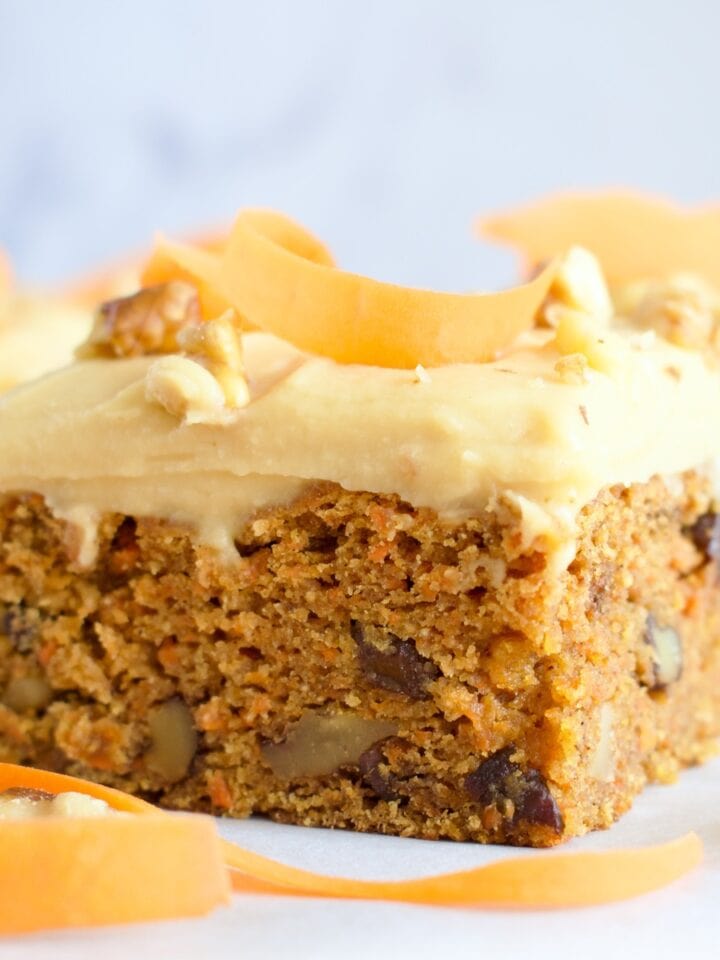
Healthy Paleo Carrot Cake with Dairy Free Icing
-
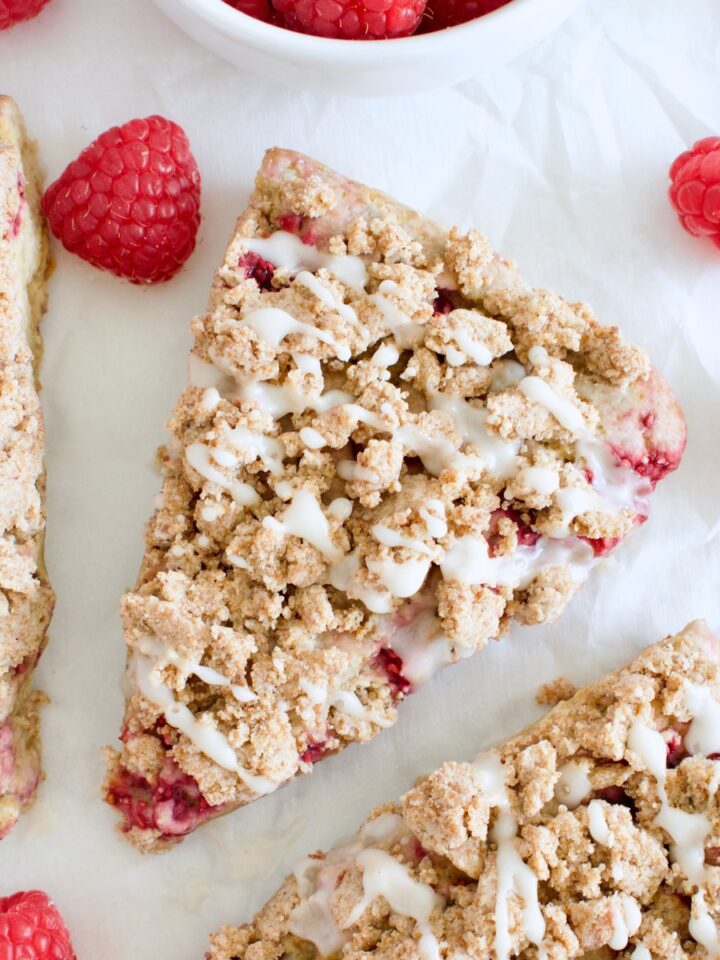
Gluten Free Raspberry Crumble Scones (Dairy Free)
-
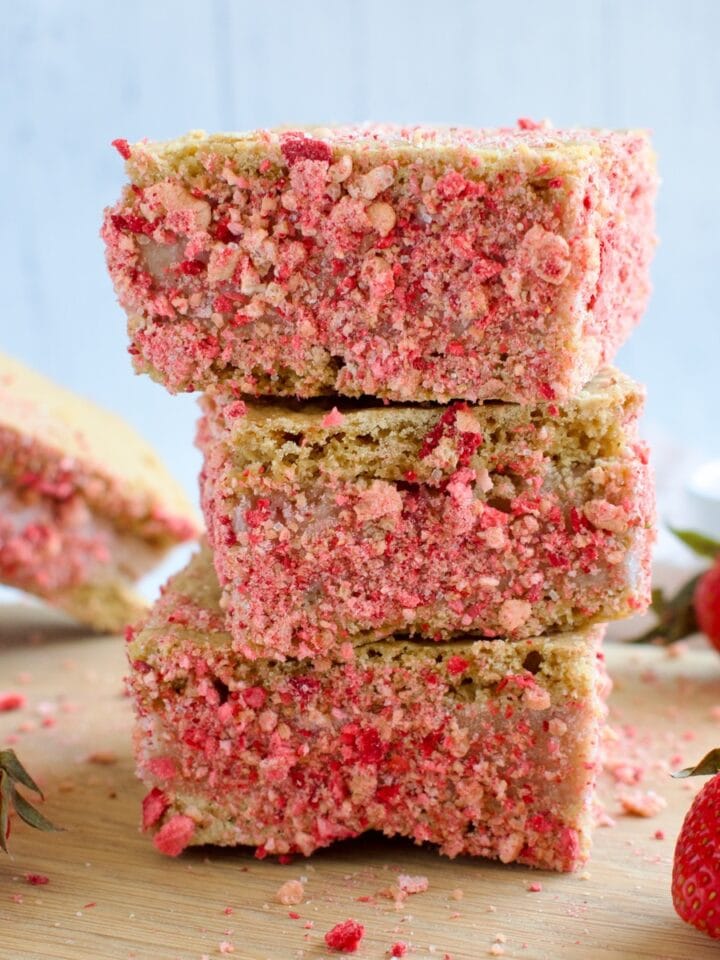
Healthy Gluten Free Raspberry Blondies (Dairy Free)
-
Gluten Free Banana Bread Coffee Cake (Dairy Free)