Paleo
Whether you don't tolerate grains or are following Whole 30, this page is filled with fully Paleo recipes from main dishes to snacks to baked goods. Enjoy all the deliciousness that life has to offer- grain free!
-
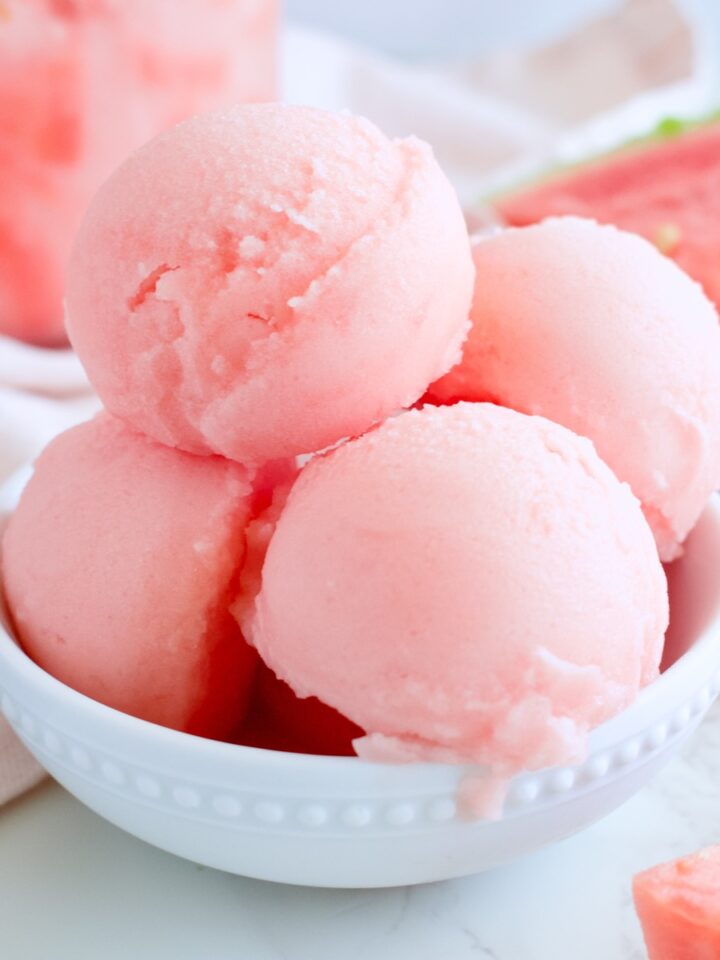
2-Ingredient Ninja Creami Watermelon Sorbet (No Added Sugar)
-
Ninja Creami Vegan Blackberry Ice Cream (Refined Sugar Free)
-
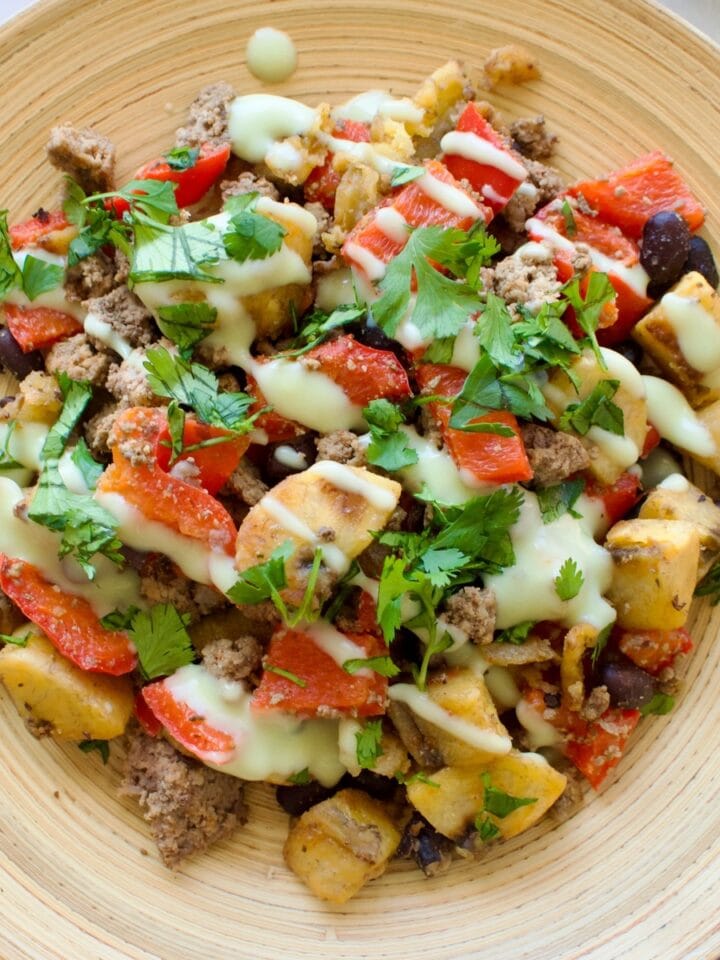
One Pan Plantain Taco Bowls (Gluten Free & Dairy Free)
-
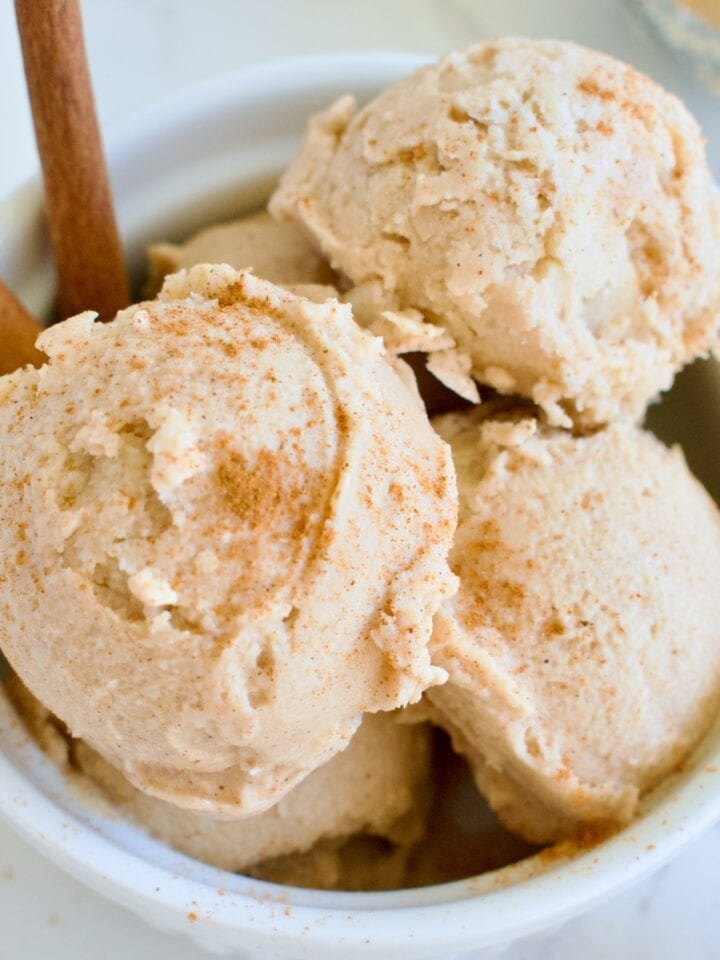
Ninja Creami Vegan Cinnamon Ice Cream (Refined Sugar Free)
-
Vegan Golden Milk Ice Cream (Ninja Creami)
-
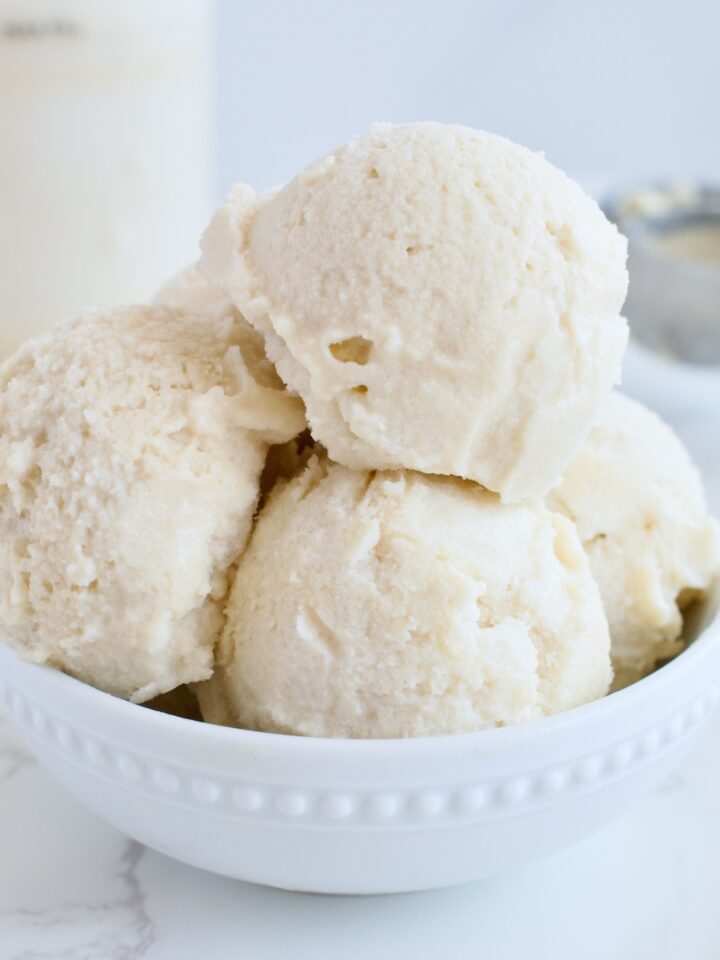
Ninja Creami Vegan Vanilla Ice Cream (High Protein Option)
-
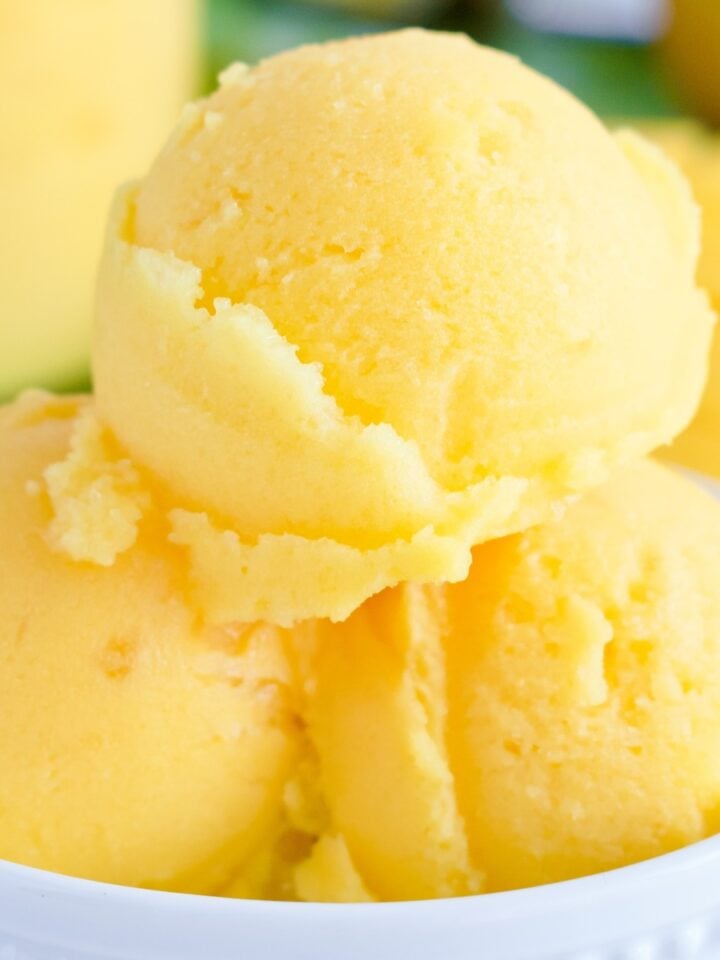
2-Ingredient Ninja Creami Mango Sorbet (with Coconut Water)
-
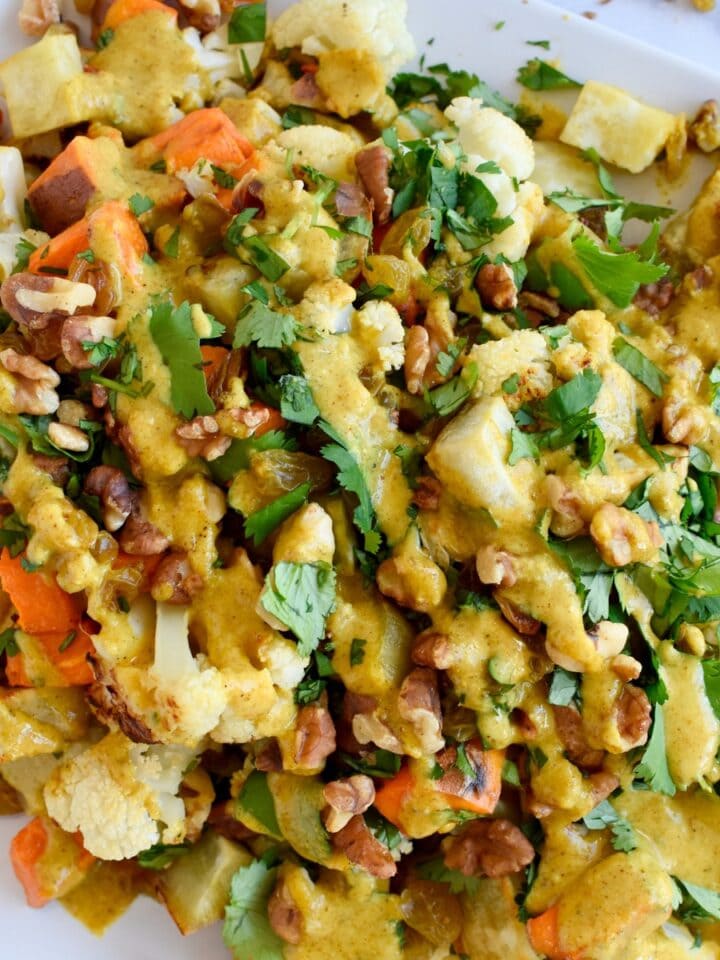
Curried Cauliflower and Sweet Potato Salad (Gluten Free & Vegan)
-
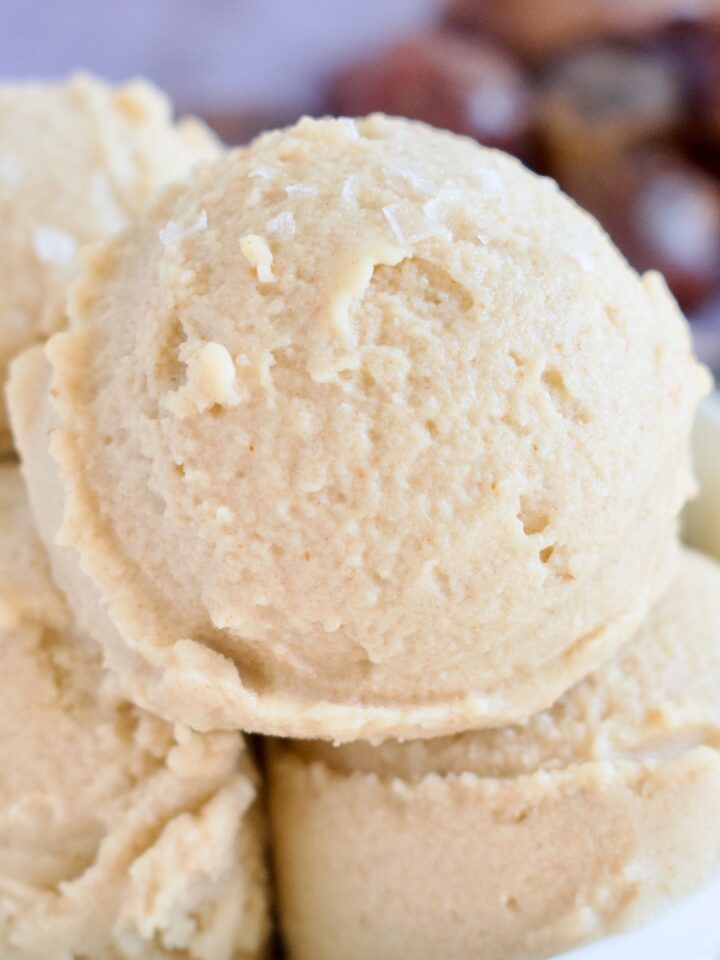
Ninja Creami Vegan Salted Caramel Ice Cream (Paleo)
-
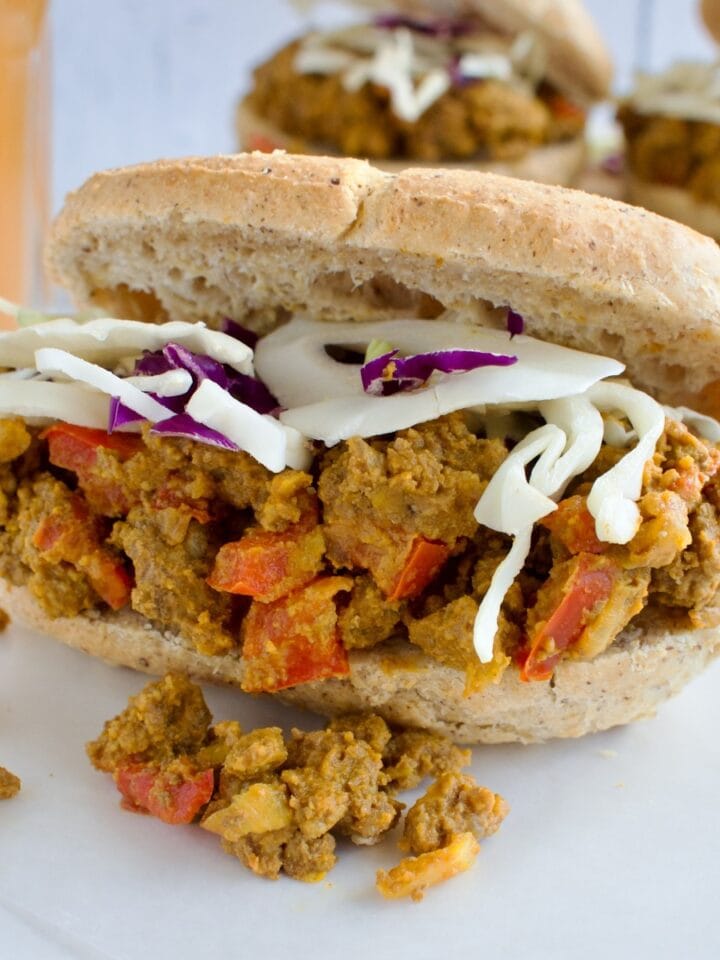
Tomato Free Sloppy Joes (Gluten Free)
-
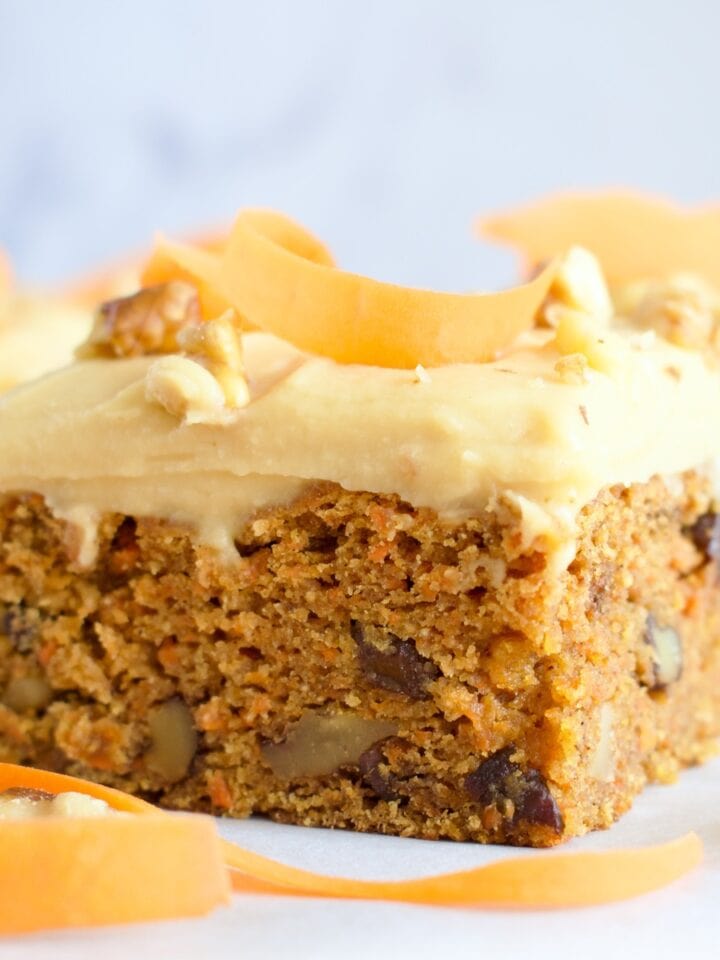
Healthy Paleo Carrot Cake with Dairy Free Icing
-
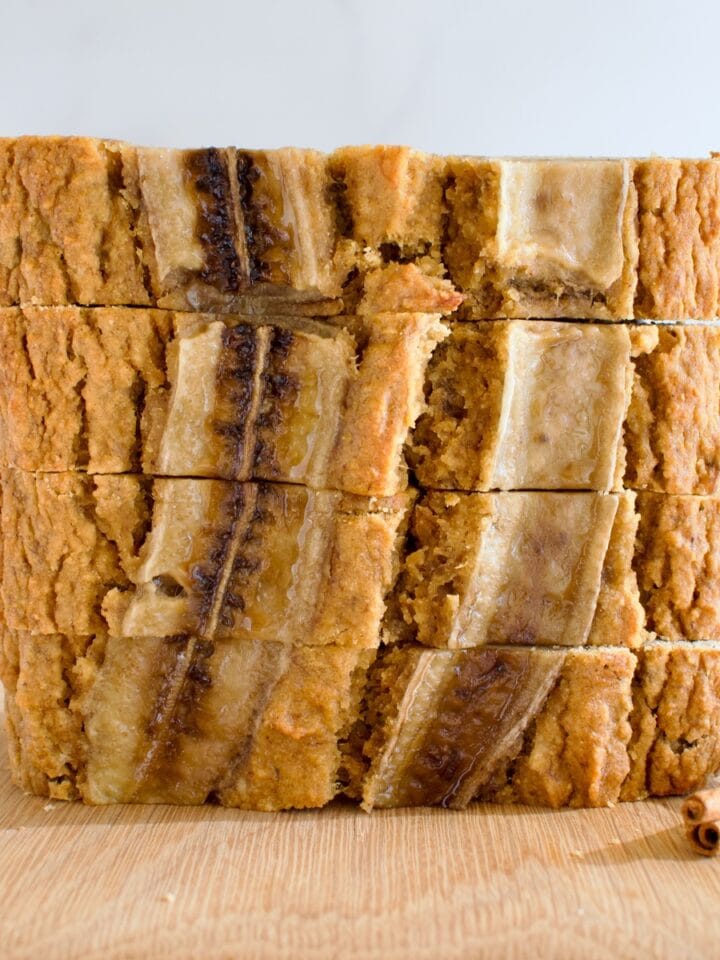
Nut Free Paleo Banana Bread (Dairy Free)
-
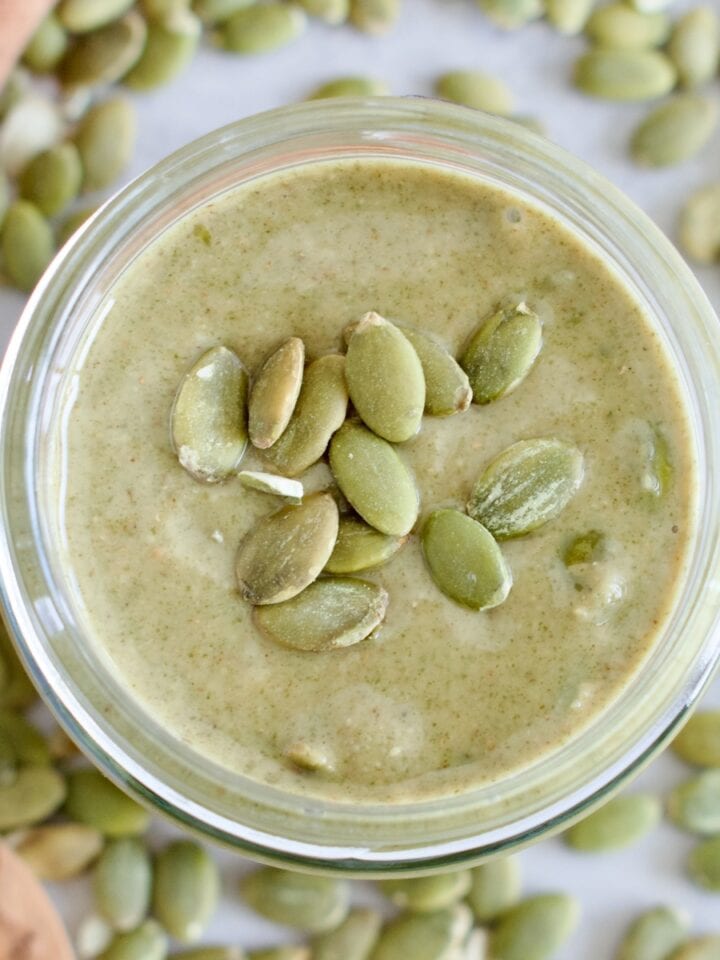
Homemade Pumpkin Seed Butter (Vegan, Gluten Free)
-
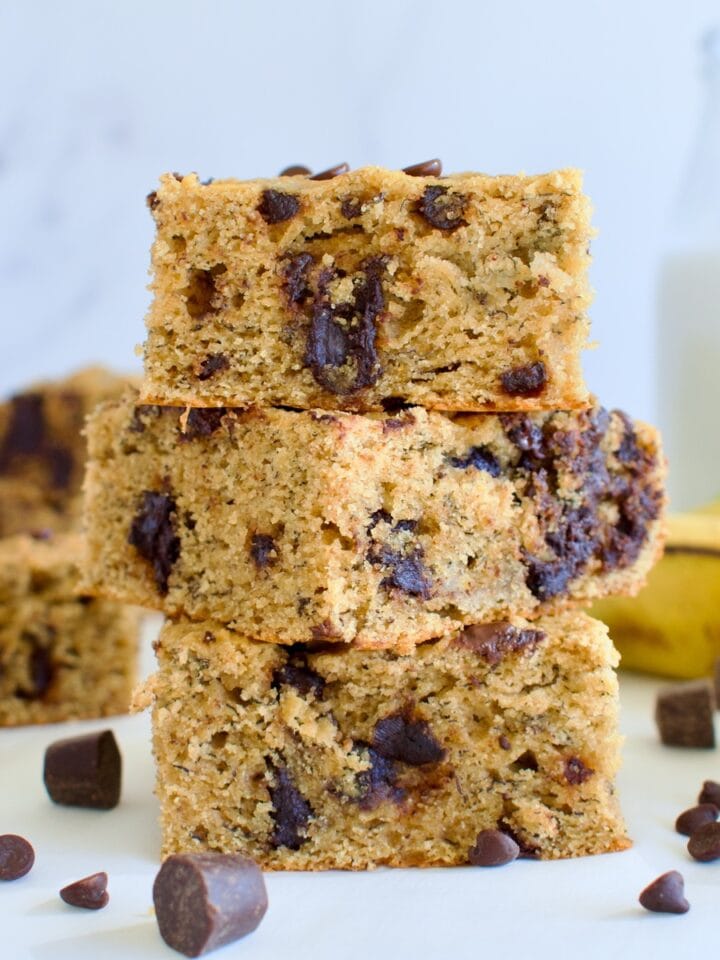
Paleo Banana Chocolate Chip Bars (Gluten Free, Dairy Free)
-
Coconut Lamb and Sweet Potato Curry (Paleo, Dairy Free)
-
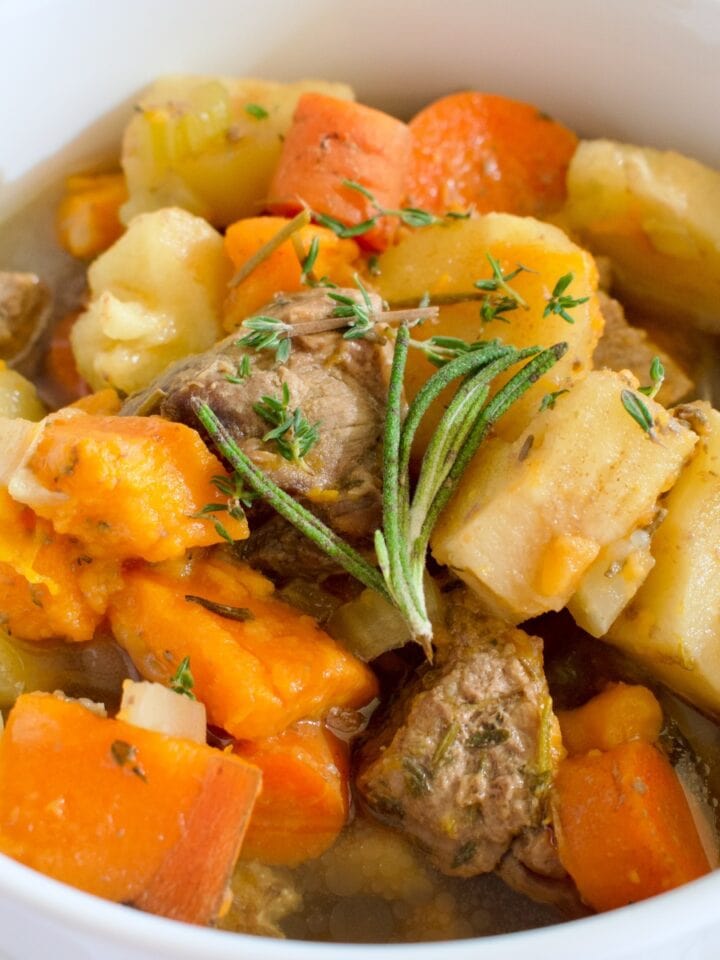
Slow Cooker AIP Beef Stew (Nightshade Free, Low Fodmap)
-
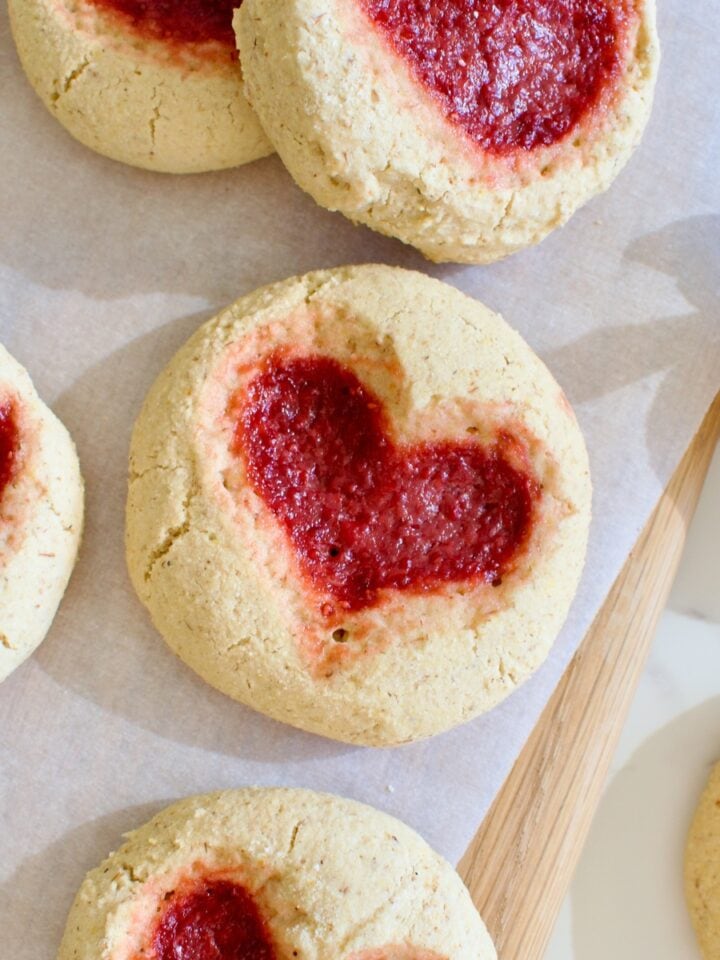
Heart Thumbprint Cookies (Paleo, Gluten Free)
-
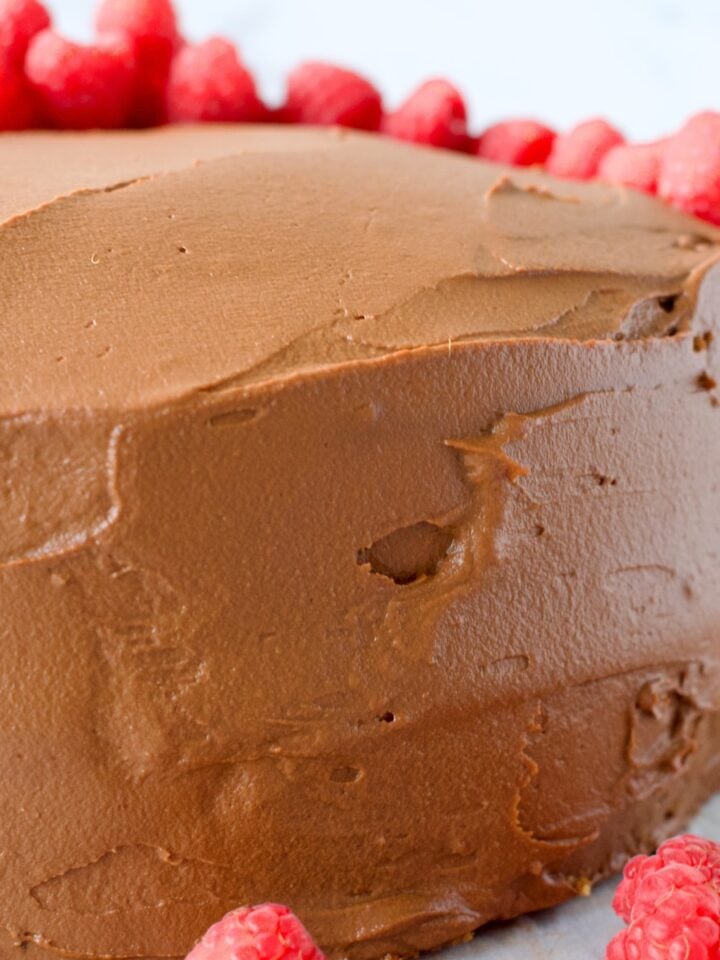
Healthy Chocolate Sweet Potato Frosting (Dairy Free, Paleo)
-
Low FODMAP AIP Shepherd's Pie (Nightshade-Free)
-
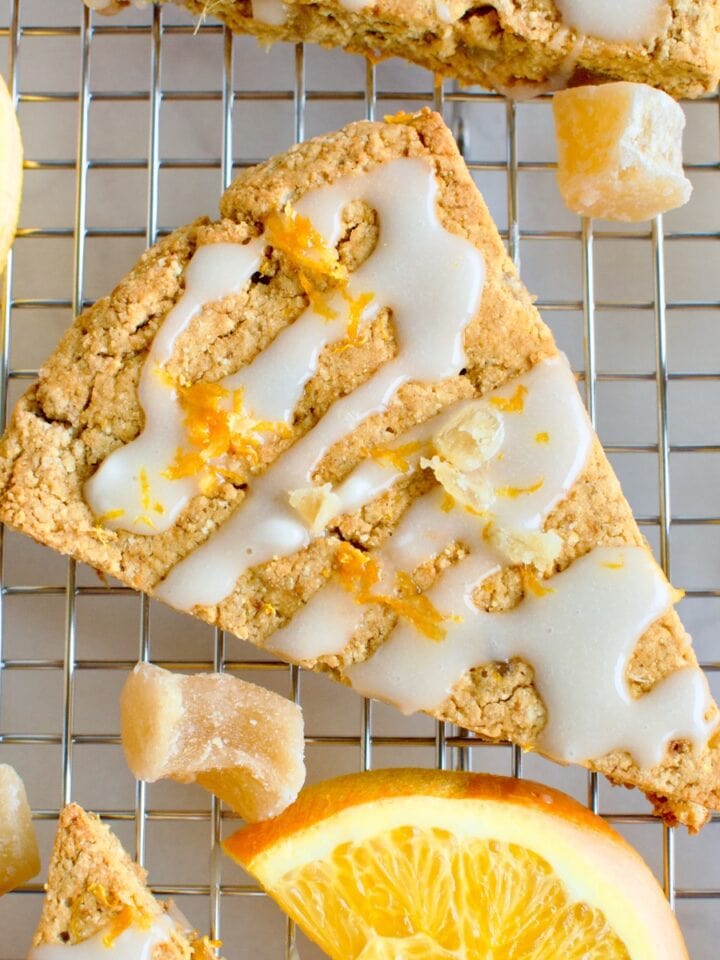
Easy Ginger Orange Scones Recipe (Grain Free, Dairy Free)
-
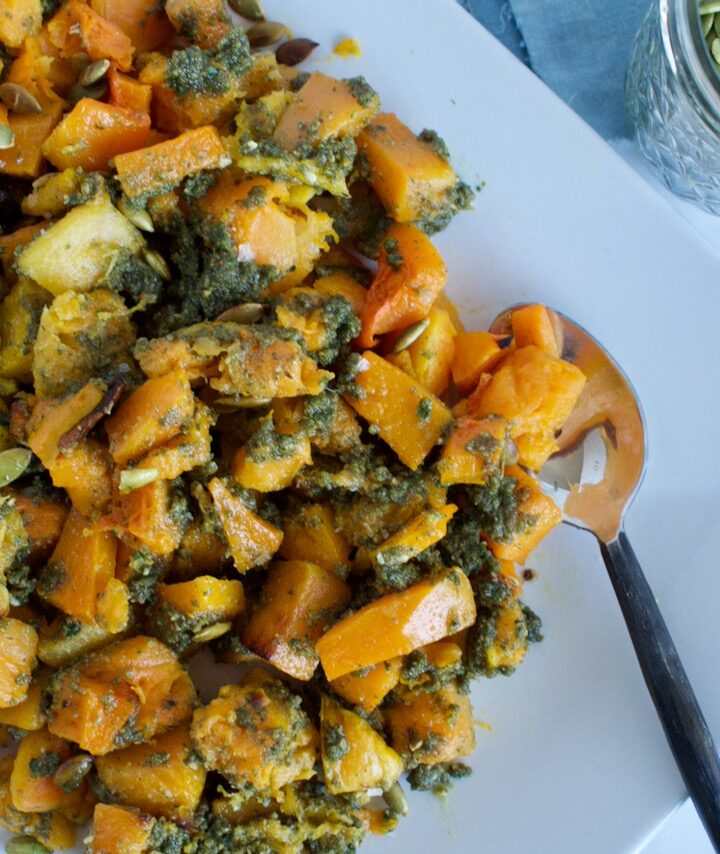
Pumpkin Seed Pesto Butternut Squash (The Best Side Dish Ever)
-
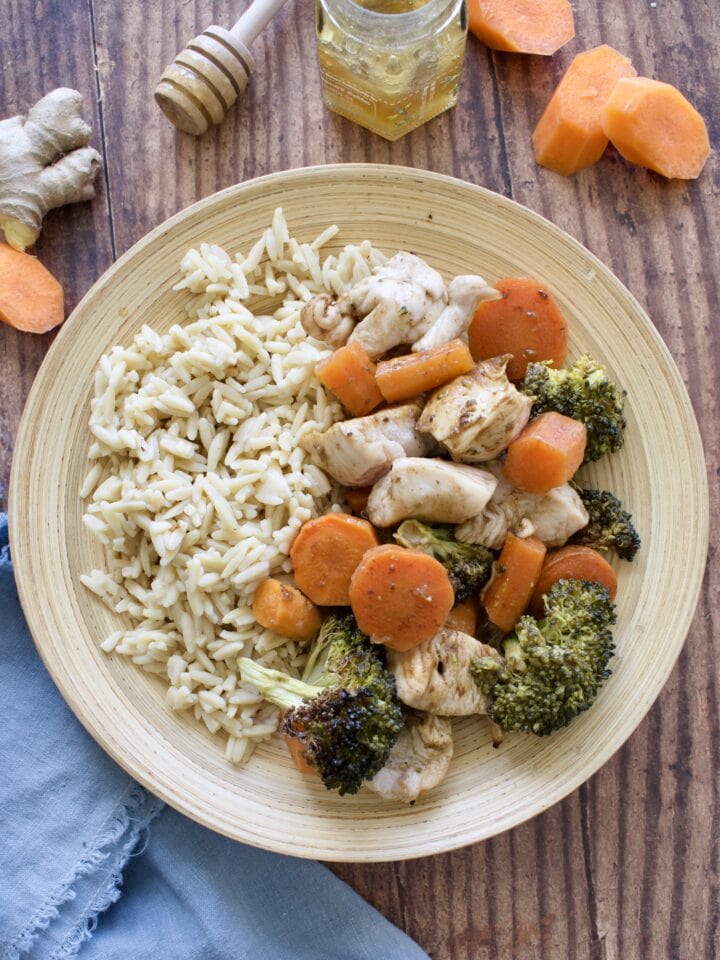
Sheet Pan Honey Balsamic Chicken and Veggies (Allergy Friendly)
-
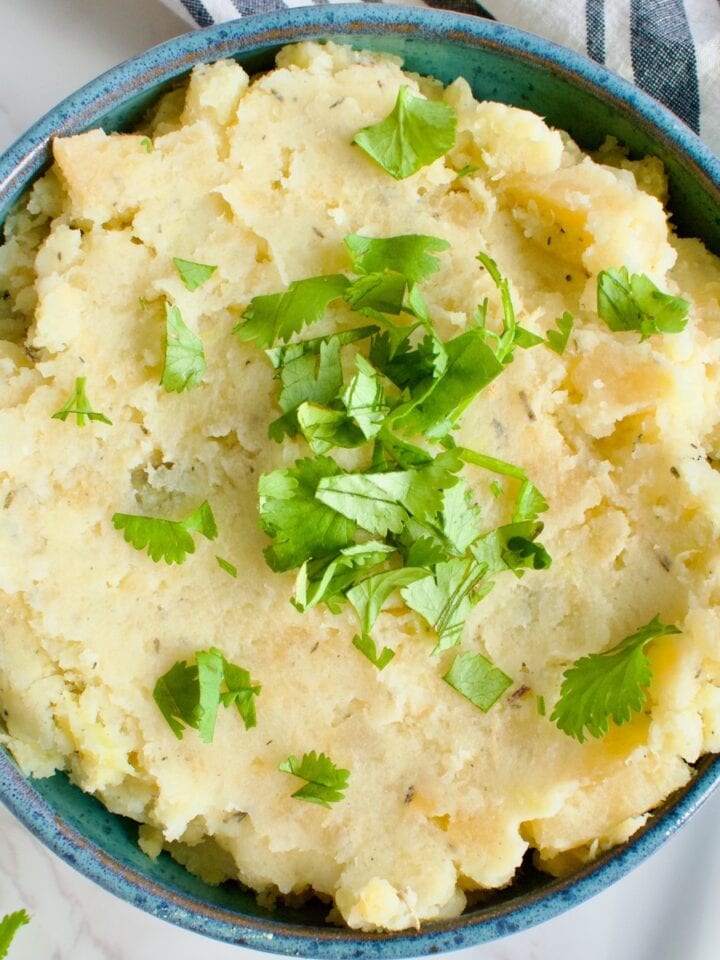
Mashed White Sweet Potatoes and Rutabaga (Vegan)
-
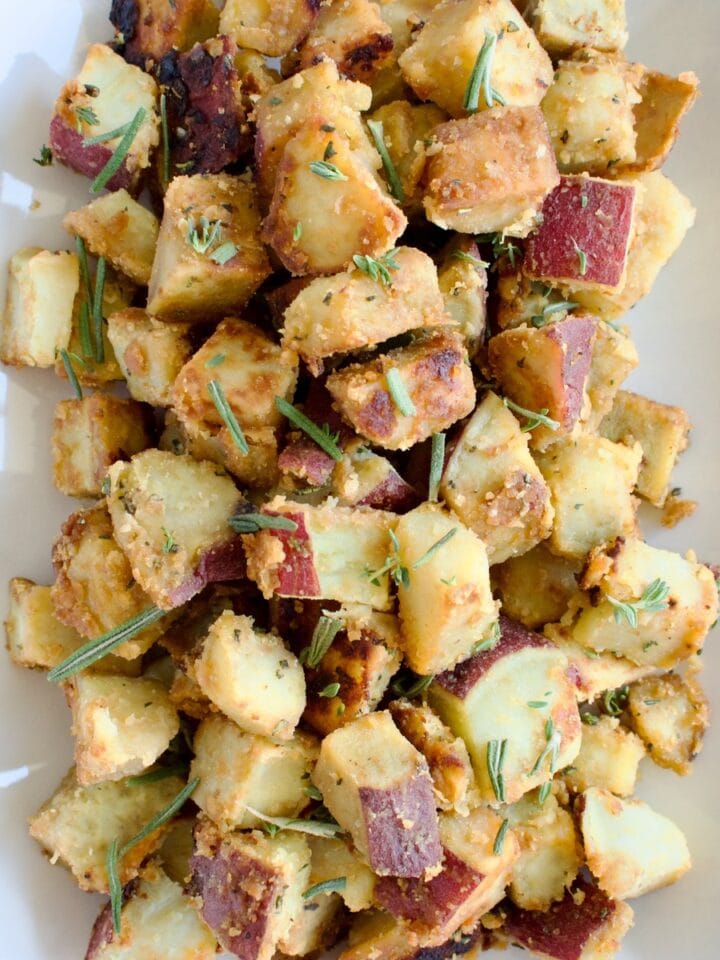
Skillet Herbed Japanese Sweet Potatoes (Paleo and Vegan)
-
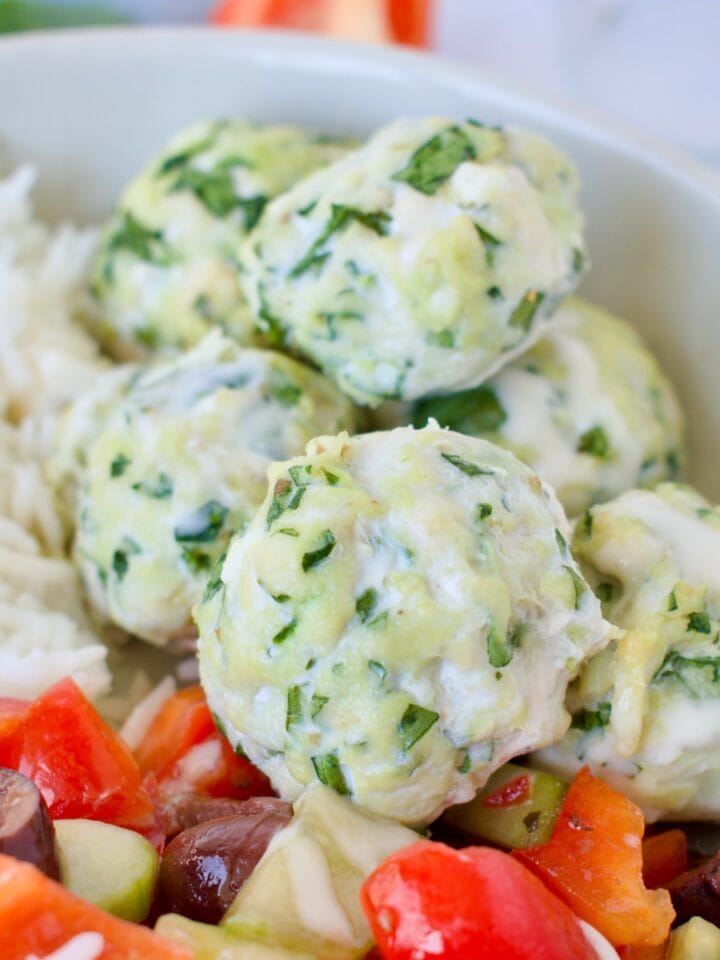
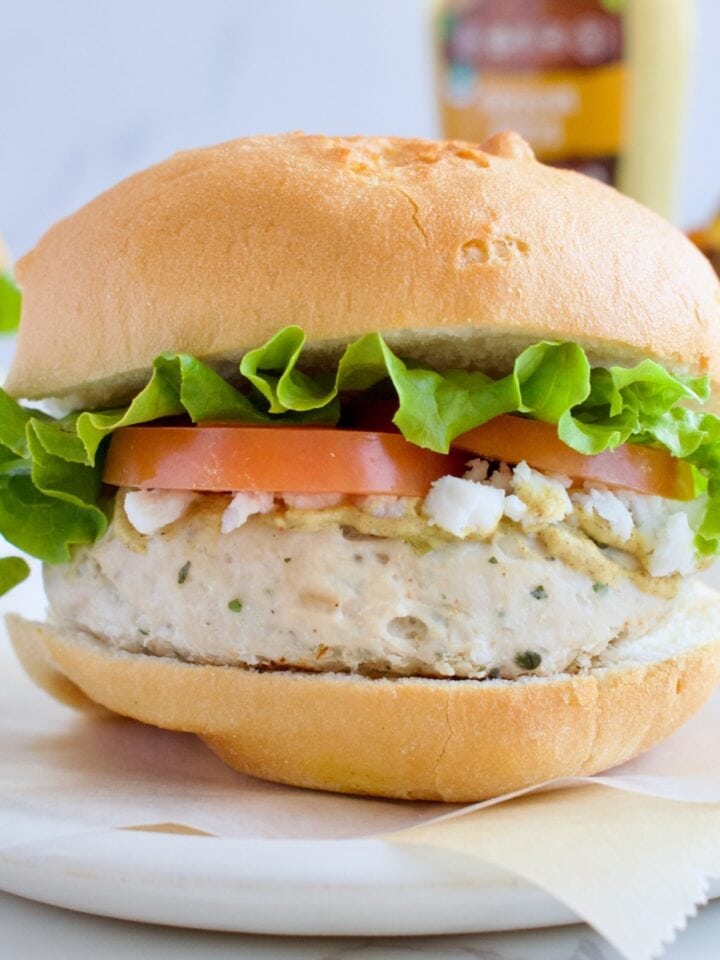
Spinach and Feta Chicken Meatballs (Gluten-Free, Dairy-Free Option, Low-Fodmap)
-
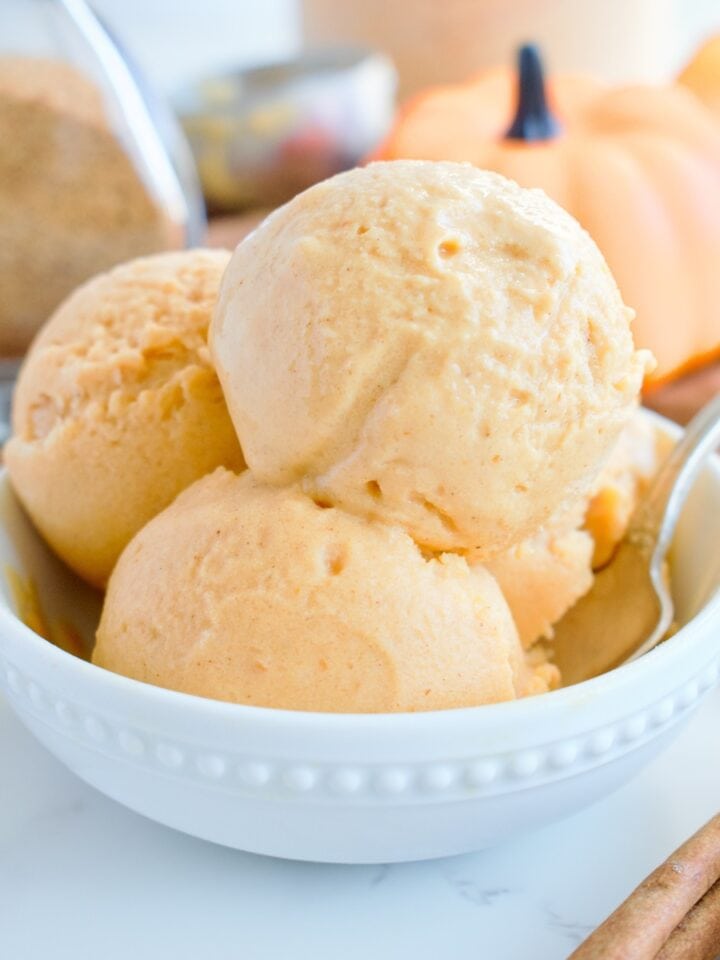
Healthy Ninja Creami Pumpkin Ice Cream (Vegan)
-
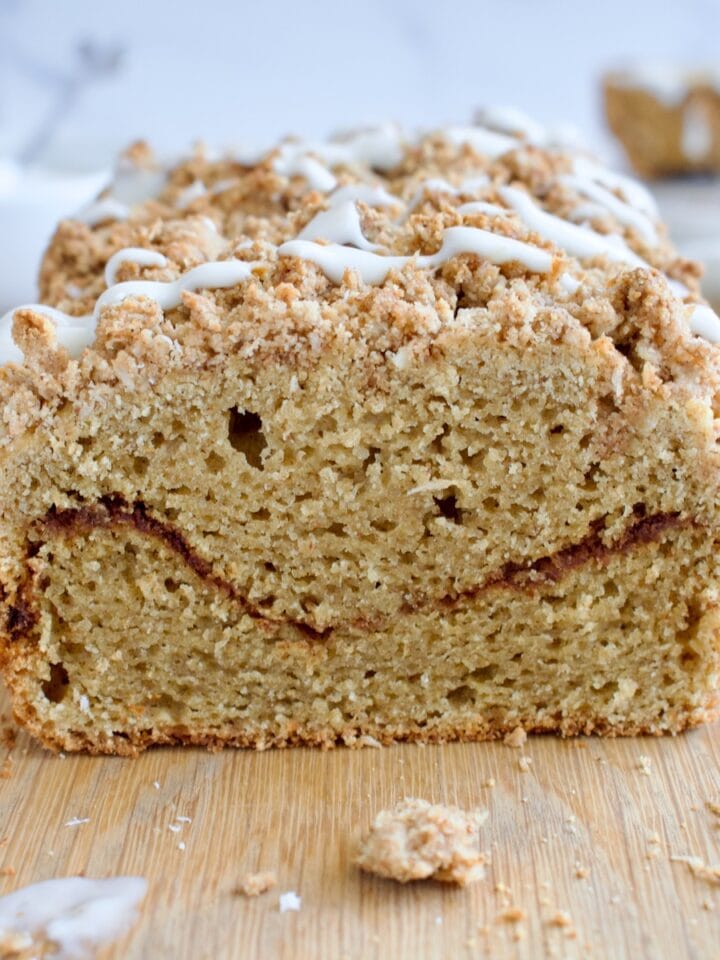
Healthy Paleo Coffee Cake Loaf (Gluten & Dairy Free)
-
Easy Gluten Free Ginger Peach Galette (Dairy Free, Paleo Option)
-
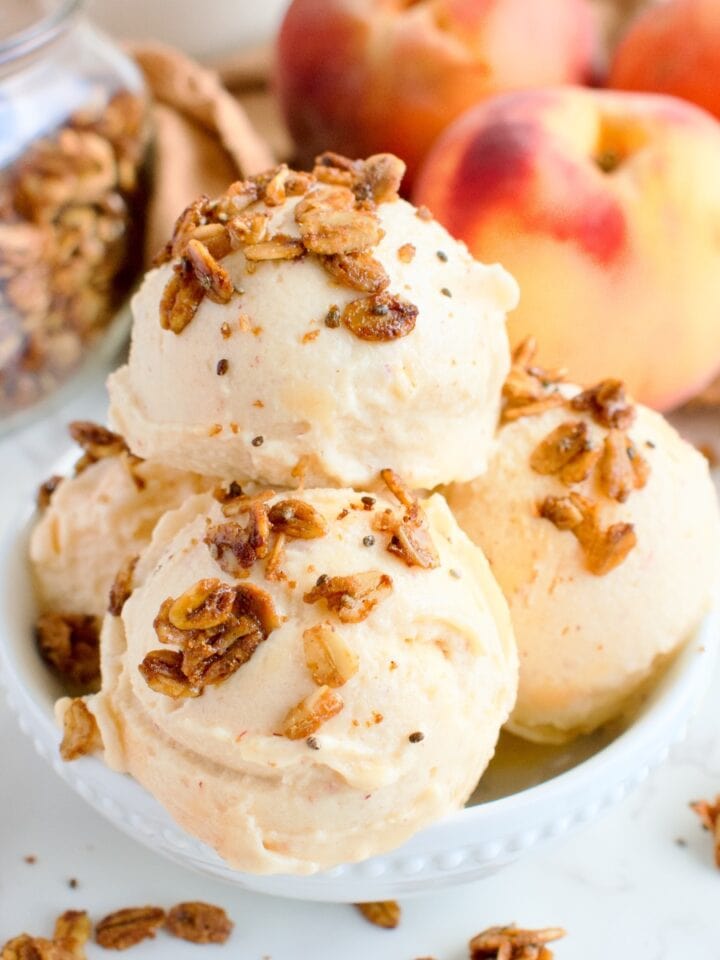
Ninja Creami Peach Crisp Ice Cream (Vegan, Gluten Free)
-
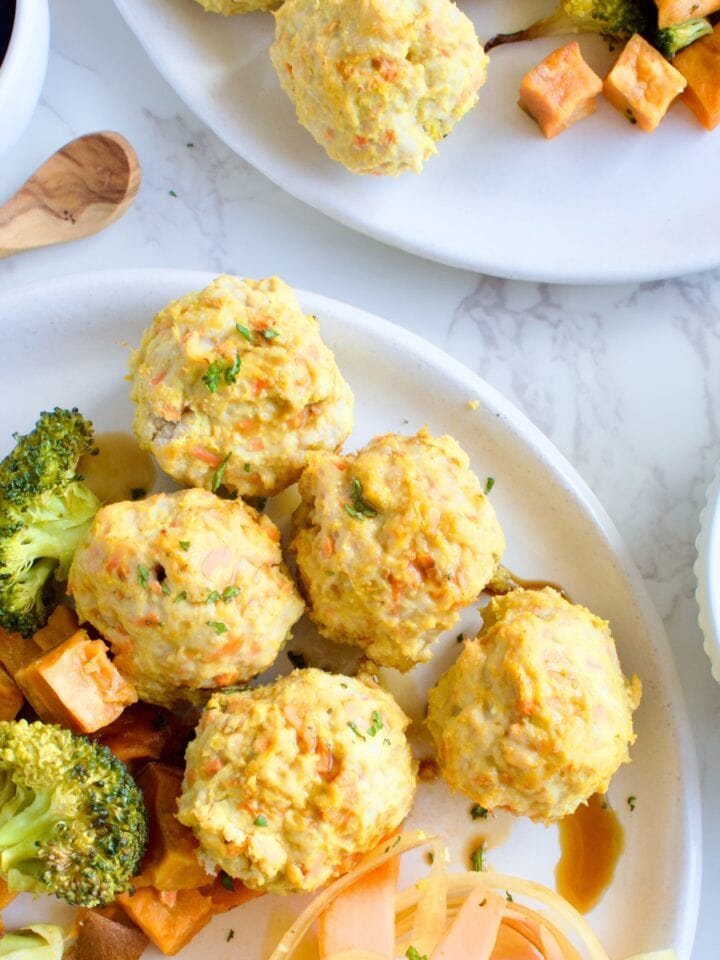
Sheet Pan Turmeric Ginger Turkey Meatballs (Gluten Free, Paleo)
-
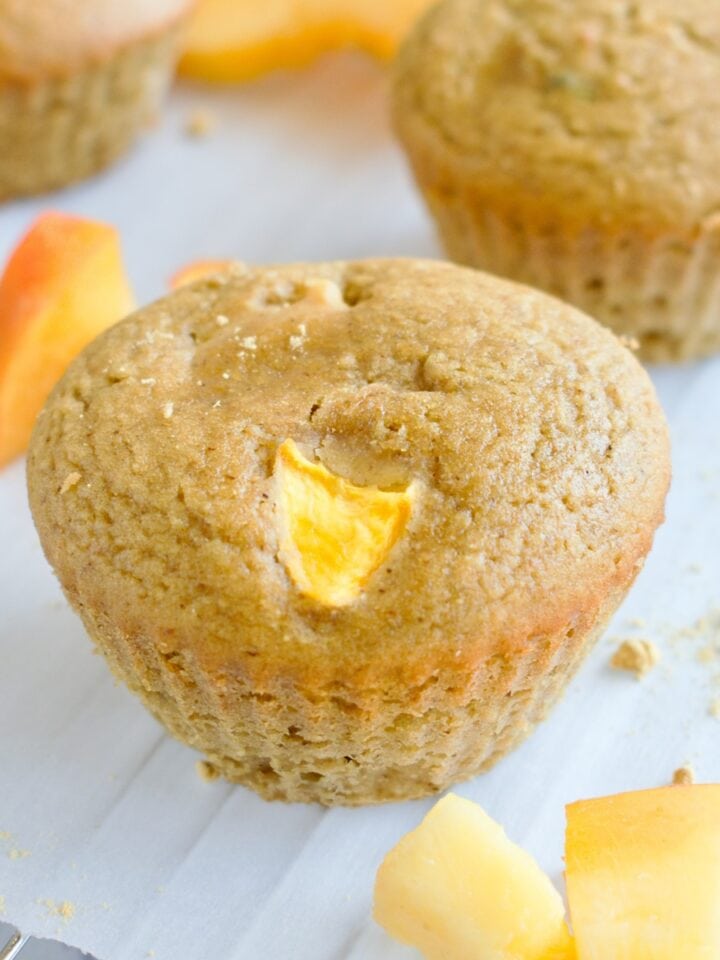
Paleo Ginger-Peach Muffins (Gluten-free, nut-free)
-
Paleo Peaches 'N Cream Strawberry Shortcake (Gluten Free, Nut-free, Vegan option)
-
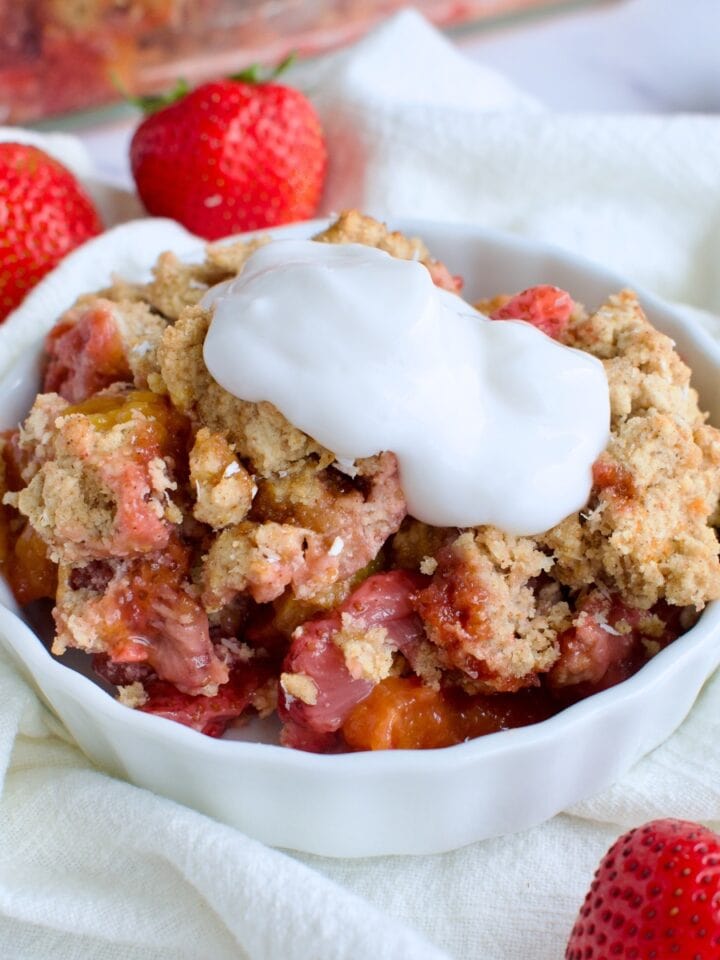
Paleo Strawberry-Peach Crumble (Gluten Free, Dairy Free)
-
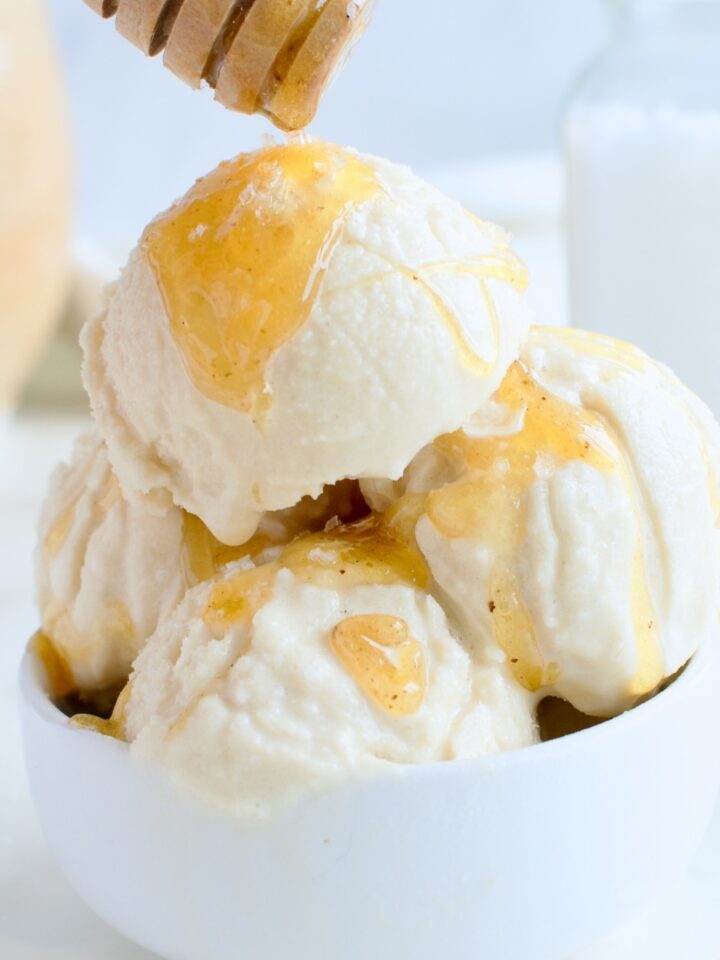
Dairy Free Salted Honey Ice Cream (Paleo, AIP)
-
Veggie Loaded Turkey Burgers with Cauliflower (Gluten Free)
-
4th of July Recipe Roundup 2025
-
Crispy Smashed Japanese Sweet Potatoes (Paleo, Vegan)
-
Air Fryer Paleo Popcorn Chicken (Gluten Free & Dairy Free)
-
AIP Meatloaf with Hidden Veggies (Low FODMAP)
-
Gluten Free Raspberry Crumble Muffins (Dairy-Free)
-
Paleo Pop Tarts (AIP & Vegan)
-
Easy, Healthy Cheesecake (Gluten-Free, Dairy-Free)