Nightshade Free
Following a nightshade free diet can be challenging, but I'm here to take that stress off your shoulders. Enjoy delicious nightshade free recipes without worrying about a health flare!
-
Golden Milk Ice Cream Sandwiches (Gluten Free & Dairy Free)
-
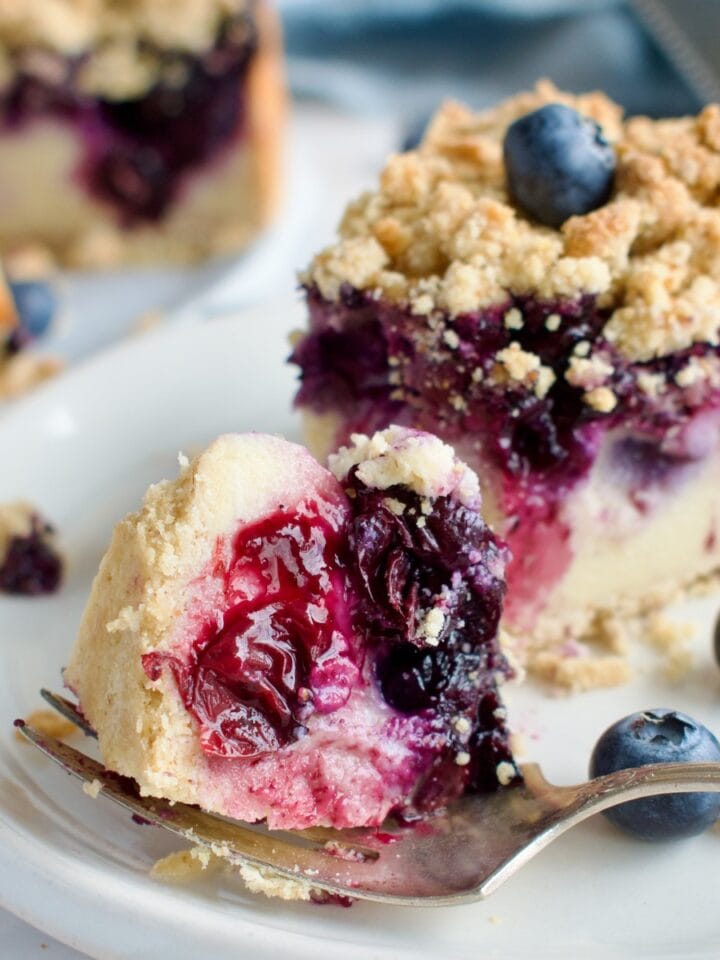
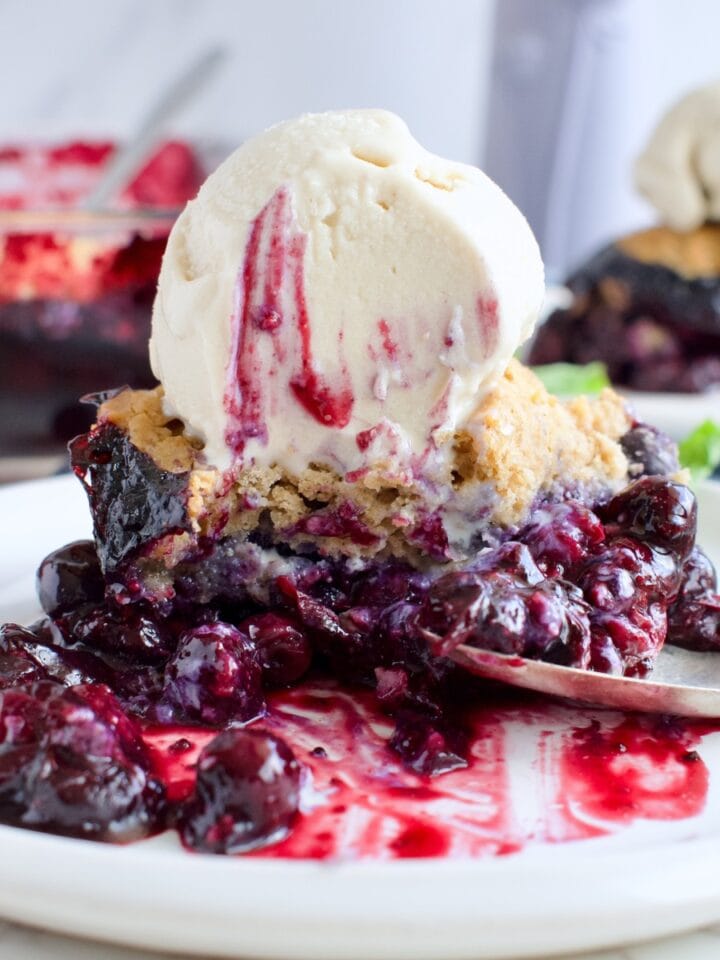
Gluten Free Blueberry Crumble Cheesecake (Dairy Free)
-
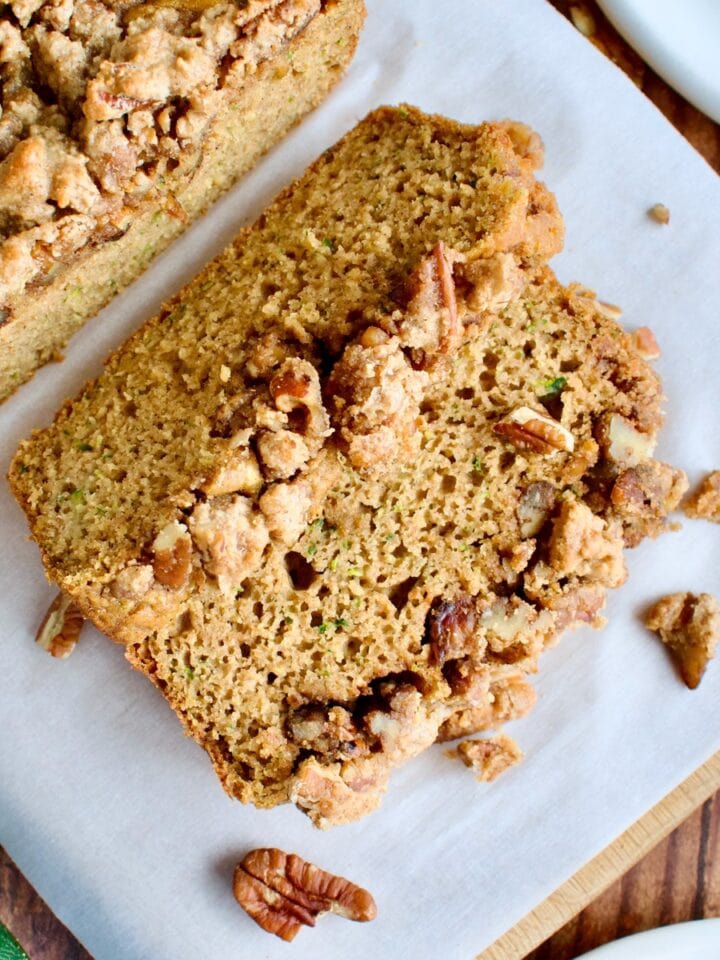
Gluten Free Zucchini Bread with Pecan Crumble
-
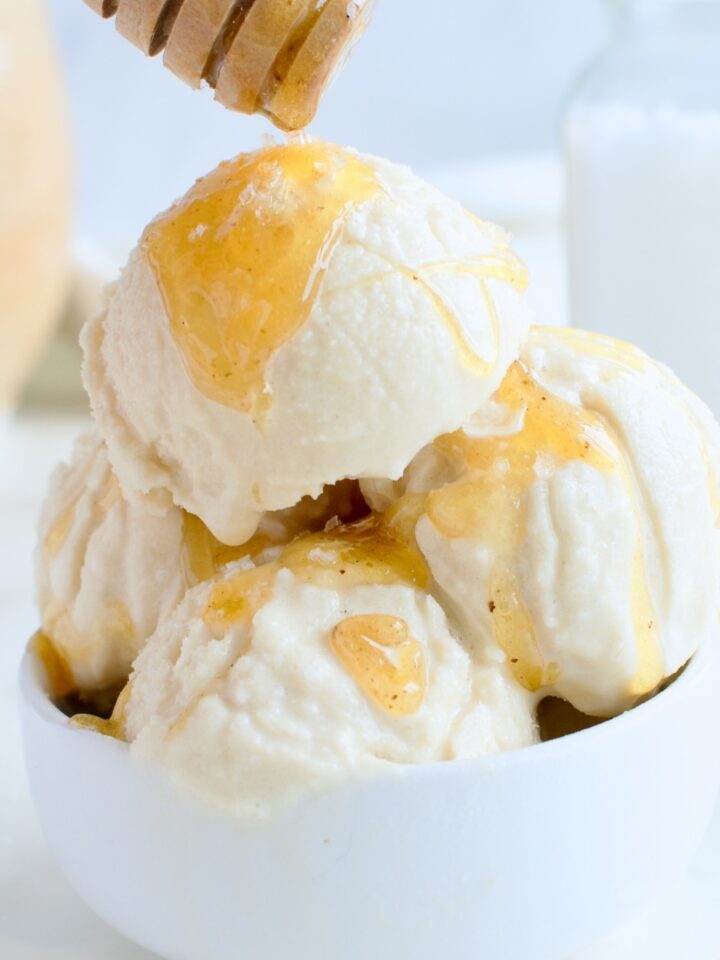
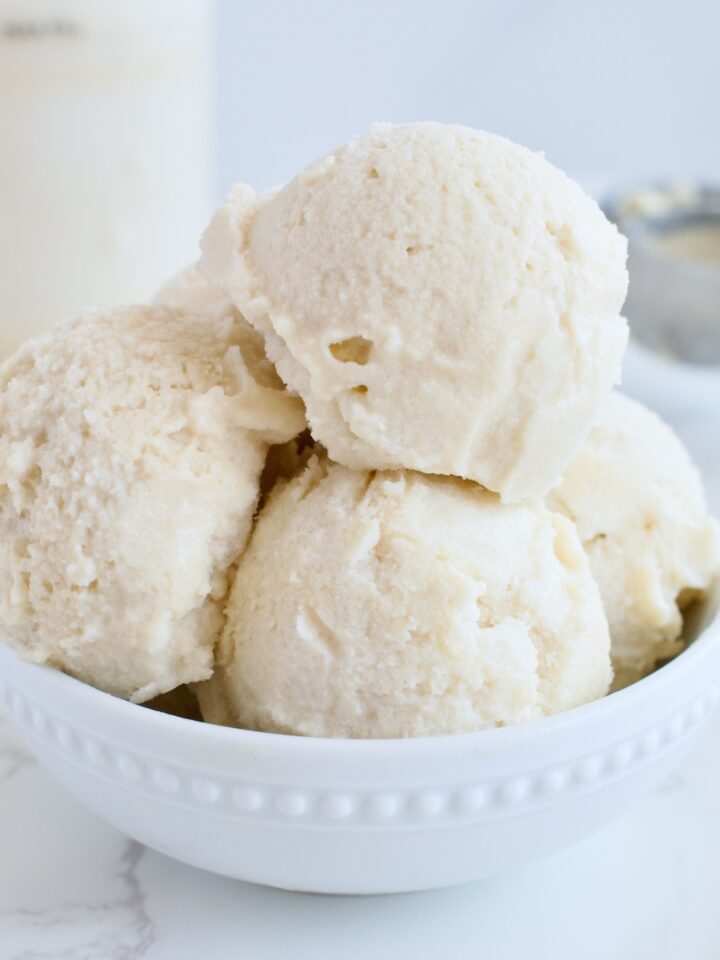
Dairy Free Salted Honey Ice Cream (Paleo, AIP)
-
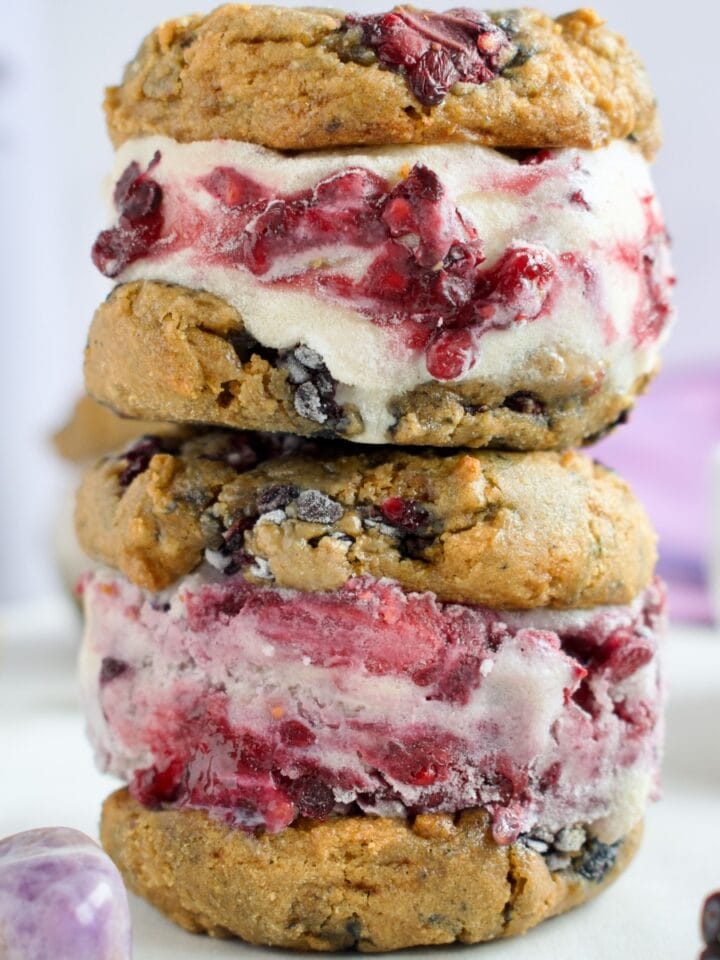
Gluten Free Blackberry Swirl Ice Cream Sandwiches (Dairy Free)
-
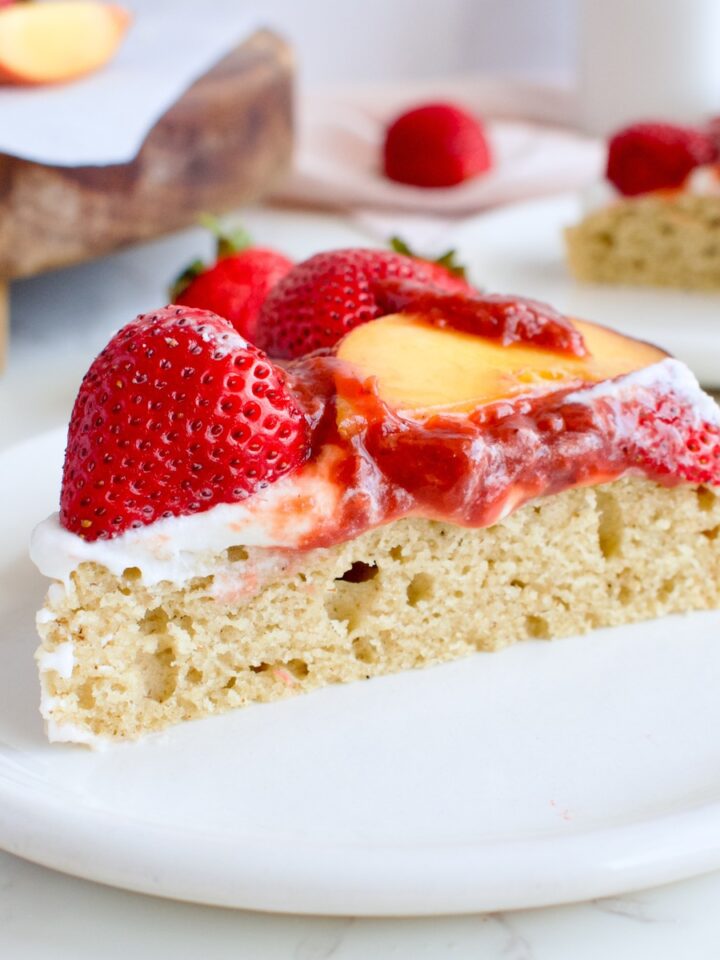
Gluten Free Strawberry Shortcake Cake with Peaches (Dairy Free)
-
Gluten Free Blueberry Mint Cobbler (Dairy Free)
-
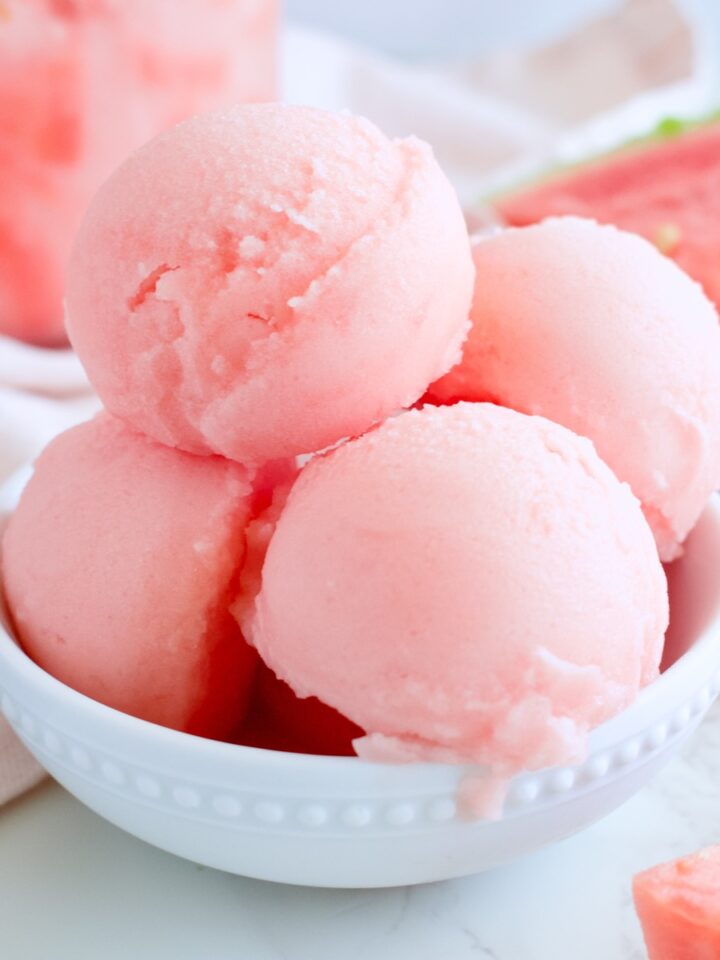
2-Ingredient Ninja Creami Watermelon Sorbet (No Added Sugar)
-
Ninja Creami Vegan Blackberry Ice Cream (Refined Sugar Free)
-
Gluten Free Blueberry Crumble Cookies (Dairy Free, Refined Sugar Free)
-
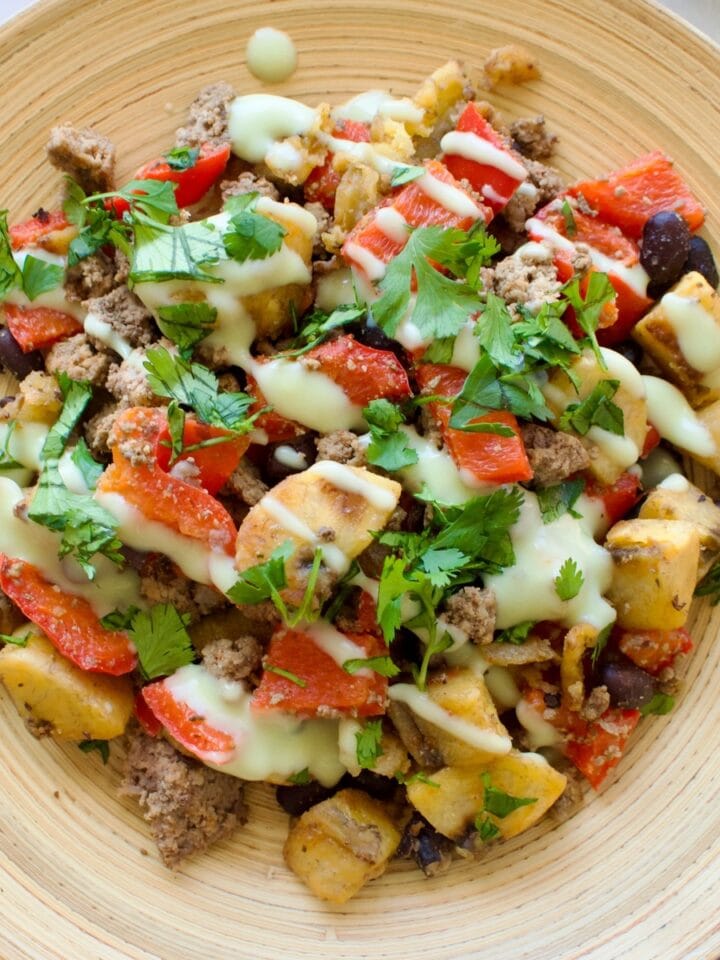
One Pan Plantain Taco Bowls (Gluten Free & Dairy Free)
-
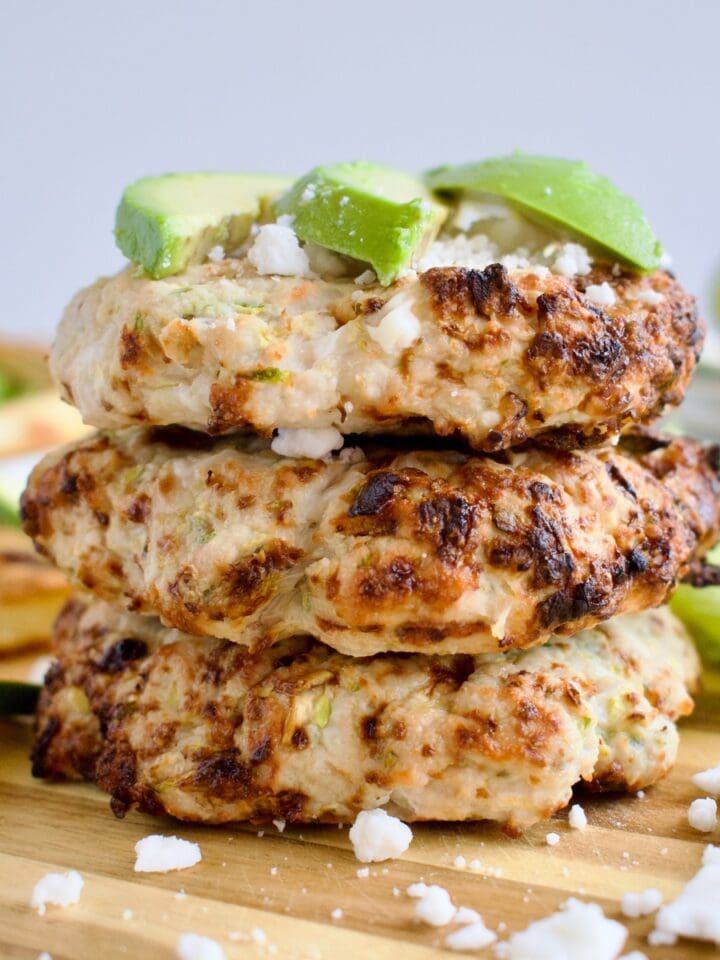
Gluten Free Turkey Burgers with Zucchini and Feta (Dairy Free)
-
Gluten Free Blueberry Crumble Pie (Dairy Free)
-
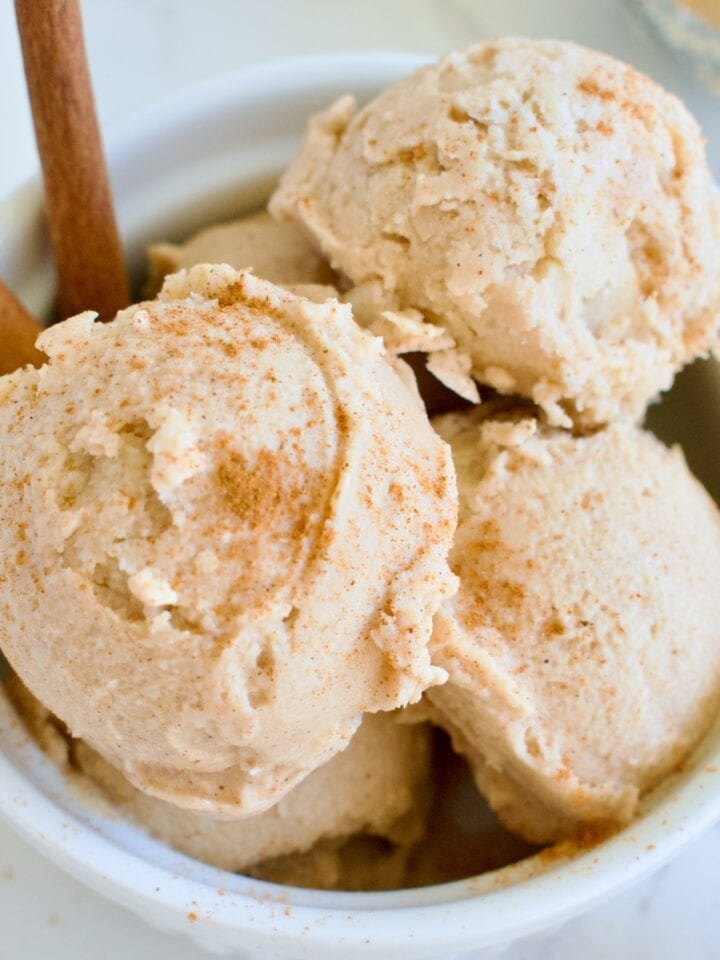
Ninja Creami Vegan Cinnamon Ice Cream (Refined Sugar Free)
-
Gluten Free Mixed Berry Crumb Cake (Dairy Free, Refined Sugar Free)
-
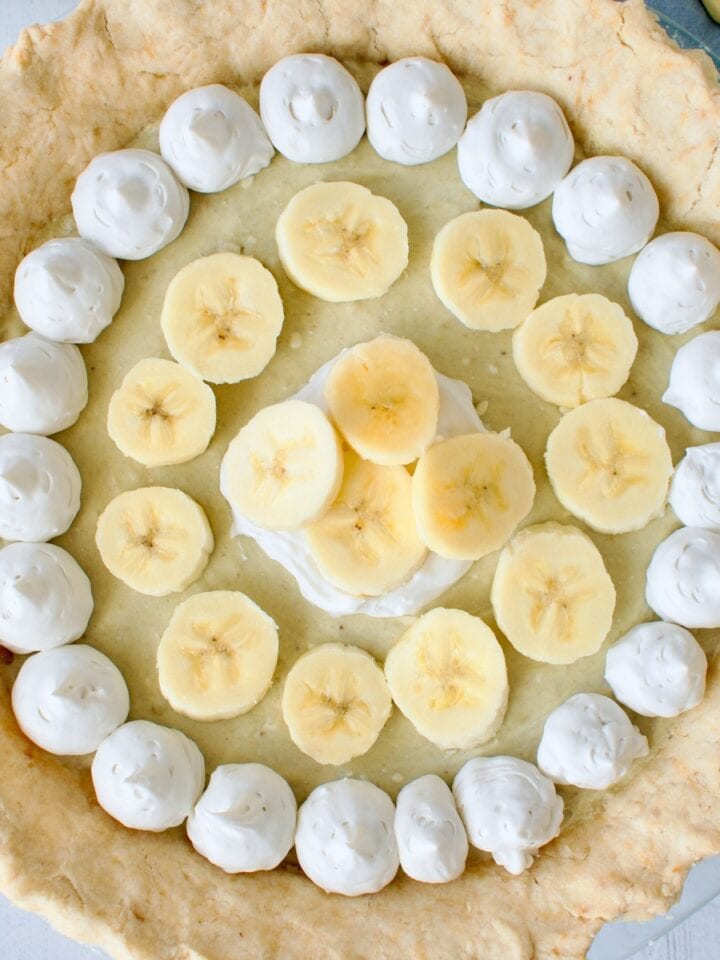
Gluten Free & Vegan Banana Cream Pie
-
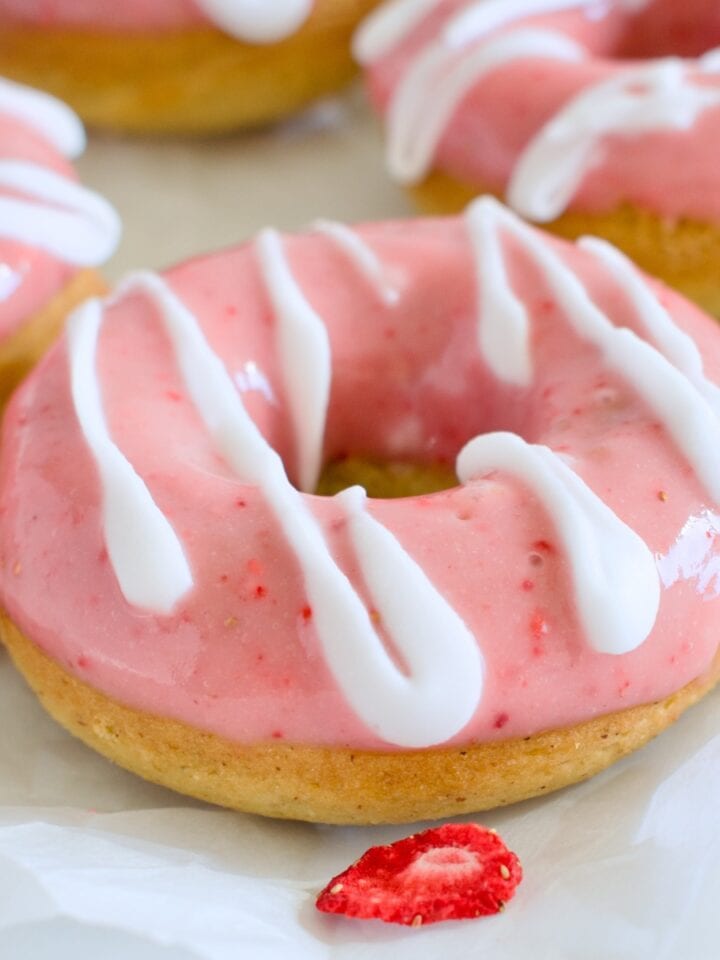
Gluten Free Strawberry Glazed Donuts (Dairy Free)
-
Vegan Golden Milk Ice Cream (Ninja Creami)
-
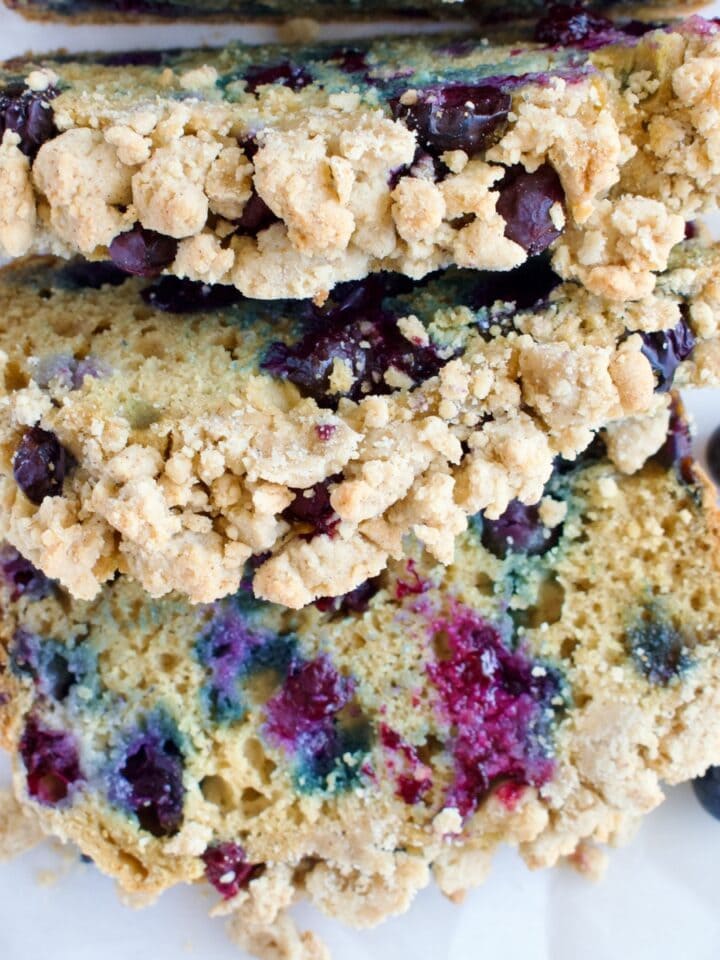
Gluten Free Blueberry Streusel Bread (Dairy Free, Refined Sugar Free)
-
Ninja Creami Vegan Vanilla Ice Cream (High Protein Option)
-
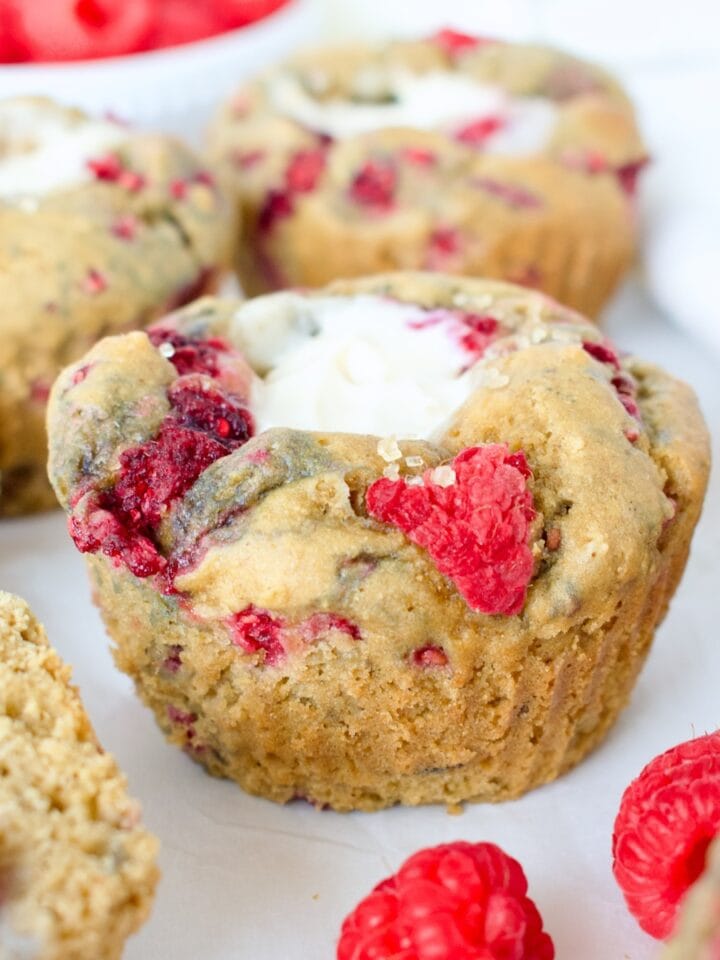
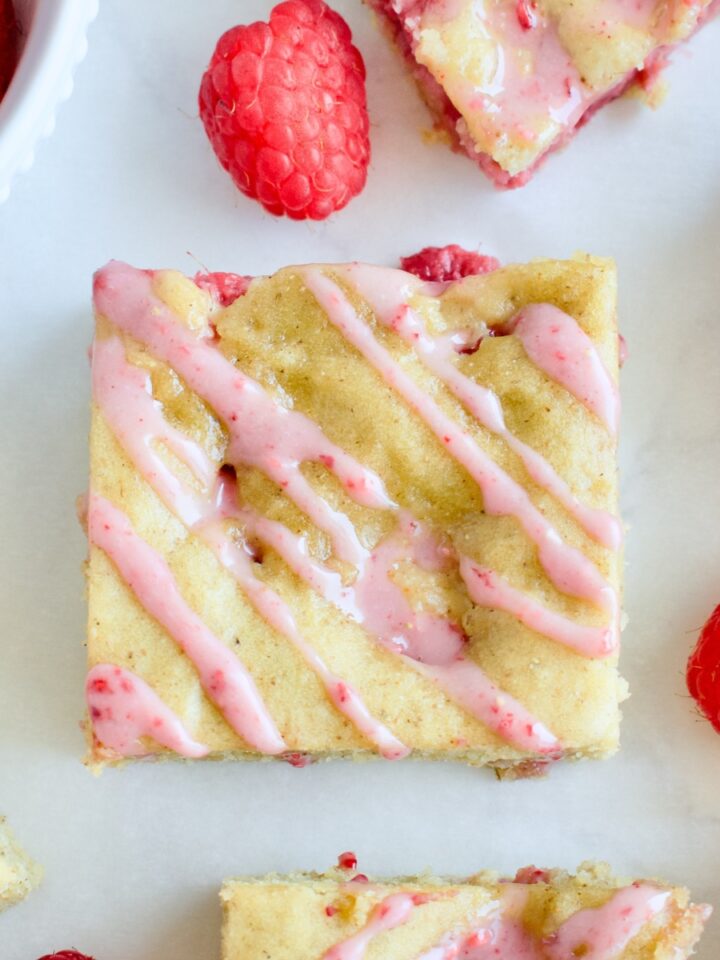
Gluten Free Raspberry Cream Cheese Muffins (Dairy free)
-
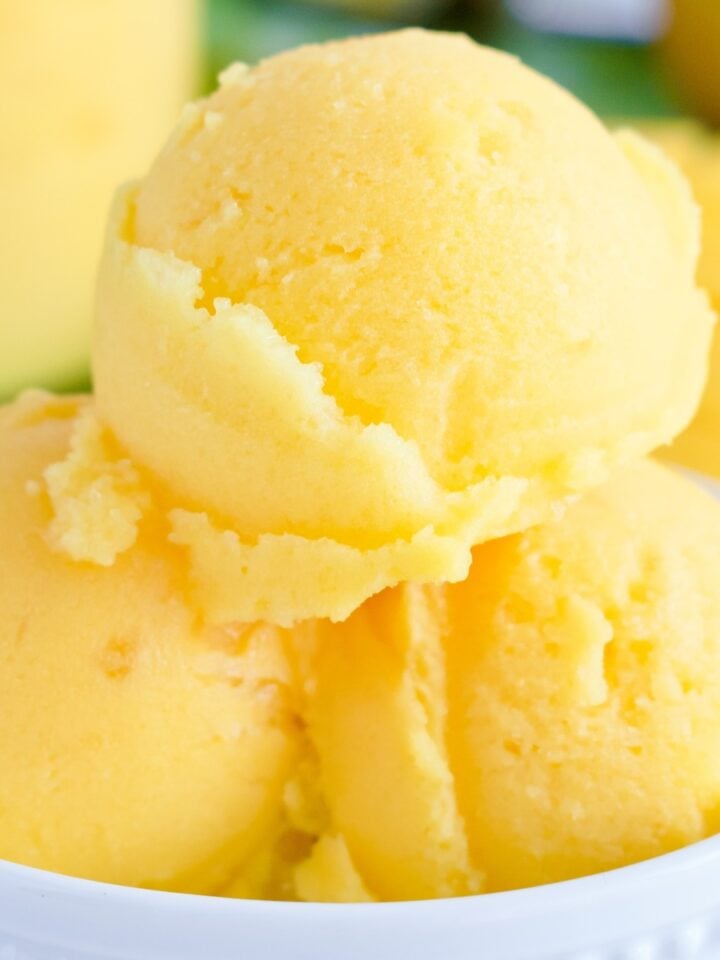
2-Ingredient Ninja Creami Mango Sorbet (with Coconut Water)
-
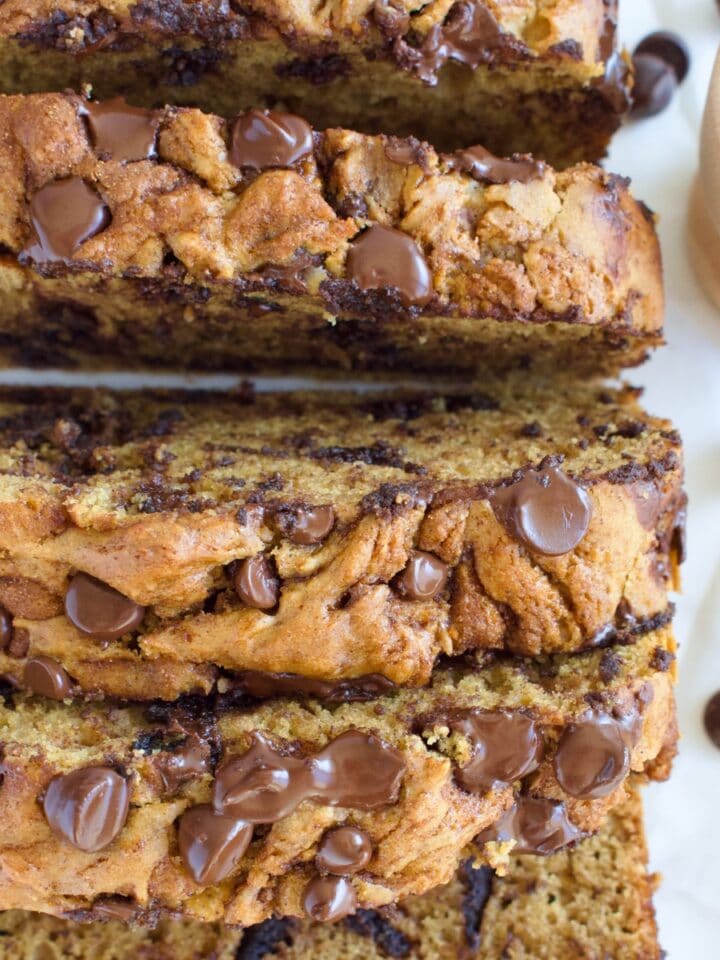
Gluten Free Cinnamon Chocolate Chip Bread (Dairy Free)
-
Gluten Free Strawberry Bread with Strawberry Glaze
-
Easy Gluten Free Mango Bread (Hawaiian Style, Dairy Free)
-
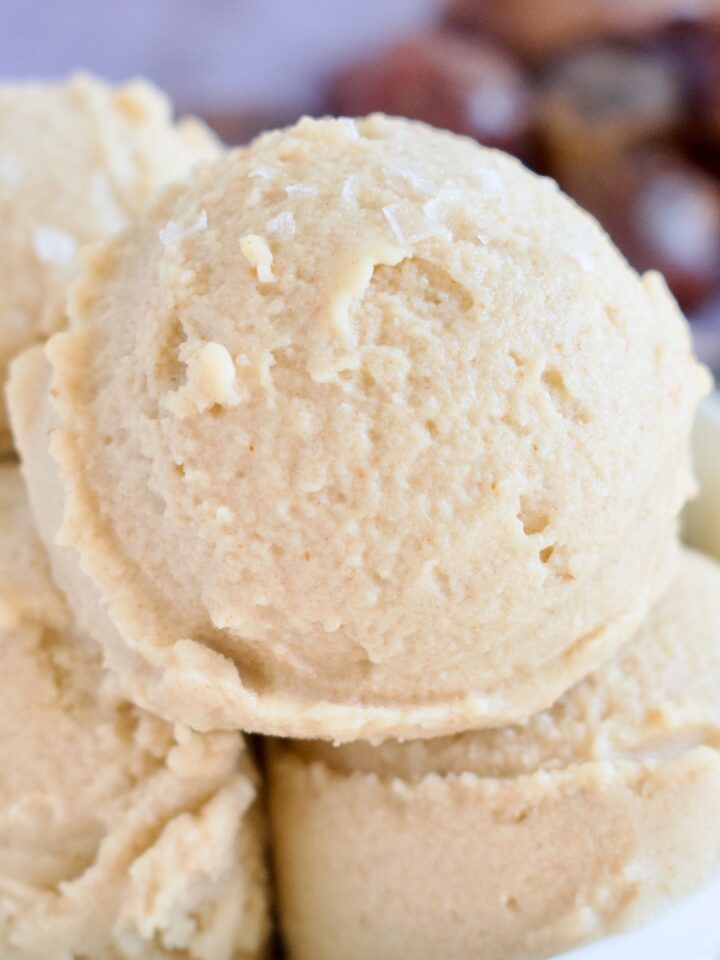
Ninja Creami Vegan Salted Caramel Ice Cream (Paleo)
-
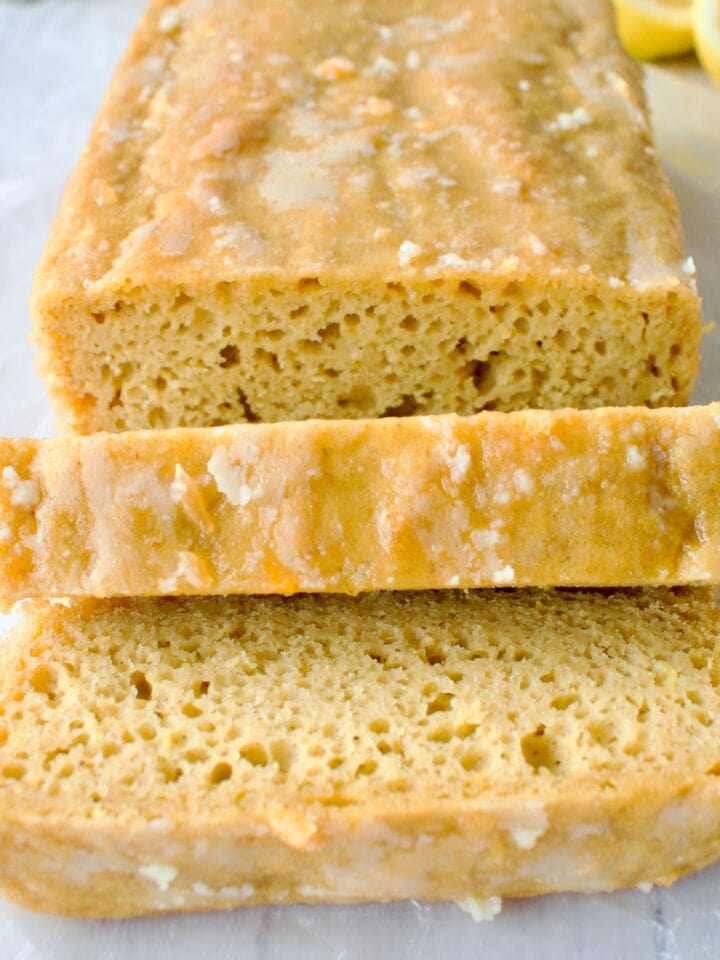
Gluten Free Lemon Loaf with Citrus Glaze (Dairy-Free)
-
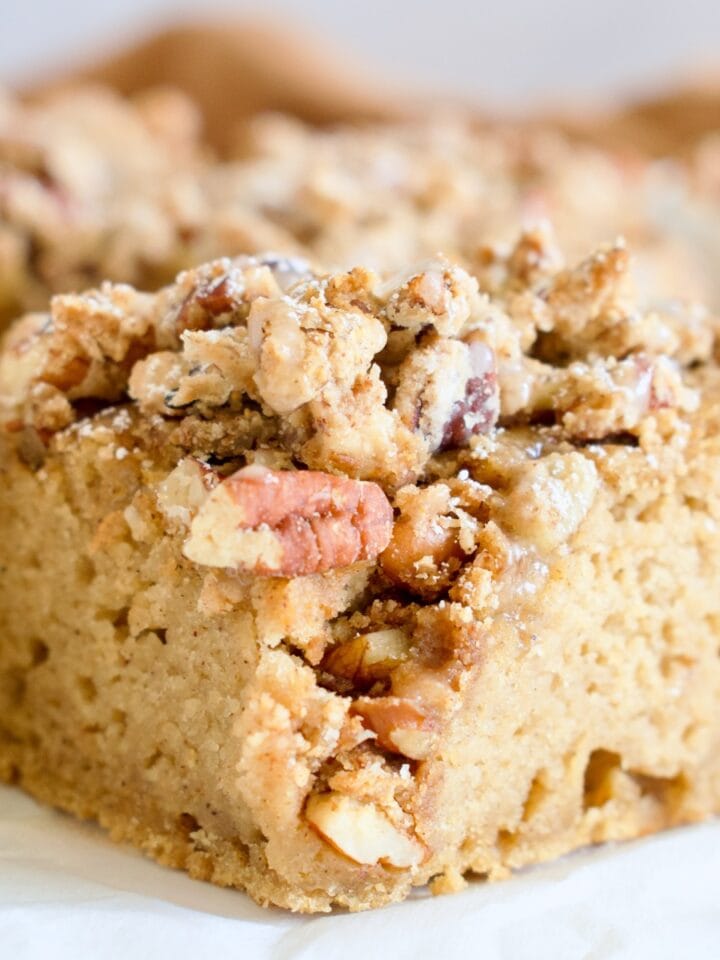
Maple Pecan Coffee Cake (Gluten Free, Dairy Free)
-
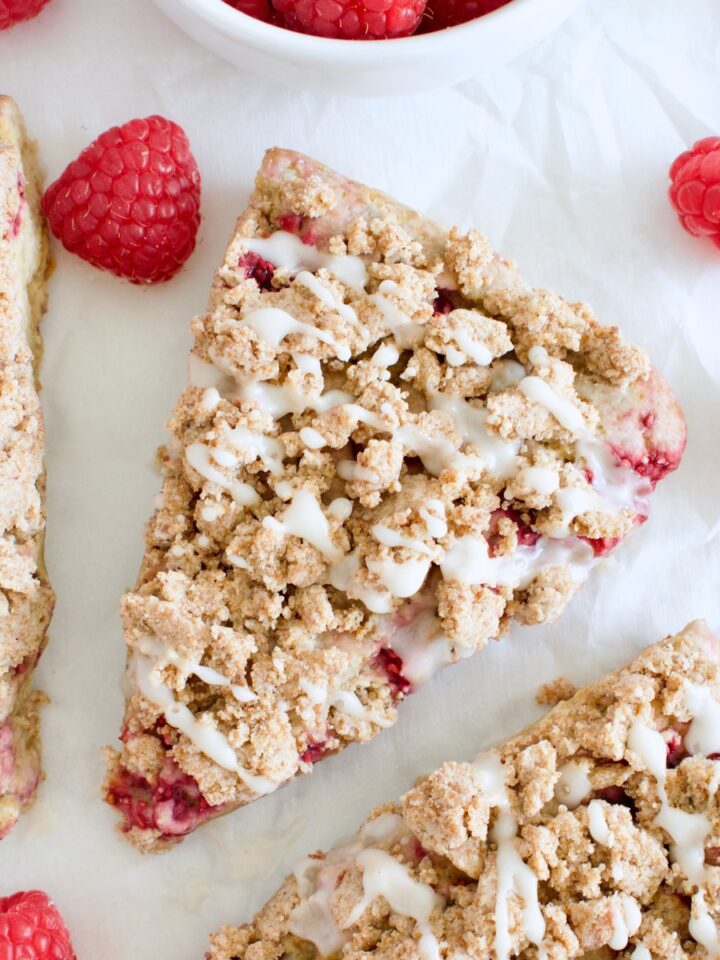
Gluten Free Raspberry Crumble Scones (Dairy Free)
-
Healthy Gluten Free Raspberry Blondies (Dairy Free)
-
Gluten Free Banana Bread Coffee Cake (Dairy Free)
-
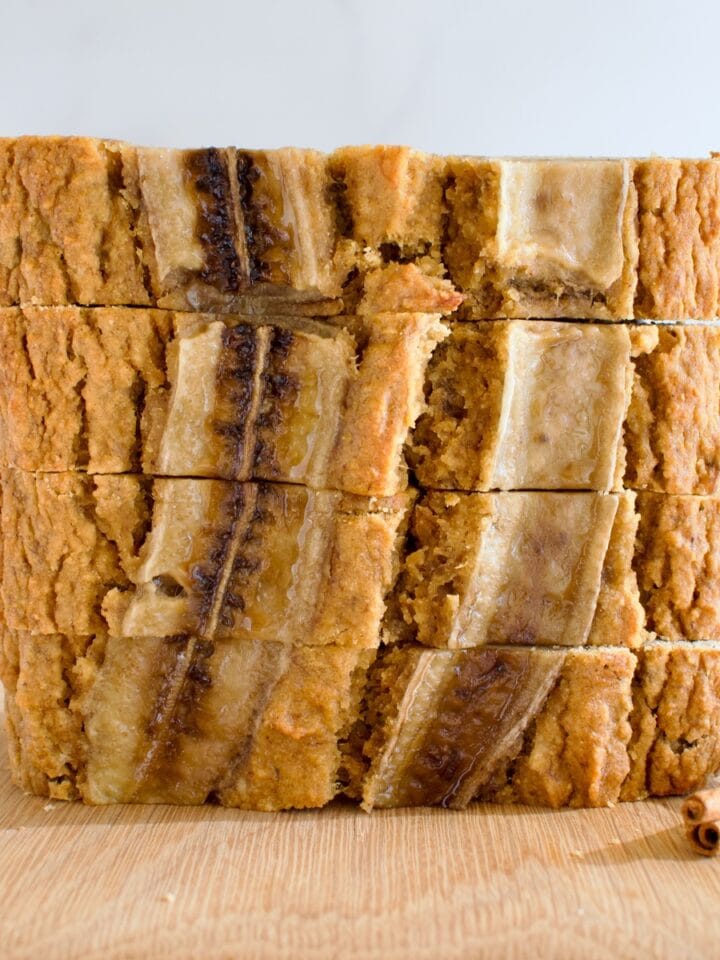
Nut Free Paleo Banana Bread (Dairy Free)
-
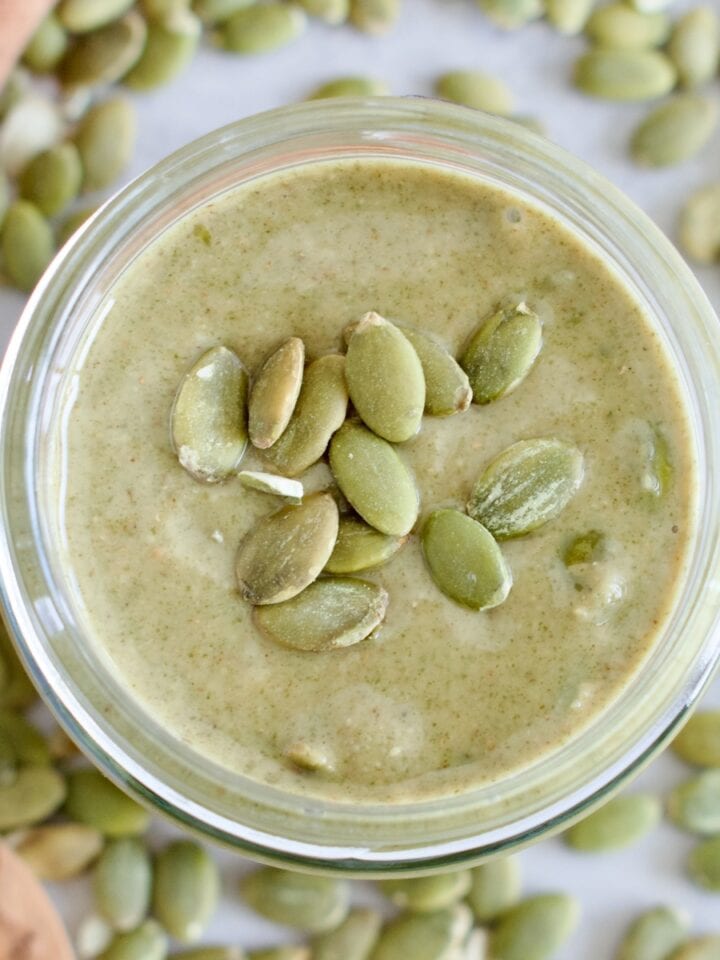
Homemade Pumpkin Seed Butter (Vegan, Gluten Free)
-
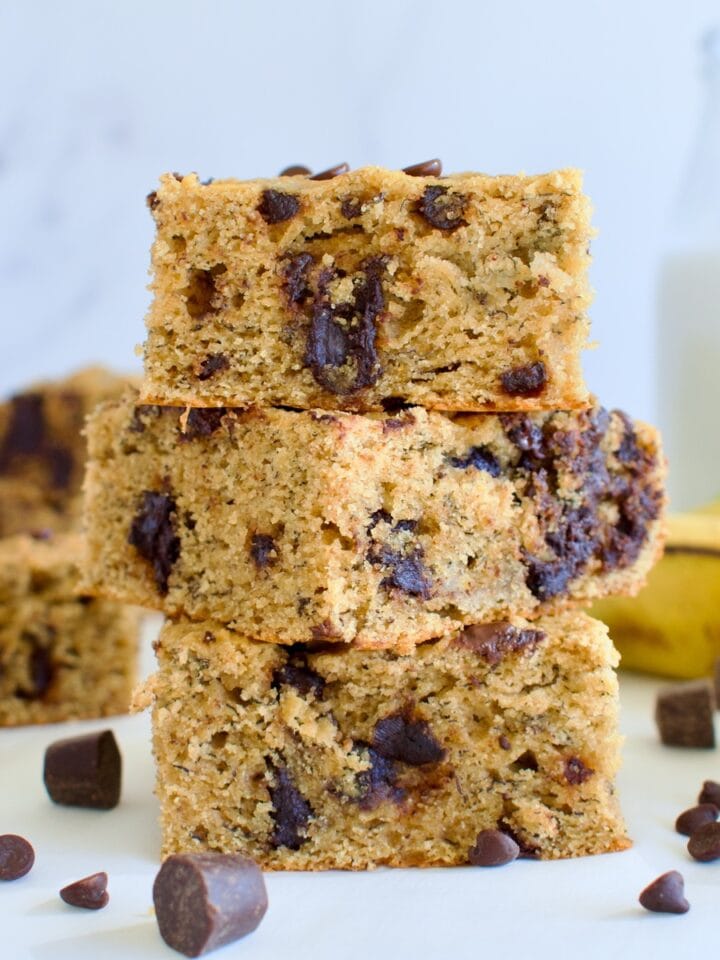
Paleo Banana Chocolate Chip Bars (Gluten Free, Dairy Free)
-
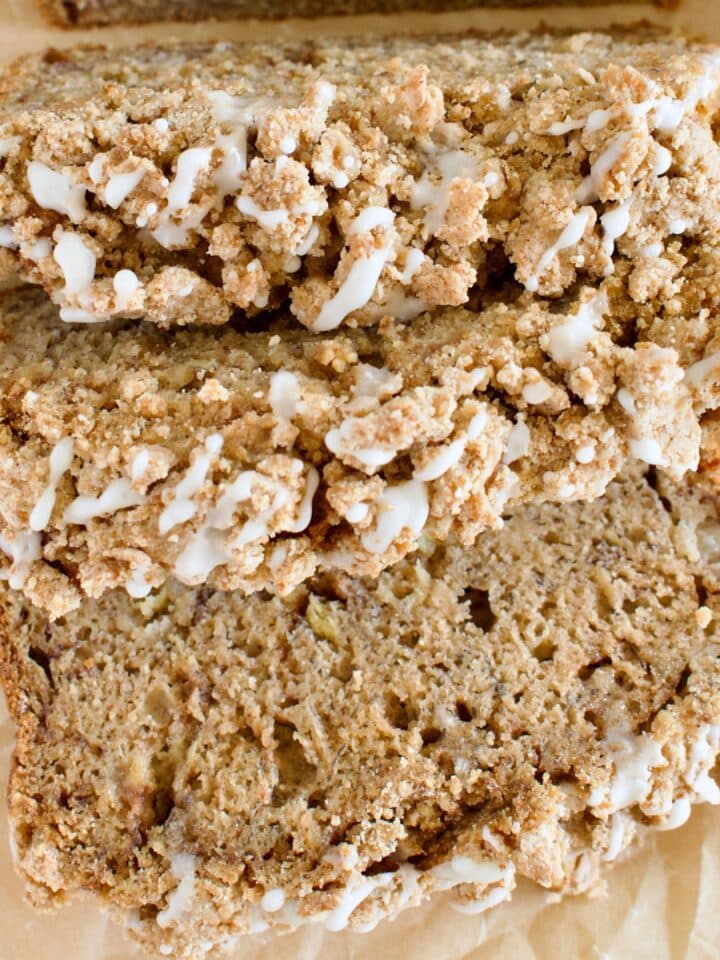
Gluten Free Walnut Crumble Banana Bread
-
Coconut Lamb and Sweet Potato Curry (Paleo, Dairy Free)
-
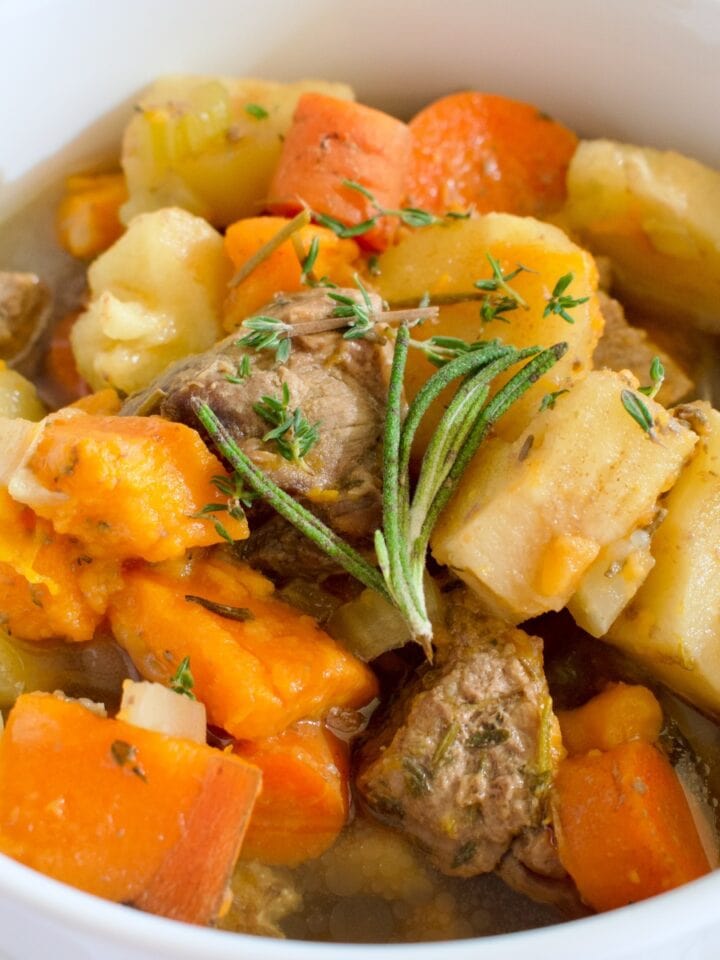
Slow Cooker AIP Beef Stew (Nightshade Free, Low Fodmap)
-
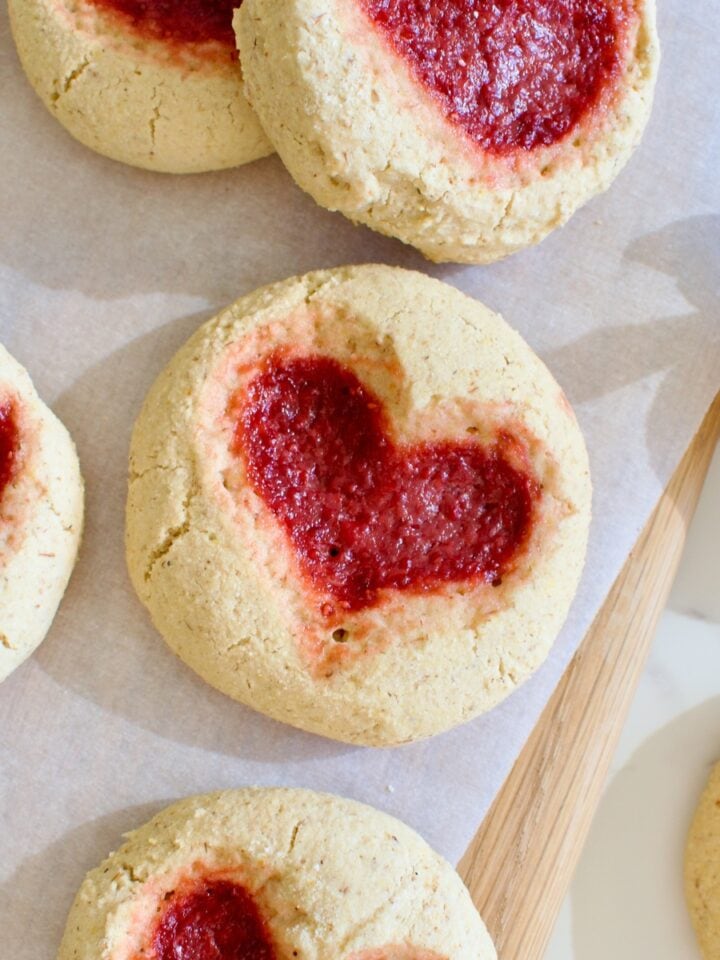
Heart Thumbprint Cookies (Paleo, Gluten Free)
-
Gluten Free Protein Banana Muffins (Dairy Free, Nut Free)
-
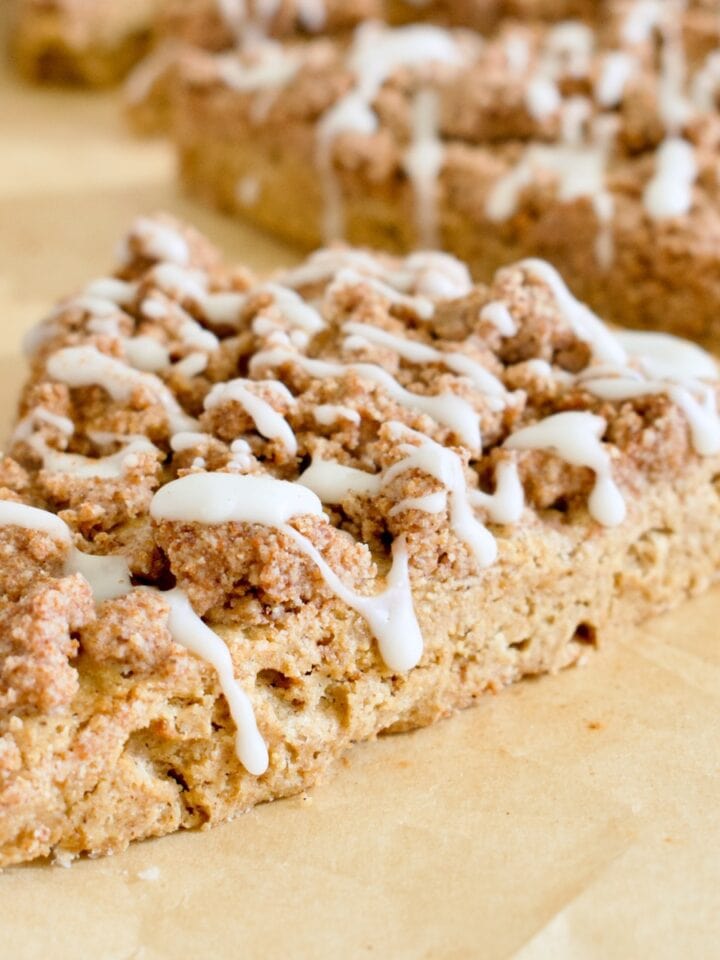
Gluten Free Cinnamon Crumble Scones (Dairy Free)
-
Ninja Creami Orange Creamsicle (Dairy Free)
-
Low FODMAP AIP Shepherd's Pie (Nightshade-Free)