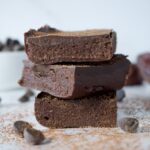
These will be the easiest brownies you’ve ever made. Packed with all the chocolate goodness, they are completely gluten free, refined sugar free, can be made vegan, AND are high protein!
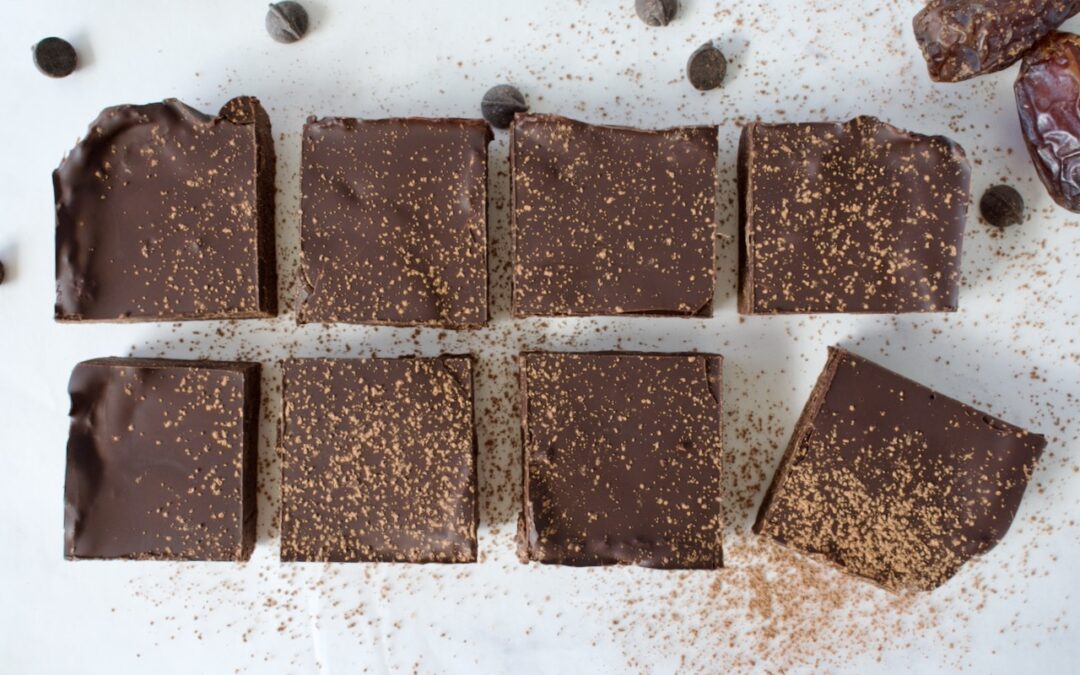
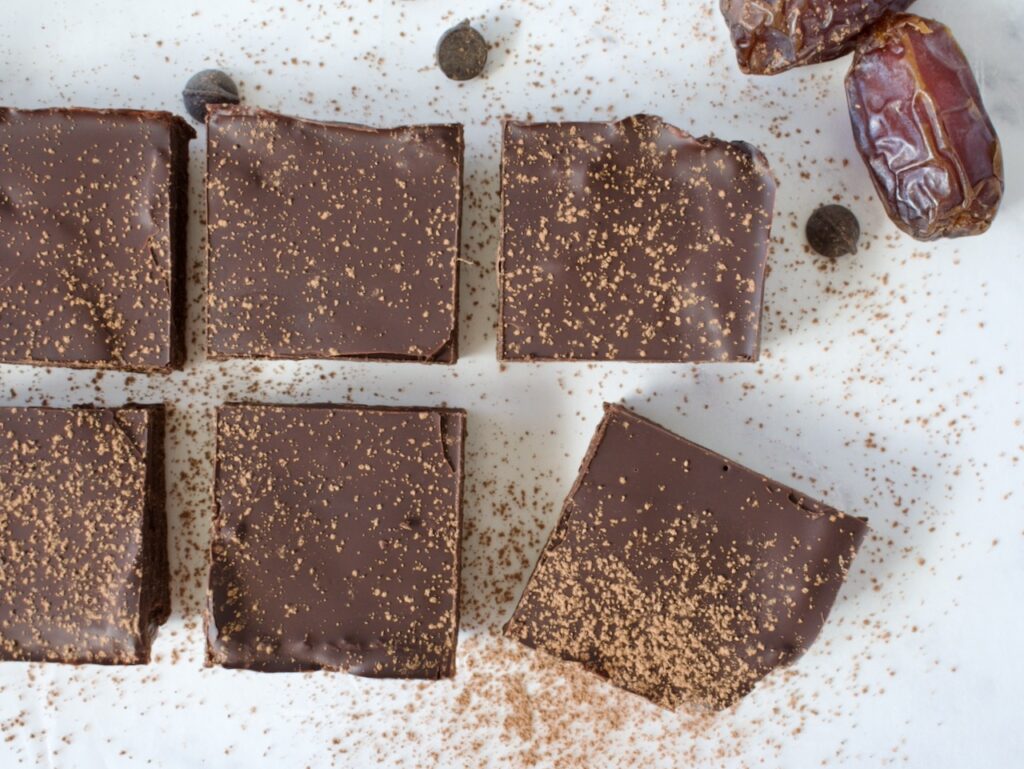
no bake brownies
Craving a chocolate treat, but don’t want to go through the hassle of turning the oven on and baking an entire batch of brownies? Then this recipe is for you! These no brownies only require the fridge. Plus they are completely gluten free and can be made both vegan and refined sugar free. My favorite thing about these healthy brownies is that they are high in protein, making them an awesome snack. They’ve been my go-to afternoon snack for weeks now.
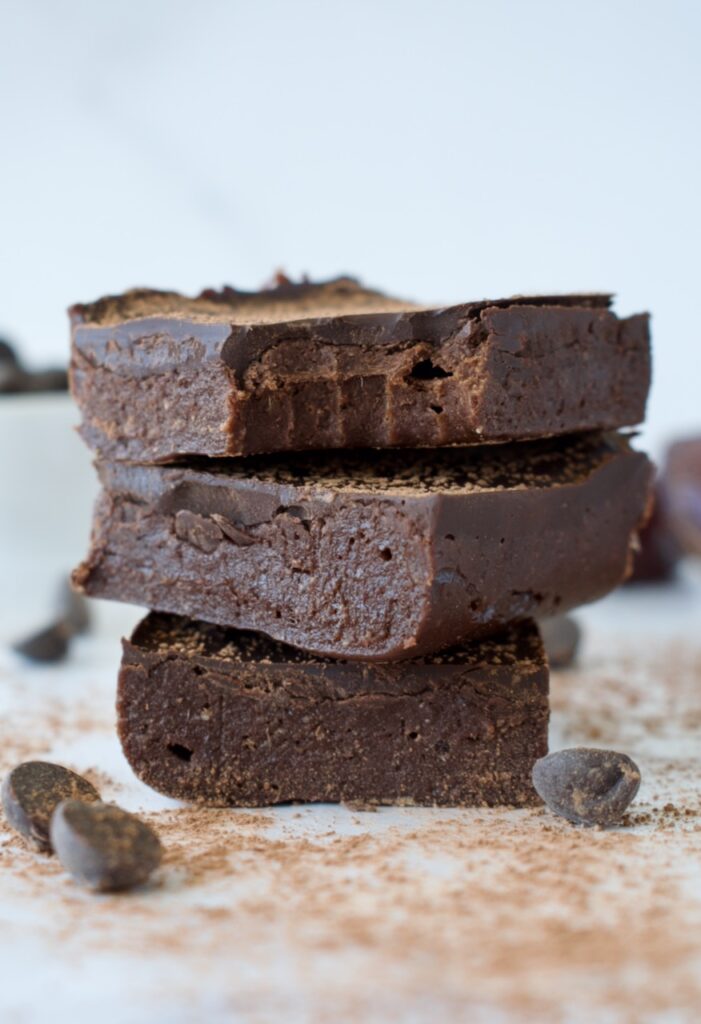
gluten free no bake brownies
No Bake Protein Brownies
Let’s talk ingredients! What’s in these gluten free brownies that makes them so healthy?
Dates: these no bake brownies are sweetened only with dates!
Cocoa powder: pure cocoa powder delivers the rich chocolate flavor.
Protein powder: the “flour” in these brownies is protein powder. I like to use the pea protein from Sprout Living (code LEMONSNLYME20 for 20% off) to keep these brownies vegan. You can use any protein powder you want, though, and feel free to use a chocolate flavored one to enhance the chocolate in this recipe!
Granola butter: I use my granola butter recipe to keep these brownies nut free, but you can use any nut/seed butter you want.
Chocolate chips: to enhance these no bake brownies, they are topped off with a layer of melted chocolate. You can keep them vegan and refined sugar free depending on the chocolate you use. I love Enjoy Life for an allergy friendly option or HU Chocolate to keep them completely refined sugar free.
How do you make no bake brownies?
You just blend everything together! Yes, it really is that easy. First, the dates are soaked until soft and then combined with the remaining ingredients. Everything is blended together in a food processor until you get a smooth batter.
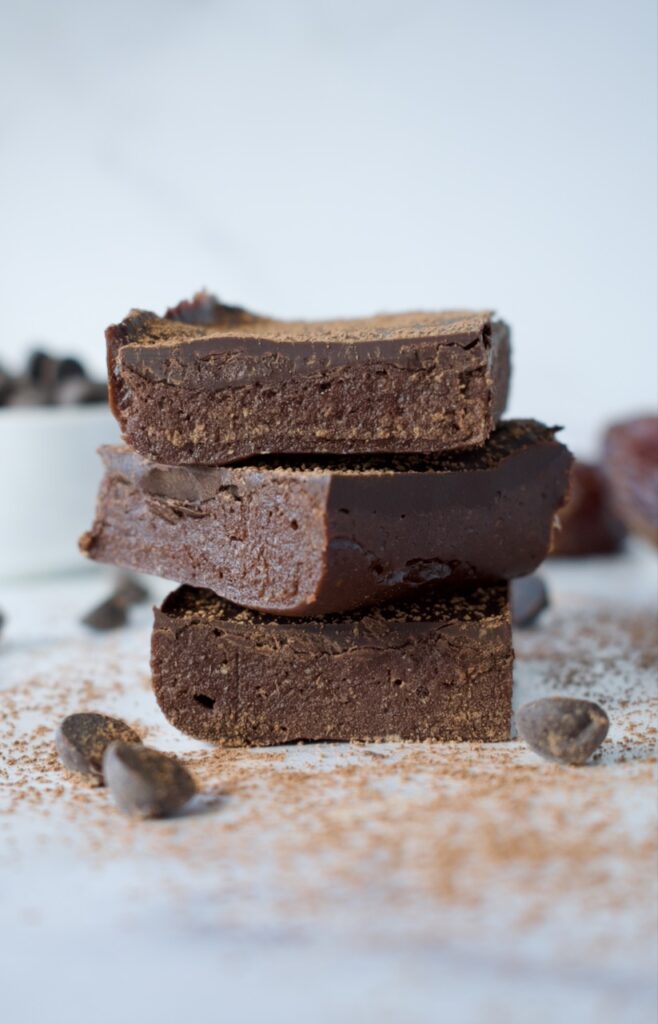
The batter is spread into the bottom of a loaf pan and topped with melted chocolate. Let everything set in the fridge and then your no bake brownies are ready. Blend, spread, refrigerate, and eat. That’s it!
These easy brownies require no oven or hand mixing. They are high in protein and completely gluten free and can be made vegan and refined sugar free. The perfect no bake brownies do exist!
Soak the dates in hot water for 10 minutes to soften.
Combine dates, granola/nut/seed butter, protein powder, cocoa powder, vanilla, and salt in a food processor and blend until you have a smooth batter.
Line a loaf pan with parchment paper then spread the brownie batter evenly into the pan.
Combine the chocolate chips and coconut oil together in a microwave safe dish (I like to use a measuring cup) and melt at 30 second intervals until smooth. Pour the chocolate over your brownie batter and spread evenly across the top.
Refrigerate the brownies for an hour, until the chocolate on top has hardened. Cut and enjoy! Keep these brownies in the fridge for up to 5 days, place leftovers in the freezer.
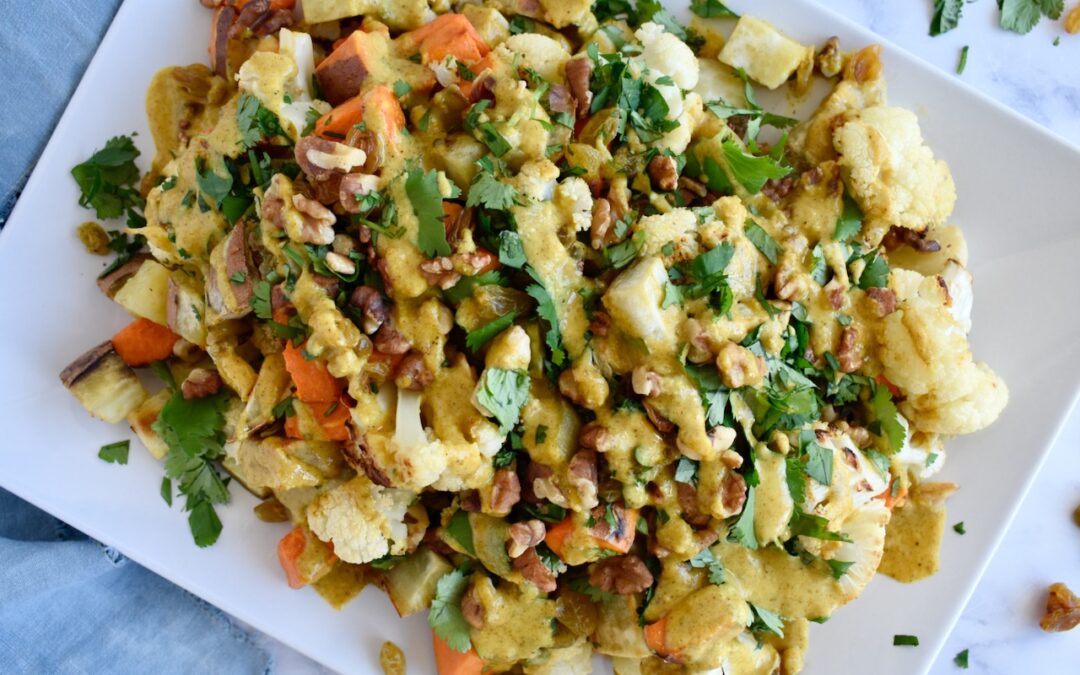
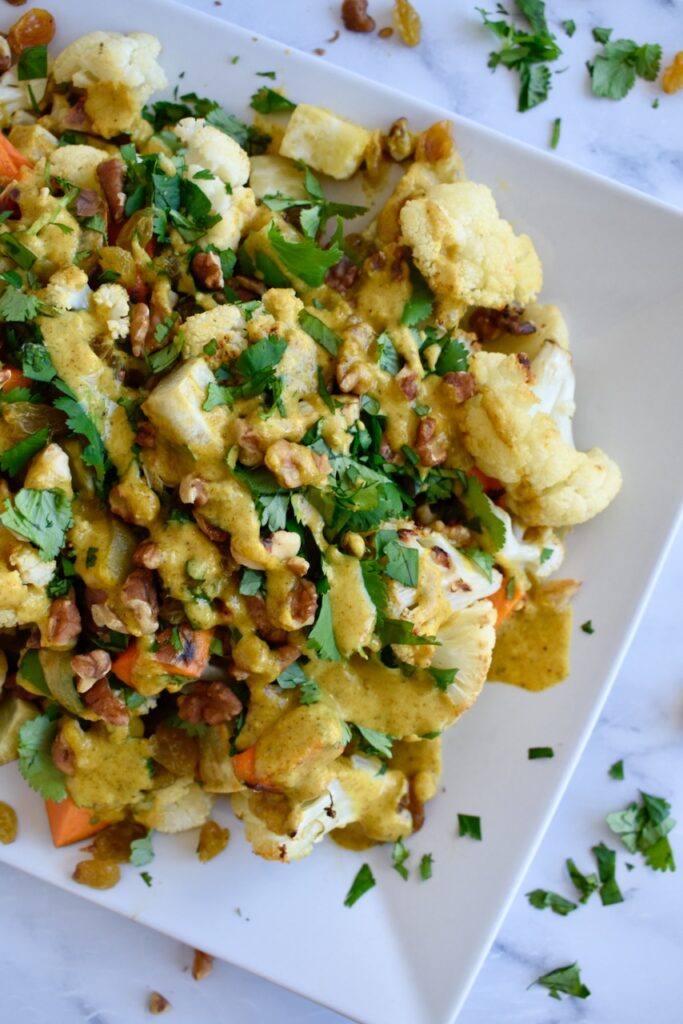
This curried cauliflower and sweet potato salad is nutrient dense and flavor packed. It’s the perfect vegan and paleo dish that can be turned into a complete meal!
curried cauliflower and sweet potato salad
Sweet potatoes are one of my favorite foods, so I’m always thinking of new dishes to make with them. Plain roasted vegetables can get boring, so I love making vegetables more fun and delicious. This roasted vegetable salad is filled with add-ins to bring in some crunch and sweetness and then dressed with a creamy dressing that has just the right amount of curry kick.
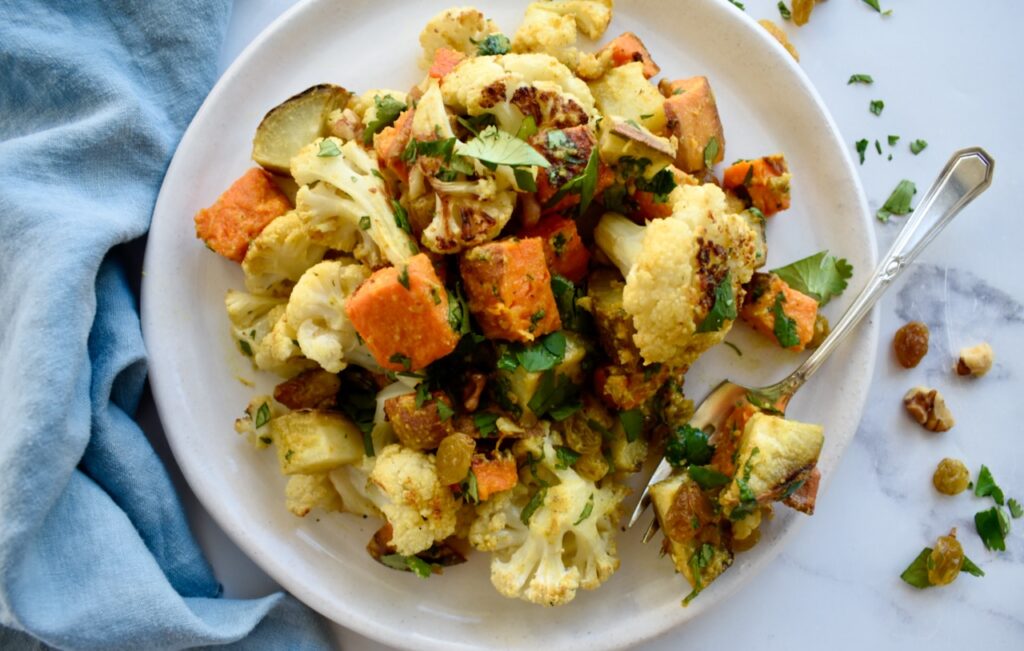
vegan roasted vegetable salad
Curried Cauliflower and Sweet Potato Salad
Ingredients:
Cauliflower
Sweet potato
Olive oil
Salt
Add-ins: golden raisins, toasted nuts (walnuts or cashews are best!), roasted chickpeas
Cilantro
Granola butter or nut/seed butter of choice
Lemon juice
Curry powder
Grated ginger root
Maple syrup
Garlic infused olive oil
How to make this salad:
This veggie salad is easy to make. First, you roast the cauliflower and sweet potato. While those are roasting, you can measure out your add-ins, toast your nuts and chickpeas if using, and make the dressing. Once the vegetables are done roasting, you toss everything together.
This gluten free salad can be made fully paleo by using a nut or seed based butter for the dressing. I use my homemade granola butter in this recipe as it is my absolute favorite and is allergy friendly! You can keep this recipe completely nut free by using roasted chickpeas instead of nuts for the add-ins.
paleo roasted vegetable salad
Can I Make This a Complete Meal?
I love serving this vegetable dish with roasted chicken, but you can also make it a complete vegan meal by adding a can of roasted chickpeas. The chickpeas add the perfect crunch and a protein boost.
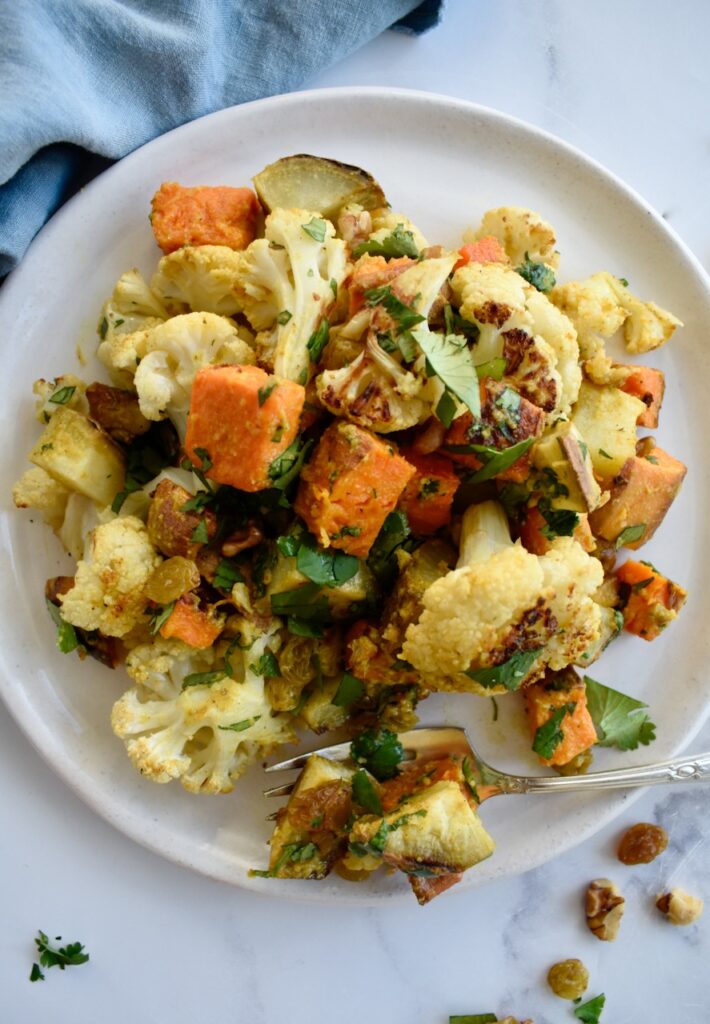
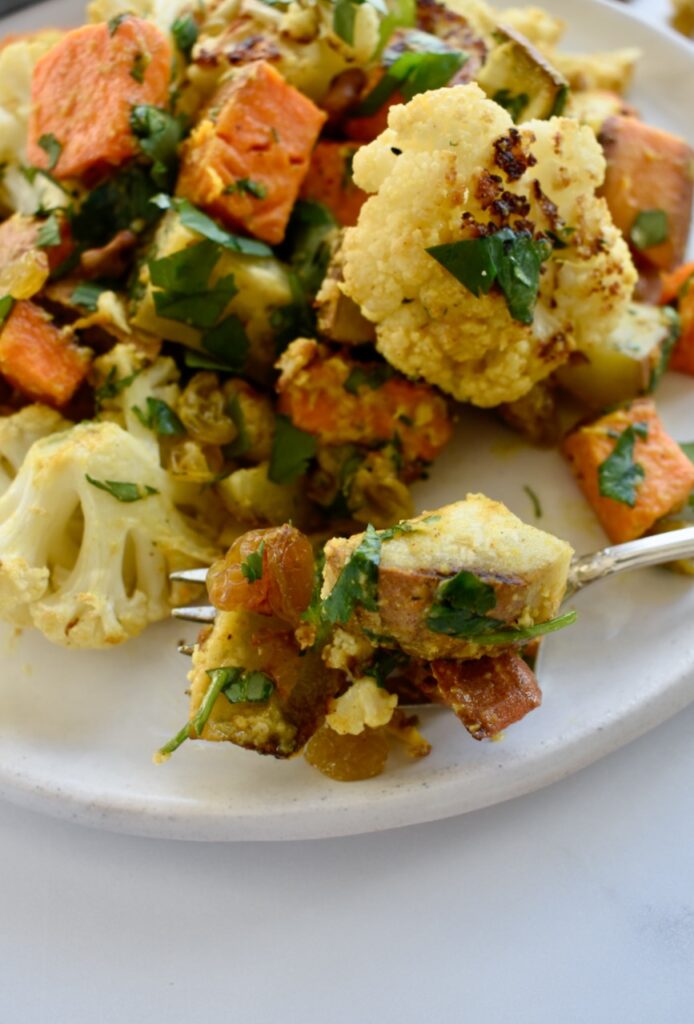
gluten free curried cauliflower and sweet potato salad
This fully vegan roasted vegetable salad is gluten free, dairy free, and can be made fully paleo. It is nutrient dense and packed with flavor- the perfect addition to any meal!
1Tbspgarlic infused olive oilor regular olive oil and 1 clove of pressed garlic
2-4Tbspwater
Instructions
Preheat oven to 425F.
Chop cauliflower into florets and sweet potato into bite size pieces. Toss vegetables with olive and salt and spread on a parchment lined baking sheet. Bake for 40-45 minutes, until golden and fork tender.
While vegetables are cooking, toast your walnuts in a frying pan over medium heat, mixing often until just beginning to golden and become fragrant. This will only take 5-10 minutes.
When vegetables are done, set aside while you make the dressing.
While vegetables are cooling, make your dressing by combining all ingredients except for the water in a small bowl or jar. Start with 1/2 tsp curry powder and increase based on taste. Miix well to combine, taste and adjust salt and curry powder as needed. Add in water 1 Tbsp at a time until you get a pourable consistency that isn't too thick.
Toss vegetables, add-ins, and dressing together in a large bowl and serve! Leftovers can be kept in the fridge for up to 3 days.
Notes
To keep this recipe completely nut free, use a can of roasted chickpeas instead! Be sure to use granola butter or a seed butter like tahini or sunflower seed butter in the dressing.
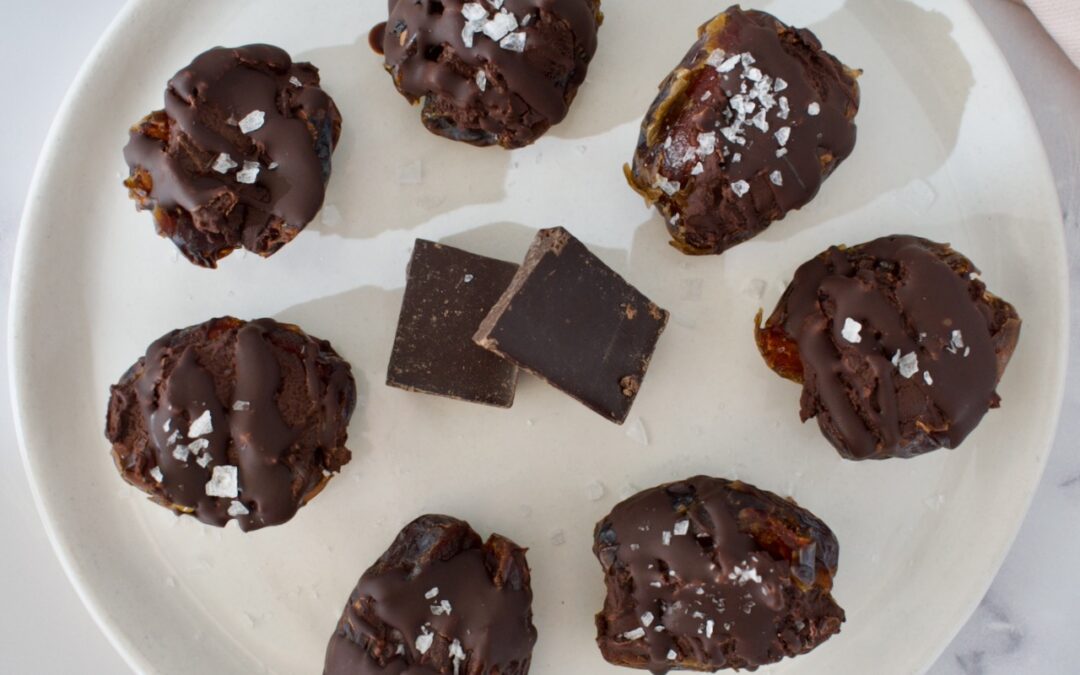
Looking for a healthier Valentine’s Day treat? Try these no-bake Protein Date Brownie Bites. Sweet dates are stuffed with a protein brownie batter and drizzled with melted chocolate for an allergy friendly treat.
vegan date bites
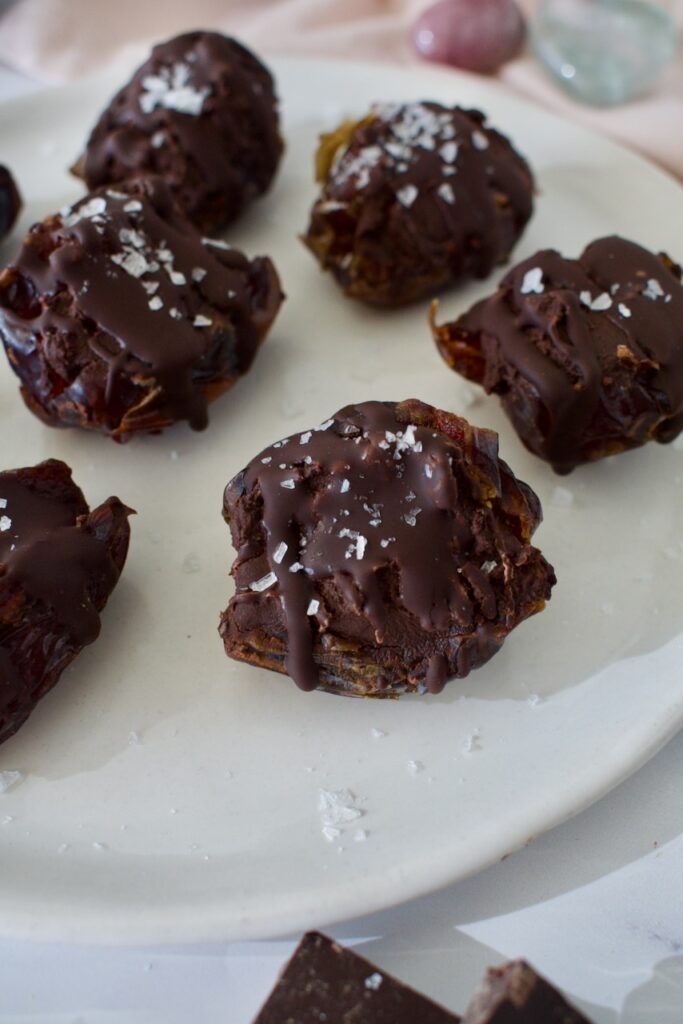
I love these protein brownie bites as a healthy, easy chocolate treat. They are a higher protein treat and mostly sweetened naturally from the dates. This Valentine’s Day dessert is completely gluten free, nut free, and vegan!
protein brownie bites
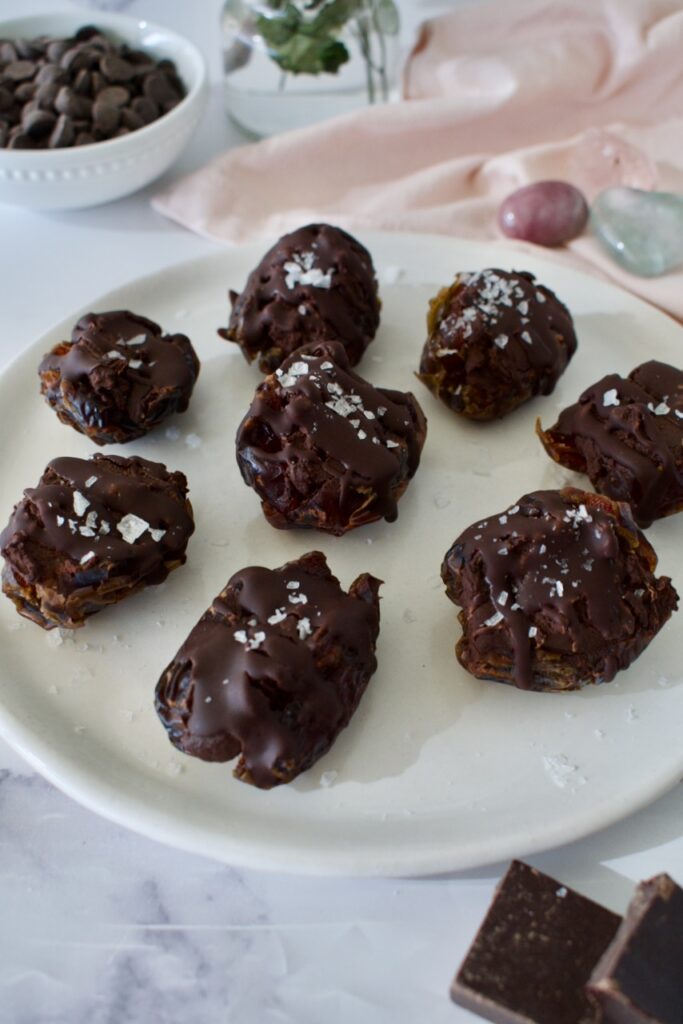
This gluten free treat is quick and easy to make. First, you’ll make a no-bake and vegan protein brownie batter from my favorite pea protein (use code LEMONSNLYME20 for 20% off) with cocoa powder, maple syrup, and water. This batter will be stuffed inside some Medjool dates and then drizzled with melted chocolate. I love topping these off with some flaky sea salt for the ultimate sweet and salty combo!
Can I use a different protein? Pea protein is unique in that it acts like a flour. It absorbs moisture instead of dissolving into it like many other proteins. This recipe does require pea protein or pumpkin seed protein. Both proteins can be found here.
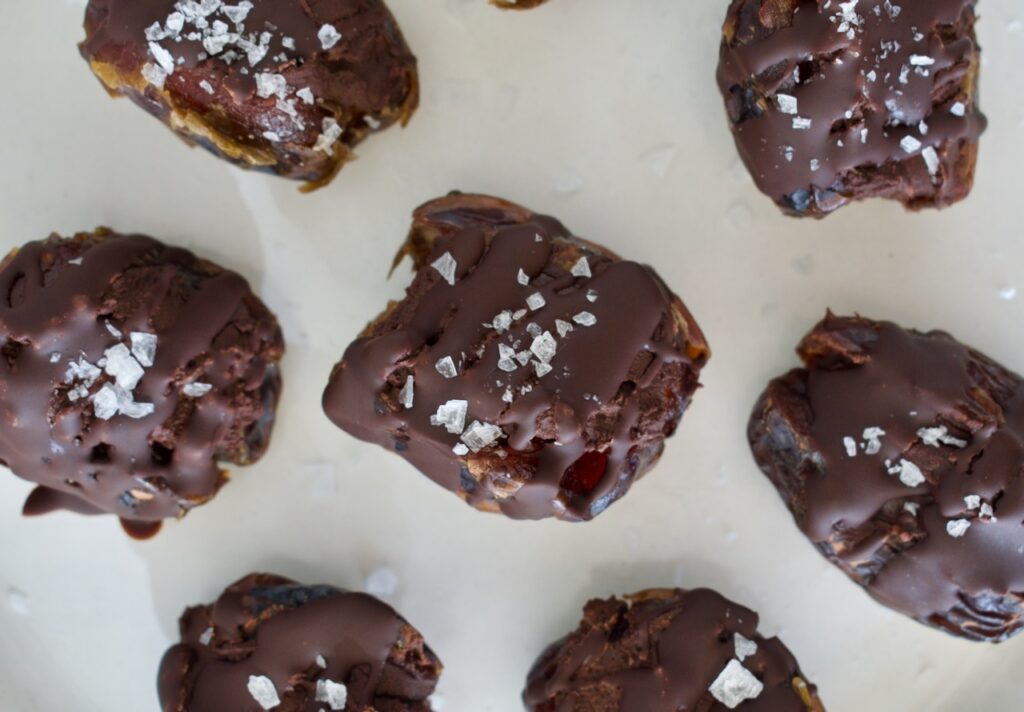
This gluten free and vegan treat is the perfect healthier Valentine's Day dessert. Higher in protein and utilizing natural sugars from the dates, you'll love this quick and easy no-bake treat!
Course Dessert, Snack
Cuisine American
Keyword chocolate, gluten free, healthy, high protein, vegan
Mix together the protein, cocoa powder, maple syrup, and 5 Tbsp of water in a small bowl. If the batter is really dry and crumbly, add 1 tsp of water at a time until it comes together but isn't too runny.
Open your dates along one side (don't split them completely in half!) and make sure the pit is removed. Take ~1 Tbsp of batter and stuff it into the date. You should get about 10-12 dates total.
Melt the chocolate chips and coconut oil together.
Place the stuffed dates on a parchment lined plate then drizzle the chocolate on top. Finish off with some flaky sea salt then set in the fridge to set until chocolate has hardened.
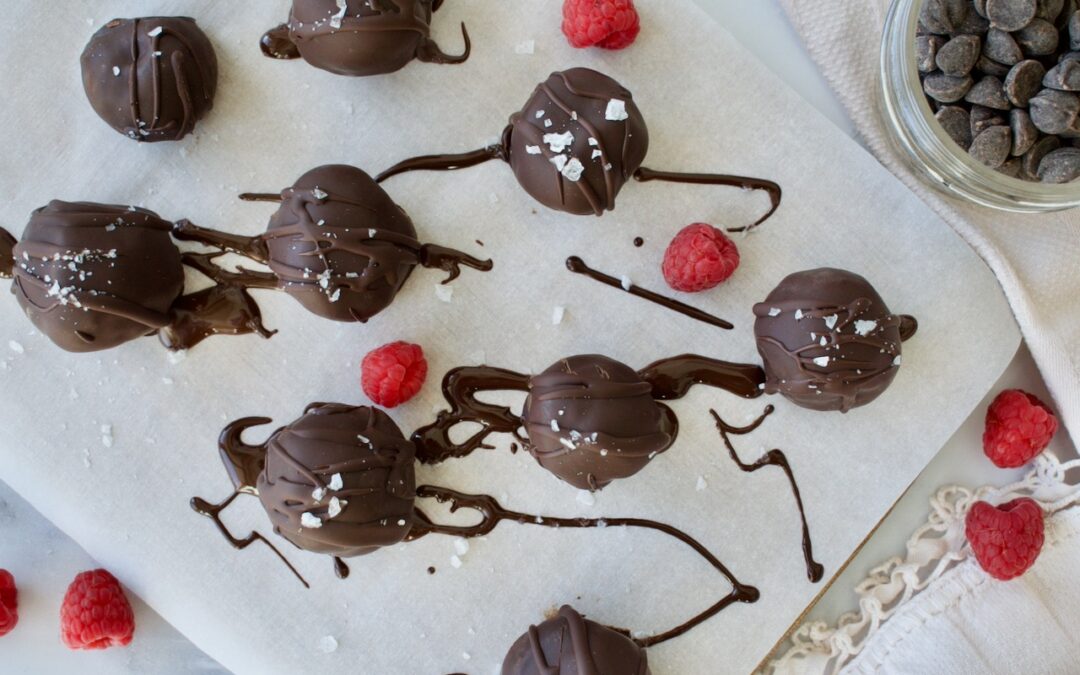
These delectable homemade truffles are completely allergy friendly and made with granola butter (or your favorite nut/seed butter). They’re a perfect holiday treat or way to satisfy your chocolate craving.
granola butter truffles
Homemade chocolate truffles are such a fun, no bake way to show your love for Valentine’s Day. Or just a fun way to enjoy some delicious chocolate! These truffles are completely gluten free, vegan, and nut free, making them allergy friendly.
chocolate truffles
How do you make truffles?
These chocolate truffles are easy to make. You just combine granola butter with melted chocolate and a few other ingredients, then mold the truffles and pop them in the fridge to set. You can always add the truffle batter to a silicone mold to make the forming process easier.
If you decide to mold your truffles by hand, just be aware that it does get messy and you’ll need to work quickly as the heat from your hands melts the chocolate. Once the batter has set, you can scoop out small amounts and roll them into balls with your hands before popping them back in the fridge.
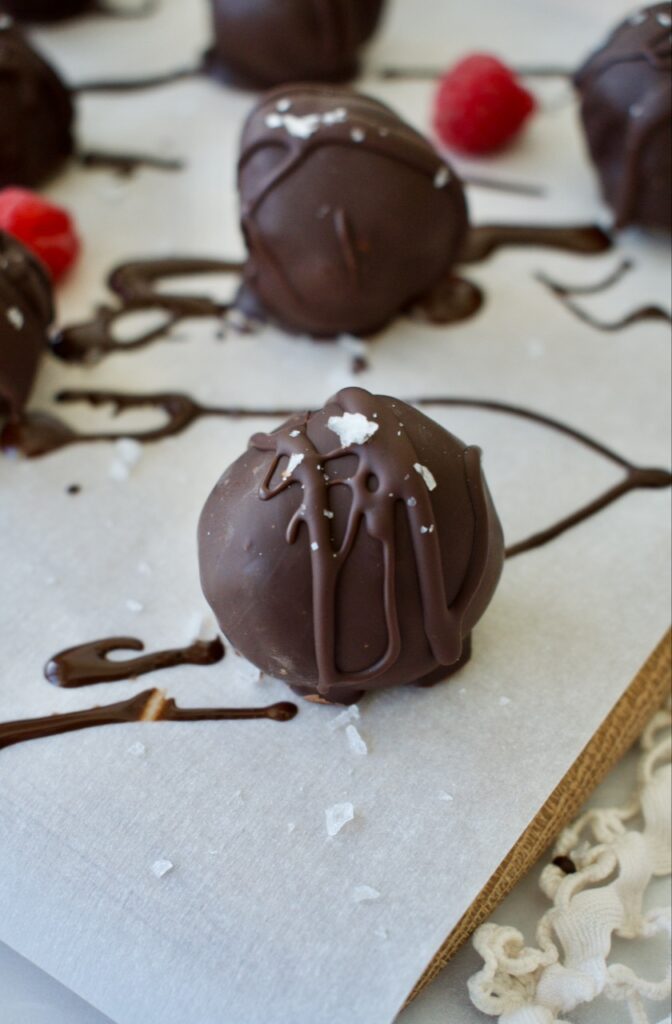
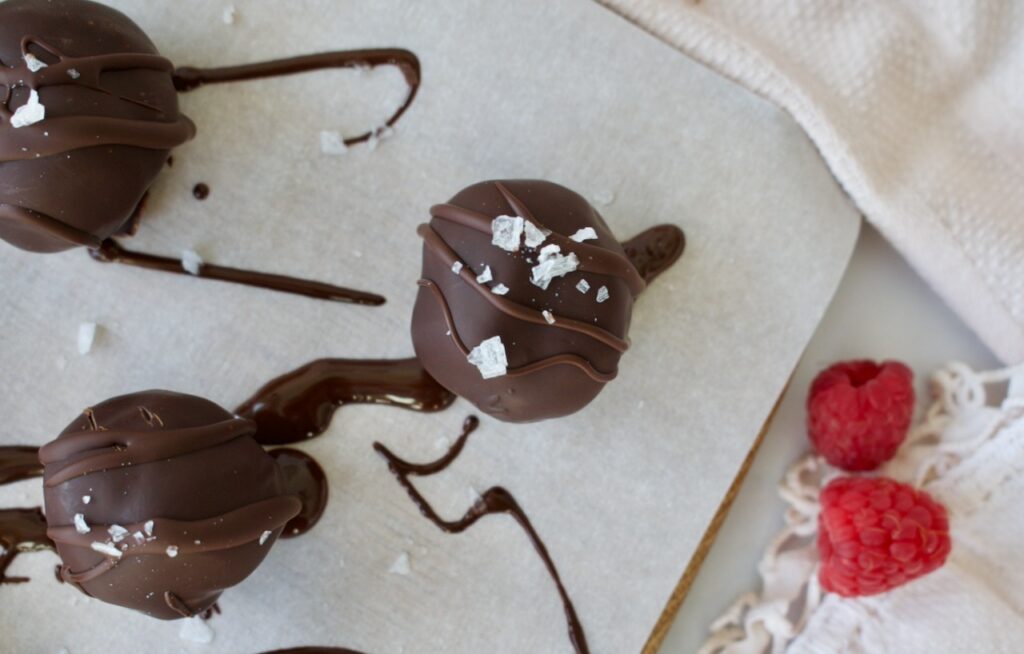
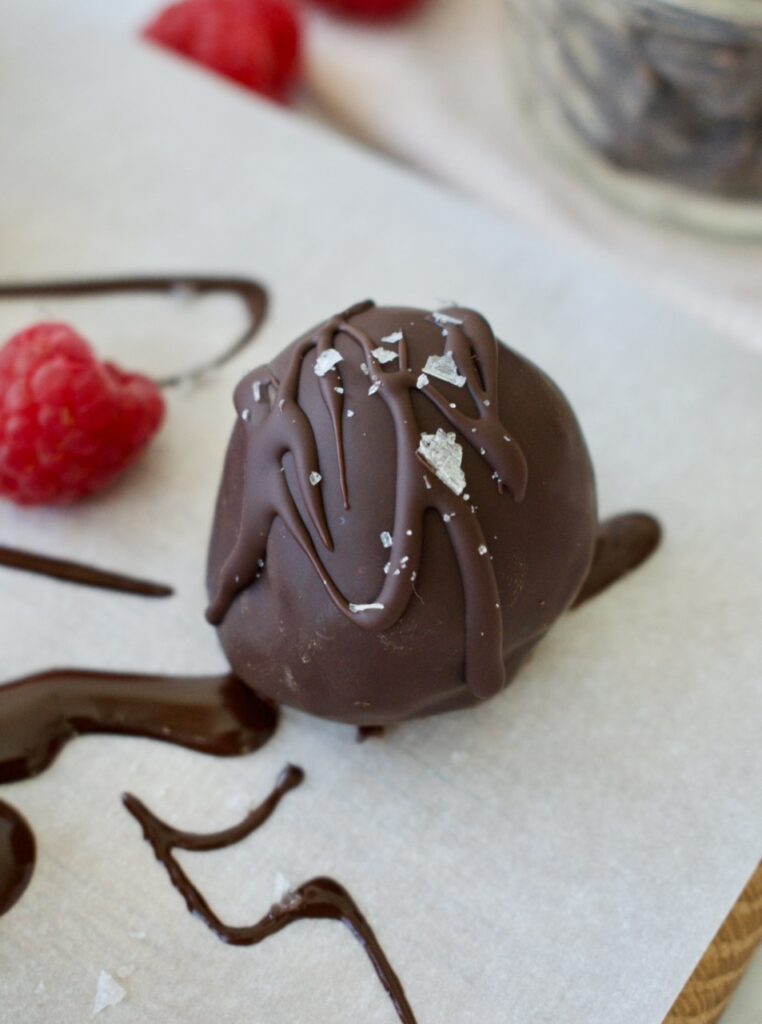
Once set, coat them in a layer of melted chocolate and top them off with flaky sea salt.
What is in truffles?
The base of these truffles consists of granola butter and melted chocolate. The granola butter keeps this recipe completely nut and seed free, but you can always use whatever nut/seed butter you like.
Coconut oil, vanilla extract, and coconut sugar are added to the base to bring truffles together. Then they are coated in a layer of melted chocolate. My favorite chocolate to use is Enjoy Life because it is free from the top 14 allergens.
This recipe makes about 14 truffles, but you can easily double the recipe
These homemade chocolate truffles are completely allergy friendly and easy to make. They are gluten free, dairy free, and nut/seed free. They're perfect for Valentine's Day or to quell a chocolate craving whenever I might pop up!
Melt the chocolate chips and coconut oil together on low over the stove or in the microwave at 30 second intervals.
Combine the granola butter, melted chocolate, vanilla, sugar, and salt together in a bowl and stir to combine.
If using a mold, pour your batter into the molds and place in the fridge to set for 30-60 minutes. If not using a mold, put batter in the fridge for 10-30 minutes, until set, but not too firm. Using a small scoop, scoop tablespoon size amounts of batter into your hand and form into a ball. Work quickly as the heat from your hands will melt the chocolate (this process will be messy). Place the balls on a parchment lined plate and set back in the fridge to set for at least 30 minutes.
Once truffles are set, melt the chocolate chips and coconut oil for the coating together in a small bowl. Coat each truffle in the melted chocolate then place back on the parchment lined plate. Sprinkle with flaky salt while chocolate is still wet then put back in the fridge until chocolate is set.
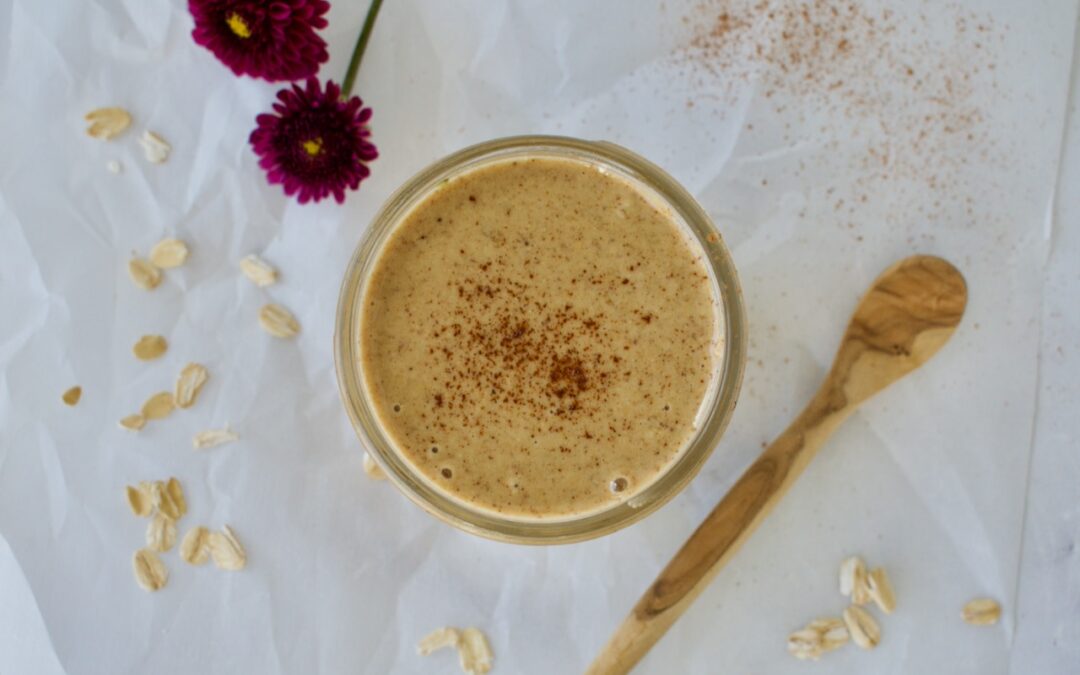
Granola butter is a nut and seed free spread alternative for those with allergies. It’s absolutely delicious and can be used just like peanut butter or almond butter. It’s perfect for baking or on toast!
gluten free granola butter
Have you ever heard of granola butter? It’s like peanut butter or almond butter, but nut and seed free. It’s made completely out of oats! I like to make mine with tigernut flour too (which is a tuber, not a nut) for added flavor, but in the recipe below, I share how to make it both ways.
allergy friendly granola butter
So, what’s in granola butter?
Homemade granola butter is made simply with oats, cinnamon, salt, coconut oil, maple syrup, and vanilla extract.
You’ll start by roasting the oats to add some richer flavor and then blend them with the remaining ingredients for a delicious nut-free spread!
Make sure to use certified gluten free oats to keep this recipe completely gluten free and Celiac safe. Since the recipe utilizes maple syrup as the sweetener, this granola butter is also completely vegan! Allergy friendly spreads are possible and now you don’t have to miss on out a PB&J any longer- just make it a GB&J!
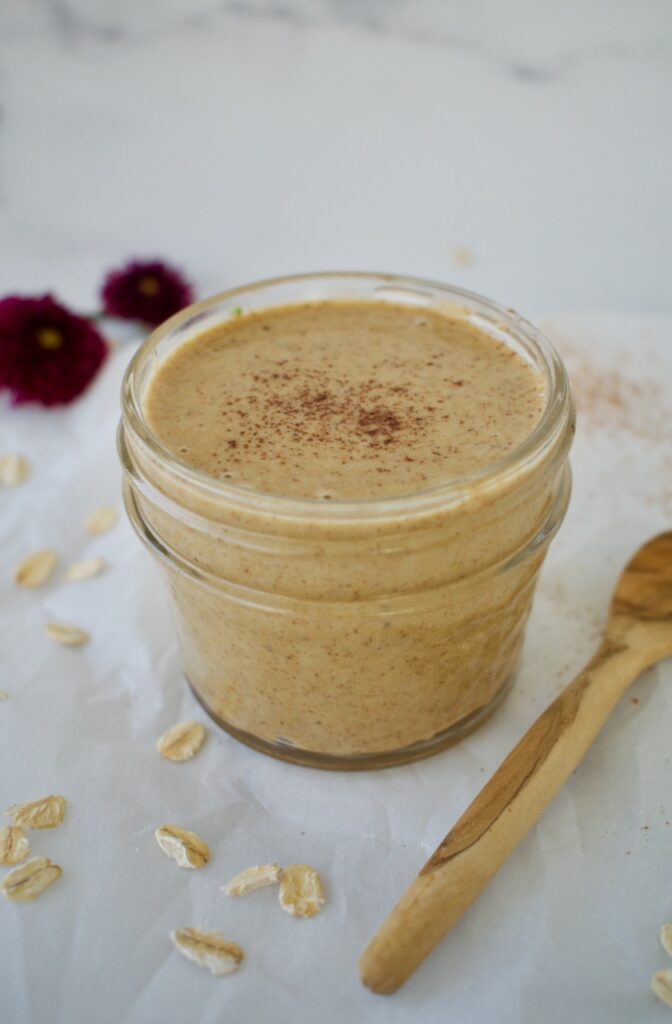
Granola butter is a nut and seed free alternative for those with allergies. This is the perfect allergy friendly spread so you don't have to miss out. Use granola butter in place of things like peanut butter, almond butter, and sunflower seed butter.
2cupsgluten free oatsmake sure they are certified gluten free
1cup Tigernut flour*you can use almond flour or another cup of oats
1tspcinnamon
1/4tspsalt
3/4-1cupmelted coconut oil
1-4Tbspmaple syrup
1tsp vanilla extract
Instructions
Preheat the oven to 350F.
Spread your oats evenly over a large baking pan and roast them for 10 minutes, until just beginning to golden and becoming fragrant.
Let oats cool for 10 minutes before adding to a high speed blender (like a Vitamix) or food processor. Blend oats into a flour.
If using tigernut flour, add the flour, cinnamon, and salt and blend again to combine.
Combine all the wet ingredients together in a measuring cup, starting with 3/4 cup of oil. If using tigernut flour, you will only need 1-2 Tbsp of maple syrup, but if using all oats, you will need 3-4. With the blender or food processor running on low, slowly pour the wet ingredients into the running blender/food processor.
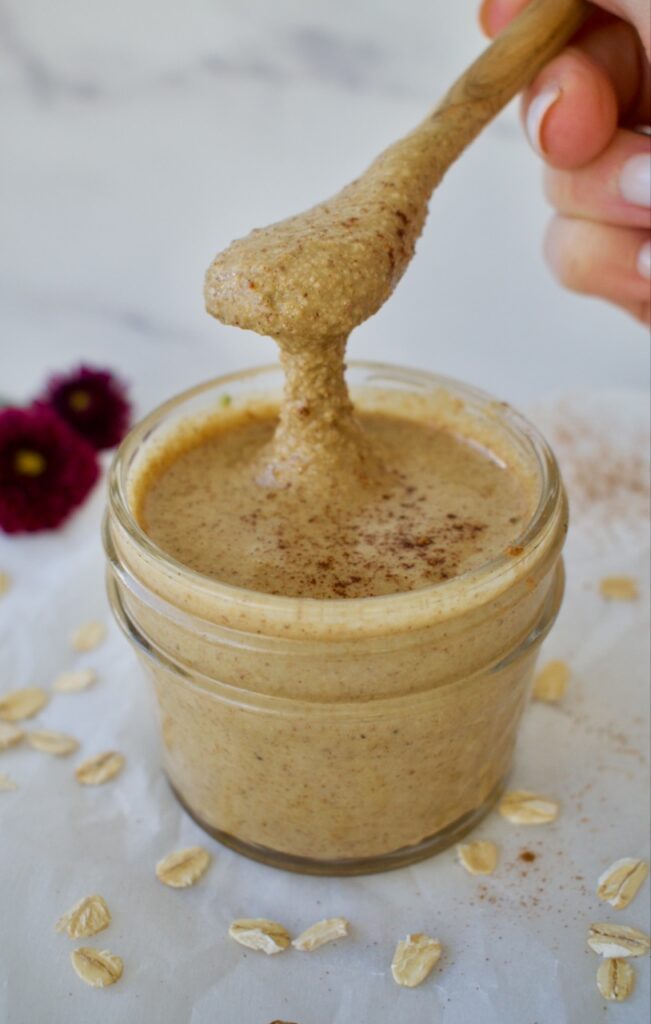
Let the blender/food processor run for 5-10 minutes, stopping occasionally to scrape down the sides, until you have a smooth butter. Taste and adjust as necessary, adding more maple syrup as needed. If you find that the mixture is too dry or thick, add more oil until the desired consistency is reached.
Let the butter cool slightly before transferring to a glass jar. Granola butter can be stored at room temperature and does not need to be refrigerated.
Notes
*I love using tigernut flour in this recipe as it adds some natural sweetness and nutty flavor without nuts!
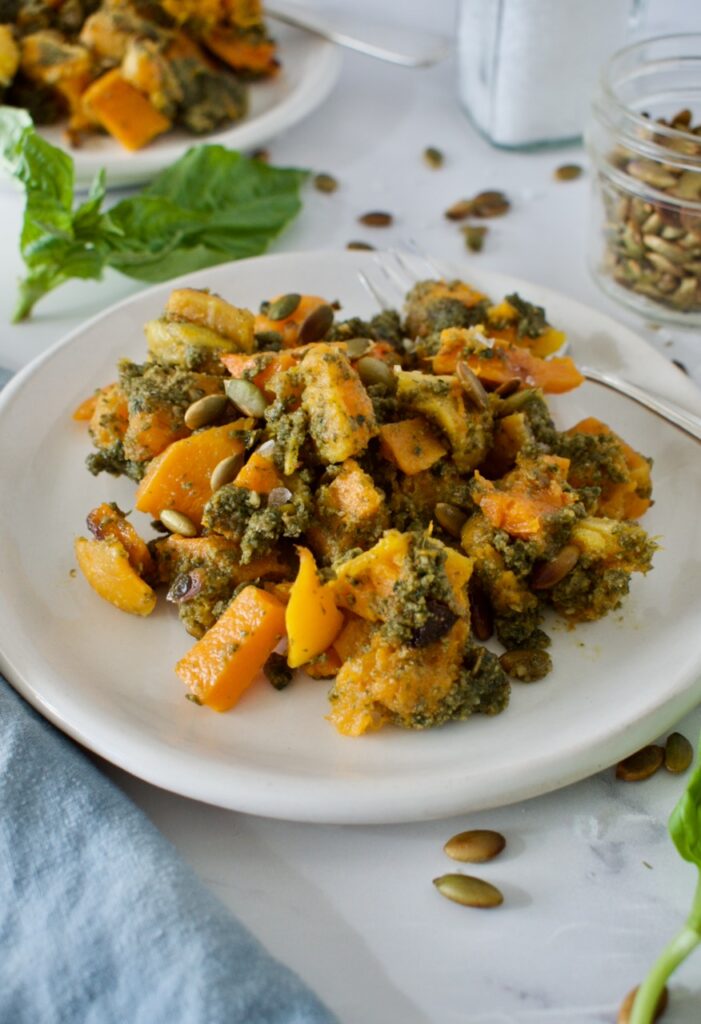
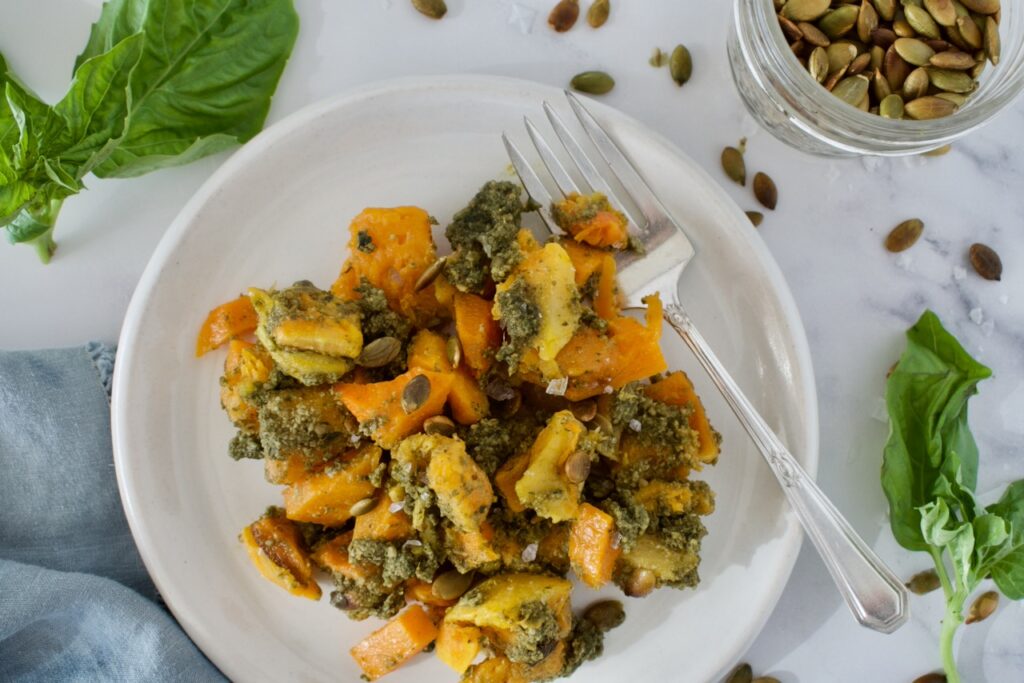
This pumpkin seed pesto butternut squash is one of the most addicting recipes ever. The pumpkin seed pesto is the perfect amount of crunchy and salty that pairs perfectly with the sweet and soft butternut squash. You won’t be able to stop eating this delectable side dish!
pumpkin seed pesto and butternut squash
My mom used to make a variation of this butternut squash recipe when I was in high school and I absolutely loved it. When I got to college, I made my own version and shared it on my website years ago. Since I can’t have dairy, this vegan pesto is so delicious! The recipe, photos, and overall post needed a revamp, and I finally got a chance to do so.
nut free pesto
This vegan and paleo side dish is easy to make and very simple. There are only a few ingredients in this healthy pesto that you blend together and toss with roasted butternut squash. Plus, it’s allergy friendly! There is no gluten, dairy, or nuts in this homemade pesto. It’s guaranteed to be a crowd pleaser.
This pumpkin seed pesto with butternut squash is one of the most addicting dishes you'll ever eat. It packs a flavor punch and you won't be able to stop eating it. Enjoy this healthy and delicious paleo and vegan side dish with any protein!
Course Side Dish
Cuisine American
Keyword gluten free, healthy, paleo, vegan
Prep Time 20 minutesminutes
Cook Time 40 minutesminutes
Total Time 1 hourhour
Servings 4servings
Author Victoria Faling
Ingredients
1largebutternut squash
3/4cuppumpkin seeds
1Tbspolive oil
1/2tspsalt, divided
1cupfresh basil leaves, packed
1/2 cupolive oil
1Tbspgarlic infused olive oilyou can use 1-2 garlic cloves instead
Instructions
Preheat oven to 425F.
Peel and dice the butternut squash into cubes. Toss with 1 Tbsp olive oil and 1/4 tsp. salt and spread evenly over parchment lined baking sheet.
Bake squash for 40-45 minutes, until fork tender and browning.
While squash is baking, make the pesto. Heat a skillet over medium low heat and add the pumpkin seeds. Toast, stirring occasionally, until seeds are fragrant and beginning to golden. This takes about 5-10 minutes. Remove from heat and let cool for 10 minutes.
In a blender, add the basil, 1/2 cup olive oil, garlic olive oil or garlic cloves and roughly blend until basil is broken down. Add 1/2 a cup of the pumpkin seeds and 1/4 tsp. salt and pulse into you have a rough pesto texture. Taste and add more salt as needed.
Once butternut squash is cooked, let cool for 5 minutes before tossing with the pesto in a large bowl. Sprinkle with remaining 1/4 cup pumpkin seeds and serve.
Hi! I'm Victoria. I was diagnosed with Lyme in 2012 and have been on a healing journey ever since. I love helping others on their road to healing through allergy friendly recipes, exercise, and overall well-being.