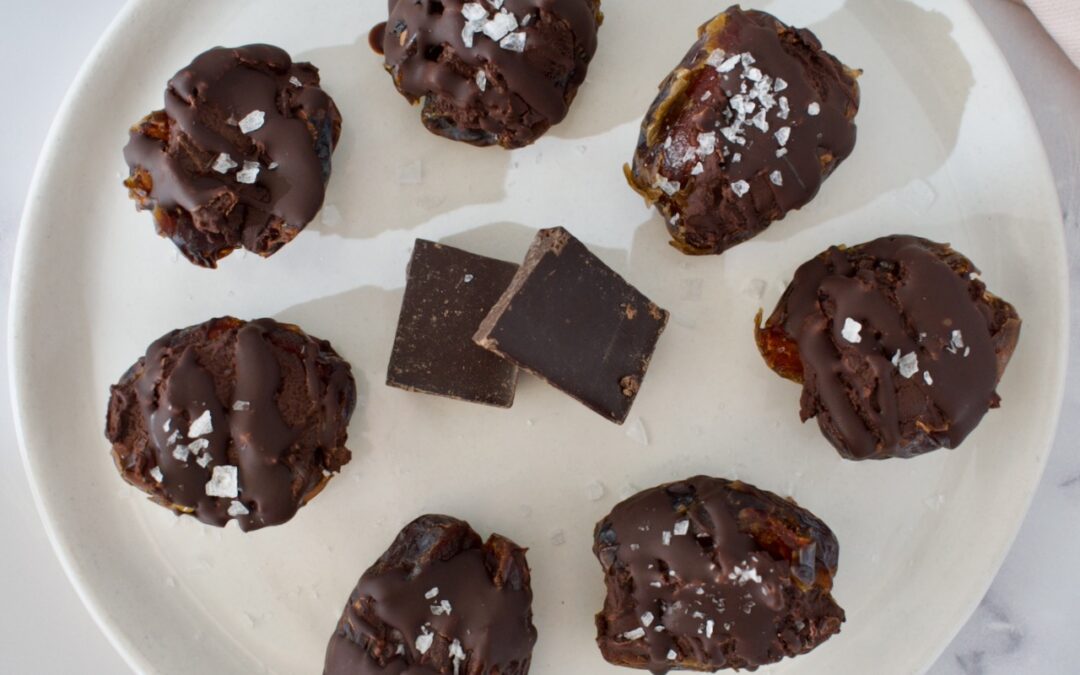
Looking for a healthier Valentine’s Day treat? Try these no-bake Protein Date Brownie Bites. Sweet dates are stuffed with a protein brownie batter and drizzled with melted chocolate for an allergy friendly treat.
vegan date bites
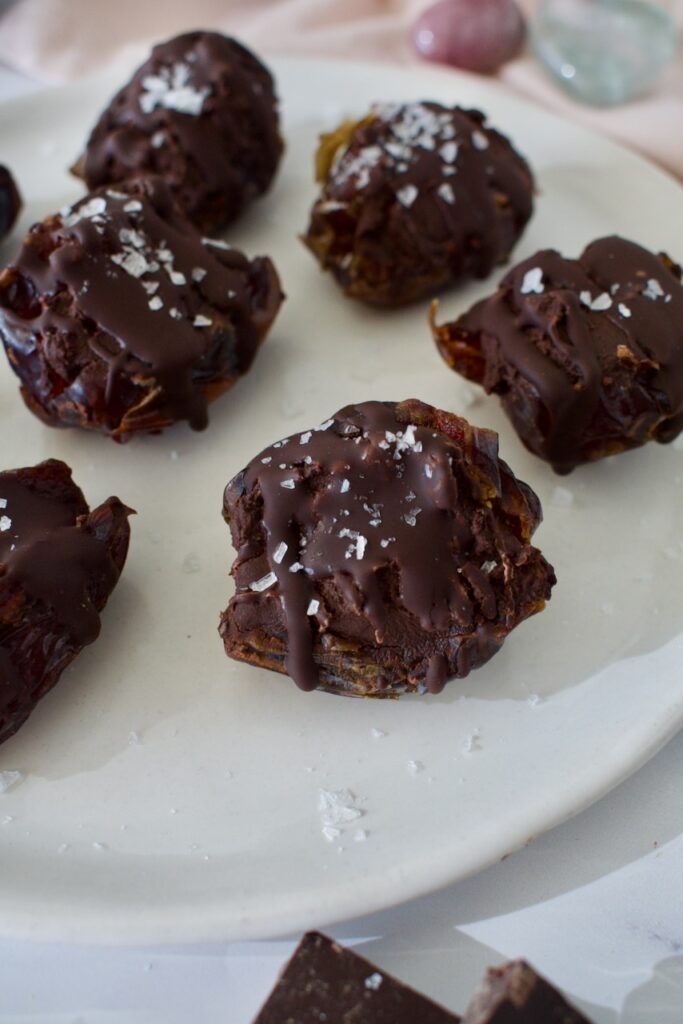
I love these protein brownie bites as a healthy, easy chocolate treat. They are a higher protein treat and mostly sweetened naturally from the dates. This Valentine’s Day dessert is completely gluten free, nut free, and vegan!
protein brownie bites
This gluten free treat is quick and easy to make. First, you’ll make a no-bake and vegan protein brownie batter from my favorite pea protein (use code LEMONSNLYME20 for 20% off) with cocoa powder, maple syrup, and water. This batter will be stuffed inside some Medjool dates and then drizzled with melted chocolate. I love topping these off with some flaky sea salt for the ultimate sweet and salty combo!
Can I use a different protein? Pea protein is unique in that it acts like a flour. It absorbs moisture instead of dissolving into it like many other proteins. This recipe does require pea protein or pumpkin seed protein. Both proteins can be found here.
This gluten free and vegan treat is the perfect healthier Valentine's Day dessert. Higher in protein and utilizing natural sugars from the dates, you'll love this quick and easy no-bake treat!
Course Dessert, Snack
Cuisine American
Keyword chocolate, gluten free, healthy, high protein, vegan
Mix together the protein, cocoa powder, maple syrup, and 5 Tbsp of water in a small bowl. If the batter is really dry and crumbly, add 1 tsp of water at a time until it comes together but isn't too runny.
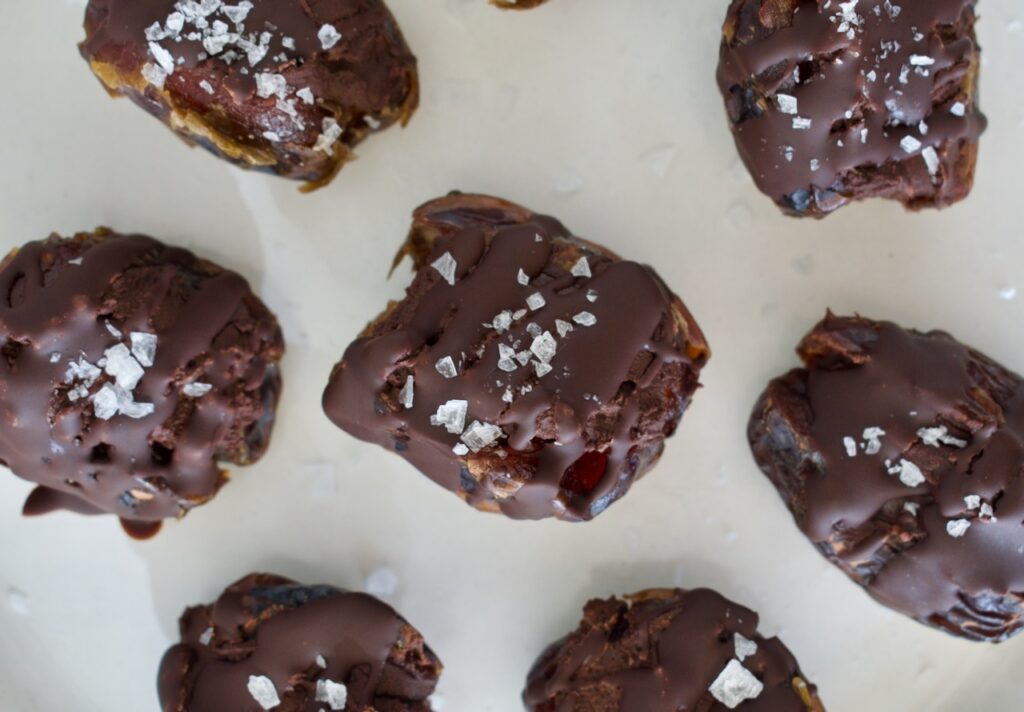
Open your dates along one side (don't split them completely in half!) and make sure the pit is removed. Take ~1 Tbsp of batter and stuff it into the date. You should get about 10-12 dates total.
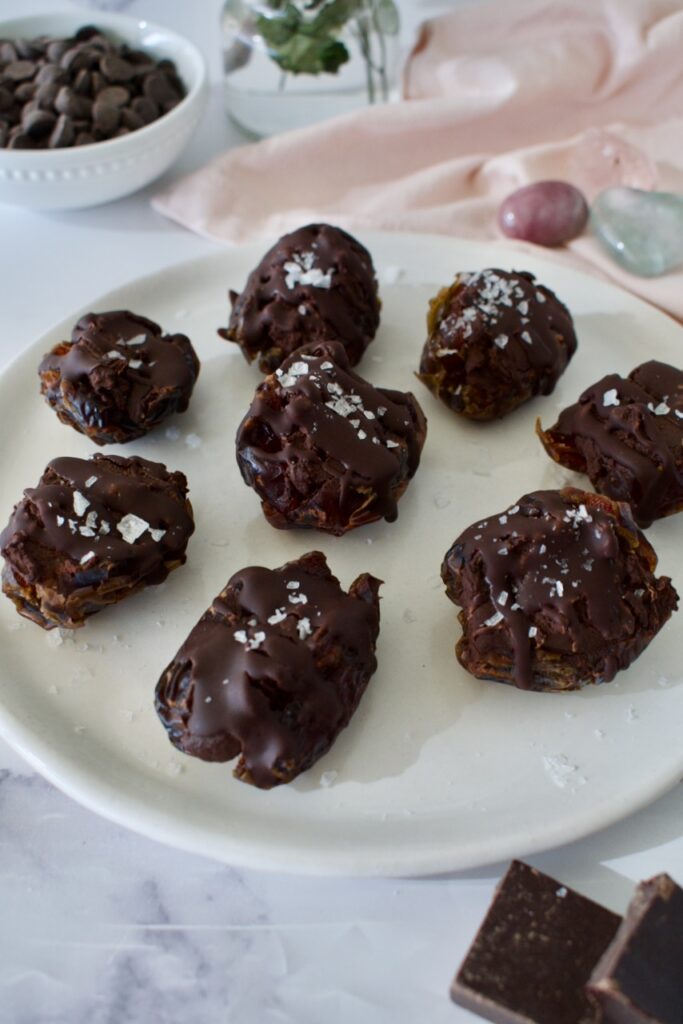
Melt the chocolate chips and coconut oil together.
Place the stuffed dates on a parchment lined plate then drizzle the chocolate on top. Finish off with some flaky sea salt then set in the fridge to set until chocolate has hardened.
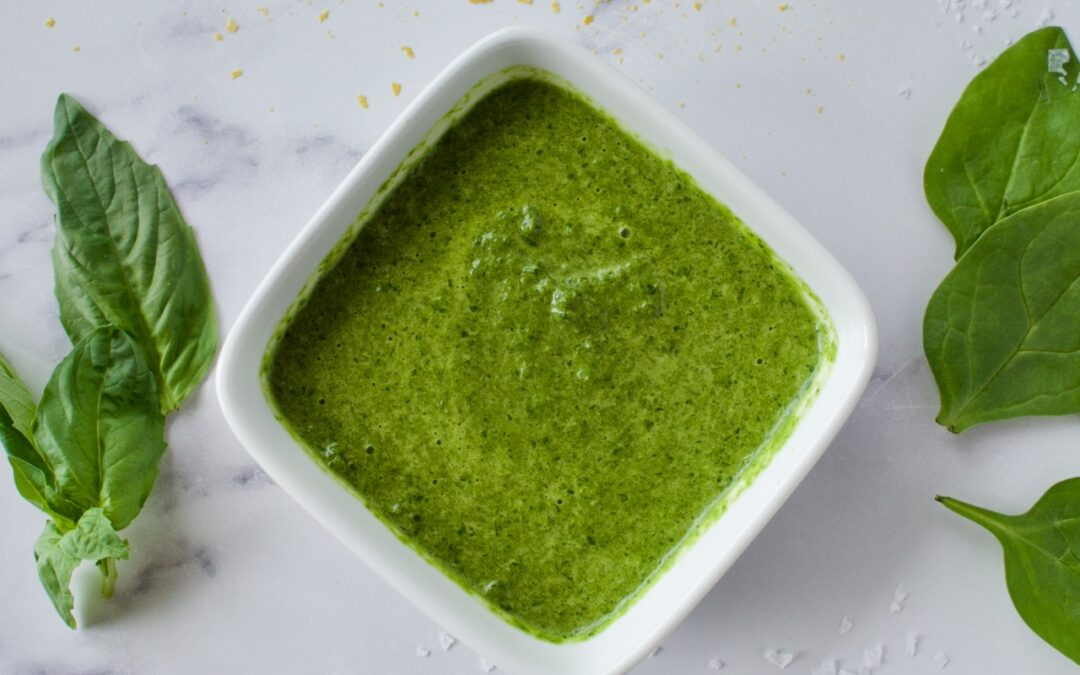
This healthy homemade pesto is completely allergy friendly and easy to make. It’s packed with flavor and a quick sauce to whip up for dinner. The spinach gives this dairy free pesto a nutritional boost, while the basil provides all the delicious taste!
low FODMAP spinach pesto
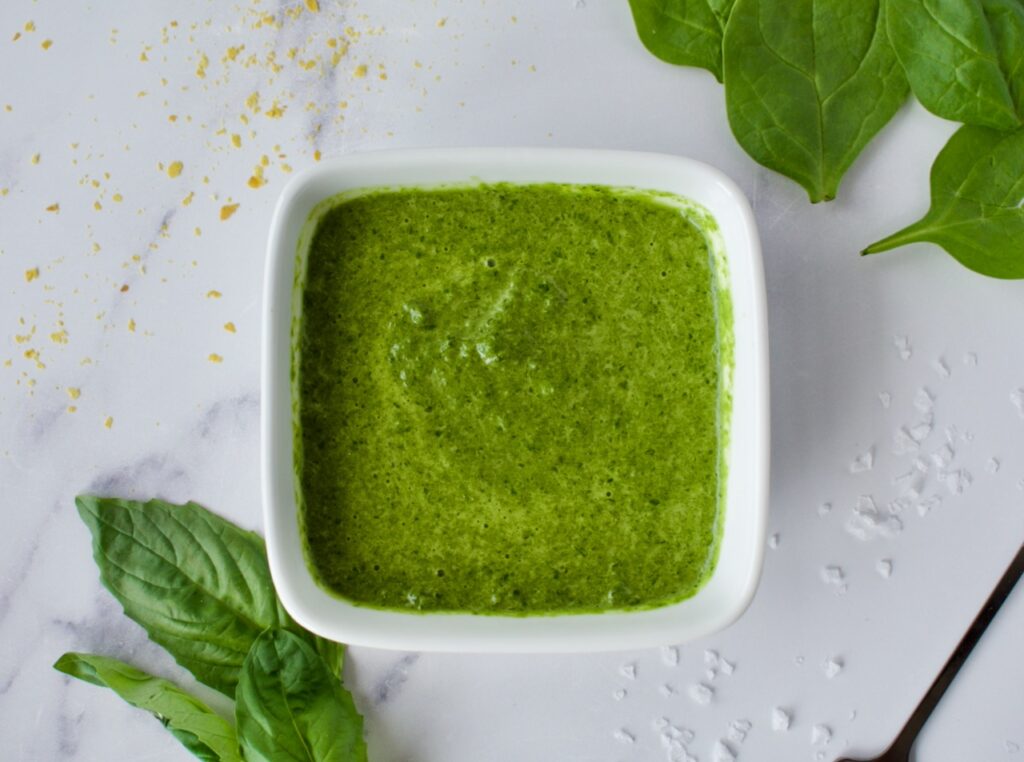
Many store-bought pestos contain nuts, cheese, and garlic, but if you’ve got food allergies/intolerances and GI issues, these ingredients are likely to set you off. It was impossible to find safe and healthy pestos at the store, so I started making my own. Pesto is super easy to make and the best part about making a homemade variety is that you can adjust the flavors to your liking. I’ve been whipping up this super quick and easy pesto for years and figured I better finally get this recipe on the my website and share it!
allergy free vegan pesto
This pesto is packed with an extra punch of nutrients from the spinach. The other ingredients are simple- olive oil, basil, and salt! It’s that simple. This pesto is completely allergy friendly, being gluten-free, AIP/paleo, and vegan, plus no garlic so it is low FODMAP! Gut friendly, nutrient packed, and healthy ingredients.
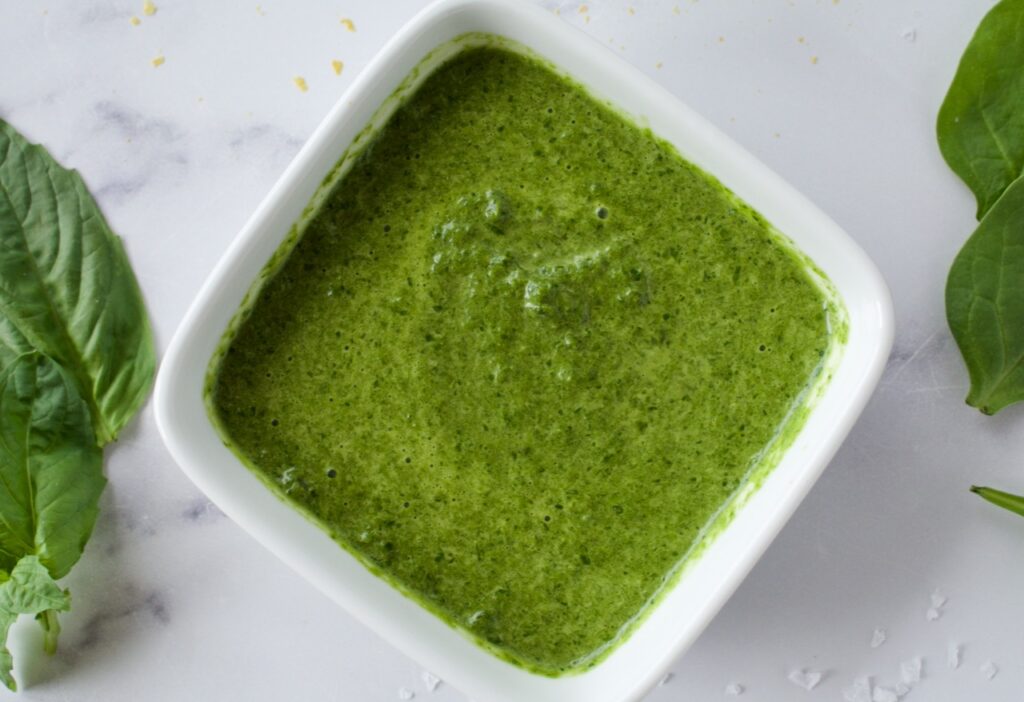
This easy and delicious homemade pesto is perfect for any diet. There are no major offenders and you can whip it up in just a couple of minutes! This pesto is nut-free, vegan, and low FODMAP
Course Main Course
Cuisine American
Keyword Easy, low fodmap, nut free, Simple, vegan
Total Time 5 minutesminutes
Servings 4servings
Author Victoria Faling
Ingredients
3cupsspinach
1cupfresh basil leaves
1/4cupolive oil
1/2tspsalt
2-4Tbspnutritional yeastOPTIONAL
Instructions
Wash and dry the basil leaves.
Add everything to a small blender. Blend on high until smooth.
If needed, add more olive oil to achieve desired consistency.
Add nutritional yeast as desired for a more cheese-y flavor.
Store in an airtight container in the fridge for up to 5 days or freeze in ice cubes for later use.
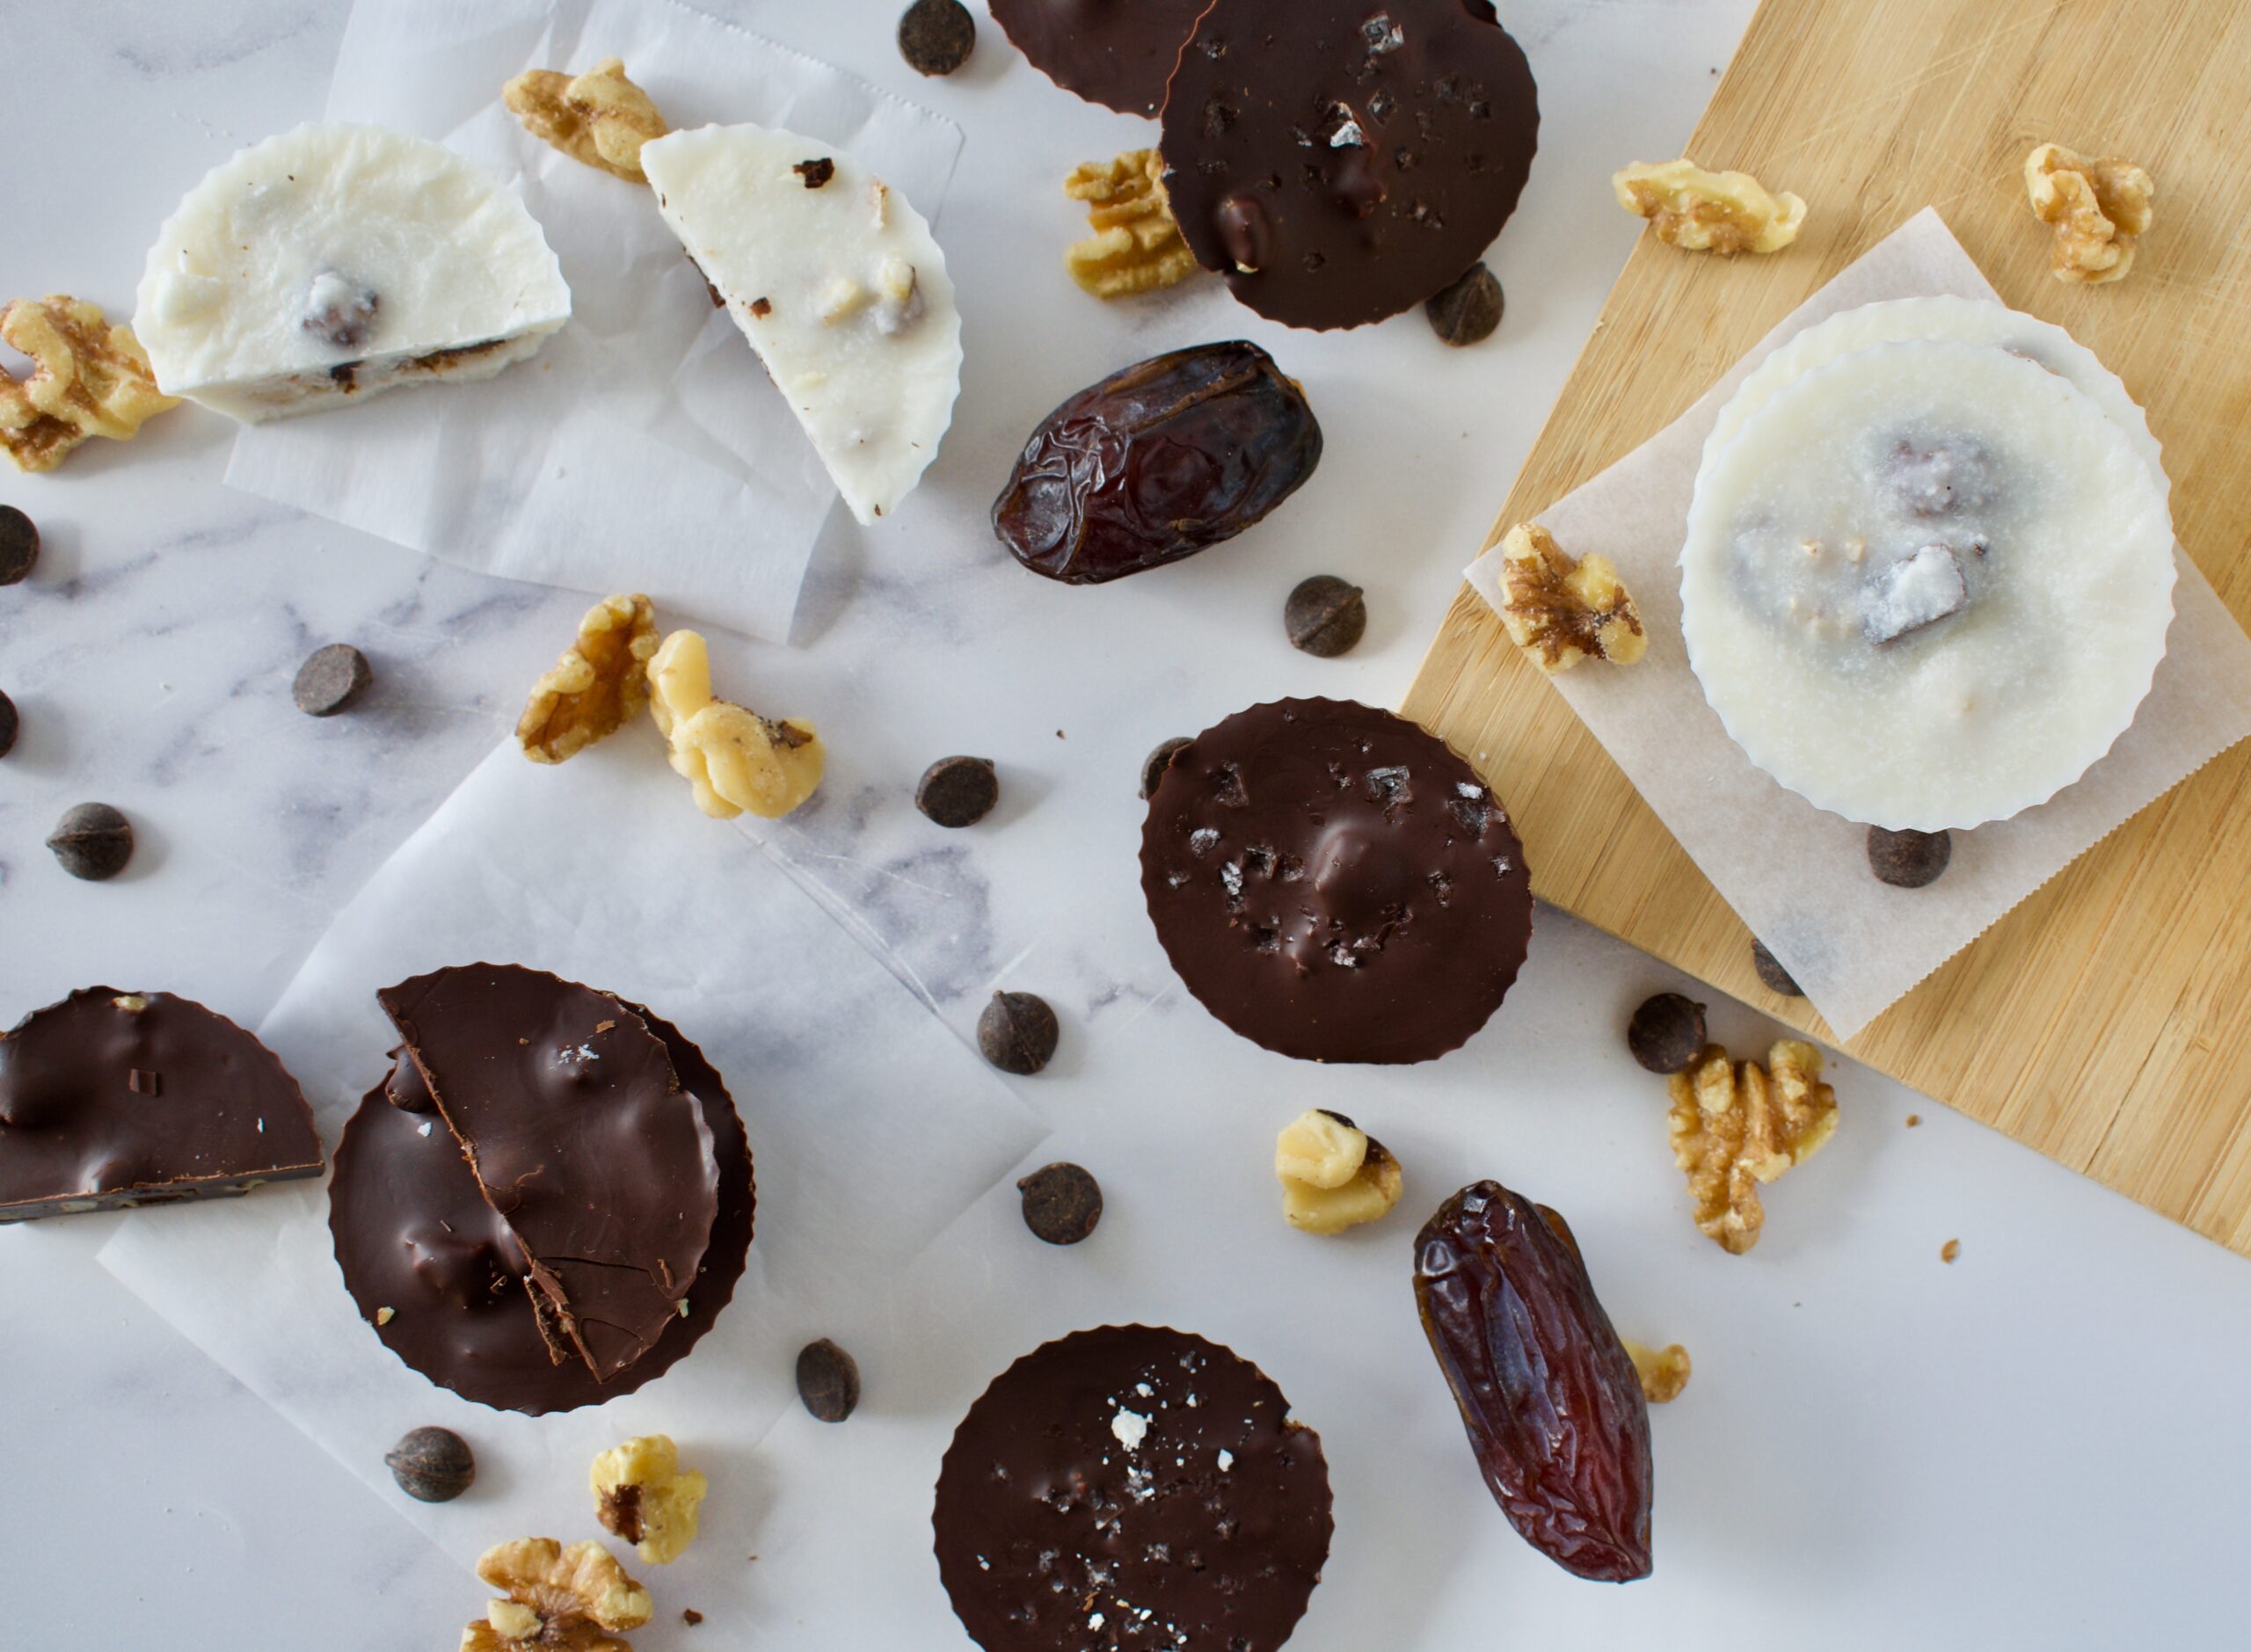
If you’re trying to eat healthier, but still want candy, then you’ve got to make these walnut-date cups! These are super easy to make and perfect for Halloween! Save yourself, and the kids, the sugar rush with this more balanced treat.
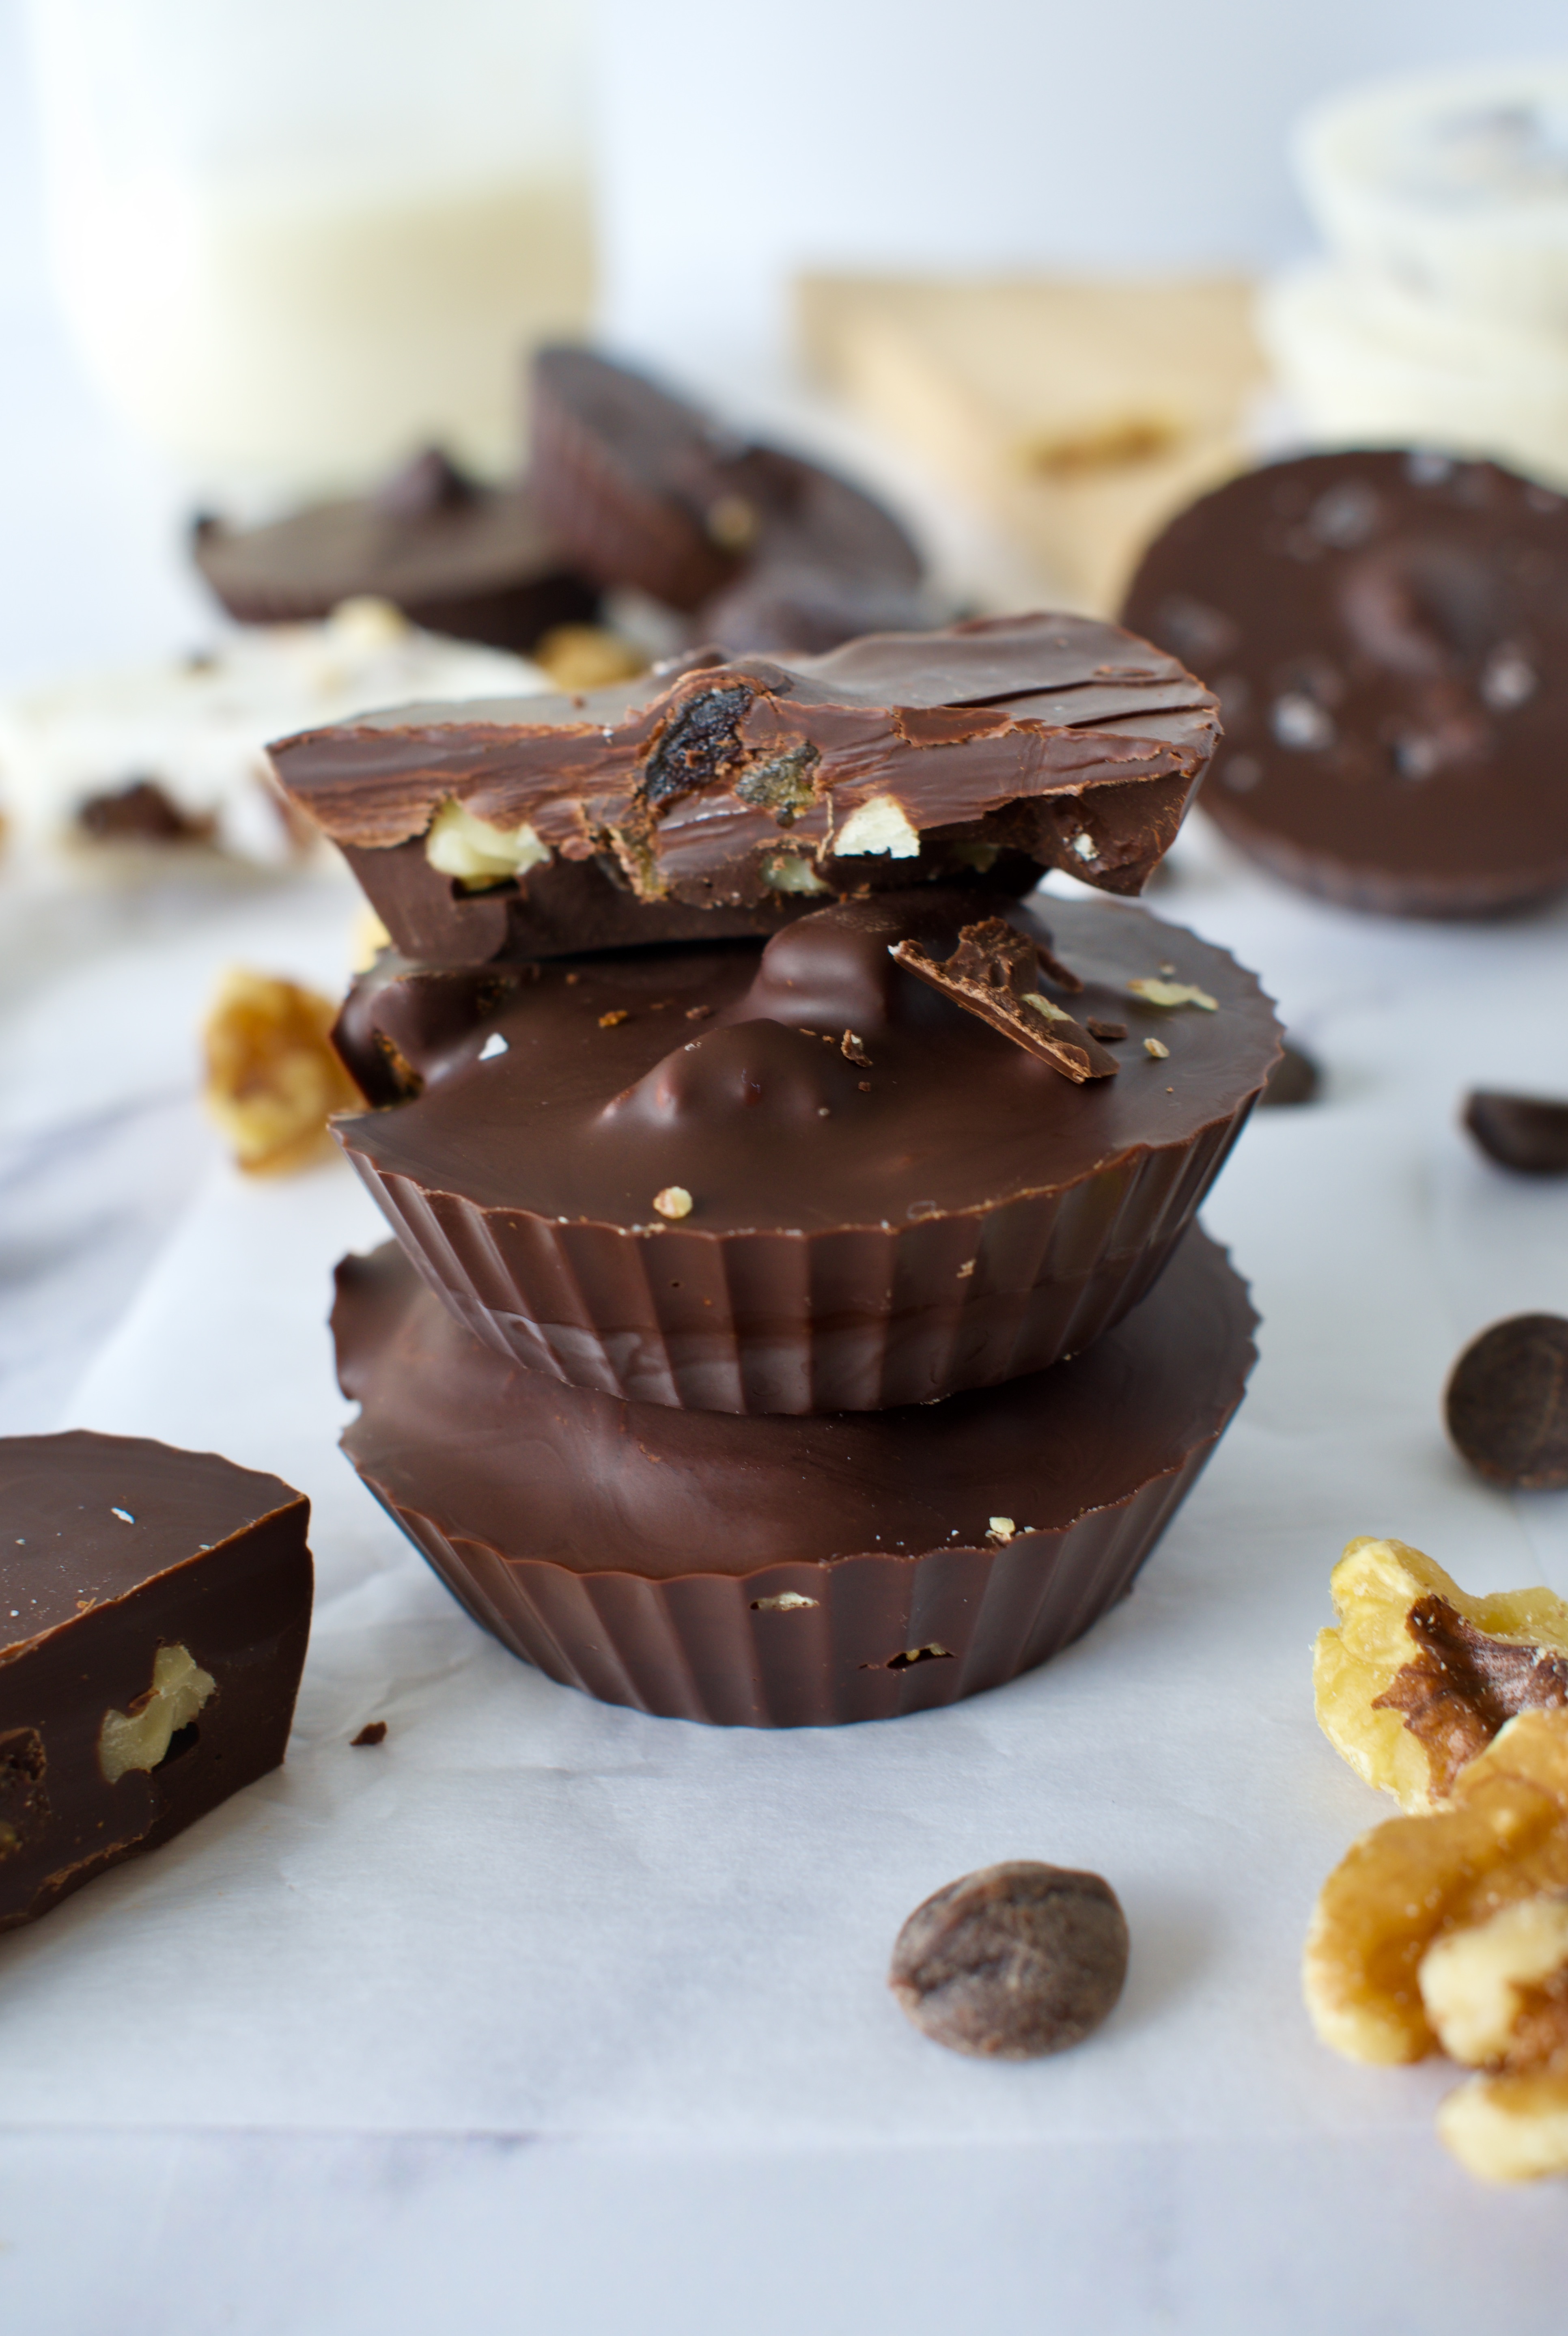
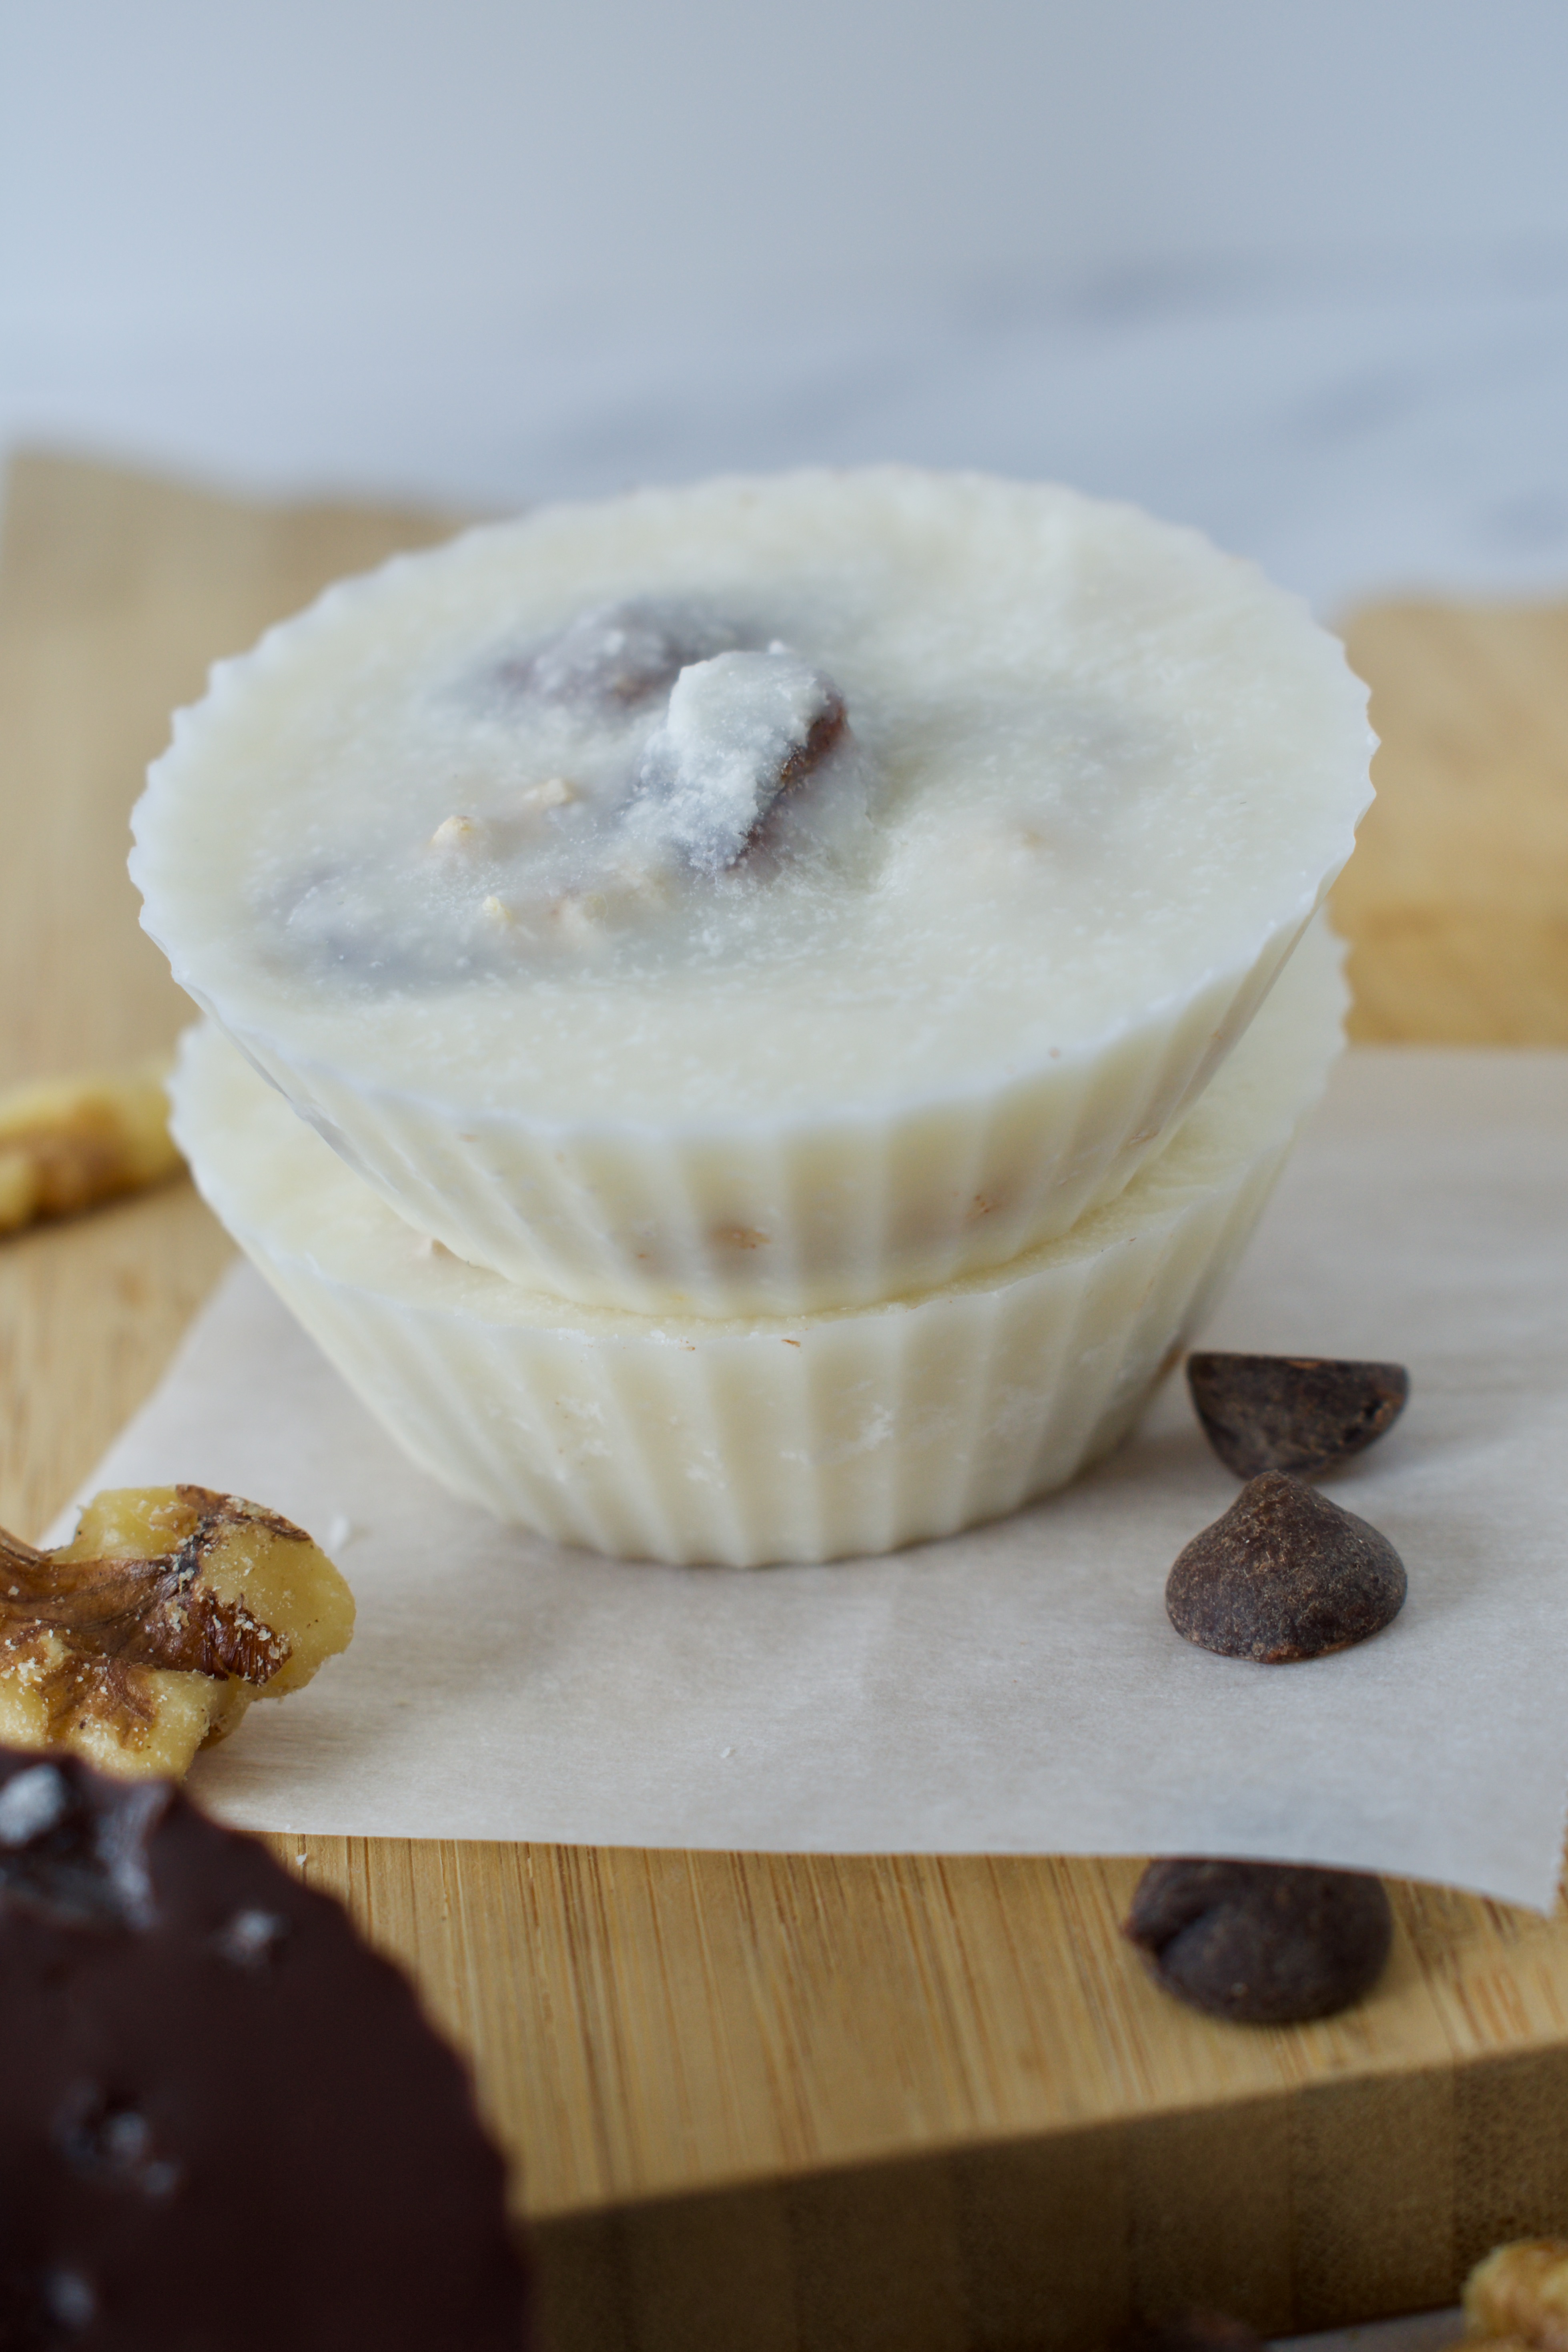
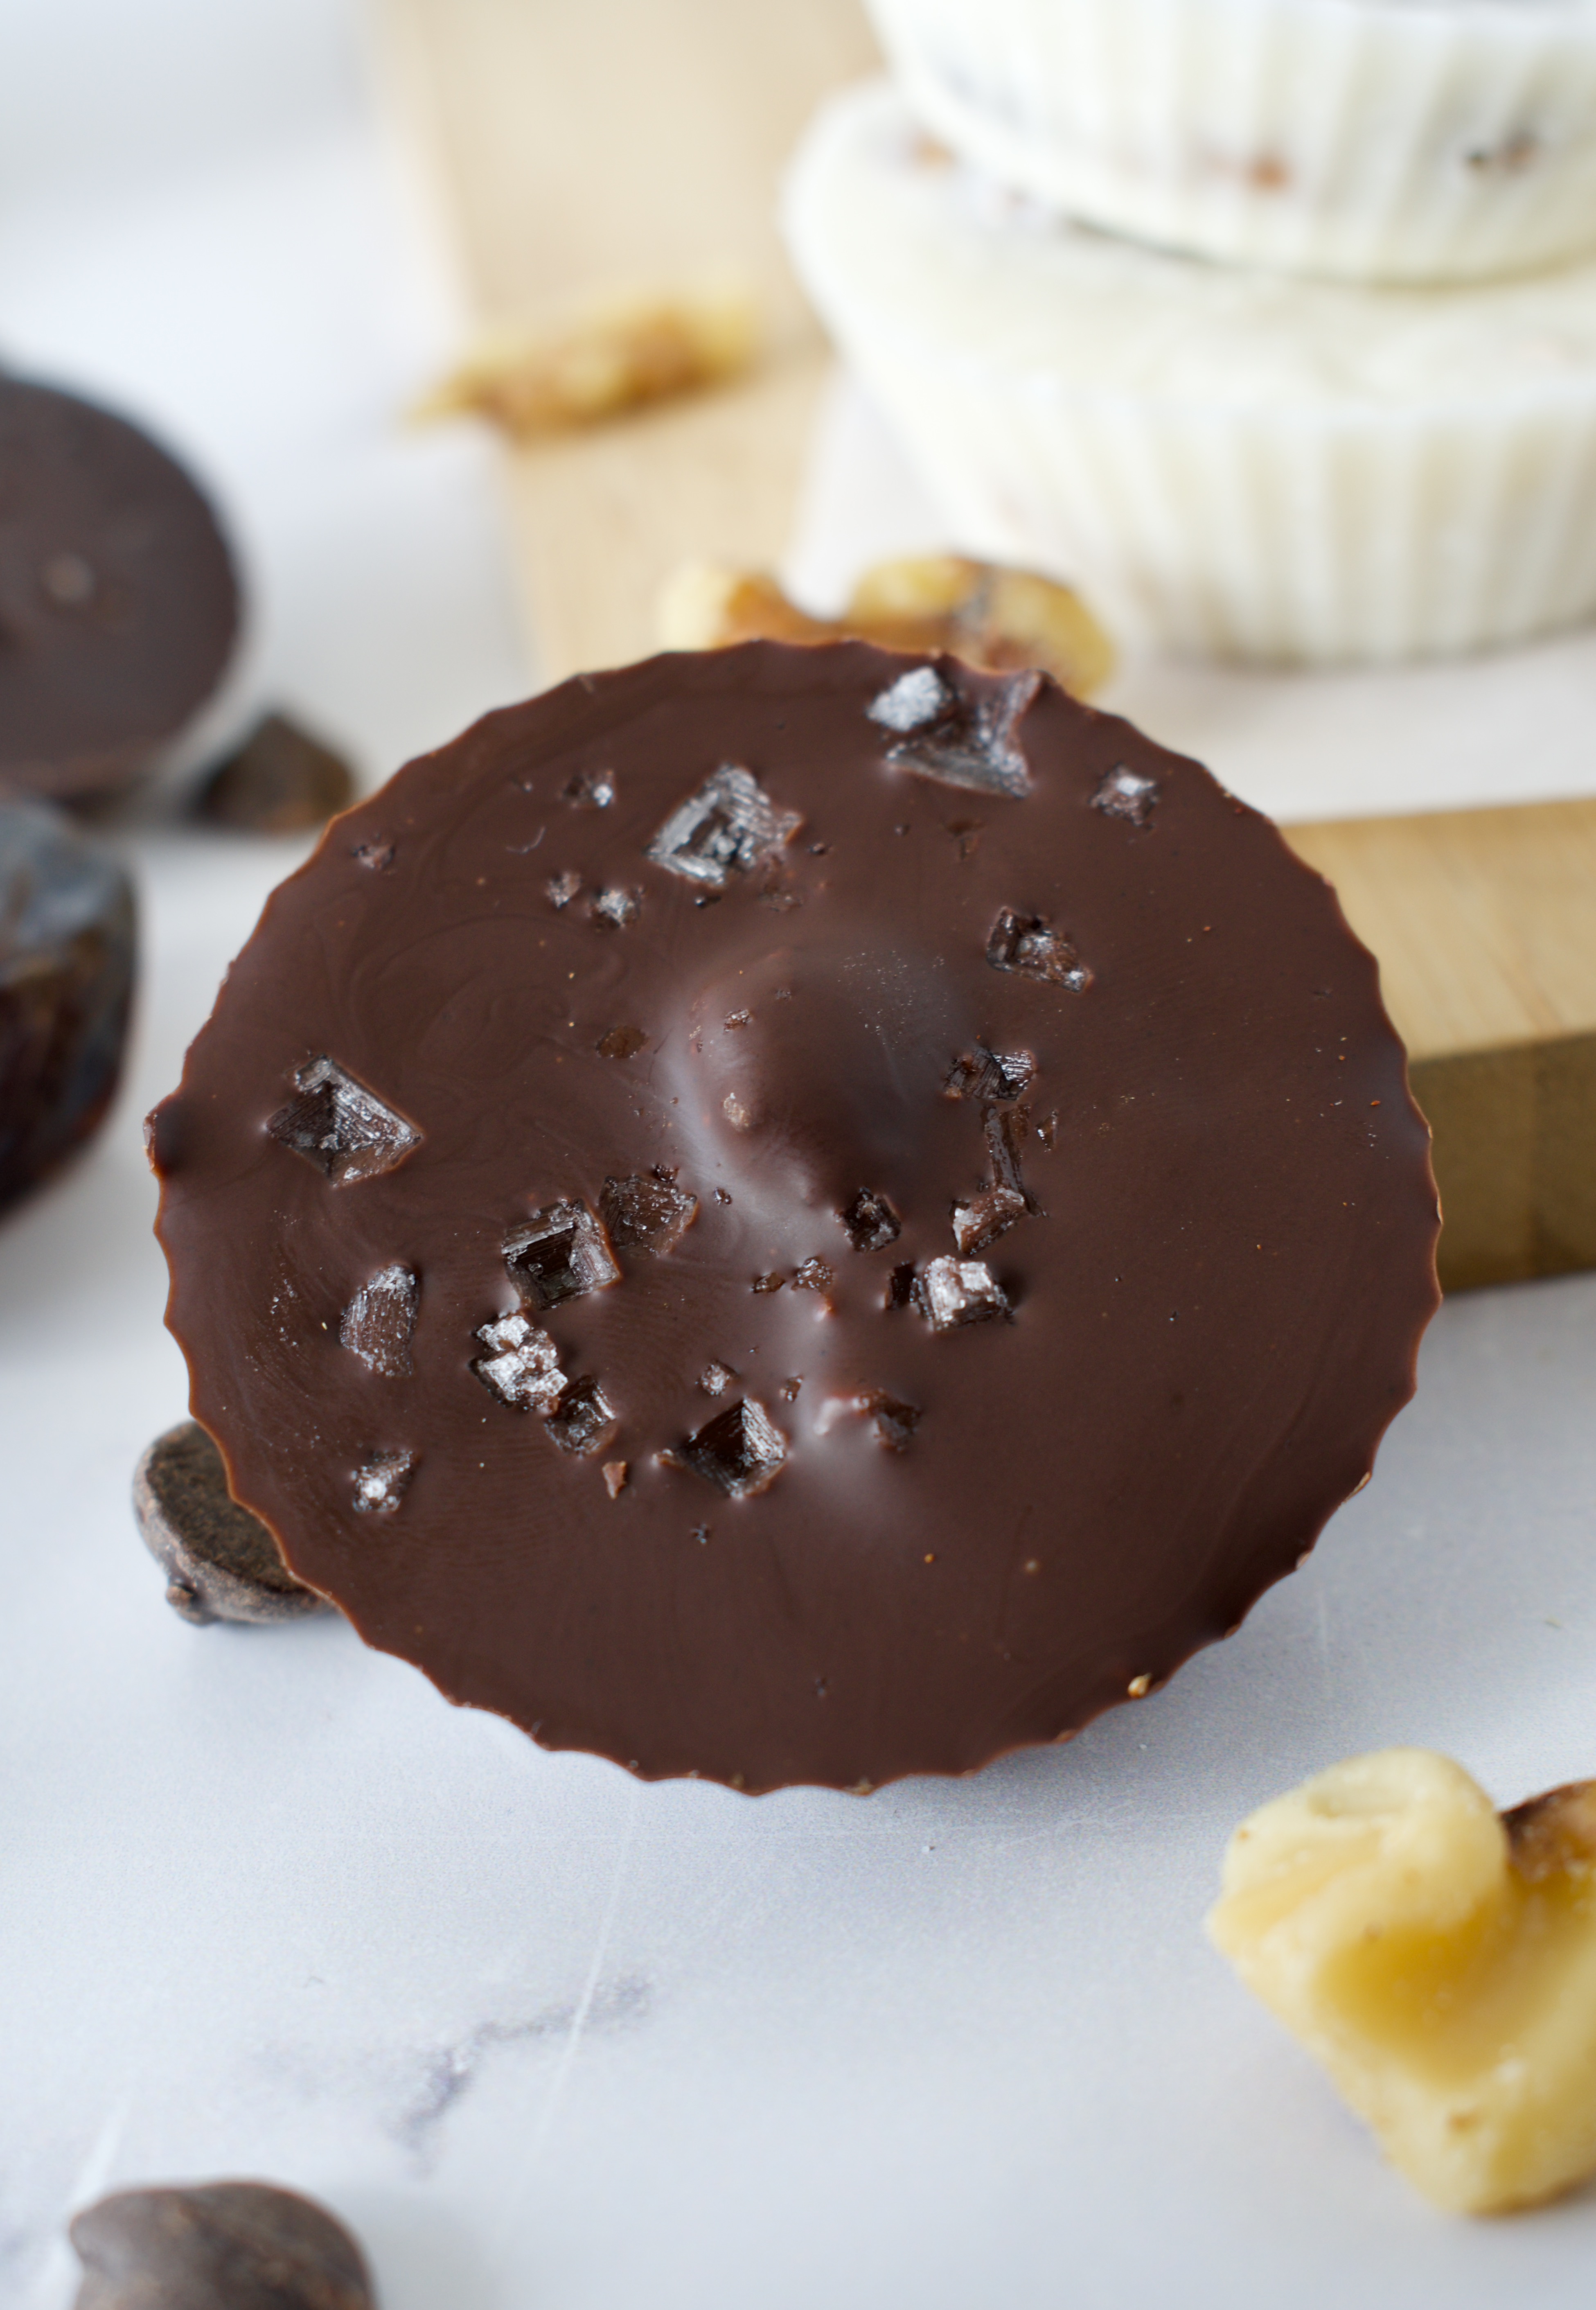
These chocolate and coconut butter cups are completely gluten free and vegan. They are filled with walnuts for that crunch and dates for natural sweetness. We mix the filling with some cinnamon to bring it all together. I prefer to use dark chocolate for the chocolate cups to keep it dairy free and low sugar, plus that’s the best chocolate. The coconut butter cups use pure coconut butter, no added sugars! Balance the sweetness with some flaky salt on top.
Lower sugar and healthier candy is possible! Switch up the Reese’s for these brain boosting walnut and date cups. Keep them low sugar with dark chocolate or sugar free by using naturally sweet coconut butter
1cupchocolate chipsEnjoy Life is my preferred, allergy friendly brand
1tbspcoconut oil
3/4cupmelted coconut butter
1/2cupchopped walnutsYou can substitute the walnuts for your favorite nut or seed!
1/2cupchopped dates
1tspcinnamon
Flaky salt
Instructions
Line a muffin tin with silicone or paper liners.
Melt the chocolate chips and coconut oil together in the microwave at 30 second intervals or over the stove.
Pour 1 heaping teaspoon of melted chocolate in the bottom of 6 cups. Enough to cover the bottom of the cup.
Pour 1 heaping teaspoon of coconut butter in the bottom of the other 6 cups.
Pop the muffin tin in the freezer for 10 minutes, until the butter and chocolate has hardened.
Combine the walnuts, dates, and cinnamon together in a bowl.
When the cups are ready, place about 1-2 teaspoons of the filling in each cup. Spread it evenly over the cup so you have an even layer.
Top each chocolate cup with ~2 teaspoons of melted chocolate (if the chocolate began to harden, zap it in the microwave for 10 seconds until smooth and melted again). You want enough chocolate to cover the filling. Sprinkle some flaky salt on top if desired (I highly suggest doing so!).
Repeat this process with the coconut butter cups. I don’t suggest salt for the coconut butter cups, it compliments the chocolate cups better.
Place back in the freezer until cups are solid (at least 20 minutes), then transfer to a glass container and store in the fridge for up to a week. You can keep any leftovers in the freezer.
I’m pretty sure I’m never going to buy ice cream from the store again, now that I’ve figured out how to make delicious, creamy ice cream at home. I love making my own because there are no weird additives or flavorings, I can make whatever flavor I like and adjust it to my preferences, and I am able to use less sweetener. I have to be honest, store bought ice cream is usually just slightly too sweet for me. They add so much unnecessary sugar (in my opinion), that my mouth starts to hurt when eating it.
Actually, that is the case with almost anything store bought. Why do we feel this need to add SO MUCH extra and/or unnecessary sugar to everything?! I don’t understand. That is why I love making everything myself at home, because I can use less junk and really enhance the true flavors of a dish.
I don’t have an ice cream maker, so this is a no-churn version that still turned out delicious. The key is using only the milk-fat from the coconut milk cans. I’m sure this would be even more divine if you are able to get your hands on an ice cream maker.
No-Churn AIP Strawberry Ice cream
Makes about 1.5-2 pints
Ingredients:
2 cans full fat coconut milk, refrigerated overnight
3 cups frozen strawberries
2 dates, pitted
1/8-1/4 cup maple syrup (depending on how sweet you like your ice cream. 1/8 cup provides a very mild hint of sweetness to match the dates and strawberries, but it’s not super sweet like your typical ice cream)
1 tsp. vanilla extract
Pinch of pink himalayan salt
Directions:
Scoop out the thick coconut cream from the coconut milk cans and place in a blender. Save the liquid (coconut water) at the bottom of the cans for a later use.
Add the remaining ingredients to the blender and blend until combined. If you like to have some chunks of strawberries in your ice cream, use only 2 cups of strawberries initially. Then add the remaining cup and pulse until you reach your chunky desire.
IF you have an ice cream maker, you can pour the mixture into at this point and follow manufacturers directions.
IF you do not have an ice cream maker, pour the mixture into a freeze safe container and cover. Freeze for 6-8 hours, whisking the mixture every 30 minutes for at least the first 4 hours to help keep it creamy and prevent it from getting super icy.
Serve immediately or if using once ice cream is completely hardened, let sit out for about 5 minutes to soften slightly before scooping.
If you follow me on Instagram, you know I post a lot of smoothie pictures, but I do get sick of smoothies. Sometimes I want something warm or thicker and more hardy then a smoothie. I don’t tolerate a whole lot of classic breakfast foods and I’m still not a fan of salad before noon.
I also hate oatmeal. I think it’s one of the most disgusting foods on the planet. Not only do I not like the taste, but it doesn’t agree with my tummy (granola does alright but oatmeal? I don’t think so). I’m not sure why I can handle oats in other forms but not when cooked into oatmeal. The smell and texture/volume makes me nauseous. Just thinking about oatmeal makes me nauseous! So, let’s move on to something more delicious.
I recently discovered buckwheat porridge. And we all know how much I love buckwheat! This did the trick. It’s similar to oatmeal, to give you that hardy, warm flavor and texture, but I think it tastes better and I digest it easier. I provide two options below- one for a raw version and one for a cooked. This dish can easily be made either way with just one extra, quick step for the cooked version. I usually like to keep it raw in the morning (in general, I handle raw foods better), but sometimes you just want a warm meal.
This recipe does require soaking the buckwheat groats, so be sure to read the whole recipe so you can soak your buckwheat the night before. And you can easily adjust this recipe to serve more!
1 date AND/OR 1/2-1 tsp. honey/maple syrup/agave/sweetener of choice
Toppings:
Banana
Fresh or frozen berries
Hemp seeds
Coconut
Take 1/4 cup buckwheat groats and soak overnight in double the amount of water.
The next morning, when you are ready to make breakfast, drain and rinse your buckwheat thoroughly. You should have about 1/2 cup of buckwheat now (as it expands when soaked).
Blend buckwheat and 1/3-1/2 cup of milk (start with 1/3 cup if planning to eat raw, add more if you like a soupier consistency) in blender for a few seconds until just combined. Add in remaining porridge ingredients. Sweetness depends on your liking, so add dates/sweetener as desired. Blend until thoroughly combined, about 1 minute.
If eating raw, pour into a dish and mix with your toppings.
If you’d like a warm porridge, pour mixture into a saucepan over very low heat. Warm on stove, stirring frequently. The porridge should thicken quickly, so keep your eye on it. Heat until desired consistency and warmth is reached. Add more milk as necessary if it becomes too thick.
Scoop into a bowl and top with fresh fruit and other desired toppings. I like to pour some extra milk over the top of my porridge, as well, to keep it creamy.
You know those nights where you just want to eat a whole pizza by yourself? Well, now you can! Okay, it is a raw vegan pizza, maybe not quite the same as the real thing, but it’s still yummy and a healthier substitute. My dad tasted it and approved so you know it’s blog worthy when that happens!
Everything from the crust to the “cheeze” is made from scratch and although this pizza is somewhat time intensive, it’s quite easy to make. I encourage you to give it a shot the next time you want a whole pizza but don’t want the negative health consequences that come along with it.
Raw Vegan Pizza
Serves 2-4
Carrot-Bell Pepper Crust:
1 large red bell pepper
2 large carrots
1 cup ground flax seeds
1/2 cup sunflower seeds
1 tbs. fresh or dried basil
1 tbs. fresh or dried oregano
1/2 tbs. fresh or dried rosemary (more of all spices if desired or a few tbs. Italian spices)
1/4-1/2 cup water
Blend all ingredients in a high speed blender or food processor. Start with 1/4 cup water and add more if needed. You want a thicker dough like consistency, nothing too watery or runny.
Pour batter onto two dehydrator sheets (lined with teflex or parchment paper), or more if you want smaller pizzas. Spread dough out with a spatula into nice, round pizza crusts. Keep dough thick, as dehydrating will thin it out (and you don’t want cracked pizza crust!). You can spread it thinner if you want thin crust, just be careful not to spread it too thin. You can also create a slight lip around the crust to hold your toppings on.
Place in dehydrator set at 115 F for about 6-8 hours. Check crust about 4-6 hours through and flip crusts when able. Dehydrate for last 1-2 hours flipped. If you want a crunchier crust, leave in even longer.
If you don’t have a dehydrator, you can use the oven at the lowest setting (usually around 120-200F so you won’t have to leave the crust in for quite as long).
Pizza Toppings:
Mushrooms, thinly sliced
Yellow squash/zucchini, thinly sliced
Spinach
Coconut aminos
While preparing your sauce and cheese, marinate your mushrooms and squash in some coconut aminos. massage aminos gently into veggies and let sit for at least 10 minutes.
Sundried Tomato and Mango Sauce:
1 cup sun dried tomatoes, soaked in warm water for at least 1 hour
1/2 a mango
1 tbs. dried basil
1 tbs. dried oregano
1 tsp. dried sage
1-2 dates, pitted
1 handful of spinach OR 1/2 a peeled zucchini
1/2-1 cup water (I used the same water the tomatoes soaked in)
Blend all ingredients in a high speed blender, starting with 1/2 cup of water. Add water as necessary to reach desired sauce consistency.
Basic Cashew Cheeze Sauce:
2 cups cashews, soaked in water for at least 1 hour
1/4-1/2 cup nutritional yeast
1-2 tbs. dried Italian herbs or fresh parsley and cilantro
2 tsp. turmeric powder
1/2 cup water
Blend all ingredients in the food processor or high speed blender (hold fresh herbs if using) until smooth. Add more water if you want a thinner cheese. I like to start with 1/4 cup nutritional yeast and then add based on taste. Some people love nooch and some hate it. If using fresh herbs, mix in chopped fresh herbs at the end of blending.
Assembly:
When ready to assemble your pizza, take crust and spread tomato sauce over it. Top with spinach and then the rest of your veggies evenly. Put cheeze into a plastic ziplock bag. Cut a small hole off one corner and then squeeze cheeze over your pizza. Cut into desired pieces and eat up!
Hi! I'm Victoria. I was diagnosed with Lyme in 2012 and have been on a healing journey ever since. I love helping others on their road to healing through allergy friendly recipes, exercise, and overall well-being.