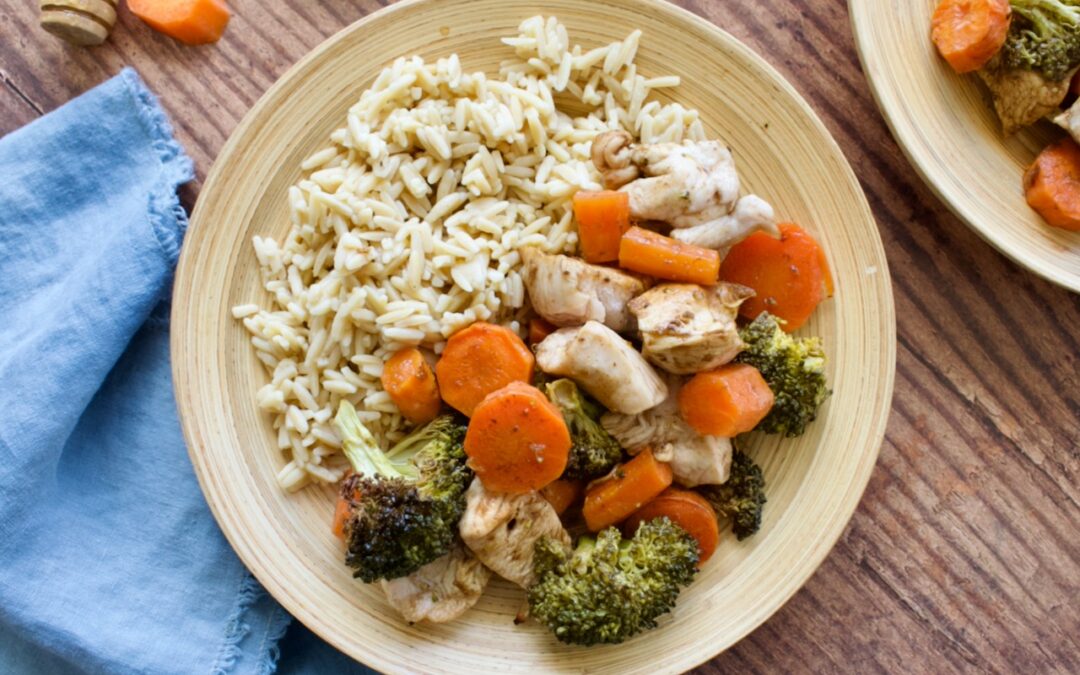
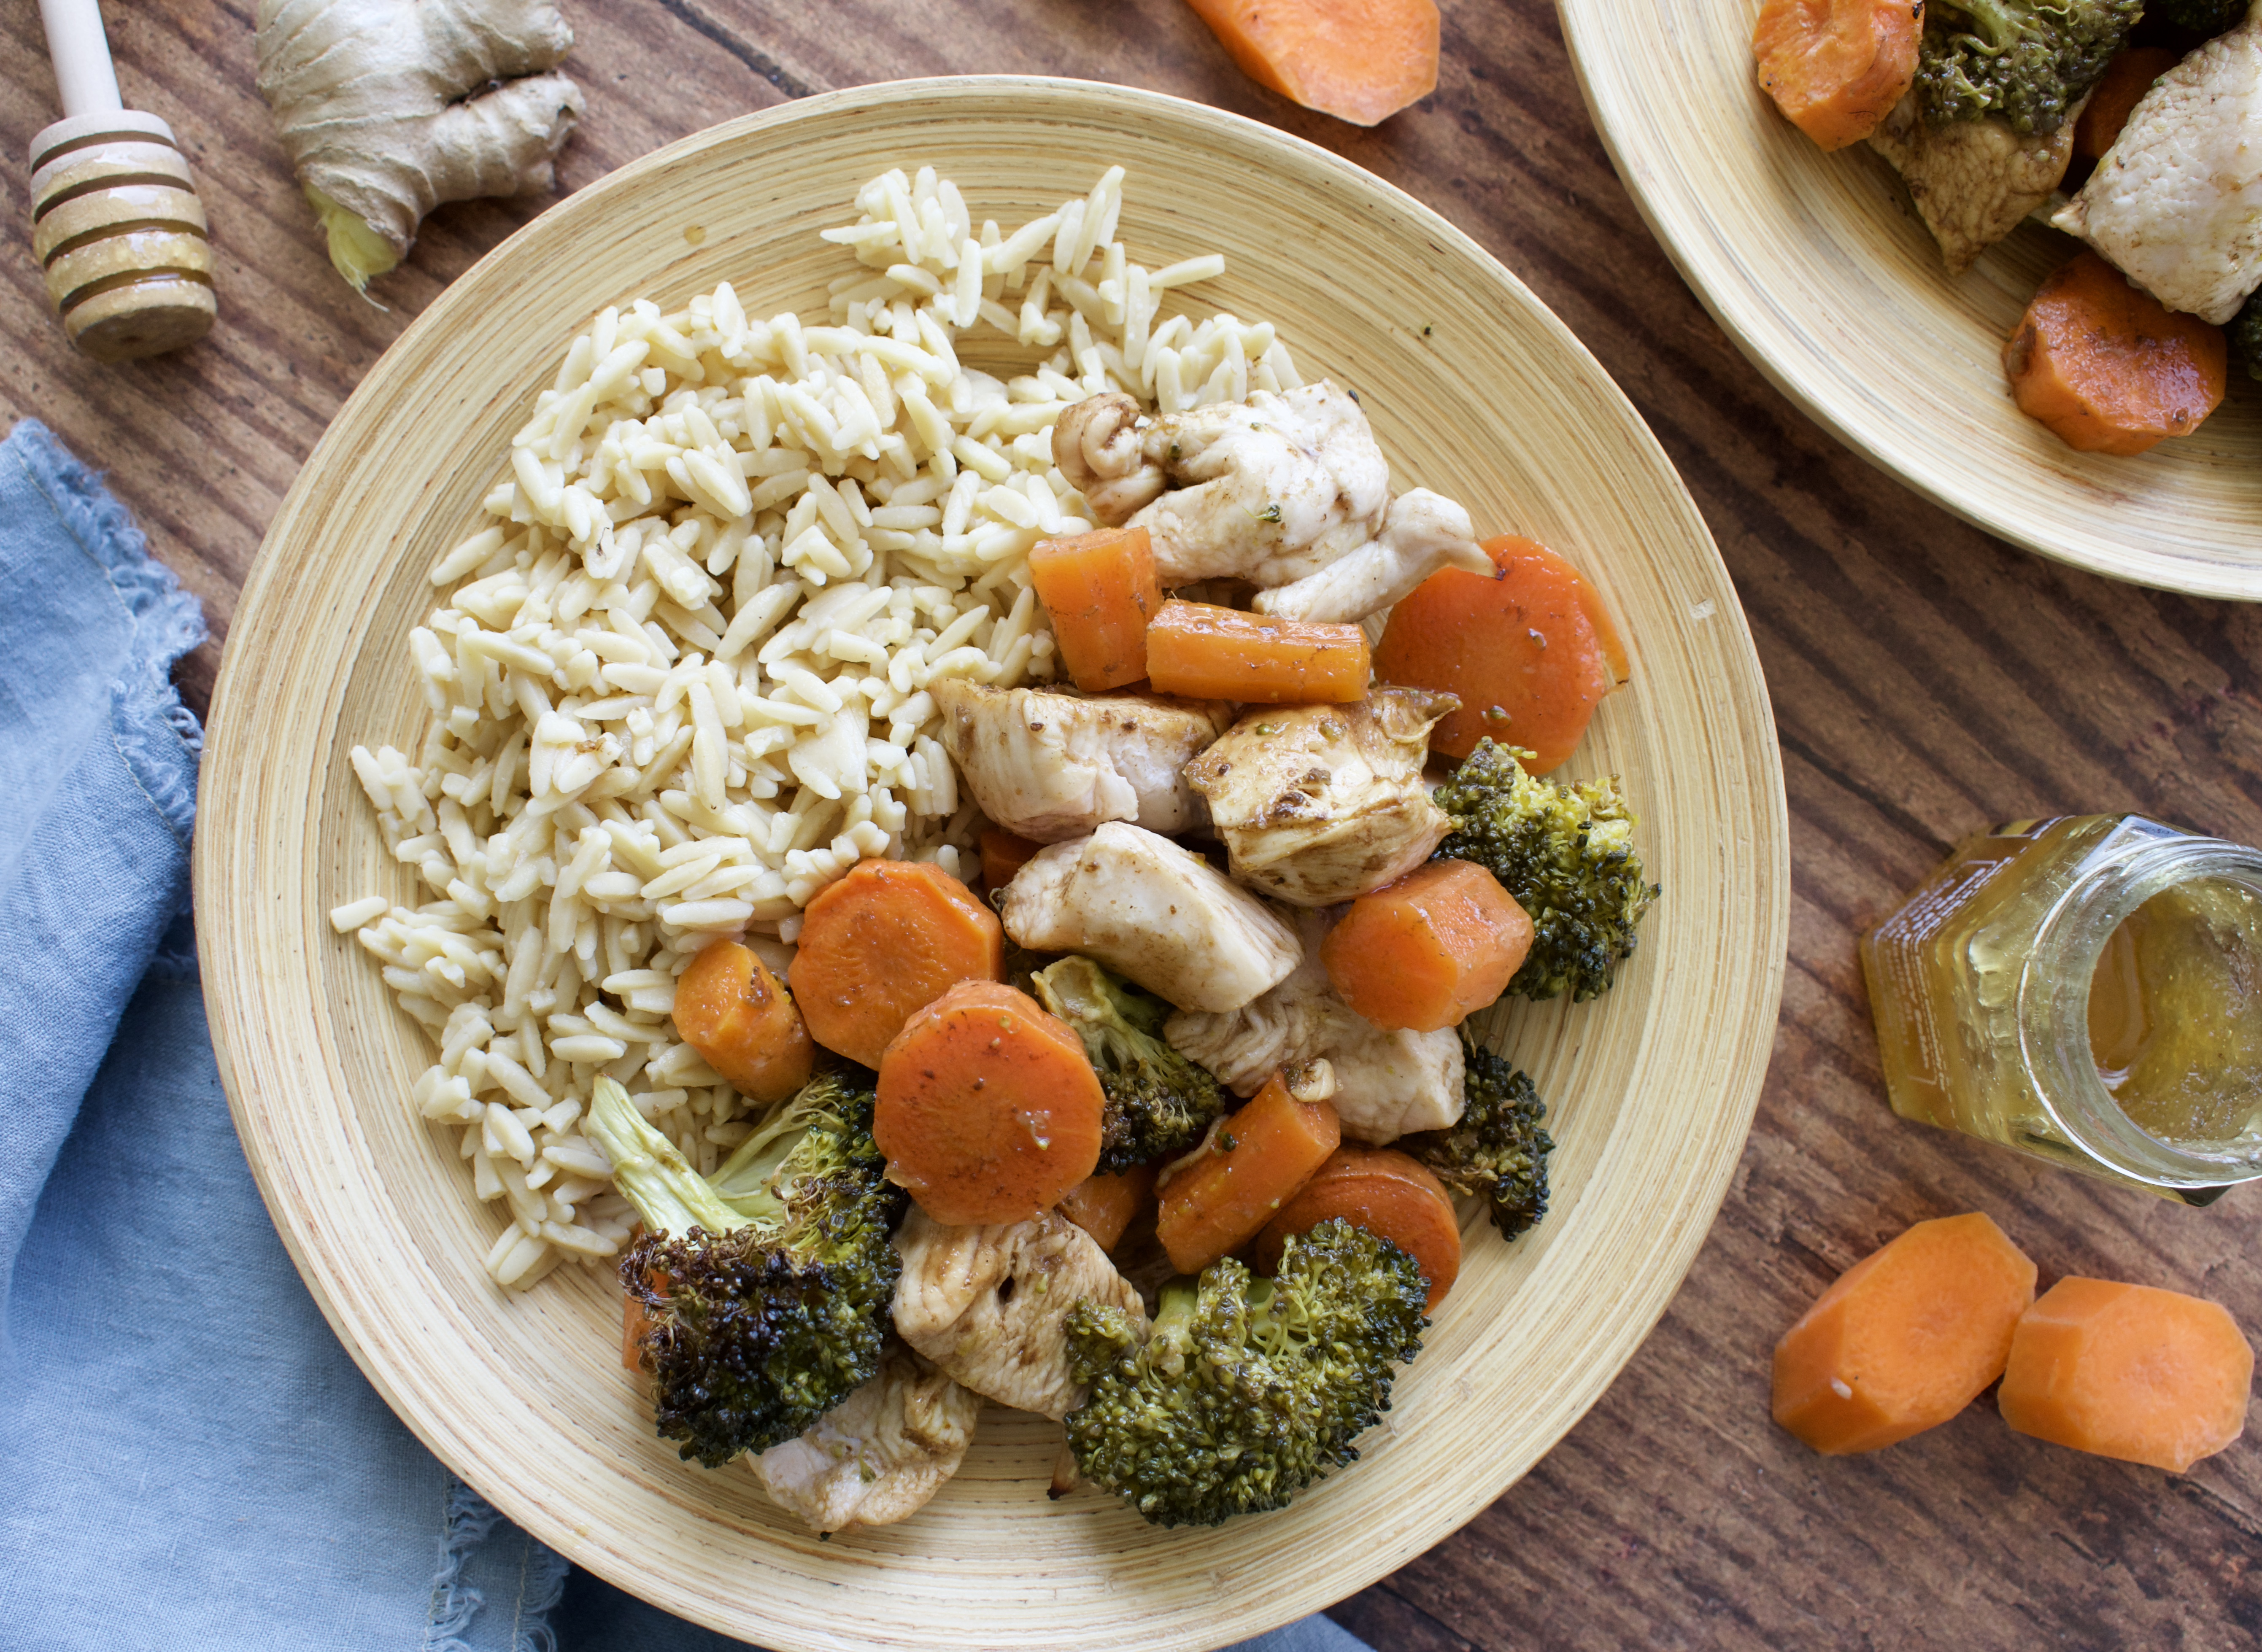
This easy sheet pan dinner is a delicious way to upgrade your standard chicken and vegetable dinner. Coated in a delicious honey balsamic, you’ll love this quick weeknight meal.
honey balsamic chicken and vegetables
Who doesn’t love a simple sheet pan meal? It makes dinner so much easier during a busy week. A lot of sheet pan meals can be boring because they are basically just chicken and veggies on a pan with some olive oil and salt. BORING! We need more flavor, people! That’s why I love this honey balsamic chicken.
This easy dinner is made with a honey balsamic sauce that upgrades your boring chicken and vegetables. I love this meal because it’s made on one sheet pan and doesn’t require reducing the sauce. If I don’t need to take extra steps, then I’m all about it. I wanted to create this meal without having to worry about cooking the sauce separately.
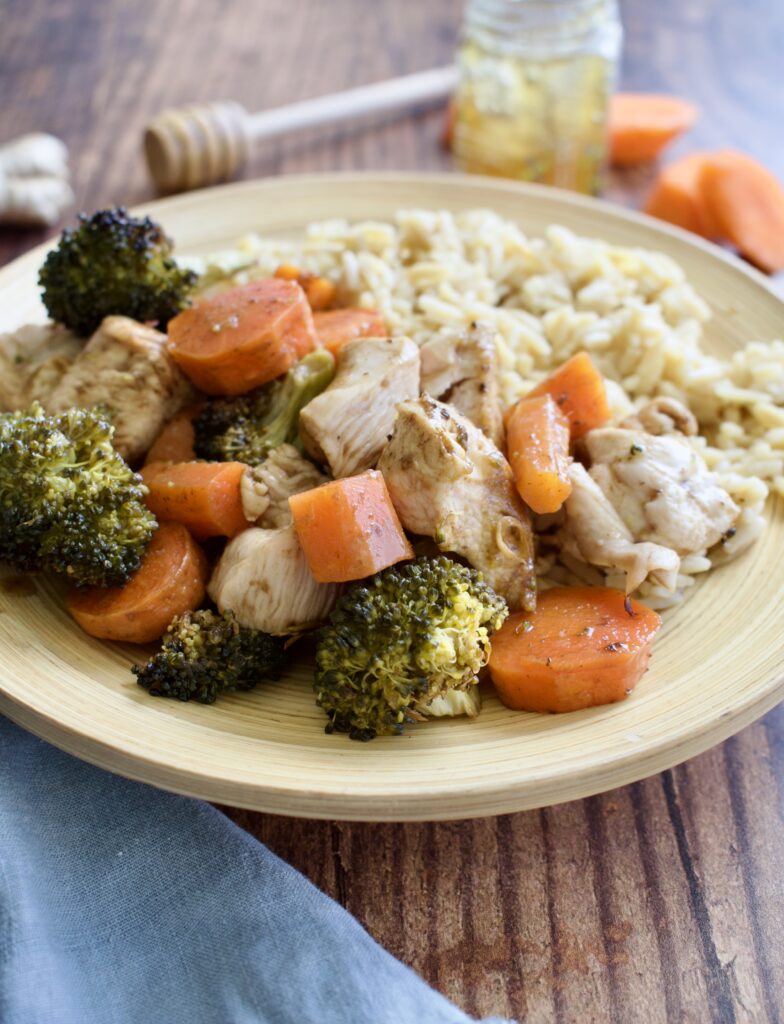
sheet pan honey balsamic chicken and vegetables
This simple sheet pan meal is completely gluten free, dairy free, nut free, and allergy friendly. It’s free of all major allergens, making it the perfect crowd pleasing dish for the entire family (or friends!). This recipe is also completely Paleo.
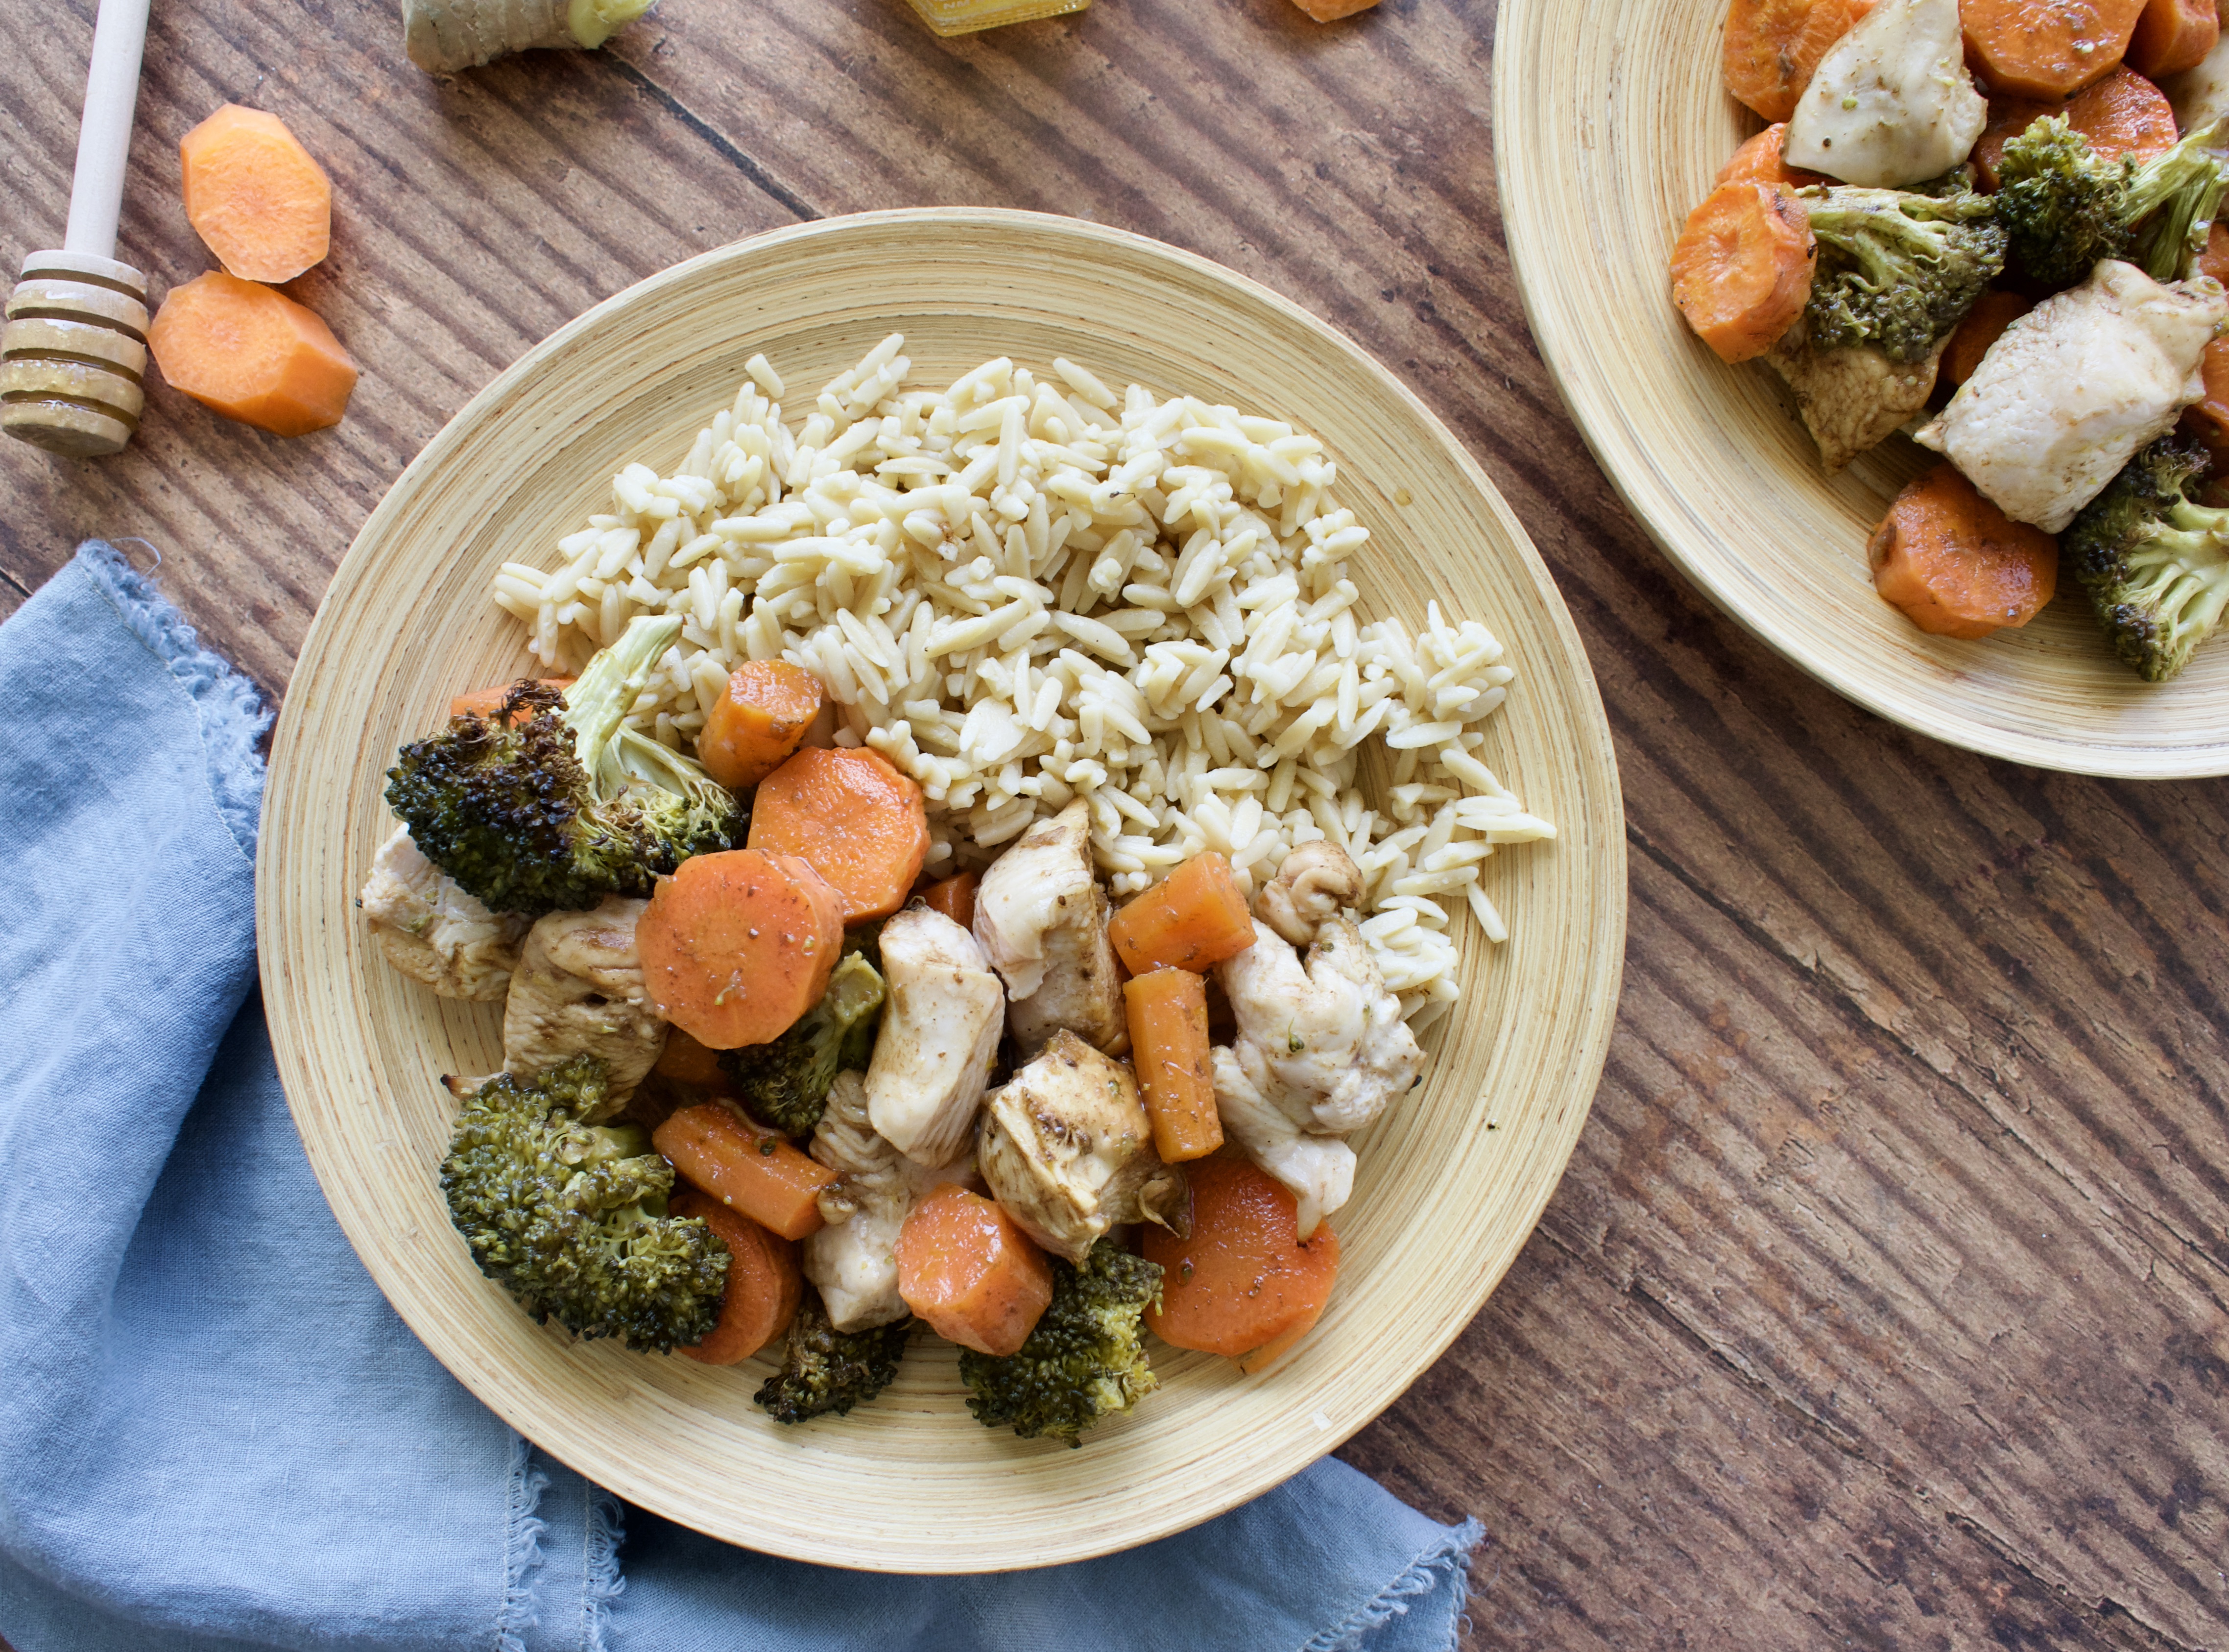
sheet pan chicken and veggies
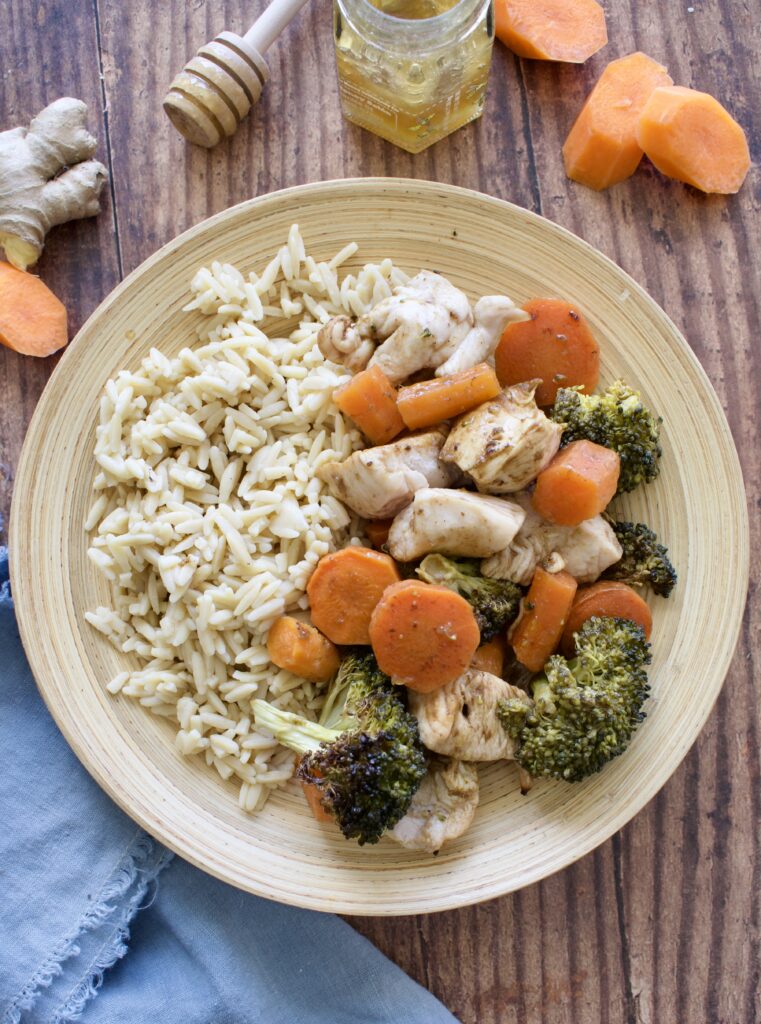
Honey Balsamic Chicken and Vegetables
Ingredients:
-chicken
-broccoli
-carrots
-olive oil
-salt
-balsamic
-rice wine vinegar
-honey
-ginger
Process
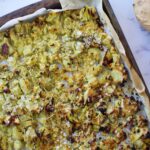
This is the simplest meal you’ll make! You add your chopped veggies to a sheet pan and begin roasting them while you cut up the chicken and prep the sauce. The sauce is just whisking everything together, no reducing needed. Halfway through cooking, you’ll add the chicken to the sheet pan and toss everything with half of the sauce. Finish roasting until the chicken is cooked through, then toss everything with the remaining sauce. That’s it!
Upgrade your standard chicken and vegetable dish with this quick and easy weeknight dinner made on one pan! Packed with flavor and highly nutritious, this is the ultimate simple dinner recipe.
Toss the carrots and broccoli with the olive oil and salt and lay evenly across a parchment lined baking sheet. Bake for 30 minutes.
While veggies are roasting, prepare your sauce by whisking everything together in a measuring cup. Taste and adjust the ginger and honey to your liking.
After the veggies have been cooking for 30 minutes, add the chicken to the sheet pan and half the sauce. Toss everything and spread evenly across the pan again. Roast for another 15 minutes, until chicken is done and veggies are fork tender.
Remove the tray from the oven and toss everything with the remaining sauce.
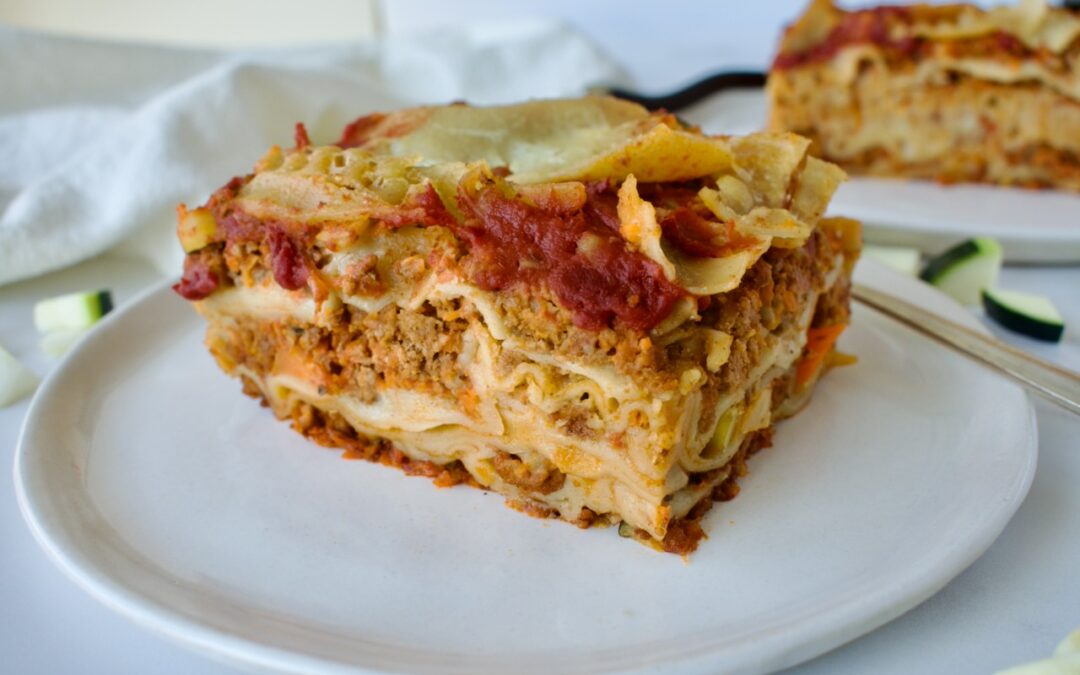
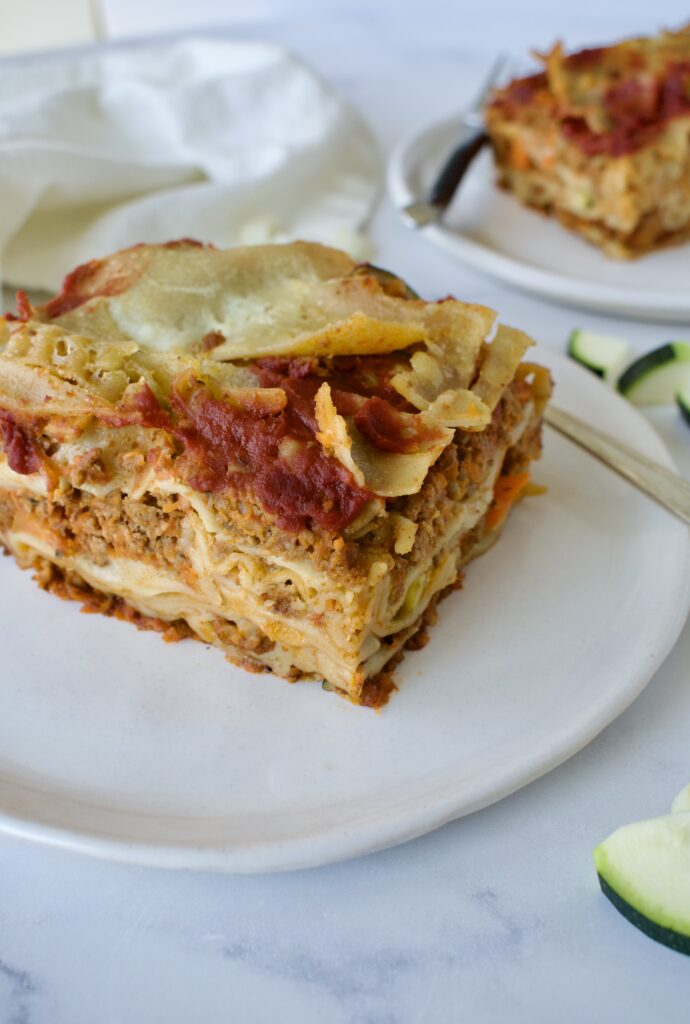
This veggie and protein packed lasagna is completely allergy friendly and low FODMAP. Everyone will love and be able to eat this dish!
gluten free and dairy free lasagna
You honestly won’t believe that this lasagna recipe is gluten free and dairy free. My gluten and dairy loving dad even gave this homemade lasagna high marks. It’s packed with three different vegetables along with ground beef making this dish a complete meal. It’s the perfect dinner party meal, family dinner option, or meal prep choice. This lasagna produces 8 servings and can be frozen in portions.
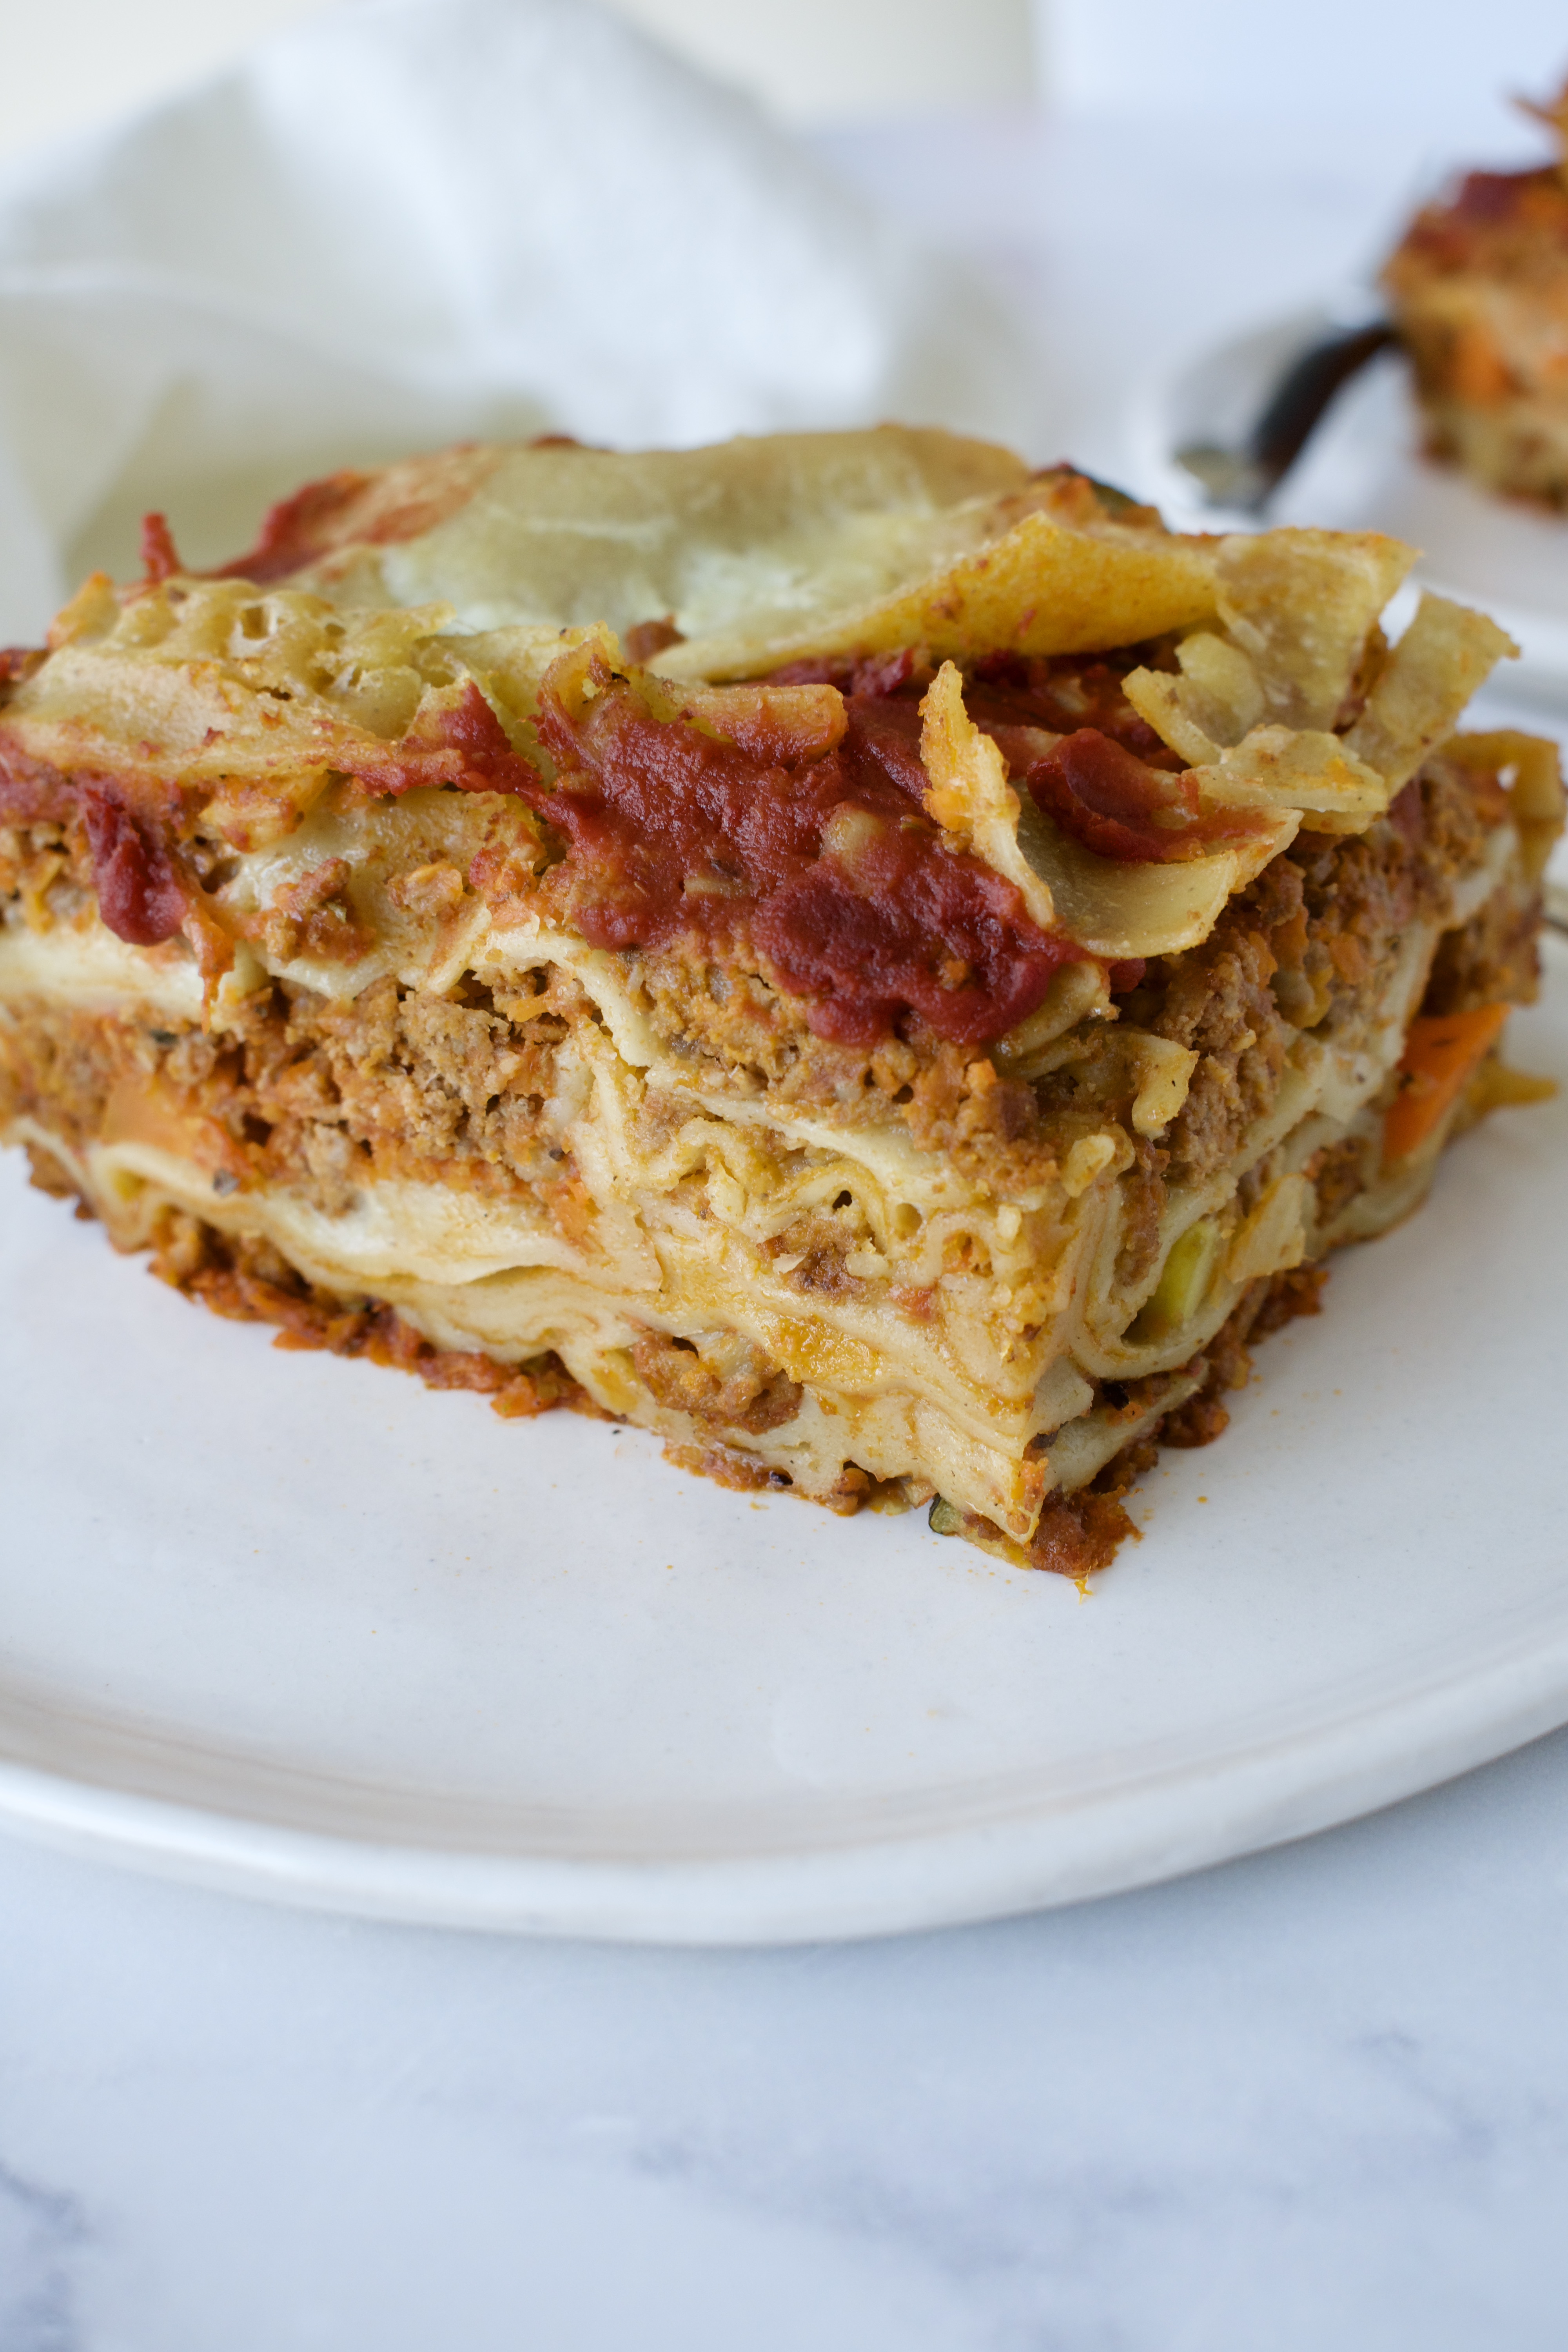
veggie packed lasagna
I love sneaking vegetables and protein in wherever I can. If you’ve been following me for a while, you know my goal is always to create healthy and allergy friendly versions of your favorite recipes. I thought lasagna would be a tough one due to the cheese and FODMAPS, but it ended up being much easier than I anticipated! This recipe does take some time and since the cheese is made from scratch, you do need to plan ahead (the cheese is super easy, though, don’t worry!).
I get so excited to eat this nutrient dense gluten free lasagna any chance I get. I honestly could probably eat it every night, it’s just that good. This homemade lasagna is proof that you can eat delicious, healthier, and allergy free versions of classic dishes! I can’t wait to hear what you think of this one.
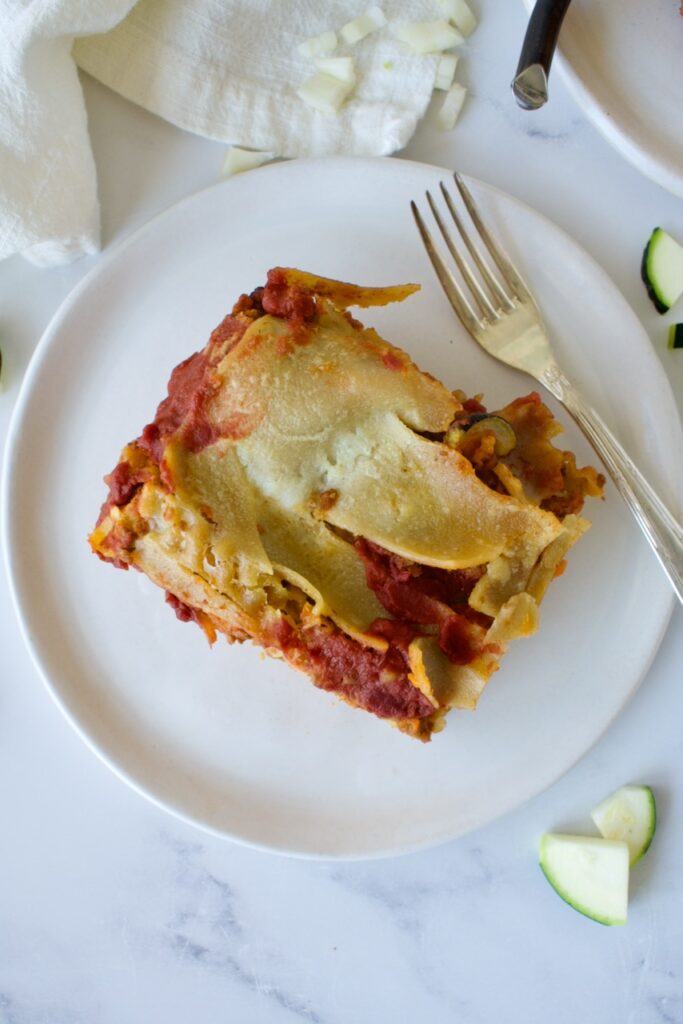
gluten free lasagna
The Best Veggie Packed Lasagna
The layers:
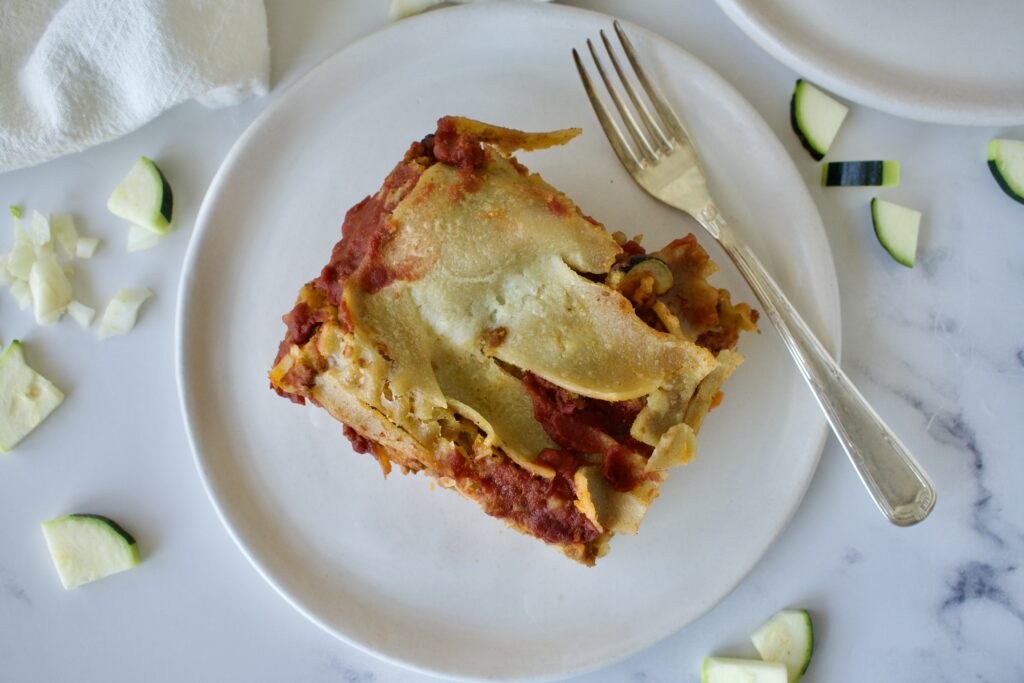
The first key to this dairy free lasagna is dairy free cheese of course! We are going to make a completely vegan and allergy friendly cheese that has no weird additives. This cheese is also fully Paleo and I love using it in lots of other recipes! The cheese does need to be made ahead of time, by at least 3 hours, or even the day before. This vegan cheese is made from coconut milk, nutritional yeast, tapioca starch, garlic infused olive oil, and salt. It’s super easy to make, it just needs time to set before using it in the lasagna.
The next important layer is the noodles. I love using the Jovial gluten free noodles. They are made from rice with no corn involved!
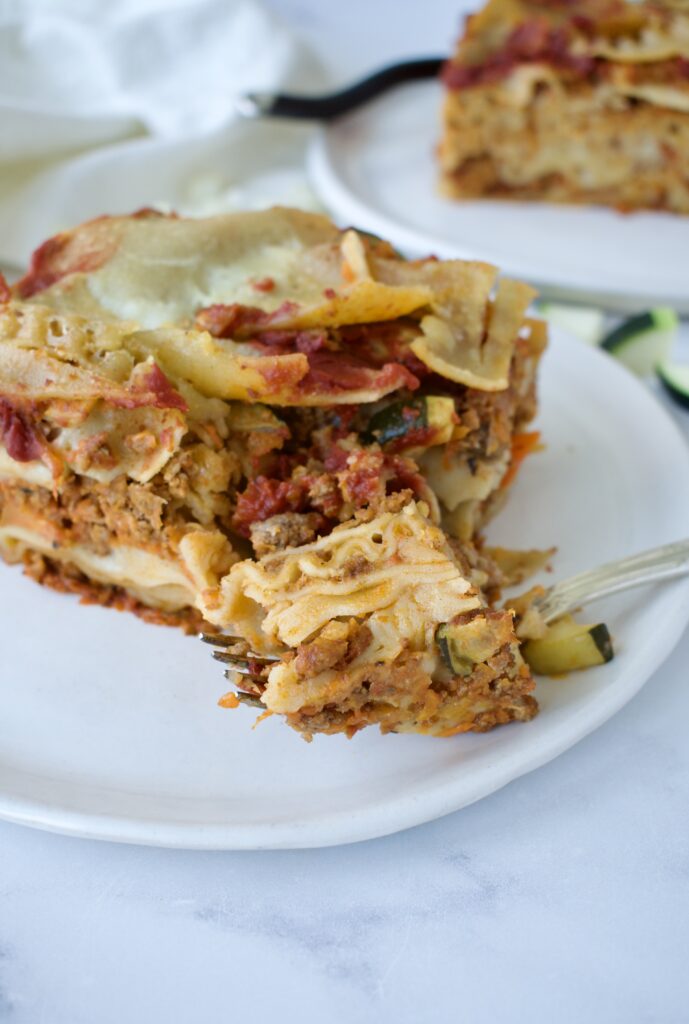
Of course, we need our filling. This delicious lasagna is made high protein and nutrient dense with a mix of ground beef and three different veggies PLUS tomato sauce! Fennel (or onion if you can handle it), zucchini, and carrots add lots of nutritious fiber and micronutrients to this classic dish. Shredded carrots are added to the ground beef and tomato sauce so you can’t even taste them! Fennel and zucchini taste pretty mild once sautéed and mixed in with the rest of the ground beef mixture, keeping this dish picky eater friendly.
Ingredient notes:
Cheese: make sure to use full fat coconut milk from the can to make the cheese. I also use garlic infused olive oil to keep this recipe low FODMAP, but I provide alternatives if you don’t have an infused oil and prefer to use garlic powder.
Tomato sauce: I love using Rao’s Sensitive Marinara as it doesn’t contain any garlic or onion. This helps keep the lasagna stomach problem girl friendly!
Noodles: feel free to use whatever noodles you prefer, but as mentioned above, my favorite brand is the Jovial noodles since they are completely allergy friendly and no-boil.
Fennel: I use fennel over onion since fennel is low FODMAP, but you can always use onion instead!
beef and vegetable lasagna
Also, it just occurred to me that lasagna is a casserole… right? Leave a comment and let me know if you think lasagna counts as a one. If so, then here’s to a delicious gluten free and dairy free casserole!
This veggie and protein packed lasagna is completely allergy friendly and low FODMAP. Gluten free and dairy free, this classic dish still tastes amazing! Everyone will love this healthier take on lasagna.
*Please keep in mind the cheese needs to be made ahead!
Cheese
To make the cheese, combine the coconut milk, olive oil, nutritional yeast, salt, and lemon juice together in a saucepan and whisk to combine over medium heat.
Whisk together the water and tapioca starch in a measuring cup. Pour this into the saucepan with the other ingredients, whisking often, until the cheese thickens.
It will take about 5 minutes to start noticing it thickening and another 5-10 to reach the desired consistency. You'll know the cheese is done because it starts to pull away from the side of the pan. It should drip off a spatula like a pot of melted cheese would.
Remove the cheese from the heat and transfer to a heat safe, glass container. Let cool at room temperature for 15-30 minutes, before adding the lid and transferring to the fridge to set for at least 2-3 hours or overnight.
Lasagna
Preheat oven to 375F.
Heat a large skillet over medium heat and add 2 Tbsp of olive oil. Sauté the fennel for 5 minutes then add the zucchini and sauté for about another 5 minutes until soft and veggies are slightly browned.
You can cook the beef at the same time in a separate large frying pan if you have one, or set the veggies aside and brown the beef in the same pan. Brown your ground beef then add in the carrots, 1 1/2 jars of tomato sauce, zucchini, fennel, salt, basil, and oregano. Mix to combine and set aside.
To assemble the lasagna, keep in mind that we will be making 4 layers. In a large 9×14 dish, spread a quarter of the meat and veggie mixture over the bottom. Arrange 4 lasagna noodles in a single layer on top of the mixture. Then use your hands to spread a quarter of the homemade vegan cheese over the noodles. This is messy and the cheese may seem a little runny, but it's okay! It may not cover ever inch of noodles perfectly and that is alright. Just use your hands the stretch the cheese over as much as you can.
Now, take the next quarter of meat mixture and spread it evenly over the cheese. Add your noodles. Add your cheese.
Repeat 2 more times.
Take some of the leftover sauce and spread around with the cheese on the top layer, being sure to get the edges of the lasagna noodles (they need liquid to cook!). Cover the dish with tinfoil and place in in the oven for 50 minutes.
Uncover the noodles and pat them down gently to make sure they are flat and covered in some sauce and cook for another 10 minutes until golden and bubbly.
Let cool for at least 10 minutes before slicing and serving!
This lasagna will stay fresh in the fridge for up to 4 days and can be portioned and frozen if needed!
Notes
*If you do not have garlic infused olive oil, you can use regular olive oil plus a clove of minced garlic or 1/2 tsp. garlic and onion powder.
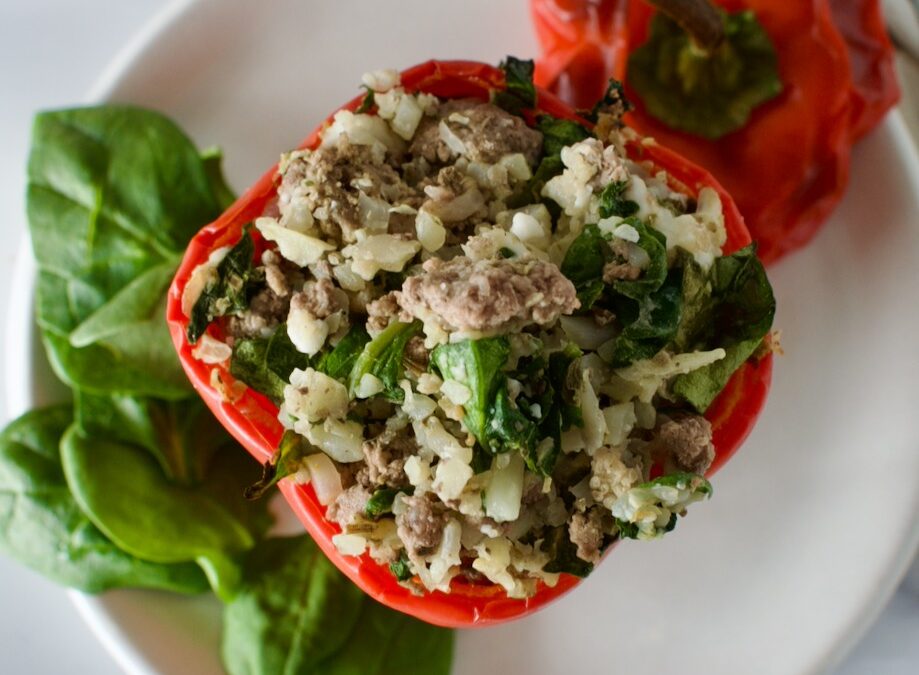
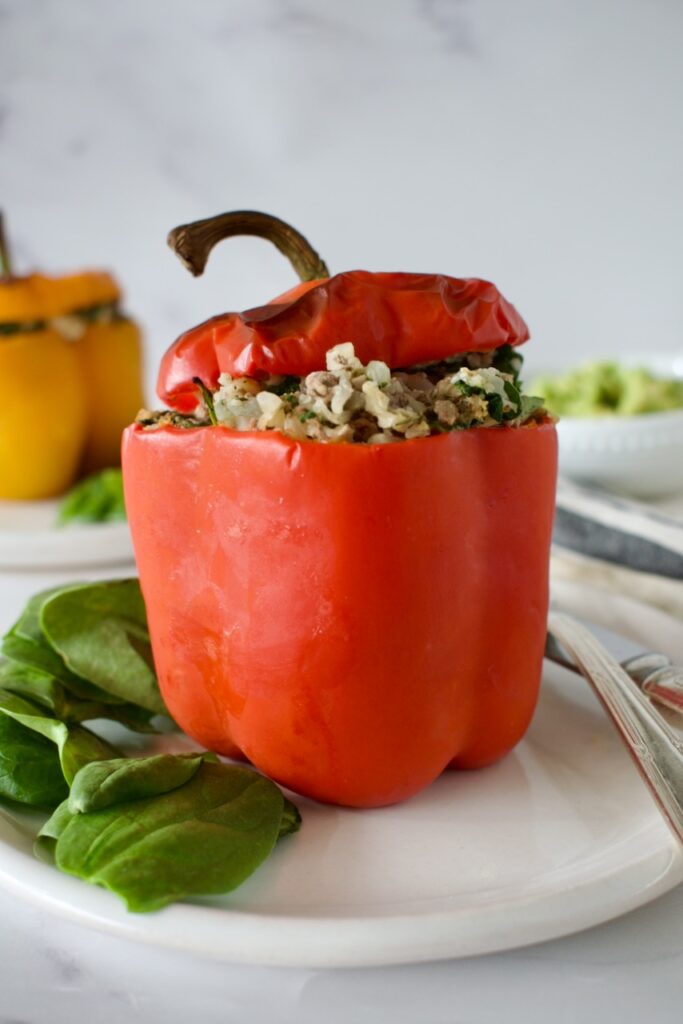
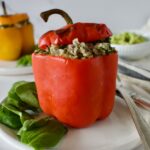
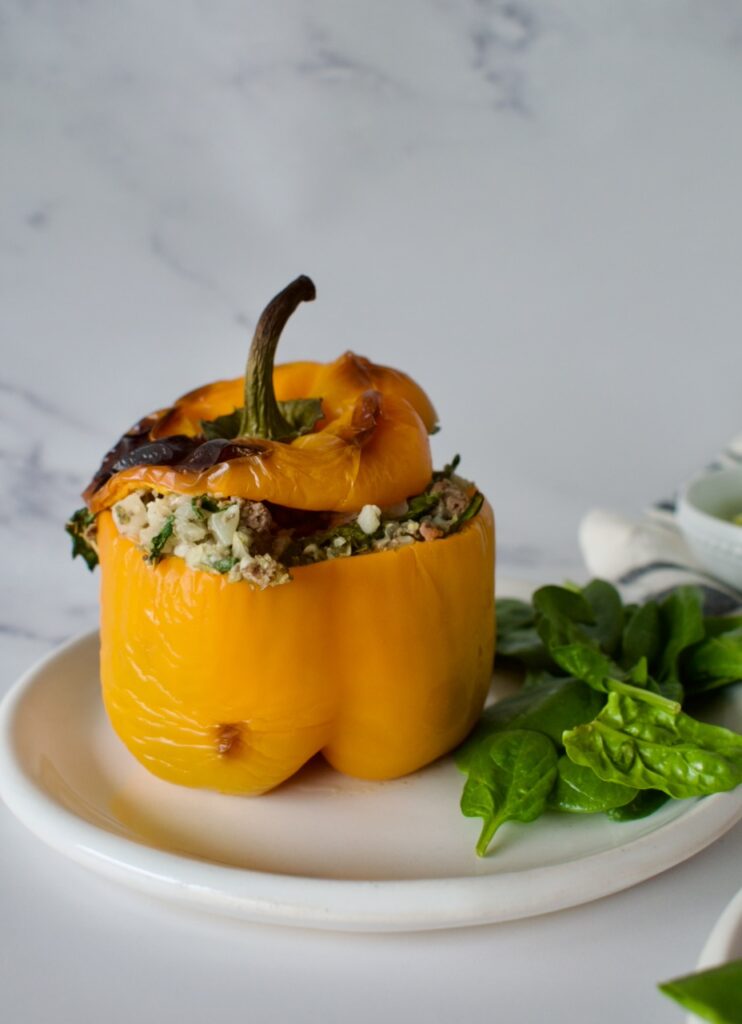
These easy stuffed peppers are the perfect meal prep or dinner party dish. They contain no tomatoes for those with allergies, but are filled with Italian spices to keep the flavor high! Low FODMAP, completely paleo, and delicious.
paleo stuffed peppers
I was never a huge fan of stuffed peppers, but, honestly, they are a super easy dish that can be adjusted to your tastes. Stuffed peppers are a great meal prep dish or main dish for family dinner or a dinner party. I love that you can adjust the herbs or mix-ins to your taste buds and/or to use up what you have in the fridge.
stuffed peppers
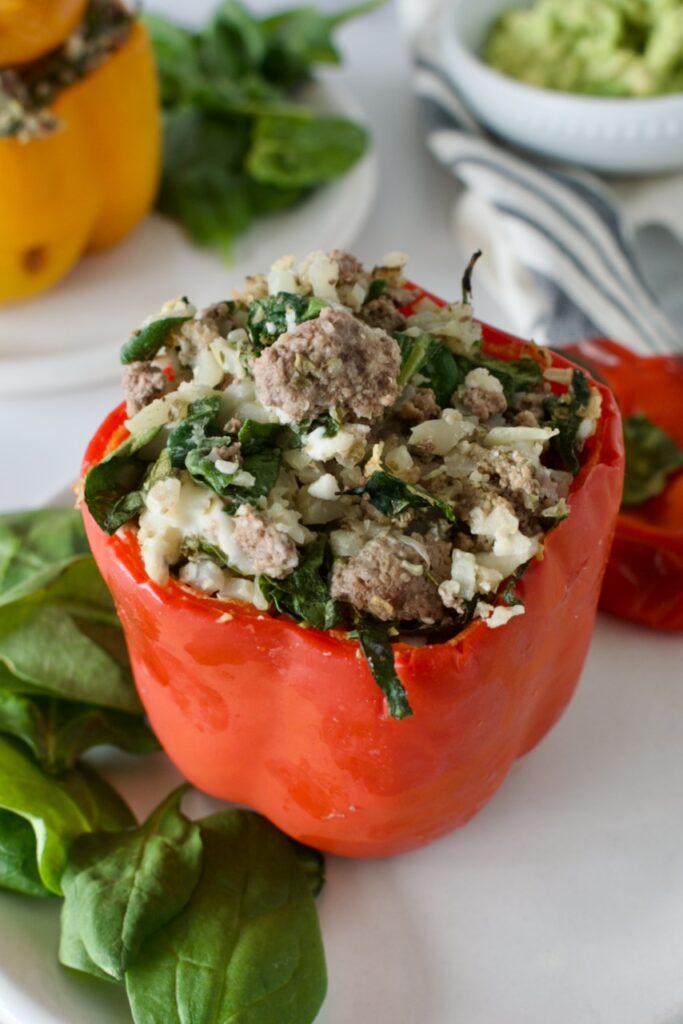
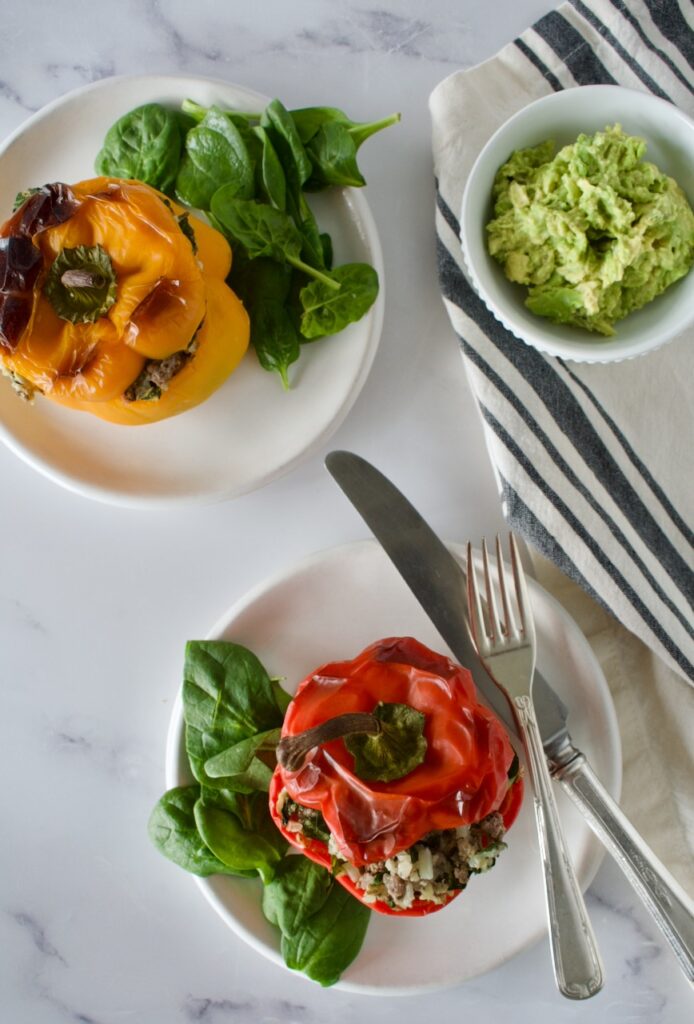
These paleo stuffed peppers utilize ground beef, cauliflower rice to keep them grain free, kale, and feta. I used a vegan feta to keep them dairy free, but the melty cheese is a must in these peppers! A combination of garlic infused olive oil (for low FODMAP) and Italian herbs bumps up the flavor profile. I also love serving these with guacamole. That may seem random, but it goes so well!
These easy stuffed peppers are the perfect nutrient dense meal prep or dinner party dish! Packed with Italian herbs, lots of veggies, and ground beef, you can’t go wrong making a batch of these.
Heat a skillet over medium heat and add 1 Tbsp of olive oil. Cook your ground beef until almost browned.
While beef is cooking, slice the tops off the peppers and de-seed them. Place them in a baking dish and set aside.
Before beef is finished cooking and is still a little pink in places, add the cauliflower rice. Cooking for about 5 minutes until it's softer.
Add the kale, garlic olive oil, salt, and Italian herbs. Sauté for a minute or two until kale has wilted.
Mix in the feta, then evenly divide your mixture between the 6 peppers. Place the tops back onto the peppers and bake for 35-45 minutes, until peppers are soft.
Serve with a side salad, guac, or other favorite sauces!
Notes
If you don’t have garlic infused olive oil, just use regular. If you can tolerate garlic, sauté a couple of diced cloves before adding the ground beef.
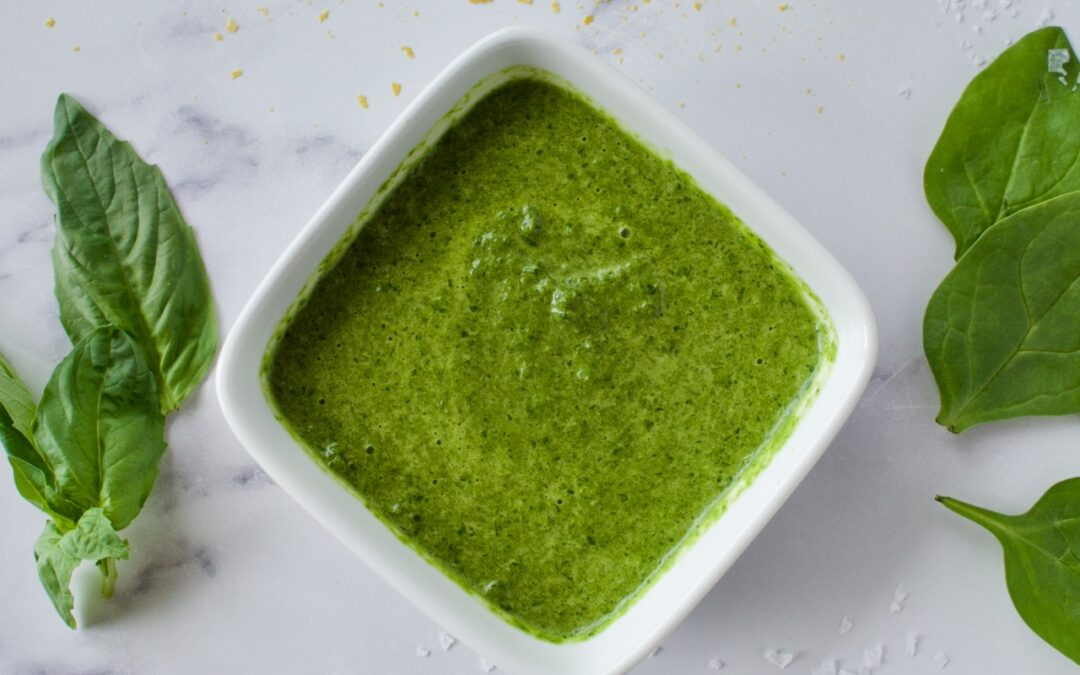
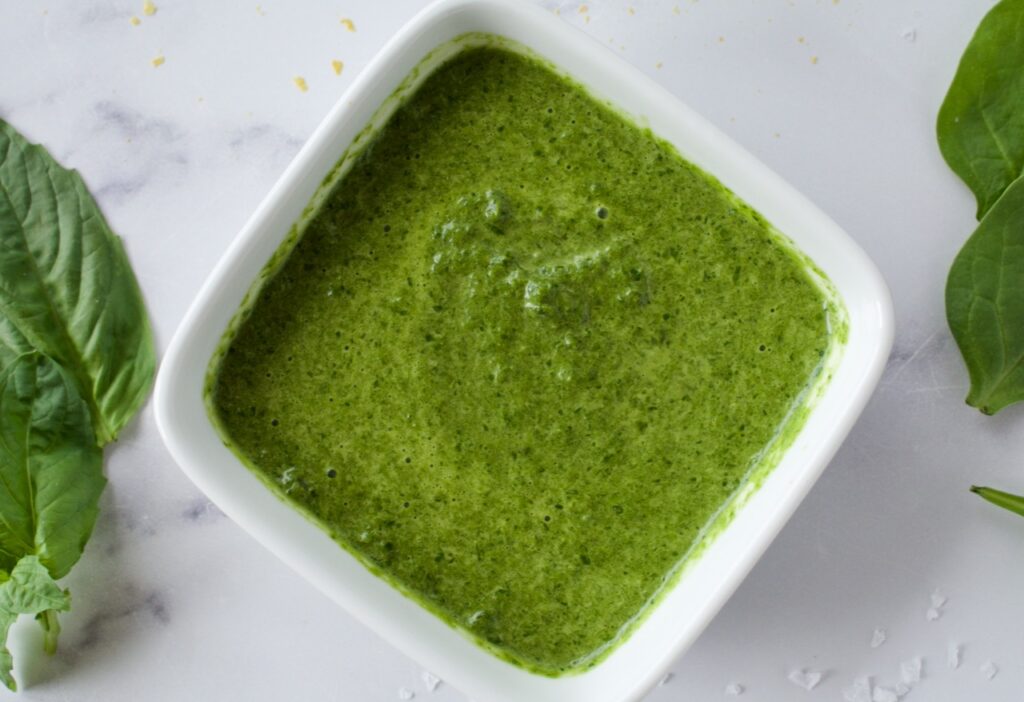
This healthy homemade pesto is completely allergy friendly and easy to make. It’s packed with flavor and a quick sauce to whip up for dinner. The spinach gives this dairy free pesto a nutritional boost, while the basil provides all the delicious taste!
low FODMAP spinach pesto
Many store-bought pestos contain nuts, cheese, and garlic, but if you’ve got food allergies/intolerances and GI issues, these ingredients are likely to set you off. It was impossible to find safe and healthy pestos at the store, so I started making my own. Pesto is super easy to make and the best part about making a homemade variety is that you can adjust the flavors to your liking. I’ve been whipping up this super quick and easy pesto for years and figured I better finally get this recipe on the my website and share it!
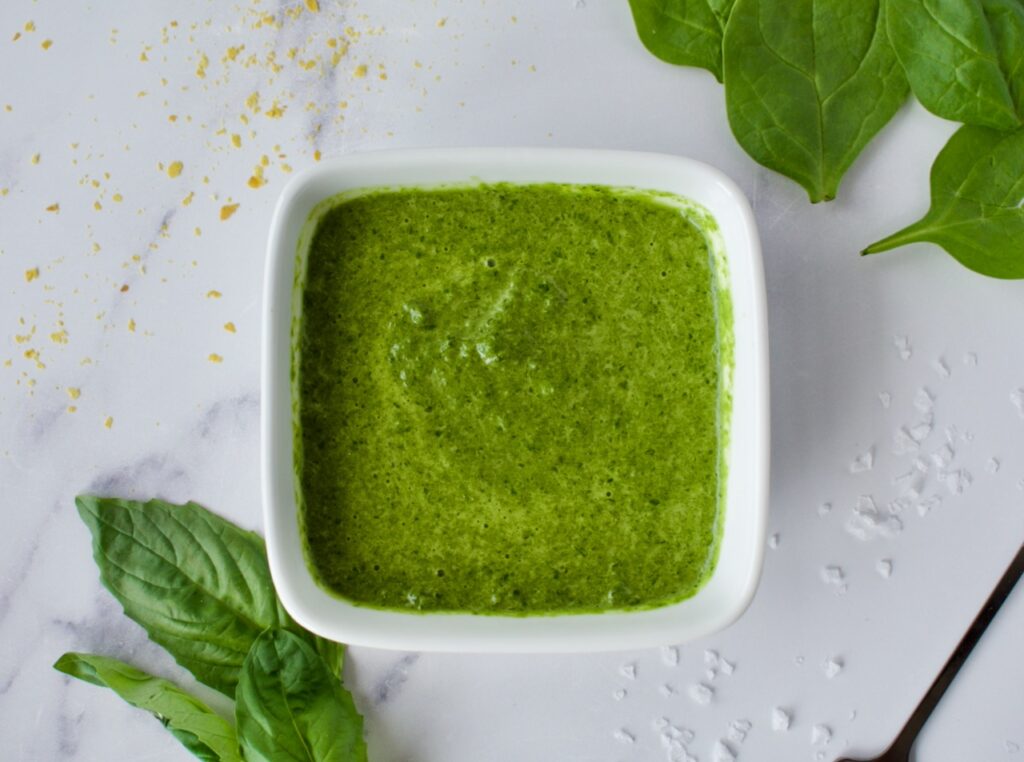
allergy free vegan pesto
This pesto is packed with an extra punch of nutrients from the spinach. The other ingredients are simple- olive oil, basil, and salt! It’s that simple. This pesto is completely allergy friendly, being gluten-free, AIP/paleo, and vegan, plus no garlic so it is low FODMAP! Gut friendly, nutrient packed, and healthy ingredients.
This easy and delicious homemade pesto is perfect for any diet. There are no major offenders and you can whip it up in just a couple of minutes! This pesto is nut-free, vegan, and low FODMAP
Course Main Course
Cuisine American
Keyword Easy, low fodmap, nut free, Simple, vegan
Total Time 5 minutesminutes
Servings 4servings
Author Victoria Faling
Ingredients
3cupsspinach
1cupfresh basil leaves
1/4cupolive oil
1/2tspsalt
2-4Tbspnutritional yeastOPTIONAL
Instructions
Wash and dry the basil leaves.
Add everything to a small blender. Blend on high until smooth.
If needed, add more olive oil to achieve desired consistency.
Add nutritional yeast as desired for a more cheese-y flavor.
Store in an airtight container in the fridge for up to 5 days or freeze in ice cubes for later use.
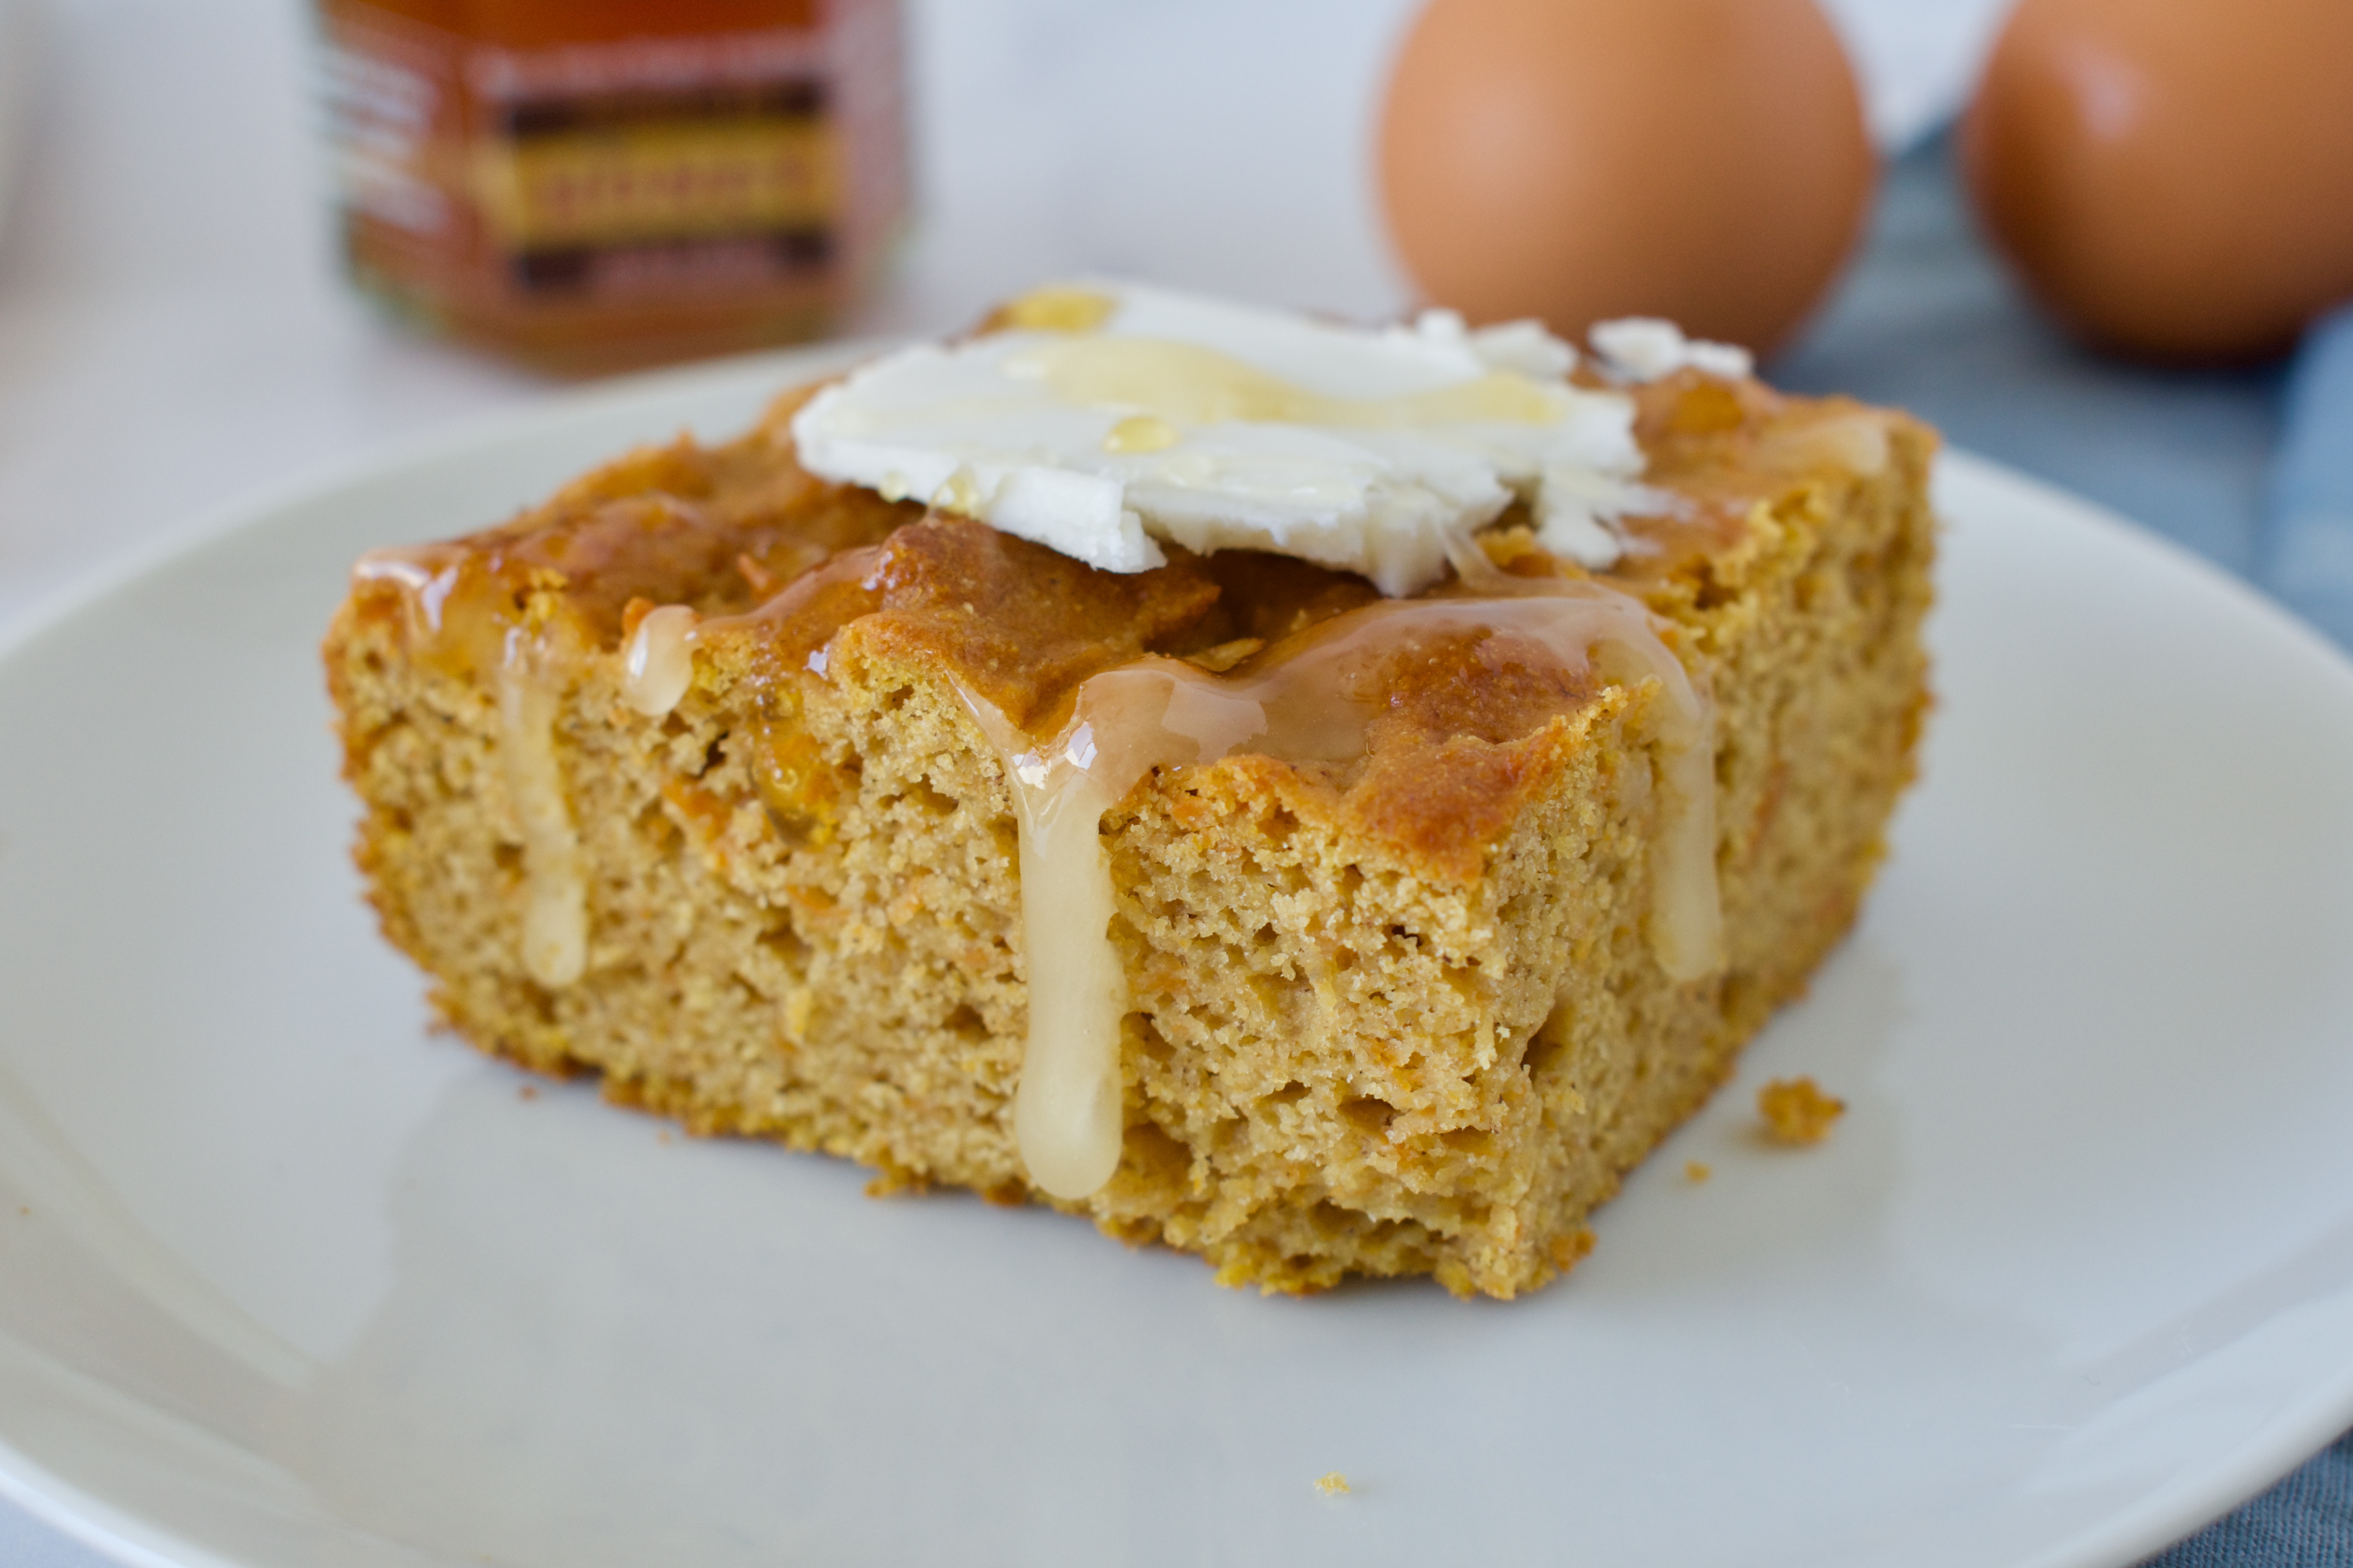
Did you know you can make corn-free cornbread? It’s true! As someone who can’t eat corn, I sure miss it. Corn is delicious, but this corn-free cornbread tastes eerily similar to the Jiffy corn muffins I grew up on. And now I’ve eaten way too many slices.
This cornbread uses tigernut flour to get the consistency and taste we’re going for. I also added mashed sweet potato to amp up the nutrient content and play into the flavor. You can’t even taste the sweet potato, so if you’ve got picky eaters in your house, this is a great recipe for sneaking veggies in.
What’s Tigernut Flour?
Tigernut is not a nut, it’s a tuber. I use tigernut flour in a lot of my recipes because it’s a great alternative to almond flour for those with allergies (like me!). Tigernut also have a slight sweetness to them, which allows me to use less added sweetener in my recipes. It’s a win-win!
Can I use something other than Tigernut flour?
Although I have not tested it, almond flour and tigernut flour are generally interchangeable. If you test this recipe out with almond flour, leave a comment and let me know how it went!
This corn-free cornbread has a similar taste and texture to regular cornbread, but without the corn! It’s also completely gluten and dairy free and made nutrient dense with the addition of sweet potato.
1/4cupmelted butter(butter, vegan or otherwise, works best in this recipe, but you can get away with using a neutral oil, as well)
2eggs
3Tbspof honey
1/2cupmilk of choice
Instructions
Preheat oven to 350F.
Sift the tigernut flour and whisk in the gluten free flour, baking powder, baking soda, and salt. Set aside.
In a large bowl, add the sweet potato, eggs, butter, honey, and milk in a bowl. Use a hand mixer to beat all the ingredients together on medium speed until well combined.
Add the dry ingredients to the wet and mix on low until combined. Let batter sit while you prepare the baking dish.
Grease a 9×9 inch glass baking dish.
Pour the batter into the baking dish. Bake for 32-35 minutes, until a toothpick comes out clean. Let cool before slicing.
Serve warmed with a slather of butter or coconut oil and a drizzle of honey!
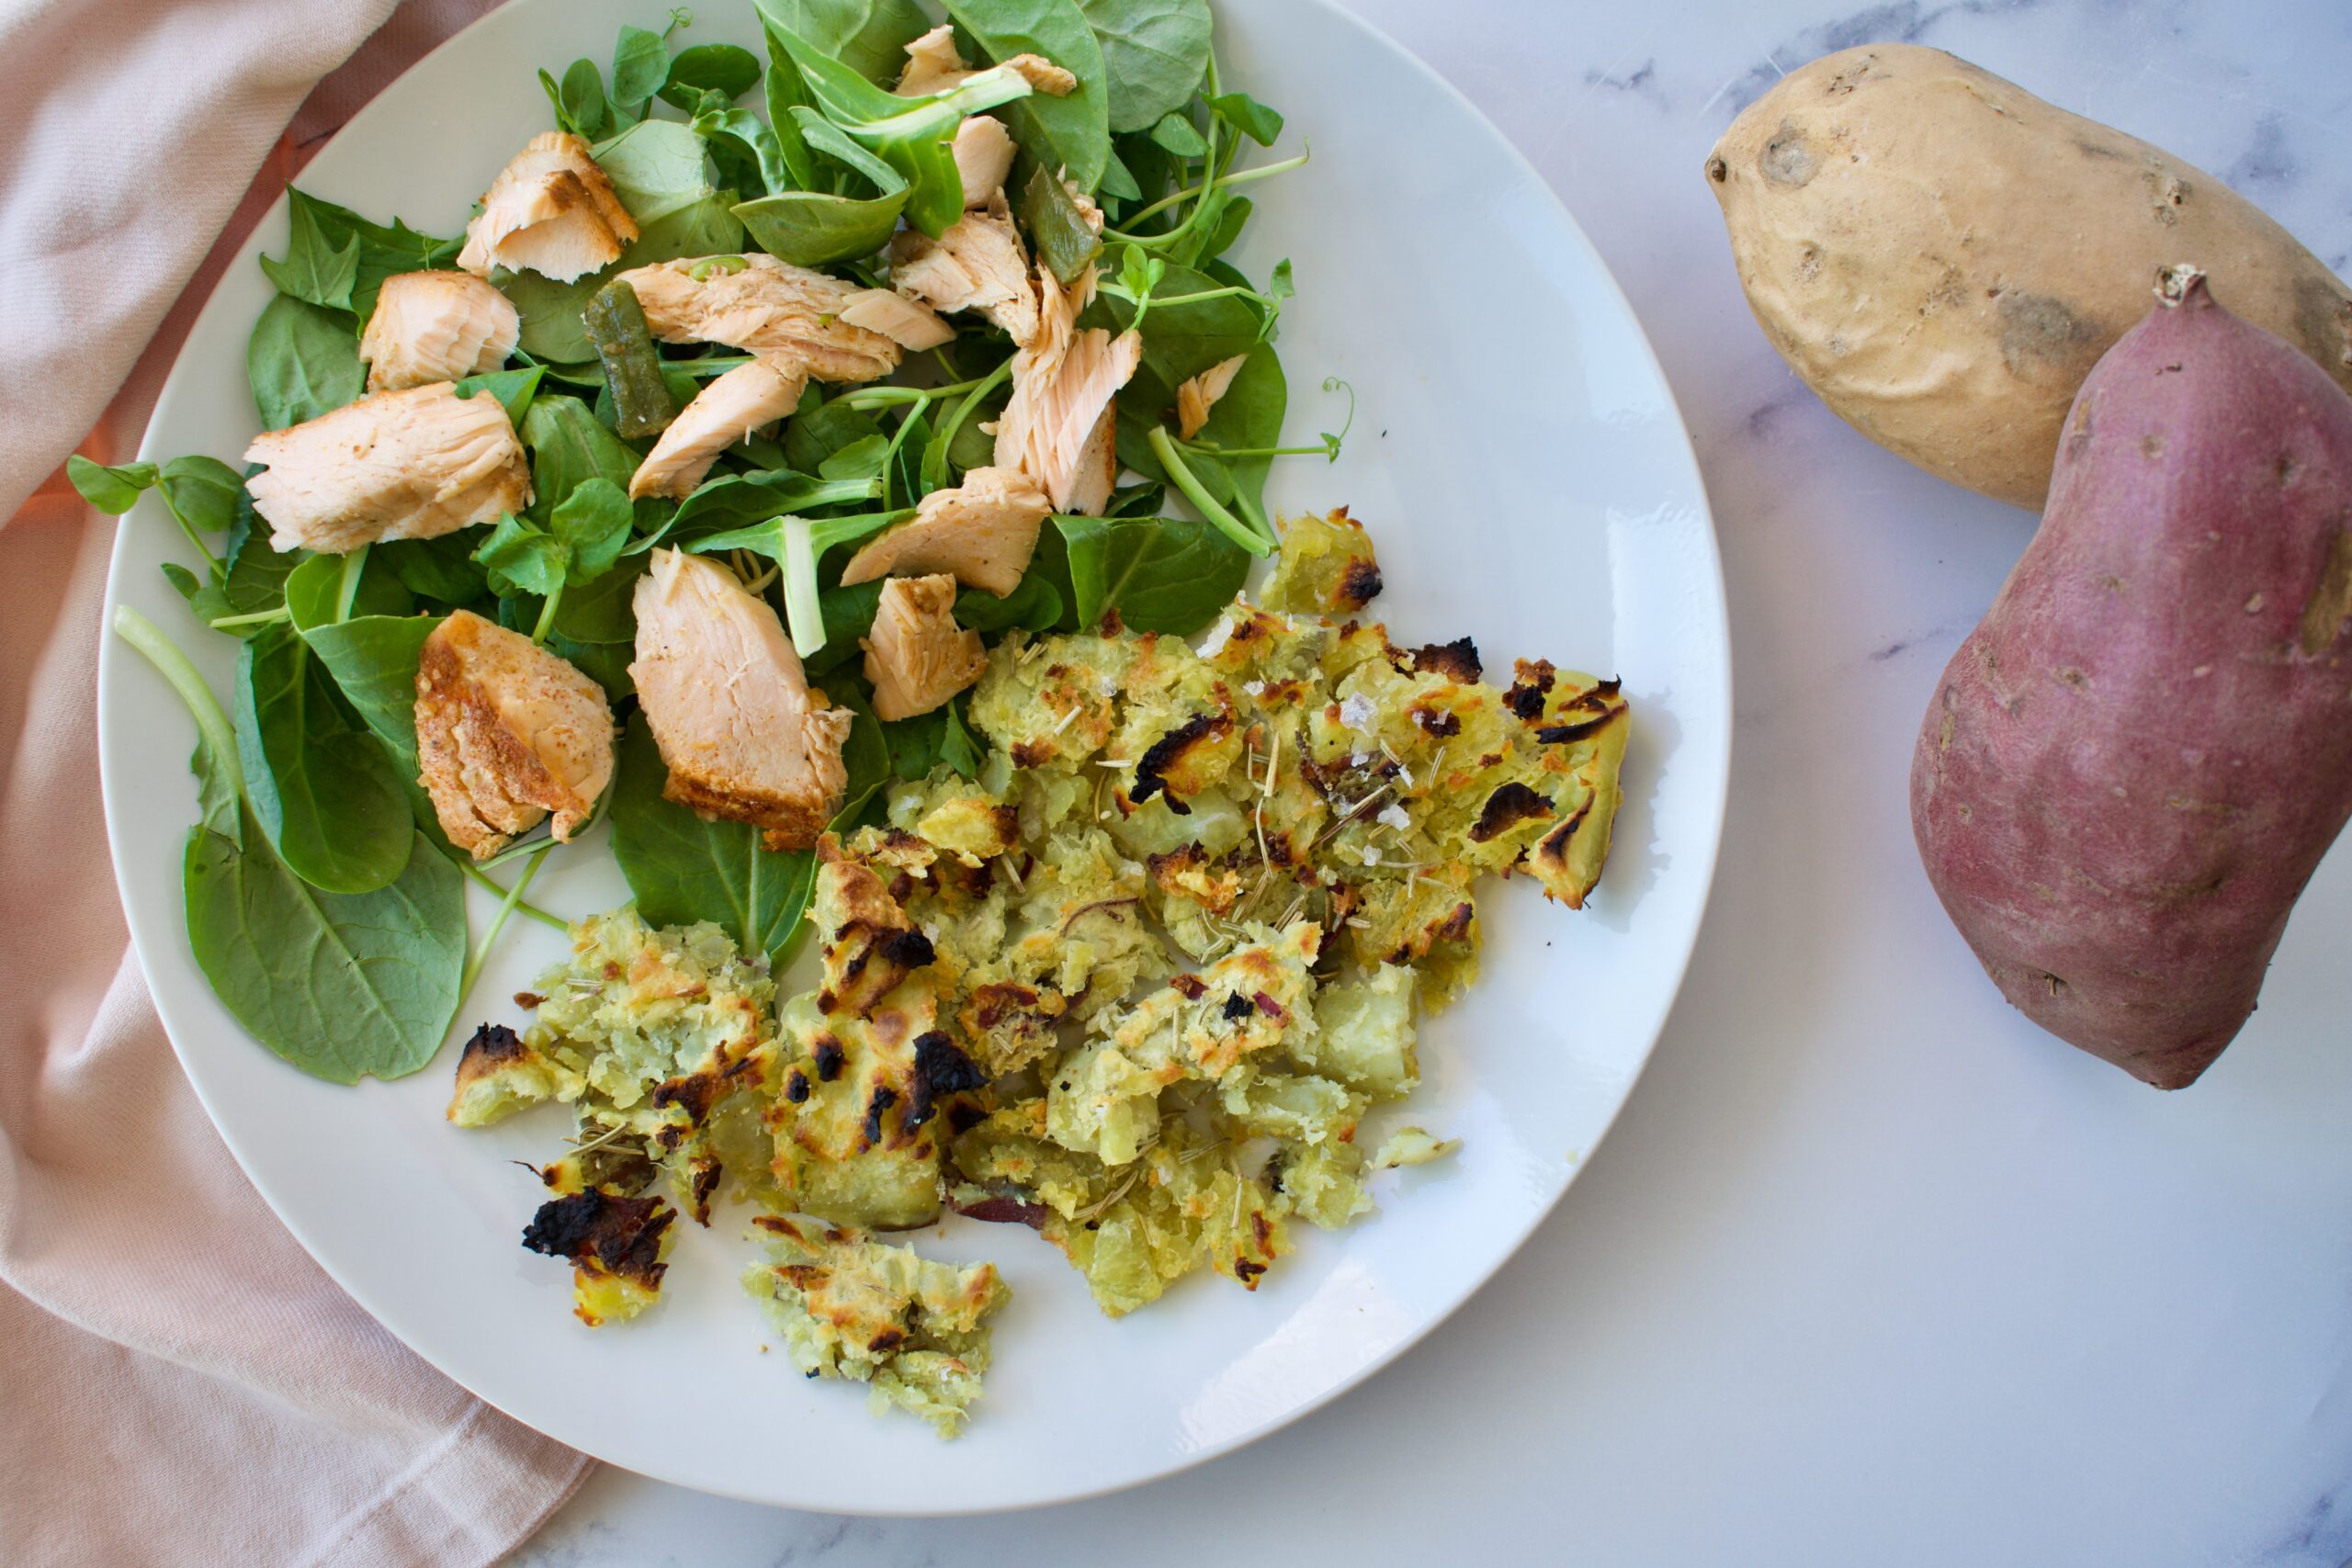
Japanese sweet potatoes are the superior sweet potato. They are so sweet and delicious! They pair well with almost anything and take on flavors in a lovely way. I eat them all the time, but wanted to find a new way to cook them. This crispy smashed version is fantastic.
After steaming the sweet potatoes, we’ll smash and broil them to get a crispy top. Of course, lots of oil and butter to keep them moist and delicious, plus some herbs for a little pop of flavor. This is a delicious, allergy friendly side dish that will please everyone!
This side dish is sure to please with it’s sweet and salty, soft and crunchy combo. We’re using my favorite sweet potatoes combined with aromatic herbs for a delicious potato dish!
Ingredients
2-3Japanese sweet potatoes
2-3tbspolive oilI prefer the garlic infused kind
1tbspdried thyme
1tbspdried rosemary
1tbspflakey sea salt
Butter of choiceI used a vegan variety
Instructions
Chop your sweet potatoes into large chunks and steam until fork tender.
Preheat oven to broil as you prep the potatoes.
Spread steamed potatoes on a parchment baking sheet and use the bottom of a glass to smash them down slightly. They may stick, just smash and scrape off the bottom of the glass. This doesn’t have to look any type of way.
Once smashed, make sure the sweet potatoes are evenly spread out.
Drizzle with olive oil, enough to cover them generously. Then sprinkle the thyme, rosemary, and salt evenly over top.
Broil for 8-15 minutes. The time will depend on your oven. You want a light crisp on the top without burning them.
Hi! I'm Victoria. I was diagnosed with Lyme in 2012 and have been on a healing journey ever since. I love helping others on their road to healing through allergy friendly recipes, exercise, and overall well-being.