If you’re looking for an easy and healthy snack, then look no further than these gluten free protein oat bars. Made from real ingredients and whole proteins, these oat bars are far cleaner than anything you’d find in the store.
gluten free oat bars
Snacks are my love language and I always have something in my purse for emergencies, but a lot of pre-packaged snacks and bars are filled with fake sugars, weird flavors, and gut-disrupting ingredients. Having an easy, healthy, and high protein snack on hand for that afternoon slump is a must. That’s where these gluten free protein oat bars come in!
These oat bars are easy to whip up, made from real, whole food ingredients, and will last you the week.
protein oat bars
Ingredient Notes
Oats: To keep this recipe gluten free, make sure to use certified gluten free oats.
Protein: These homemade protein bars get their protein content from oats, egg whites, and protein powder. This recipe calls for pea protein as it acts like a flour. My favorite pea protein is from Sprout Living as it has no other added ingredients, flavorings, or sugar alcohols. Use code LEMONSNLYME20 for 20% off your order!
Wet ingredients: A combination of butter, maple syrup, and egg whites is used to hold these bars together. You can use real or vegan butter. I use vegan to keep it dairy free, but either works and adds to the flavor of these oat squares. This recipe uses real maple syrup as it’s better for your gut than a fake sugar substitute. Lastly, we’re keeping that protein content boosted with a few egg whites.
protein oat bars
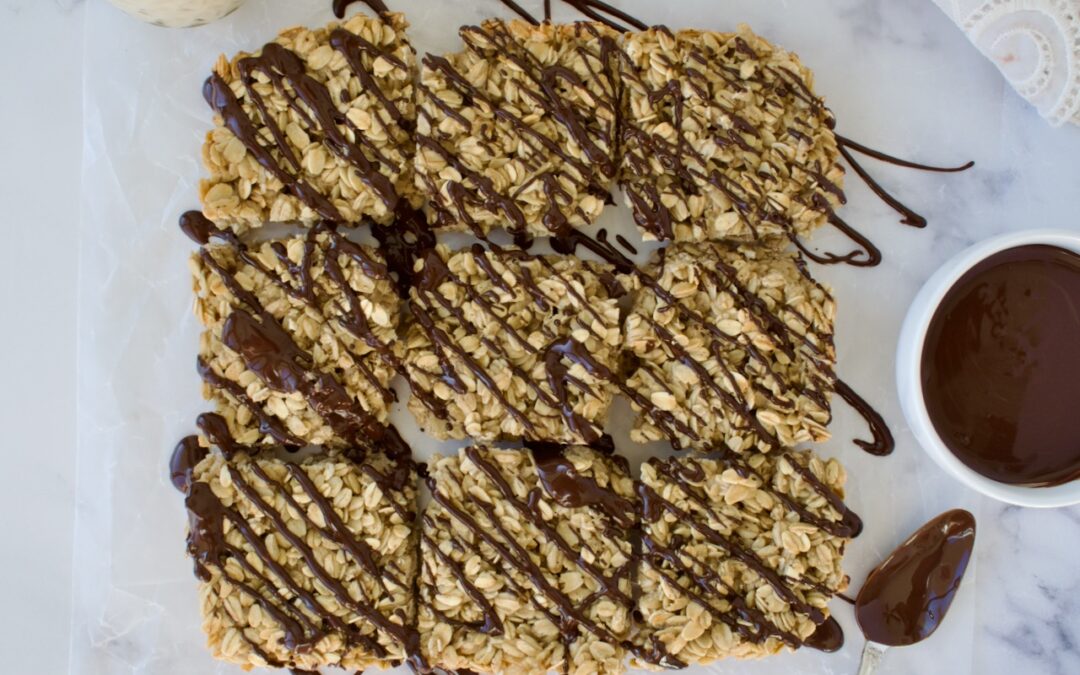
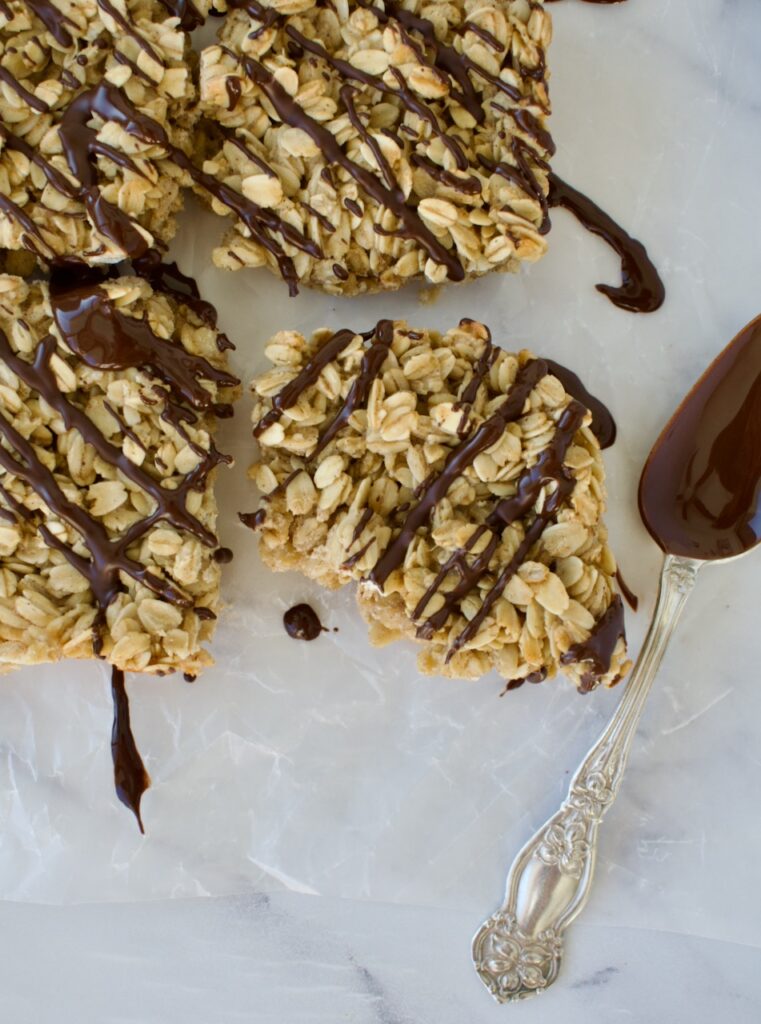
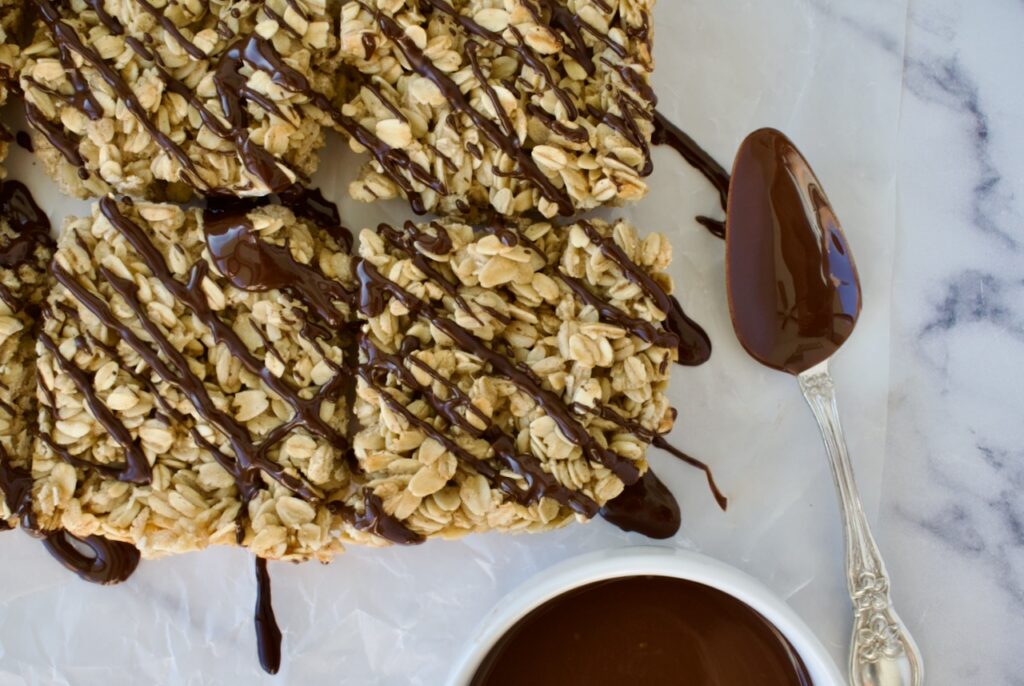
To top off these homemade oat bars and make them perfect, you can’t skip out on the chocolate drizzle! I mean is it really an enjoyable snack or protein bar if there isn’t some chocolate involved?! You can use whatever your favorite chocolate is, just melt it down with a little coconut oil and then drizzle it over the top of the baked oats.
An easy and healthy snack, these protein oat bars are allergy friendly and made with whole food ingredients. High in protein and topped off with a chocolate drizzle, you can't go wrong with a batch of these for the week!
Add cooled melted butter, maple syrup, egg whites, and vanilla to a large bowl and whisk to combine.
Add the oats, protein powder, and cinnamon to the bowl and mix everything together.
Line a 9×9 inch baking dish with parchment paper.
Pour your oat mixture into the prepared baking dish and spread evenly.
Bake oat bars for 30-35 minutes, until slightly golden. Let cool completely before cutting into 9 squares.
When bars are cooled, melt your chocolate chips and coconut oil together until smooth. Drizzle over the oat bars (or dip them into the chocolate). Place in the fridge until chocolate has set.
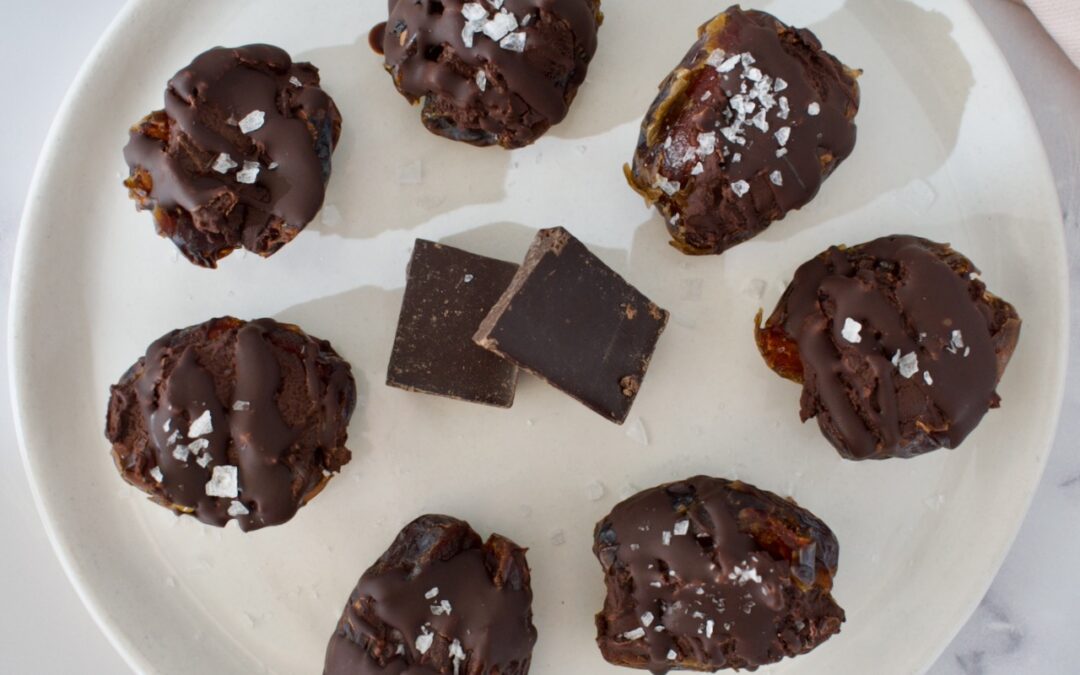
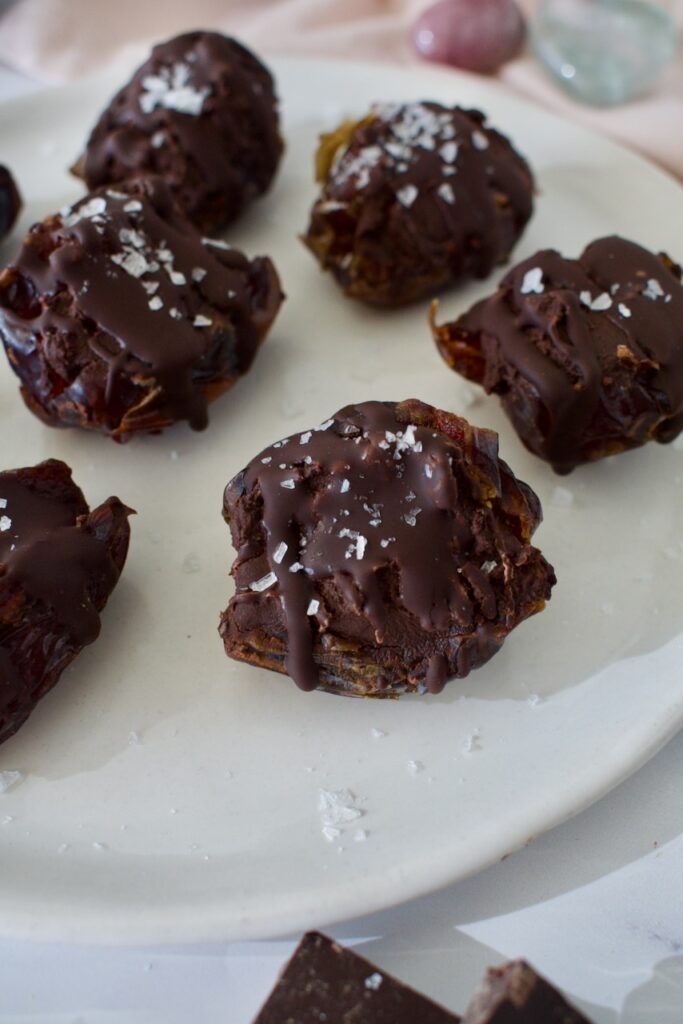
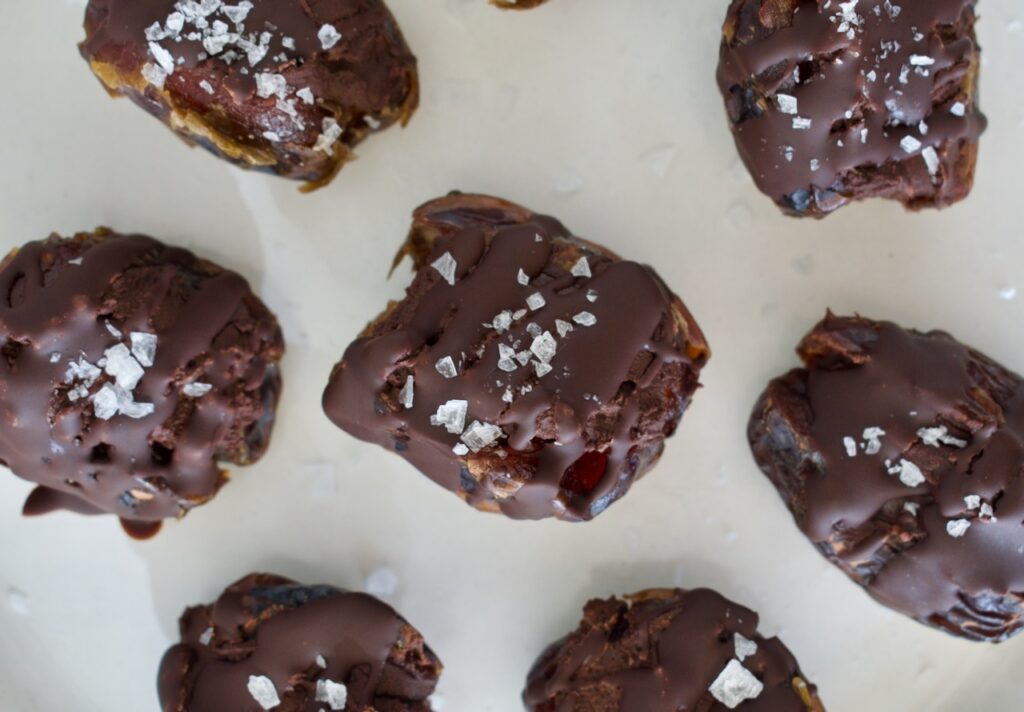
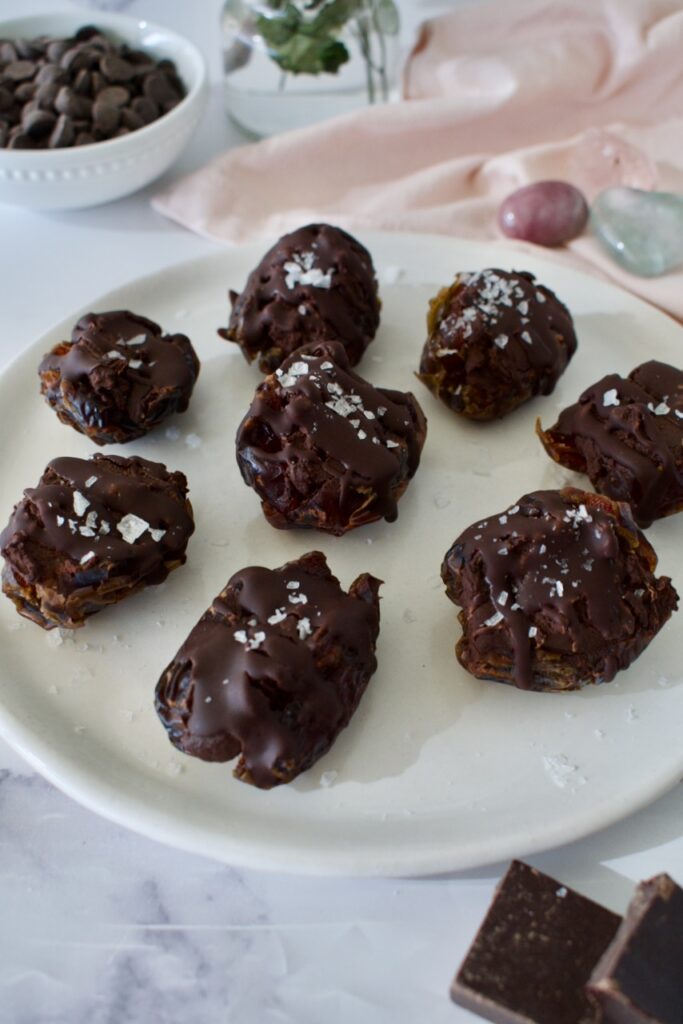
Looking for a healthier Valentine’s Day treat? Try these no-bake Protein Date Brownie Bites. Sweet dates are stuffed with a protein brownie batter and drizzled with melted chocolate for an allergy friendly treat.
vegan date bites
I love these protein brownie bites as a healthy, easy chocolate treat. They are a higher protein treat and mostly sweetened naturally from the dates. This Valentine’s Day dessert is completely gluten free, nut free, and vegan!
protein brownie bites
This gluten free treat is quick and easy to make. First, you’ll make a no-bake and vegan protein brownie batter from my favorite pea protein (use code LEMONSNLYME20 for 20% off) with cocoa powder, maple syrup, and water. This batter will be stuffed inside some Medjool dates and then drizzled with melted chocolate. I love topping these off with some flaky sea salt for the ultimate sweet and salty combo!
Can I use a different protein? Pea protein is unique in that it acts like a flour. It absorbs moisture instead of dissolving into it like many other proteins. This recipe does require pea protein or pumpkin seed protein. Both proteins can be found here.
This gluten free and vegan treat is the perfect healthier Valentine's Day dessert. Higher in protein and utilizing natural sugars from the dates, you'll love this quick and easy no-bake treat!
Course Dessert, Snack
Cuisine American
Keyword chocolate, gluten free, healthy, high protein, vegan
Mix together the protein, cocoa powder, maple syrup, and 5 Tbsp of water in a small bowl. If the batter is really dry and crumbly, add 1 tsp of water at a time until it comes together but isn't too runny.
Open your dates along one side (don't split them completely in half!) and make sure the pit is removed. Take ~1 Tbsp of batter and stuff it into the date. You should get about 10-12 dates total.
Melt the chocolate chips and coconut oil together.
Place the stuffed dates on a parchment lined plate then drizzle the chocolate on top. Finish off with some flaky sea salt then set in the fridge to set until chocolate has hardened.
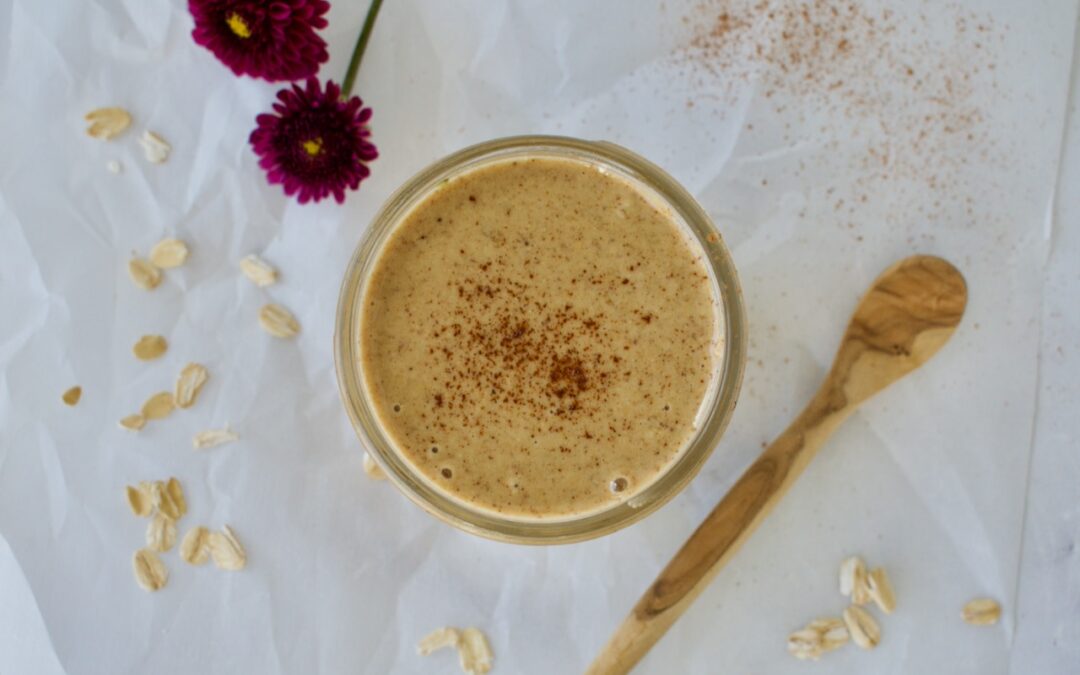
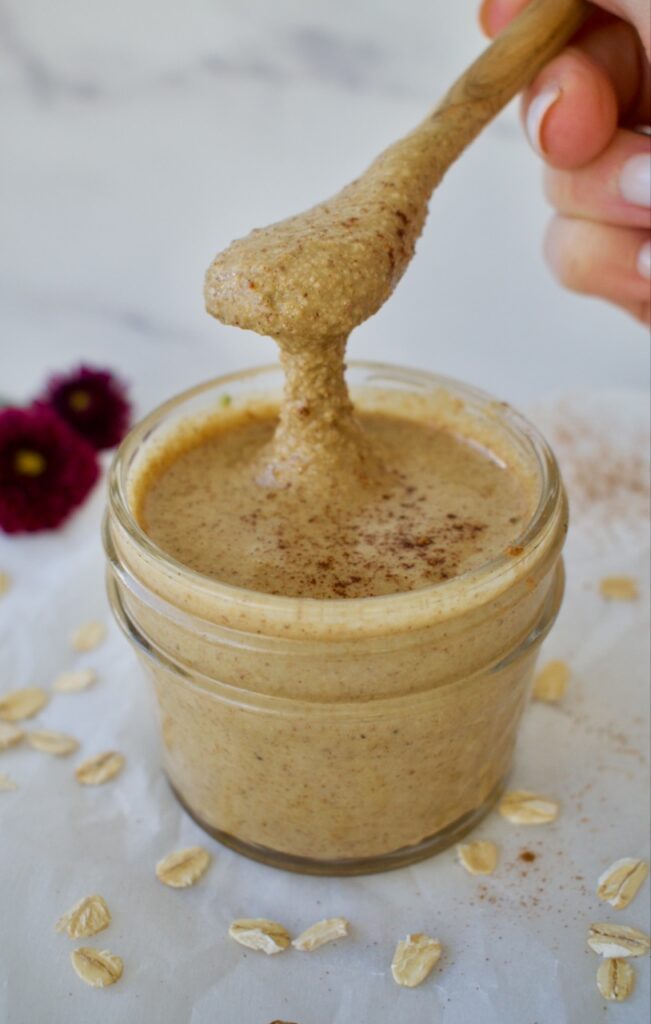
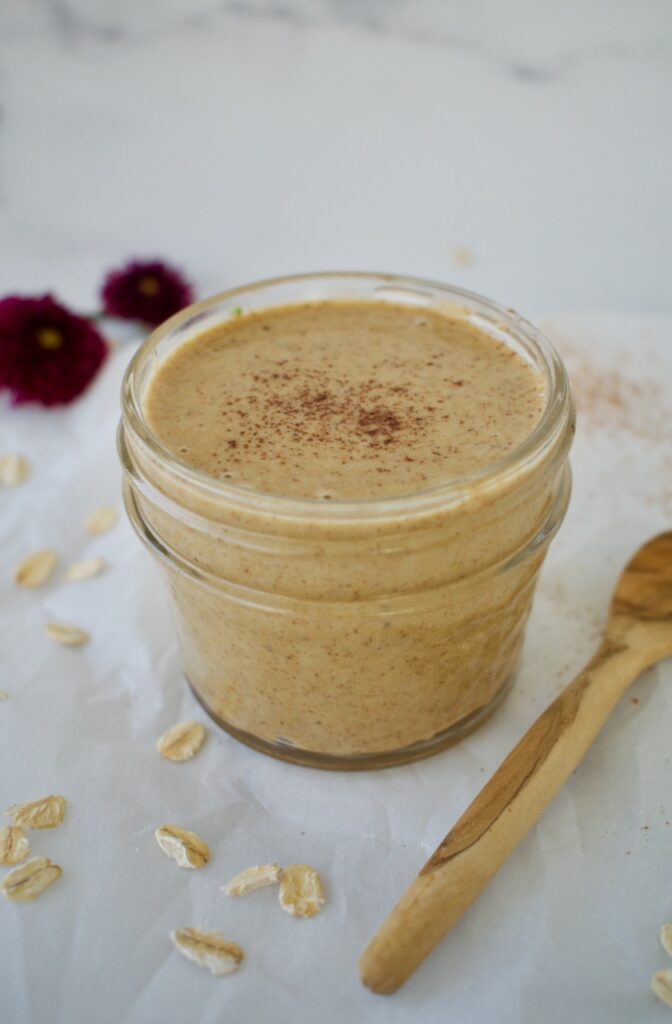
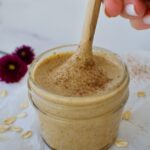
Granola butter is a nut and seed free spread alternative for those with allergies. It’s absolutely delicious and can be used just like peanut butter or almond butter. It’s perfect for baking or on toast!
gluten free granola butter
Have you ever heard of granola butter? It’s like peanut butter or almond butter, but nut and seed free. It’s made completely out of oats! I like to make mine with tigernut flour too (which is a tuber, not a nut) for added flavor, but in the recipe below, I share how to make it both ways.
allergy friendly granola butter
So, what’s in granola butter?
Homemade granola butter is made simply with oats, cinnamon, salt, coconut oil, maple syrup, and vanilla extract.
You’ll start by roasting the oats to add some richer flavor and then blend them with the remaining ingredients for a delicious nut-free spread!
Make sure to use certified gluten free oats to keep this recipe completely gluten free and Celiac safe. Since the recipe utilizes maple syrup as the sweetener, this granola butter is also completely vegan! Allergy friendly spreads are possible and now you don’t have to miss on out a PB&J any longer- just make it a GB&J!
Granola butter is a nut and seed free alternative for those with allergies. This is the perfect allergy friendly spread so you don't have to miss out. Use granola butter in place of things like peanut butter, almond butter, and sunflower seed butter.
2cupsgluten free oatsmake sure they are certified gluten free
1cup Tigernut flour*you can use almond flour or another cup of oats
1tspcinnamon
1/4tspsalt
3/4-1cupmelted coconut oil
1-4Tbspmaple syrup
1tsp vanilla extract
Instructions
Preheat the oven to 350F.
Spread your oats evenly over a large baking pan and roast them for 10 minutes, until just beginning to golden and becoming fragrant.
Let oats cool for 10 minutes before adding to a high speed blender (like a Vitamix) or food processor. Blend oats into a flour.
If using tigernut flour, add the flour, cinnamon, and salt and blend again to combine.
Combine all the wet ingredients together in a measuring cup, starting with 3/4 cup of oil. If using tigernut flour, you will only need 1-2 Tbsp of maple syrup, but if using all oats, you will need 3-4. With the blender or food processor running on low, slowly pour the wet ingredients into the running blender/food processor.
Let the blender/food processor run for 5-10 minutes, stopping occasionally to scrape down the sides, until you have a smooth butter. Taste and adjust as necessary, adding more maple syrup as needed. If you find that the mixture is too dry or thick, add more oil until the desired consistency is reached.
Let the butter cool slightly before transferring to a glass jar. Granola butter can be stored at room temperature and does not need to be refrigerated.
Notes
*I love using tigernut flour in this recipe as it adds some natural sweetness and nutty flavor without nuts!
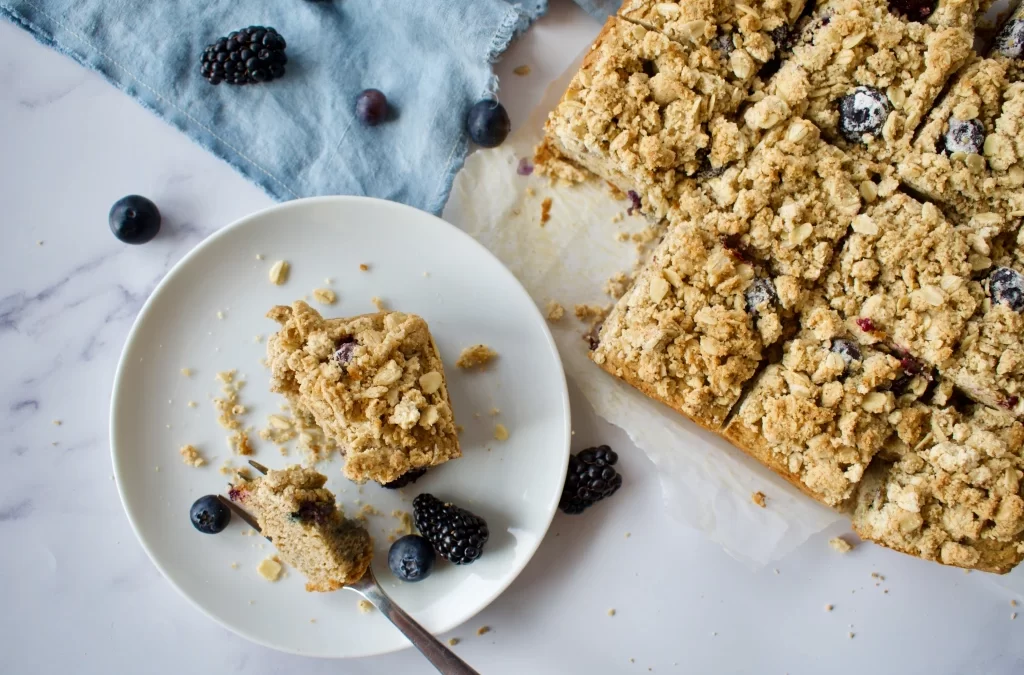
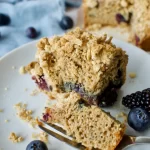
This is a delicious summer dessert filled with some of my favorite flavors and textures! We’ve got the berries for summer, a delicious crumble topping for that crunch, and the moist yogurt cake to bring it all together.
I like using a combo of blueberries and blackberries for this recipe, but you can use just one berry. I have not tested this recipe with frozen berries, but if you do, please leave your experience in the comments!
This delicious gluten and dairy free crumble cake is the perfect summer dessert. A soft cake is sweetened by delicious, fresh berries and then finished off with the perfect crunchy crumble on top!
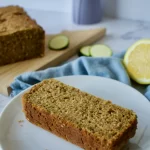
This Gluten Free Lemon Zucchini Bread is the perfect blend of winter and summer. As we head into the warmer months, it’s time to eat all the zucchini. This zucchini bread also has a paleo option, along with being dairy and nut free.
One of the best things about zucchini bread is how moist it is, thanks to the zucchini. I love how versatile zucchini is, so we’re taking this zucchini recipe to another level by adding lemon. Lemon loaf has such a delicious zing and it truly pairs perfectly in this recipe.
This gluten free bread recipe is simple to make. You just mix together the dry ingredients, which consist of a mix of gluten free and paleo flours. I do provide a completely paleo option! Then add in the wet ingredients and fold in your shredded zucchini. The easiest way to shred zucchini is in the food processor. No straining your arm and back muscles leaning over a hand grater, just throw chopped zucchini into the food processor, give it a little blitz, and you’re ready to go!
This gluten free zucchini bread is taken up a notch with the delicious zing of lemon. It is the perfect winter to summer recipe! I provide a completely paleo option for my grain free friends and this recipe is also nut and dairy free. An allergy friendly bread for everyone.
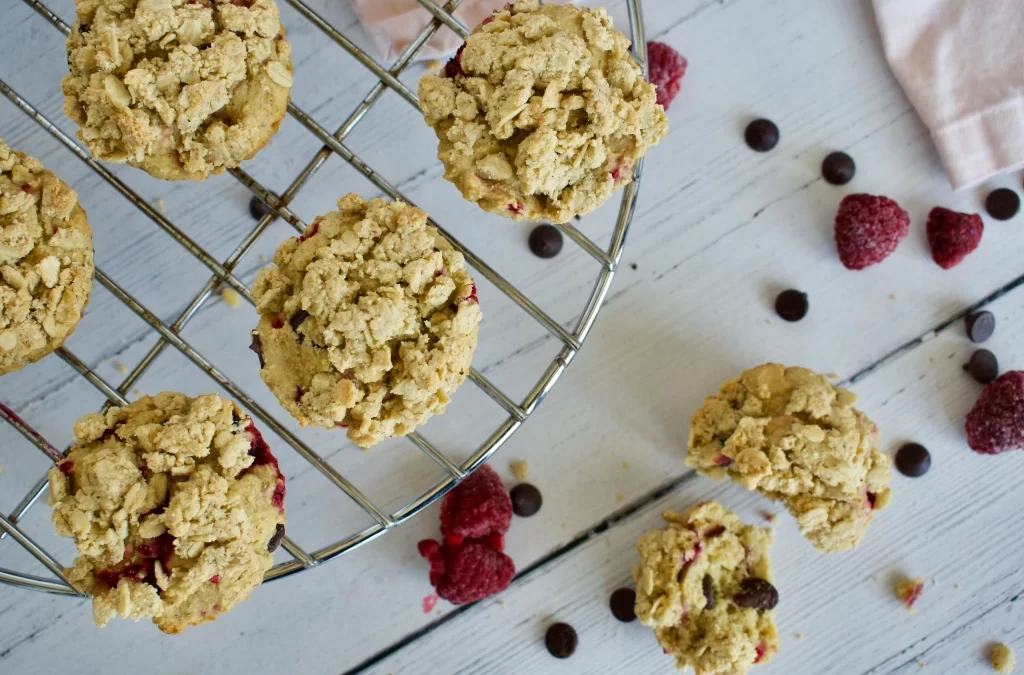
You need to make these allergy friendly muffins. They are a combination of three of the most delicious things- chocolate, raspberry, and crumble. These gluten free muffins also have a paleo option and are completely dairy free and nut free.
I always use Enjoy Life chocolate chips when baking because they are allergy friendly. Dark chocolate is my favorite, but feel free to use semi-sweet. These gluten free raspberry muffins are made with a mix of gluten free flours, but I provide substitutions if you are trying to keep these fully grain free.
The crumble topping makes these muffins. Having that soft center full of sweet raspberries and chocolate balanced out with the crunch of a crumble topping is perfection. I hope you enjoy these delicious muffins as much as I do!
These delicious gluten free muffins are filled with all delicious raspberries and chocolate then topped off with a crunchy crumble topping. They can be made completely paleo and are dairy and nut free.
Hi! I'm Victoria. I was diagnosed with Lyme in 2012 and have been on a healing journey ever since. I love helping others on their road to healing through allergy friendly recipes, exercise, and overall well-being.