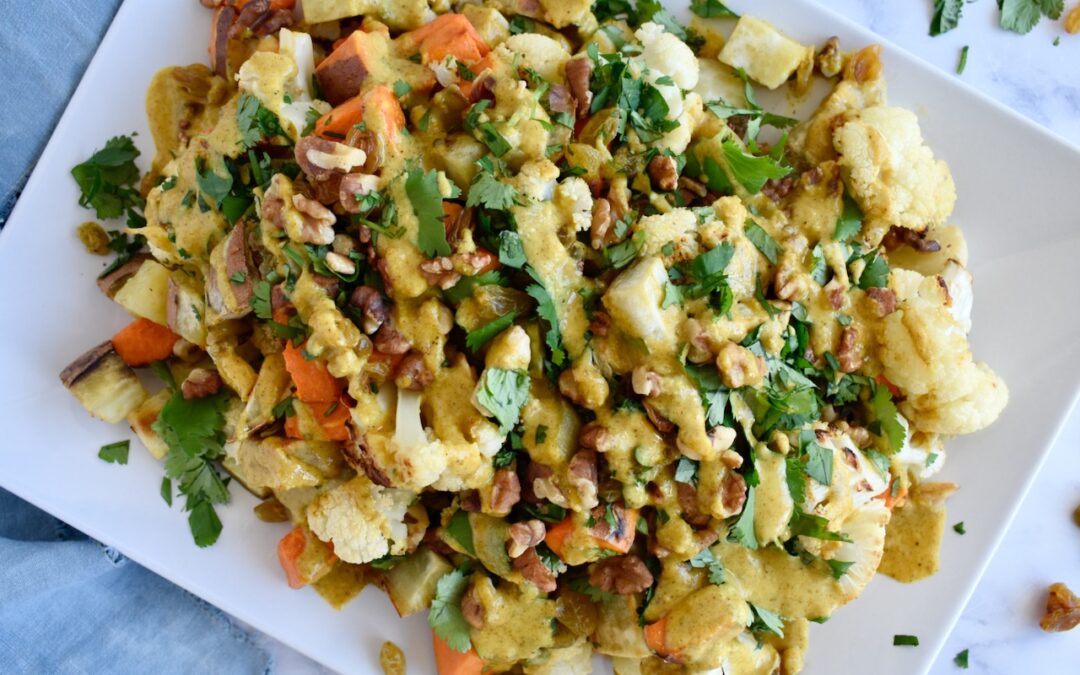
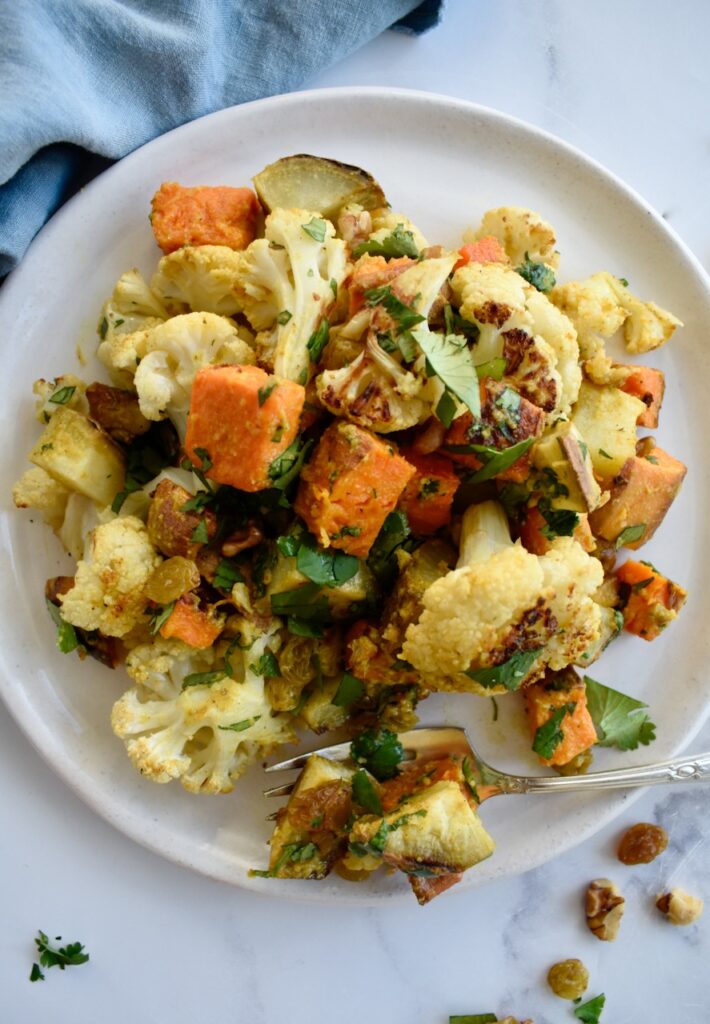
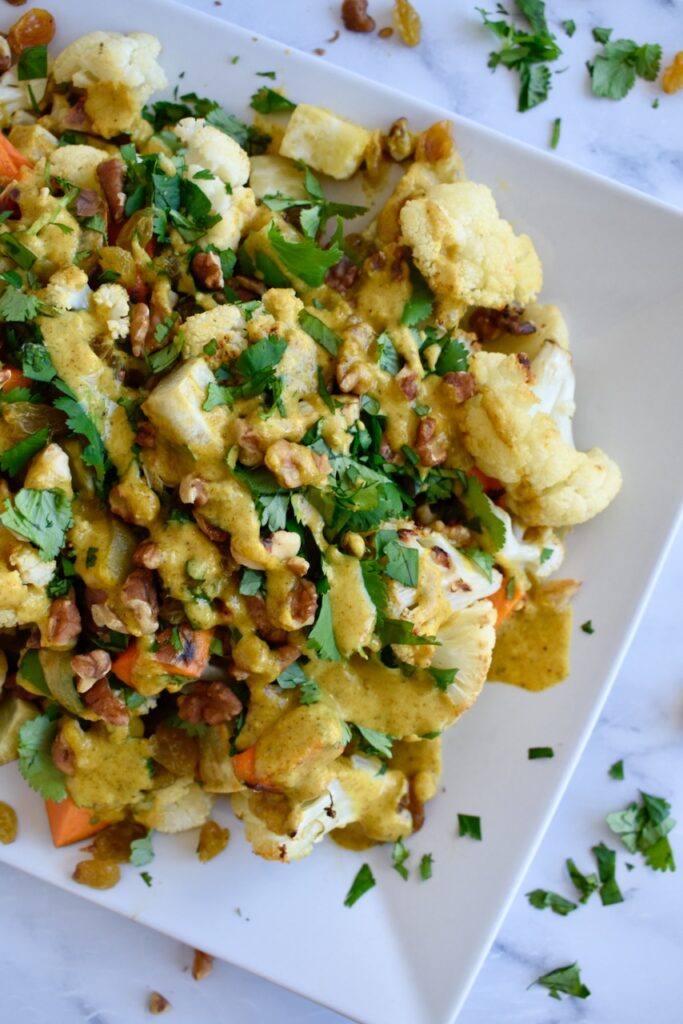
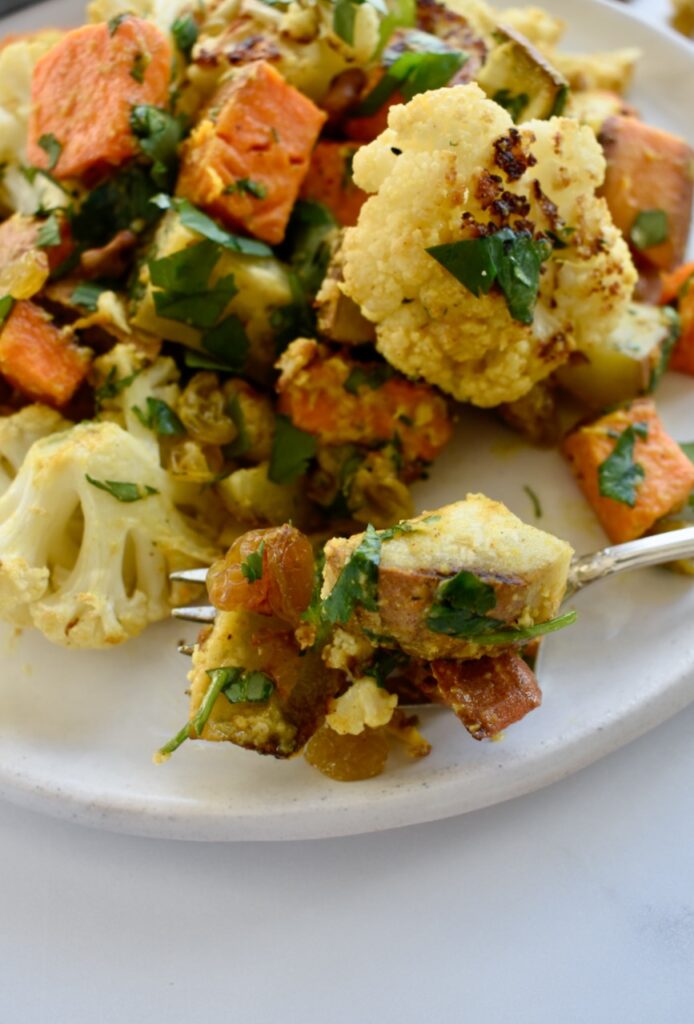
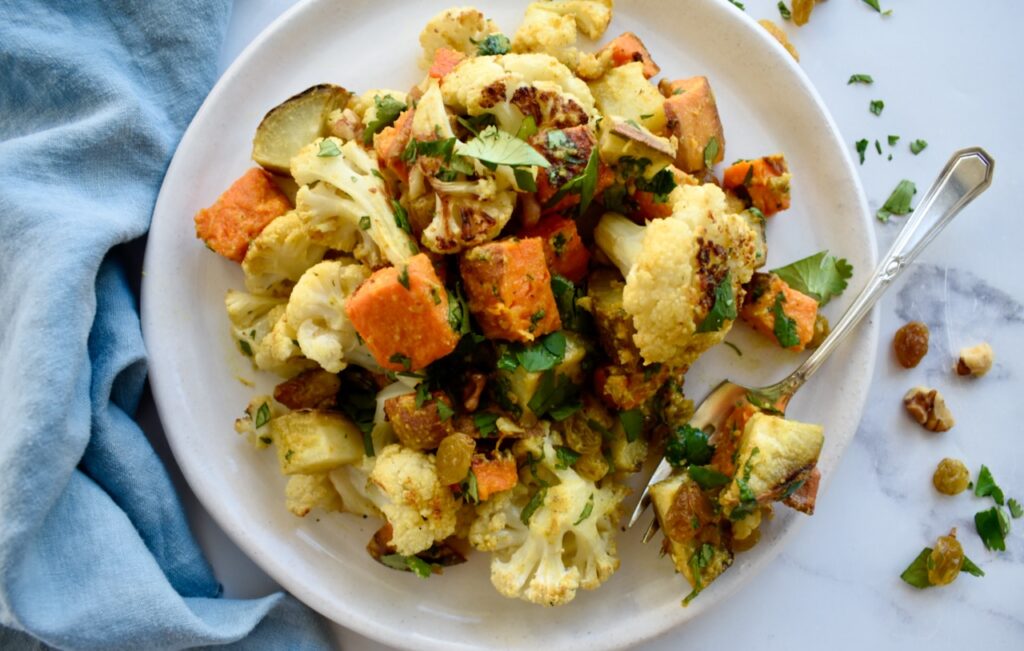
This curried cauliflower and sweet potato salad is nutrient dense and flavor packed. It’s the perfect vegan and paleo dish that can be turned into a complete meal!
curried cauliflower and sweet potato salad
Sweet potatoes are one of my favorite foods, so I’m always thinking of new dishes to make with them. Plain roasted vegetables can get boring, so I love making vegetables more fun and delicious. This roasted vegetable salad is filled with add-ins to bring in some crunch and sweetness and then dressed with a creamy dressing that has just the right amount of curry kick.
vegan roasted vegetable salad
Curried Cauliflower and Sweet Potato Salad
Ingredients:
Cauliflower
Sweet potato
Olive oil
Salt
Add-ins: golden raisins, toasted nuts (walnuts or cashews are best!), roasted chickpeas
Cilantro
Granola butter or nut/seed butter of choice
Lemon juice
Curry powder
Grated ginger root
Maple syrup
Garlic infused olive oil
How to make this salad:
This veggie salad is easy to make. First, you roast the cauliflower and sweet potato. While those are roasting, you can measure out your add-ins, toast your nuts and chickpeas if using, and make the dressing. Once the vegetables are done roasting, you toss everything together.
This gluten free salad can be made fully paleo by using a nut or seed based butter for the dressing. I use my homemade granola butter in this recipe as it is my absolute favorite and is allergy friendly! You can keep this recipe completely nut free by using roasted chickpeas instead of nuts for the add-ins.
paleo roasted vegetable salad
Can I Make This a Complete Meal?
I love serving this vegetable dish with roasted chicken, but you can also make it a complete vegan meal by adding a can of roasted chickpeas. The chickpeas add the perfect crunch and a protein boost.
gluten free curried cauliflower and sweet potato salad
This fully vegan roasted vegetable salad is gluten free, dairy free, and can be made fully paleo. It is nutrient dense and packed with flavor- the perfect addition to any meal!
1Tbspgarlic infused olive oilor regular olive oil and 1 clove of pressed garlic
2-4Tbspwater
Instructions
Preheat oven to 425F.
Chop cauliflower into florets and sweet potato into bite size pieces. Toss vegetables with olive and salt and spread on a parchment lined baking sheet. Bake for 40-45 minutes, until golden and fork tender.
While vegetables are cooking, toast your walnuts in a frying pan over medium heat, mixing often until just beginning to golden and become fragrant. This will only take 5-10 minutes.
When vegetables are done, set aside while you make the dressing.
While vegetables are cooling, make your dressing by combining all ingredients except for the water in a small bowl or jar. Start with 1/2 tsp curry powder and increase based on taste. Miix well to combine, taste and adjust salt and curry powder as needed. Add in water 1 Tbsp at a time until you get a pourable consistency that isn't too thick.
Toss vegetables, add-ins, and dressing together in a large bowl and serve! Leftovers can be kept in the fridge for up to 3 days.
Notes
To keep this recipe completely nut free, use a can of roasted chickpeas instead! Be sure to use granola butter or a seed butter like tahini or sunflower seed butter in the dressing.
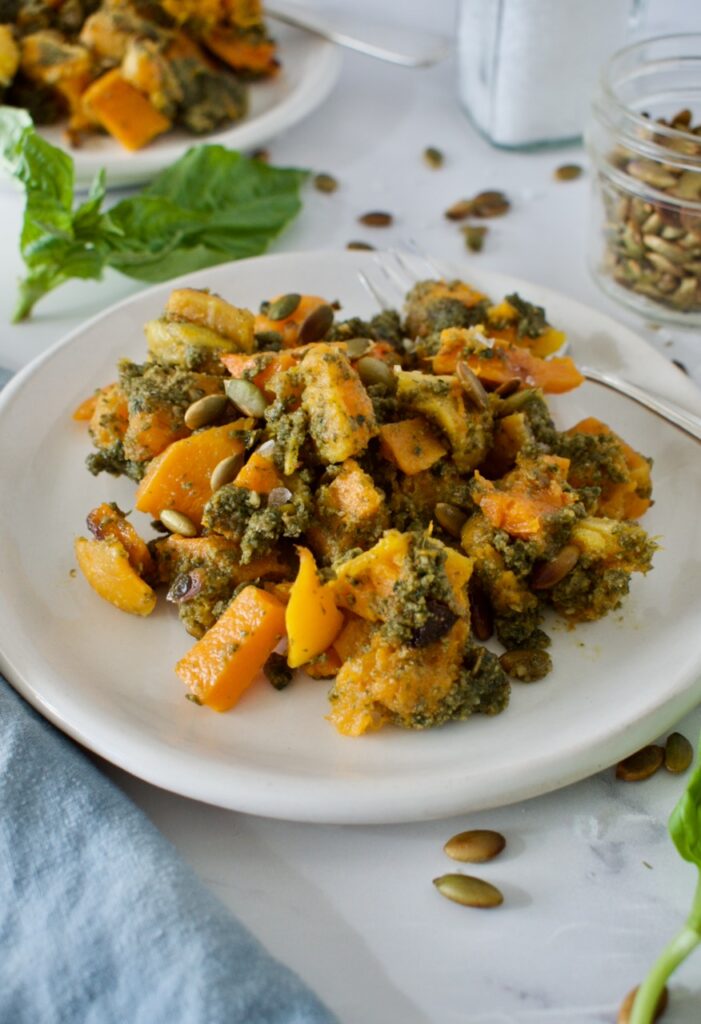
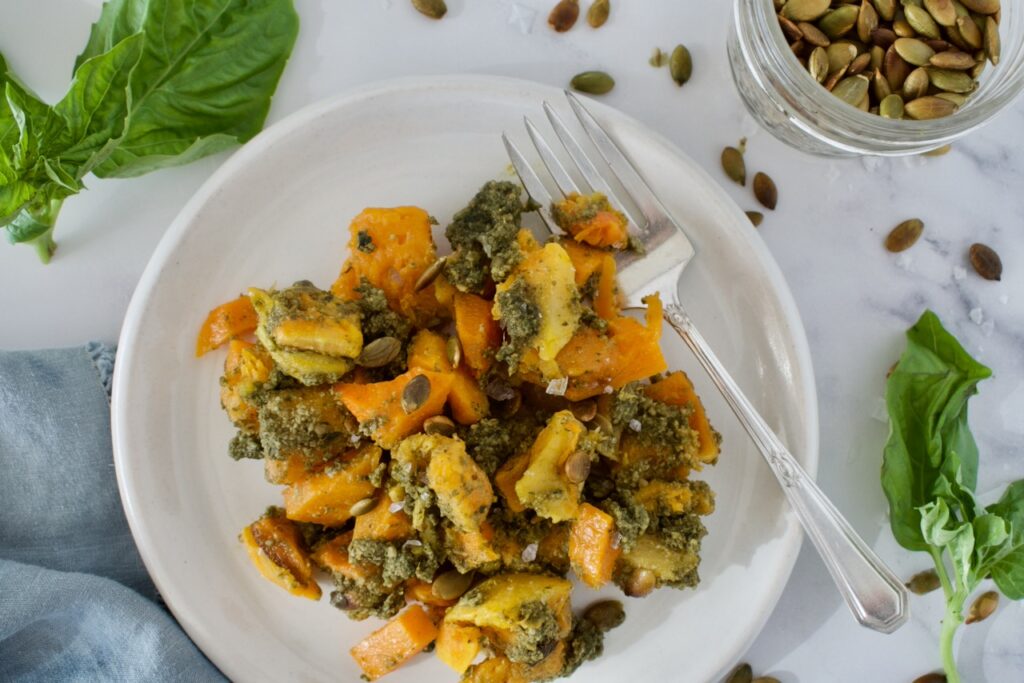
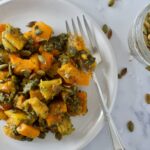
This pumpkin seed pesto butternut squash is one of the most addicting recipes ever. The pumpkin seed pesto is the perfect amount of crunchy and salty that pairs perfectly with the sweet and soft butternut squash. You won’t be able to stop eating this delectable side dish!
pumpkin seed pesto and butternut squash
My mom used to make a variation of this butternut squash recipe when I was in high school and I absolutely loved it. When I got to college, I made my own version and shared it on my website years ago. Since I can’t have dairy, this vegan pesto is so delicious! The recipe, photos, and overall post needed a revamp, and I finally got a chance to do so.
nut free pesto
This vegan and paleo side dish is easy to make and very simple. There are only a few ingredients in this healthy pesto that you blend together and toss with roasted butternut squash. Plus, it’s allergy friendly! There is no gluten, dairy, or nuts in this homemade pesto. It’s guaranteed to be a crowd pleaser.
This pumpkin seed pesto with butternut squash is one of the most addicting dishes you'll ever eat. It packs a flavor punch and you won't be able to stop eating it. Enjoy this healthy and delicious paleo and vegan side dish with any protein!
Course Side Dish
Cuisine American
Keyword gluten free, healthy, paleo, vegan
Prep Time 20 minutesminutes
Cook Time 40 minutesminutes
Total Time 1 hourhour
Servings 4servings
Author Victoria Faling
Ingredients
1largebutternut squash
3/4cuppumpkin seeds
1Tbspolive oil
1/2tspsalt, divided
1cupfresh basil leaves, packed
1/2 cupolive oil
1Tbspgarlic infused olive oilyou can use 1-2 garlic cloves instead
Instructions
Preheat oven to 425F.
Peel and dice the butternut squash into cubes. Toss with 1 Tbsp olive oil and 1/4 tsp. salt and spread evenly over parchment lined baking sheet.
Bake squash for 40-45 minutes, until fork tender and browning.
While squash is baking, make the pesto. Heat a skillet over medium low heat and add the pumpkin seeds. Toast, stirring occasionally, until seeds are fragrant and beginning to golden. This takes about 5-10 minutes. Remove from heat and let cool for 10 minutes.
In a blender, add the basil, 1/2 cup olive oil, garlic olive oil or garlic cloves and roughly blend until basil is broken down. Add 1/2 a cup of the pumpkin seeds and 1/4 tsp. salt and pulse into you have a rough pesto texture. Taste and add more salt as needed.
Once butternut squash is cooked, let cool for 5 minutes before tossing with the pesto in a large bowl. Sprinkle with remaining 1/4 cup pumpkin seeds and serve.
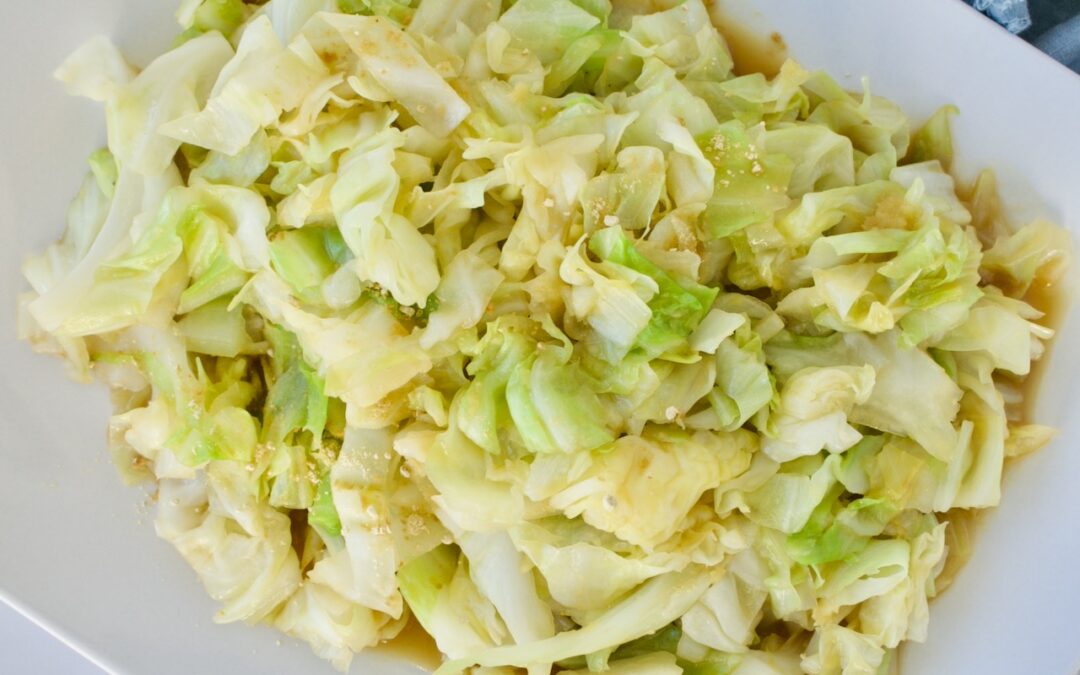
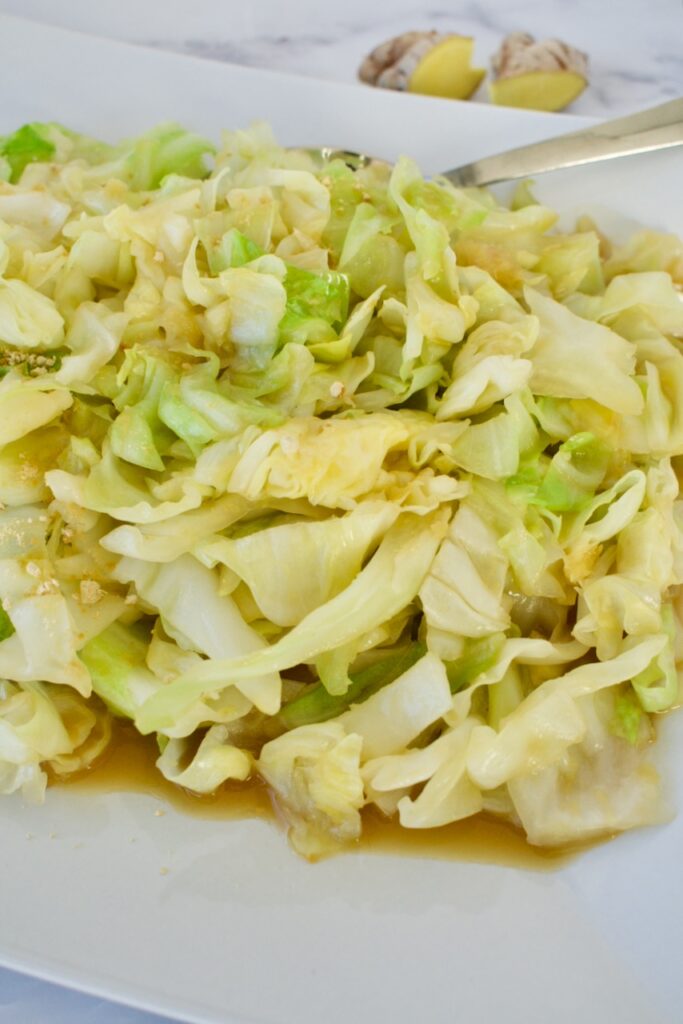
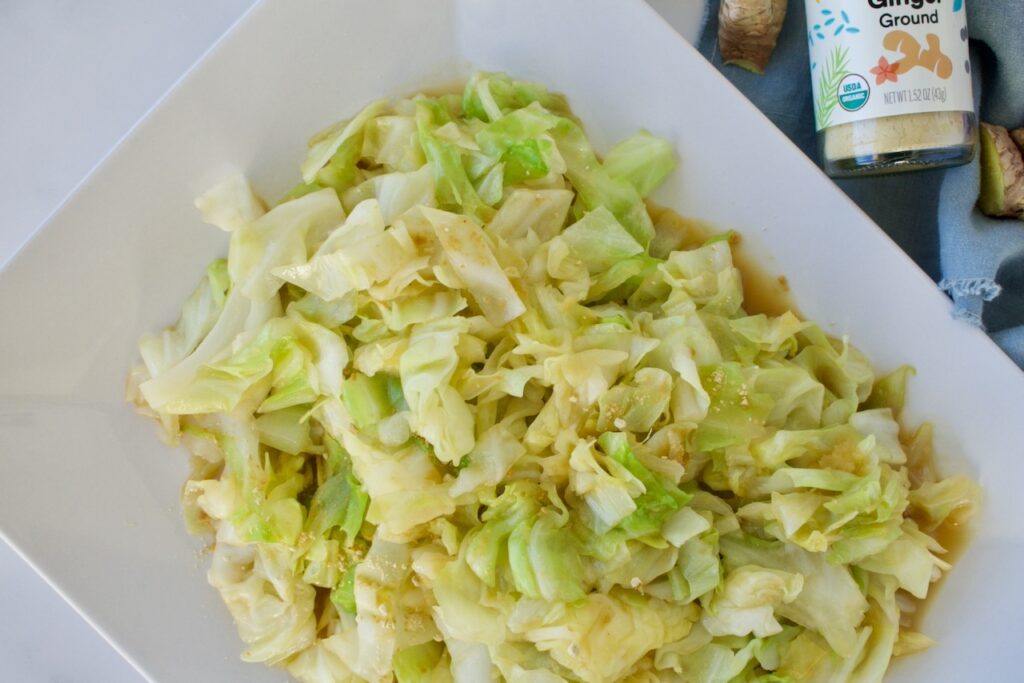
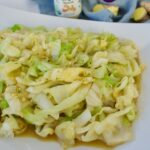
This ginger cabbage recipe is super easy to make and it’s the perfect quick side dish for a weeknight meal or even a larger dinner affair. This cabbage is made on the stove, so it’s a sautéed cabbage with bold ginger flavor. All you have to do is sauté the cabbage with ginger, then add in some broth and coconut aminos. It really is that easy.
AIP gingered cabbage
I’m obsessed with ginger… ginger anything and I’m happy! The more ginger the better. If you also love ginger, then you’ll love this recipe, too. Ginger is a fantastic spice with some amazing anti-inflammatory benefits. It’s also great for stomach upset and GI distress as well as improving nutrient absorption. Ginger stimulates circulation and can help support the immune system. It’s delicious and amazing for you!
1/4cupbroth of choicebone broth, chicken broth, or vegetable broth works!
1/2Tbspground ginger
2Tbspcoconut aminos
Instructions
Slice your cabbage in quarters and de-core, then slice into thin strips.
Heat coconut oil over medium heat in a large skillet until melted. Add the grated ginger ginger and sauté for about 1 minute.
Add cabbage and cook stirring frequently for 3-4 minutes, until cabbage starts to soften.
While cabbage is cooking, whisk together the broth, ground ginger (you can leave this out if you prefer a more mild taste, this adds the last super kick of spice and ginger), and coconut aminos. Add this mixture to the cabbage and cook another 3-4 minutes until cabbage is soft.
Did you know you can make corn-free cornbread? It’s true! As someone who can’t eat corn, I sure miss it. Corn is delicious, but this corn-free cornbread tastes eerily similar to the Jiffy corn muffins I grew up on. And now I’ve eaten way too many slices.
This cornbread uses tigernut flour to get the consistency and taste we’re going for. I also added mashed sweet potato to amp up the nutrient content and play into the flavor. You can’t even taste the sweet potato, so if you’ve got picky eaters in your house, this is a great recipe for sneaking veggies in.
What’s Tigernut Flour?
Tigernut is not a nut, it’s a tuber. I use tigernut flour in a lot of my recipes because it’s a great alternative to almond flour for those with allergies (like me!). Tigernut also have a slight sweetness to them, which allows me to use less added sweetener in my recipes. It’s a win-win!
Can I use something other than Tigernut flour?
Although I have not tested it, almond flour and tigernut flour are generally interchangeable. If you test this recipe out with almond flour, leave a comment and let me know how it went!
This corn-free cornbread has a similar taste and texture to regular cornbread, but without the corn! It’s also completely gluten and dairy free and made nutrient dense with the addition of sweet potato.
1/4cupmelted butter(butter, vegan or otherwise, works best in this recipe, but you can get away with using a neutral oil, as well)
2eggs
3Tbspof honey
1/2cupmilk of choice
Instructions
Preheat oven to 350F.
Sift the tigernut flour and whisk in the gluten free flour, baking powder, baking soda, and salt. Set aside.
In a large bowl, add the sweet potato, eggs, butter, honey, and milk in a bowl. Use a hand mixer to beat all the ingredients together on medium speed until well combined.
Add the dry ingredients to the wet and mix on low until combined. Let batter sit while you prepare the baking dish.
Grease a 9×9 inch glass baking dish.
Pour the batter into the baking dish. Bake for 32-35 minutes, until a toothpick comes out clean. Let cool before slicing.
Serve warmed with a slather of butter or coconut oil and a drizzle of honey!
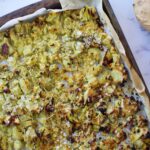
Japanese sweet potatoes are the superior sweet potato. They are so sweet and delicious! They pair well with almost anything and take on flavors in a lovely way. I eat them all the time, but wanted to find a new way to cook them. This crispy smashed version is fantastic.
After steaming the sweet potatoes, we’ll smash and broil them to get a crispy top. Of course, lots of oil and butter to keep them moist and delicious, plus some herbs for a little pop of flavor. This is a delicious, allergy friendly side dish that will please everyone!
This side dish is sure to please with it’s sweet and salty, soft and crunchy combo. We’re using my favorite sweet potatoes combined with aromatic herbs for a delicious potato dish!
Ingredients
2-3Japanese sweet potatoes
2-3tbspolive oilI prefer the garlic infused kind
1tbspdried thyme
1tbspdried rosemary
1tbspflakey sea salt
Butter of choiceI used a vegan variety
Instructions
Chop your sweet potatoes into large chunks and steam until fork tender.
Preheat oven to broil as you prep the potatoes.
Spread steamed potatoes on a parchment baking sheet and use the bottom of a glass to smash them down slightly. They may stick, just smash and scrape off the bottom of the glass. This doesn’t have to look any type of way.
Once smashed, make sure the sweet potatoes are evenly spread out.
Drizzle with olive oil, enough to cover them generously. Then sprinkle the thyme, rosemary, and salt evenly over top.
Broil for 8-15 minutes. The time will depend on your oven. You want a light crisp on the top without burning them.
I made this at Thanksgiving this year and I essentially just winged it (okay, when do I not?). It still turned out delicious, of course, and was a must share with all of you. Japanese sweet potatoes are by far my favorite sweet potatoes. They are the sweetest variety and I knew mixing them with the slightly more tart turnip would make for a good combo. The turnip balances the sweetness of the sweet potato and the creamy coconut milk sauce brings it all together.
Japanese Sweet Potato and Turnip Gratin
Serves 4-6
Ingredients:
-2 large Japanese sweet potatoes
-3 turnips
-1 can full fat coconut milk
-1/2 cup water
-2 tbs. coconut butter (alternatively you can use maple syrup, the sauce just won’t be as thick)
-1 tsp lemon juice
-2 tbs fresh thyme, finely chopped
-1 tbs dried sage
-1 tbs fresh rosemary,
-1 tsp cinnamon
-1/4 tsp. salt
-1-2 tbs. tapioca or arrowroot starch
Preheat the oven to 375 F.
Peel your sweet potatoes and turnips. Using a mandolin (this is the easiest way), slice both vegetables 1/4 inch thick.
Place a layer of sweet potato slices on the bottom of a glass baking dish (9×9 or larger). Next, place a layer of turnip slices. Repeat until you use up all the veggies so you have layers of sweet potato then turnip.
In a medium saucepan, heat the coconut milk, water, and coconut butter (or maple syrup) over low heat until everything is liquid. Add in the lemon juice, herbs and spices, salt and mix to combine. Add in the starch 1/2 tbs. at a time, whisking continuously until the sauce thickens, should take about 3-5 minutes. You should have something slightly more watery than gravy but close to a gravy-like consistency.
Pour the sauce evenly over the vegetables and tip the baking dish from side to side to make sure the sauce seeps down between the layers.
Bake in the oven for about 45-50 minutes or until vegetables are fork tender. Keeps well in the fridge for up to 5 days.
Hi! I'm Victoria. I was diagnosed with Lyme in 2012 and have been on a healing journey ever since. I love helping others on their road to healing through allergy friendly recipes, exercise, and overall well-being.