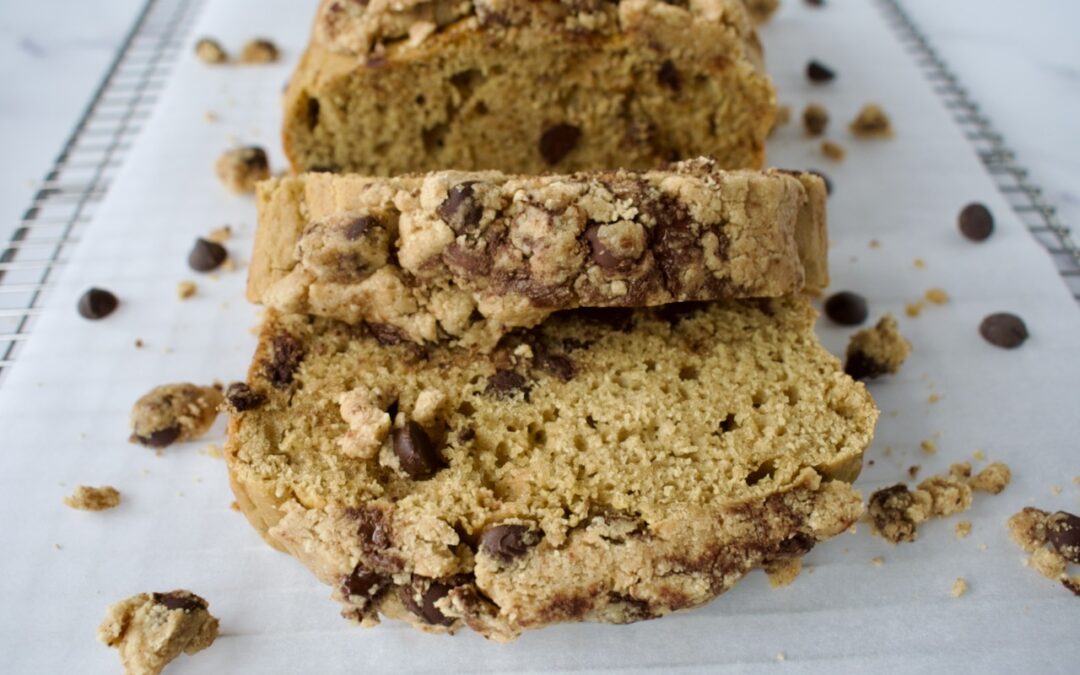
If you love cookie dough, then this bread is for you! You can have healthy cookie dough and eat it too. This loaf is gluten free, dairy free, and refined sugar free.
gluten free cookie dough bread
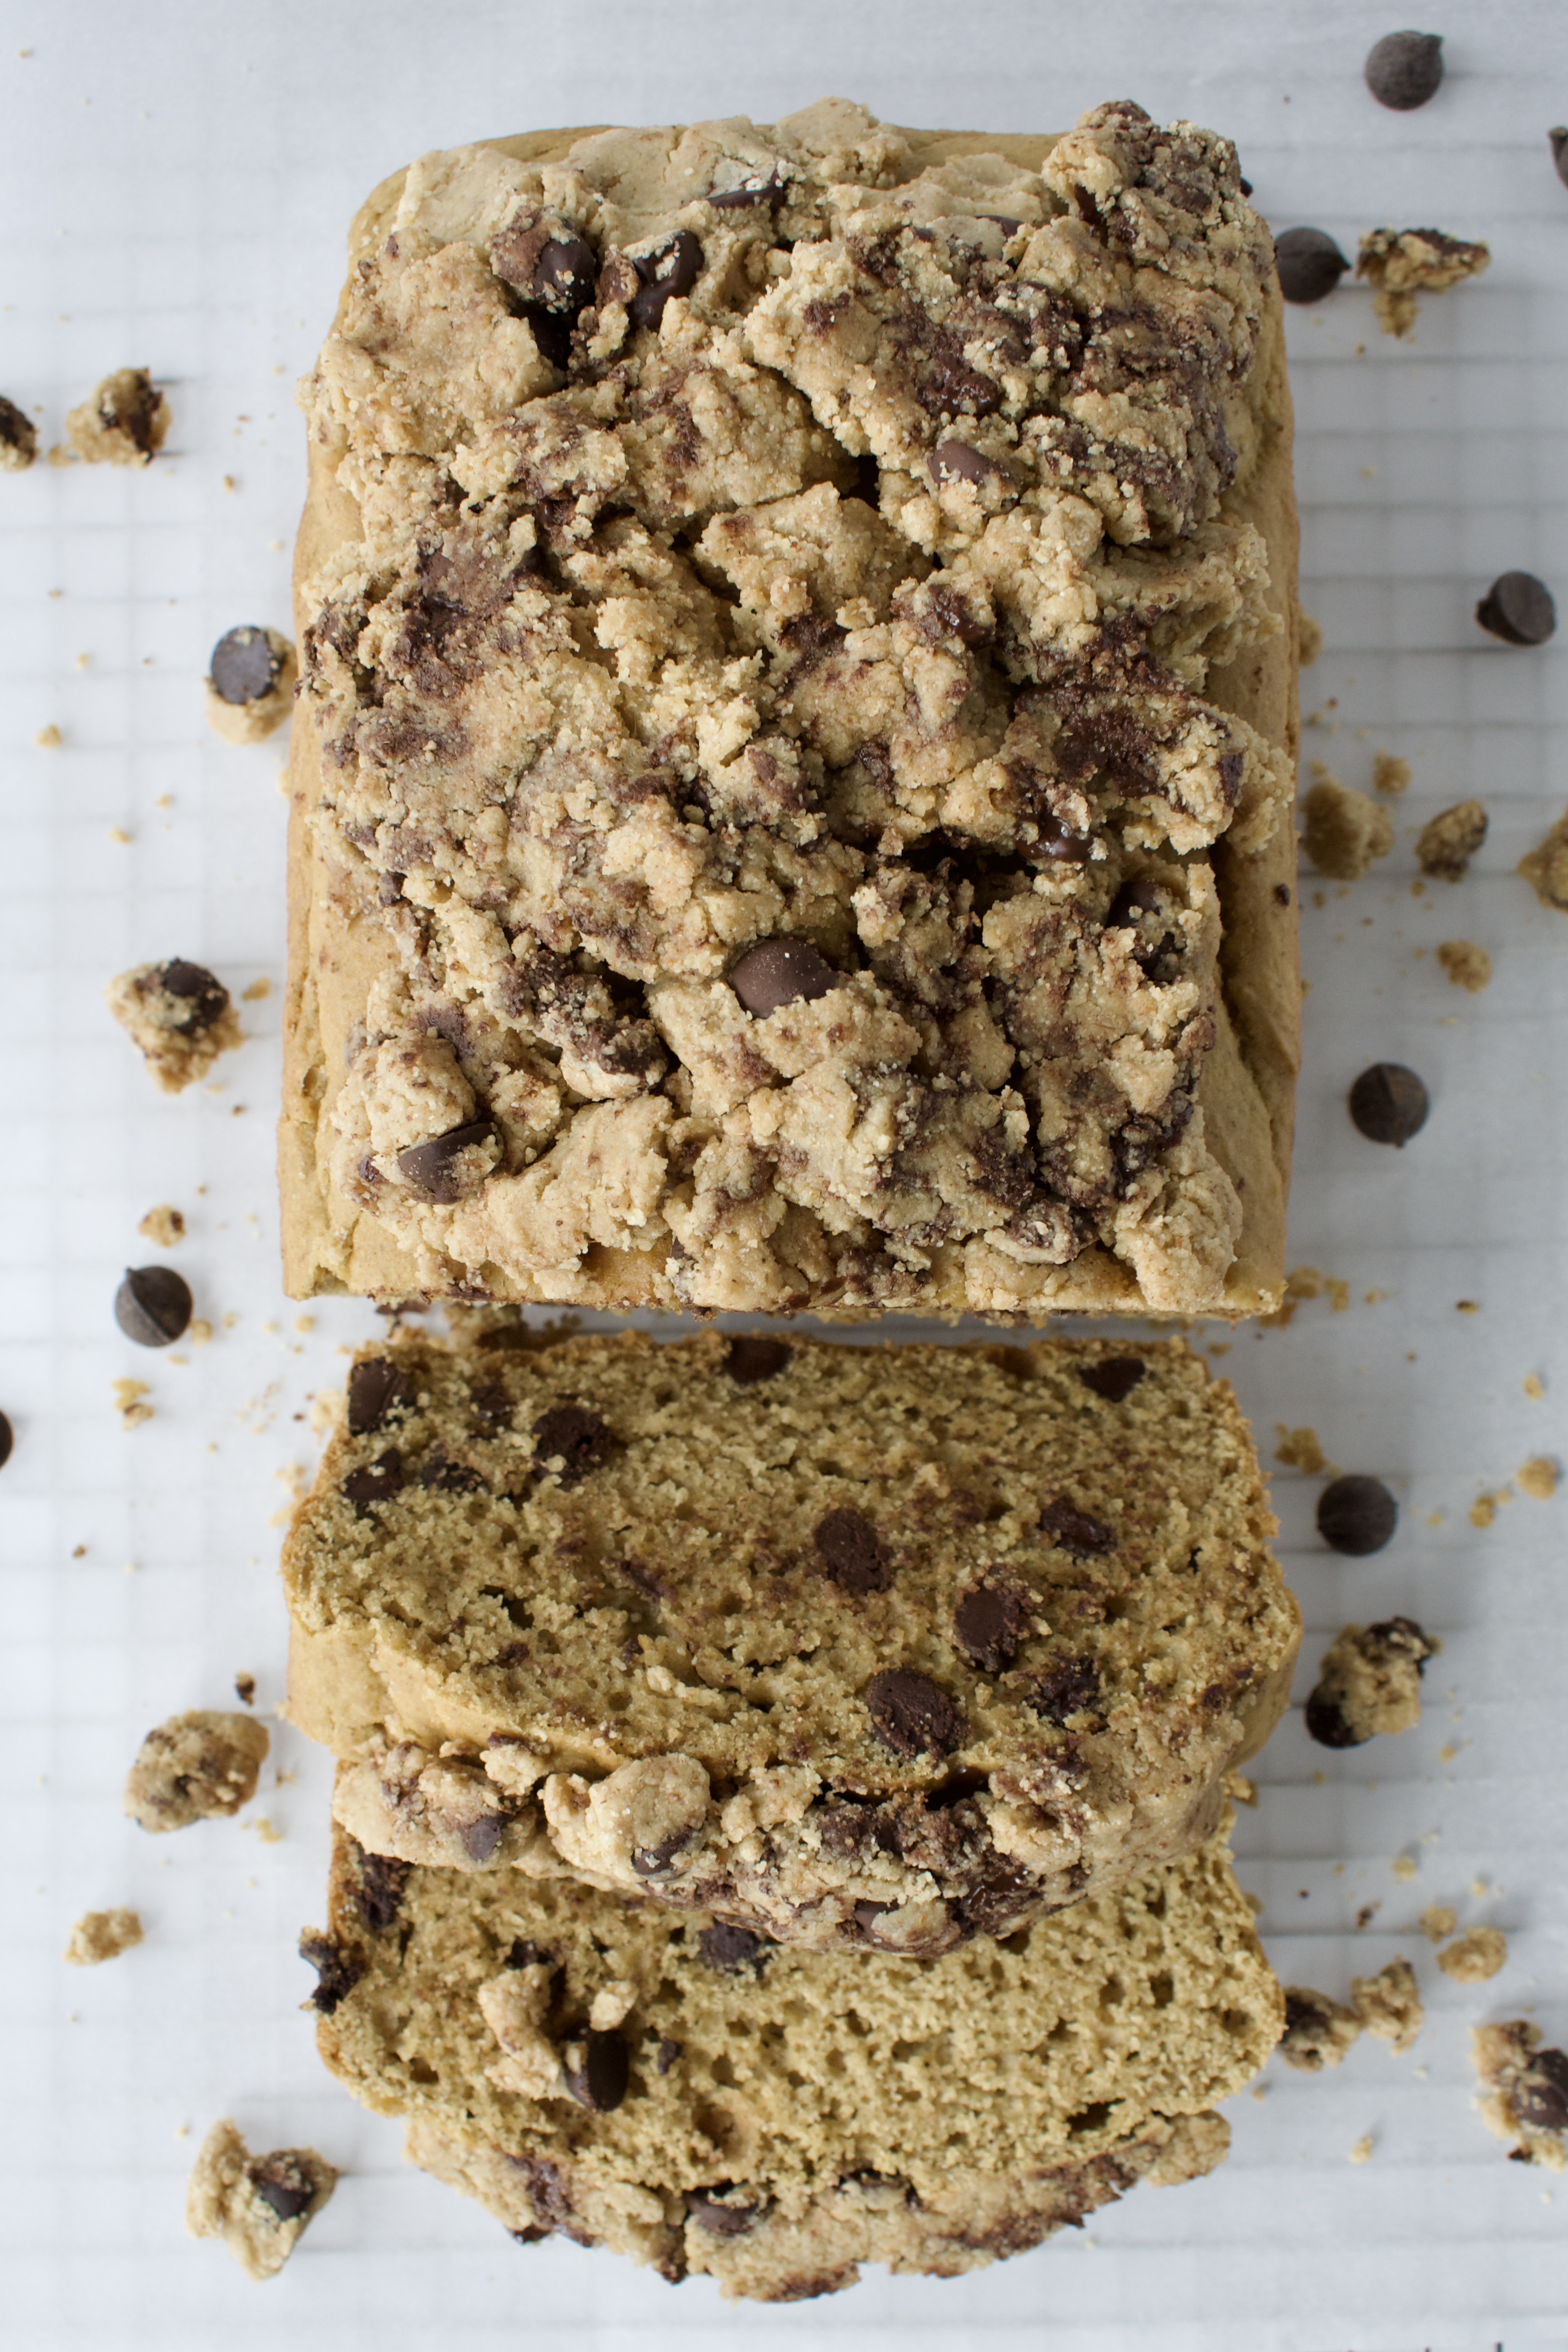
I’m absolutely obsessed with this cookie dough bread. I love cookie dough (who doesn’t?!), so I put it into bread form. AND this gluten free bread is actually healthier than you could imagine. it’s a fraction of the sugar of traditional cookie dough and can be made fully refined sugar free.
gluten free cookie dough bread
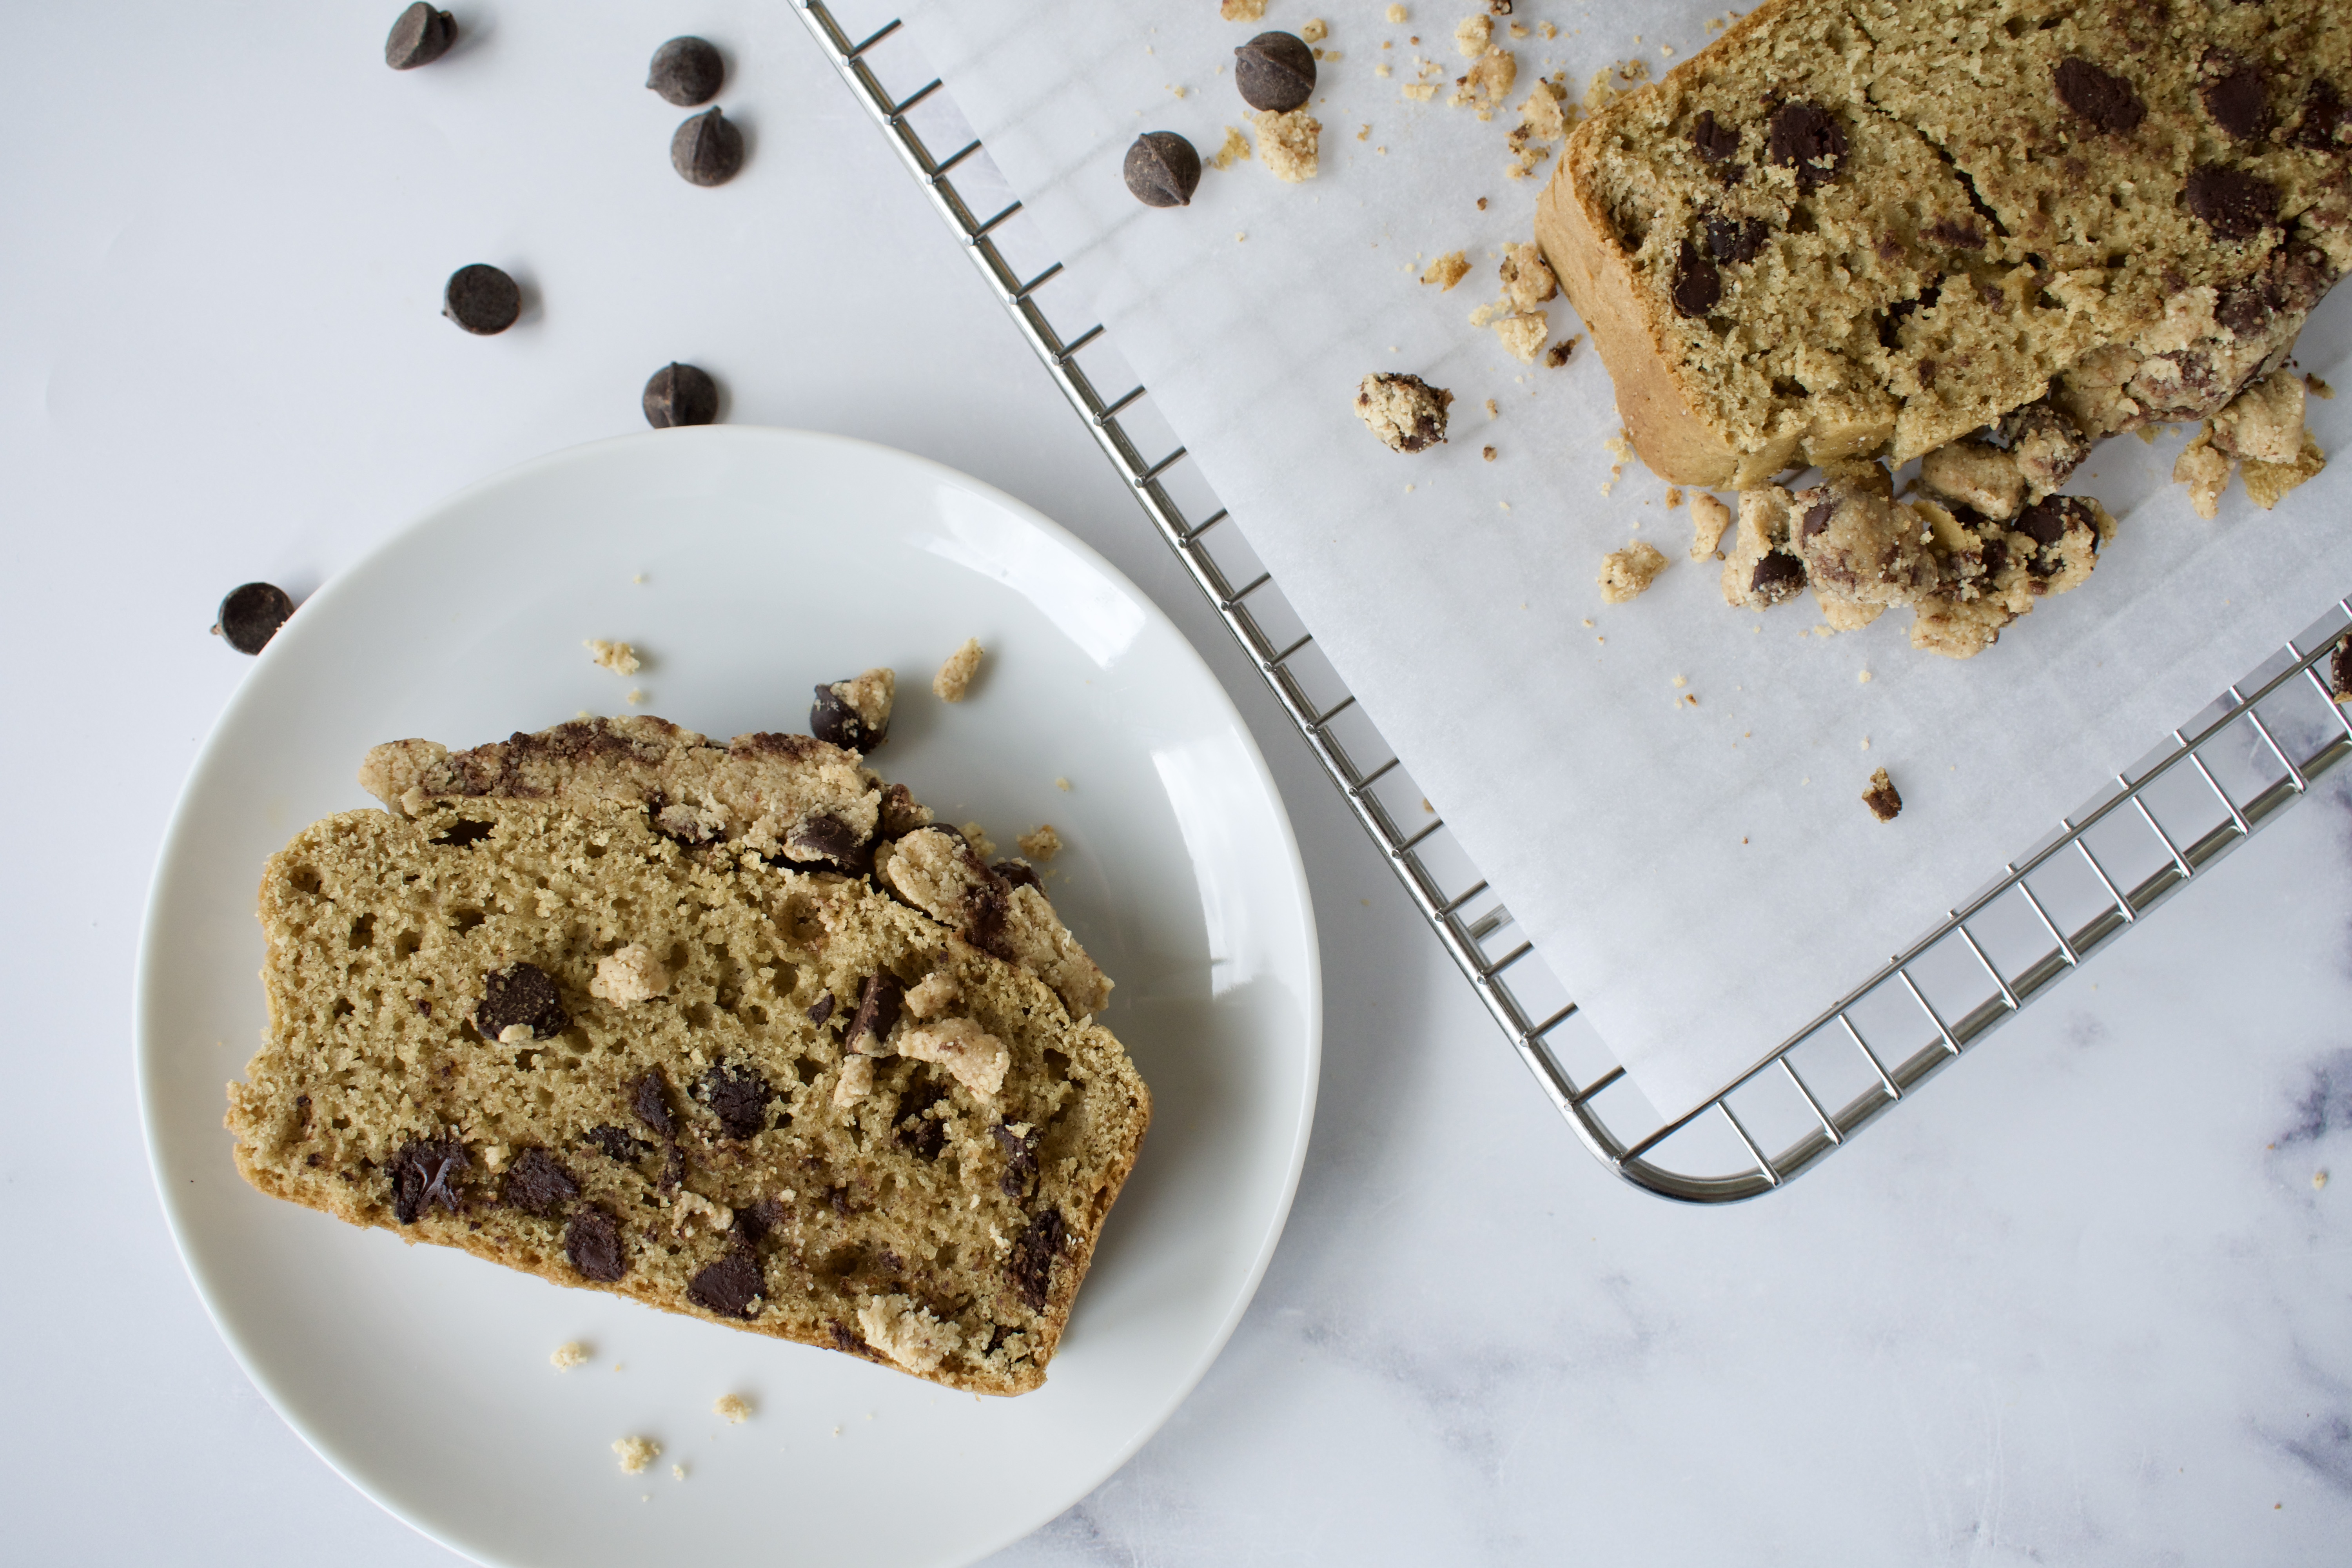
I knew I wanted to make this loaf more than just a chocolate chip bread. It needed some oomph. So I decide adding some raw, edible cookie dough on top would really bring it all together! This chocolate chip loaf is made dense and moist with the addition of yogurt, so it’s not just like a fluffy chocolate chip muffin- you really get that cookie dough vibe. I didn’t want it to be a banana bread, so the yogurt is what still gives us the thick, gooey vibes! Then there is a layer of delicious gluten free cookie dough on top to really take this bread to the next level.
gluten free cookie dough bread
Gluten Free Cookie Dough Bread
Ingredients:
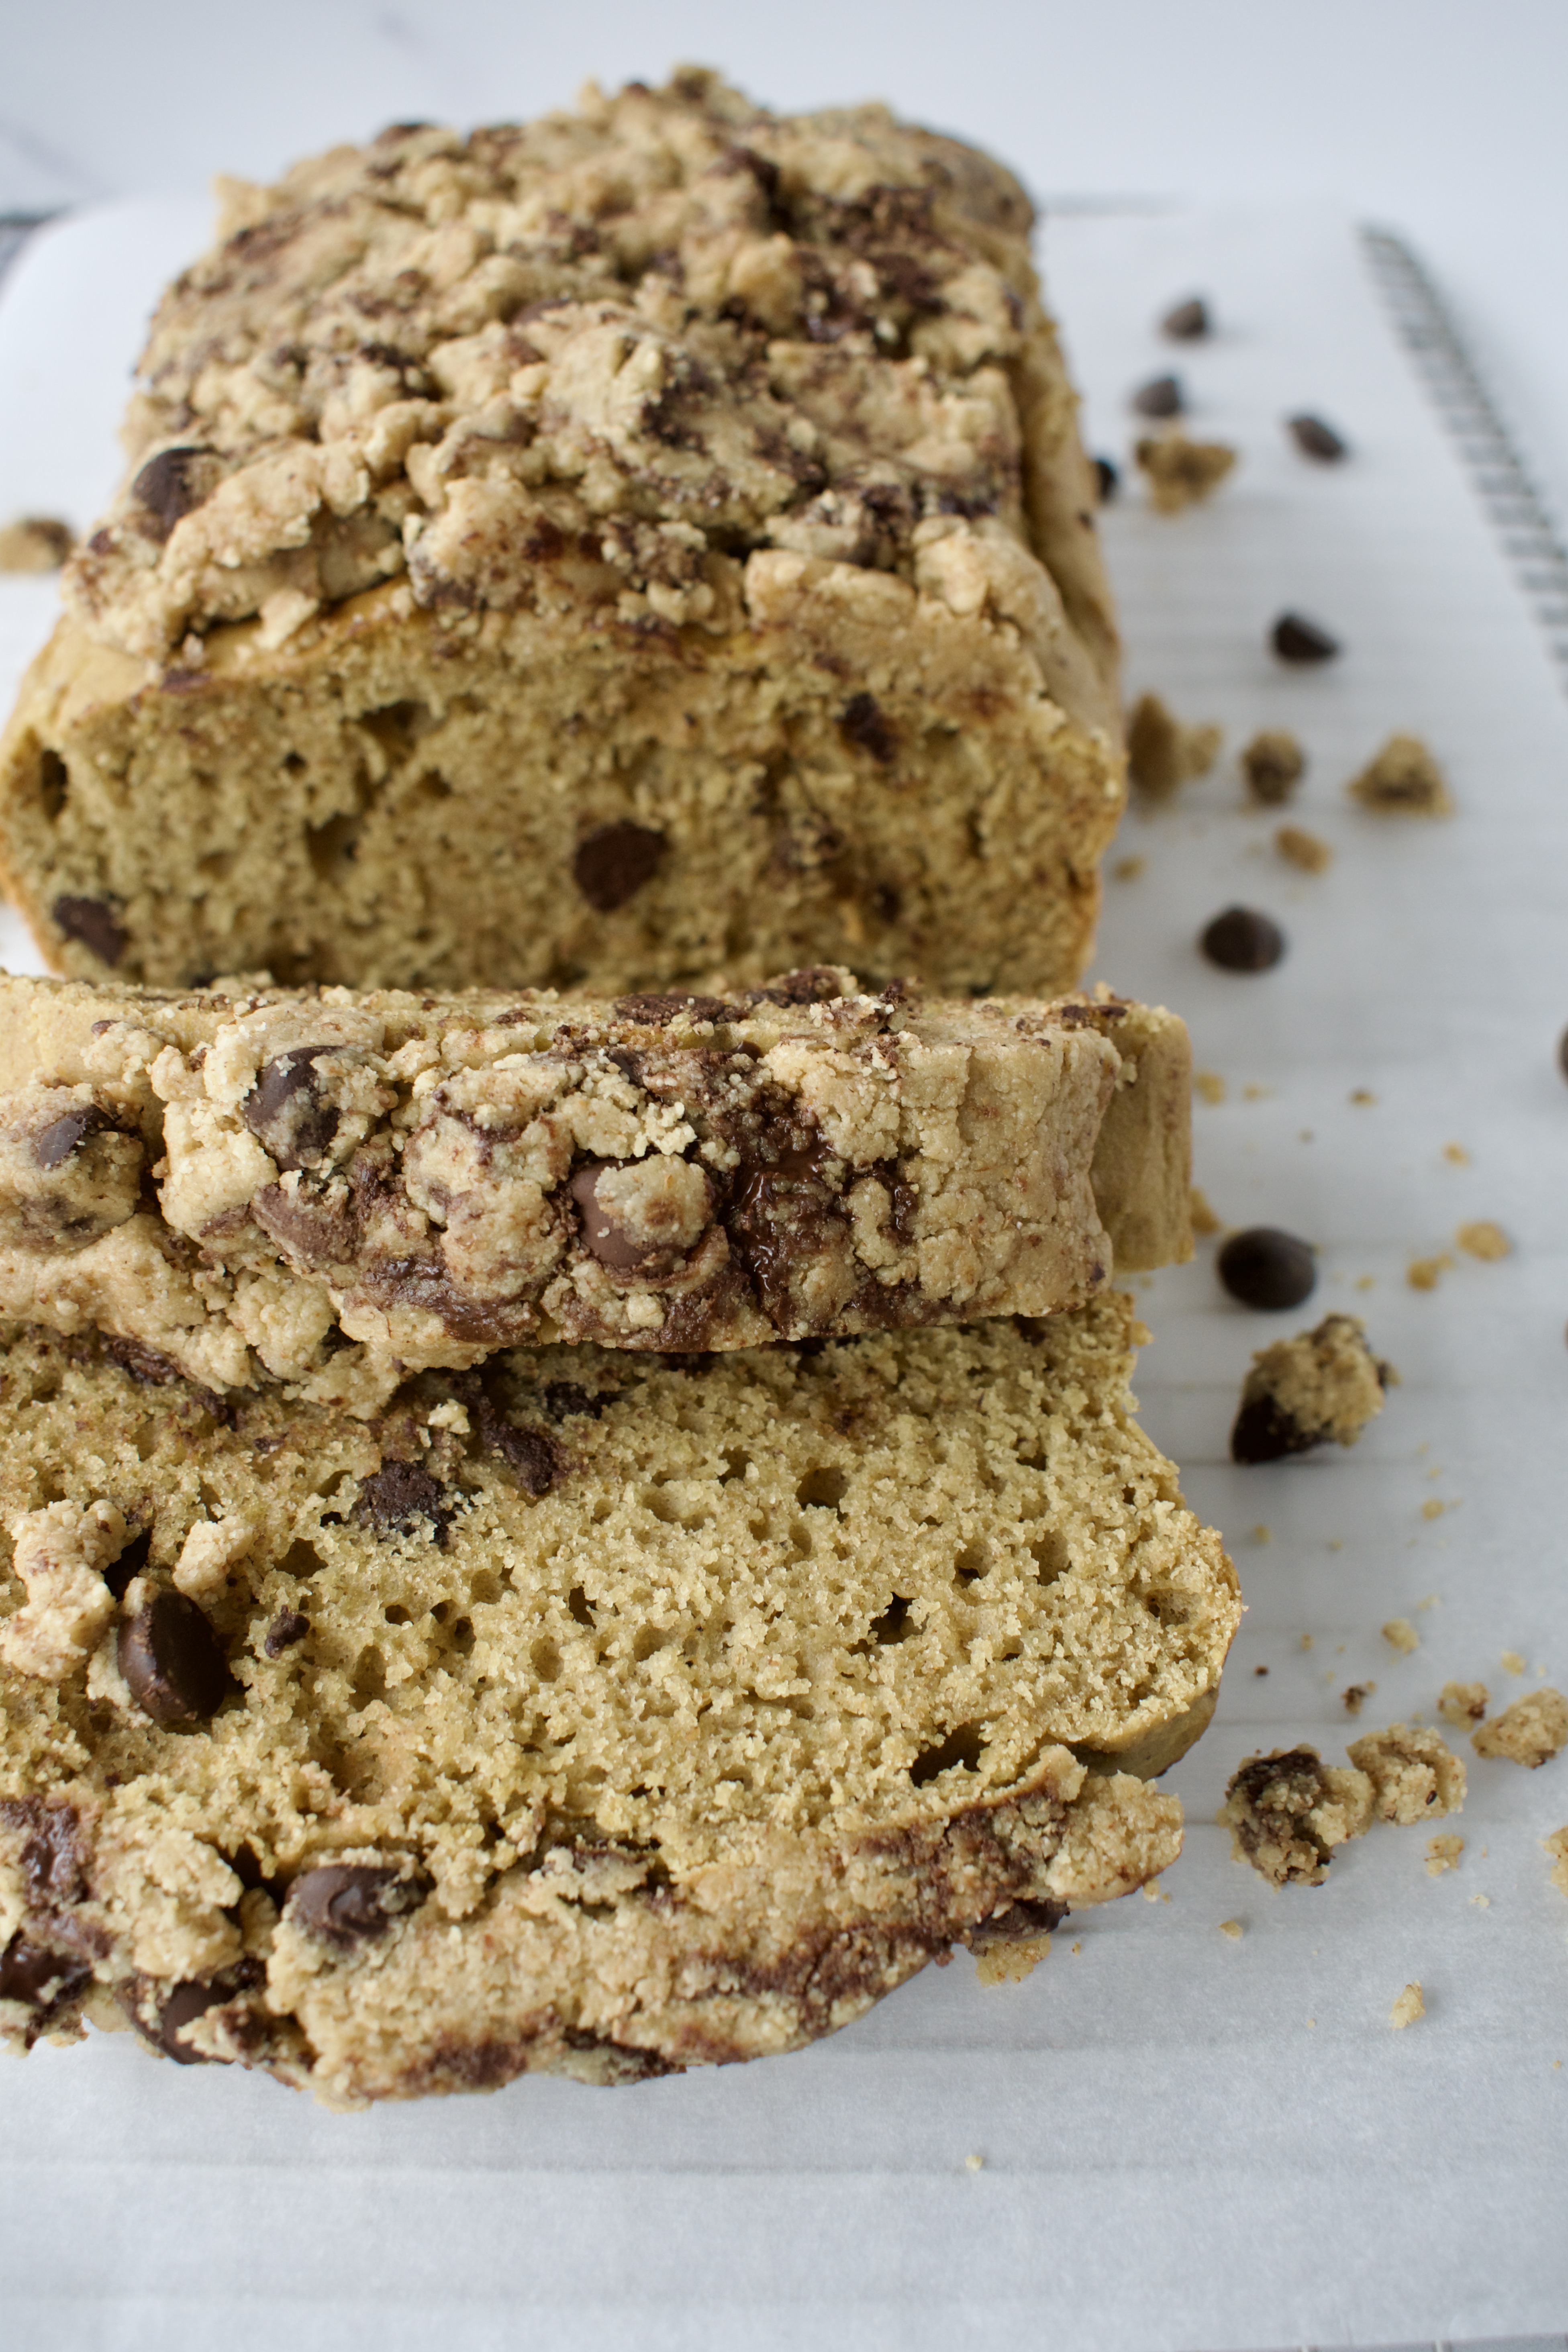
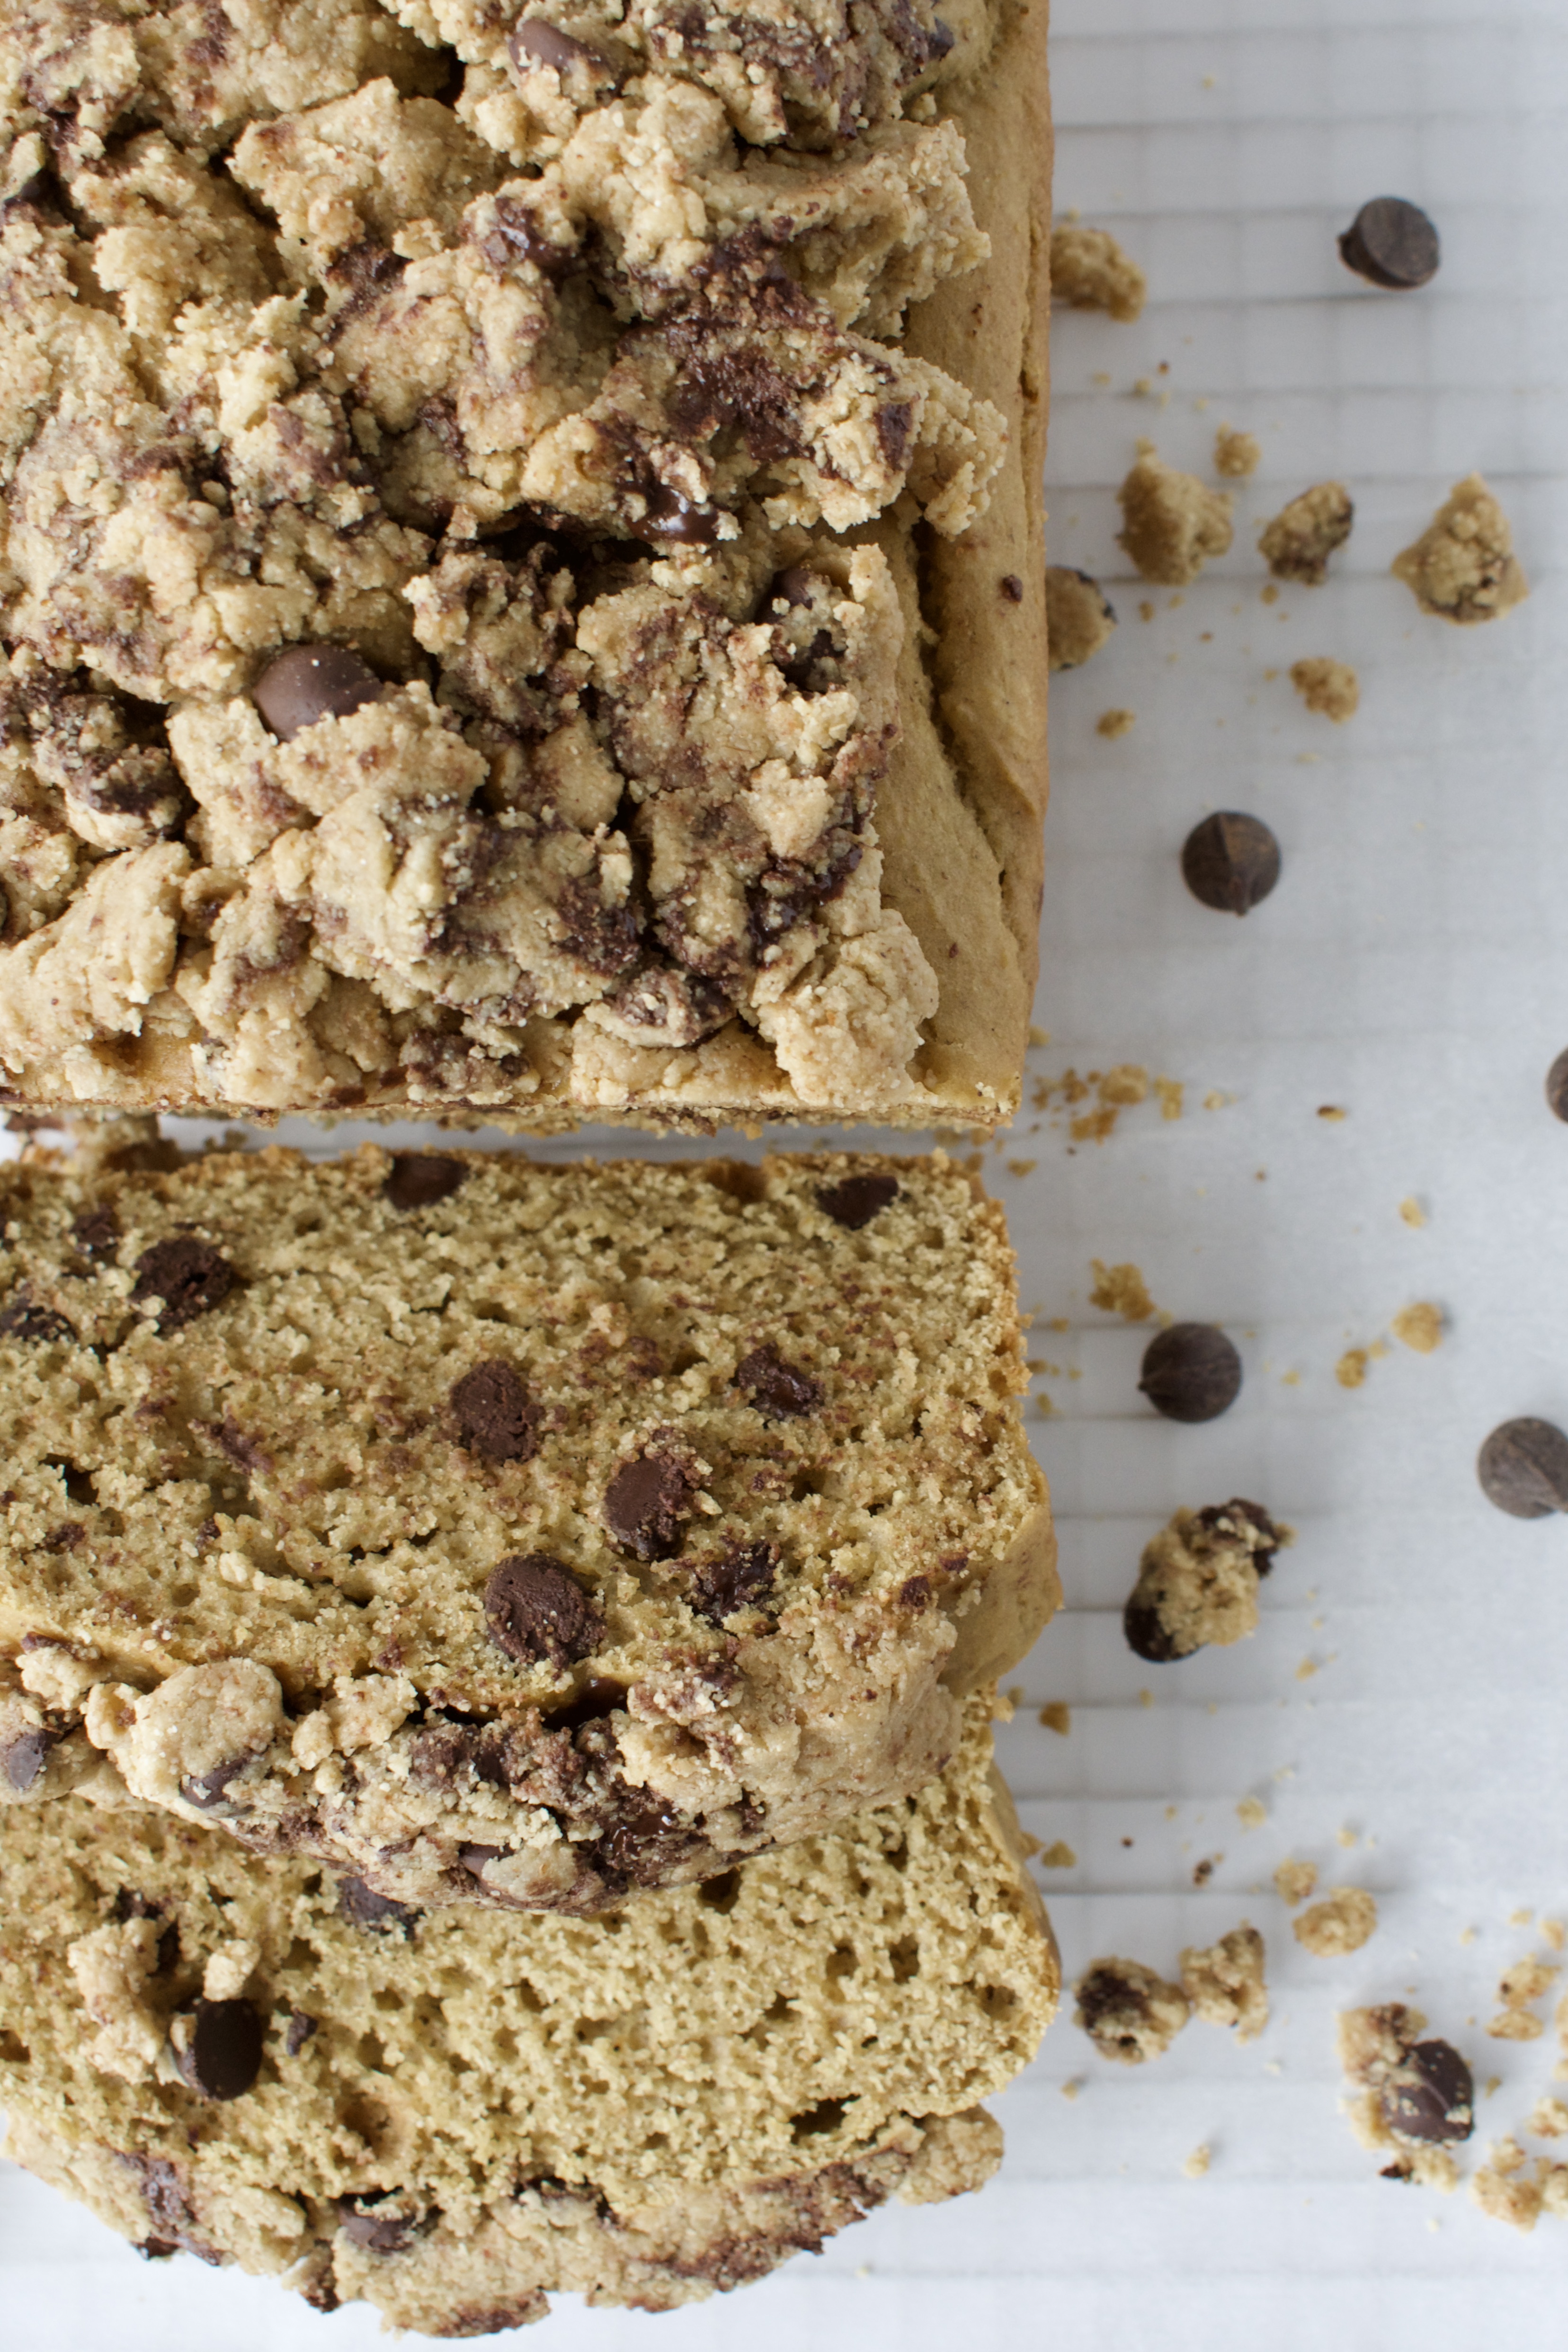
The loaf itself is made of a mix of gluten free flours that includes 1:1 gluten free flour, tigernut or almond flour, and oat flour. Then there are the basics of baking powder and soda, and salt. The wet ingredients consist of eggs, maple syrup, liquid oil or butter, yogurt, and vanilla extract. Of course, plenty of chocolate chips too! The flour combo and yogurt are what give this bread the delicious gluten free cookie dough vibes.
Make sure to use certified gluten free oat flour to keep this recipe completely gluten free. I like to grind my own oat flour.
Use a vegan butter and yogurt to keep this recipe dairy free.
You can keep this recipe completely refined sugar free depending on the chocolate chips you use!
The vegan cookie dough topping is made from a mix of oat and tigernut (or almond) flour, maple syrup, coconut oil, granola/nut/seed butter of choice, vanilla, and chocolate chips. The topping is optional, but just makes this delicious dessert more decadent.
Process:
Cookie dough bread is really easy to make! First, you sift the dry ingredients together. Then beat all the wet ingredients together. Add the dry to the wet, fold in the chocolate chips, and bake.
While the bread is cooling, you can make the cookie dough topping by whipping the wet ingredients together and then adding the dry to combine. Fold in the chocolate chips then top your loaf with the delicious gluten free cookie dough!
This healthy cookie dough bread is gluten free, dairy free, and can be made refined sugar free. It's a decadent and delicious snack or dessert that takes everyones favorite- cookie dough- and makes it into an edible loaf!
Sift together the dry ingredients in a medium bowl and set aside.
In a large bowl, beat together the eggs, maple syrup, butter/oil, yogurt, and vanilla extract until well combined.
Add the dry to the wet and mix until well combined.
Fold in the chocolate chips.
Let batter sit while you line a loaf pan with parchment paper. Spread the batter evenly into the pan and bake for 35-40 minutes, until just done (toothpick has a few crumbs on it).
Let loaf cool in the pan while you make the cookie dough topping. Beat together the syrup, oil, nut/seed butter, and vanilla until well combined. Add in the dry ingredients and beat to combine. Fold in the chocolate chips. Press the cookie dough on top of the loaf evenly and gently.
After 10 minutes, remove the loaf from the pan to finish cooling on a wire rack. Let the loaf cool completely, preferably several hours, before cutting into it.
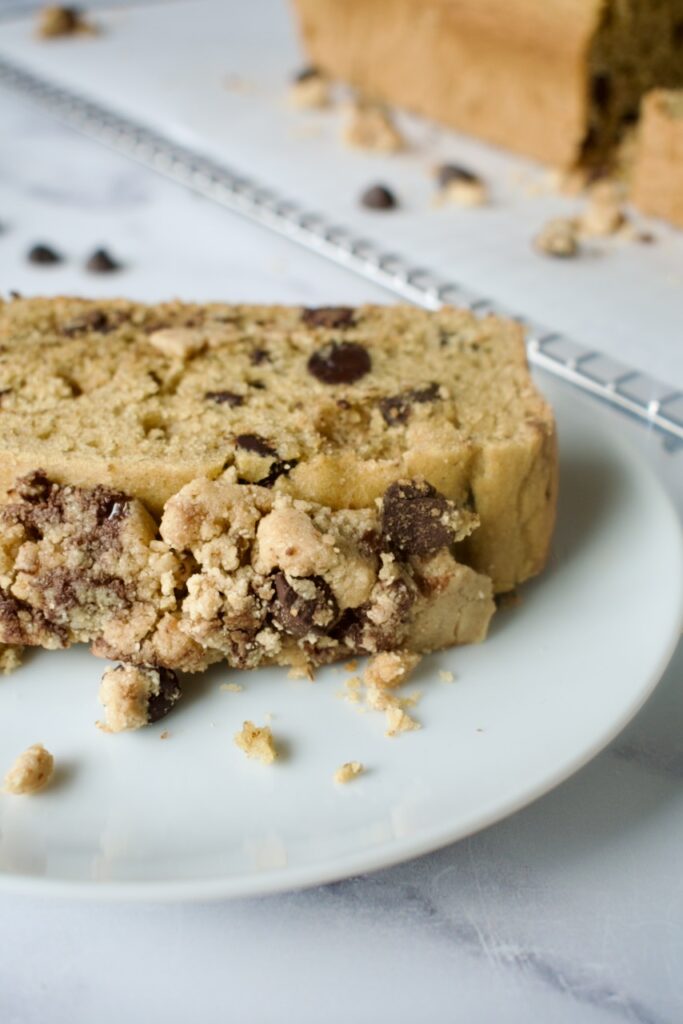
I highly suggest warming up a slice before eating. It tastes amazing warmed with the chocolate chips a little bit melty.
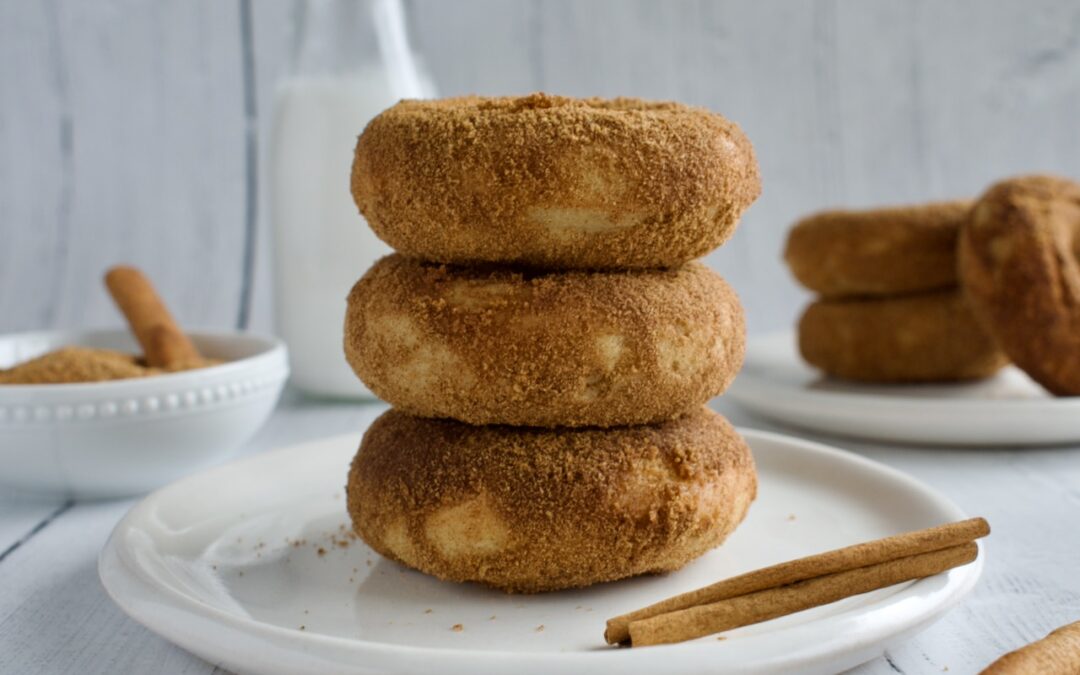
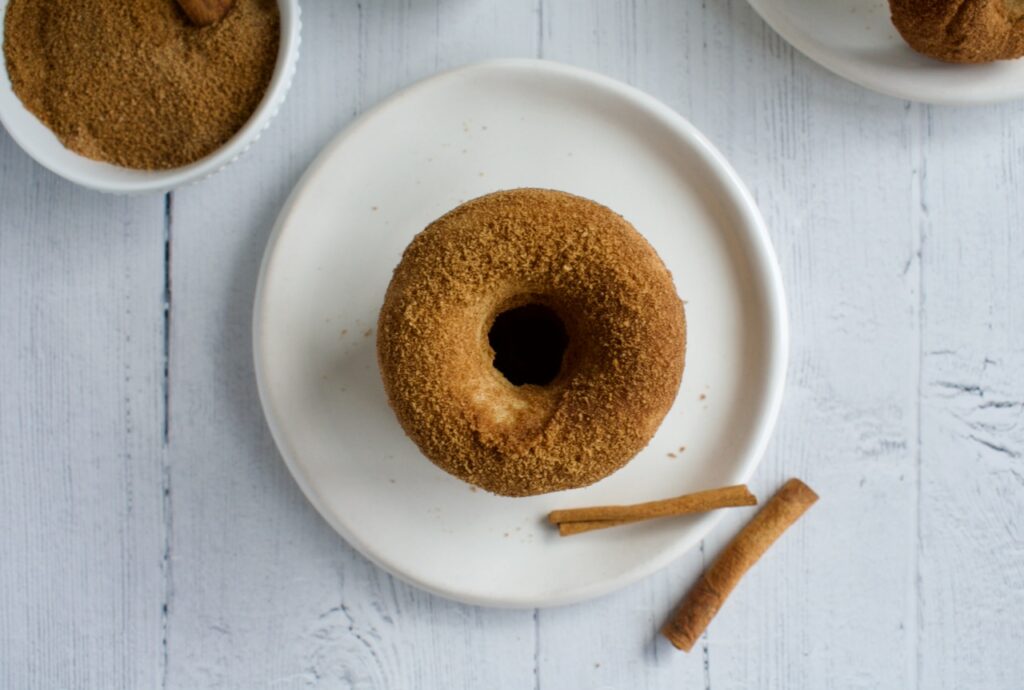
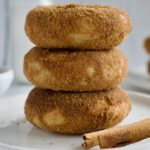
These gluten free donuts are baked and then tossed in a cinnamon sugar coating for pure perfection. Dairy free, refined sugar free, and nut free, how can you go wrong?
gluten free cinnamon sugar donut
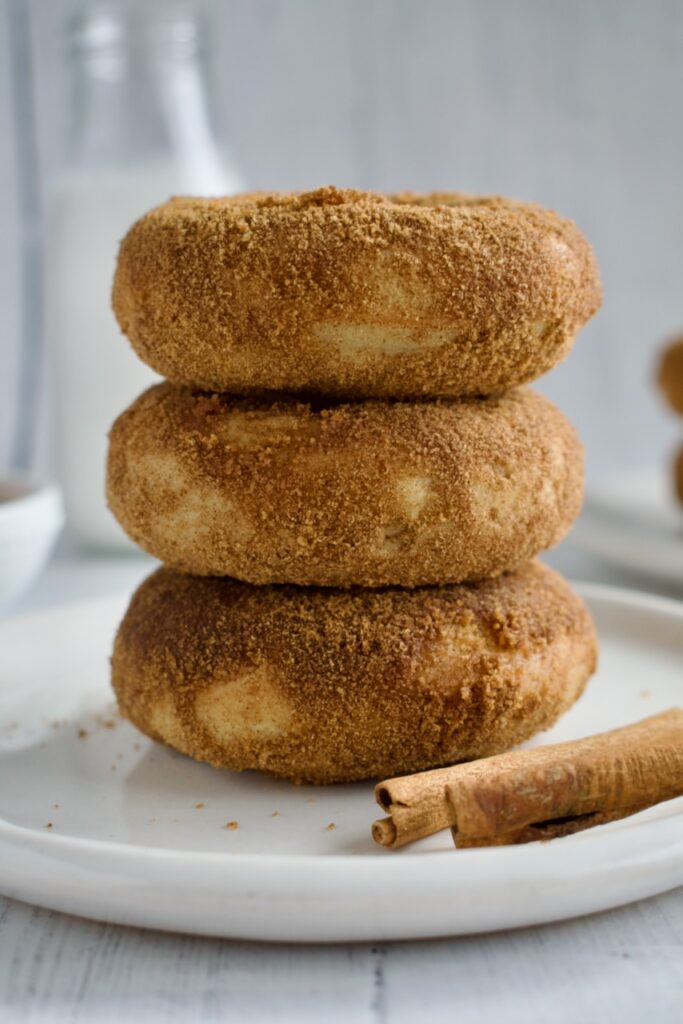
I have an important question for you- are you a fried donut person or baked donut person? Let me know in the comments! I’m partial to baked donuts because, well, fried foods can be intense. Also, making baked donuts at home is so much easier. I like that baked donuts are a little denser too.
These gluten free baked donuts are allergy friendly, free of dairy, nuts, and refined sugar. Plus, they are lower sugar than any donut you’d find in the store. My mission is always to create lower sugar baked goods. You don’t need all the sugar usually called for in recipes to make treats taste good! Why not enjoy something delicious without the blood sugar crash? Of course, there is a science to baking with sugar and higher amounts are needed in certain recipes.
tigernut or almond flour: this is my favorite way to decrease the amount of sugar needed. Both of these flours are naturally sweet, so you can get away with less added sugar.
maple syrup: there is only 1/4 cup of maple syrup in these donuts making them lower GI.
yogurt: you can use a vegan yogurt like I did (my favorite is Forager) or Greek yogurt if you can have dairy
egg
vanilla
coconut sugar: this unrefined sugar is used to toss the donuts in!
coconut oil
Instructions:
Making donuts is actually super easy. You just combine all the ingredients, pipe the batter into a donut pan, and bake. When the donuts are done, you’ll toss them in cinnamon sugar and try not to eat them all in one sitting.
Sift together the flours and then whisk in the cinnamon, salt, and baking powder.
In a separate bowl, beat together the oil, maple syrup, yogurt, egg, and vanilla extract.
Add the dry to the wet and stir to combine.
Grease a donut pan then pipe the batter into the pan. You will get 8-10 donuts (so you may have to bake in batches if you only have one pan, or you can make donut holes with the remaining batter).
Bake the donuts for 14-16 minutes until a toothpick comes out clean. Let cool for 10 minutes in the pan before flipping the donuts out.
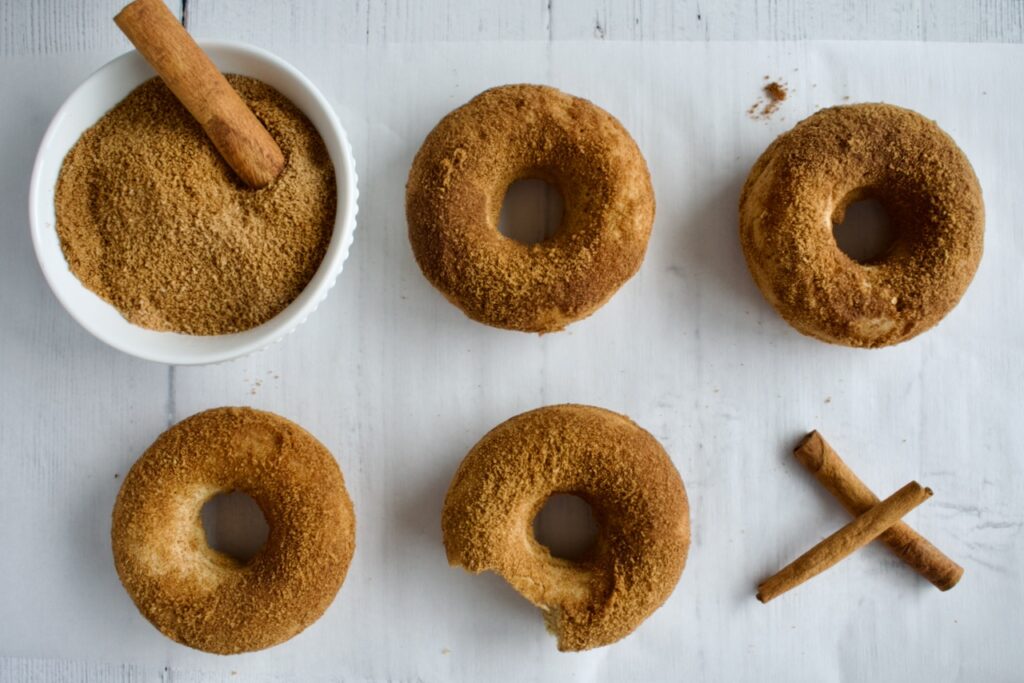
While donuts cool, combine your sugar and cinnamon in a ziplock bag. The amount of cinnamon really depends on your preference. I like to start with 1 tsp and add if desired.
When donuts are cool enough to handle, brush one with the melted coconut oil then place it in the bag of cinnamon sugar. Close the bag and toss the donut until fully coated. Remove to a wire rack and repeat with the remaining donuts.
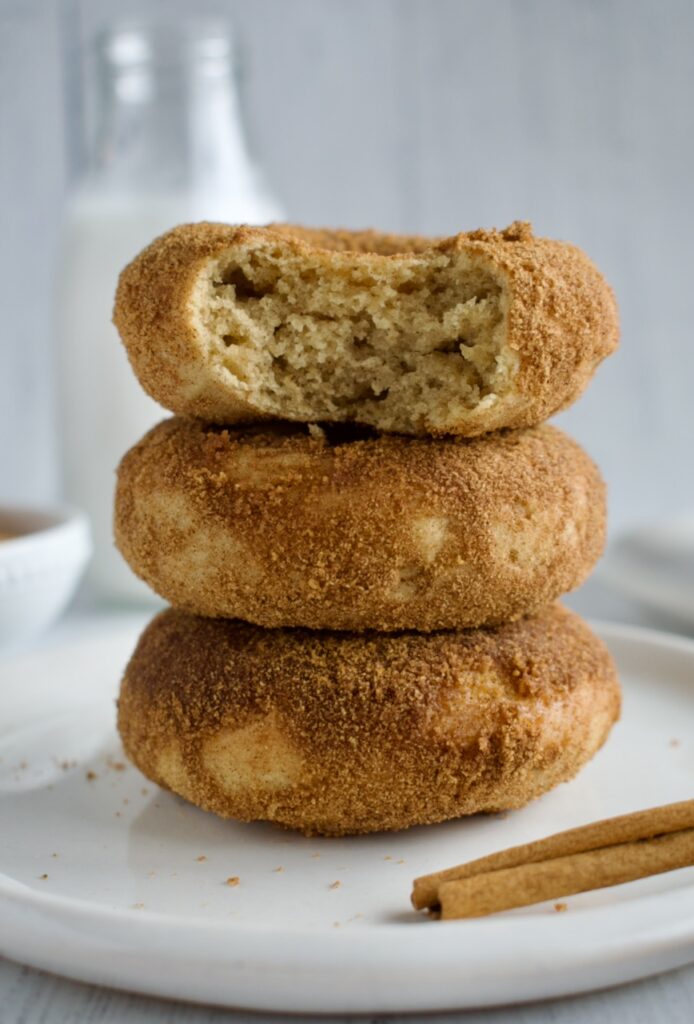
These donuts taste best fresh, but will last for a couple days at room temperature.
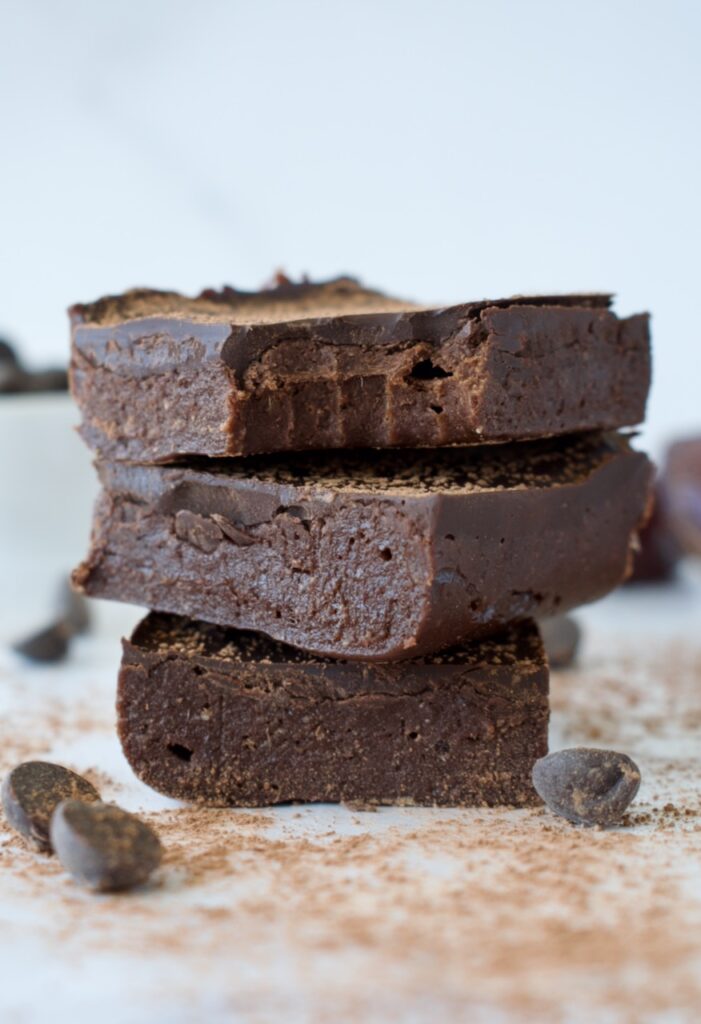
These will be the easiest brownies you’ve ever made. Packed with all the chocolate goodness, they are completely gluten free, refined sugar free, can be made vegan, AND are high protein!
no bake brownies
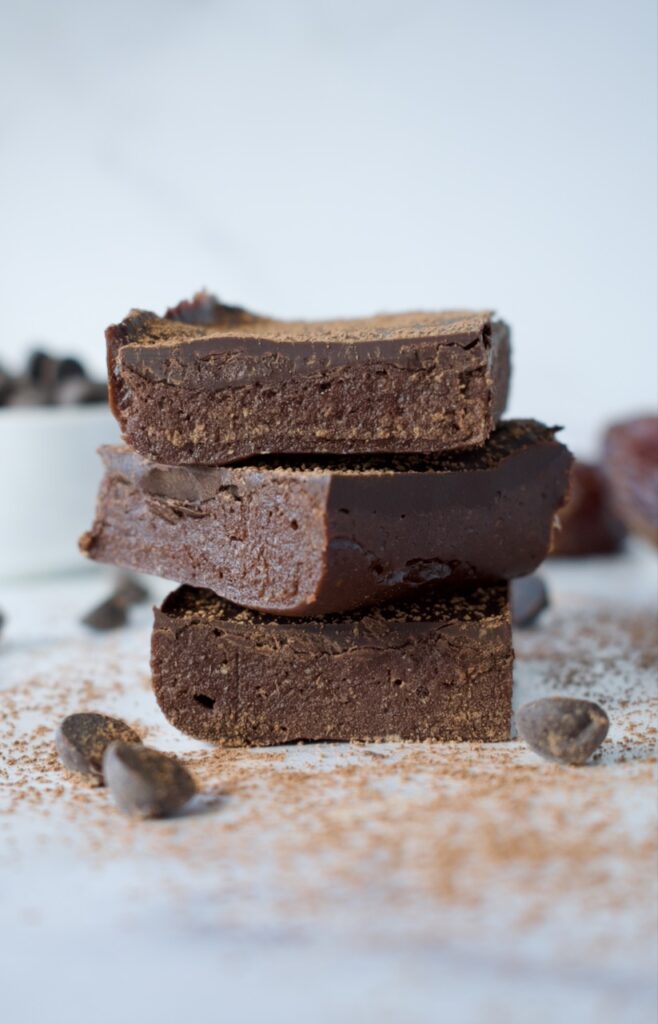
Craving a chocolate treat, but don’t want to go through the hassle of turning the oven on and baking an entire batch of brownies? Then this recipe is for you! These no brownies only require the fridge. Plus they are completely gluten free and can be made both vegan and refined sugar free. My favorite thing about these healthy brownies is that they are high in protein, making them an awesome snack. They’ve been my go-to afternoon snack for weeks now.
gluten free no bake brownies
No Bake Protein Brownies
Let’s talk ingredients! What’s in these gluten free brownies that makes them so healthy?
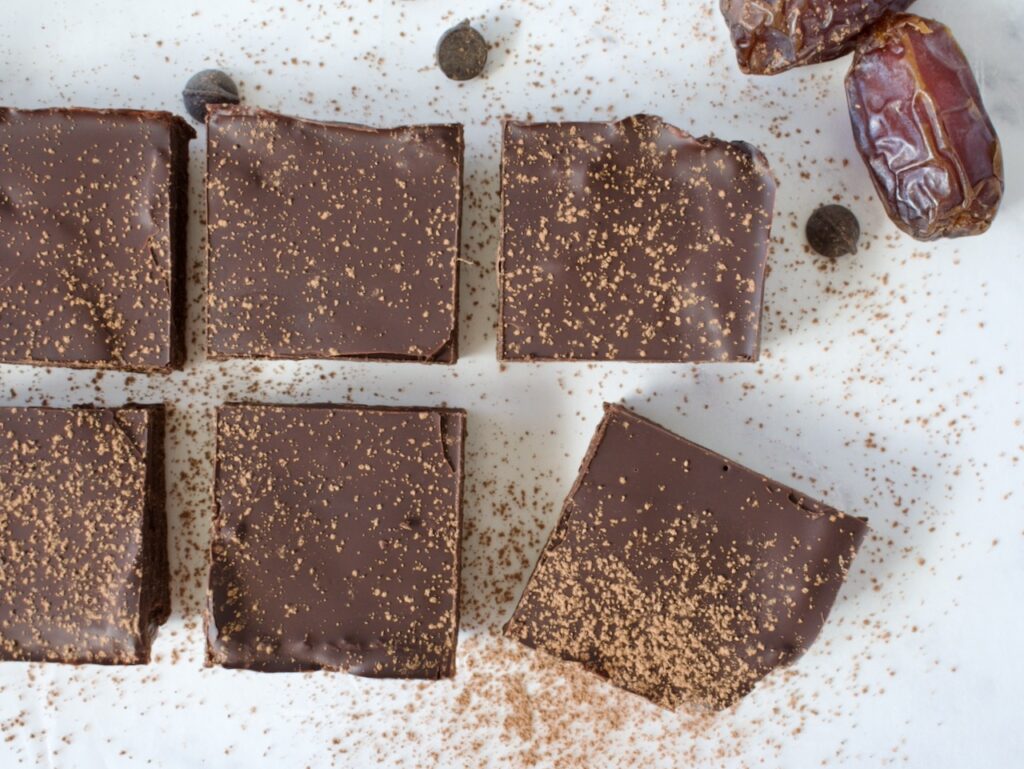
Dates: these no bake brownies are sweetened only with dates!
Cocoa powder: pure cocoa powder delivers the rich chocolate flavor.
Protein powder: the “flour” in these brownies is protein powder. I like to use the pea protein from Sprout Living (code LEMONSNLYME20 for 20% off) to keep these brownies vegan. You can use any protein powder you want, though, and feel free to use a chocolate flavored one to enhance the chocolate in this recipe!
Granola butter: I use my granola butter recipe to keep these brownies nut free, but you can use any nut/seed butter you want.
Chocolate chips: to enhance these no bake brownies, they are topped off with a layer of melted chocolate. You can keep them vegan and refined sugar free depending on the chocolate you use. I love Enjoy Life for an allergy friendly option or HU Chocolate to keep them completely refined sugar free.
How do you make no bake brownies?
You just blend everything together! Yes, it really is that easy. First, the dates are soaked until soft and then combined with the remaining ingredients. Everything is blended together in a food processor until you get a smooth batter.
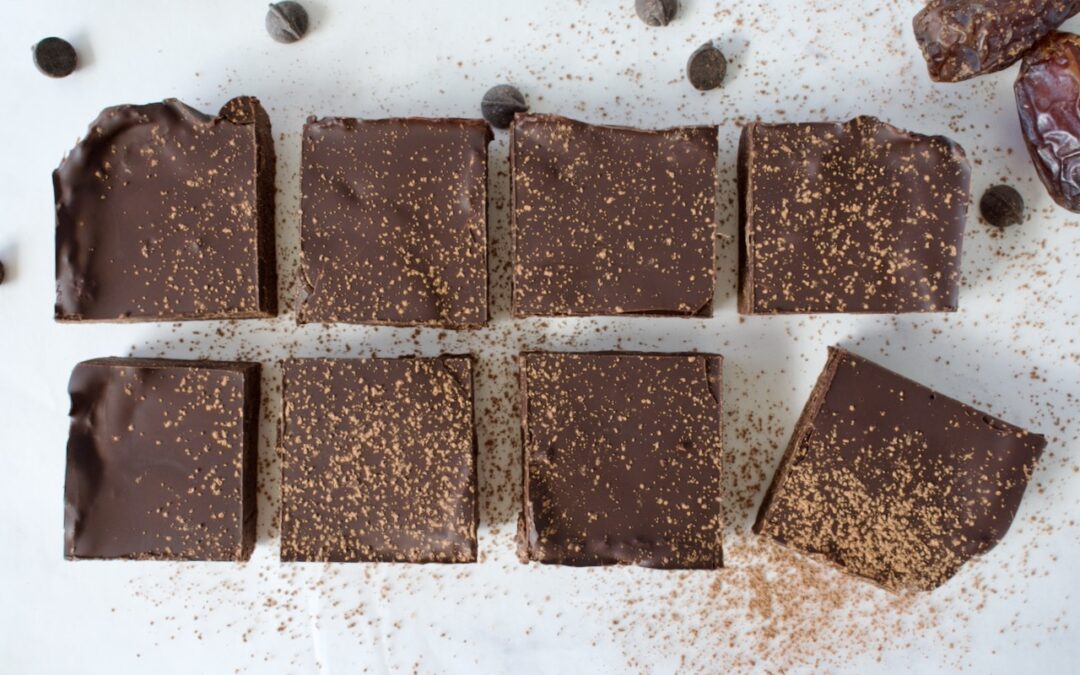
The batter is spread into the bottom of a loaf pan and topped with melted chocolate. Let everything set in the fridge and then your no bake brownies are ready. Blend, spread, refrigerate, and eat. That’s it!
These easy brownies require no oven or hand mixing. They are high in protein and completely gluten free and can be made vegan and refined sugar free. The perfect no bake brownies do exist!
Soak the dates in hot water for 10 minutes to soften.
Combine dates, granola/nut/seed butter, protein powder, cocoa powder, vanilla, and salt in a food processor and blend until you have a smooth batter.
Line a loaf pan with parchment paper then spread the brownie batter evenly into the pan.
Combine the chocolate chips and coconut oil together in a microwave safe dish (I like to use a measuring cup) and melt at 30 second intervals until smooth. Pour the chocolate over your brownie batter and spread evenly across the top.
Refrigerate the brownies for an hour, until the chocolate on top has hardened. Cut and enjoy! Keep these brownies in the fridge for up to 5 days, place leftovers in the freezer.
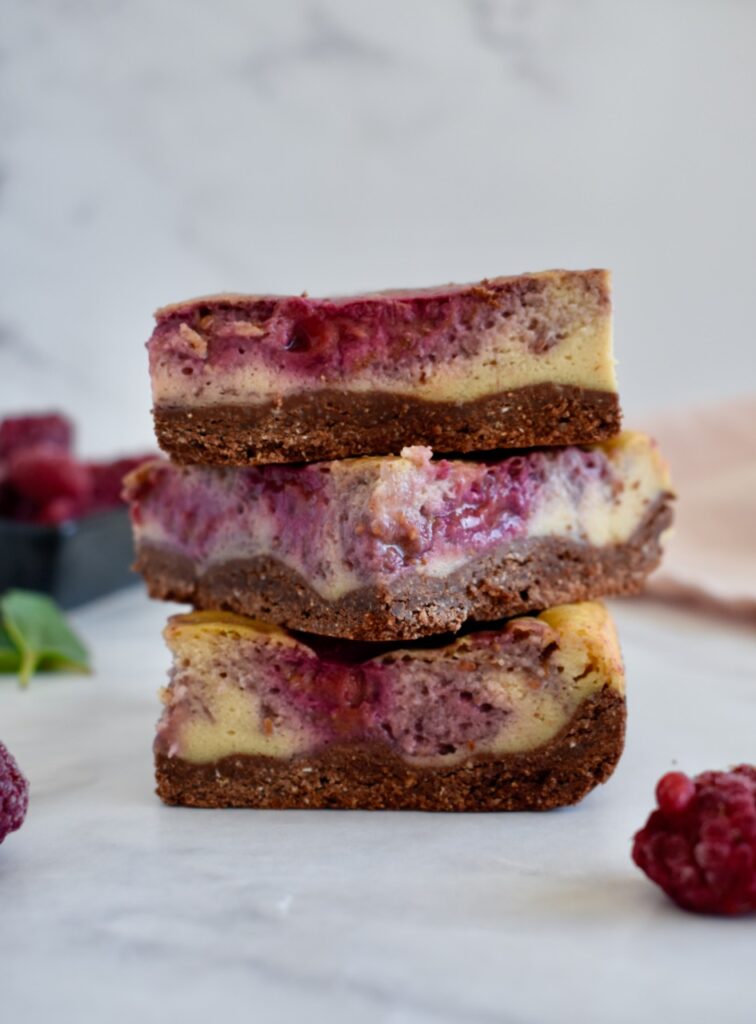
Creamy cheesecake, tangy raspberries, and sweet chocolate make these raspberry cheesecake bars the ultimate sweet treat! This dairy free cheesecake is gluten free, refined sugar free, and can be made nut free & high protein.
dairy free raspberry cheesecake bars
Honestly, who doesn’t like cheesecake? I don’t think I’ve ever met someone who doesn’t! Even though I can’t eat dairy, that doesn’t stop me from making delicious, allergy friendly cheesecakes at home. My cheesecakes are also 10x easier, nut free, and higher in protein.
What’s my secret? I use dairy free yogurt as the base instead of cream cheese. Maybe you’ll tell me this isn’t really cheesecake then, but it still tastes pretty darn good! This keeps the recipe nut free as most dairy free cream cheese brands utilize nuts as the base.
I like to make the easy, healthy, lazy girl version of cheesecake which is where the use of yogurt and protein powder come in. This amps up the nutritional value, doesn’t require the use of any special water bath for baking, and keeps this recipe completely allergy friendly.
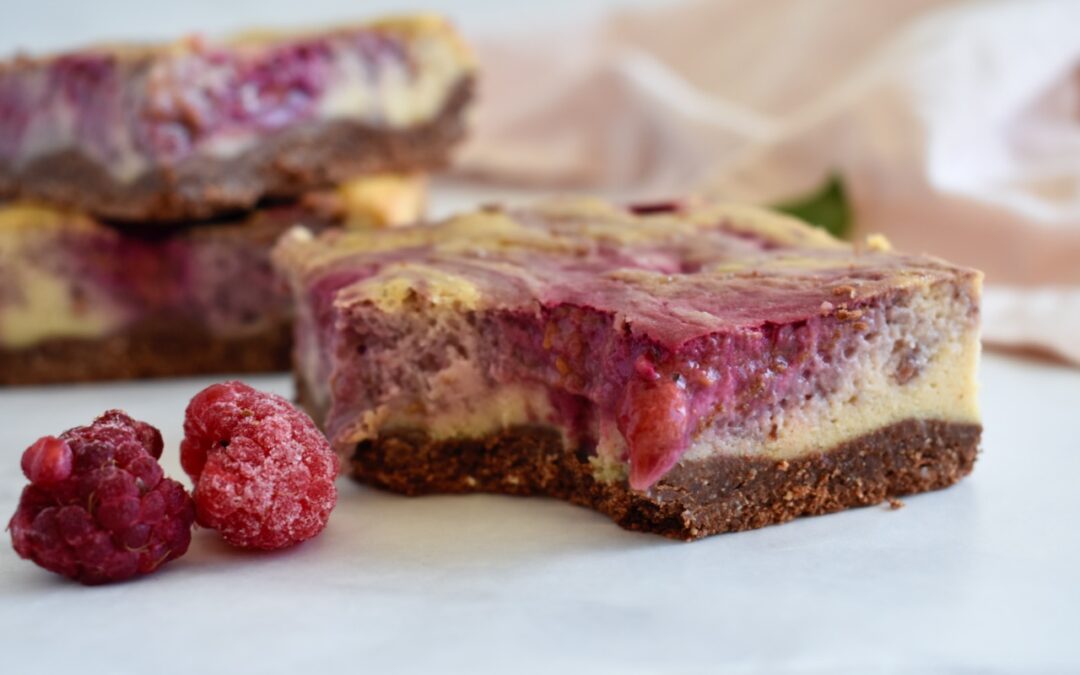
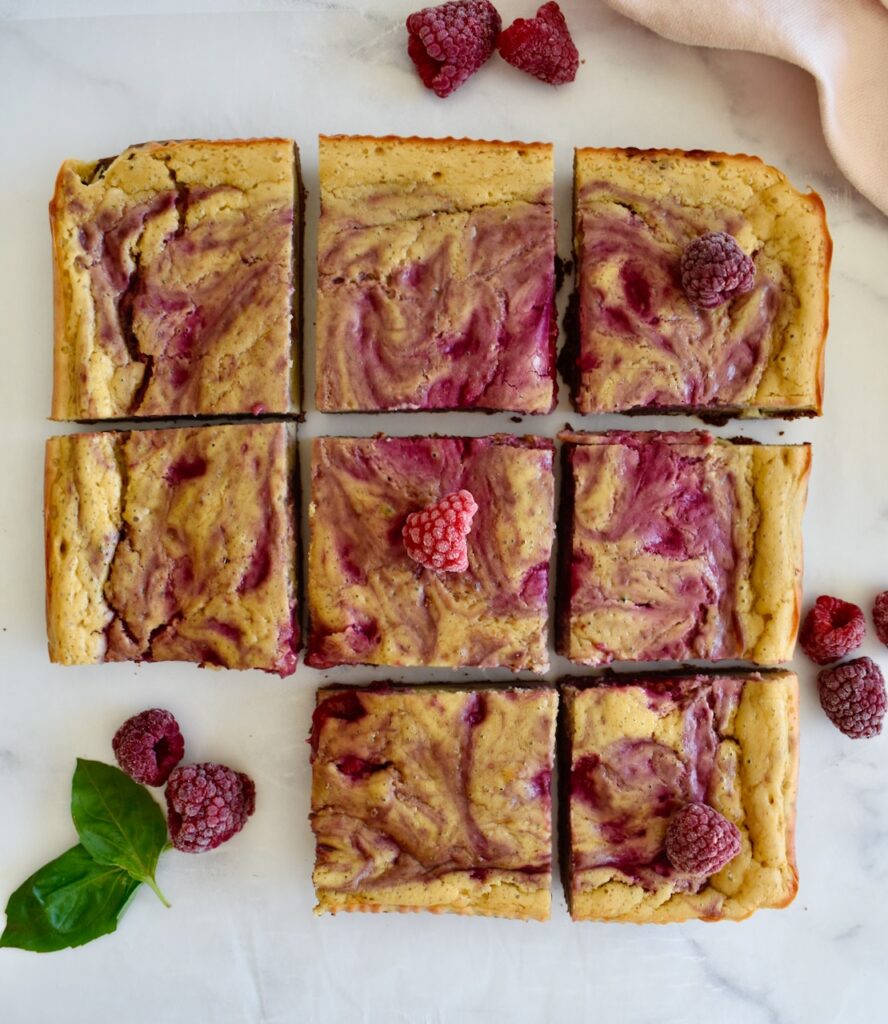
gluten free raspberry cheesecake bars with brownie crust
Ingredient Notes
Crust: The gluten free brownie crust is super easy to make. It is a combination of oat flour, tigernut or almond flour, and cocoa powder for the dry ingredients. You mix in some coconut oil and maple syrup and there you have it.
Filling: The filling for this cheesecake is composed of yogurt, maple syrup, eggs, pea protein, and tapioca starch.
Yogurt: I use a vegan yogurt in this recipe. If you use a coconut yogurt, that keeps this dairy free cheesecake completely nut free too! But you can also use Greek yogurt for a higher protein option.
Pea Protein: Yes, I add protein powder to my cheesecake! This is my secret to a thicker batter and higher protein, healthier dessert. Pea protein acts as a flour in baking, so it’s the perfect option. I have not tested any other proteins. If you use a whey based protein, I’d suggest adding 1-2 Tbsp of gluten free flour. If you do not have pea protein available, you can substitute this with 2 Tbsp of a 1:1 gluten free flour mix.
This is my favorite Pea Protein that has no weird additives or sugars. You can use code LEMONSNLYME20 for 20% off your order!
Eggs: I have not tested a vegan version of this recipe.
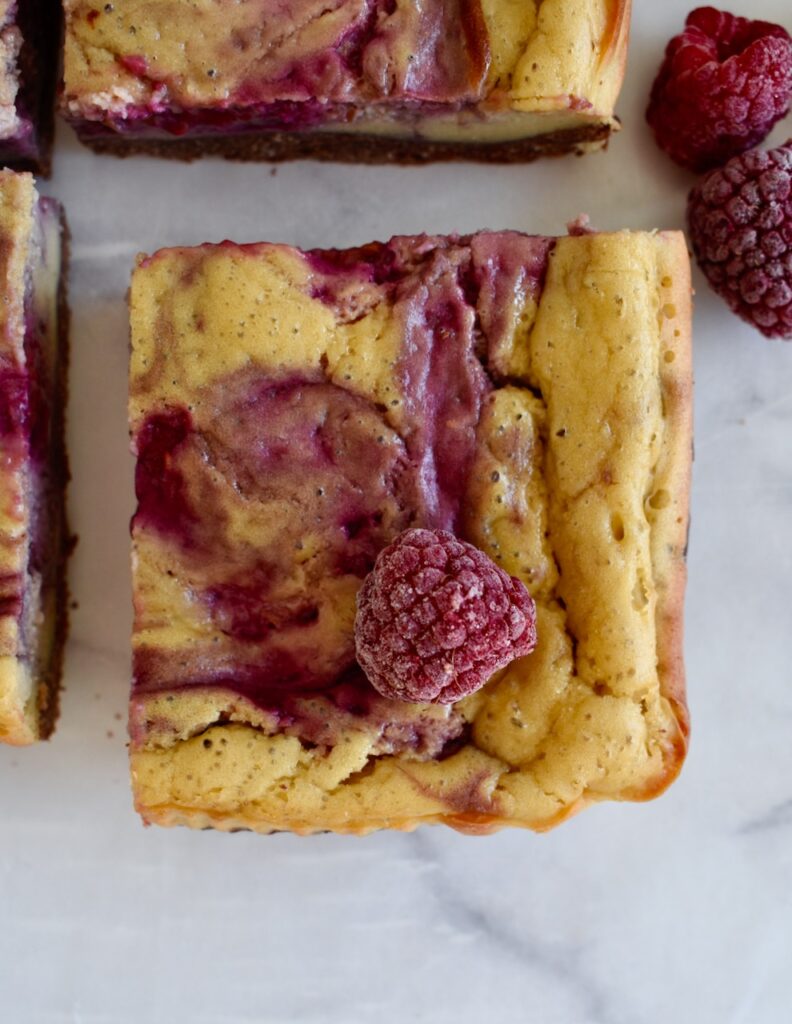
Raspberry Swirl: The raspberry swirl is super easy to make! All you do is combine raspberries and coconut sugar. You can feel free to use whatever sugar you want, but coconut sugar keeps this recipe refined sugar free. I prefer not to put the raspberry puree through a sieve as I don’t mind the seeds and prefer the extra fiber ;), but you can always do that if you want to.
Raspberry Swirl Cheesecake Bars with Brownie Crust
These healthier dairy free and gluten free cheesecake bars are the ultimate dessert! Creamy cheesecake, tangy raspberry, and sweet chocolate make this a crowd pleaser treat.
1cupfresh or frozen raspberriesif using frozen, make sure to thaw first
1tspcoconut sugar
Instructions
Preheat oven to 350F.
Line a 9×9 inch baking dish with parchment paper and set aside.
Whisk dry ingredients for the crust together first (flours, cocoa powder, salt). Add the wet ingredients and mix to combine until you have a dough.
Press the crust into the bottom of your baking dish into an even layer. Set aside.
To make the cheesecake filling, combine all ingredients together in a blender and blend until combined. You can also use a hand mixer.
Pour batter over the crust and set aside while you make raspberry swirl.
To make the raspberry swirl, blend together the raspberries and sugar until smooth. You have the option to put the raspberry puree through a sieve so there are no seeds, but I find this step unnecessary.
Place dollops of the raspberry puree over the cheesecake then use a knife or chopstick to swirl the puree through the cheesecake filling until you have a nice, even swirl throughout.
Bake the cheesecake for 50-60 minutes until the edges are just set and the middle seems almost not done, but has a slight give to it. Let the cheesecake cool to room temperature and then place in the fridge for at least 3 hours, preferably overnight.
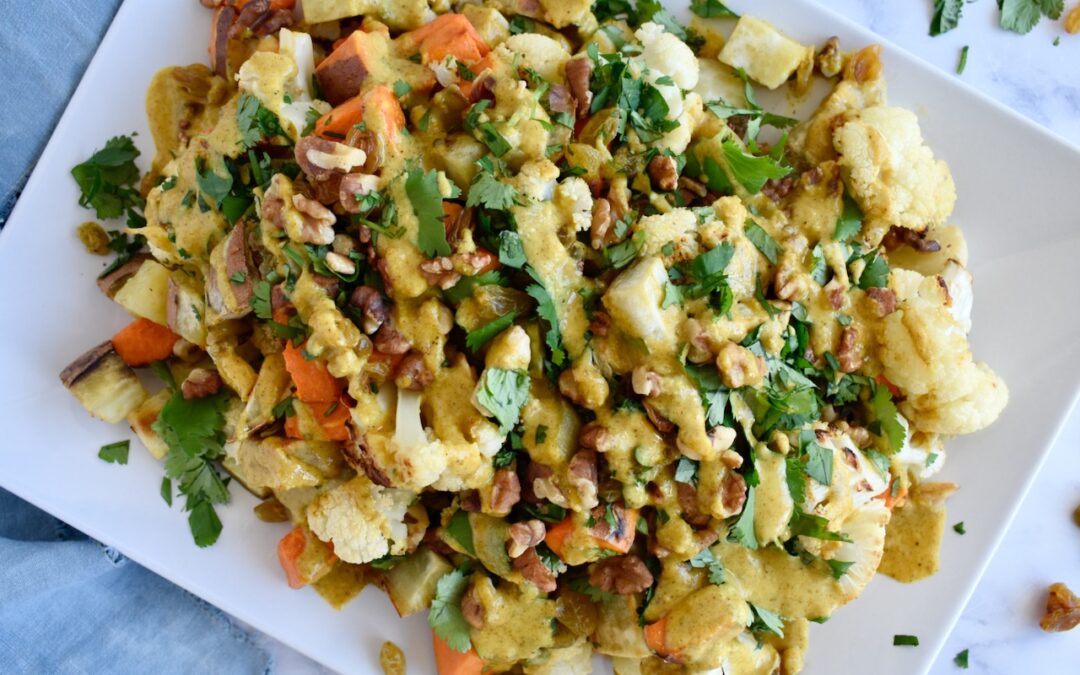
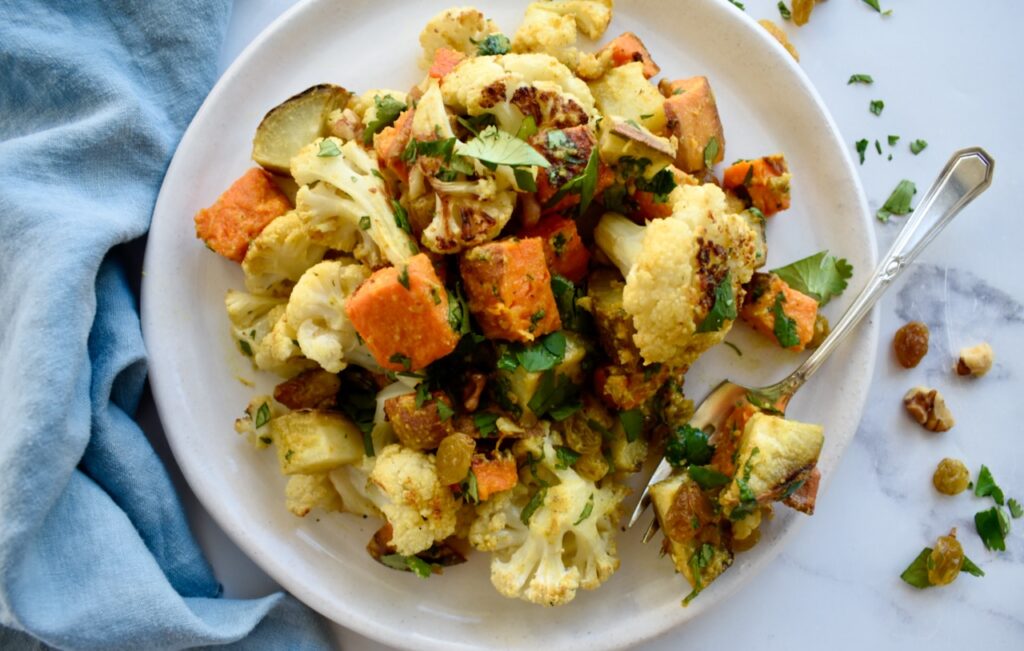
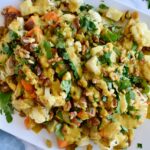
This curried cauliflower and sweet potato salad is nutrient dense and flavor packed. It’s the perfect vegan and paleo dish that can be turned into a complete meal!
curried cauliflower and sweet potato salad
Sweet potatoes are one of my favorite foods, so I’m always thinking of new dishes to make with them. Plain roasted vegetables can get boring, so I love making vegetables more fun and delicious. This roasted vegetable salad is filled with add-ins to bring in some crunch and sweetness and then dressed with a creamy dressing that has just the right amount of curry kick.
vegan roasted vegetable salad
Curried Cauliflower and Sweet Potato Salad
Ingredients:
Cauliflower
Sweet potato
Olive oil
Salt
Add-ins: golden raisins, toasted nuts (walnuts or cashews are best!), roasted chickpeas
Cilantro
Granola butter or nut/seed butter of choice
Lemon juice
Curry powder
Grated ginger root
Maple syrup
Garlic infused olive oil
How to make this salad:
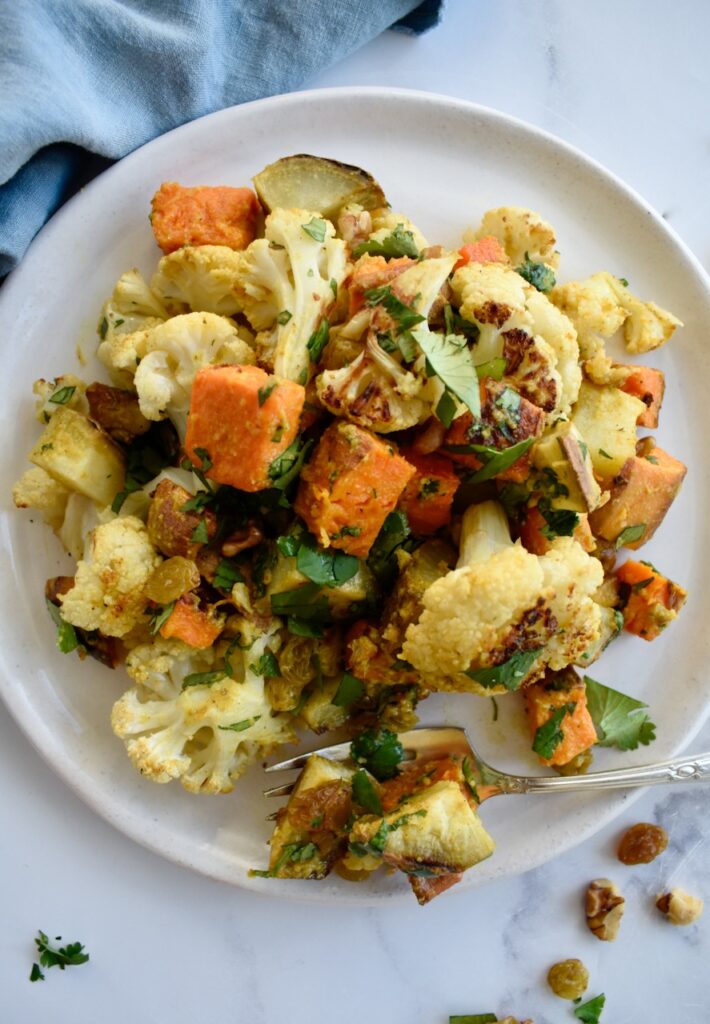
This veggie salad is easy to make. First, you roast the cauliflower and sweet potato. While those are roasting, you can measure out your add-ins, toast your nuts and chickpeas if using, and make the dressing. Once the vegetables are done roasting, you toss everything together.
This gluten free salad can be made fully paleo by using a nut or seed based butter for the dressing. I use my homemade granola butter in this recipe as it is my absolute favorite and is allergy friendly! You can keep this recipe completely nut free by using roasted chickpeas instead of nuts for the add-ins.
paleo roasted vegetable salad
Can I Make This a Complete Meal?
I love serving this vegetable dish with roasted chicken, but you can also make it a complete vegan meal by adding a can of roasted chickpeas. The chickpeas add the perfect crunch and a protein boost.
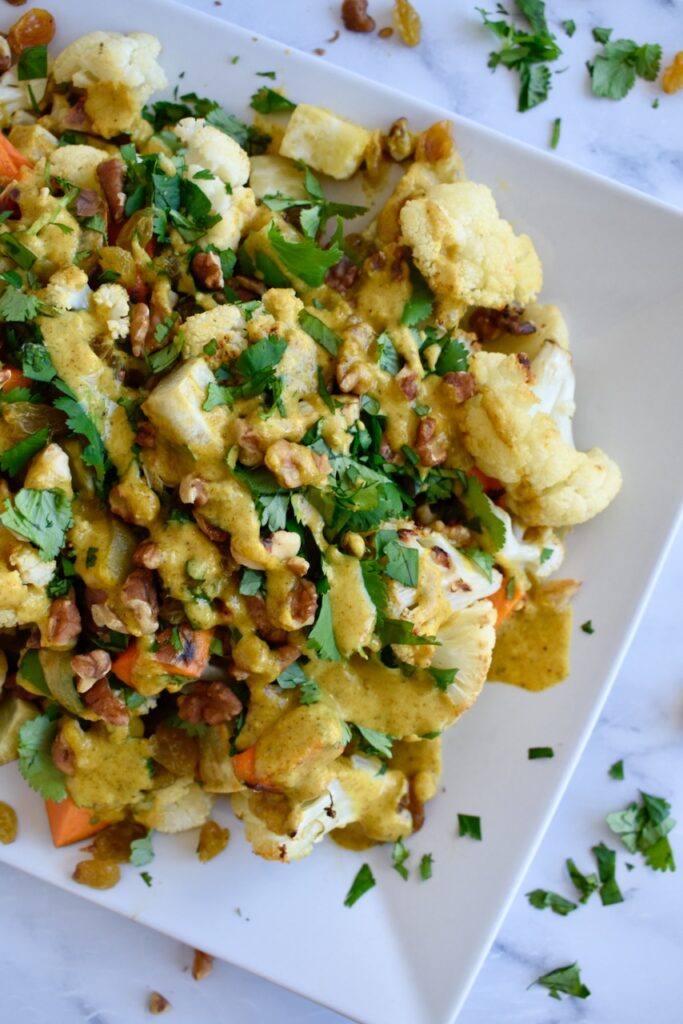
gluten free curried cauliflower and sweet potato salad
This fully vegan roasted vegetable salad is gluten free, dairy free, and can be made fully paleo. It is nutrient dense and packed with flavor- the perfect addition to any meal!
1Tbspgarlic infused olive oilor regular olive oil and 1 clove of pressed garlic
2-4Tbspwater
Instructions
Preheat oven to 425F.
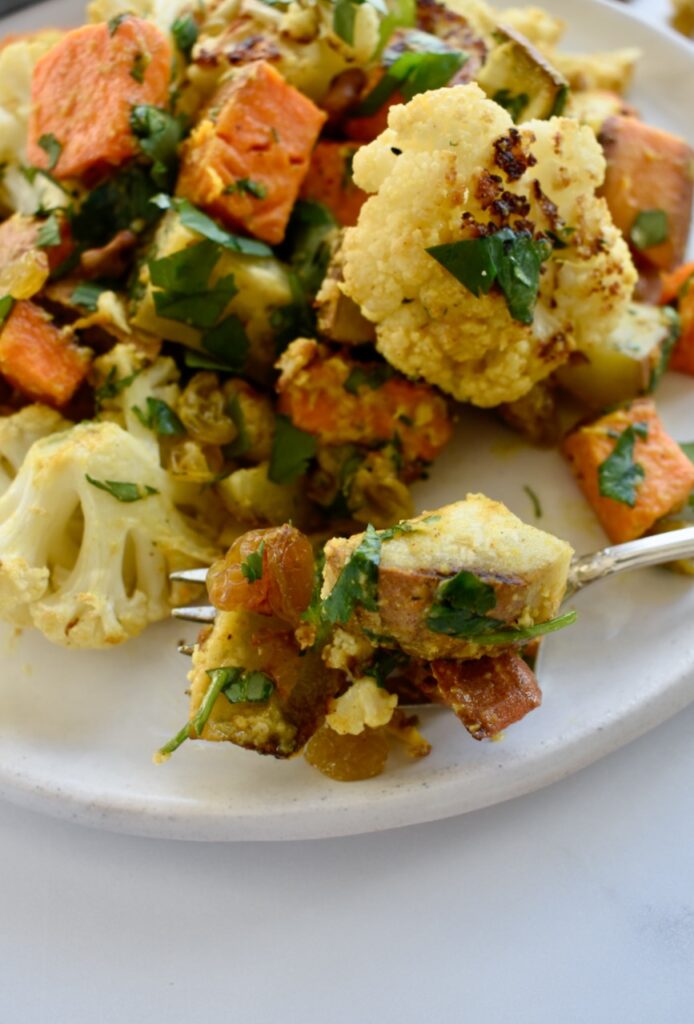
Chop cauliflower into florets and sweet potato into bite size pieces. Toss vegetables with olive and salt and spread on a parchment lined baking sheet. Bake for 40-45 minutes, until golden and fork tender.
While vegetables are cooking, toast your walnuts in a frying pan over medium heat, mixing often until just beginning to golden and become fragrant. This will only take 5-10 minutes.
When vegetables are done, set aside while you make the dressing.
While vegetables are cooling, make your dressing by combining all ingredients except for the water in a small bowl or jar. Start with 1/2 tsp curry powder and increase based on taste. Miix well to combine, taste and adjust salt and curry powder as needed. Add in water 1 Tbsp at a time until you get a pourable consistency that isn't too thick.
Toss vegetables, add-ins, and dressing together in a large bowl and serve! Leftovers can be kept in the fridge for up to 3 days.
Notes
To keep this recipe completely nut free, use a can of roasted chickpeas instead! Be sure to use granola butter or a seed butter like tahini or sunflower seed butter in the dressing.
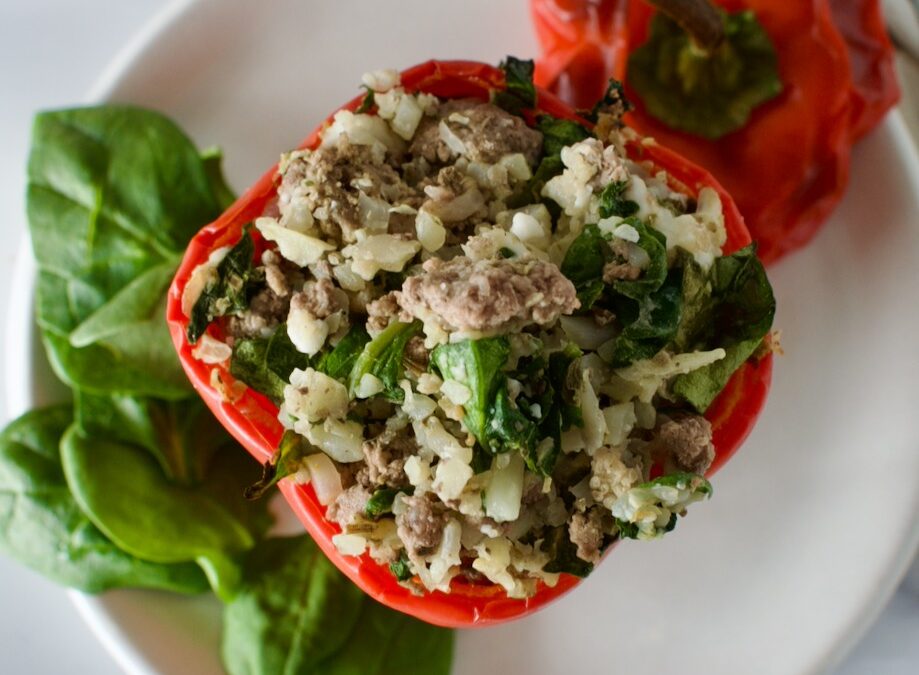
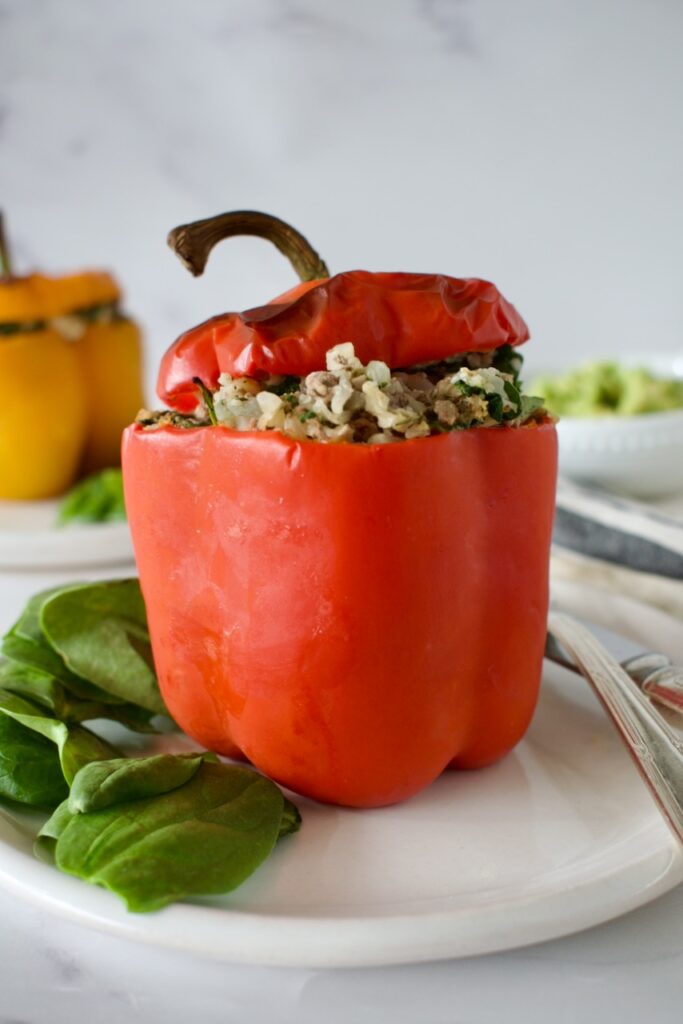
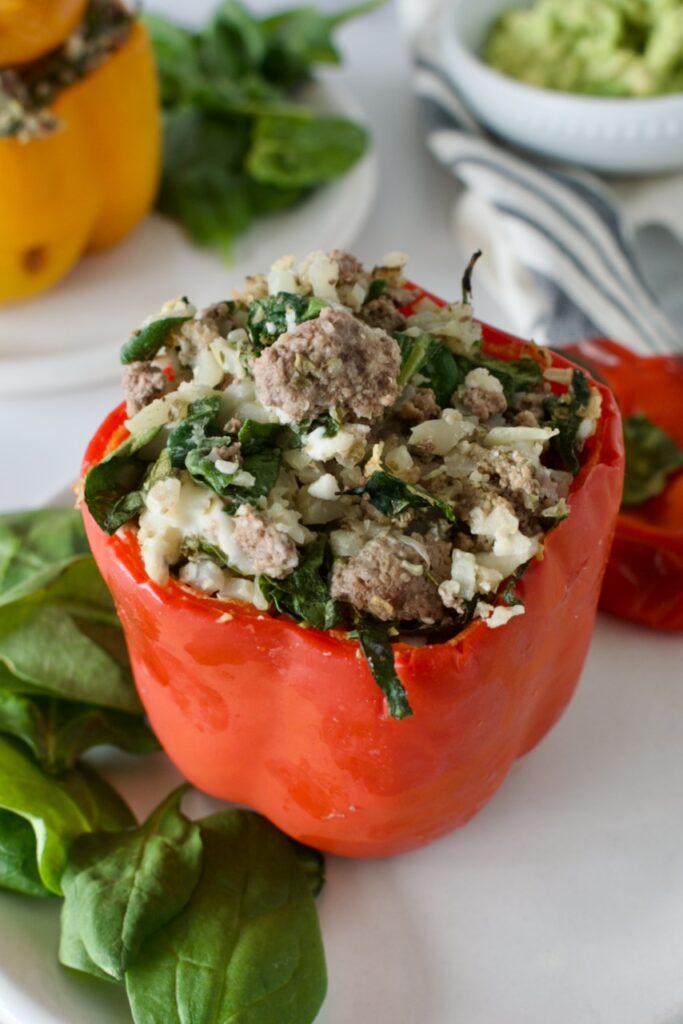
These easy stuffed peppers are the perfect meal prep or dinner party dish. They contain no tomatoes for those with allergies, but are filled with Italian spices to keep the flavor high! Low FODMAP, completely paleo, and delicious.
paleo stuffed peppers
I was never a huge fan of stuffed peppers, but, honestly, they are a super easy dish that can be adjusted to your tastes. Stuffed peppers are a great meal prep dish or main dish for family dinner or a dinner party. I love that you can adjust the herbs or mix-ins to your taste buds and/or to use up what you have in the fridge.
stuffed peppers
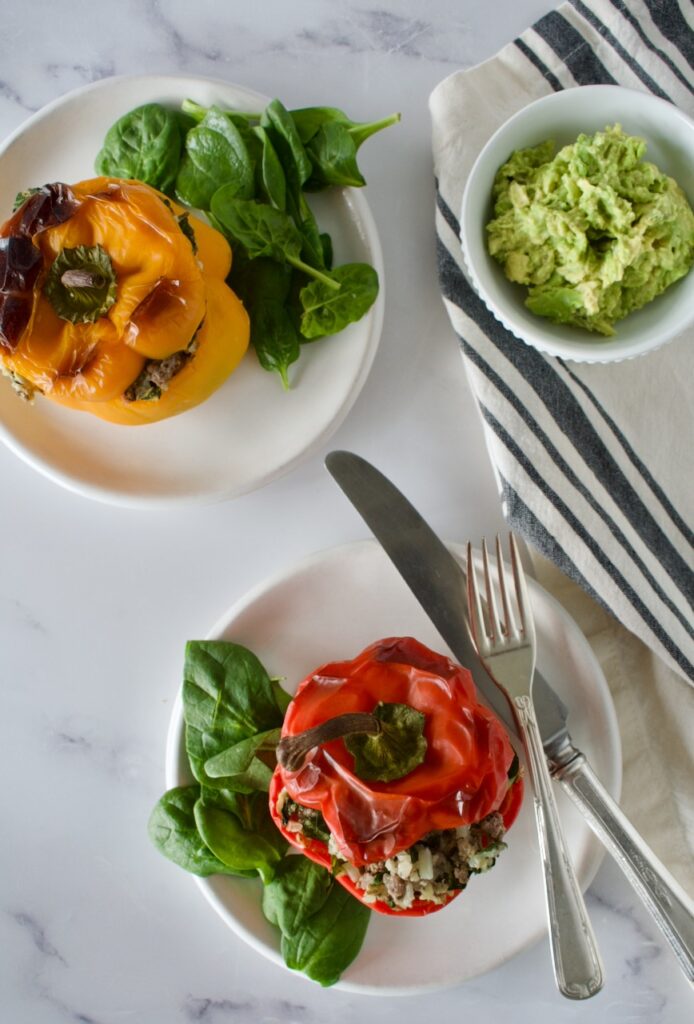
These paleo stuffed peppers utilize ground beef, cauliflower rice to keep them grain free, kale, and feta. I used a vegan feta to keep them dairy free, but the melty cheese is a must in these peppers! A combination of garlic infused olive oil (for low FODMAP) and Italian herbs bumps up the flavor profile. I also love serving these with guacamole. That may seem random, but it goes so well!
These easy stuffed peppers are the perfect nutrient dense meal prep or dinner party dish! Packed with Italian herbs, lots of veggies, and ground beef, you can’t go wrong making a batch of these.
Heat a skillet over medium heat and add 1 Tbsp of olive oil. Cook your ground beef until almost browned.
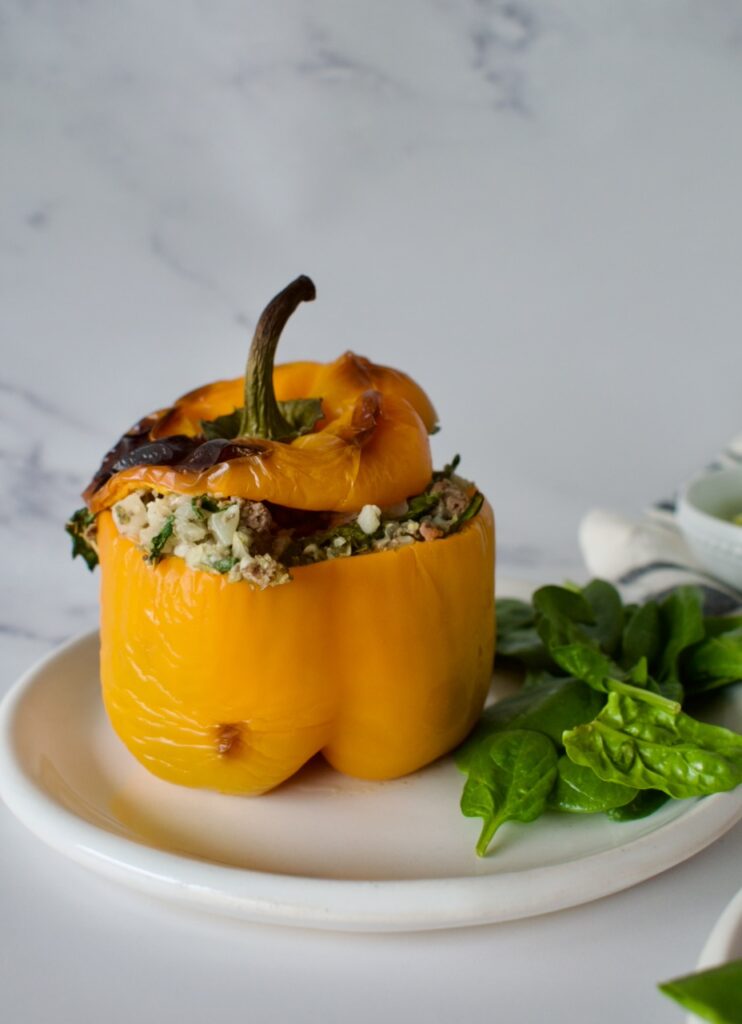
While beef is cooking, slice the tops off the peppers and de-seed them. Place them in a baking dish and set aside.
Before beef is finished cooking and is still a little pink in places, add the cauliflower rice. Cooking for about 5 minutes until it's softer.
Add the kale, garlic olive oil, salt, and Italian herbs. Sauté for a minute or two until kale has wilted.
Mix in the feta, then evenly divide your mixture between the 6 peppers. Place the tops back onto the peppers and bake for 35-45 minutes, until peppers are soft.
Serve with a side salad, guac, or other favorite sauces!
Notes
If you don’t have garlic infused olive oil, just use regular. If you can tolerate garlic, sauté a couple of diced cloves before adding the ground beef.
Hi! I'm Victoria. I was diagnosed with Lyme in 2012 and have been on a healing journey ever since. I love helping others on their road to healing through allergy friendly recipes, exercise, and overall well-being.