
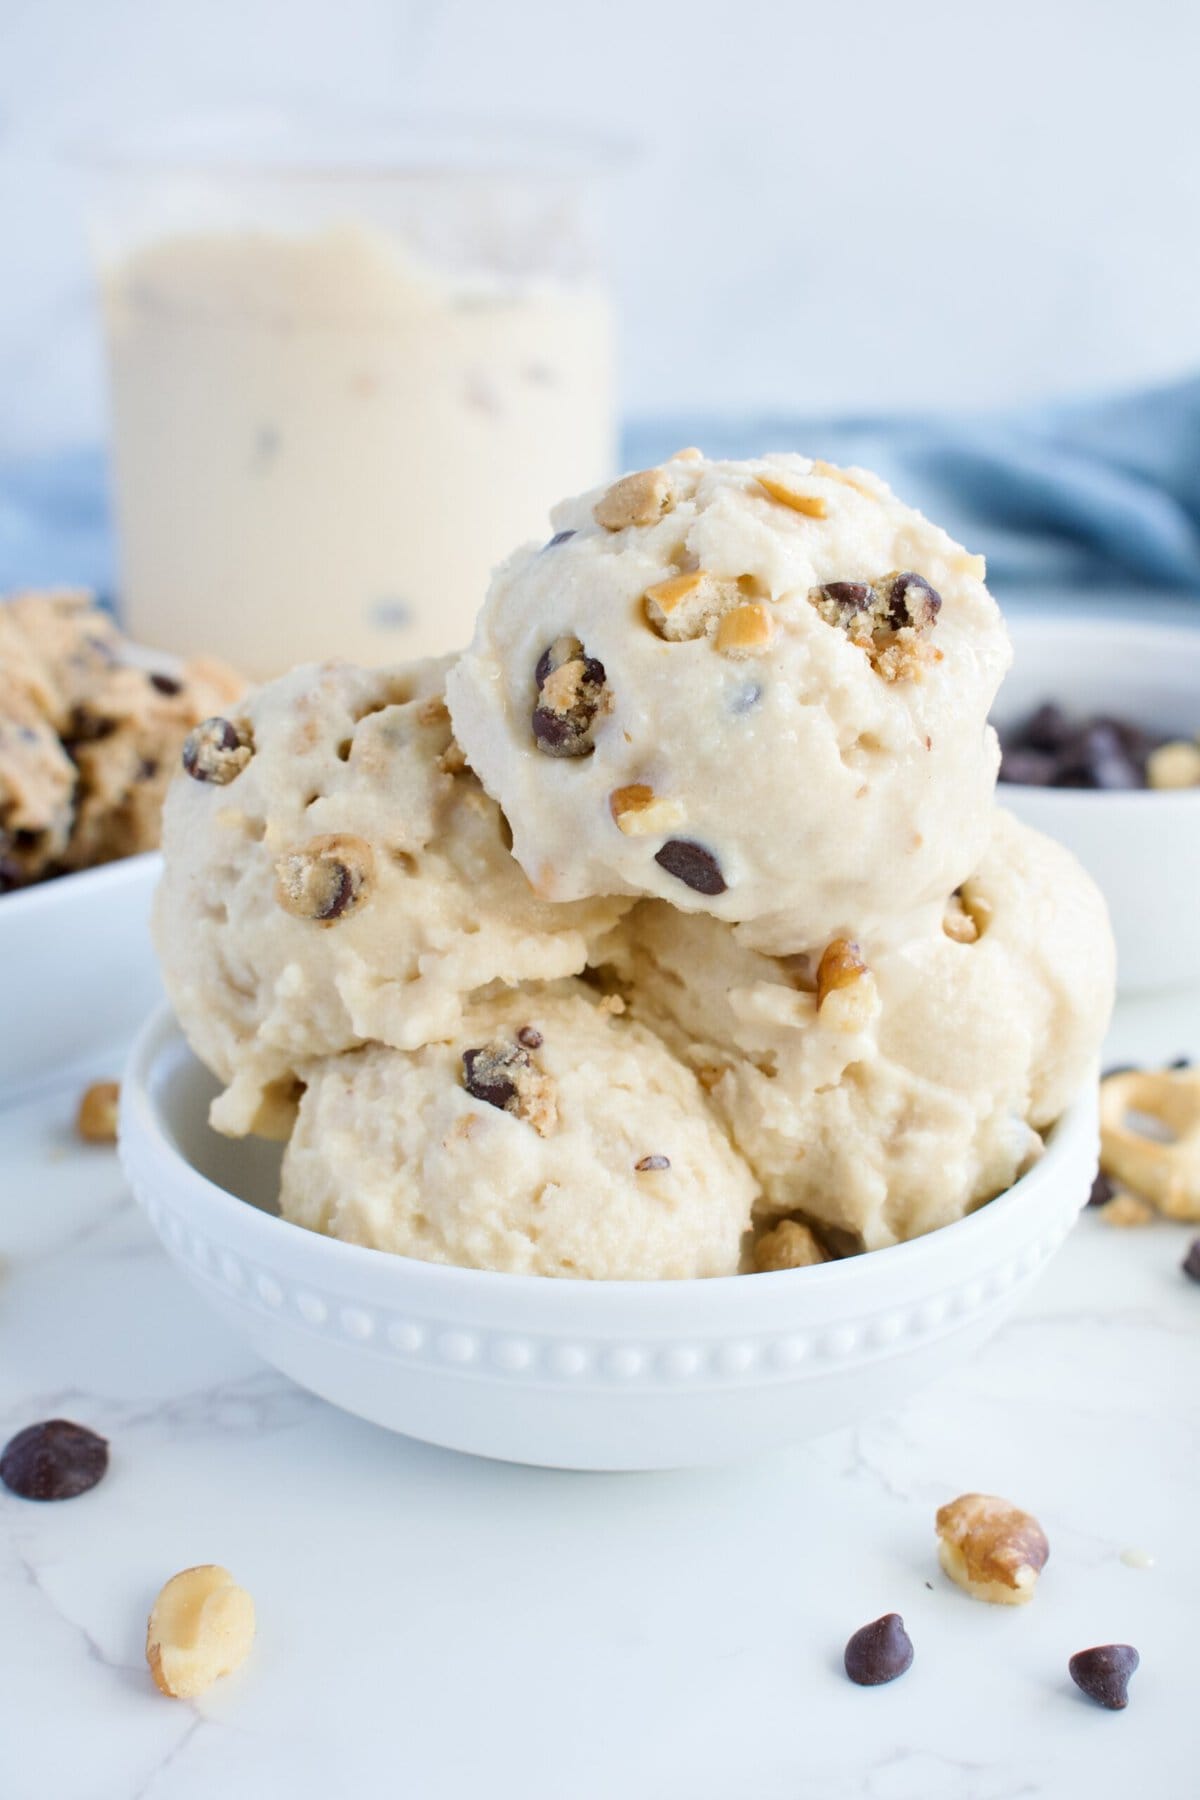
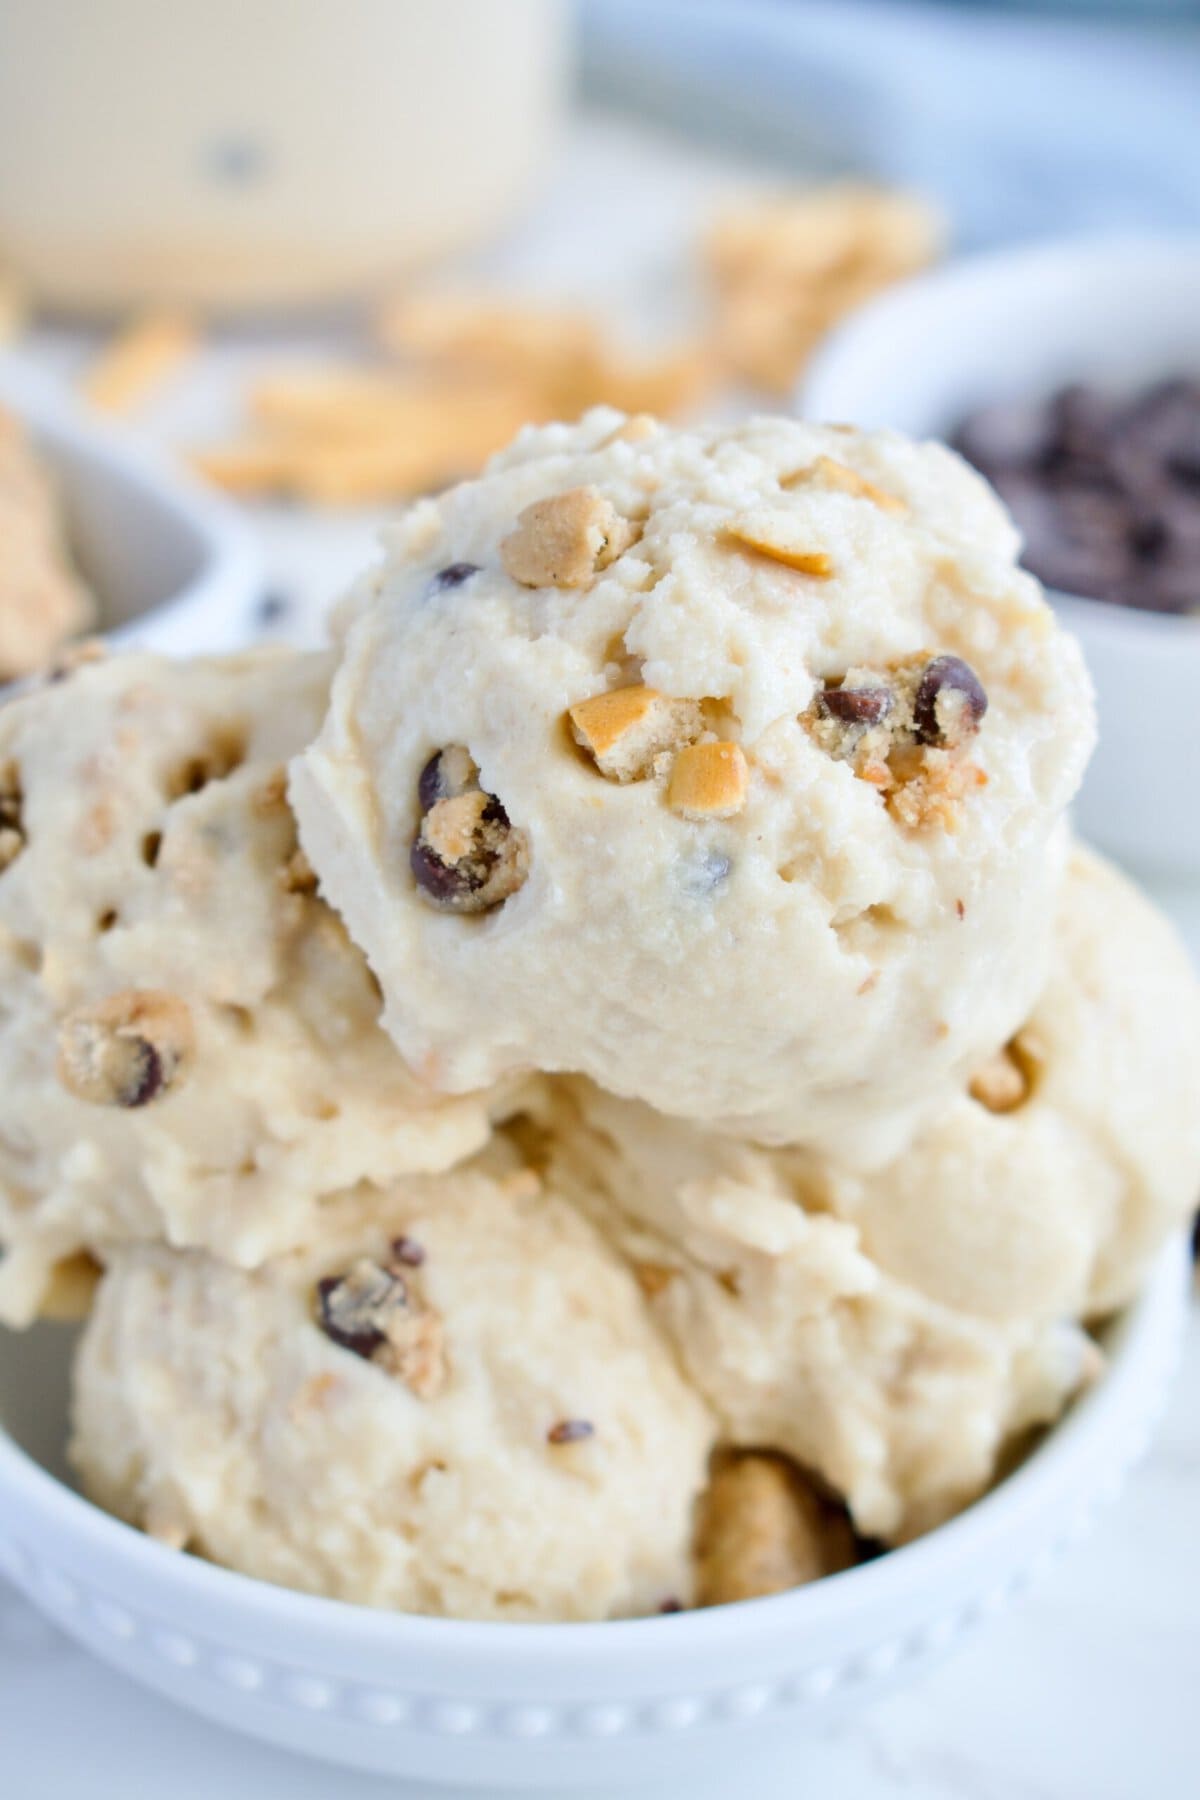
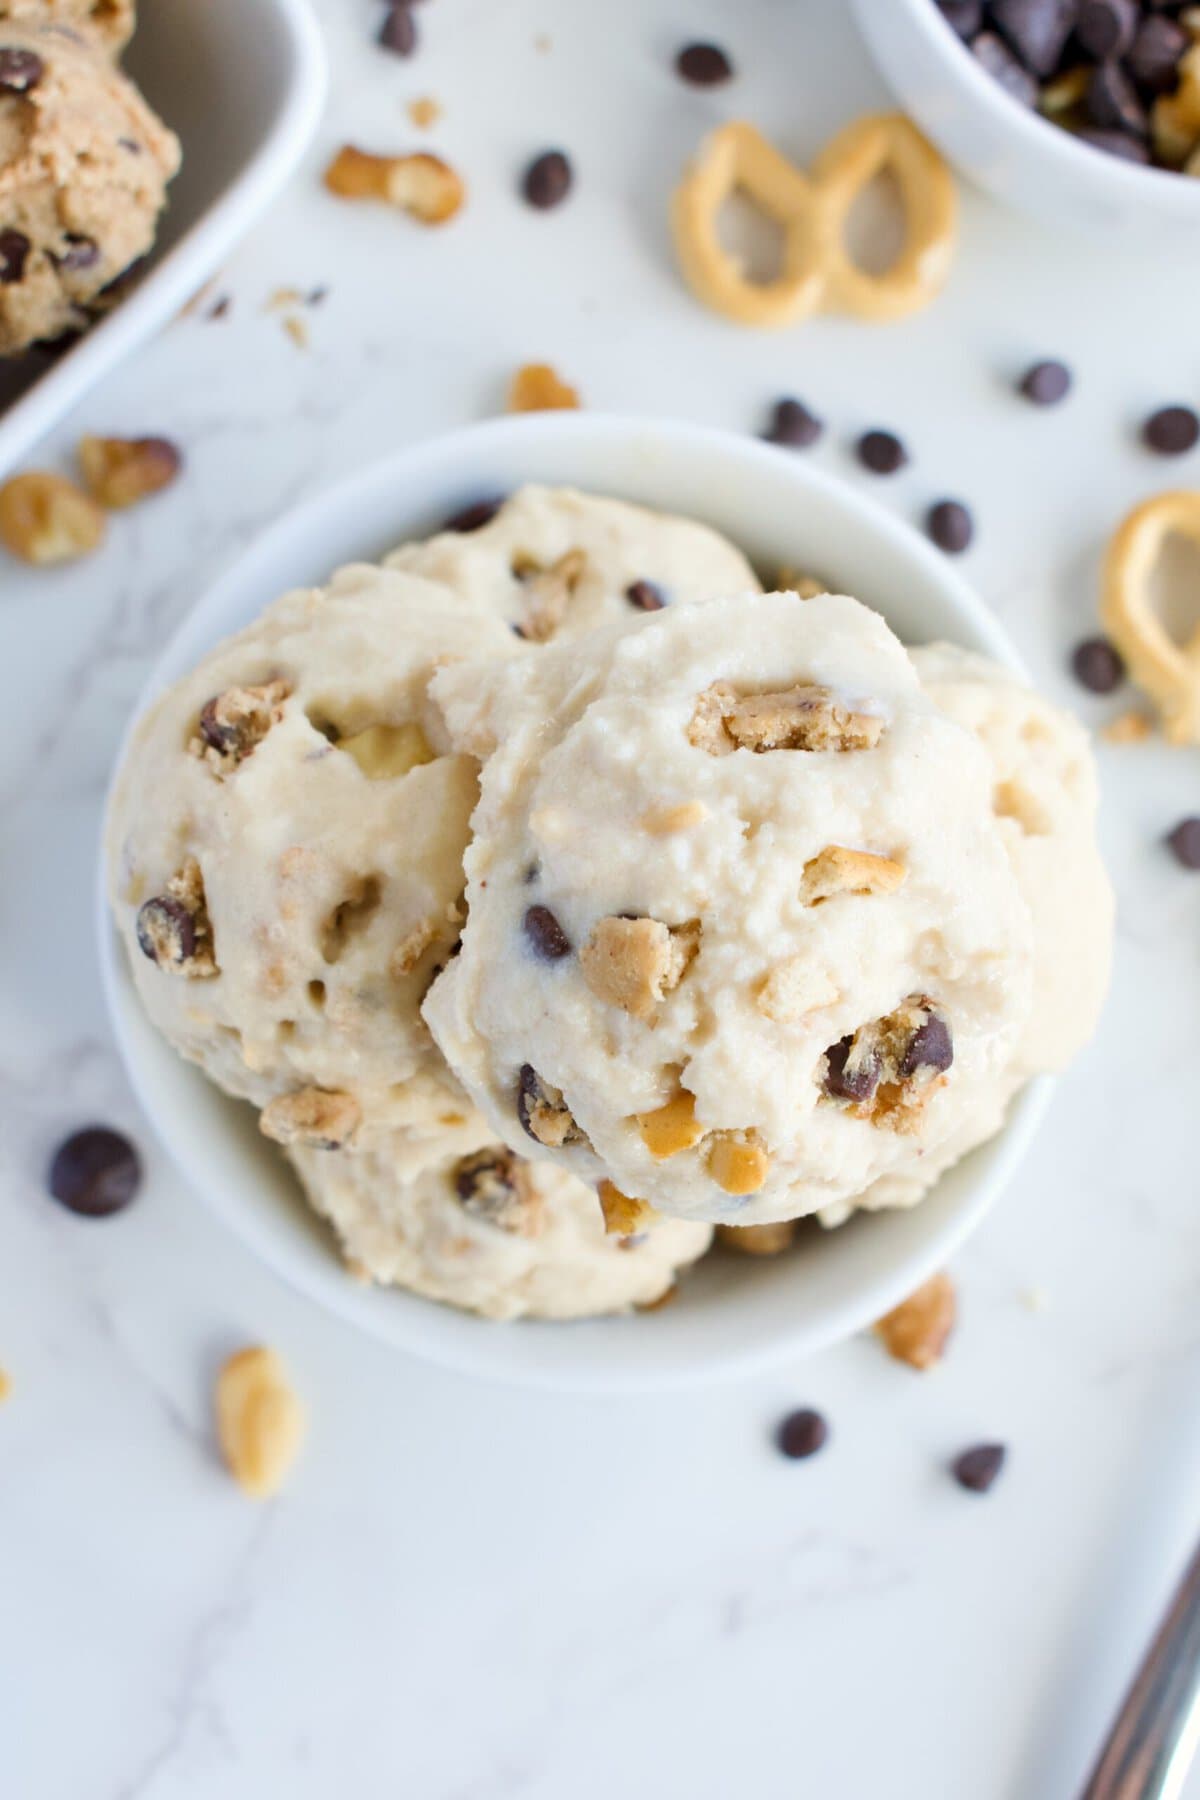
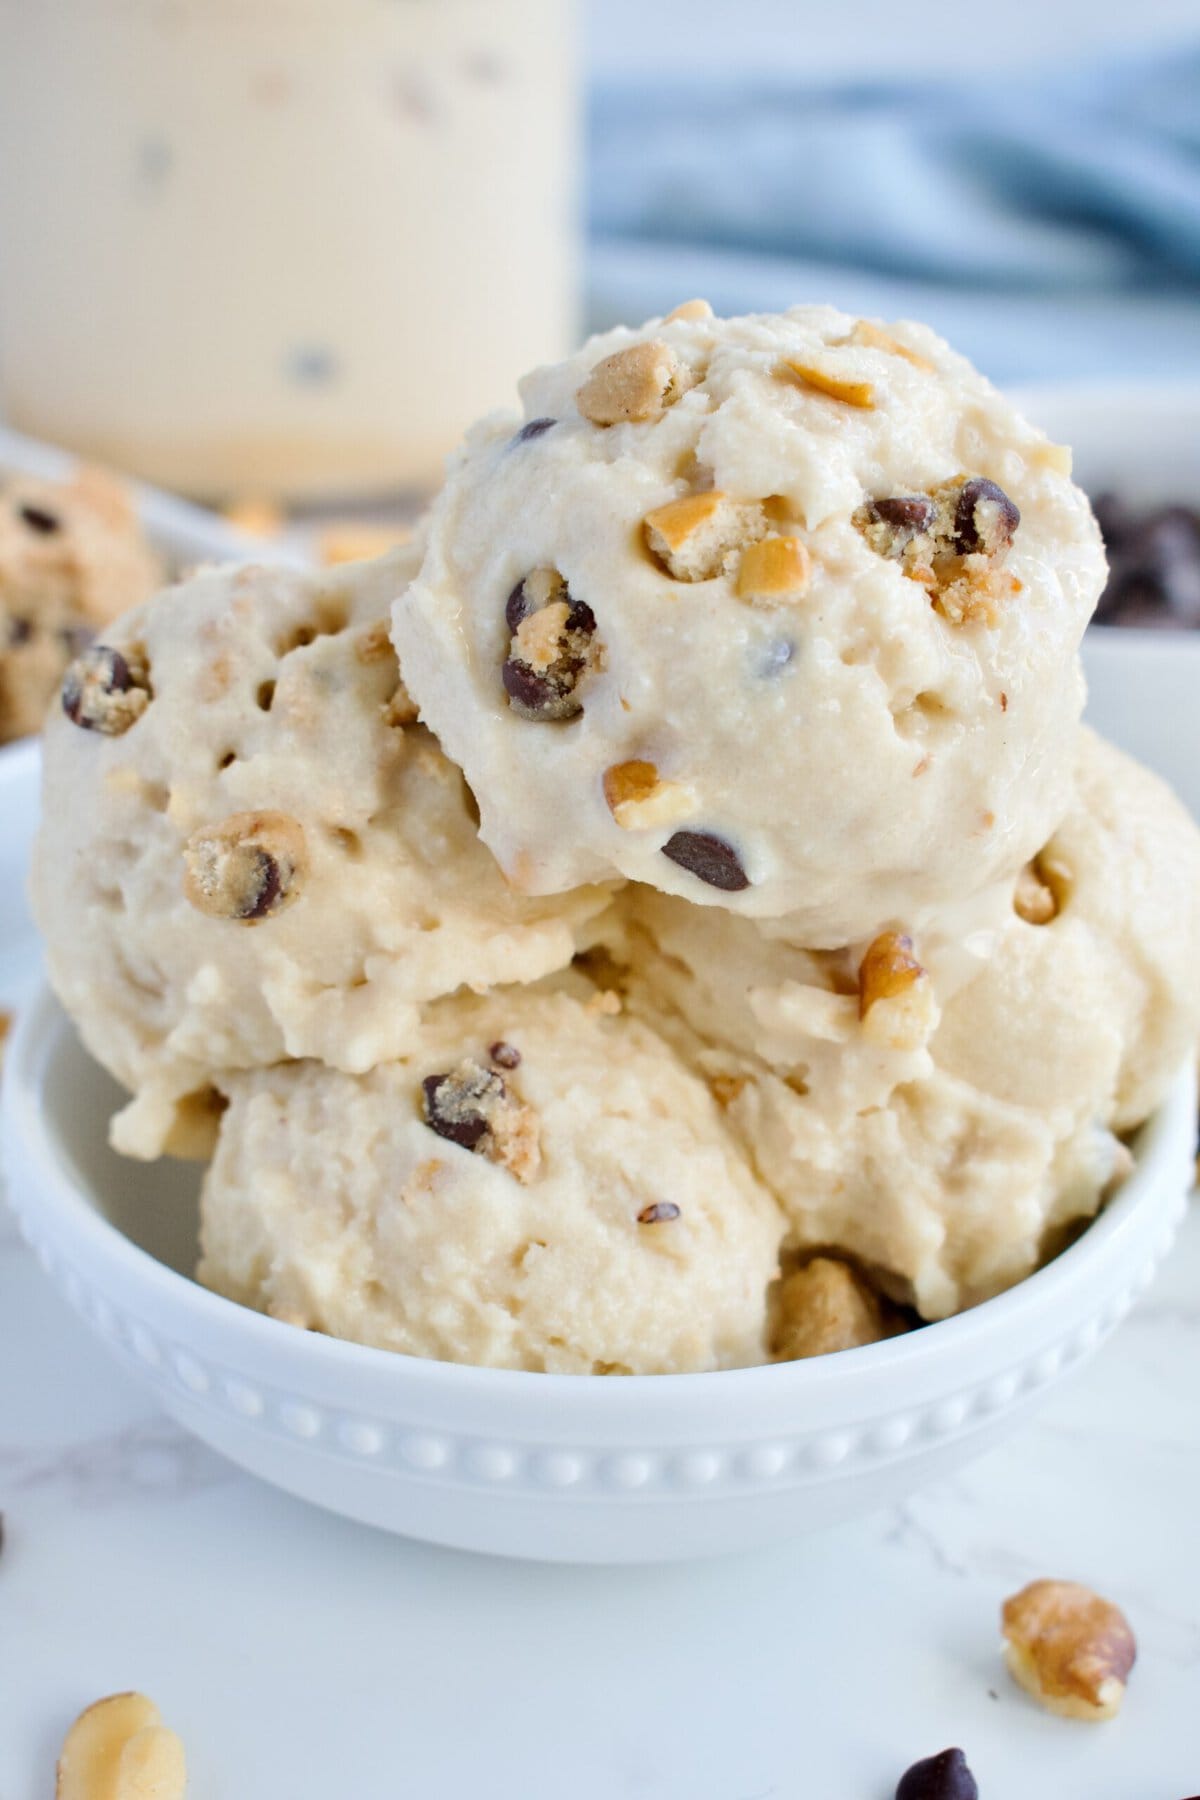
Have you ever just wanted it all for dessert? Well now you can have it all with this Ninja Creami Kitchen Sink Ice Cream. Creamy dairy free vanilla ice cream is loaded with all the gluten free sweet and salty add-ins you could want, including homemade gluten free cookie dough Follow my recipe exactly or add in your favorites, this recipe is so versatile you'll be coming back to it again and again.
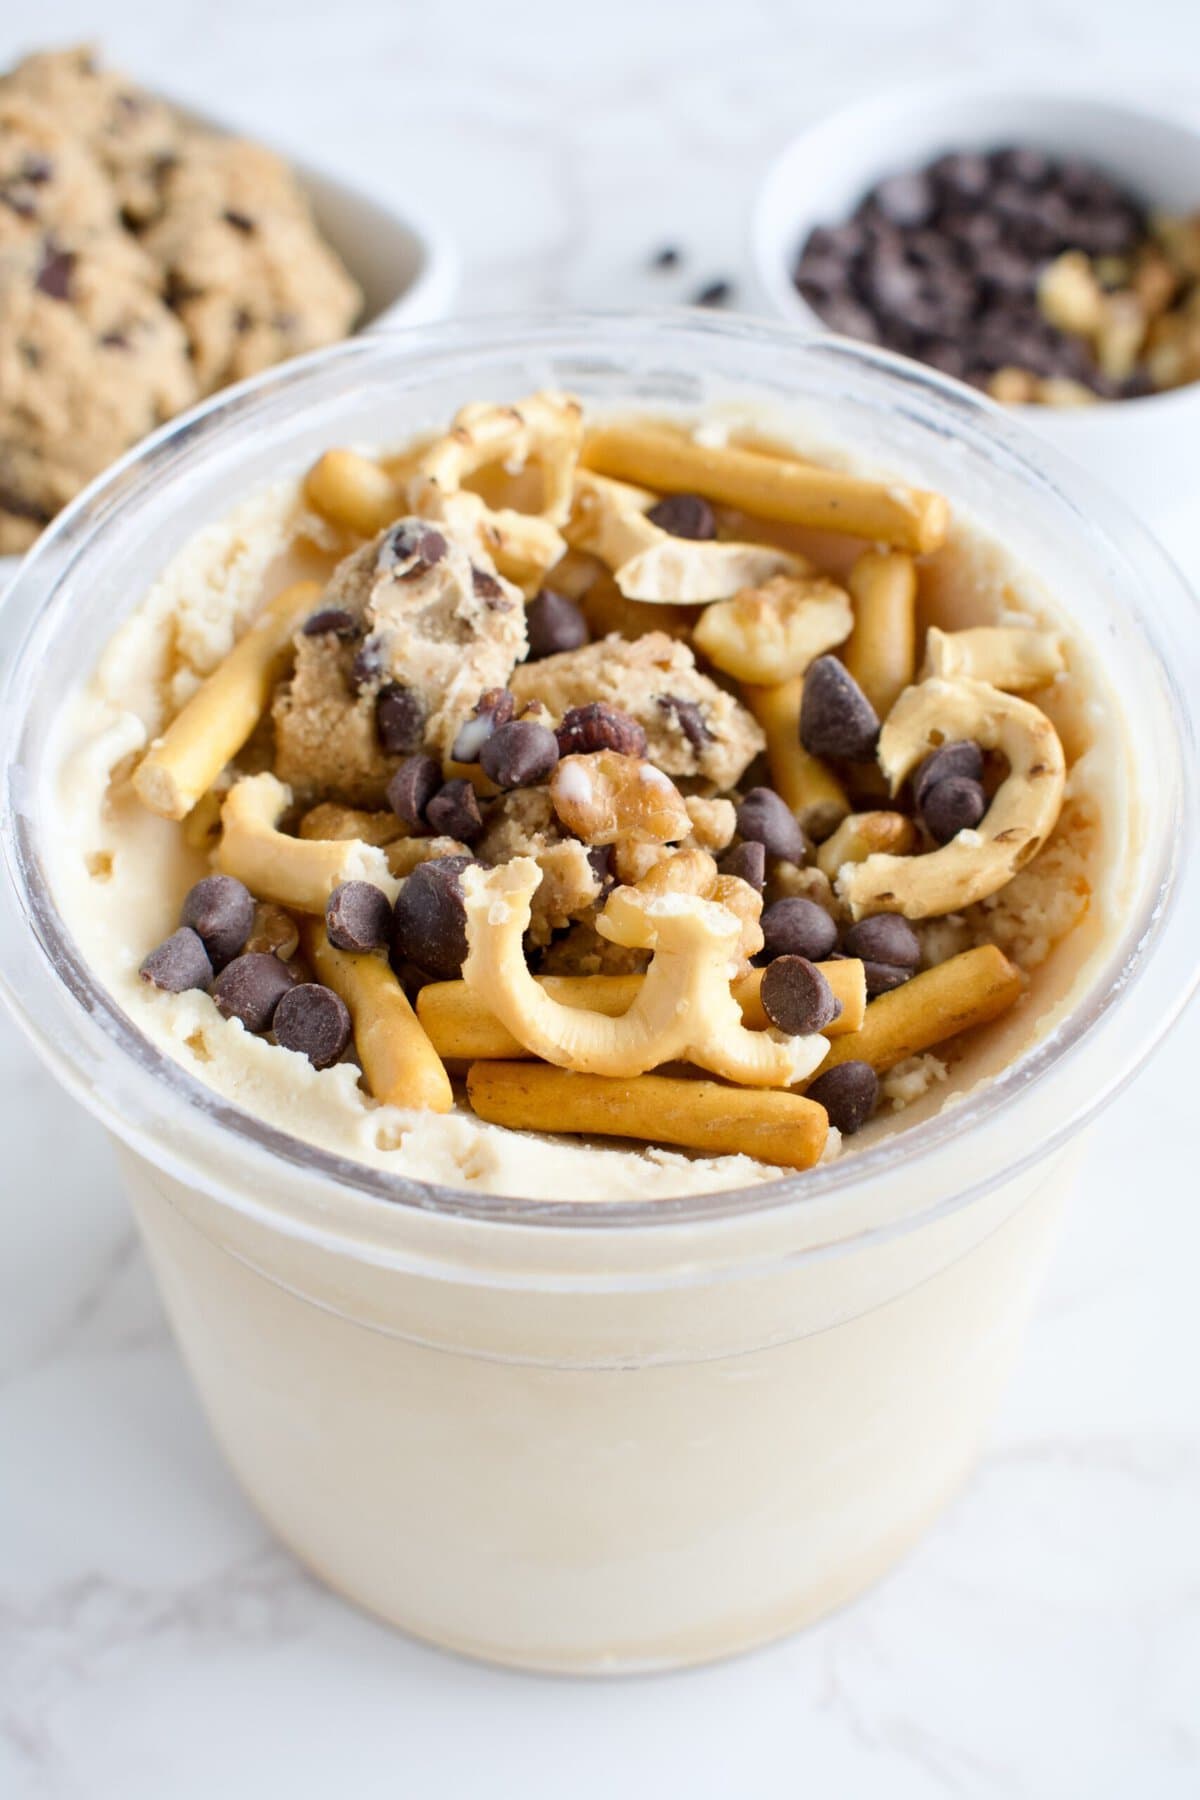
We know about everything but the kitchen sink cookies. Ya know the ones with m&m's and potato chips and oats and everything else in them? Yeah, well I thought we better make an ice cream version and of course I had to make it in the Ninja Creami! The holy grail for the best homemade ice cream with just a touch of a button.
Why You'll Love This Ninja Creami Kitchen Sink Ice Cream
- Ninja Creami: it's made in the Ninja Kitchen Creami for the easiest ice cream ever. We start with my vanilla ice cream base then load it up!
- Allergy friendly: we'll make a dairy free ice cream, homemade gluten free edible cookie dough, and then you can add in whatever other allergy safe goodies you like to keep this recipe safe for your specific restrictions.
- Refined sugar free option: the ice cream and cookie dough are both refined sugar free and you can keep the entire pint that way depending on the extra add-ins you use.
- Homemade gluten free cookie dough: not store bought, not some crumbled up cookies, but actual from-scratch edible cookie dough (with heat treated flour and no eggs!) that's safe for everyone and goes straight into the pint.
- Sweet and salty perfection: pretzels, potato chips, chocolate chips, and cookie dough in one pint make this the ultimate indulgent treat that hits every craving.
- Make it your own: follow the recipe exactly or swap the ice cream flavor or every single add-in for your favorites. This recipe genuinely works with whatever you have in your pantry!
Ninja Creami Kitchen Sink Ice Cream Ingredients
Cookie Dough
- Gluten free flour: stick to 1:1 gluten free flour blend for best results.
- Dairy free butter or coconut oil: either will work, but note that coconut oil will result in a strong coconut flavor.
- Coconut sugar: the unrefined sweetener for the edible cookie dough
- Mini chocolate chips: mini work best here since we end up making little balls of cookie dough. Stick to a refined sugar free option if desired.
- Vanilla extract, salt
Ice Cream
- Dairy-free milk: I opt for coconut milk as I find it results in the creamiest outcome, but you can use almond milk, oat milk, or any other milk you like!
- Dairy-free yogurt: I again opt for a coconut milk yogurt, but any dairy-free (or dairy full) yogurt will work. This just adds a bit of fat for better texture and flavor.
- Maple syrup: be sure to use pure maple syrup.
- Vanilla extract
- Protein powder: This is optional, but I love getting the protein boost! I use Sprout Living pea protein since it has no added flavors or sugars (use code LEMONSNLYME20 for 20% off). You can use your favorite protein powder though and can even opt for a flavored one to make Ninja Creami protein ice cream.
Add-ins
- Gluten free pretzels
- Potato Chips
- Extra chocolate chips or m&m's
- Brownie pieces
- Nuts or seeds
- Caramel or toffee pieces
- Coconut shreds
- Almond or peanut butter or another favorite allergy friendly butter like my granola butter or pumpkin seed butter
- Peanut/almond butter cups or other candy bars
How to Make Ninja Creami Dairy Free Kitchen Sink Ice Cream
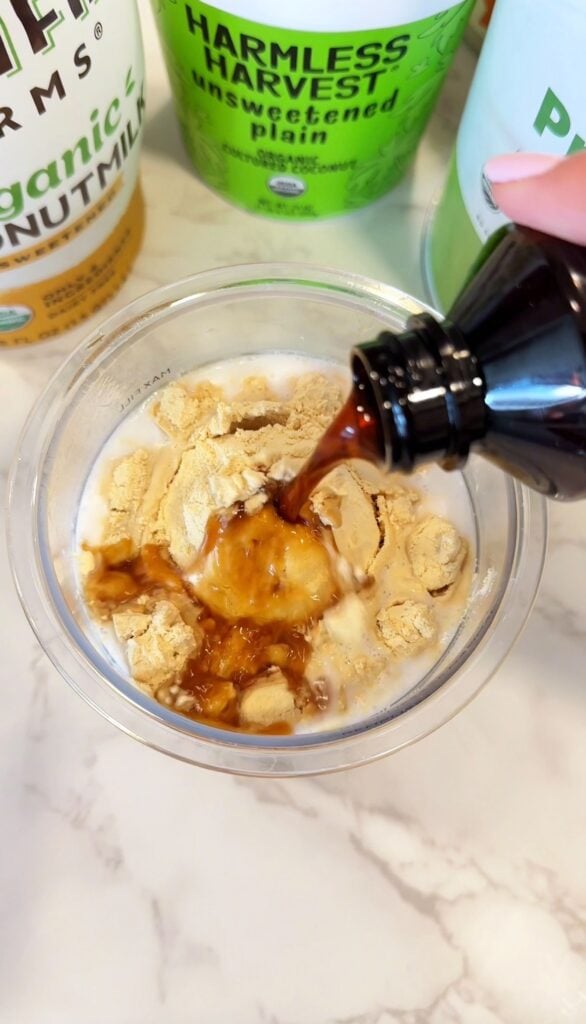
- First step is to make the ice cream base. Whisk or blend all of the ingredients together for the ice cream base until smooth.
- Pour base mixture into a Ninja Creami pint container to the max fill line, place storage lid on top, and freeze for 12-24 hours. Be sure the pint is sitting on a level surface in the freezer.
- While ice cream is freezing, make the cookie dough. First, heat treat the flour so it's safe to consume raw. You can do this by microwaving it at 30 second intervals until the temperature reaches 160F, then let the flour cool off before using.
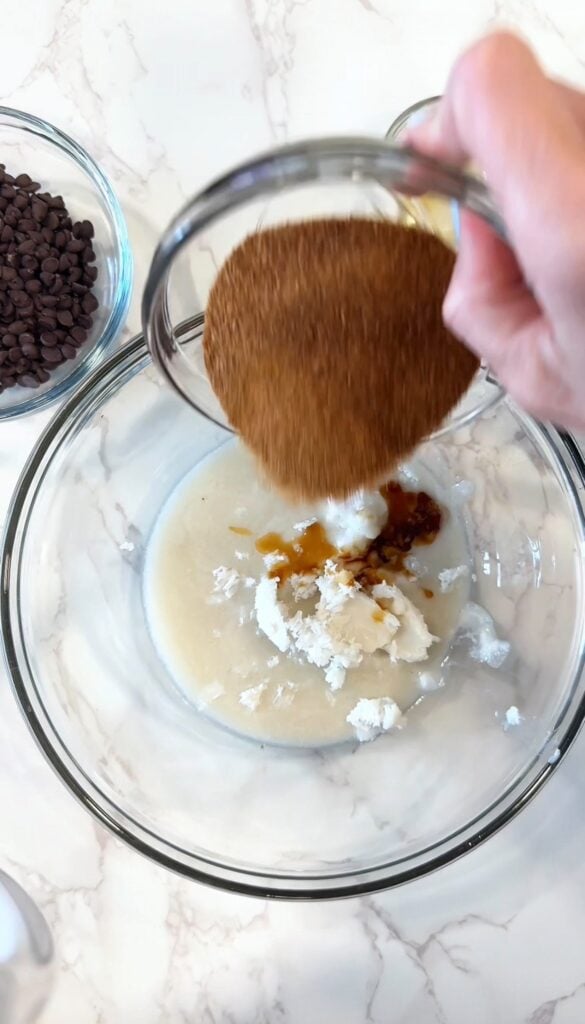
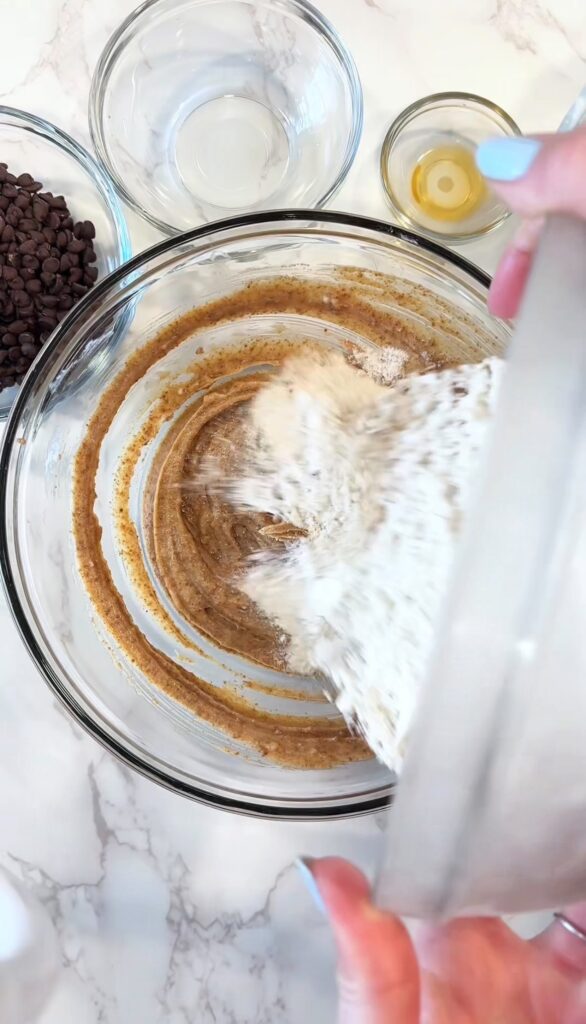
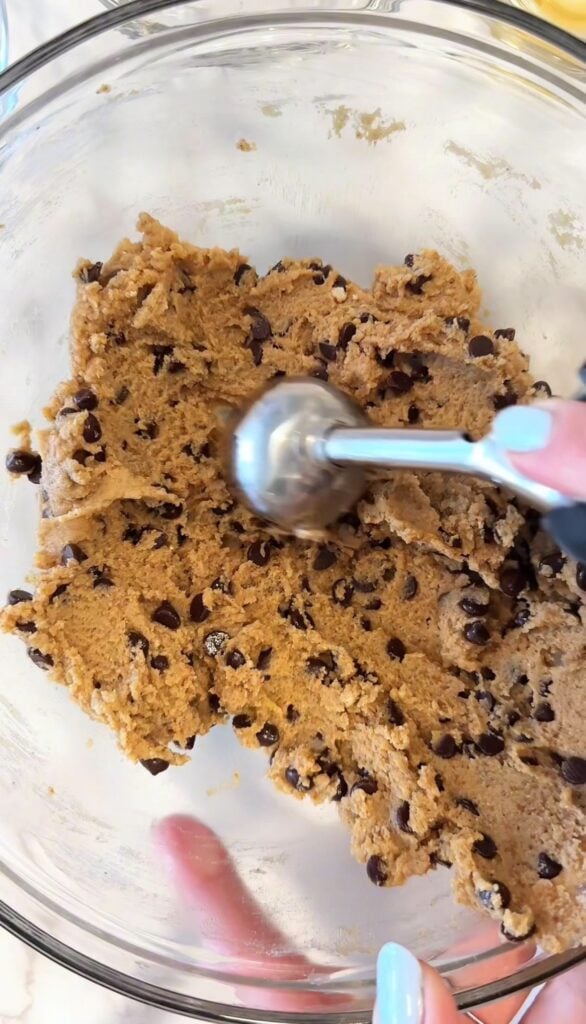
- Whisk together the melted butter/oil with the coconut sugar and vanilla until smooth. Add the flour and salt and mix until just combined. Fold in chocolate chips.
- Scoop 1 tsp-½ tablespoon sized bits of dough onto a parchment lined baking sheet or cutting board and pop in the freezer for 30 minutes, then keep stored in the fridge in an airtight container.
- Before spinning the ice cream, microwave the frozen mixture for 30 seconds or run the outside of the pint container under hot water for a minute.
- Add the pint to the Ninja Creami container and add the outer bowl lid.
- Spin on the lite ice cream setting. If the ice cream is chalky after the first spin, that's okay, don't re-spin.
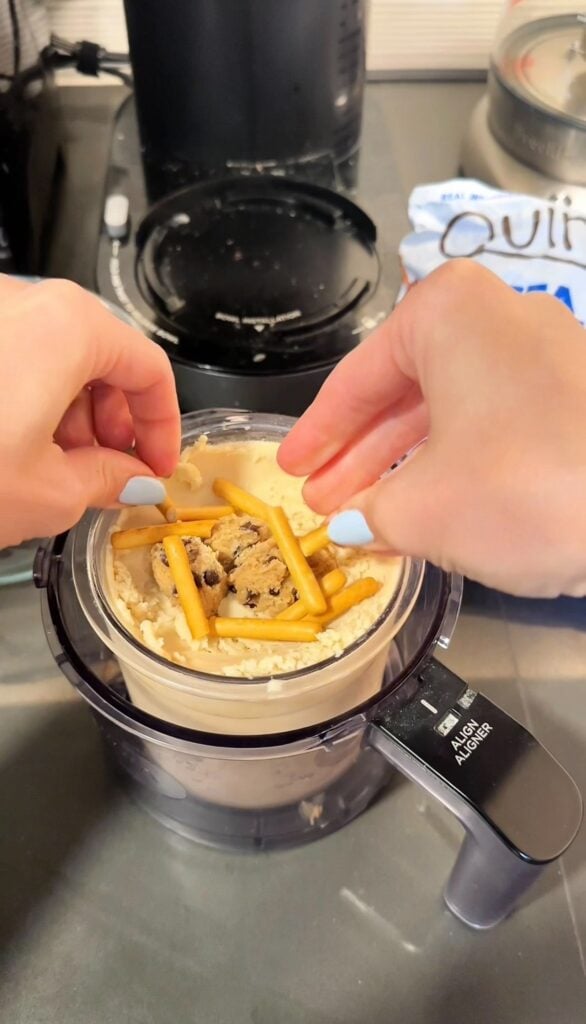
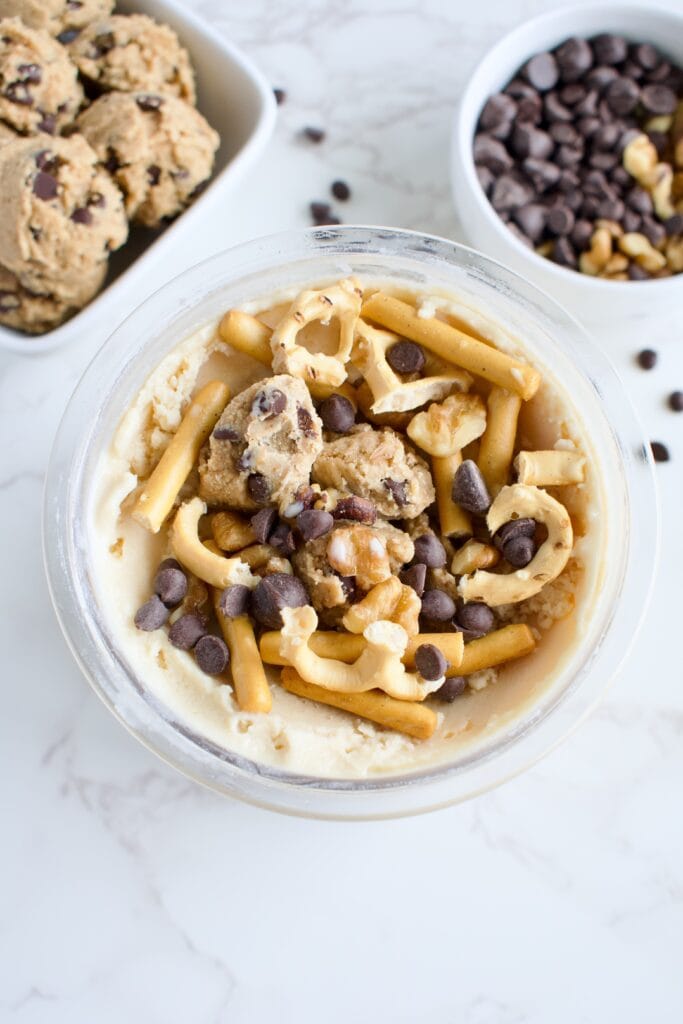
- Scoop out some a little bit of the middle of the ice cream if needed then pile in your add-ins and spin on the mix-in setting. It may sound loud, but let the Ninja Creami work, it's going to be okay!
- Enjoy with extra toppings or sauces.
Substitutions and Variations
- Milk and yogurt: you can combine this into one ingredient by using full fat canned coconut milk. You can also feel free to use any variety of milk or yogurt you like, including dairy products. If you can tolerate dairy, try Greek yogurt for an added protein boost!
- Maple syrup: you can sub this for coconut sugar if desired.
- Protein: I have also tested the plain Equip beef protein which results in a fluffier texture, but is still delicious! If you use this protein, blend everything in a blender, do not try to whisk it as this protein gets clumpy easily.
- Ice cream base: try coffee, strawberry or chocolate ice cream as the base instead.
- Variations: the variations are endless on this one, it truly just depends on what add-ins you want to use. Try different ones every time you make this or make a double batch, fill a couple pint containers and spin each one with different add-ins!
- Toppings: add some chocolate sauce or caramel sauce on top before serving.
Heat Treating Flour
So, fun fact, it's not just the raw egg in raw cookie dough you're supposed to avoid. It's also the untreated flour which can contain e.coli and salmonella. This means we need to heat treat our flour before making any raw goodies, like the cookie dough in this recipe. You can heat treat flour two ways:
- In the microwave: add the flour to a microwave safe bowl and microwave at 30 second intervals until the temperature reaches 160F. The best way to measure the temperature is with a digital thermometer.
- In the oven: preheat oven 350F. Spread the flour out evenly on a baking sheet and bake for 5-10 minutes or until the temperature reaches 160F.
Let the flour cool to room temperature before using.
Storage
If you don't finish your ice cream, smooth over the top of the pint and re-freeze any leftovers. You can re-spin the ice cream when ready to eat the rest, but be aware that this will cause the mix-ins to blend into the ice cream instead of being separate pieces. This will alter the base flavor of the ice cream and you will also need to add more mix-ins as desired.
Tips for the Best Ninja Creami Kitchen Sink Ice Cream
- Heat the base before spinning. I always suggest microwaving the frozen ice cream base for 30 seconds or running the outside under hot water for a minute or two to soften the ice cream base some for best results. This helps with ice crystals and the number of times you have to re-spin for a creamy texture.
- Don't overspin. It can be tempting to keep re-spin your ice cream for a smooth texture, but the ice cream will turn into soft serve consistency and won't hold up to all the add-ins. The ice cream will get mixed again after you add the mix-ins, so you only need to do the base spin once for a scoopable ice cream texture.
- Don't over-fill with mix-ins. It's tempting to add everything but if the pint is over-filled the Ninja Creami blade can't spin properly. Fill no more than ¾ of the way with add-ins before spinning on mix-in setting
- Balance sweet and salty. Make sure to use an even mix of sweet and salty add-ins. Too much of one or the other can be too strong!
FAQ
I find 8-12 hours can be sufficient (you may not even need to microwave it at all before spinning). This will depend on your freezer, so you may have to test freeze times for best results.
That's okay! I have a dairy free vanilla ice cream recipe that is made in a classic ice cream maker. Use that recipe then add your mix-ins at the end of churning, being sure to break up your additions before adding.
Any plant-based milk will do, whatever your favorite one is. You can use almond milk, oat milk, or cashew milk, My personal favorite is the Califia Farms coconut milk as it has no gums or additives.
This can happen on the first spin with the Ninja Creami and is totally normal! No need to re-spin, as it will get mixed again when you add the mix-ins.
Yes! Just add a scoop of your favorite protein to the ice cream base ingredients when mixing. Stick to a plain protein or you can even use a flavored one to switch up the ice cream base flavor!
The ice cream base and cookie dough are both completely vegan and dairy free as written. Just make sure your add-ins are also vegan. Check your chocolate chips and any candy pieces.
Use the Lite Ice Cream setting for the base spin, then use the Mix-In setting after adding all your add-ins. Don't re-spin between the two, the mix-in setting will smooth everything out.
Yes! The cookie dough balls can be made up to a week ahead and stored in an airtight container in the fridge or freezer until ready to use.
More Fun Dairy Free Ninja Creami Recipes
If you try this recipe, let me know what add-ins you used! Leave a rating and review below and drop any questions in the comments.
Ninja Creami Kitchen Sink Ice Cream (Gluten Free, Dairy Free)
Equipment
Ingredients
Ice Cream Base
- ½ cup dairy free yogurt I use coconut yogurt
- 1 cup dairy free milk of choice
- 2-4 tablespoon maple syrup
- 1 teaspoon vanilla extract
- 1 scoop pea protein optional
- pinch of salt optional
Cookie Dough
- 1 cup gluten free flour
- ½ cup dairy free butter or coconut oil melted
- ½ cup coconut sugar
- 1 teaspoon vanilla extract
- ¼ teaspoon salt
- ½ cup mini chocolate chips
Add-Ins
- Gluten free pretzels
- Potato Chips
- Extra chocolate chips or m&m's
- Brownie pieces
- Nuts or seeds
- Caramel or toffee pieces
- Coconut shreds
- Almond or peanut butter or
- Granola butter
- Pumpkin seed butter
- Peanut/almond butter cups or other candy bars
Instructions
- First step is to make the ice cream base. Whisk or blend all of the ingredients together for the ice cream base until smooth.
- Pour base mixture into a Ninja Creami pint container to the max fill line, place storage lid on top, and freeze for 12-24 hours. Be sure the pint is sitting on a level surface in the freezer.
- While ice cream is freezing, make the cookie dough. First, heat treat the flour so it's safe to consume raw. You can do this by microwaving it at 30 second intervals until the temperature reaches 160F, then let the flour cool off before using.
- Whisk together the melted butter/oil with the coconut sugar and vanilla until smooth. Add the flour and salt and mix until just combined. Fold in chocolate chips.
- Scoop 1 tsp-½ tablespoon sized bits of dough onto a parchment lined baking sheet or cutting board and pop in the freezer for 30 minutes, then keep stored in the fridge in an airtight container.
- Before spinning the ice cream, microwave the frozen mixture for 30 seconds or run the outside of the pint container under hot water for a minute.
- Add the pint to the Ninja Creami container and add the outer bowl lid.
- Spin on the lite ice cream setting. If the ice cream is chalky after the first spin, that's okay, don't re-spin.
- Scoop out some a little bit of the middle of the ice cream if needed then pile in your add-ins and spin on the mix-in setting. It may sound loud, but let the Ninja Creami work, it's going to be okay!
- Enjoy with extra toppings or sauces.
Leave a Reply