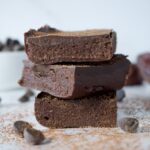
These will be the easiest brownies you’ve ever made. Packed with all the chocolate goodness, they are completely gluten free, refined sugar free, can be made vegan, AND are high protein!
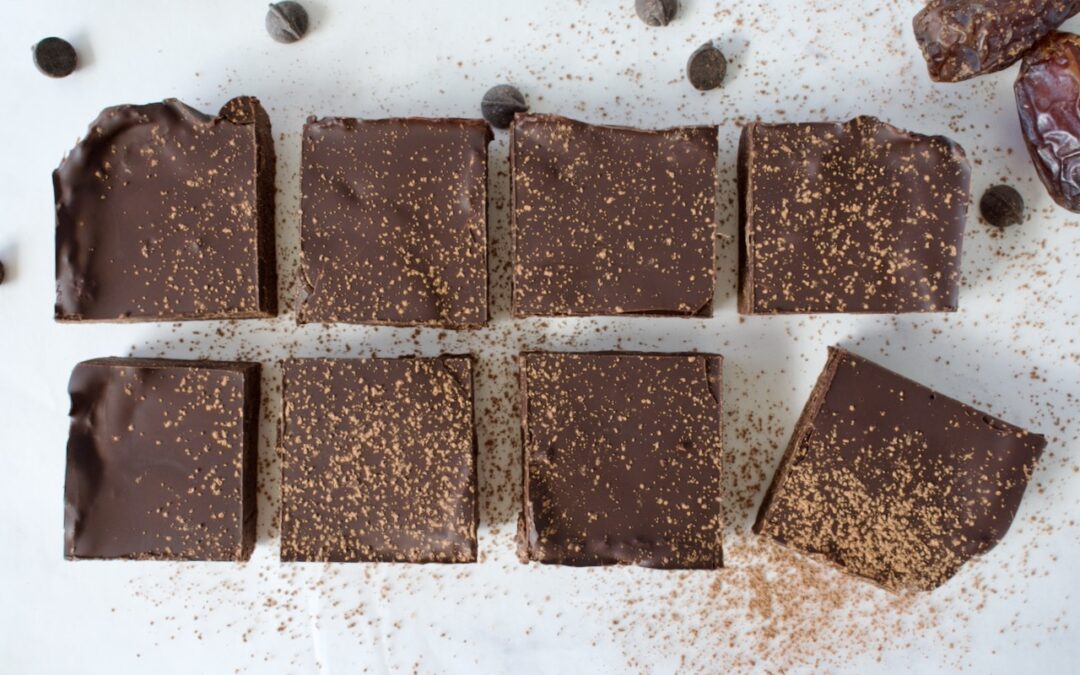
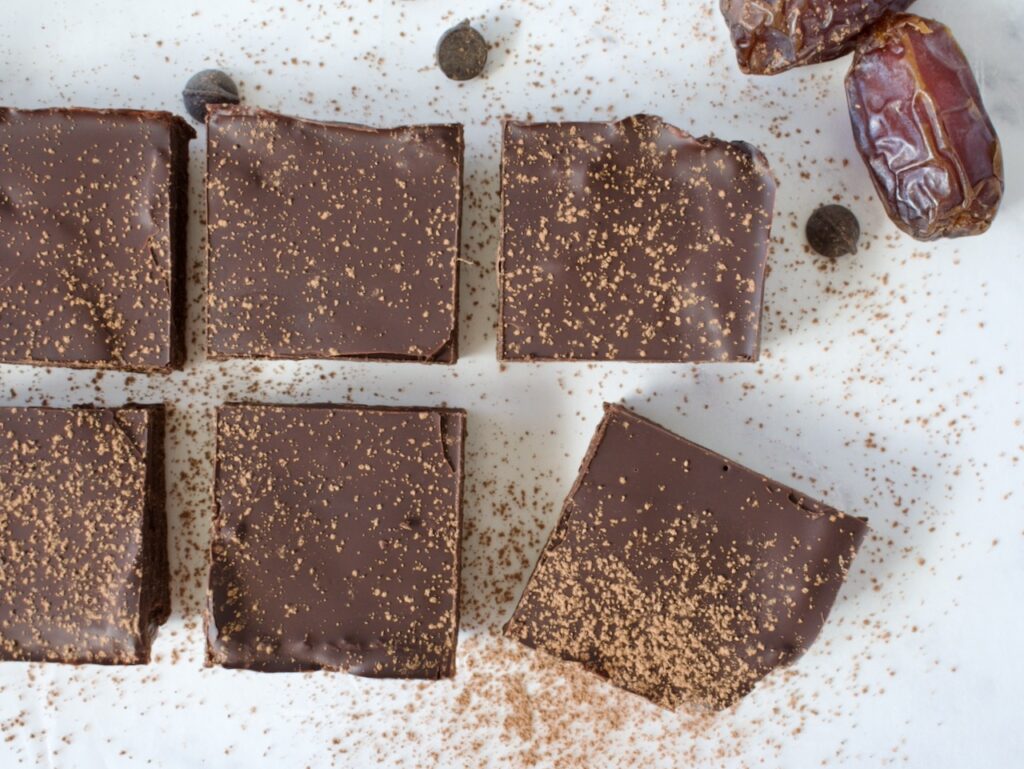
no bake brownies
Craving a chocolate treat, but don’t want to go through the hassle of turning the oven on and baking an entire batch of brownies? Then this recipe is for you! These no brownies only require the fridge. Plus they are completely gluten free and can be made both vegan and refined sugar free. My favorite thing about these healthy brownies is that they are high in protein, making them an awesome snack. They’ve been my go-to afternoon snack for weeks now.
gluten free no bake brownies
No Bake Protein Brownies
Let’s talk ingredients! What’s in these gluten free brownies that makes them so healthy?
Dates: these no bake brownies are sweetened only with dates!
Cocoa powder: pure cocoa powder delivers the rich chocolate flavor.
Protein powder: the “flour” in these brownies is protein powder. I like to use the pea protein from Sprout Living (code LEMONSNLYME20 for 20% off) to keep these brownies vegan. You can use any protein powder you want, though, and feel free to use a chocolate flavored one to enhance the chocolate in this recipe!
Granola butter: I use my granola butter recipe to keep these brownies nut free, but you can use any nut/seed butter you want.
Chocolate chips: to enhance these no bake brownies, they are topped off with a layer of melted chocolate. You can keep them vegan and refined sugar free depending on the chocolate you use. I love Enjoy Life for an allergy friendly option or HU Chocolate to keep them completely refined sugar free.
How do you make no bake brownies?
You just blend everything together! Yes, it really is that easy. First, the dates are soaked until soft and then combined with the remaining ingredients. Everything is blended together in a food processor until you get a smooth batter.
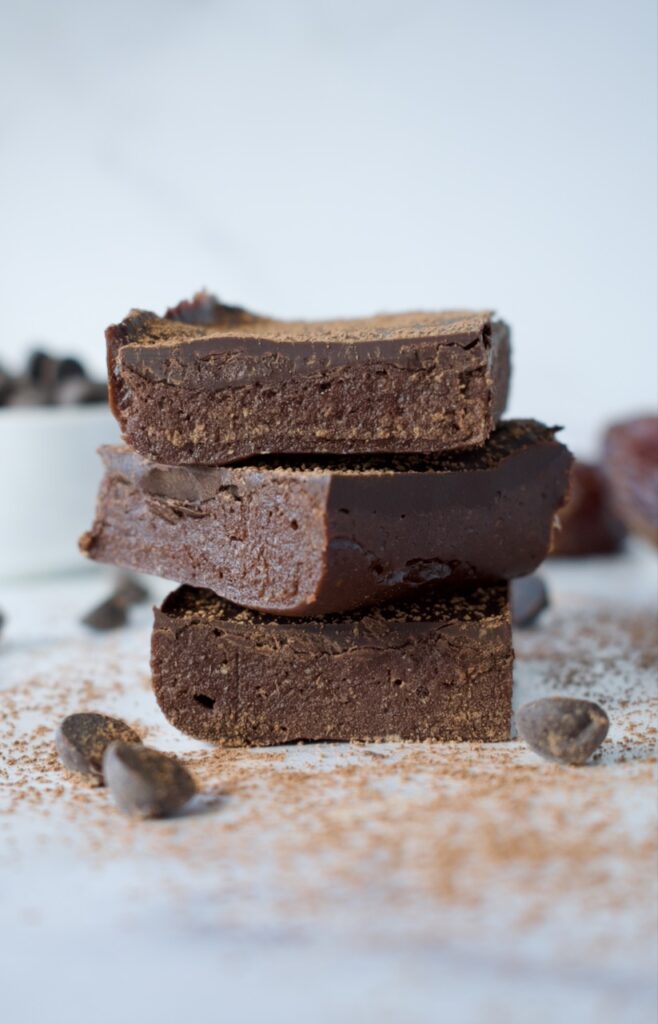
The batter is spread into the bottom of a loaf pan and topped with melted chocolate. Let everything set in the fridge and then your no bake brownies are ready. Blend, spread, refrigerate, and eat. That’s it!
These easy brownies require no oven or hand mixing. They are high in protein and completely gluten free and can be made vegan and refined sugar free. The perfect no bake brownies do exist!
Soak the dates in hot water for 10 minutes to soften.
Combine dates, granola/nut/seed butter, protein powder, cocoa powder, vanilla, and salt in a food processor and blend until you have a smooth batter.
Line a loaf pan with parchment paper then spread the brownie batter evenly into the pan.
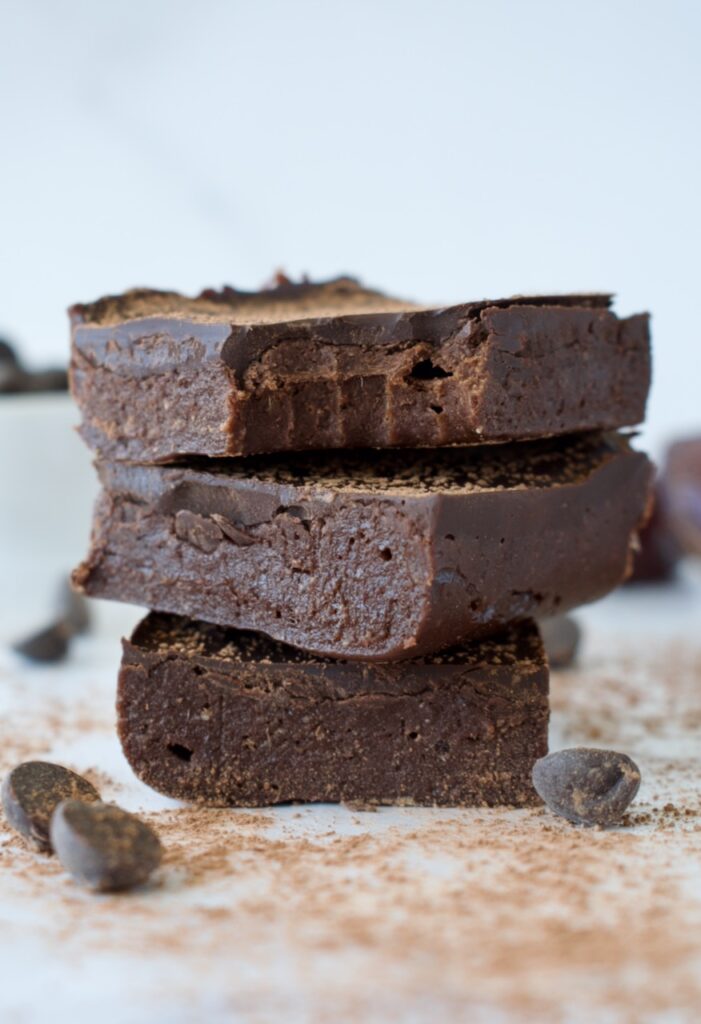
Combine the chocolate chips and coconut oil together in a microwave safe dish (I like to use a measuring cup) and melt at 30 second intervals until smooth. Pour the chocolate over your brownie batter and spread evenly across the top.
Refrigerate the brownies for an hour, until the chocolate on top has hardened. Cut and enjoy! Keep these brownies in the fridge for up to 5 days, place leftovers in the freezer.
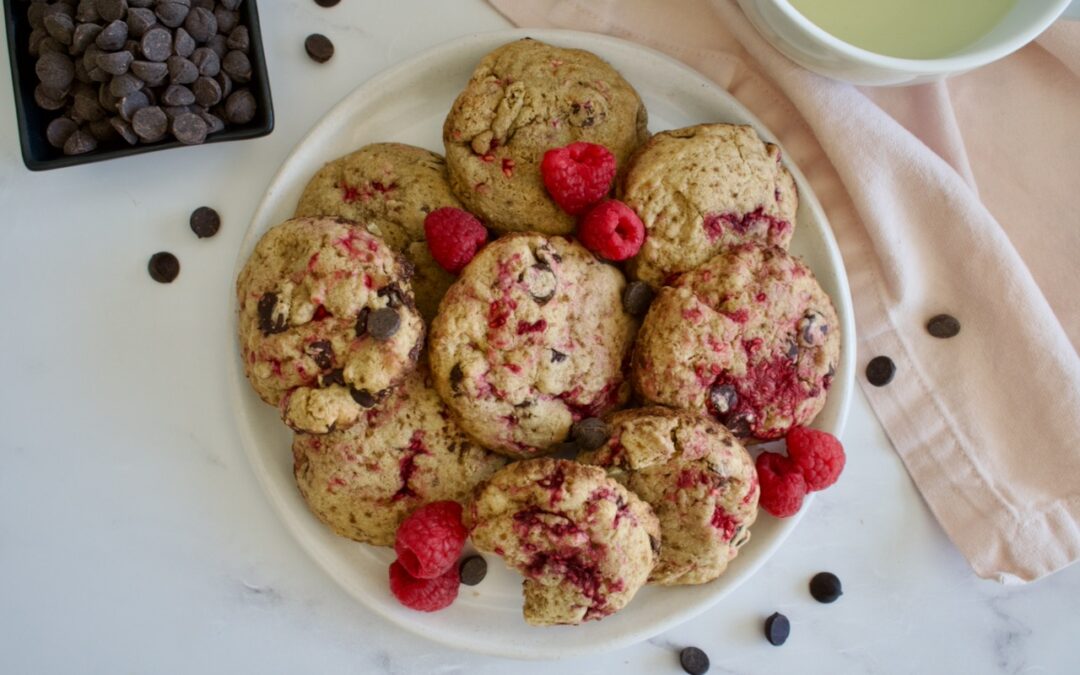
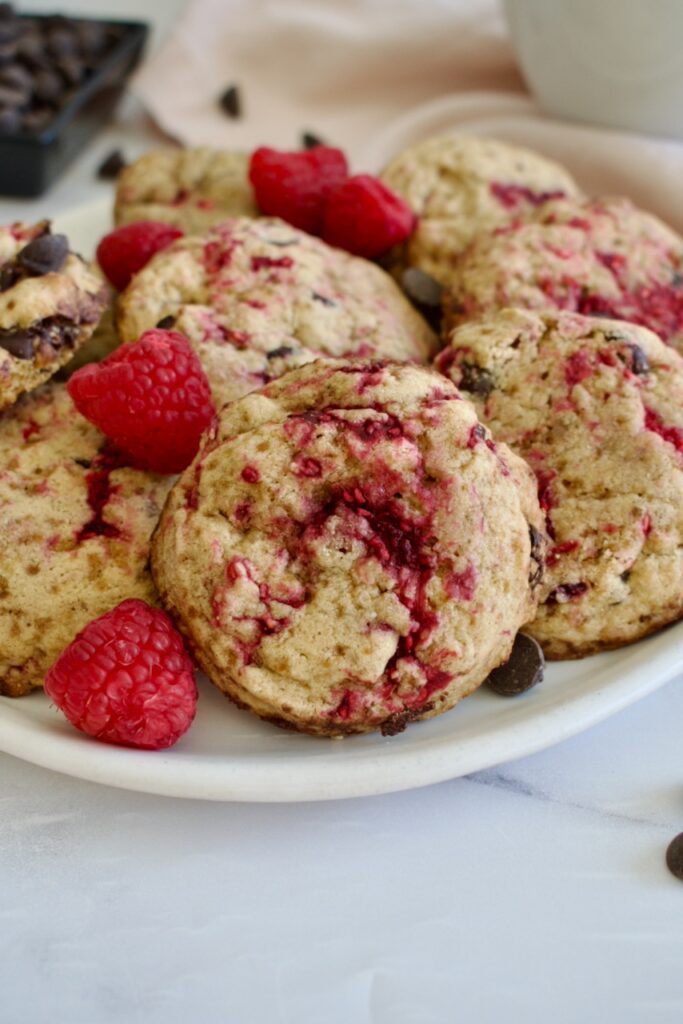
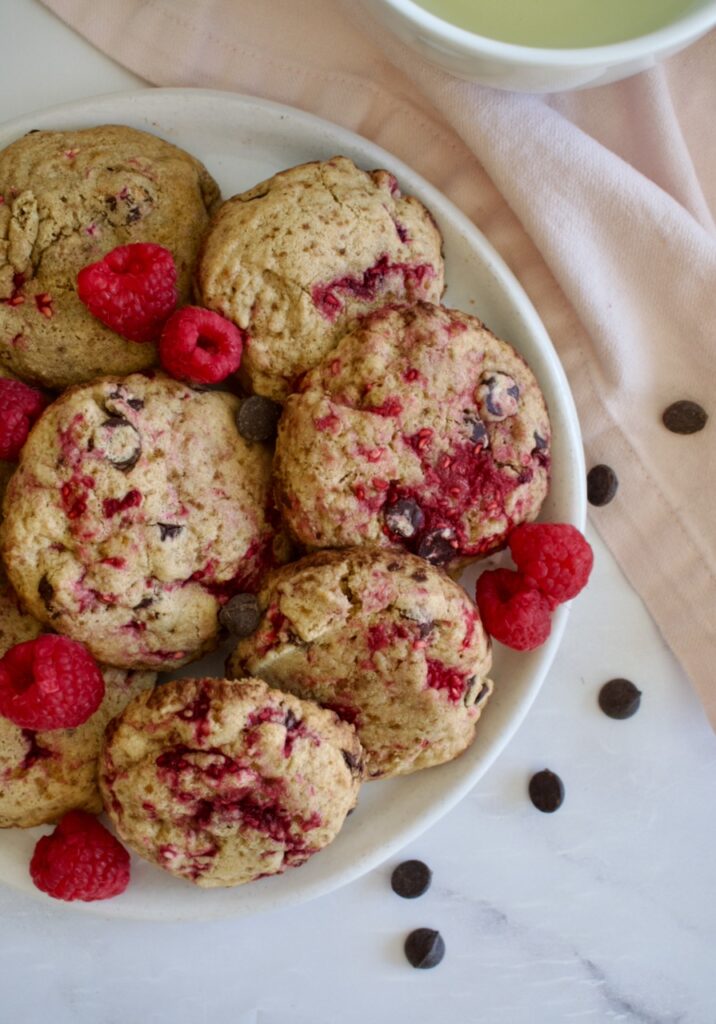
These gluten free raspberry chocolate chip cookies are the perfect rich chocolate and sweet fruit combo! They are easy to make and allergy friendly.
gluten free raspberry chocolate chip cookies
Honestly, chocolate goes with almost anything, but chocolate and raspberry is one of my favorite combos. I love raspberries more than strawberries, so my pick is always a raspberry-chocolate combo over a strawberry-chocolate one. And these cookies are the perfect combo in my humble opinion.
gluten free chocolate chip cookies
You can use fresh or frozen raspberries in this recipe, I’ve tested both. I love making these when fresh raspberries are in season, but this is also an amazing recipe to save for Valentine’s day. You just want to make sure your raspberries are torn up in smaller pieces. If using frozen, just mash them lightly to break them apart.
raspberry chocolate chip cookies
These cookies are made with a mix of gluten free flours, coconut sugar, vegan butter (but you can always use regular!), and an egg. You’ll fold in your raspberries and chocolate chips of choice, but my favorite is dark chocolate. So, how do you make these cookies?
Beat together the the softened butter and coconut sugar for a couple minutes, until fluffy and lighter in color.
Add the egg and vanilla extract and beat to combine.
In a small bowl, whisk together the flours, baking soda, and salt. Add to the wet ingredients and mix until just combined.
If using fresh raspberries, use your hands to gently tear them into pieces. If using frozen raspberries, smash them to break them up a bit. You want to avoid smooshing either berries.
Fold the chocolate chips and raspberries into the dough and place in the fridge for 10 minutes.
Preheat oven to 350F.
Using a tablespoon size scoop, place balls of cookie dough 2 inches apart on a parchment lined baking sheet. You will have to bake in batches. Bake the cookies on the middle rack for 10-13 minutes until edges are set and tops are beginning to golden.
Remove cookies from the oven and let sit for 10 minutes before transferring to a wire rack to finish cooling.
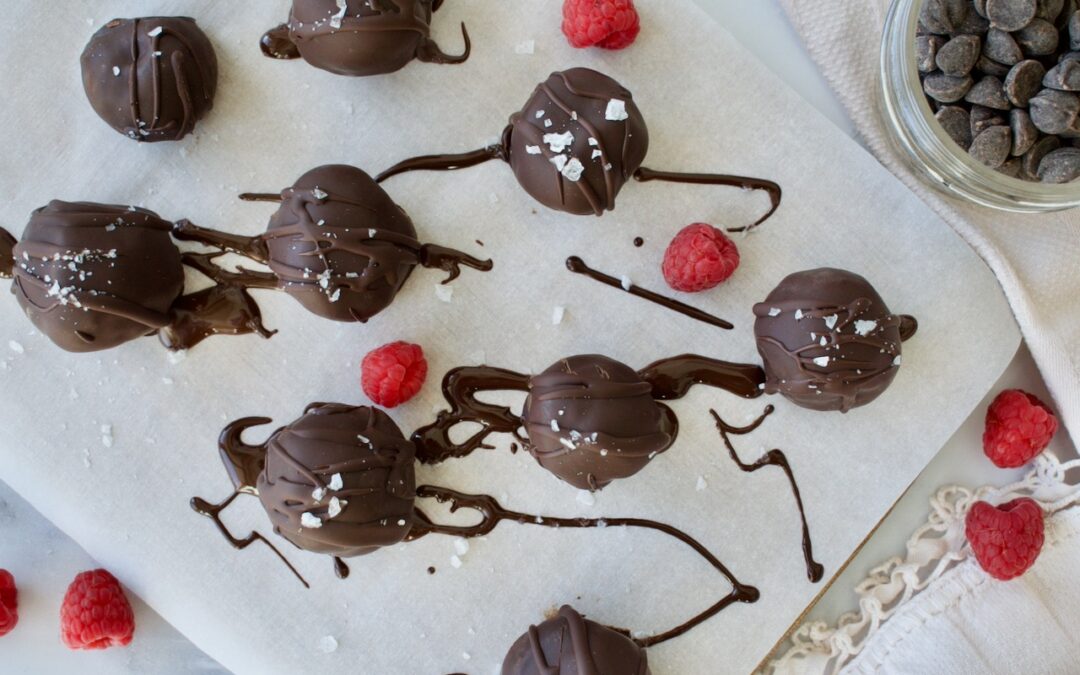
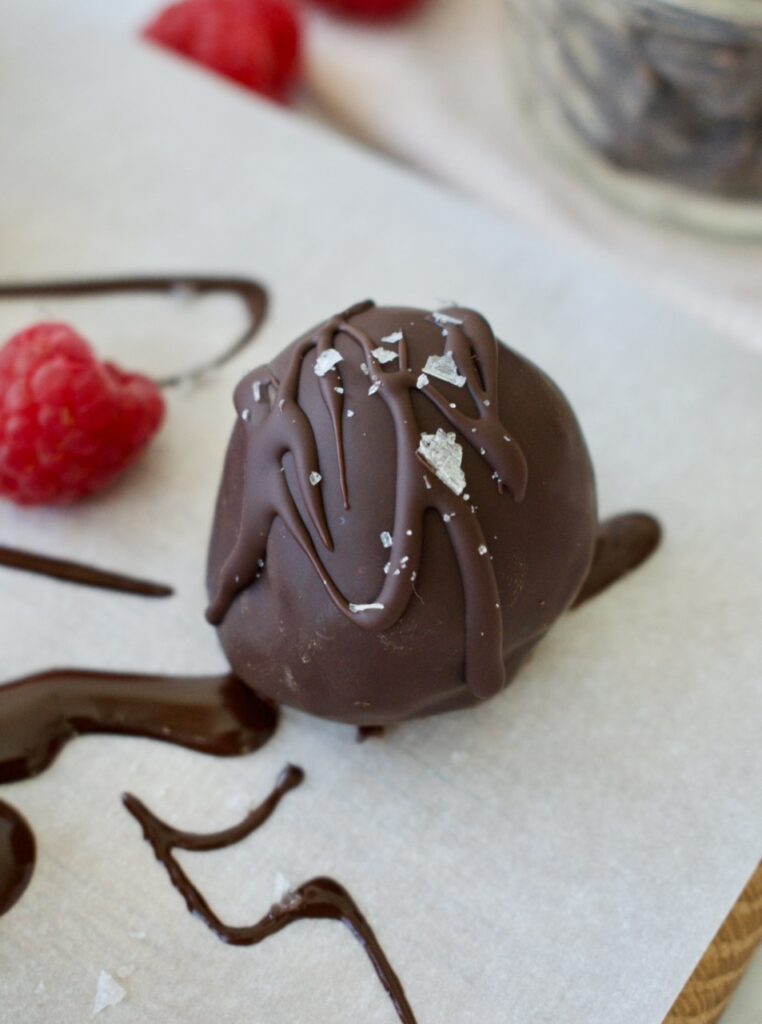
These delectable homemade truffles are completely allergy friendly and made with granola butter (or your favorite nut/seed butter). They’re a perfect holiday treat or way to satisfy your chocolate craving.
granola butter truffles
Homemade chocolate truffles are such a fun, no bake way to show your love for Valentine’s Day. Or just a fun way to enjoy some delicious chocolate! These truffles are completely gluten free, vegan, and nut free, making them allergy friendly.
chocolate truffles
How do you make truffles?
These chocolate truffles are easy to make. You just combine granola butter with melted chocolate and a few other ingredients, then mold the truffles and pop them in the fridge to set. You can always add the truffle batter to a silicone mold to make the forming process easier.
If you decide to mold your truffles by hand, just be aware that it does get messy and you’ll need to work quickly as the heat from your hands melts the chocolate. Once the batter has set, you can scoop out small amounts and roll them into balls with your hands before popping them back in the fridge.
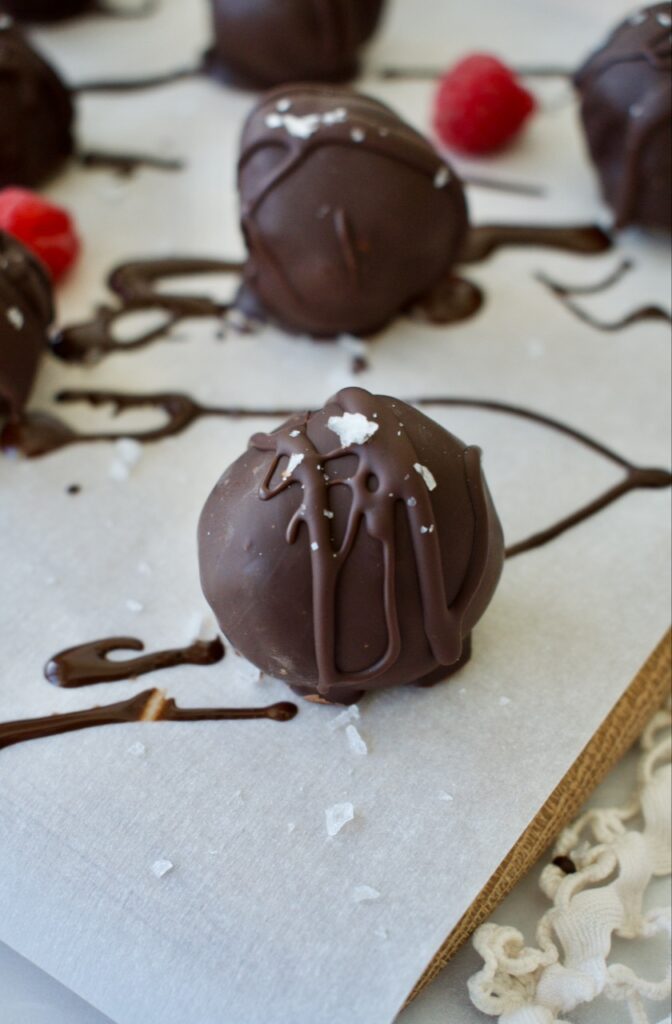
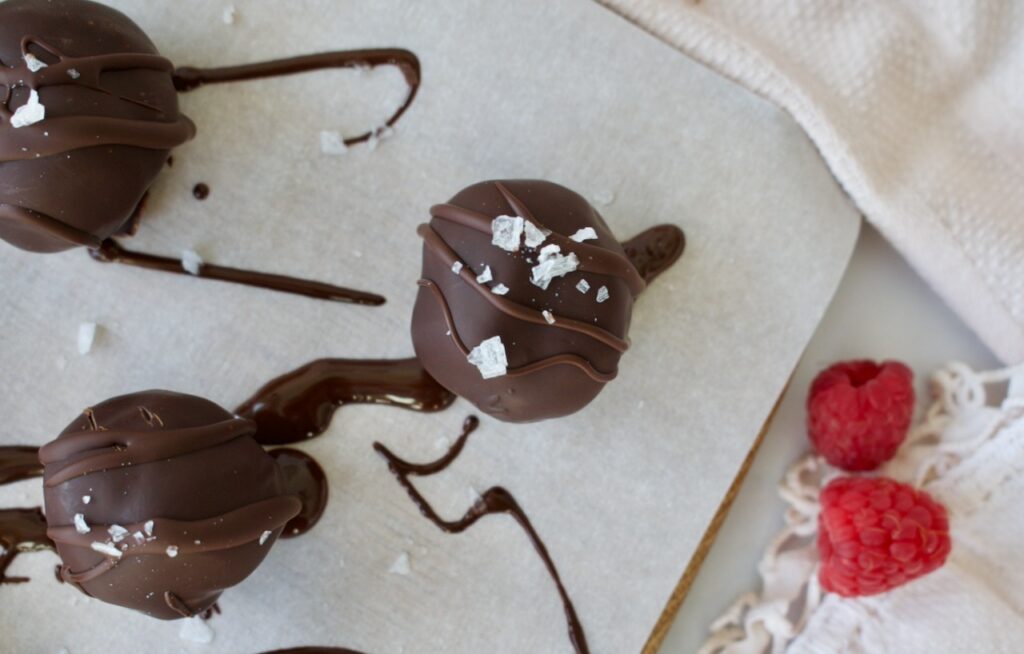
Once set, coat them in a layer of melted chocolate and top them off with flaky sea salt.
What is in truffles?
The base of these truffles consists of granola butter and melted chocolate. The granola butter keeps this recipe completely nut and seed free, but you can always use whatever nut/seed butter you like.
Coconut oil, vanilla extract, and coconut sugar are added to the base to bring truffles together. Then they are coated in a layer of melted chocolate. My favorite chocolate to use is Enjoy Life because it is free from the top 14 allergens.
This recipe makes about 14 truffles, but you can easily double the recipe
These homemade chocolate truffles are completely allergy friendly and easy to make. They are gluten free, dairy free, and nut/seed free. They're perfect for Valentine's Day or to quell a chocolate craving whenever I might pop up!
Melt the chocolate chips and coconut oil together on low over the stove or in the microwave at 30 second intervals.
Combine the granola butter, melted chocolate, vanilla, sugar, and salt together in a bowl and stir to combine.
If using a mold, pour your batter into the molds and place in the fridge to set for 30-60 minutes. If not using a mold, put batter in the fridge for 10-30 minutes, until set, but not too firm. Using a small scoop, scoop tablespoon size amounts of batter into your hand and form into a ball. Work quickly as the heat from your hands will melt the chocolate (this process will be messy). Place the balls on a parchment lined plate and set back in the fridge to set for at least 30 minutes.
Once truffles are set, melt the chocolate chips and coconut oil for the coating together in a small bowl. Coat each truffle in the melted chocolate then place back on the parchment lined plate. Sprinkle with flaky salt while chocolate is still wet then put back in the fridge until chocolate is set.
Shhh, don’t tell anyone, but there’s a secret ingredient in these brownies to make them protein and fiber filled! I’m sure you’ve seen black bean brownies before, but I add a lil extra protein boost to mine. I promise you can’t taste the beans! These brownies were taste tested and approved by someone who hates hidden healthy ingredients
Black Bean Protein Brownies
-1 15 oz can of black beans
-1 egg
-1/4 oil (melted coconut or olive works)
-1/3 cup maple syrup
-1/2 cup milk of choice
-1 tsp vanilla
-1 cup of flour (regular, gluten free blend, oat, or almond should work. I used half gluten free, half tiger nut)
-2 scoops (1 serving) of Nuzest protein (vanilla or chocolate)*
-1/4 cup cocoa powder
-1/2 tsp baking powder
-1/4 tsp salt
-3/4 cup chocolate chips, divided (I use Enjoy Life)
*I have not tested this recipe with any other brands of protein. Any pea protein should work, but I think any protein would be fine! Use 1 serving or about 1/4 cup
Preheat oven to 350F.
You need a food processor for this recipe. If you only have a blender, you’ll need to blend the beans and then scoop them out and use a hand mixer for the rest of the process. Trust me on this.
Blend the black beans in a food processor until smooth. Add the remaining wet ingredients to the food processor and blend until smooth. (if using a blender, blend and then scoop into a bowl and use a hand mixer with the remaining wet ingredients).
Add the dry ingredients, except for chocolate chips, and blend until just combined.
Melt 1/2 cup of chocolate chips until smooth, then add the chocolate to the food processor and blend again.
The batter will be thick! Pour it into a 9×9 baking dish and sprinkle with remaining chocolate chips.
Bake for 30-35 min, until a toothpick comes out clean.
Enjoy for dessert, as a snack, a cheeky breakfast, or pre/post-workout hit!
You know those nights where you HAVE to have something chocolatey? Where the brownie craving is too real? But you know if you make a whole batch, you’ll eat the whole thing before dawn (I know that’s not just me). And you also don’t want to sabotage your healthy eating by downing a sugar-laden piece of chocolate cake? Or, you just have no patience to wait for a whole batch of brownies to bake or to drive to the store for a chocolate cake? I got you. Don’t worry, Victoria to the rescue.
I’ve mastered the 2-minute microwave mug brownie. Let me rephrase that, I’ve mastered the HEALTHY 2-minute microwave mug brownie. I know I know, a MICROWAVE! I try to avoid them at all costs, but sometimes it’s just worth it. So if you are looking for an evening treat without sabotaging your health or your healthy eating, then whip this up! It features one of my favorite superfood blends from a company I just recently discovered, Philosophie. I’ve sampled all 3 of their superfood blends, but their Cacao Magic is just PERFECT in this recipe with the REAL cocoa nibs that are in it. Of course, if you don’t have any Cacao Magic, you can use regular cacao powder.
This brownie is perfectly dense and fudgey but light and absolutely delicious for dessert. It’s also low in sugar with virtually no added sweetener (1/2 tsp for the whole brownie!). Trust me, you’ll be wanting to make this ASAP.
3 tbs. almond milk (or plant-based milk of choice)
Mix all dry ingredients in a bowl.
Add all wet ingredients and stir well, until combined (make sure you’ve mashed banana very well).
You can leave the batter in the bowl you mixed it in or put it in a mug.
Microwave for 1.5-2.5 minutes, depending on your microwave and the altitude you are at.
I am at 7,000+ feet so sometimes cooking times vary. You also may need to add another 1/8 tsp. of baking soda if you are at a lower altitude (if your brownie falls flat then try adding more baking soda).
If you place your batter in a mug, run a knife around the outside to loosen the brownie and then you can flip the mug upside down to release the brownie onto a plate.
I can’t do life without toppings, and love to add more chopped banana, fresh or frozen berries, and drizzle of almond butter to complete my dessert.
Hi! I'm Victoria. I was diagnosed with Lyme in 2012 and have been on a healing journey ever since. I love helping others on their road to healing through allergy friendly recipes, exercise, and overall well-being.