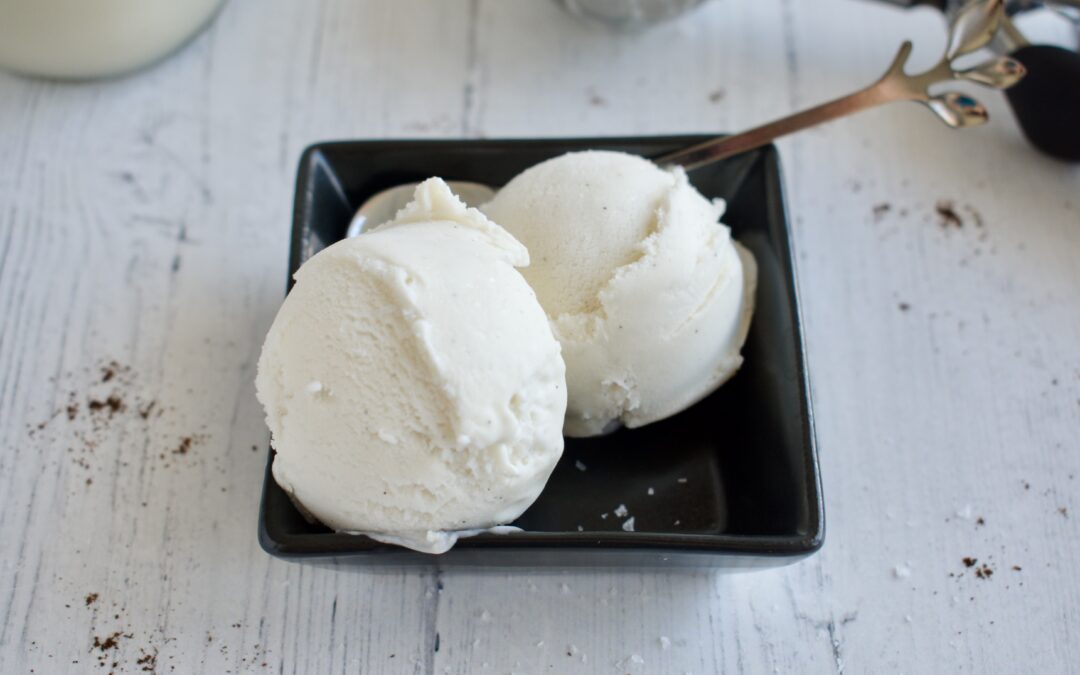
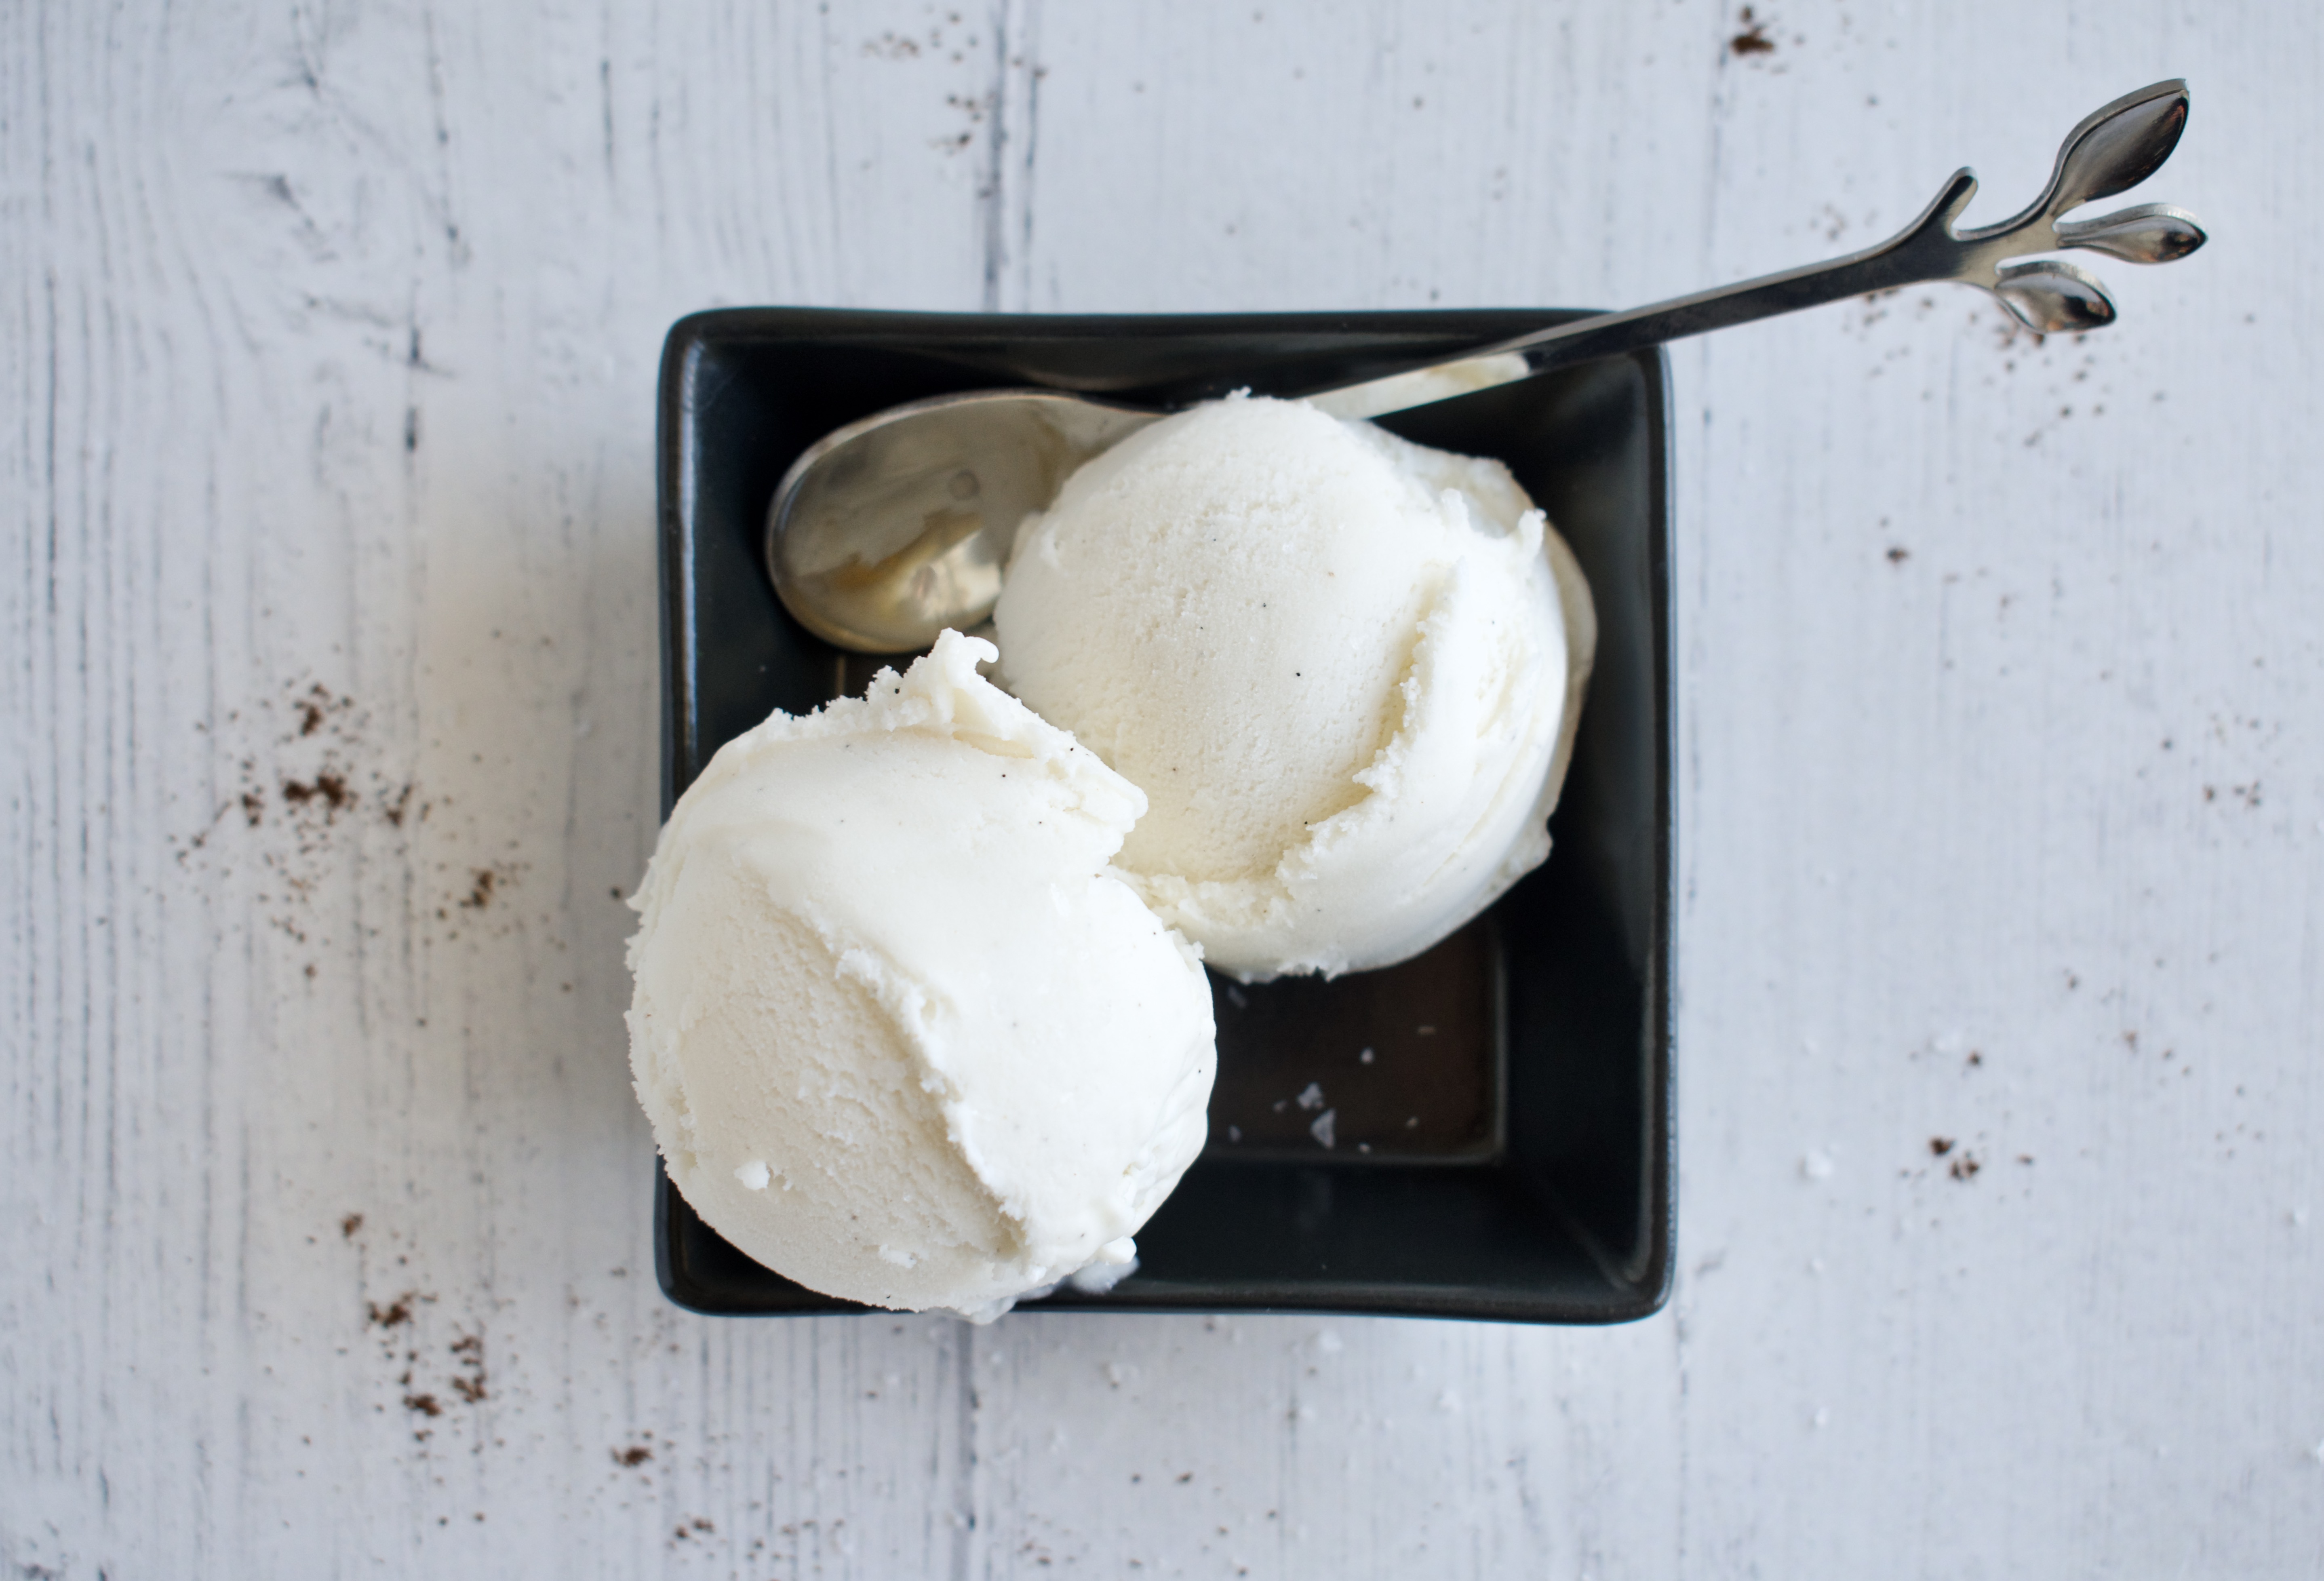
This homemade Dairy Free Vanilla Ice Cream is the perfect summer treat! It’s easy, allergy friendly, and only a handful of ingredients, plus it can be made completely vegan.
Summer calls for ice cream, right? Well, anytime calls for ice cream really ;), but summer does 100%. I got an ice cream maker for Christmas and I’ve been a bit obsessed. I haven’t made anything too fancy yet, but I have a lot of ideas in mind. I was craving just a good, basic vanilla ice cream recently so I had to share the recipe.
The best part about this homemade ice cream is that it fits most diets! It can be made vegan, it’s gluten free, dairy free, refined sugar free, nut free, Paleo, and can be made AIP. This is just your reminder that you can eat amazing, fun foods no matter what your food allergies are! My website is packed with allergy friendly recipes, so make sure to explore because I promise there is something for everyone here.
How to Make Dairy Free Ice Cream
In this recipe, I share both a more traditional version made with egg yolks and a completely vegan option.
Ingredients:
-2 cans full fat coconut milk
-1/2 cup maple syrup
-1/4 cup coconut sugar
-1/2-1 vanilla bean, optional
-1/4 tsp. salt
-4 egg yolks OR 1/4 cup tapioca or arrowroot starch to keep it vegan
-2 tsp. vanilla extract
Process:
- Blend the coconut milk, maple syrup, sugar, and seeds from the vanilla bean in a blender until combined.
- Transfer the mixture to a saucepan and heat over medium-low heat. While your base begins to heat, whisk your egg yolks together in a small bowl. When the mixture is warm to the touch but not hot, mix 1/4 cup of the ice cream base with the egg yolks OR starch. Whisk to combine then add it to the base in the saucepan.
- Stirring occasionally, heat your entire ice cream mixture until it just begins to thicken slightly and the mixture coats the back of a spoon. This will take about 10 minutes, depending on your stove.
- Once it has reached the right consistency, let cool at room temperature before placing in the fridge to finish cooling.
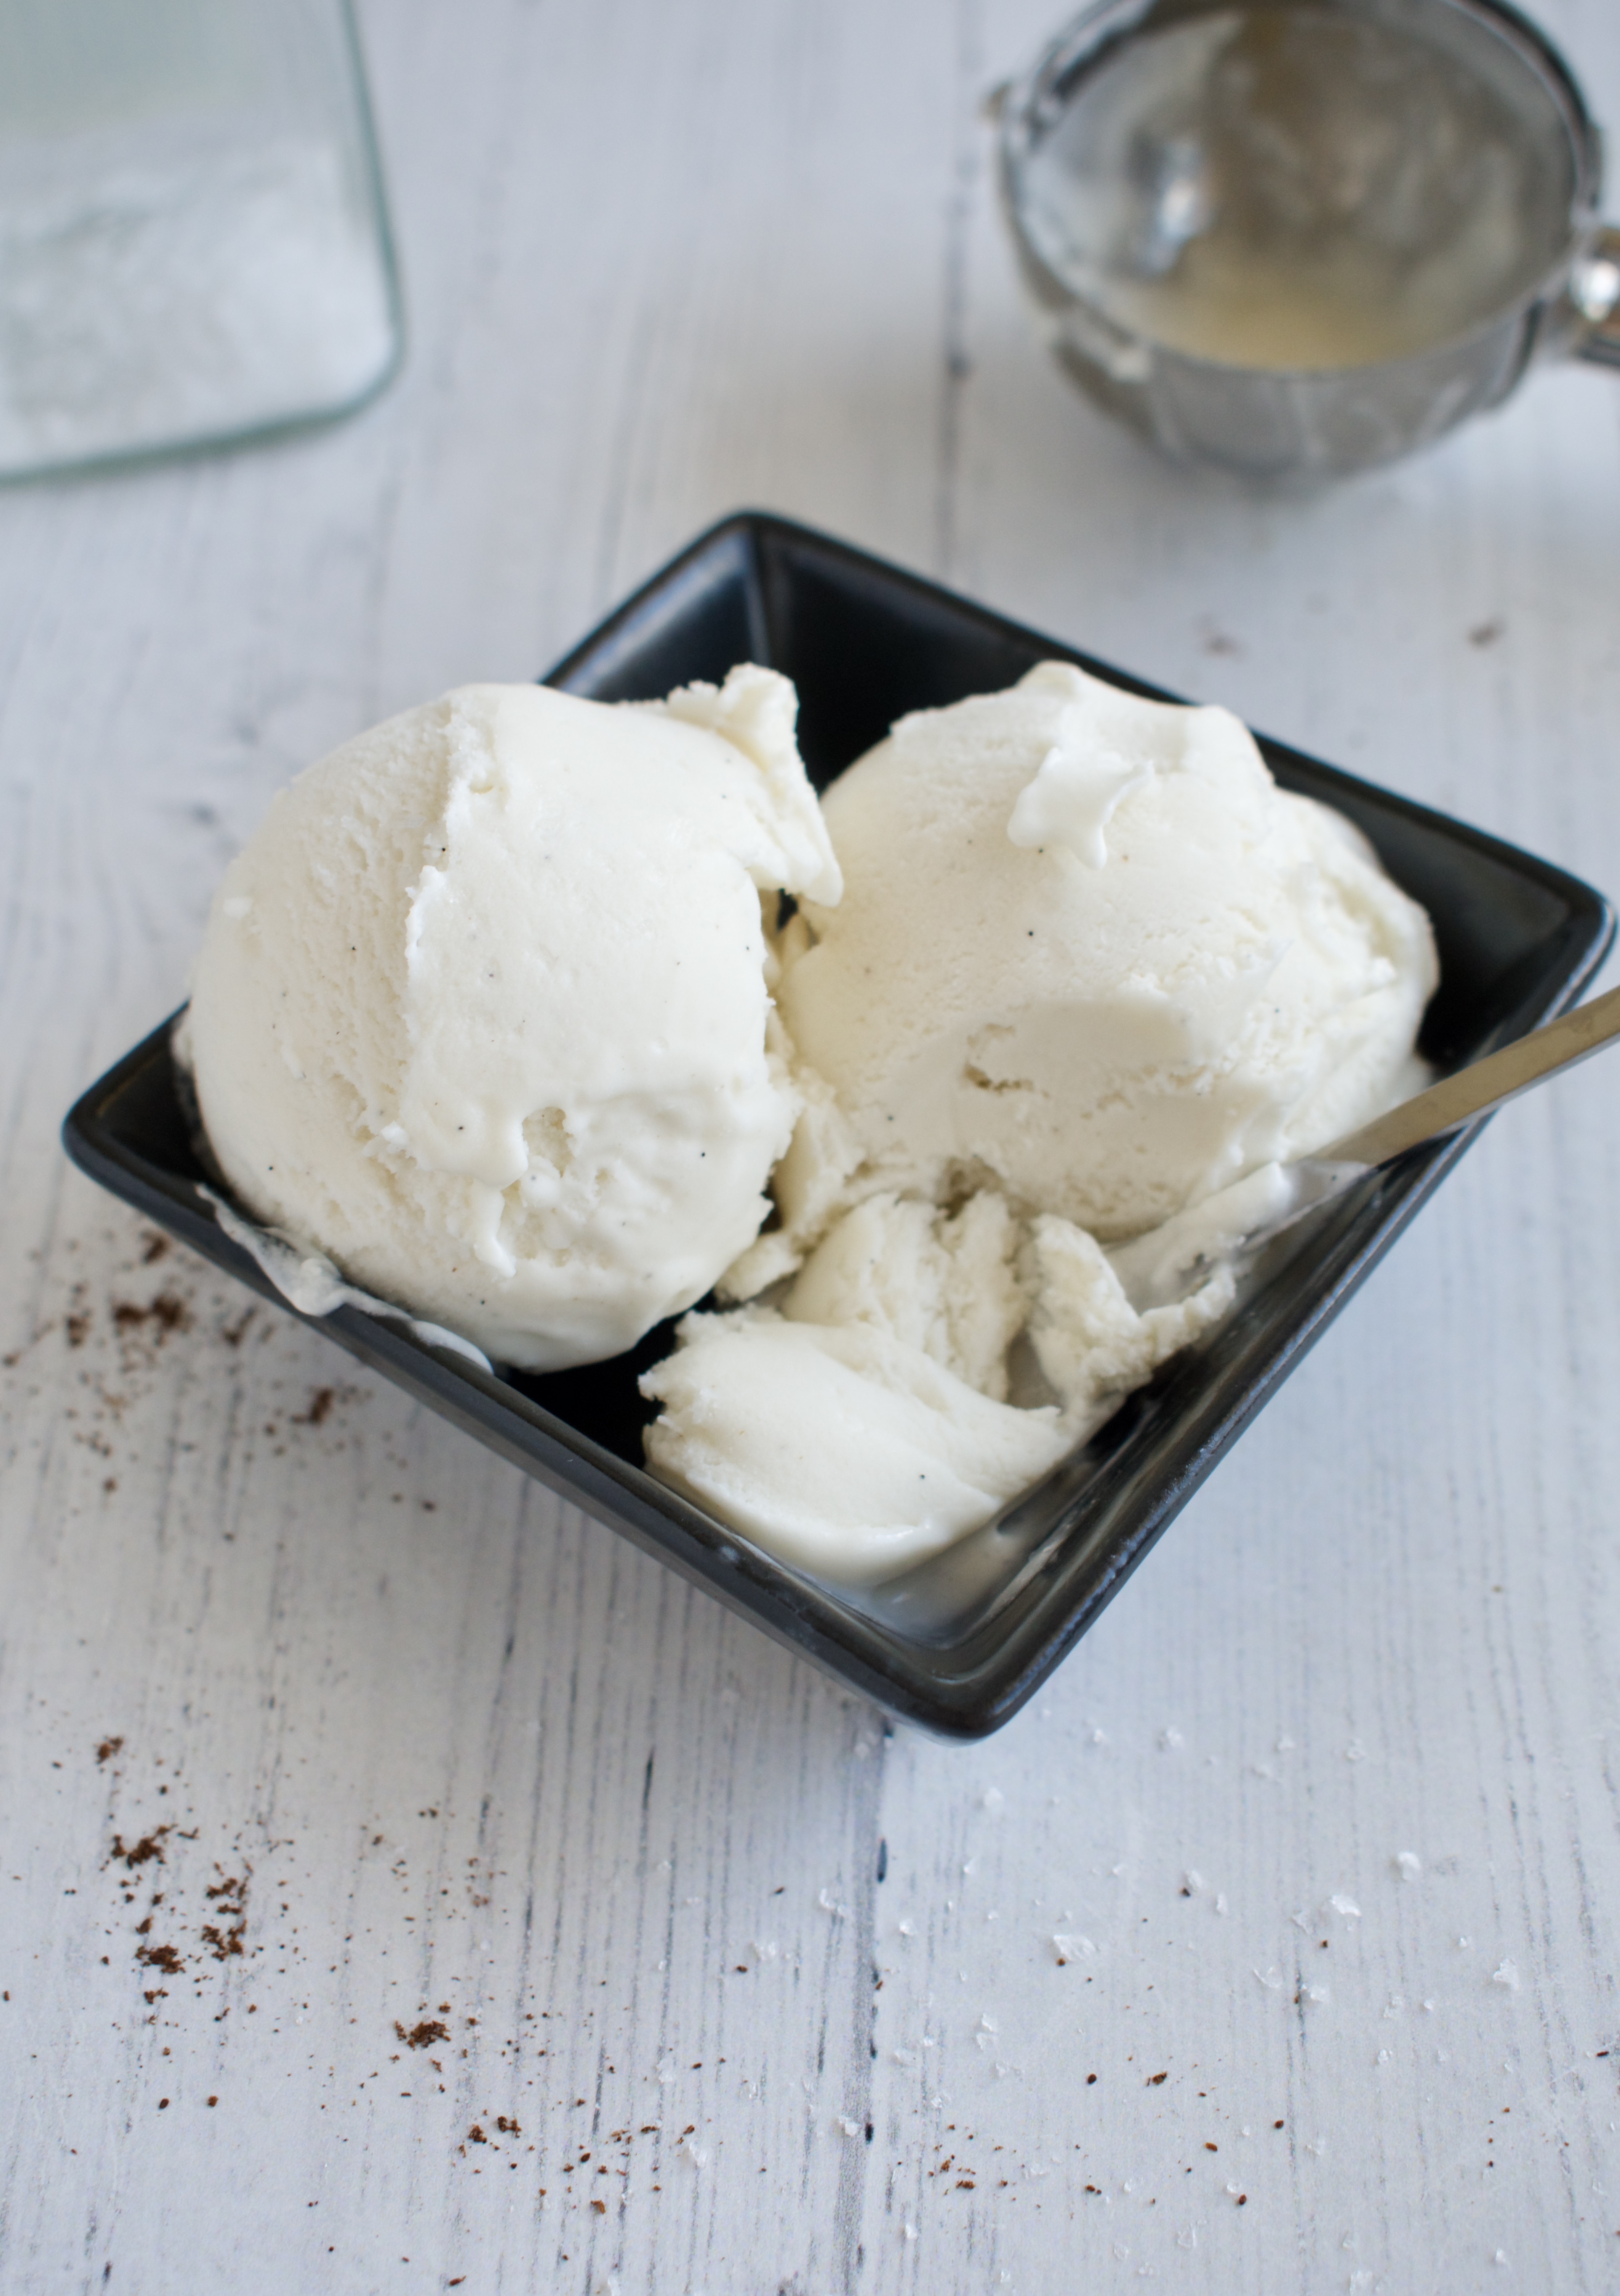
- Once your base has cooled, add it to your ice cream maker following the manufacturers directions. I’ve found that it takes 15-20 minutes for my ice cream to churn, at which point you usually have a soft serve consistency. Transfer to an ice cream container, freezer safe glass dish, or loaf pan lined with parchment paper (top with wax paper or plastic wrap pressed against the ice cream) and leave in the freezer for several hours or overnight to harden completely.
Dairy Free Ice Cream Notes
Ingredients:
- This recipe uses coconut milk as the base to provide that creamy, milky flavor.
- To create more a custard, you can use egg yolks in this recipe, but to keep it completely vegan, I provide an alternative with tapioca starch.
- I use a combination of coconut sugar and maple syrup to sweeten this ice cream, but you can always use just one. Since both of these sweeteners are brown, they can add a bit of color to the ice cream. If you want a more pure white, use white sugar!
What if I don’t have an ice cream maker?
If you don’t have an ice cream maker, you can always put the base into a freezer safe dish and whisk it every 30 minutes until it freezes. It won’t be quite as smooth, but it works in a pinch. This method is a little more time intensive as you do want to keep stirring the ice cream.
Why use egg yolks or starch?
Egg yolks or starch help the ice cream get that smooth, creamer texture without just being a frozen solid milk cube. They allow the ice cream to have some give and softness to it. Homemade ice cream is never quite as soft as store bought due to all the additives and gums they add, but we can at least soften it up a bit at home.
Dairy Free Vanilla Ice Cream
Equipment
Ingredients
- 2 cans full fat coconut milk
- 1/4 cup maple syrup
- 1/2 cup coconut sugar
- 1/2-1 vanilla bean depending on how strong you like the vanilla flavor
- 1/4 tsp salt I like using a thick flaked salt
- 1/4 cup tapioca or arrowroot starch OR 4 egg yolks
- 2 tsp vanilla extract
Instructions
- Blend the coconut milk, maple syrup, sugar, and seeds from the vanilla bean in a blender until combined. Or whisk them well in a saucepan.
- Transfer the mixture to a saucepan and heat over medium-low heat. While your base begins to heat, whisk together the egg yolks in a small bowl. When the base is warm to the touch, but not hot, add 1/4 cup to the egg yolks OR to the starch and whisk to combine. Add this back to the base in the saucepan.
- Stirring occasionally, heat your entire ice cream mixture until it starts to thicken slightly. It should coat the back of a spoon when ready. This will take about 10 minutes, depending on your stove.
- Turn off the heat and let the mixture cool for about 20 minutes at room temperature before transferring to the fridge to cool off completely.
- Once your base has cooled, add it to your ice cream maker following the manufacturers directions. I’ve found that it takes 15-20 minutes for my ice cream to churn, at which point you usually have a soft serve consistency. Transfer to an ice cream container, freezer safe glass dish, or loaf pan lined with parchment paper (top with wax paper or plastic wrap pressed against the ice cream) and leave in the freezer for several hours or overnight to harden completely.
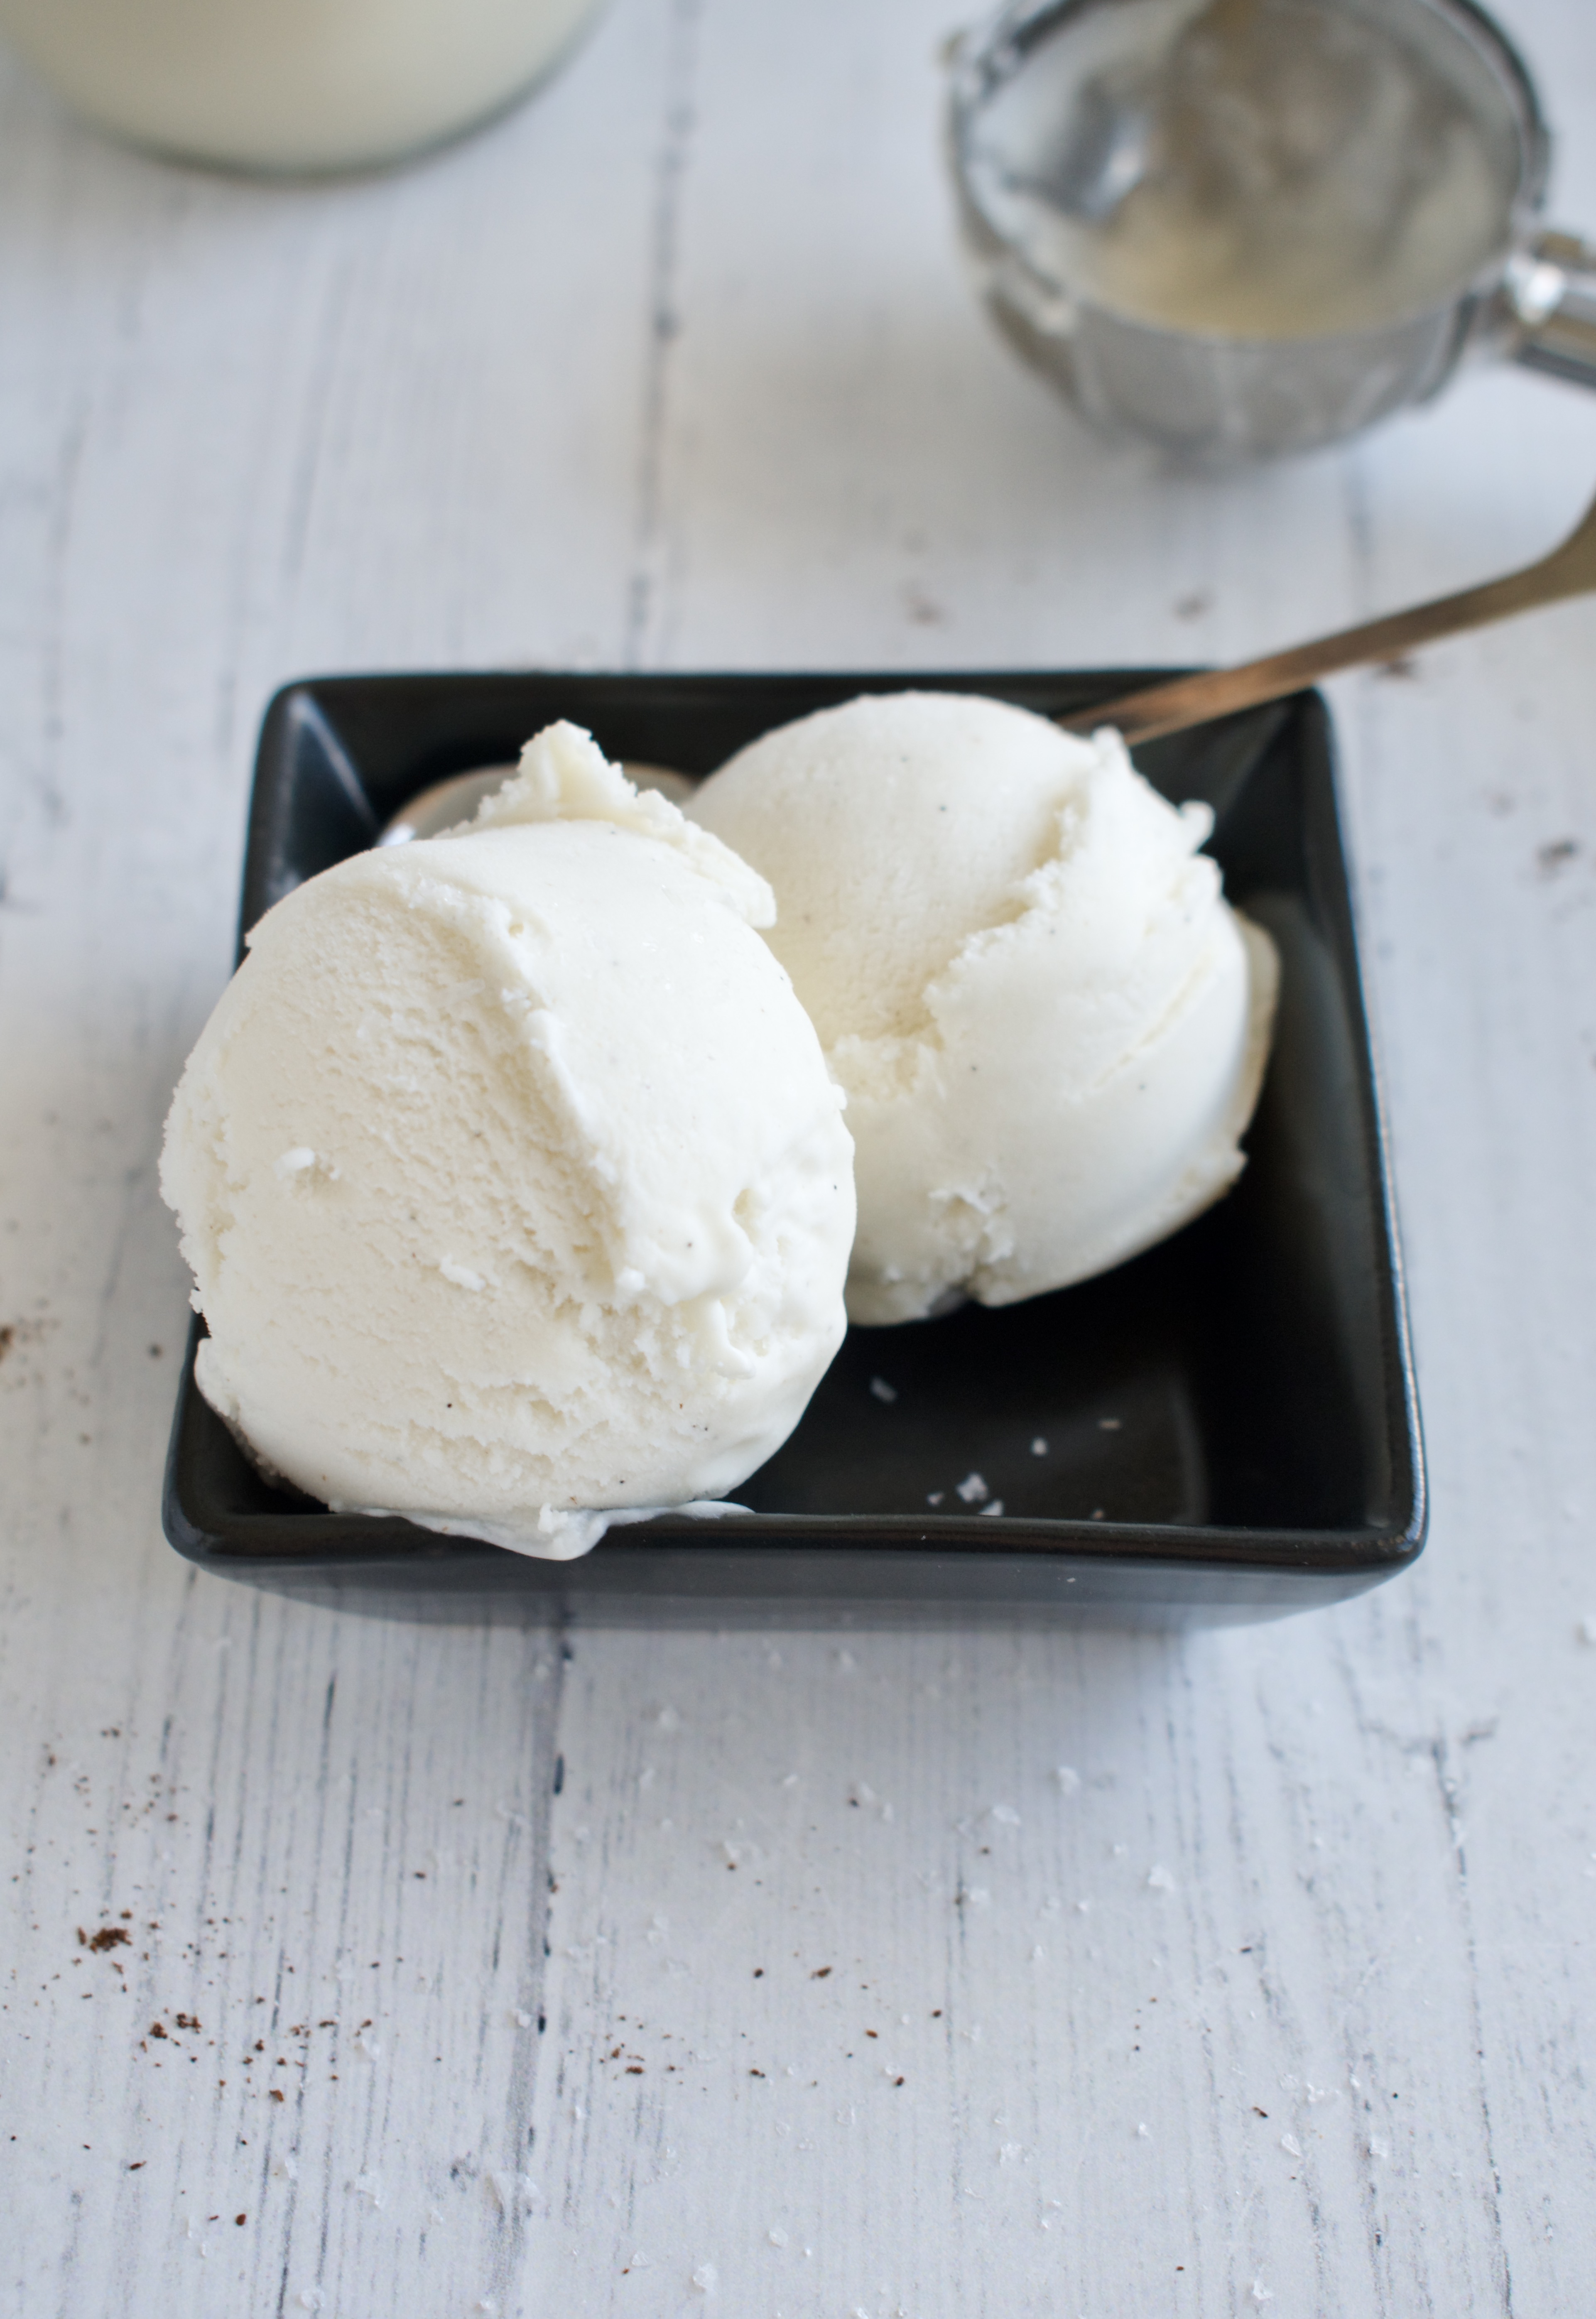
- I suggest taking the ice cream out 5-15 minutes (depending on the temp in your house and how soft you like your ice cream) before serving so it can soften enough to scoop.
