These Gluten Free Maple Walnut Cookies have just the right amount of softness, sweetness, and crunch. They’re perfect for fall and also completely dairy free and refined sugar free.
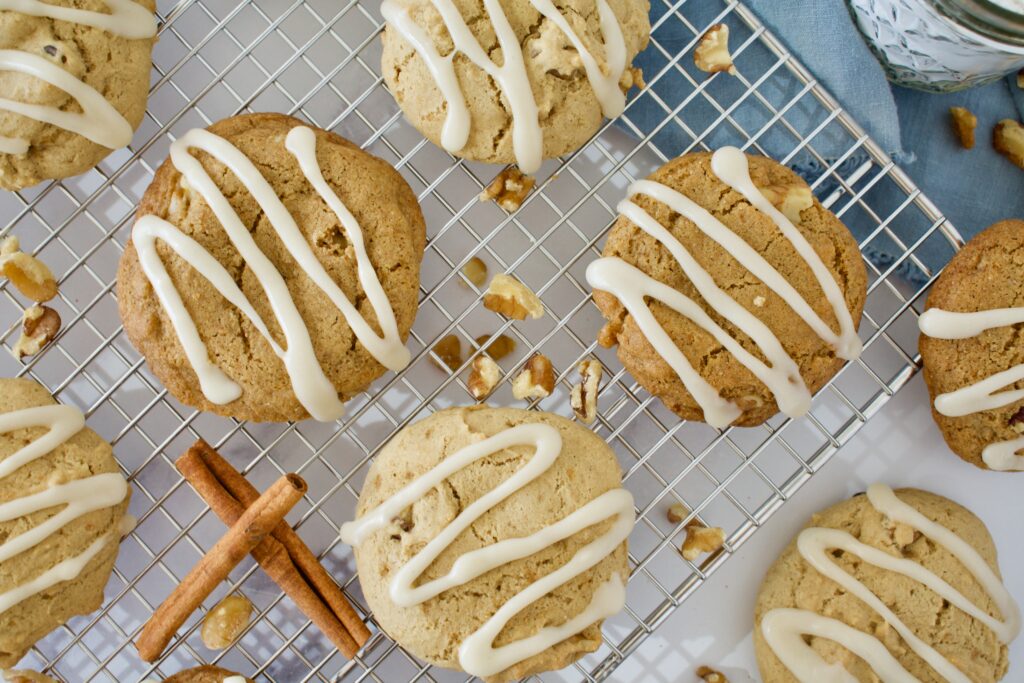
These maple walnut cookies are the perfect fall/winter cookie. It took me about 7 tries to nail this recipe, but along the way I learned about what substitutions would work. The ideal cookie recipe is listed below, but I provide tons of subs to make these cookies work for you depending on the ingredients you have available and dietary preferences.
Gluten Free Maple Walnut Cookie Ingredients
- 1 cup 1:1 gluten free flour
- 1/2 cup tigernut flour or almond
- 1/2 tsp cinnamon
- 1 tsp baking soda
- 1/4 tsp salt
- 1/2 cup maple sugar
- 1/2 cup coconut oil softened
- 1 egg room temperature
- 1 egg yolk room temperature
- 1 tsp vanilla extract
- 1/2 cup chopped walnuts
Maple Walnut Cookie Substitutions
Flour
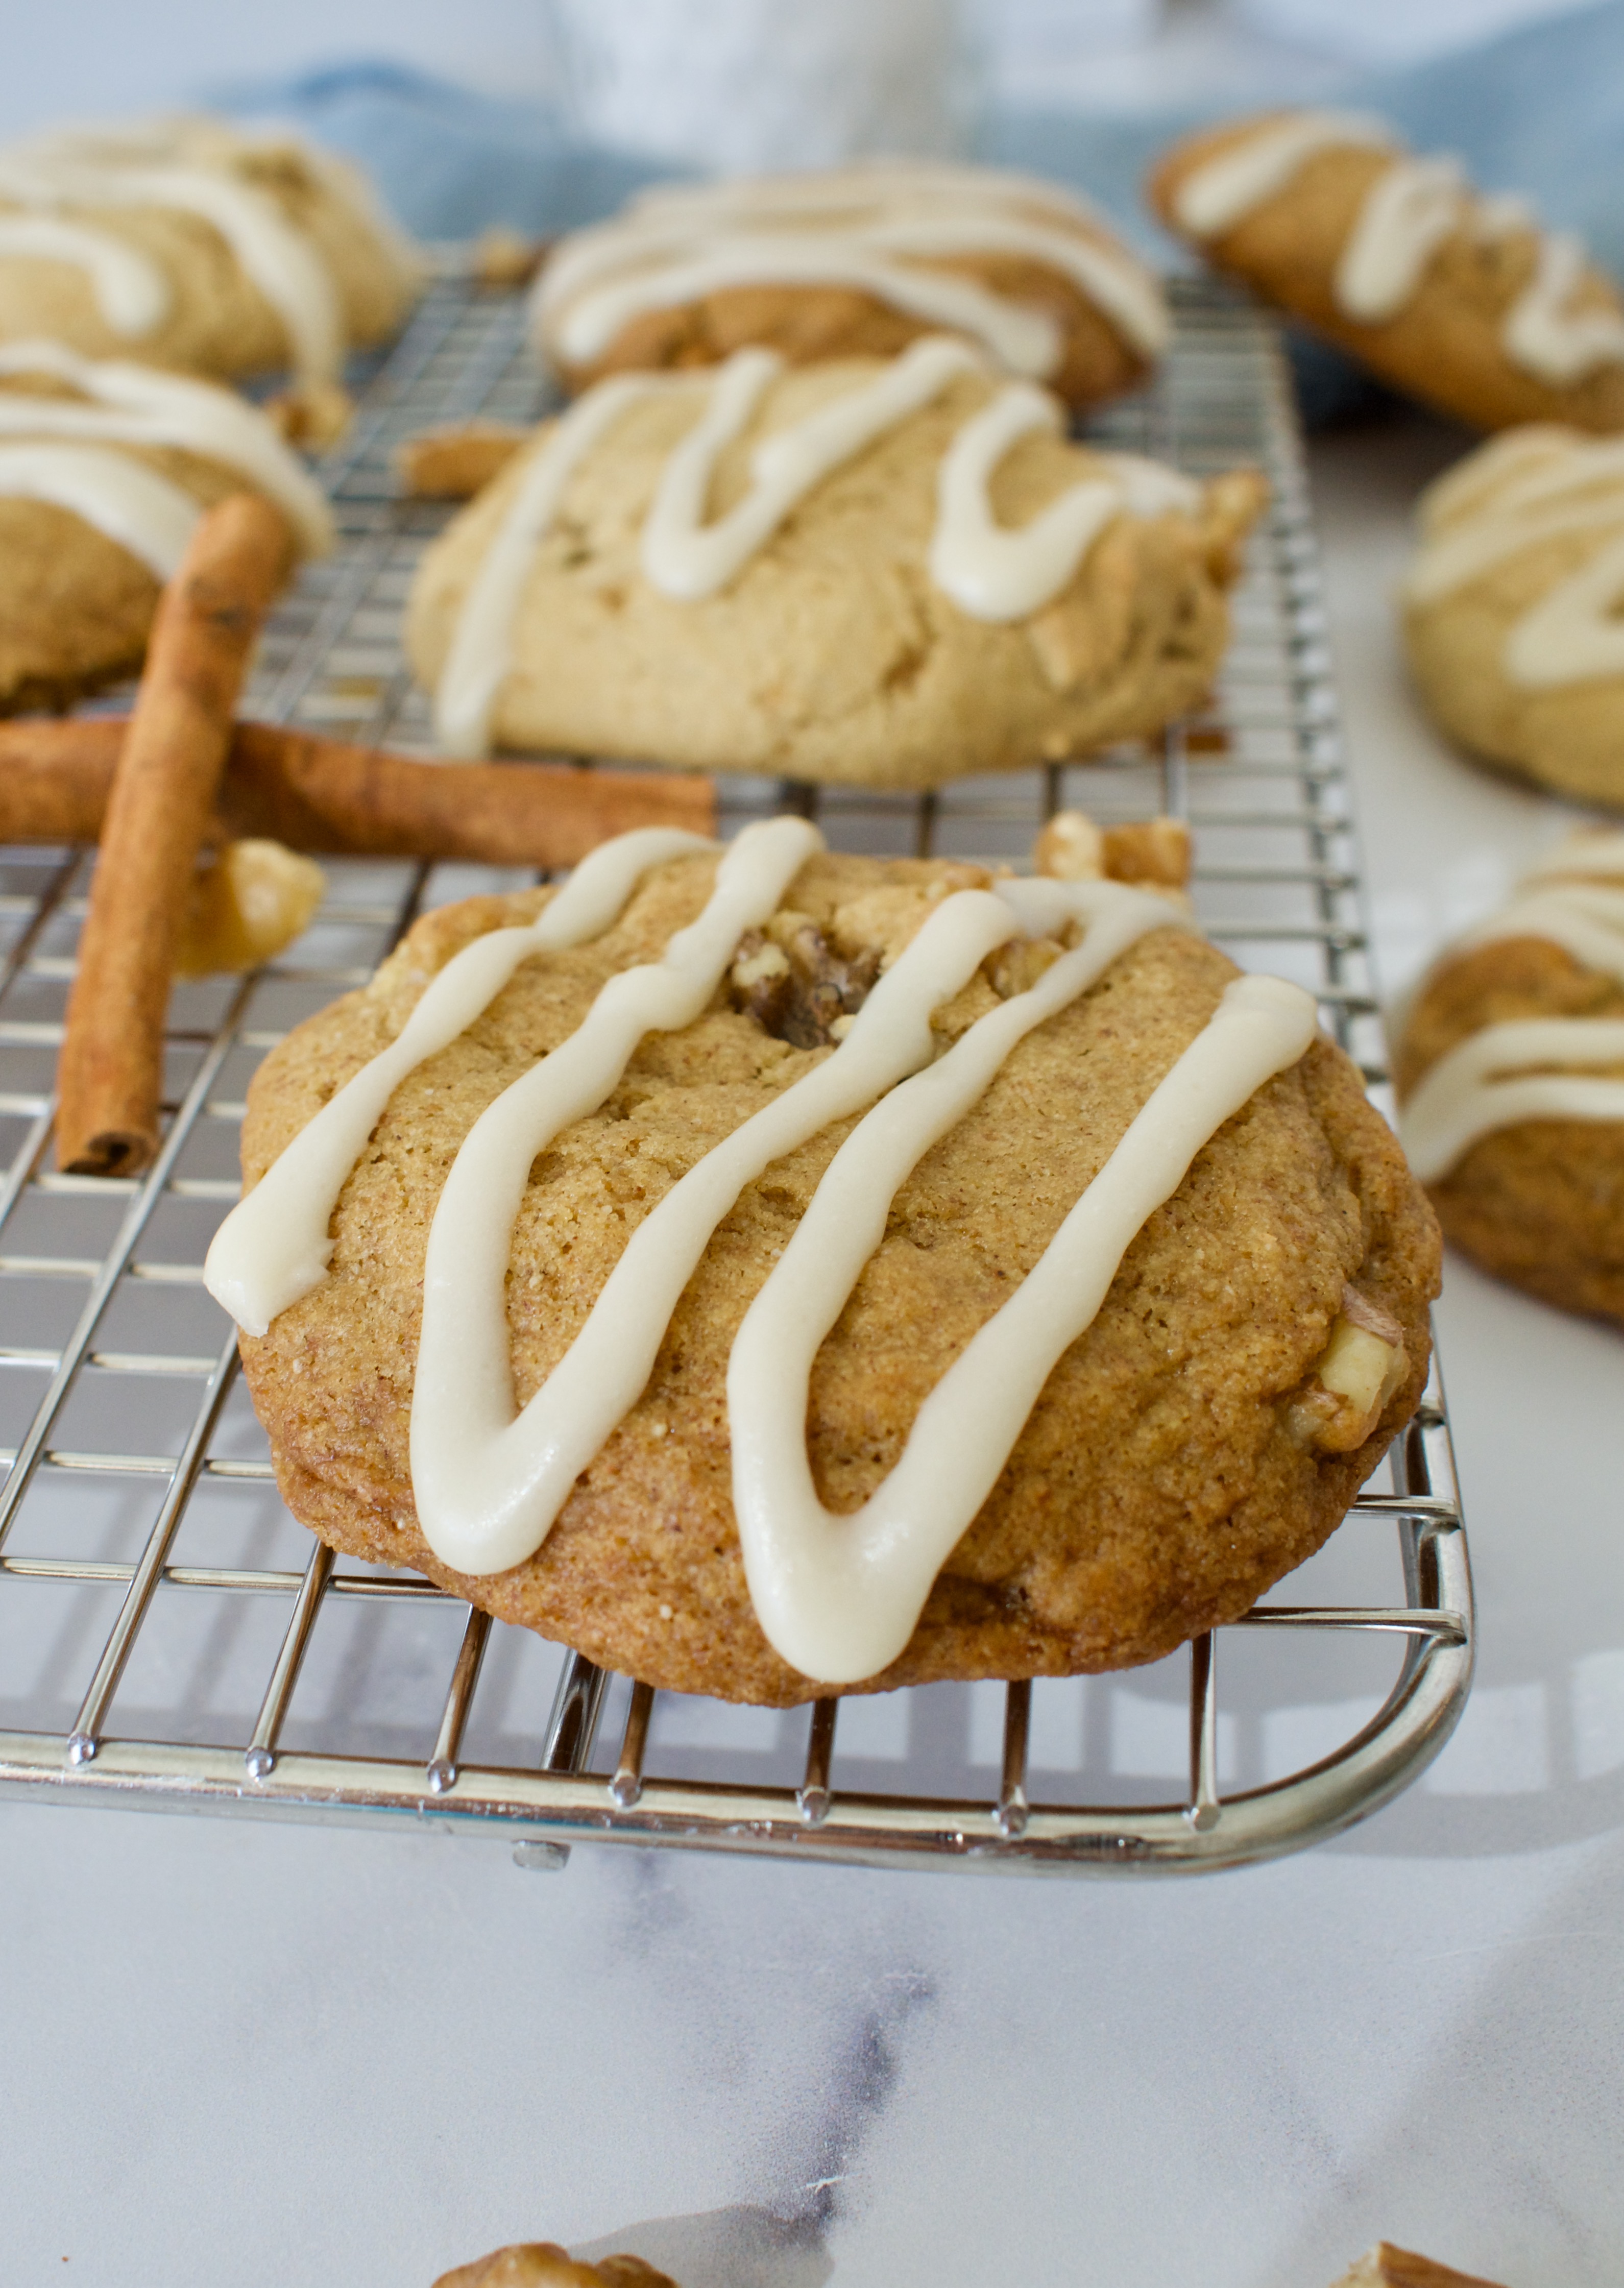
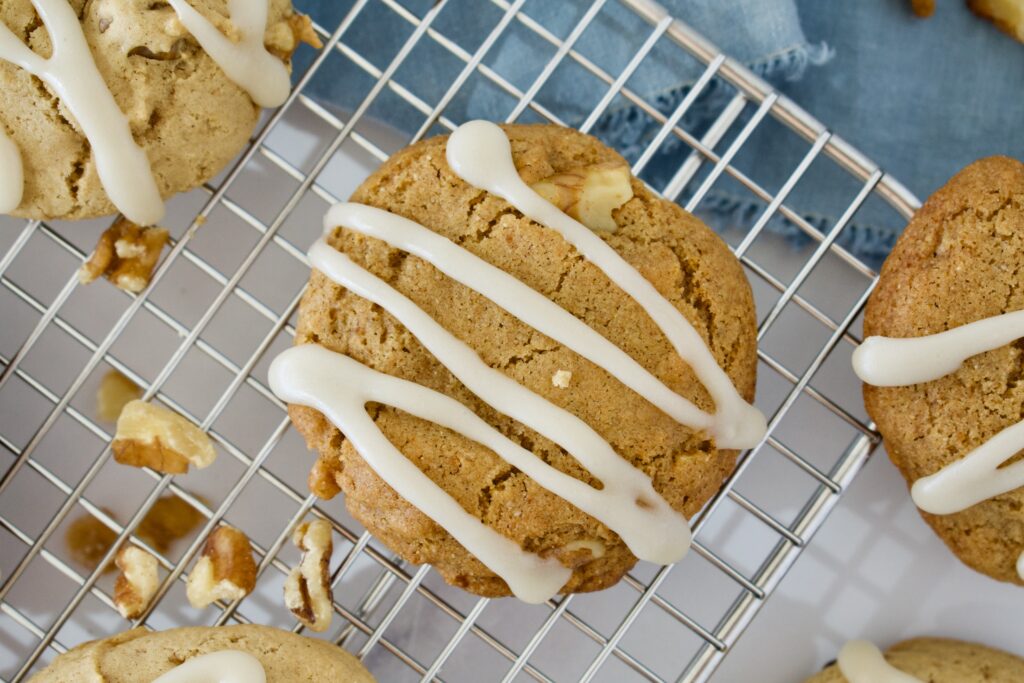
This recipe calls for a combination of gluten free and tigernut flour. This is the best combo for this recipes as the tigernut adds some sweetness and complements the maple nicely. If you don’t have tigernut flour or can’t access it, you can use almond flour or more gluten free flour. Using another 1/2 cup of gluten free flour will result in more puffy cookies that do not spread as much. They will also be much lighter in color (you can see this in the photos).
Fat
This recipe calls for 1/2 cup of softened coconut oil. You can substitute this for butter of your choice, but again, the cookies may come out a bit puffier. If you’d like to reduce the fat content, you can use 1/4 cup of oil/butter and 1/4 cup of applesauce. This results in fluffier, softer cookies that do not spread as much, but are still delicious.
Sugar
This recipe calls for maple sugar to get that maple flavor. Unfortunately, maple sugar can be hard to find and is often expensive. You can use coconut sugar as a substitute or 1/4 cup of coconut sugar and 1/4 cup of maple syrup to get some of that maple flavor in the cookies. The combo of sugar and maple syrup also may result in a lighter, fluffier cookie. Again, still delicious! If you do want to use maple sugar, I usually buy it on Amazon.
More Walnut Recipes
Love walnuts? Then you need to try these other great recipes that incorporate walnuts!
Gluten Free Walnut Crumble Banana Bread

Maple Walnut Cookies
Ingredients
Cookies
- 1 cup 1:1 gluten free flour
- 1/2 cup tigernut flour can use almond or more gluten free, see notes above
- 1/2 tsp cinnamon
- 1 tsp baking soda
- 1/4 tsp salt
- 1/2 cup maple sugar see substitutions above
- 1/2 cup coconut oil softened (see substitutions above)
- 1 egg room temperature
- 1 egg yolk room temperature
- 1 tsp vanilla extract
- 1/2 cup chopped walnuts
Icing
- 1/2 cup powdered sugar
- 2 tsp melted coconut oil or butter
- 2 tsp maple syrup room temperature (zap in microwave at 5 second intervals if needed)
- Milk of choice
Instructions
- Preheat oven to 350F.
- Whisk together the flours, baking soda, cinnamon, and salt in a bowl and set aside.
- Beat together the sugar and coconut oil until light and fluffy (30-60 seconds).
- Beat in the egg until combined. Beat in the egg yolk and vanilla until combined.
- Add the dry ingredients to the wet and mix on low to just combine.
- Fold in the walnuts.
- Let batter sit while you line two baking sheets with parchment paper.
- Scoop tablespoon sized drops of dough onto one baking sheet, leaving 1.5-2 inches between each cookie.
- Bake one cookie sheet on the middle rack for 10-12 minutes until golden and just firm around the edges.
- Let cool on the baking sheet for 5-8 minutes, before transferring to a wire rack to finish cooling. While one sheet of cookies bakes, prepare the next sheet. Repeat until all cookies are baked.
- Let cookies completely cool before icing.
- To make the icing, mix together the sugar, oil, and maple syrup until you get a thick icing consistency. Add a tiny splash of milk if needed.
- Ice cookies as desired and enjoy



Going to save this one. Love both maple and walnuts. The icing is a good touch as well 👍🏼😋🍻
The icing really pulls them all together. I look forward to your review once you’ve made them!