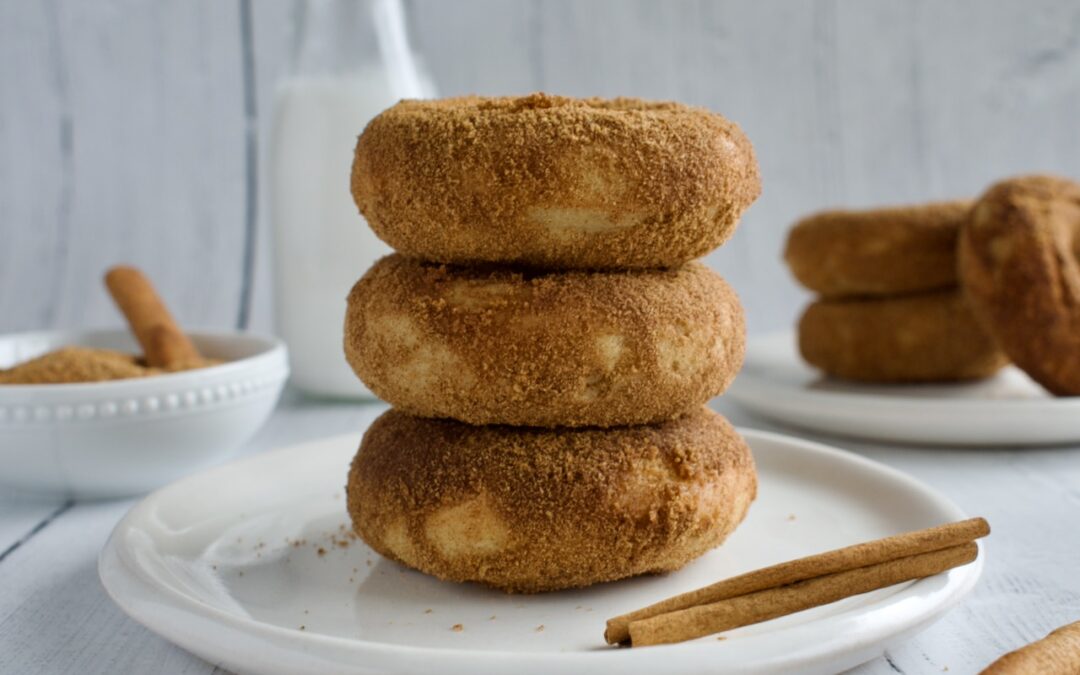
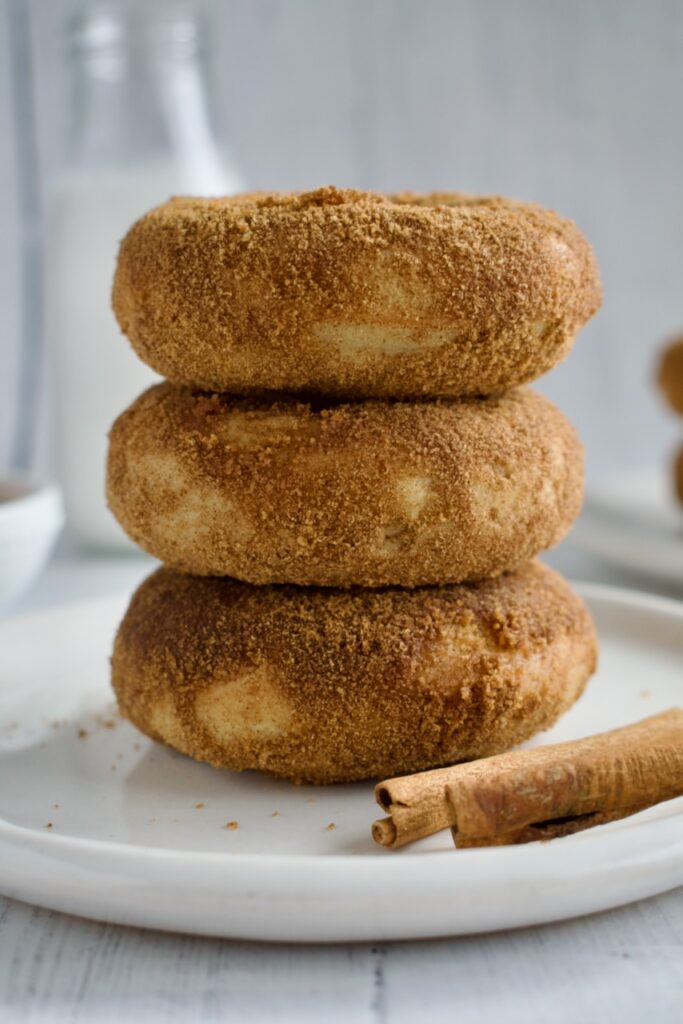
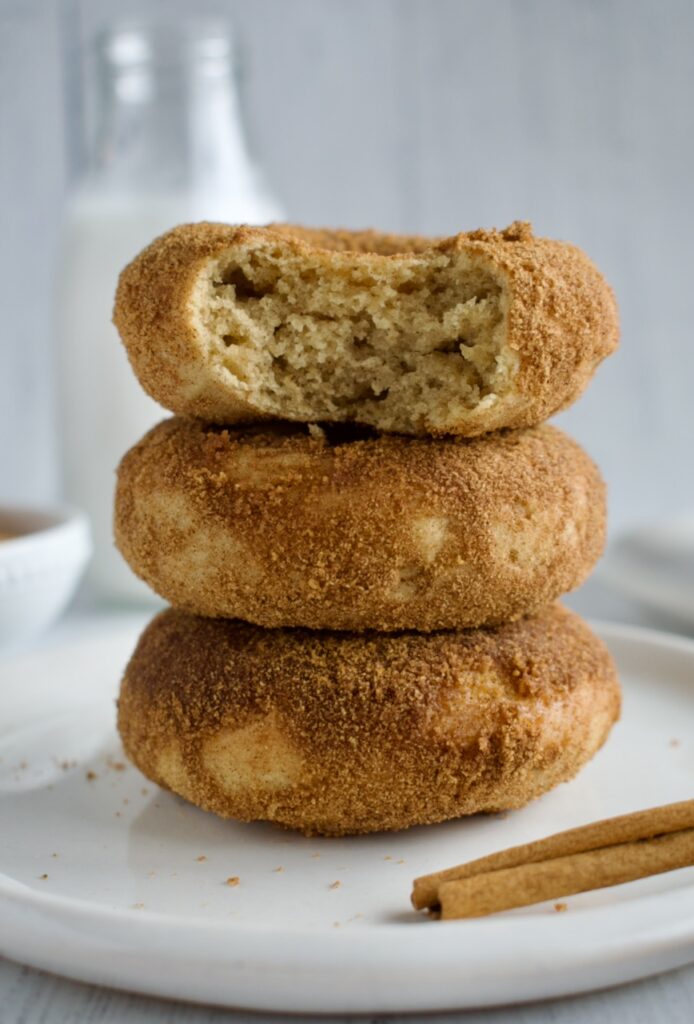
These gluten free donuts are baked and then tossed in a cinnamon sugar coating for pure perfection. Dairy free, refined sugar free, and nut free, how can you go wrong?
gluten free cinnamon sugar donut
I have an important question for you- are you a fried donut person or baked donut person? Let me know in the comments! I’m partial to baked donuts because, well, fried foods can be intense. Also, making baked donuts at home is so much easier. I like that baked donuts are a little denser too.
These gluten free baked donuts are allergy friendly, free of dairy, nuts, and refined sugar. Plus, they are lower sugar than any donut you’d find in the store. My mission is always to create lower sugar baked goods. You don’t need all the sugar usually called for in recipes to make treats taste good! Why not enjoy something delicious without the blood sugar crash? Of course, there is a science to baking with sugar and higher amounts are needed in certain recipes.
tigernut or almond flour: this is my favorite way to decrease the amount of sugar needed. Both of these flours are naturally sweet, so you can get away with less added sugar.
maple syrup: there is only 1/4 cup of maple syrup in these donuts making them lower GI.
yogurt: you can use a vegan yogurt like I did (my favorite is Forager) or Greek yogurt if you can have dairy
egg
vanilla
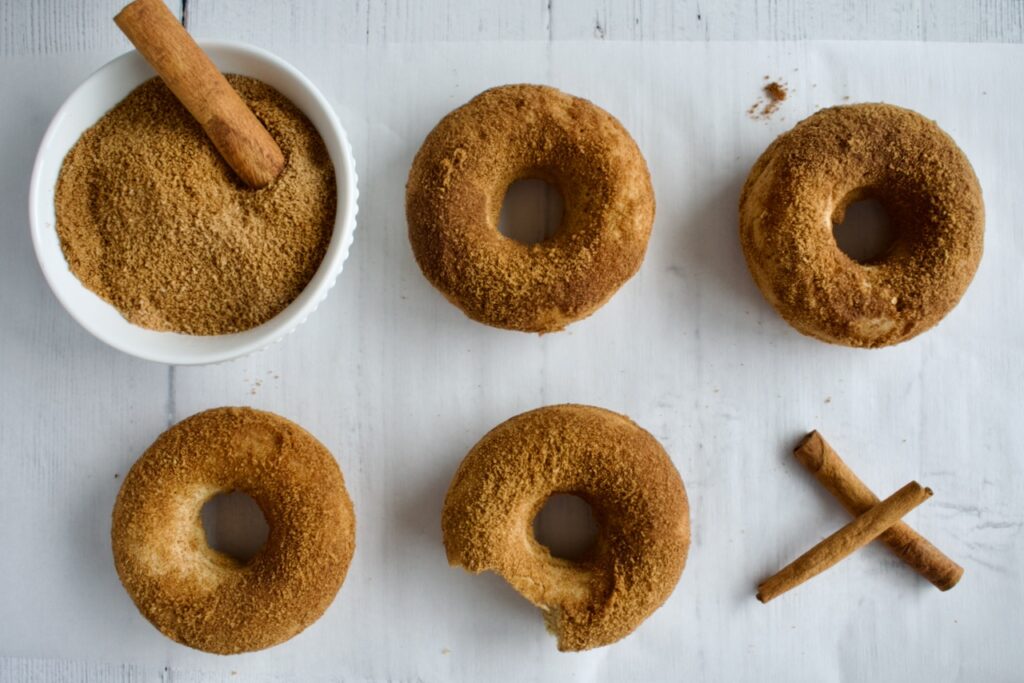
coconut sugar: this unrefined sugar is used to toss the donuts in!
coconut oil
Instructions:
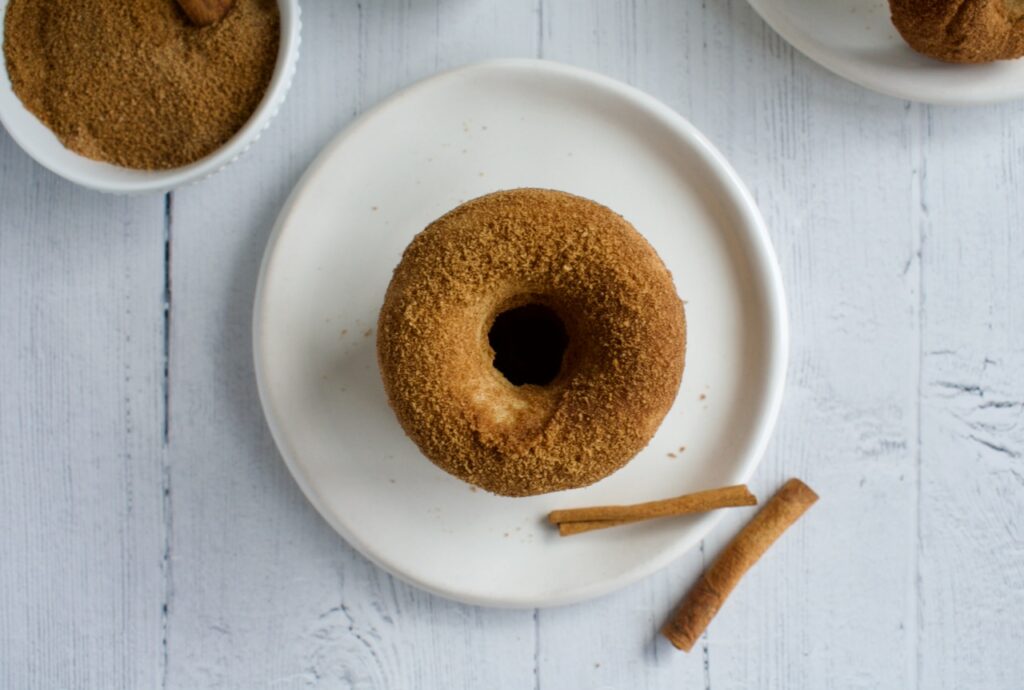
Making donuts is actually super easy. You just combine all the ingredients, pipe the batter into a donut pan, and bake. When the donuts are done, you’ll toss them in cinnamon sugar and try not to eat them all in one sitting.
These baked Strawberries and Cream Donuts are gluten free, dairy free, and refined sugar free. Easy to make and not to sweet, you'll love this easy donut recipe that you can make anytime of year!
Sift together the flours and then whisk in the salt and baking powder.
In a separate bowl, beat together the oil, maple syrup, yogurt, egg, and vanilla extract.
Add the dry to the wet and stir to combine.
Grease a donut pan then pipe the batter into the pan. You will get 8-10 donuts (so you may have to bake in batches if you only have one pan, or you can make donut holes with the remaining batter).
Bake the donuts for 14-16 minutes until a toothpick comes out clean. Let cool for 10 minutes in the pan before flipping the donuts out.
Strawberry Glaze
Once donuts are fully cooled, mix together the powdered sugar and crushed strawberry powder in a wide bowl.
Add the yogurt and mix to combine then add milk 1 tsp at a time. You want to an achieve a glaze that will stick to the donuts, but isn't too runny. It should be slightly runnier than yogurt.
Dip the donuts into the glaze then place them back on a cooling rack to set. Pop them back in the fridge while you make the cream.
Cream Drizzle
Stir together the melted coconut oil and yogurt until smooth. Add to a piping back or a small ziplock with the tip cut off.
Drizzle the glaze over the donuts then pop them back in the fridge to set. Or eat immediately!
Notes
*melted butter or coconut oil will work too, make sure all ingredients are room temp**For homemade refined sugar free powdered sugar, just blend 1 cup of coconut sugar with 1 Tbsp arrowroot or tapioca starch***Blend freeze dried strawberries in a blender until you have a fine dust
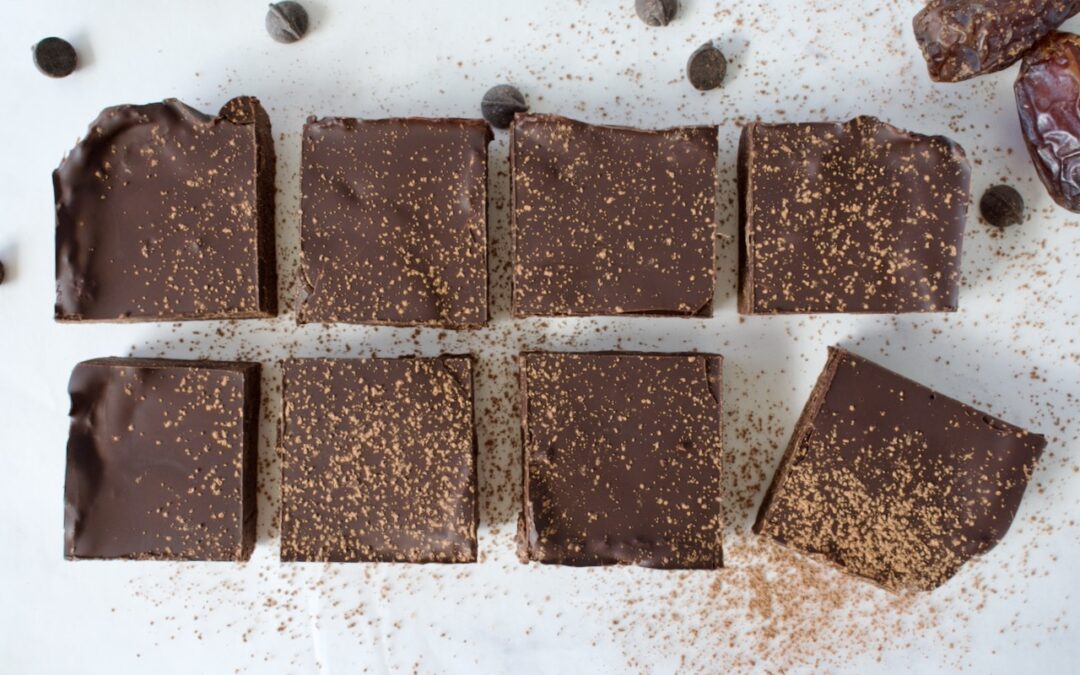
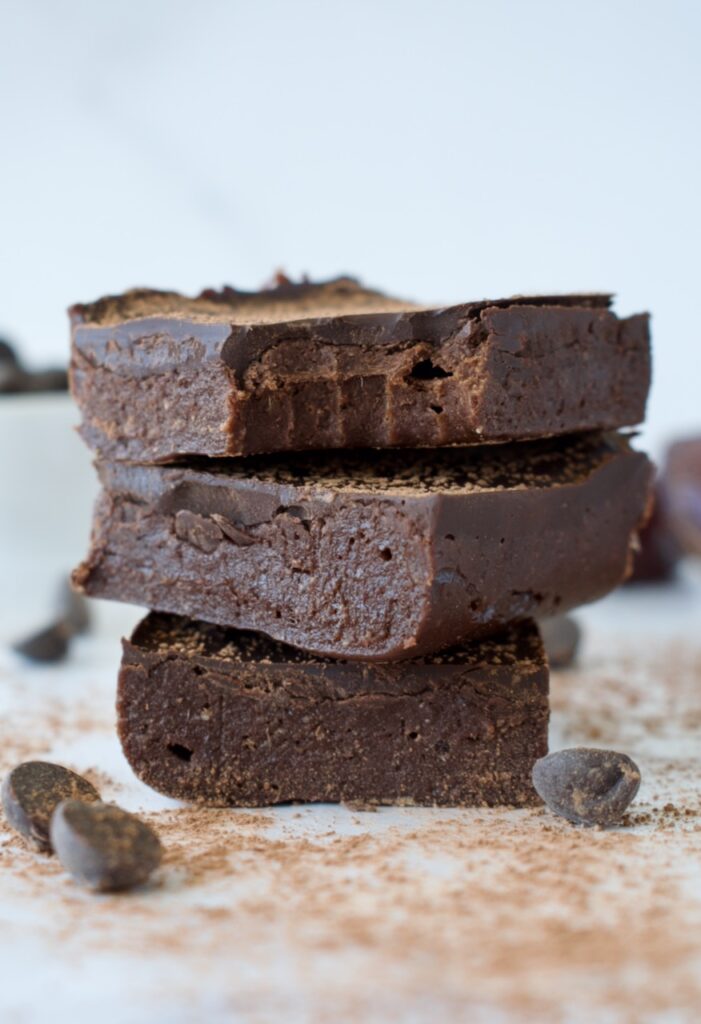
These No Bake Protein Brownies will be the easiest brownies you’ve ever made. Packed with all the chocolate goodness, they are completely gluten free, refined sugar free, plant based, and high protein!
no bake brownies
Craving a chocolate treat, but don’t want to go through the hassle of turning the oven on and baking an entire batch of brownies? Then this recipe is for you! These no bake brownies only require the fridge. Plus they are completely gluten free and can be made both plant based and refined sugar free. My favorite thing about these healthy brownies is that they are high in protein, making them an awesome snack.
These no bake protein brownies are also a great Valentine’s Day dessert option for people who don’t love to bake, need an easy recipe, or want to impress a gym crush. Healthy gluten free brownies will definitely win someone over!
gluten free and vegan brownies
No Bake Protein Brownie Ingredients
Let’s talk ingredients! What’s in these gluten free brownies that makes them so healthy?
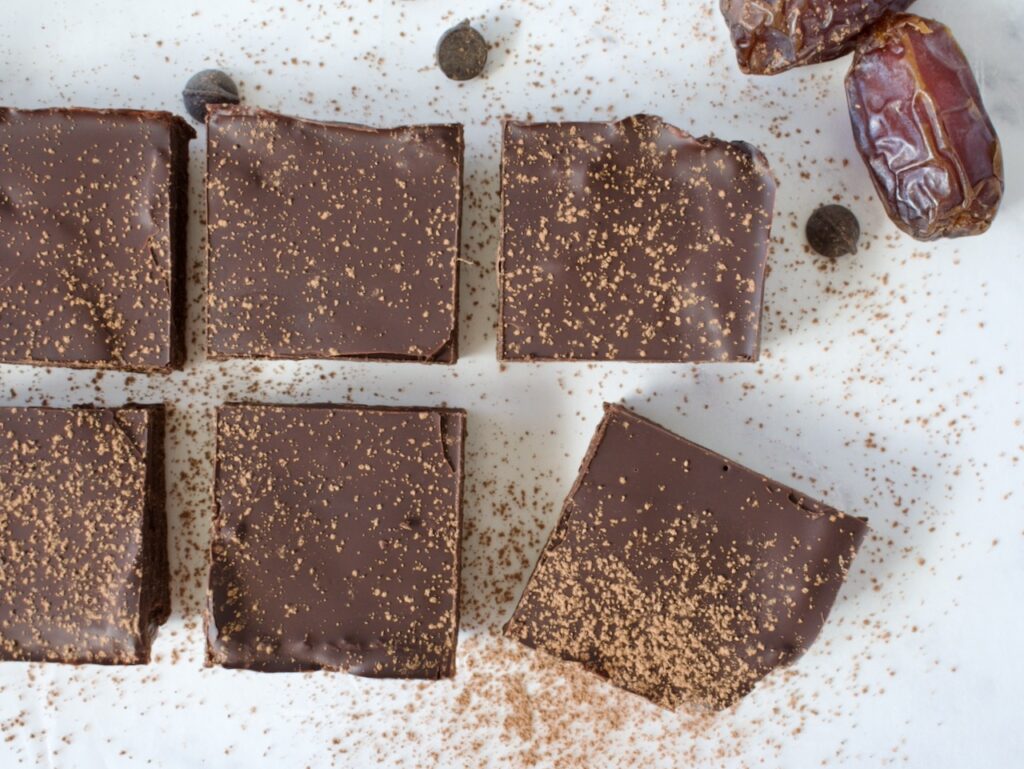
Dates: these no bake brownies are sweetened only with dates!
Cocoa powder: pure cocoa powder delivers the rich chocolate flavor. Plus cocoa powder is heart healthy and can aid in reducing inflammation.
Protein powder: the “flour” in these brownies is protein powder. I like to use the pea protein from Sprout Living (code LEMONSNLYME20 for 20% off) to keep these brownies vegan. You can use any protein powder you want, though, and feel free to use a chocolate flavored one to enhance the chocolate in this recipe!
Granola butter: I use my granola butter recipe to keep these brownies nut free, but you can use any nut/seed butter you want.
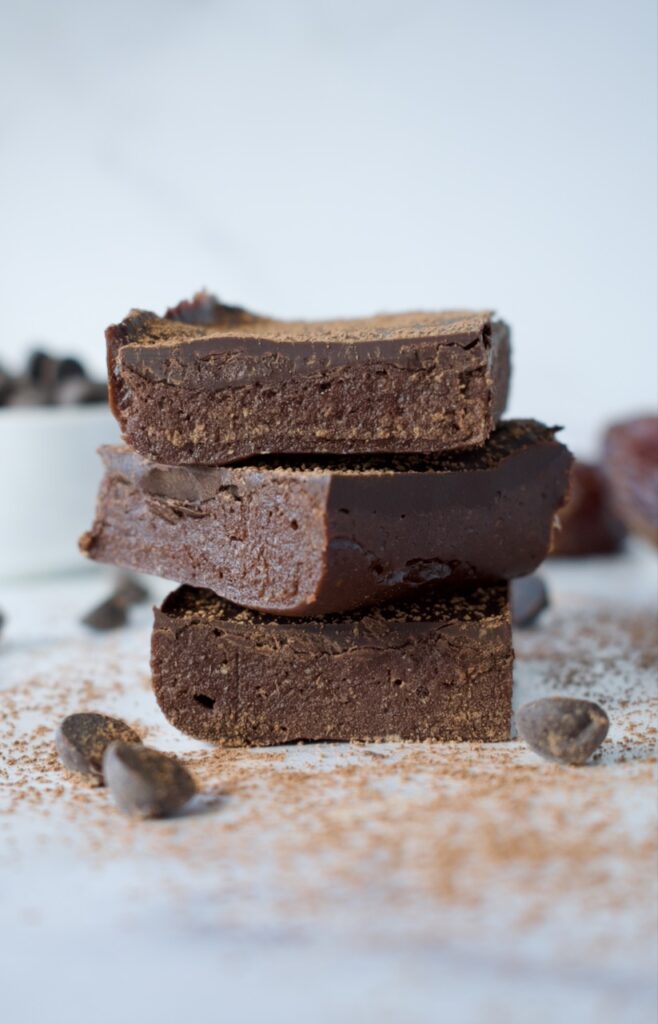
Chocolate chips: to enhance these no bake brownies, they are topped off with a layer of melted chocolate. You can keep them vegan and refined sugar free depending on the chocolate you use. I love Enjoy Life for an allergy friendly option or HU Chocolate to keep them completely refined sugar free. Opt for dark chocolate for the anti-oxidant boost.
How to Make No Bake Protein Brownies
You just blend everything together! Yes, it really is that easy. First, the dates are soaked until soft and then combined with the remaining ingredients. Everything is blended together in a food processor until you get a smooth batter.
The batter is spread into the bottom of a loaf pan and topped with melted chocolate. Let everything set in the fridge and then your no bake brownies are ready. Blend, spread, refrigerate, and eat. That’s it!
Storage
Keep these no bake brownies stored in the fridge for up to 5 days. They will get melty and inedibly gooey if left at room temperature.
gluten free no bake brownies
Can I Use a Different Dried Fruit?
You can always try using something like figs or prunes. It will alter the flavor some and I have not tested any other base to this recipe. You may need to add a little water to bring everything together.
Can I Use a Different Protein Powder in These Protein Brownies?
I highly suggest using a pea-based vegan protein powder as pea proteins act like a flour and will help bind the ingredients together. I use a pure pea-based protein (listed above), but other plant based pea proteins should work. I have not tried a whey or beef based protein.
These easy brownies require no oven or hand mixing. They are high in protein and completely gluten free and can be made vegan and refined sugar free. The perfect no bake brownies do exist!
Soak the dates in hot water for 10 minutes to soften.
Combine dates, granola/nut/seed butter, protein powder, cocoa powder, vanilla, and salt in a food processor and blend until you have a smooth batter.
Line a loaf pan with parchment paper then spread the brownie batter evenly into the pan.
Combine the chocolate chips and coconut oil together in a microwave safe dish (I like to use a measuring cup) and melt at 30 second intervals until smooth. Pour the chocolate over your brownie batter and spread evenly across the top.
Refrigerate the brownies for an hour, until the chocolate on top has hardened. Cut and enjoy! Keep these brownies in the fridge for up to 5 days, place leftovers in the freezer.
Creamy cheesecake, tangy raspberries, and sweet chocolate make these Raspberry Cheesecake Bars the ultimate sweet treat! This dairy free cheesecake is gluten free, refined sugar free, and can be made nut free & high protein.
gluten free and dairy free raspberry cheesecake bars
Honestly, who doesn’t like cheesecake? I don’t think I’ve ever met someone who doesn’t. Even though I can’t eat dairy, that doesn’t stop me from making delicious, allergy friendly cheesecakes at home. Like these healthy raspberry cheesecake bars with a chocolate crust. I mean a chocolate raspberry cheesecake… name a better combo!
What’s my secret? I use dairy free yogurt as the base instead of cream cheese. Maybe you’ll tell me this isn’t really cheesecake then, but it still tastes pretty darn good! This keeps the recipe nut free too, as most dairy free cream cheese brands utilize nuts as the base.
I like to make an easy, healthy, lazy girl version of cheesecake which is where the use of yogurt and protein powder come in. This amps up the nutritional value, doesn’t require the use of any special water bath for baking, and keeps this recipe completely allergy friendly.
gluten free raspberry cheesecake bars with brownie crust
Raspberry Cheesecake Bar Ingredients
Crust: The gluten free brownie crust is super easy to make. It is a combination of oat flour, tigernut or almond flour, and cocoa powder for the dry ingredients. You mix in some coconut oil and maple syrup and there you have it.
Filling: The filling for this cheesecake is composed of yogurt, maple syrup, eggs, pea protein, and tapioca starch.
Yogurt: I use a vegan yogurt in this recipe. If you use a coconut yogurt, that keeps this dairy free cheesecake completely nut free too! But you can also use Greek yogurt for a higher protein option.
Pea Protein: Yes, I add protein powder to my cheesecake! This is my secret to a thicker batter and higher protein, healthier dessert. Pea protein acts as a flour in baking, so it’s the perfect option. I use Sprout Living Pea Protein and you can use code LEMONSNLYME20 at checkout for 20% off your order.
Eggs: I have not tested a vegan version of this recipe.
Raspberry Swirl: The raspberry swirl is super easy to make! All you do is combine raspberries and coconut sugar. You can feel free to use whatever sugar you want, but coconut sugar keeps this recipe refined sugar free. I prefer not to put the raspberry puree through a sieve as I don’t mind the seeds and prefer the extra fiber ;), but you can always do that if you want to.
Substitutions and Variations
Tigernut flour: the tigernut flour in the crust can be substituted with almond flour. You might also be able to get away with more oat flour, but you may have to add a little extra liquid like maple syrup or coconut oil.
Pea protein: I have not tested any other proteins. If you use a whey based protein, I’d suggest adding 1-2 Tbsp of gluten free flour. If you do not have pea protein available, you can substitute this with 2 Tbsp of a 1:1 gluten free flour mix.
Yogurt: use Greek yogurt for a higher protein option if you tolerate dairy.
Raspberries: you can certainly try making this recipe with other berries like strawberries or blackberries. I think strawberries would be the best substitute as they still pair well with chocolate.
Add-ins:
-Although I haven’t tried it, the lemon-raspberry common is a popular one. You could try adding the juice of a 1/2 a lemon and some zest to the cheesecake batter if you love that zingy flavor. I can’t promise the outcome with the brownie crust though.
-Amp up the chocolate flavor by folding some chocolate chips into the cheesecake batter before swirling in the raspberry puree.
healthy dairy free raspberry cheesecake bars
Storage
Keep these dairy free raspberry cheesecake bars with chocolate crust stored in an airtight container in the fridge for up to 5 days. I don’t suggest freezing them as creamy, dairy free desserts like cheesecake don’t freeze and thaw great. You can certainly try it though, just thaw in the fridge overnight before eating.
Raspberry Swirl Cheesecake Bars with Brownie Crust
These healthier dairy free and gluten free cheesecake bars are the ultimate dessert! Creamy cheesecake, tangy raspberry, and sweet chocolate make this a crowd pleaser treat.
1cupfresh or frozen raspberriesif using frozen, make sure to thaw first
1tspcoconut sugar
Instructions
Preheat oven to 350F.
Line a 9×9 inch baking dish with parchment paper and set aside.
Whisk dry ingredients for the crust together first (flours, cocoa powder, salt). Add the wet ingredients and mix to combine until you have a dough.
Press the crust into the bottom of your baking dish into an even layer. Set aside.
To make the cheesecake filling, combine all ingredients together in a blender and blend until combined. You can also use a hand mixer.
Pour batter over the crust and set aside while you make raspberry swirl.
To make the raspberry swirl, blend together the raspberries and sugar until smooth. You have the option to put the raspberry puree through a sieve so there are no seeds, but I find this step unnecessary.
Place dollops of the raspberry puree over the cheesecake then use a knife or chopstick to swirl the puree through the cheesecake filling until you have a nice, even swirl throughout.
Bake the cheesecake for 50-60 minutes until the edges are just set and the middle seems almost not done, but has a slight give to it. Let the cheesecake cool to room temperature and then place in the fridge for at least 3 hours, preferably overnight.
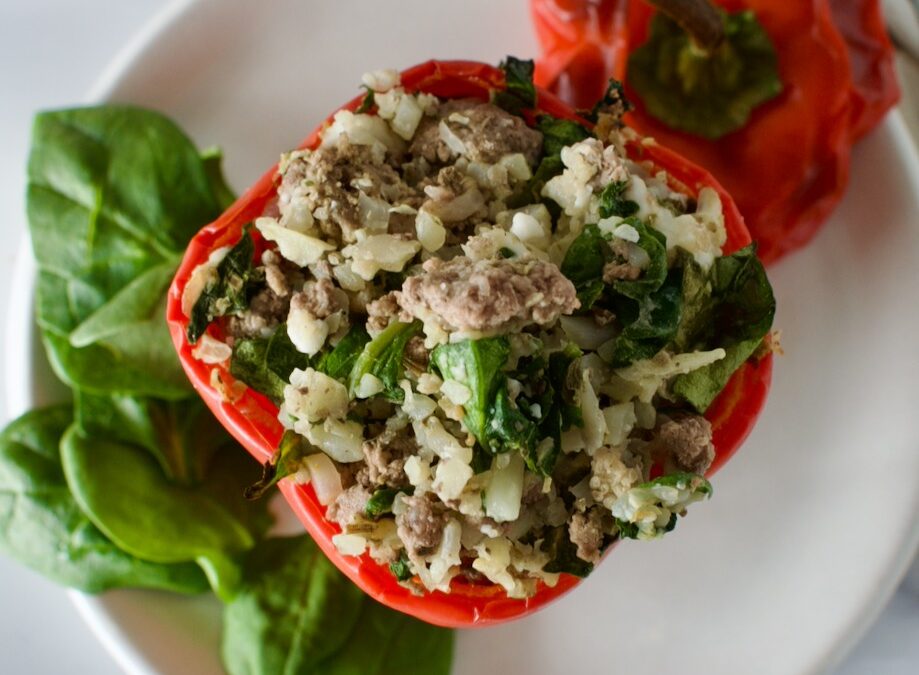
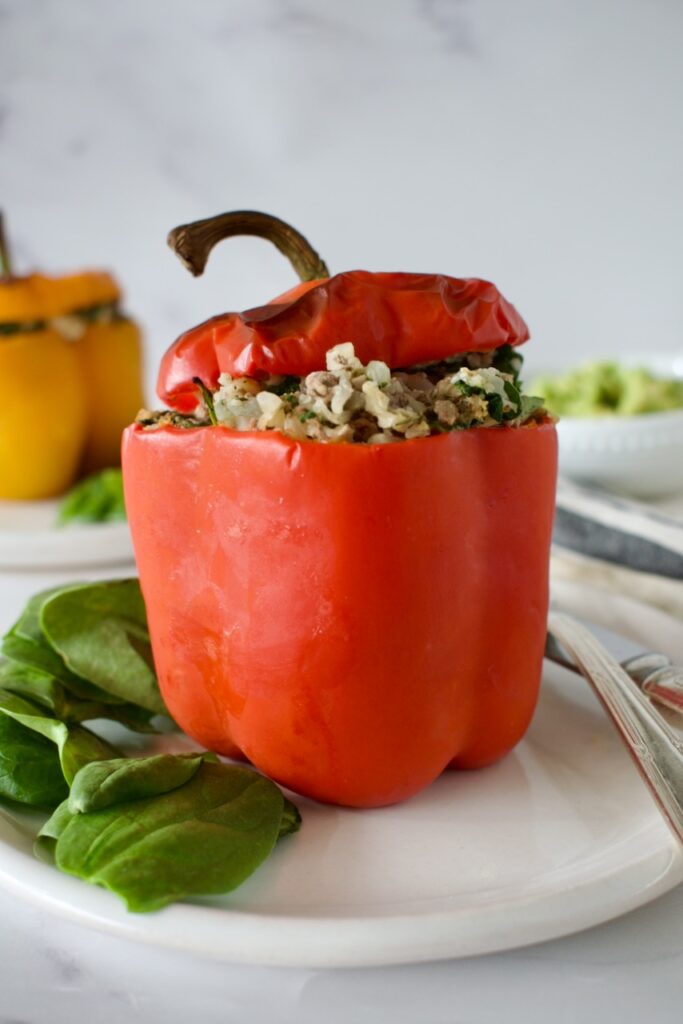
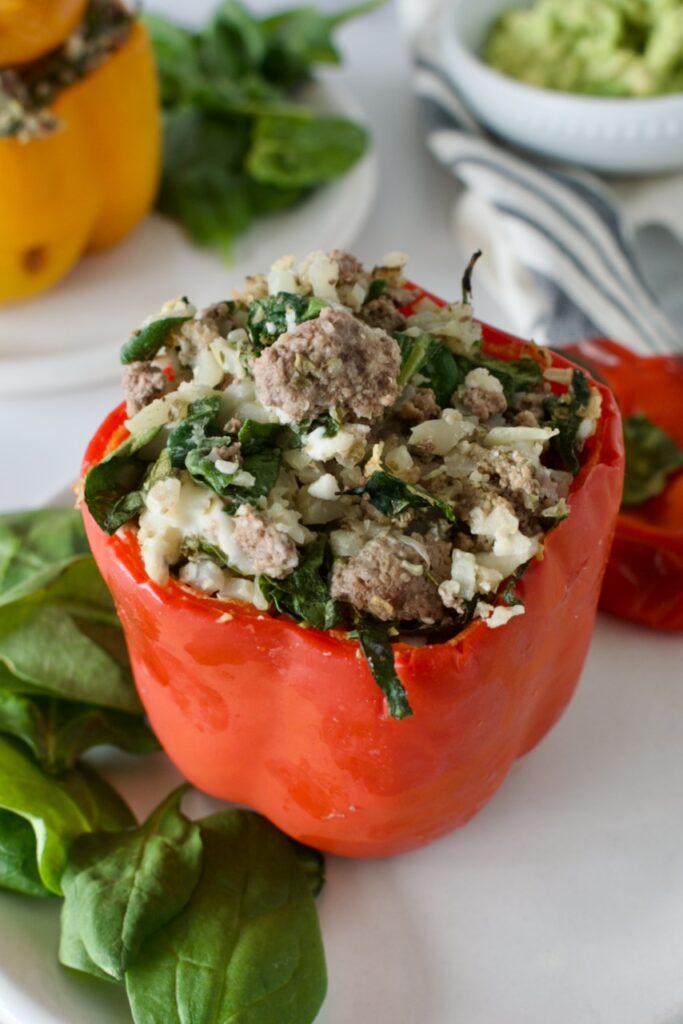
These easy Low FODMAP Stuffed Peppers are the perfect meal prep or dinner party dish. They contain no tomatoes for those with allergies, but are filled with Italian spices to keep the flavor high! Dairy free, completely paleo, and delicious.
paleo stuffed peppers
I was never a huge fan of stuffed peppers, but, honestly, they are a super easy dish that can be adjusted to your tastes. Stuffed peppers are a great meal prep dish or main dish for family dinner or a dinner party. I love that you can adjust the herbs or mix-ins to your taste buds and/or to use up what you have in the fridge.
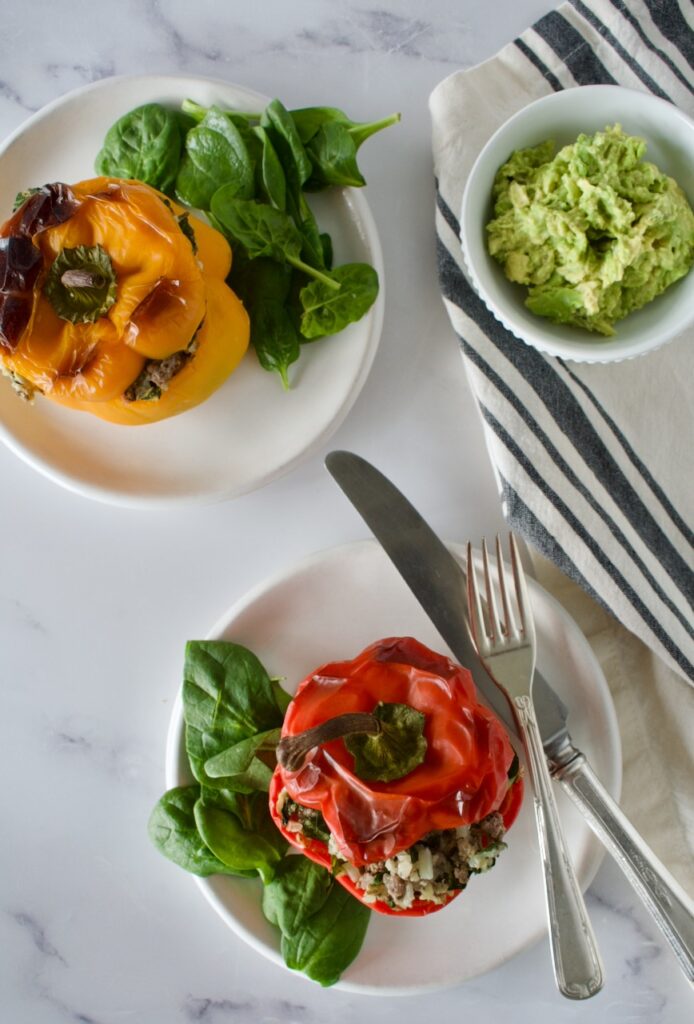
low fodmap paleo stuffed peppers
Ingredients in Low FODMAP Stuffed Peppers
Olive oil: for sautéing the veggies
Garlic infused olive oil: for flavor without the FODMAPs
Bell peppers: obviously
Ground beef: for protein
Cauliflower rice: to keep this recipe grain free and paleo
Kale: for added nutrients and flavor
Italian spice: to flavor these peppers
Salt
Feta, regular or vegan: this adds creaminess and flavor!
These paleo stuffed peppers utilize ground beef, cauliflower rice to keep them grain free, kale, and feta. I used a vegan feta to keep them dairy free, but the melty cheese is a must in these peppers! A combination of garlic infused olive oil (for low FODMAP) and Italian herbs bumps up the flavor profile. I also love serving these with guacamole. That may seem random, but it goes so well!
Substitutions and Variations
Garlic olive oil: Garlic infused olive oil is low FODMAP and won’t upset your GI system. If you can tolerate garlic, use some fresh chopped garlic instead!
Beef: Ground chicken or turkey would also work! Just use your preferred ground meat.
Cauliflower rice: You can always use cooked white or brown rice instead. I use cauliflower rice to keep this recipe paleo, but you can use grains as desired.
Feta:I don’t tolerate dairy, so I always use a vegan feta, but regular feta will work fine too. You can also use your cheese of choice like mozzarella, cheddar, or even some parmesan.
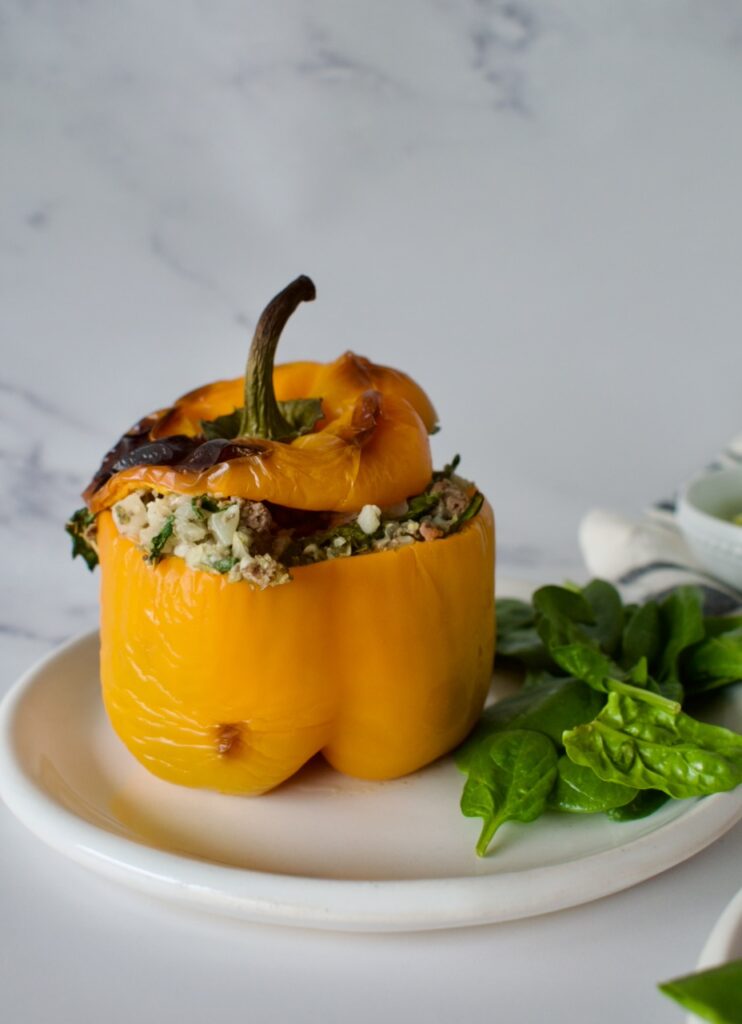
paleo stuffed peppers
Storage
Keep this leftover stuffed peppers in an airtight container in the fridge for up to 3 days. These also freeze well which makes them great for batch cooking. Wrap individual peppers in plastic wrap or tinfoil and freeze for in an airtight bag/container for up to 3 months.
These easy stuffed peppers are the perfect nutrient dense meal prep or dinner party dish! Packed with Italian herbs, lots of veggies, and ground beef, you can’t go wrong making a batch of these.
Heat a skillet over medium heat and add 1 Tbsp of olive oil. Cook your ground beef until almost browned.
While beef is cooking, slice the tops off the peppers and de-seed them. Place them in a baking dish and set aside.
Before beef is finished cooking and is still a little pink in places, add the cauliflower rice. Cooking for about 5 minutes until it's softer.
Add the kale, garlic olive oil, salt, and Italian herbs. Sauté for a minute or two until kale has wilted.
Mix in the feta, then evenly divide your mixture between the 6 peppers. Place the tops back onto the peppers and bake for 35-45 minutes, until peppers are soft.
Serve with a side salad, guac, or other favorite sauces!
Notes
If you don’t have garlic infused olive oil, just use regular. If you can tolerate garlic, sauté a couple of diced cloves before adding the ground beef.
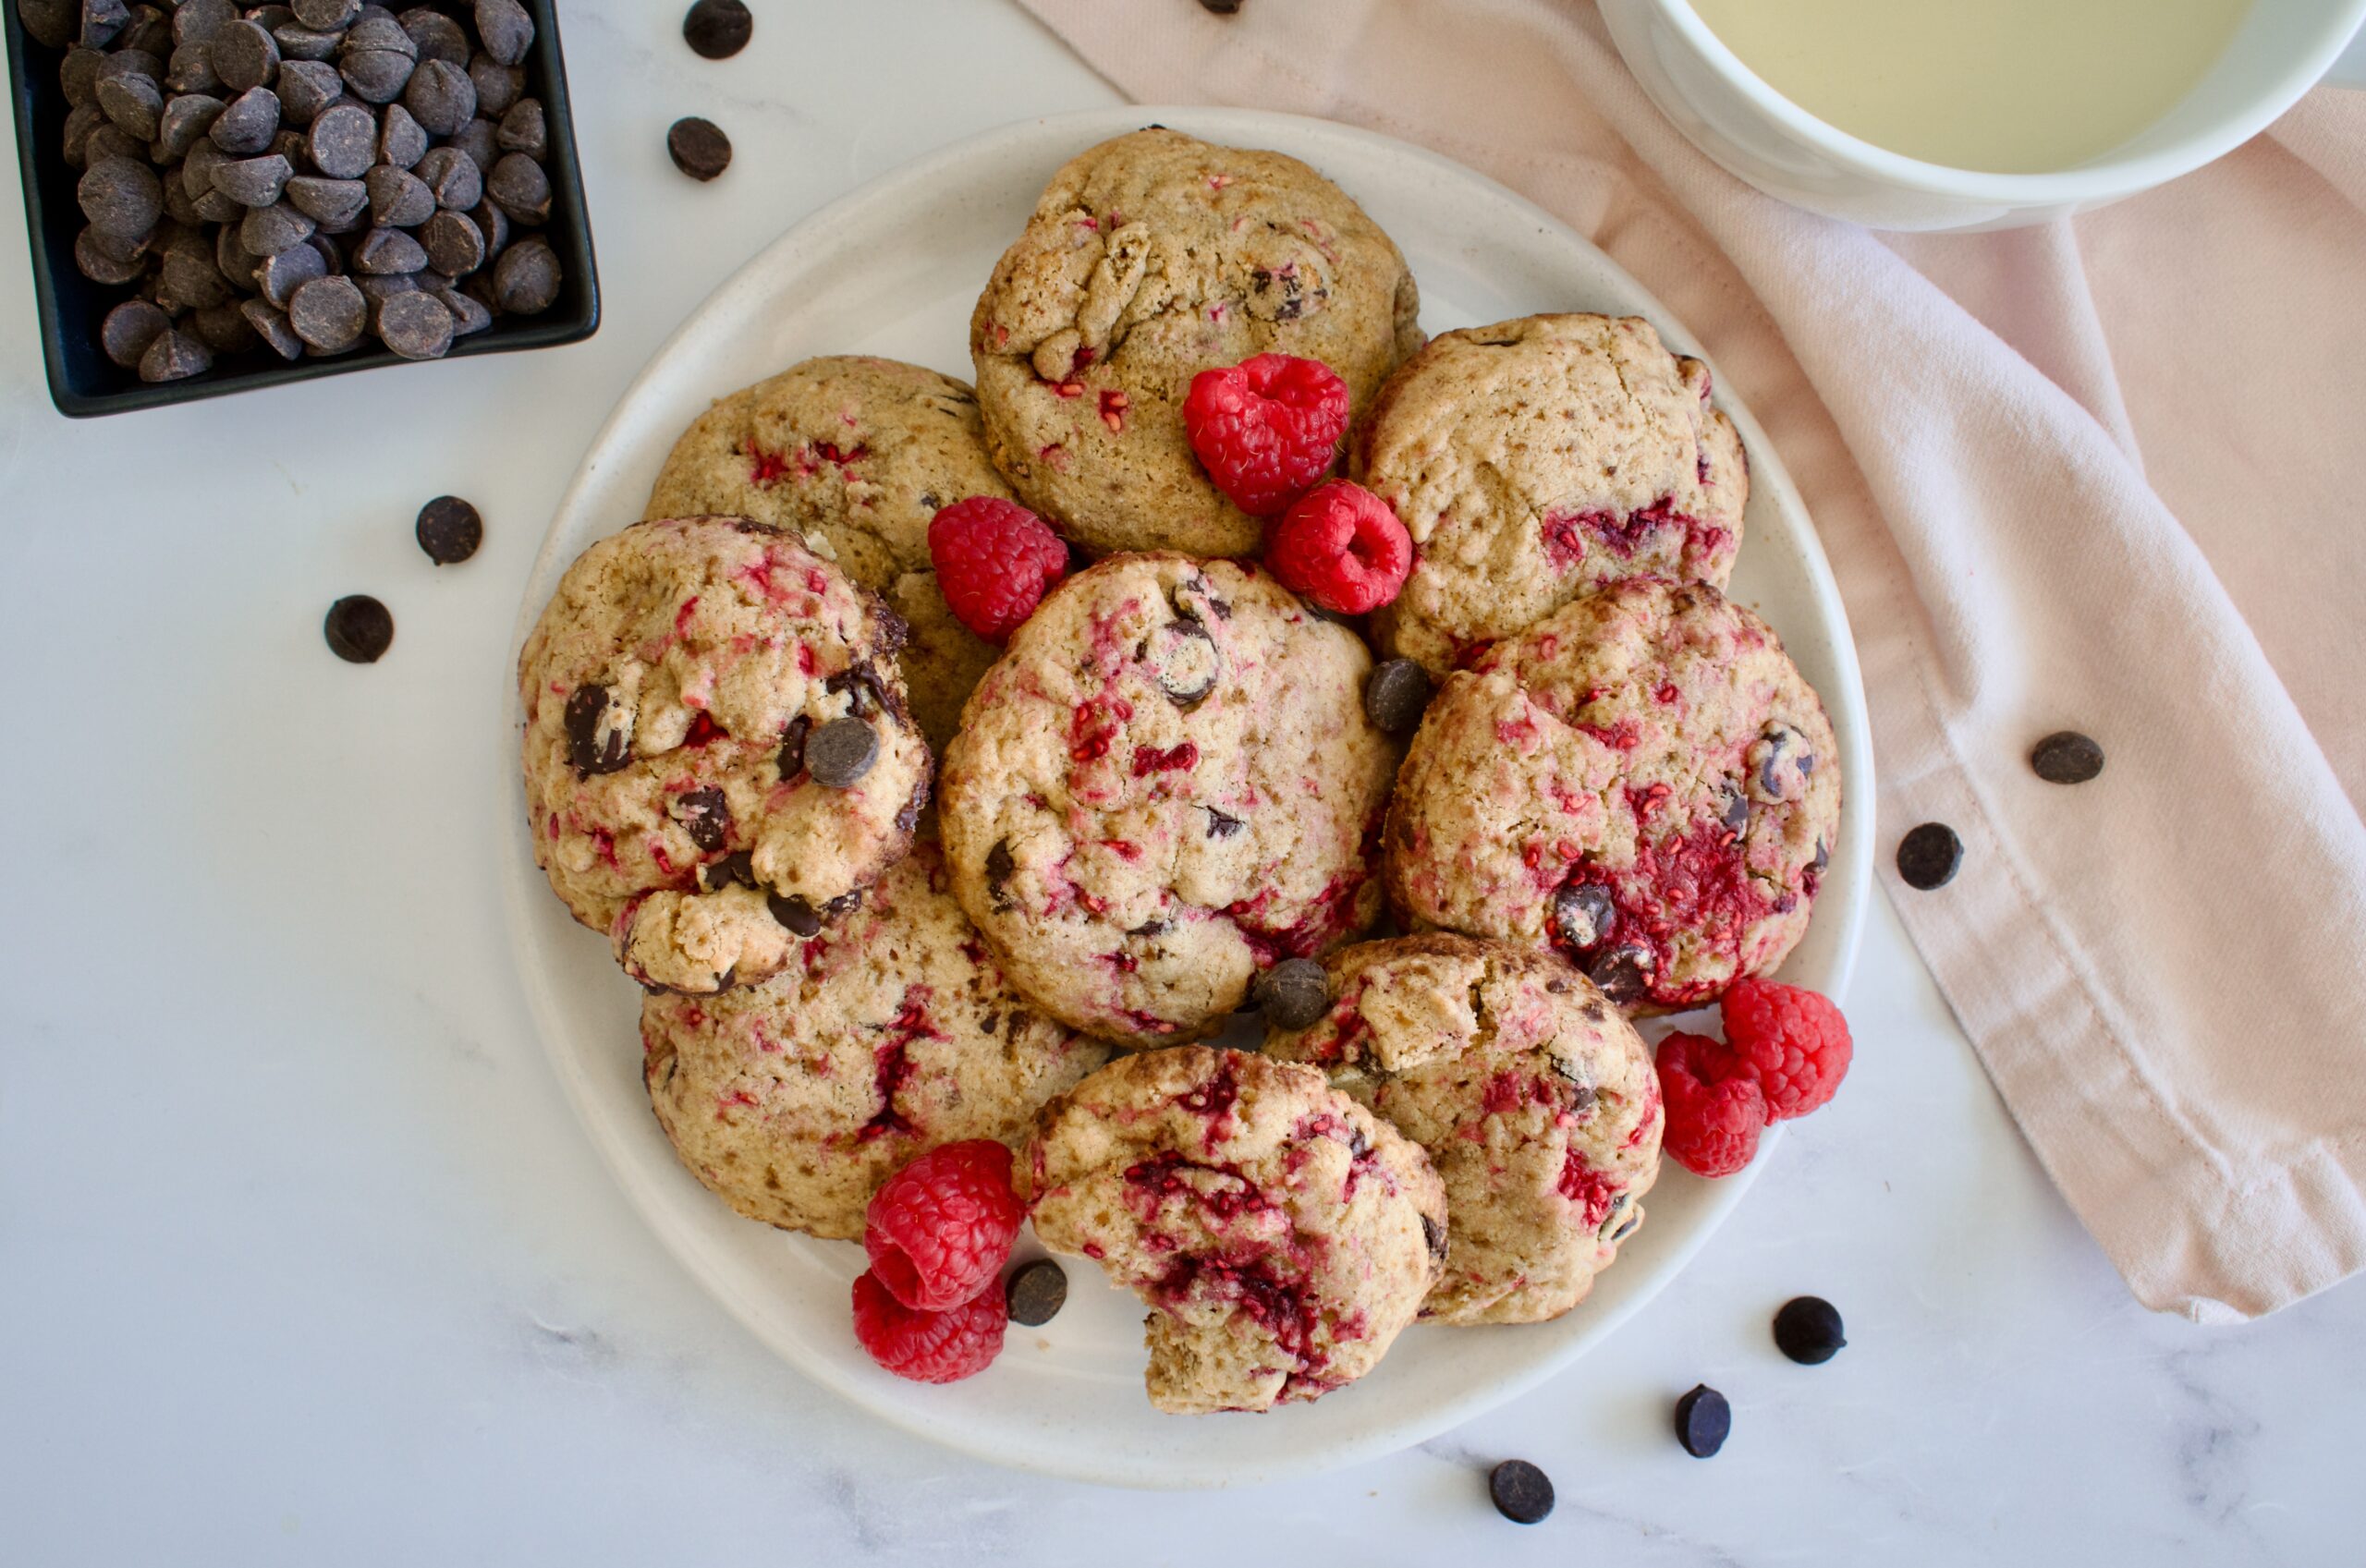
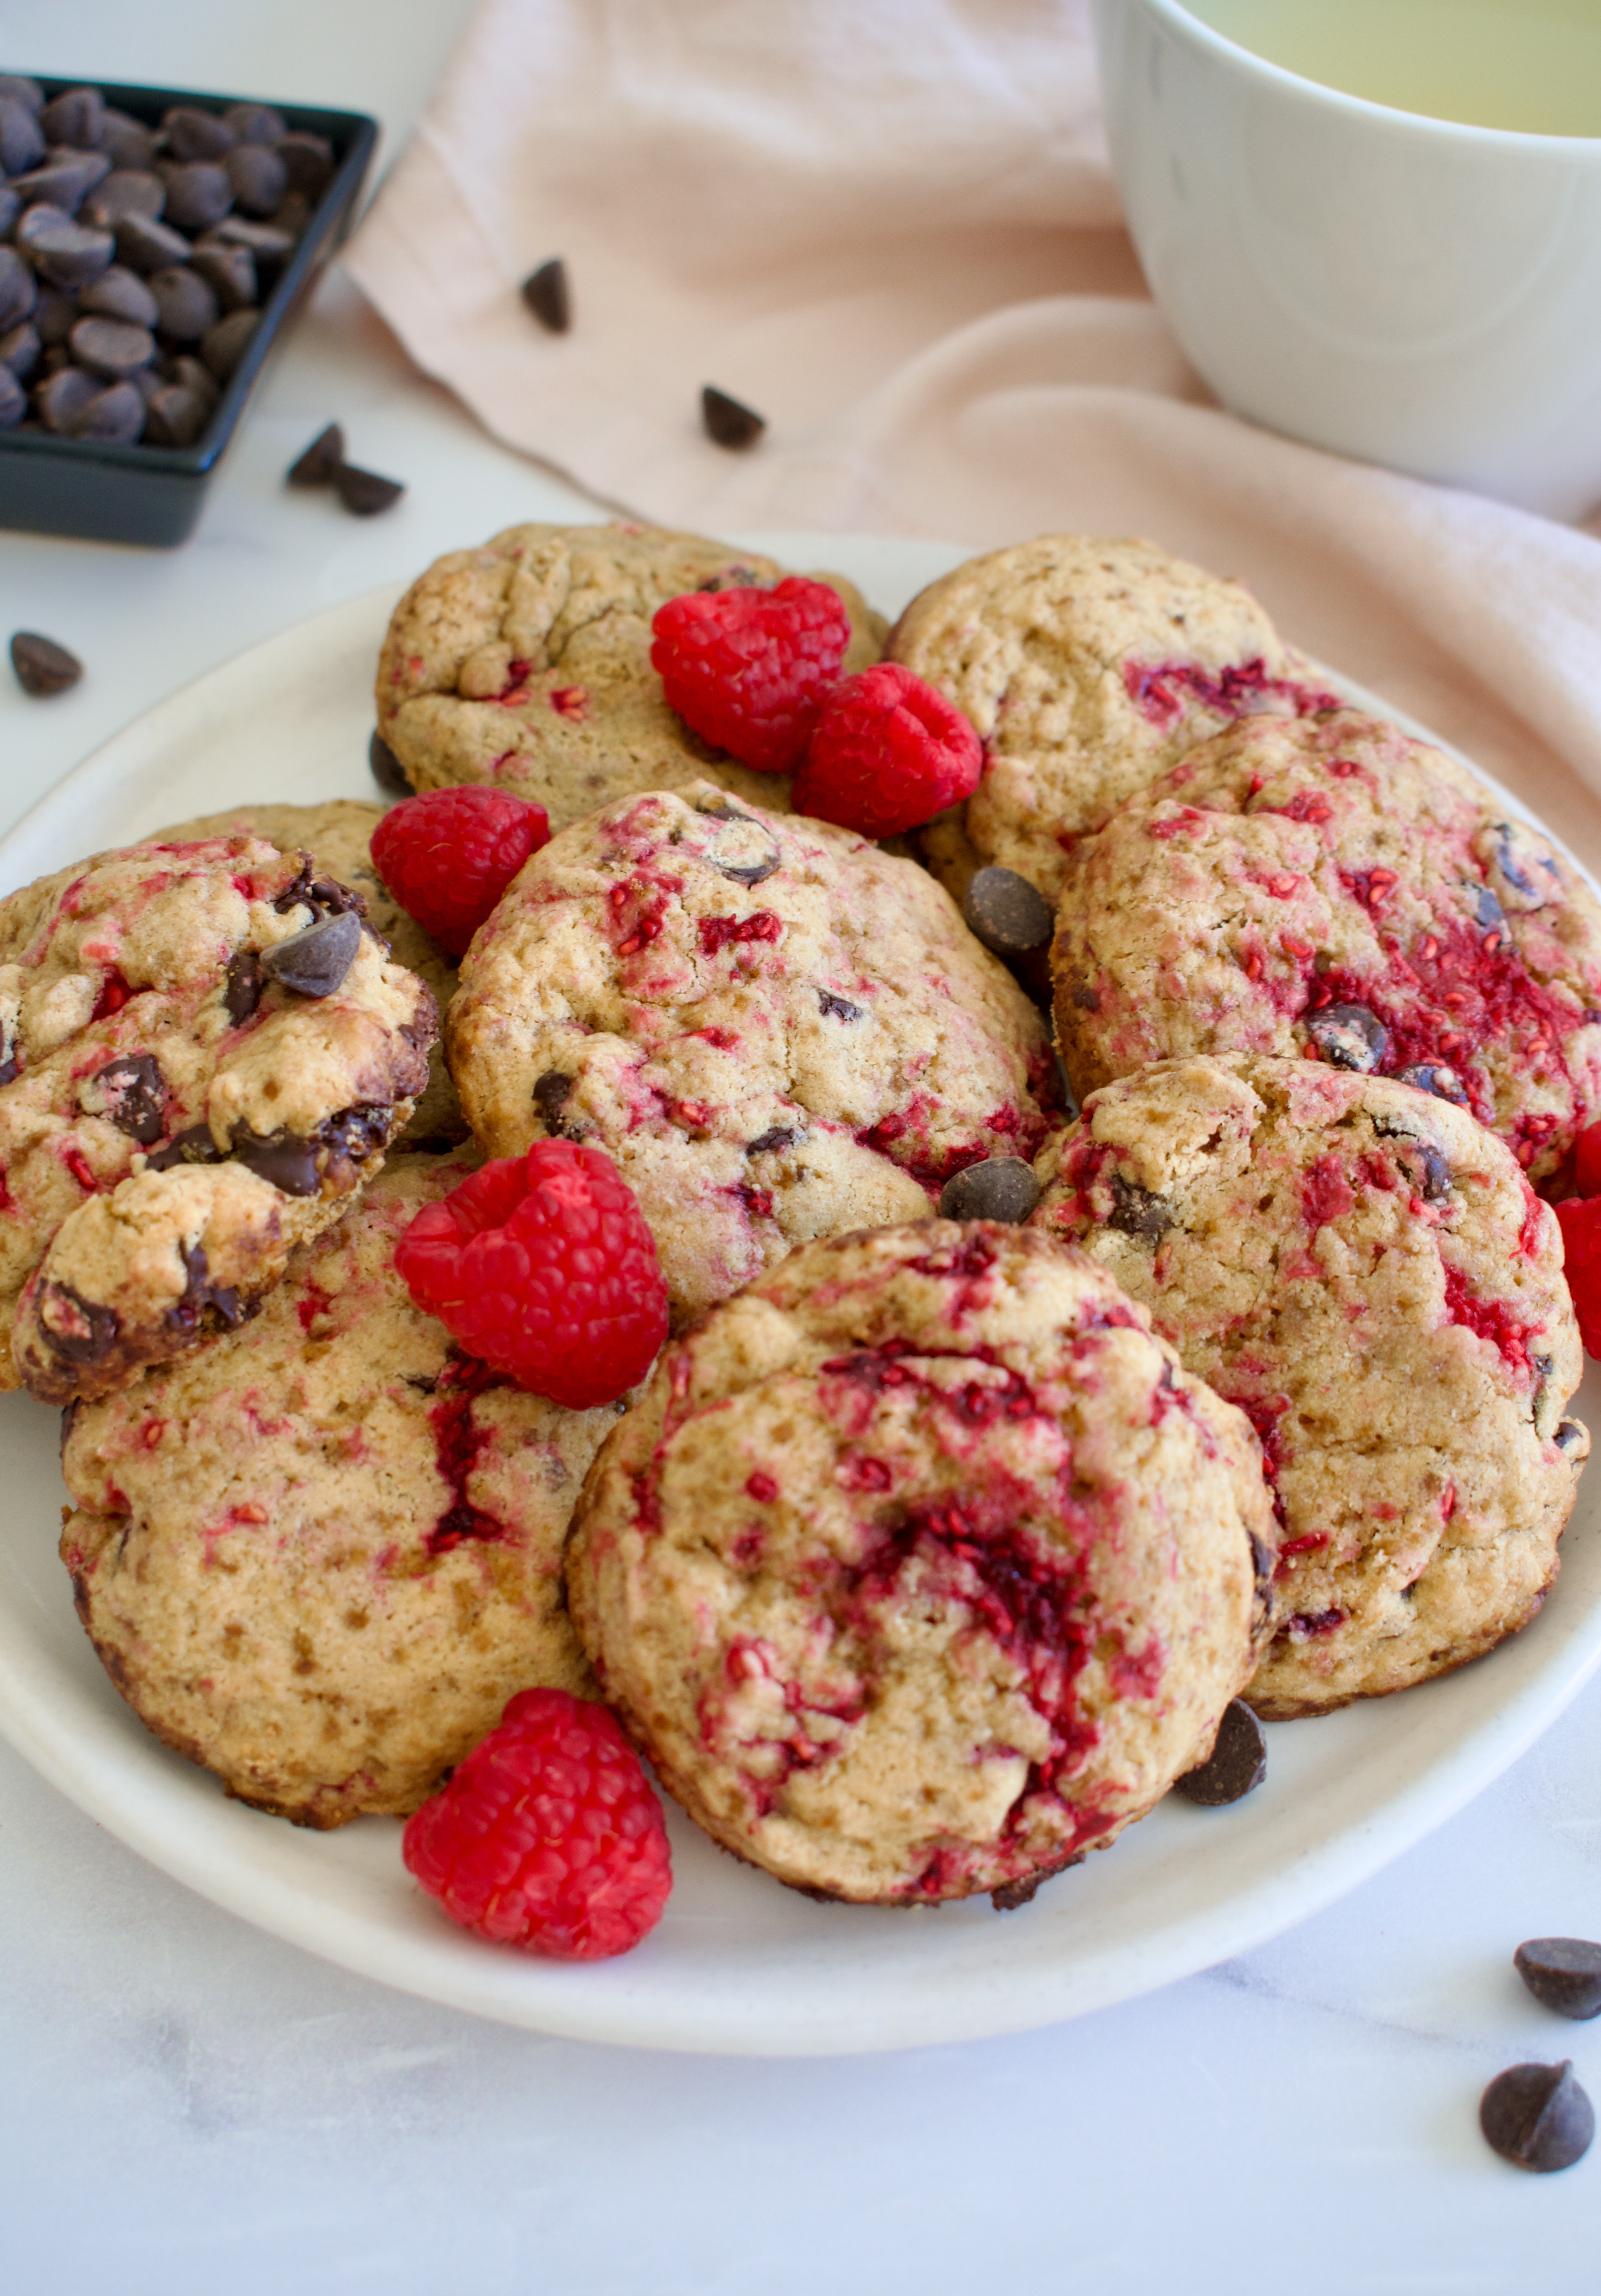
These Gluten Free Raspberry Chocolate Chip Cookies are the perfect rich chocolate and sweet fruit combo! They are also dairy free and refined sugar free, all while being easy to make.
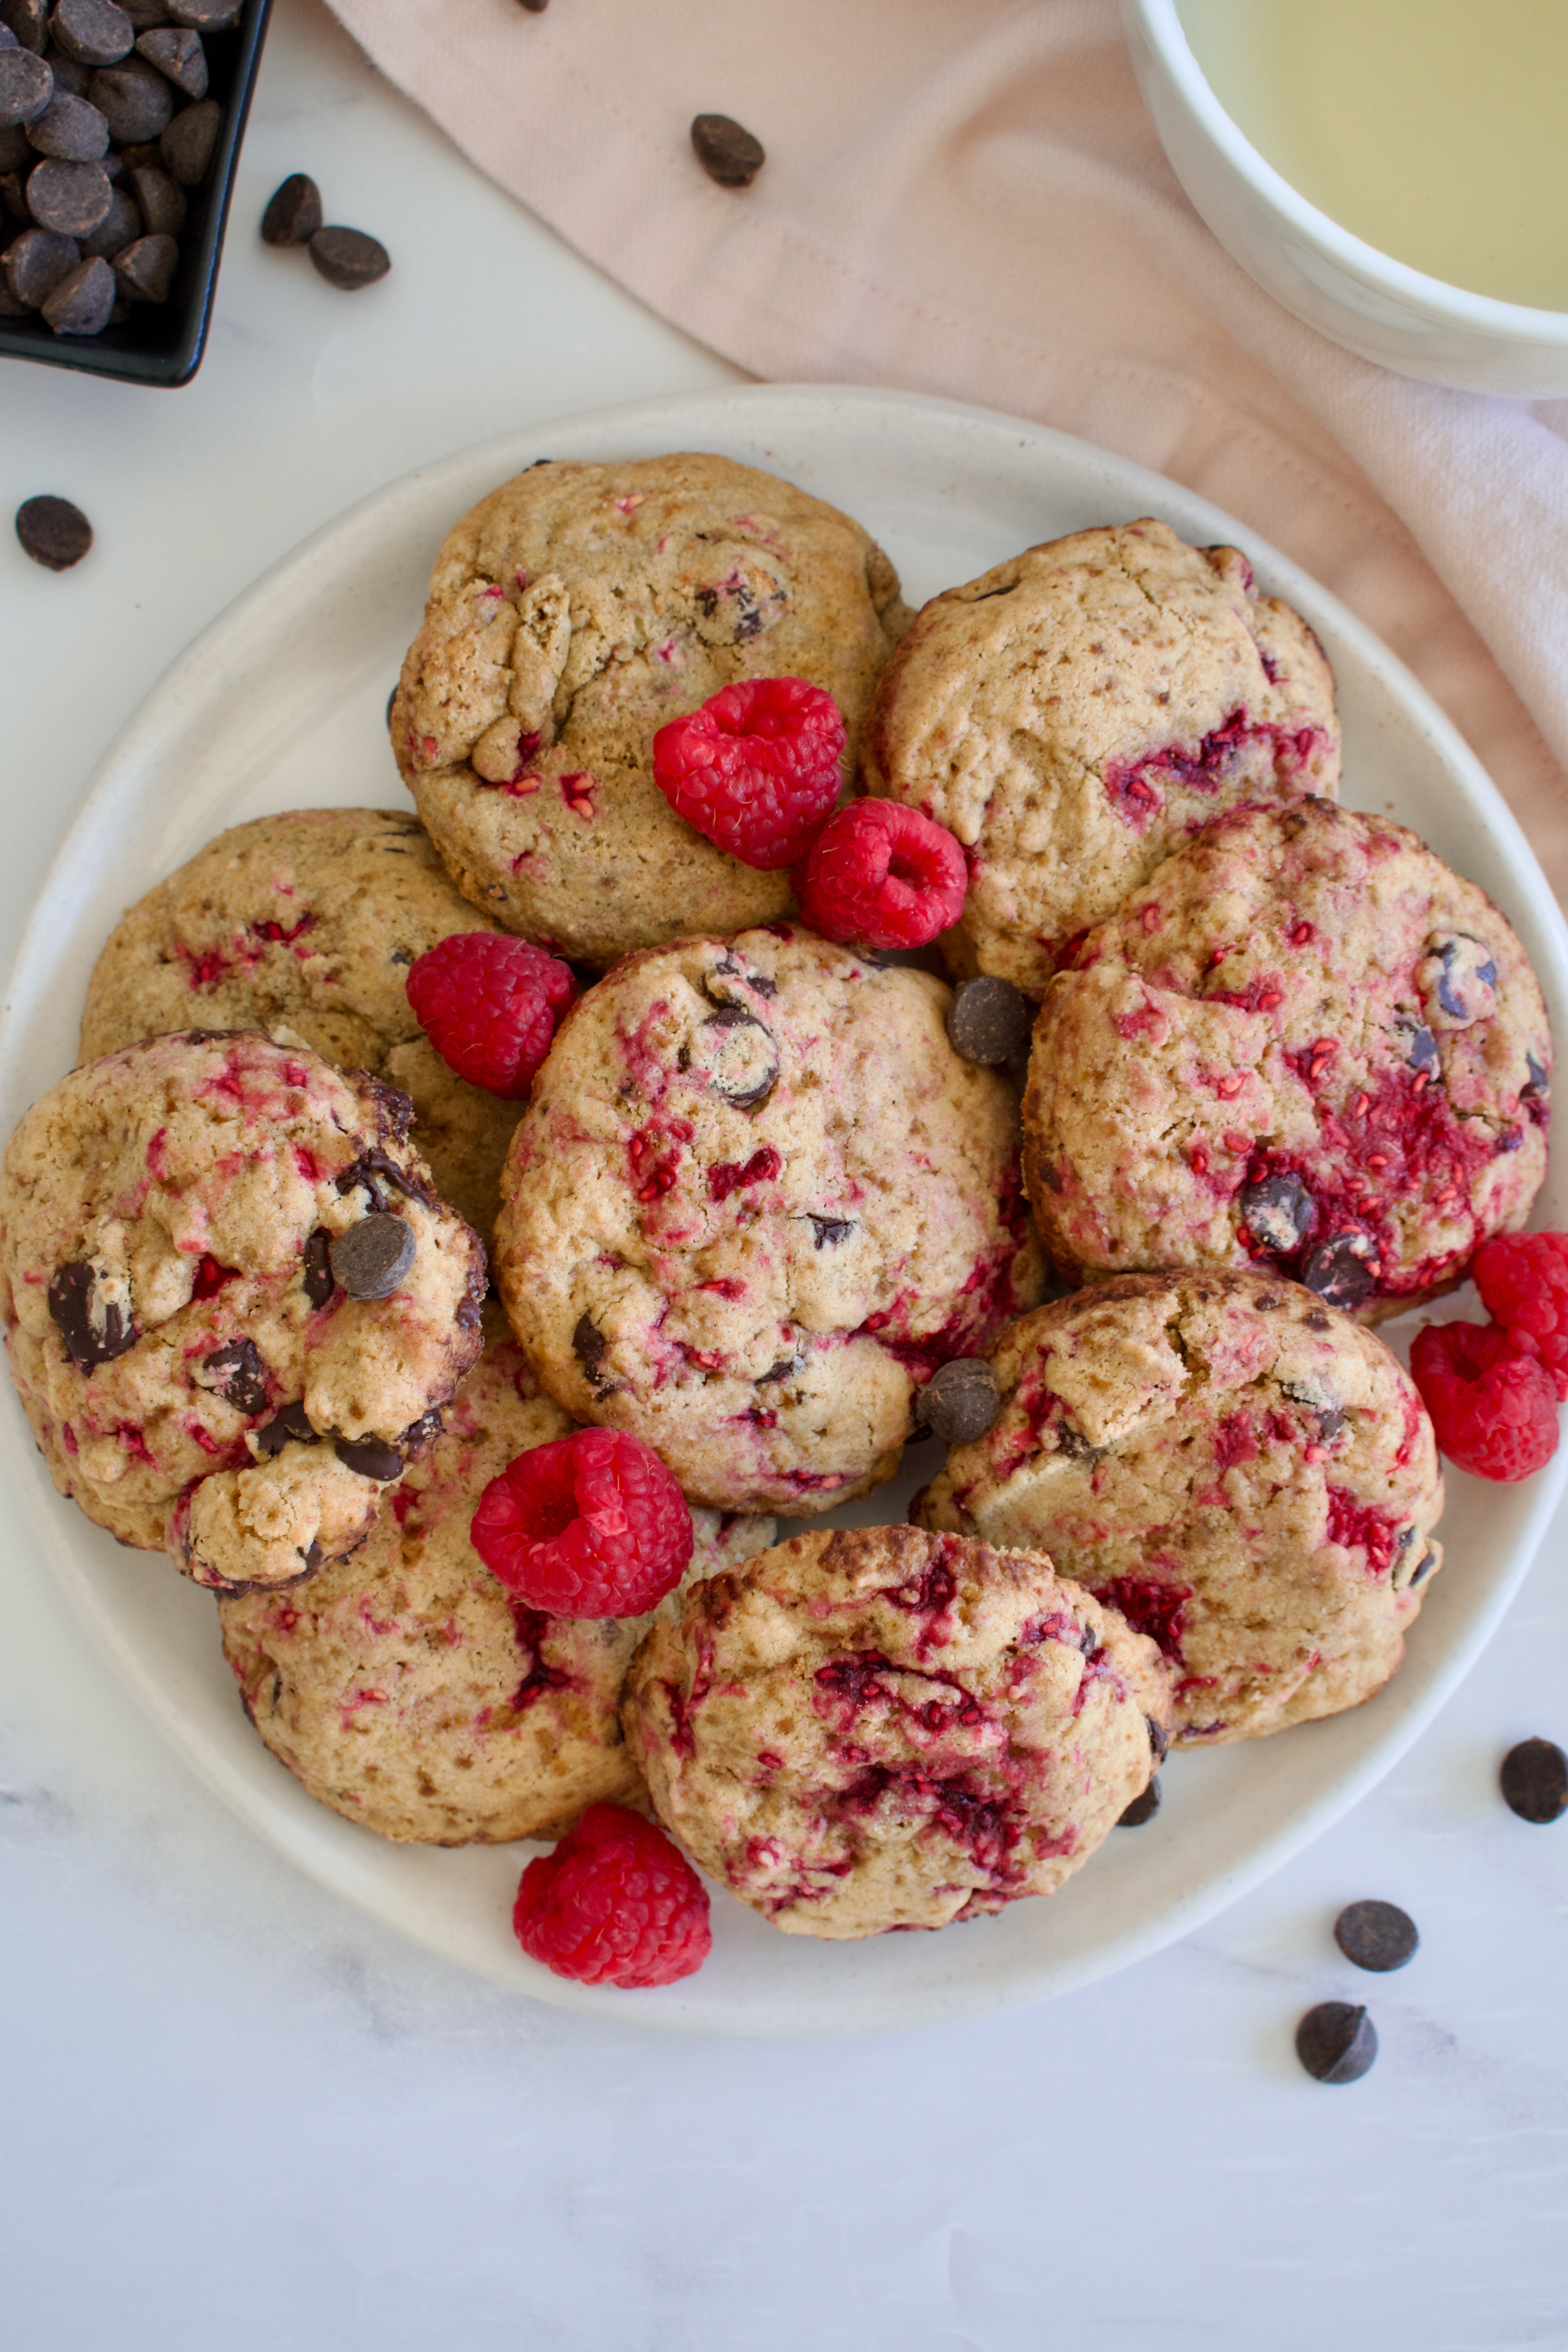
gluten free raspberry chocolate chip cookies
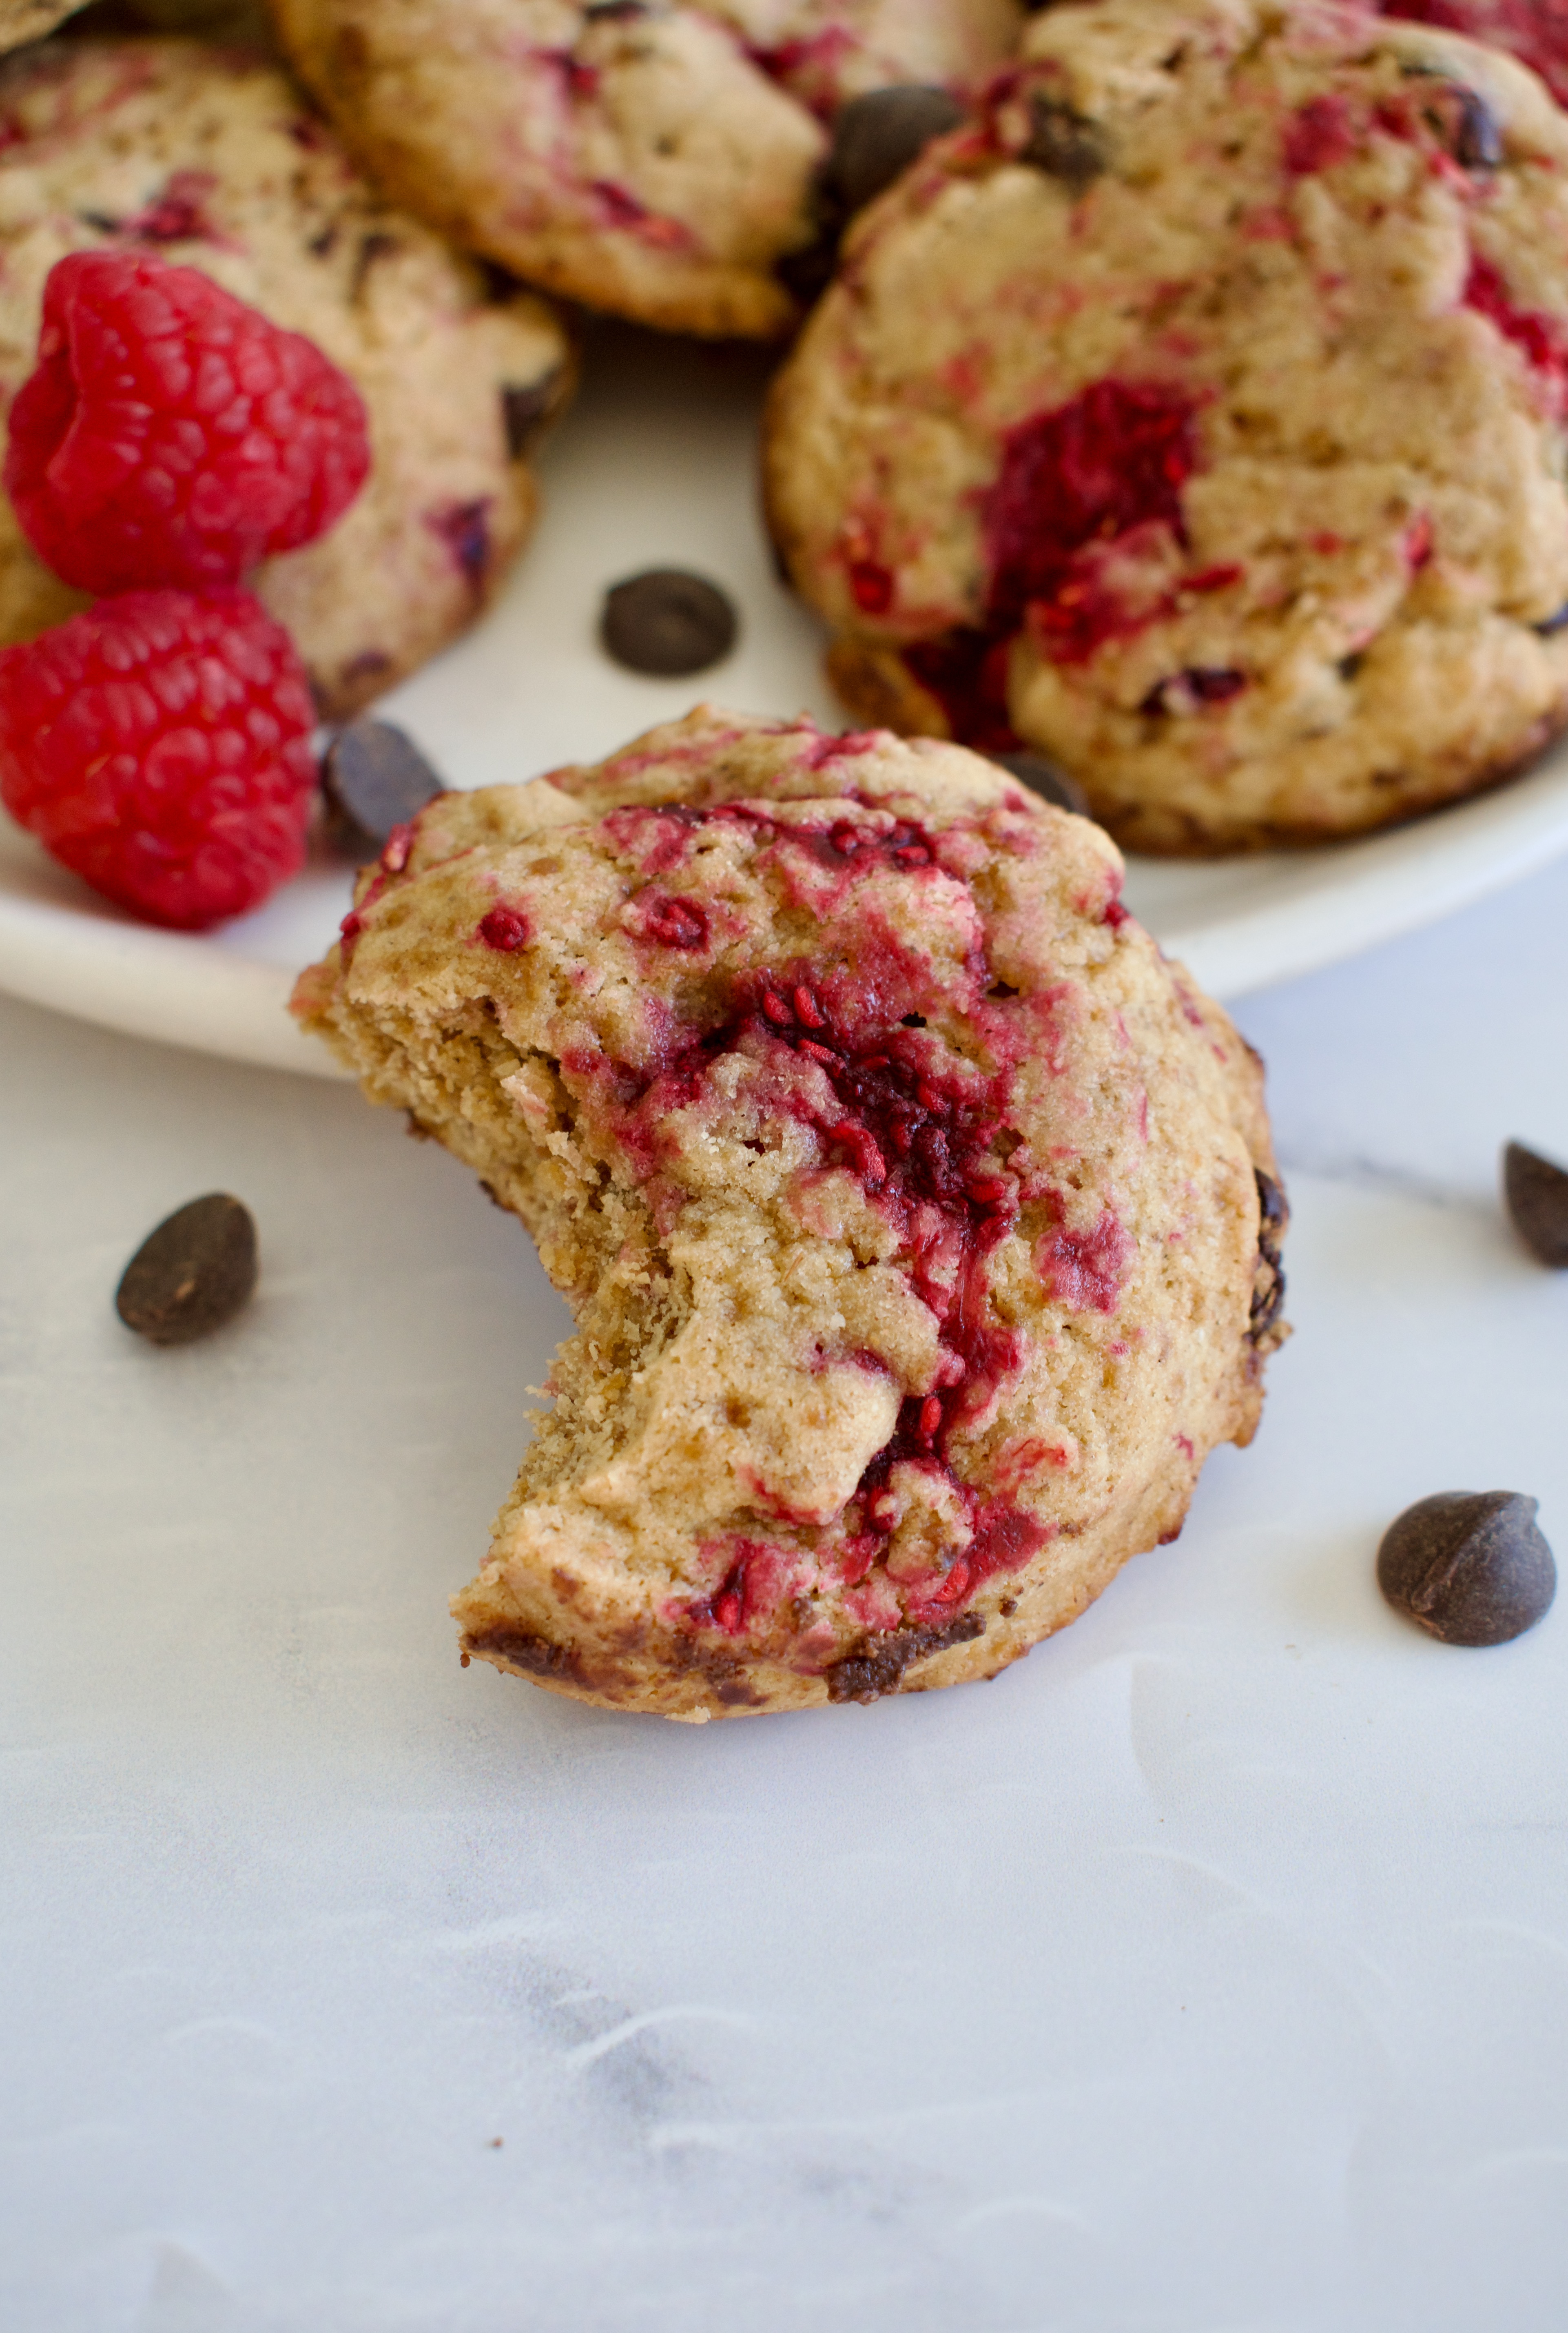
Honestly, chocolate goes with almost anything, but chocolate and raspberry is one of my favorite combos. I love raspberries more than strawberries, so my pick is always a raspberry-chocolate combo over a strawberry-chocolate one. And these chocolate and raspberry cookies are the perfect combination, in my humble opinion.
You can use fresh or frozen raspberries in this recipe, I’ve tested both. I love making these when fresh raspberries are in season, but this is also an amazing recipe to save for Valentine’s Day. This is an easy gluten free cookie recipe to make for your Valentine, a Galentine’s celebration, or just for yourself! These Valentine’s Day cookies are a sure fire way to impress.
Chocolate chips: I’ve linked an allergy friendly brand, but use a refined sugar free brand to keep this recipe fully refined sugar free. Something like HU Kitchen is a great option.
Raspberries: fresh or frozen raspberries work. You just want to make sure your raspberries are torn up in smaller pieces. If using frozen, just mash them lightly to break them apart.
How to Make Raspberry Chocolate Chip Cookies:
Beat together the butter and sugar. Add the egg and vanilla extract to combine.
Gently mix in the dry ingredients.
Fold in the chocolate chips and raspberries.
Bake, cool, eat!
Substitutions and Variations
Butter: I have not tested this recipe with coconut oil, but I think it should work. Make sure all other ingredients are at room temperature. Leave comment if you try it!
Coconut sugar: I have not tested any other sugars in this recipe as I always bake with unrefined sugar. If you try them, leave a comment letting us know how it went.
Raspberries: You could certainly try using strawberries if you prefer, make sure to dice them up into smaller pieces.
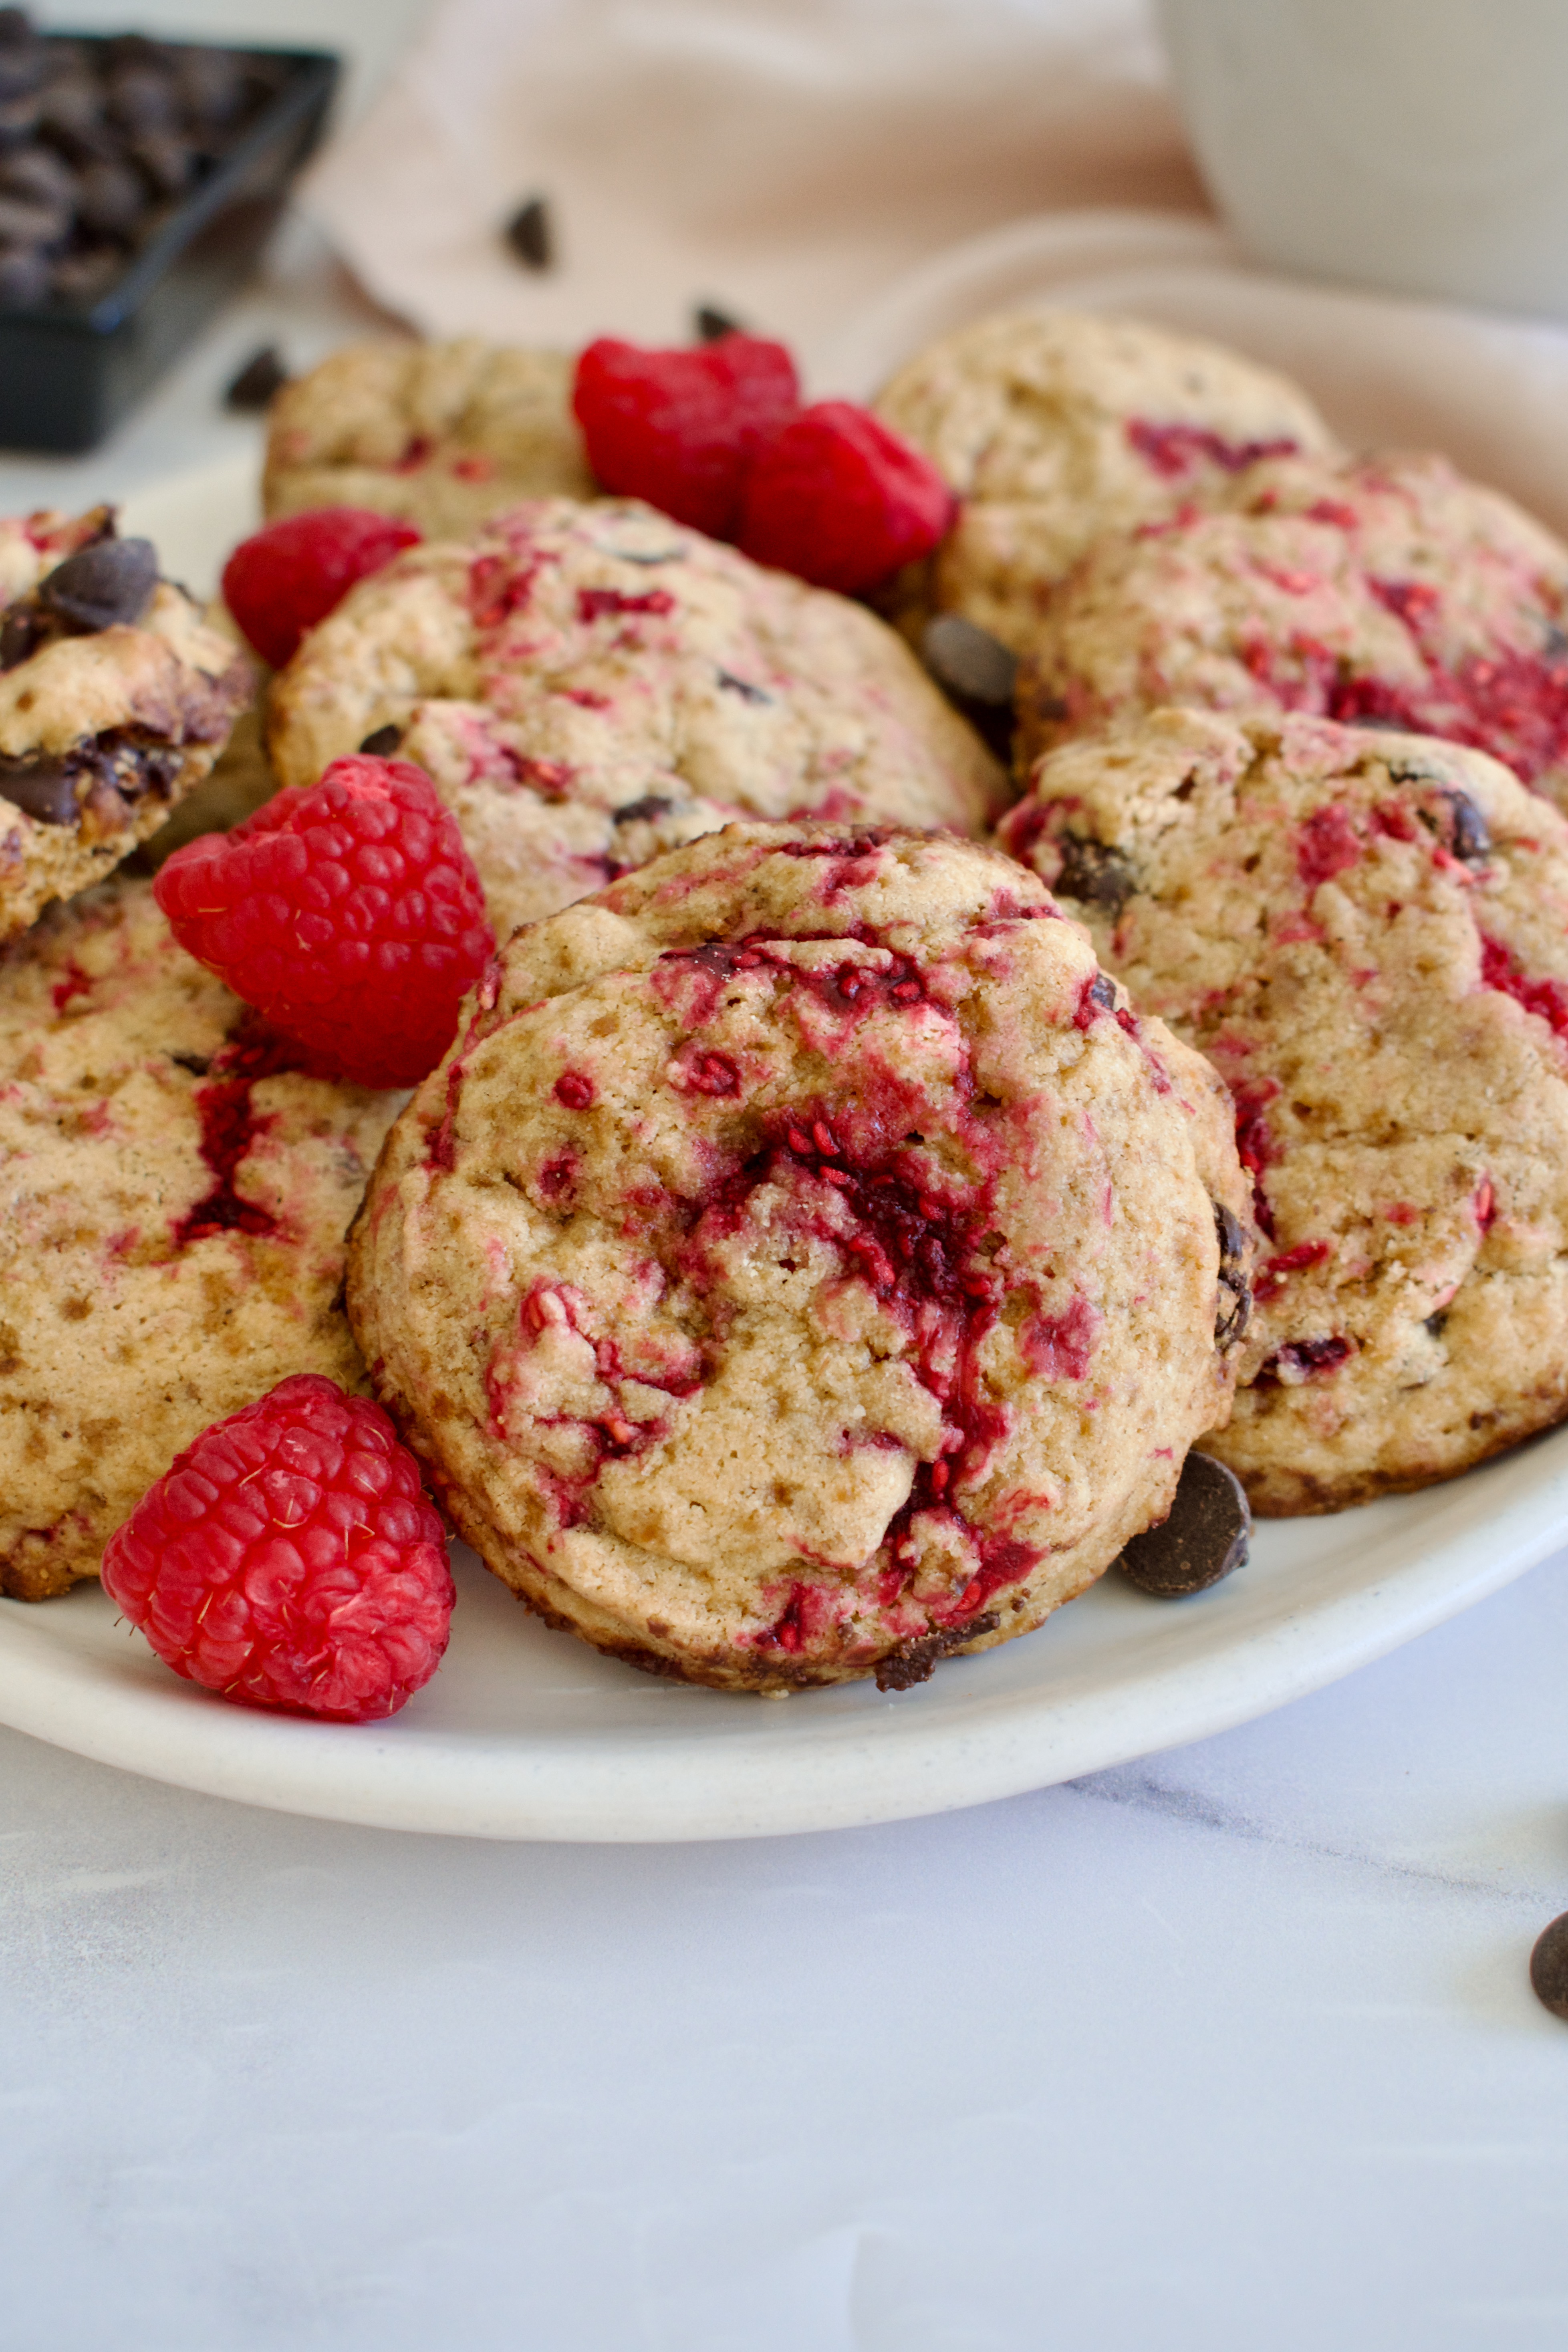
gluten free chocolate and raspberry cookies
Storage
Store these cookies in an airtight container at room temperature or in the fridge for up to 5 days.
You can also freeze these cookies for up to 3 months.
What Makes Your Gluten Free Raspberry Chocolate Chip Cookies Healthy?
First of all, healthy is subjective. I fully believe in enjoying yourself and having the occasional (or regular) treat that is full fat and full sugar. As someone with a chronic illness, I work to develop healthier and lower inflammation versions of your favorite recipes. When you live with health issues, diet is so important. I don’t want to give up eating delicious food, so I create recipes that are lower sugar, less inflammatory, and more nutrient dense.
These raspberry chocolate chip cookies contain a fraction of the sugar of a traditional chocolate chip cookie recipe (only 1/2 a cup compared to the 1+ cup in most recipes) and utilizes a lower glycemic sugar (coconut sugar). We are using gluten free flour to keep this recipe safe for autoimmune disease, Celiac disease, and gluten intolerant friends. Lastly, we add raspberries for a little bit of an antioxidant punch.
Why are My Cookies Dry?
There could be two reasons for this. The first is over-baking. I find that, especially with gluten free recipes, you want to take the cookies out just before you think they are actually done. Begin checking the cookies at 10 minutes (if you are at a really high altitude, start checking them at 8 minutes), the edges should be starting to brown while the centers look not quite done.
The second reason is that you used too much flour. When measuring your flour, you don’t want to pack it. Use a spoon to scoop flour into your measuring cup then level it off. This make sure you don’t get too much flour which can make the batter heavy and dry.
Should I Use Fresh or Frozen Raspberries?
I have tested this gluten free raspberry chocolate chip cookie recipe with both fresh and frozen raspberries… both work! If using fresh raspberries, tear them up before adding them to the batter. If using frozen, keep them frozen, but mash them lightly to break them apart.
These dairy free and gluten free raspberry chocolate chip cookies are the perfect mix of raspberry and chocolate. They're great for any time of year, but make a wonderful Valentine's Day dessert.
Course Dessert
Cuisine American
Keyword chocolate, dairy free, gluten free, raspberry, valentine’s day
Beat together the the softened butter and coconut sugar for a couple minutes, until fluffy and lighter in color.
Add the egg and vanilla extract and beat to combine.
In a small bowl, whisk together the flours, baking soda, and salt. Add to the wet ingredients and mix until just combined.
If using fresh raspberries, use your hands to gently tear them into pieces. If using frozen raspberries, smash them to break them up a bit. You want to avoid smooshing either berries.
Fold the chocolate chips and raspberries into the dough and place in the fridge for 10 minutes.
Preheat oven to 350F.
Using a tablespoon size scoop, place balls of cookie dough 2 inches apart on a parchment lined baking sheet. You will have to bake in batches. Bake the cookies on the middle rack for 10-13 minutes until edges are set and tops are beginning to golden.
Remove cookies from the oven and let sit for 10 minutes before transferring to a wire rack to finish cooling.
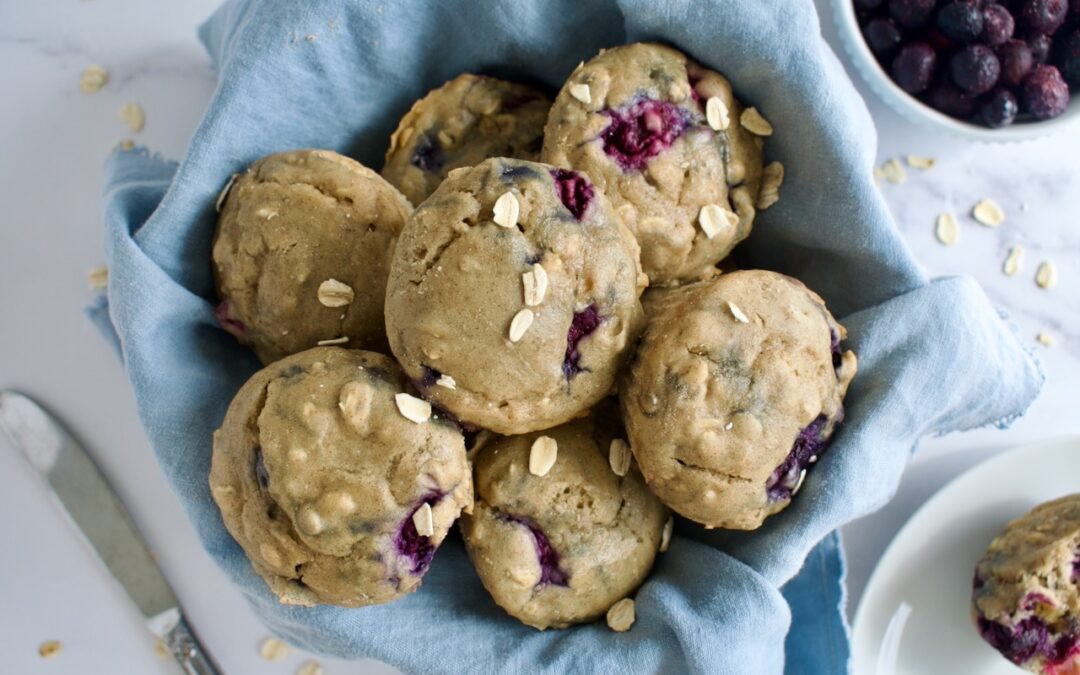
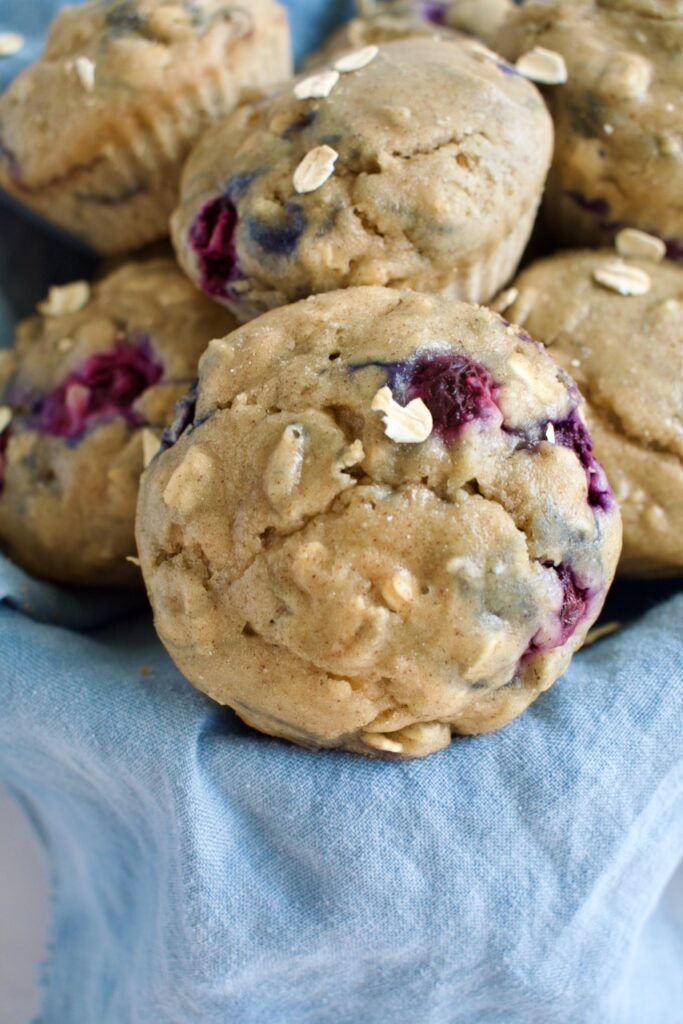
These gluten free blueberry oat muffins are the perfect breakfast muffin- filled with fiber, low sugar, and allergy friendly! These muffins are easy to make and ideal for meal prep.
gluten free blueberry oat muffins
Over this last year, I developed a new found love for oats in all forms (granola, cookies, muffins, etc), so I had to give some oat muffins a try. I don’t like when muffins have too many oats though. It can’t be overbearing! I love these gluten free oat muffins because there is only a 1/2 cup of oats in this recipe and plenty of blueberries.
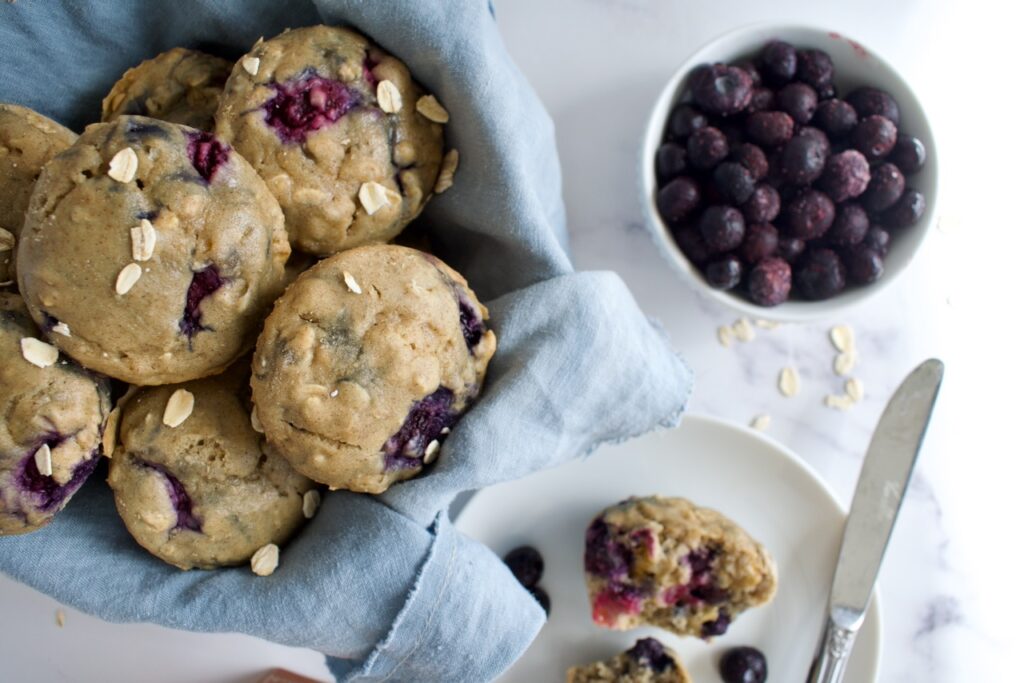
gluten free blueberry oat muffins
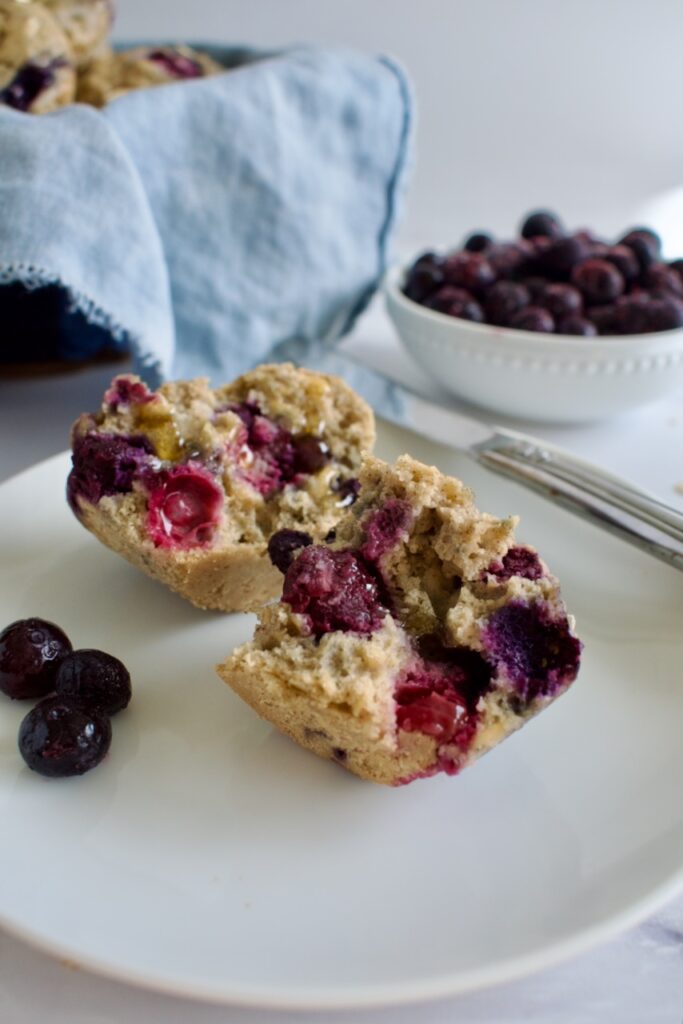
These blueberry muffins are also completely refined sugar free. They are made with maple syrup and only a touch of it. These are the perfect, healthy breakfast muffin as they aren’t sugar loaded, but are packed with fiber from the oats and blueberries, and contain a good heaping of cinnamon. If you want your muffins to be a little sweeter, I suggest sprinkling the tops with coconut or brown sugar before baking or just drizzling your muffin with honey when ready to eat.
gluten free blueberry muffins
How to make gluten free blueberry oat muffins
First, you’ll whisk together all the dry ingredients. This includes a mix of 1:1 gluten free flour, tigernut or almond flour, gluten free oats, baking powder, and cinnamon
Second, you’ll beat all the wet ingredients together. This includes eggs, yogurt, maple syrup, oil or butter, and milk. You can use vegan butter and milk to keep this recipe completely dairy free.
Third, you’ll combine the dry with the wet and fold in the blueberries. It’s that simple! Just pop the batter in a muffin tin, bake, cool, eat.
These allergy friendly blueberry muffins are filled with fiber and flavor all while being gluten free, dairy free, and low sugar. These are the perfect, healthy breakfast muffin!
Hi! I'm Victoria. I was diagnosed with Lyme in 2012 and have been on a healing journey ever since. I love helping others on their road to healing through allergy friendly recipes, exercise, and overall well-being.