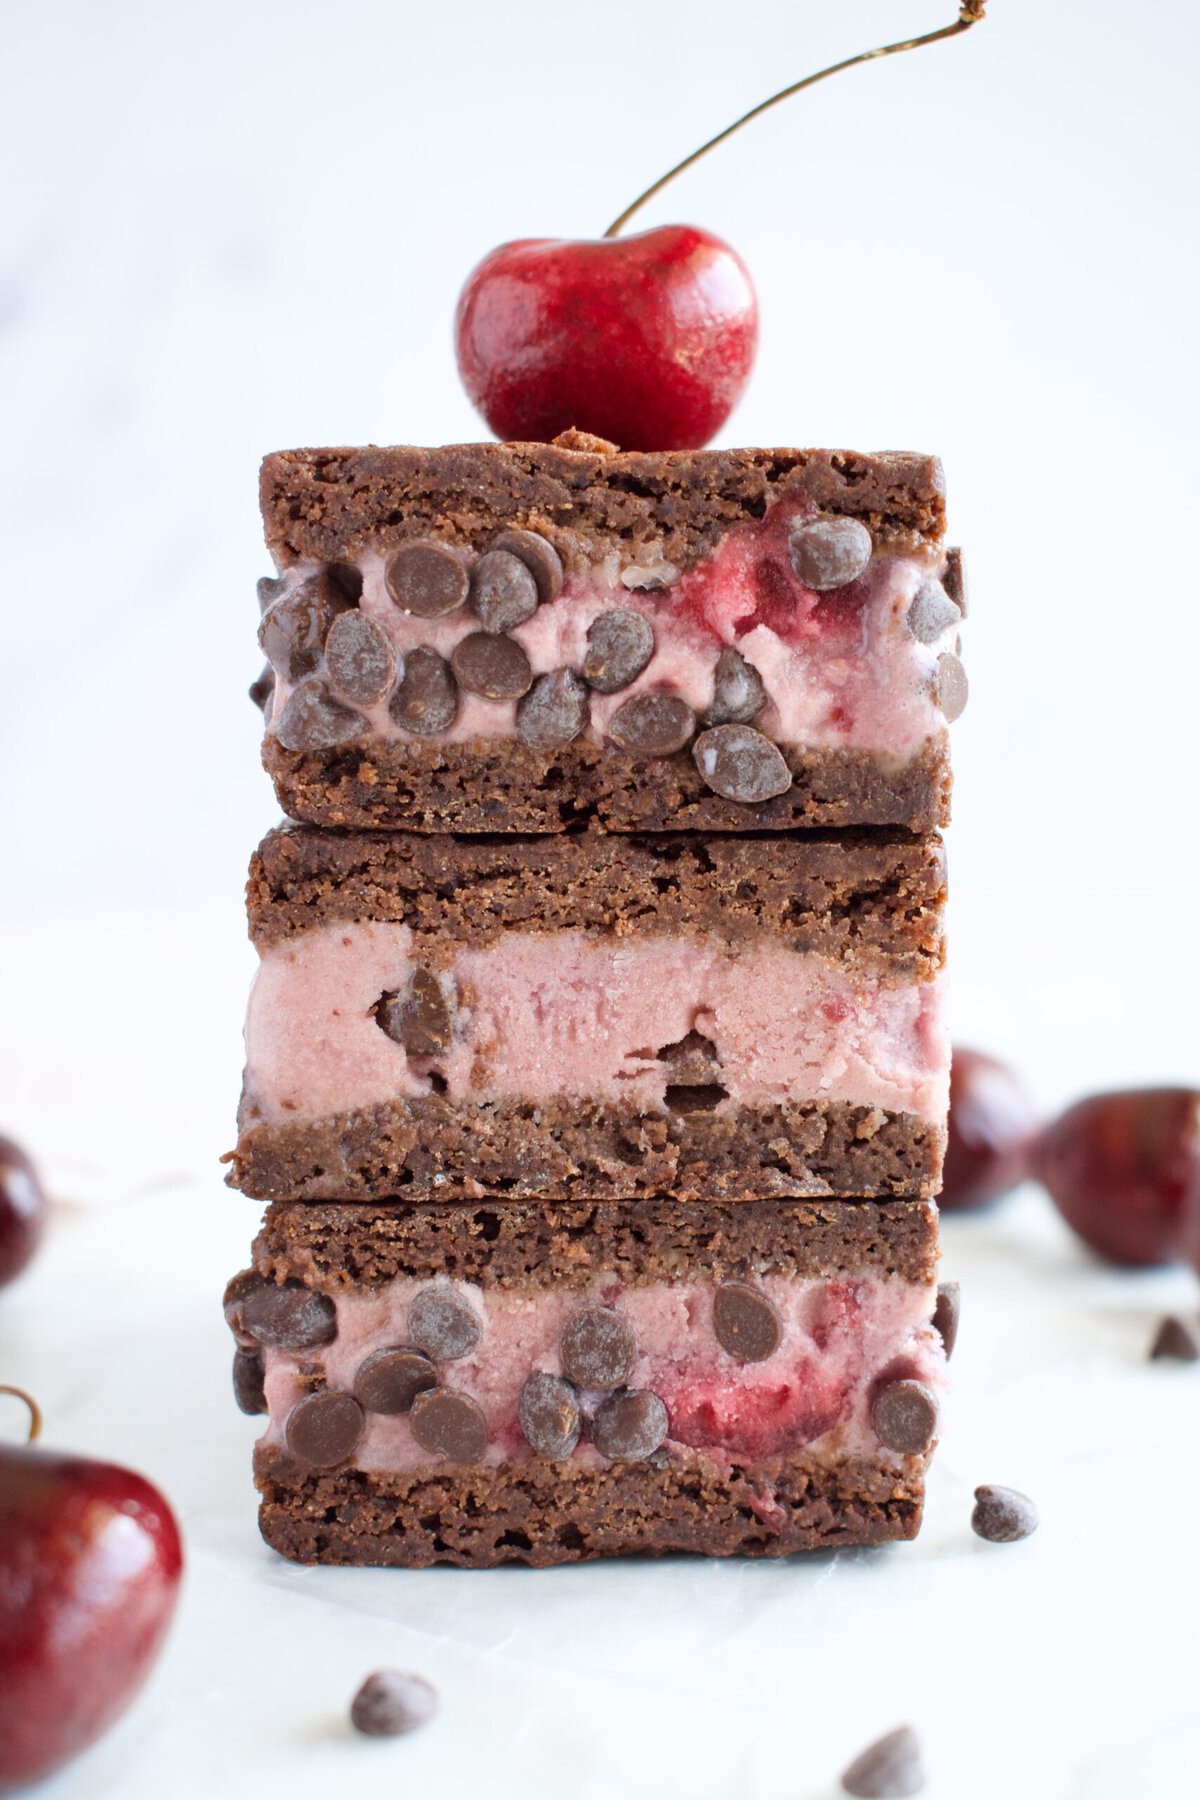
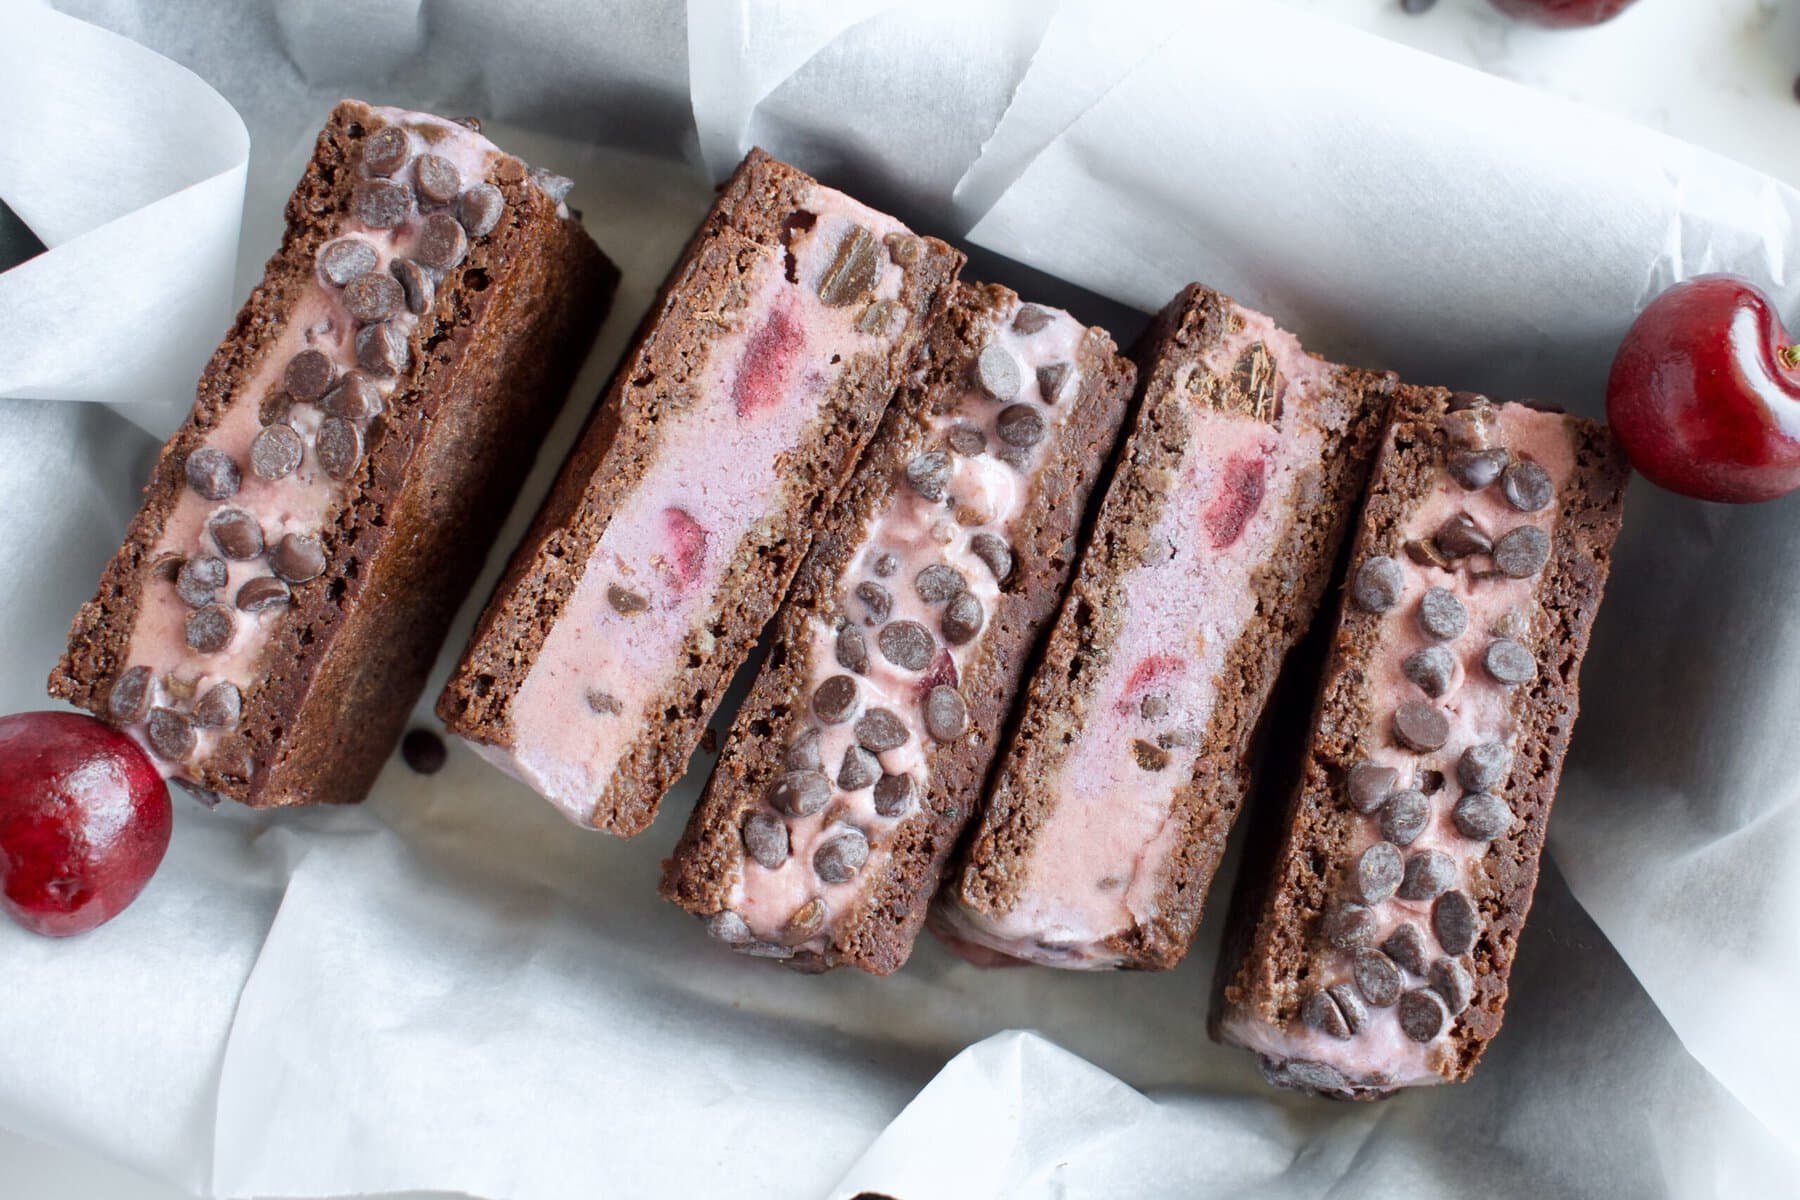
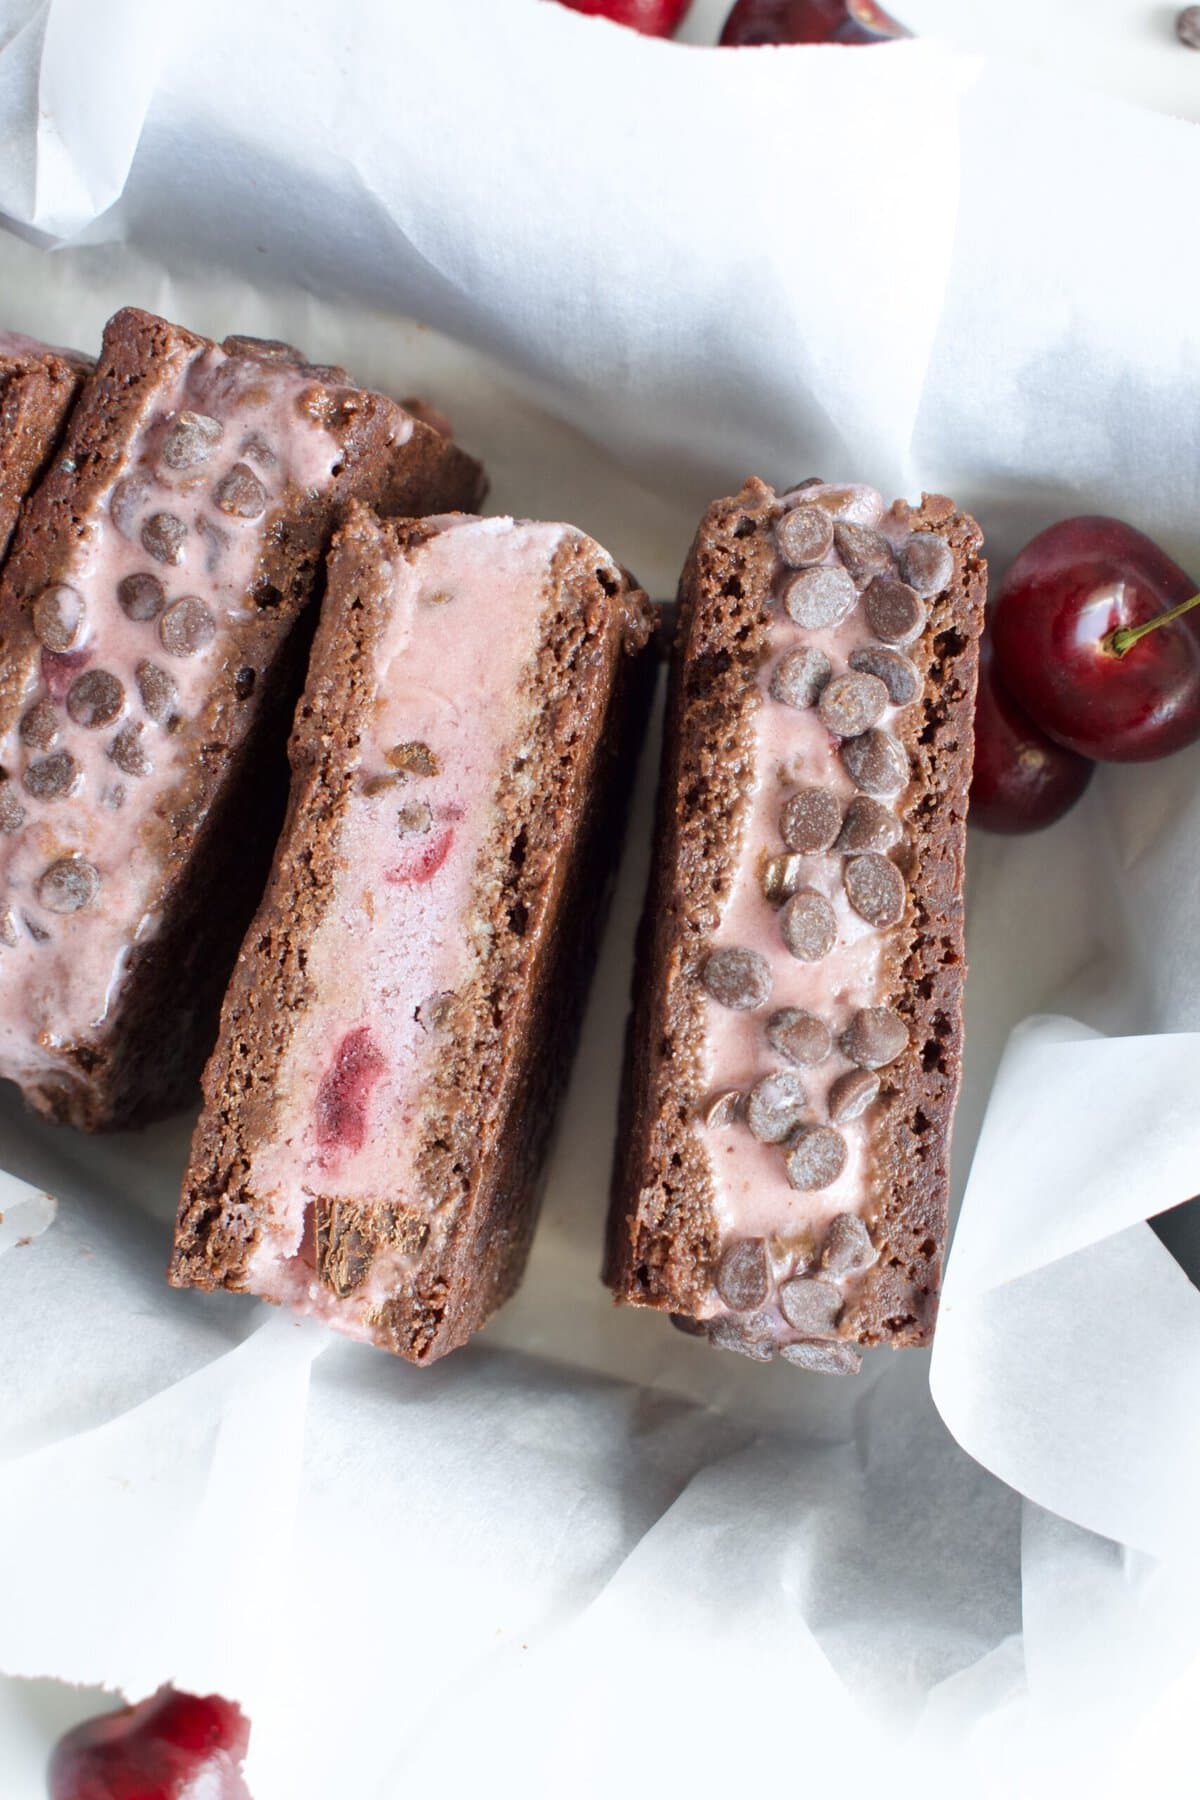
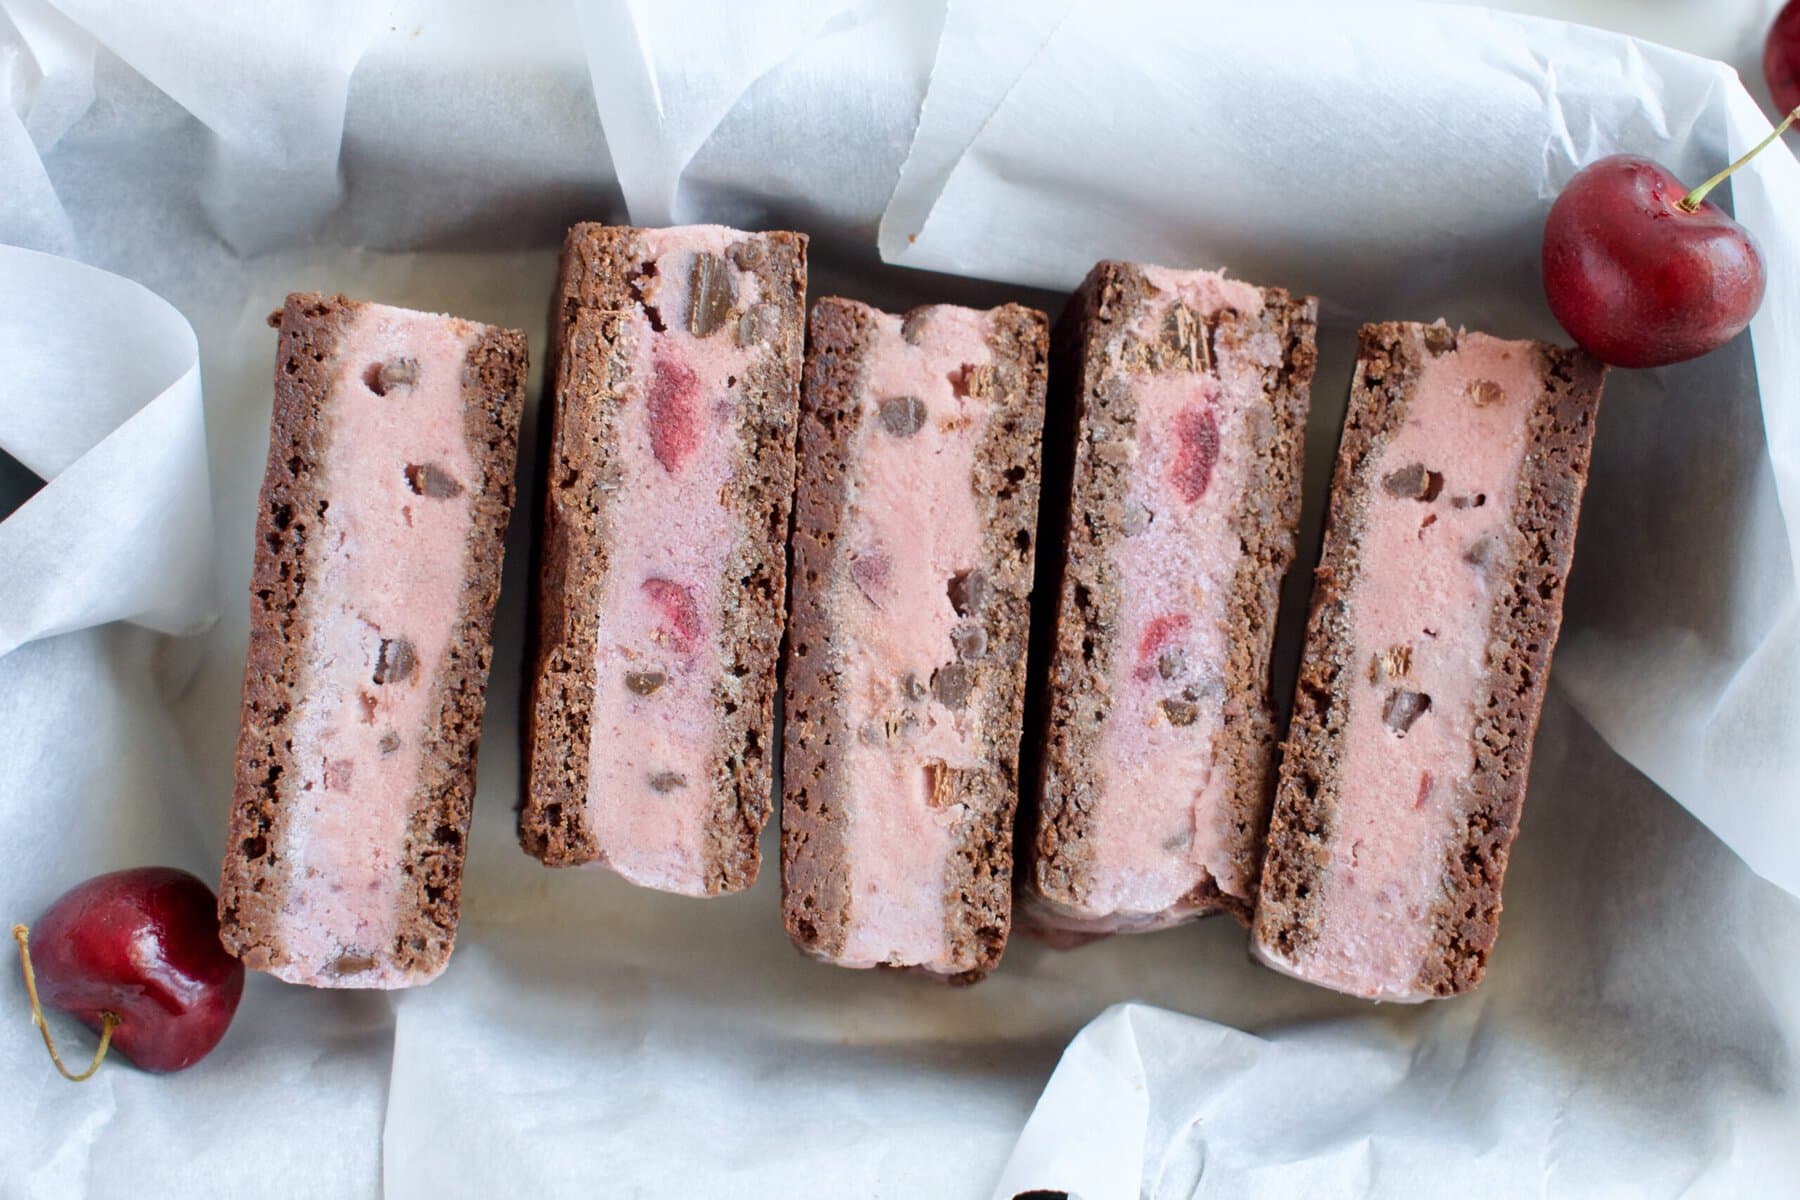
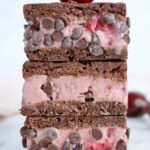
Switch up the classic ice cream sandwich for these Chocolate Cherry Ice Cream Sandwiches. Homemade cherry chocolate chip ice cream is sandwiched between chocolate cookies for the sweet, fruit ice cream sandwich you didn't know you needed! Completely gluten free, dairy free, refined sugar free, nut free, and inspired by my dad's love of fresh cherries. These ones are for him.
It's the third year running for my gluten free and dairy free summer ice cream sandwich series and after losing my dad last fall, I knew I had to make an ice cream sandwich just for him. He practically lived off fresh cherries in the summer, so a chocolate cherry ice cream sandwich was in order. These homemade ice cream sandwiches are a must make during peak cherry season for a rich and indulgent summer treat! All the other flavors are linked at the bottom of this post and, trust me, you'll want to try them all.
This is the fourth cherry recipe I've made this summer in memory of my dad. Gluten Free Cherry Crumble Muffins, Gluten Free Cherry Chocolate Chip Cookies, Ninja Creami Vegan Cherry Ice Cream and now this. Making them has been my way of keeping him close and honoring something he loved. I hope you make these and enjoy them as much as he would have. 🍒
Why You'll Love These Gluten Free Cherry Ice Cream Sandwiches
- Allergy friendly: like all my recipes, these ice cream sammies are no different! Gluten free, dairy free, nut free, soy free, and corn free. I'm making sure that everyone can enjoy an ice cream sandwich this summer! These can also be made refined sugar free.
- The chocolate-cherry combo: a classic, and delicious, combo. Rich chocolate and fruity black cherry make this sandwich one to beat!
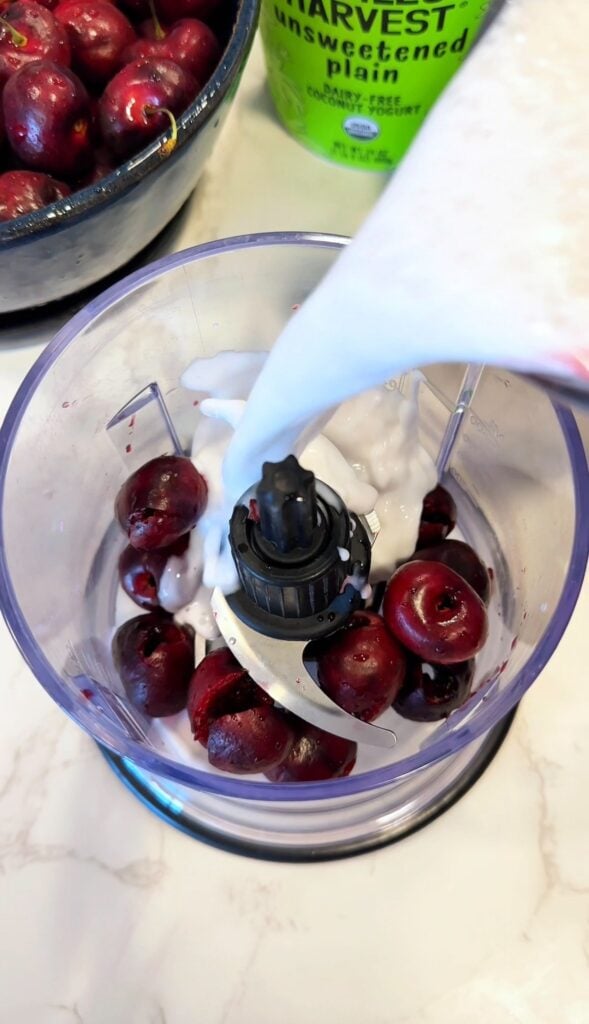
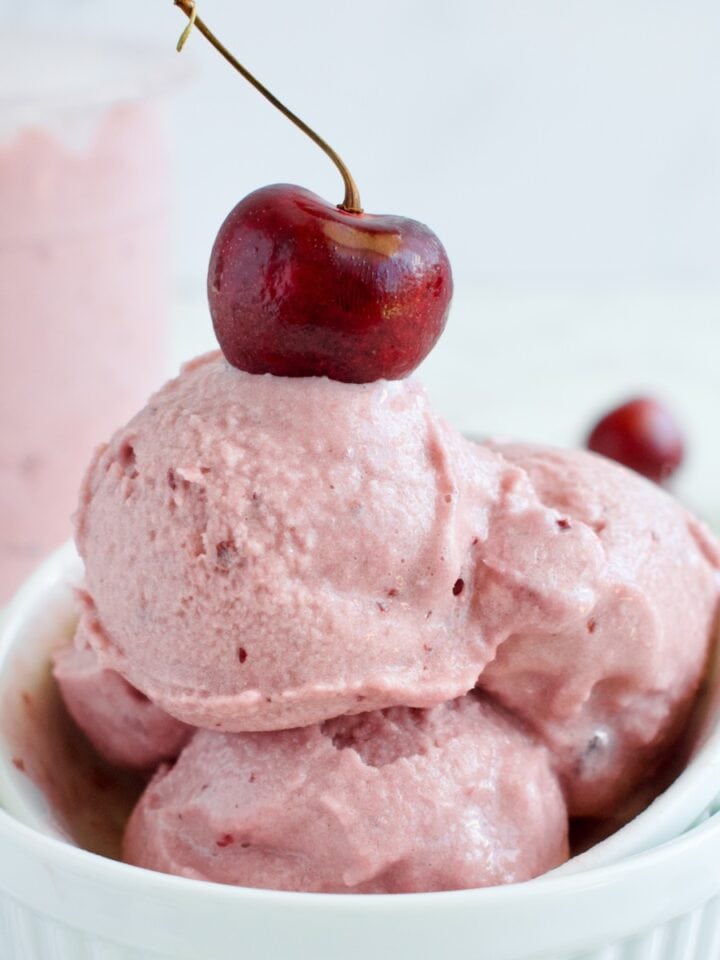
- Homemade cherry ice cream: made from scratch with real cherries, no artificial flavors or coloring.
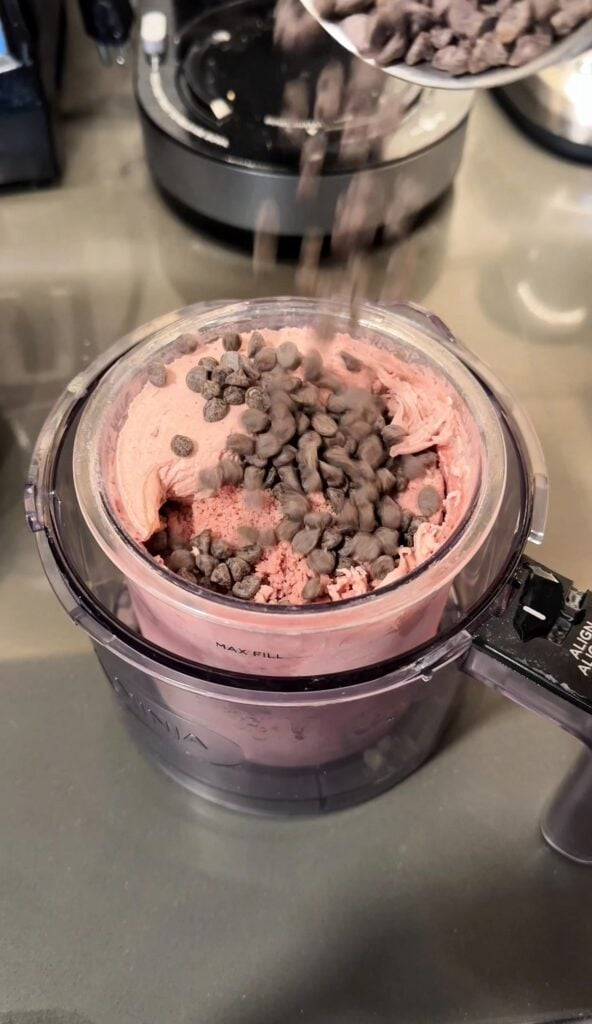
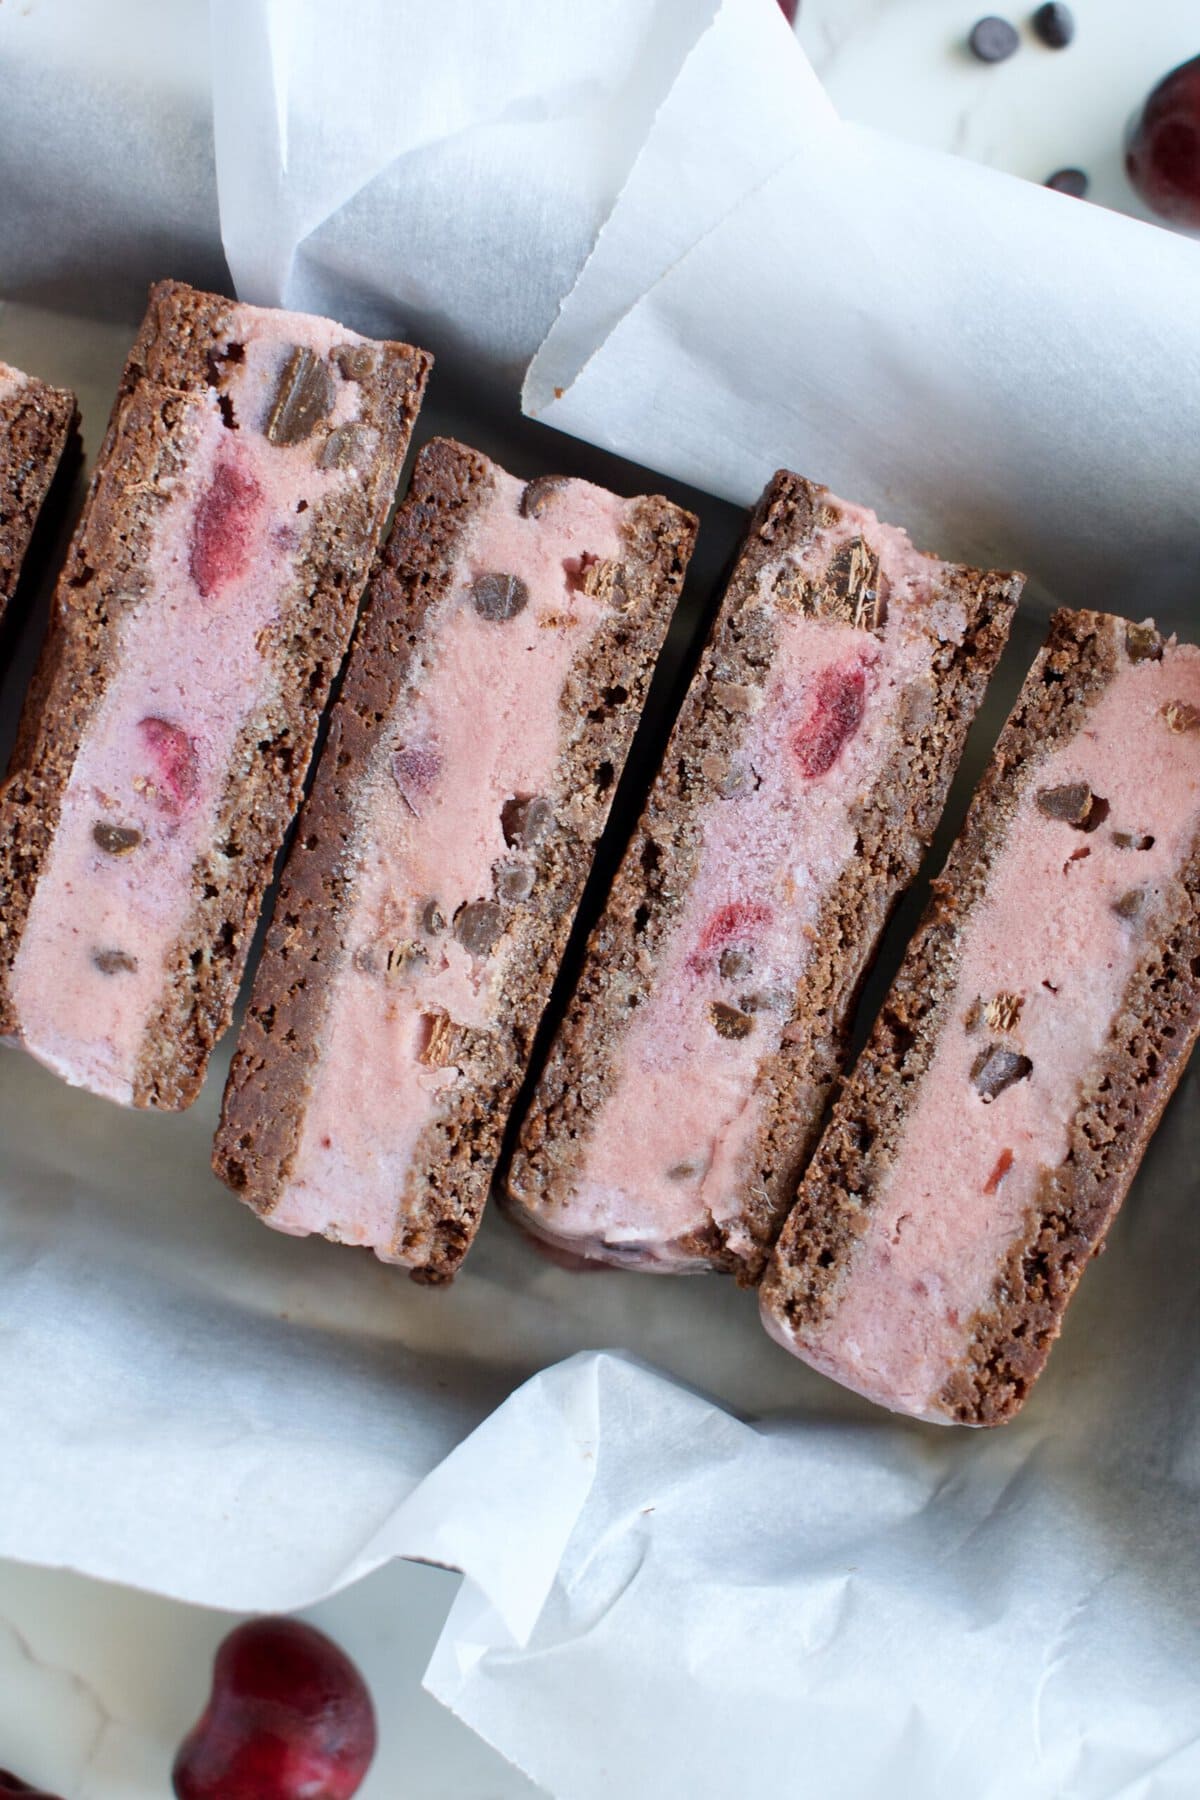
- Double chocolate: we've got a chocolate cookie base and then we mix-in chocolate chips to the cherry ice cream for all that chocolate flavor.
- Make-ahead friendly: ice cream sandwiches can easily be made days in advance and kept in the fridge until ready to serve. Or make a batch (or two) to keep in the fridge all summer long!
Ingredients for Gluten Free Chocolate Cherry Ice Cream Sandwiches
- Cherry ice cream: click to get the recipe for my homemade cherry ice cream or use your favorite store bought variety for ease (stick to a dairy-free option to keep these sammies fully dairy free).
- Chocolate chips: mini chocolate chips work best or a chopped chocolate bar so you don't break a tooth on a huge chunk of chocolate when frozen. Enjoy Life Foods makes allergy friendly mini chocolate chips or stick to a refined sugar free brand to keep these ice cream sandwiches completely refined sugar free.
- Gluten free flour: be sure to use a 1:1 gluten free all purpose flour blend with xanthan gum.
- Tapioca starch: this helps lighten up the cookie base for the perfect texture.
- Cocoa powder: be sure to use unsweetened cocoa powder, which adds the rich chocolate flavor for the chocolate cookies.
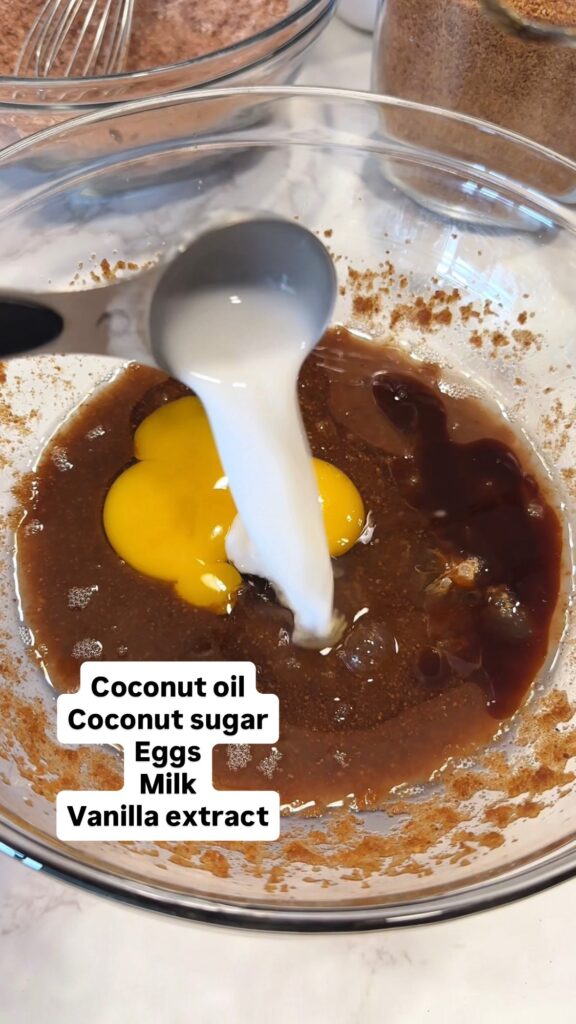
- Coconut sugar: an unrefined sweetener for the cookie base.
- Coconut oil: keep this recipe dairy free by using a plant-based butter or coconut oil. If you tolerate dairy, feel free to use regular butter.
- Eggs: you'll need one egg and one egg yolk.
- Non-dairy milk: stick to a plant-based milk to keep this recipe dairy free.
- Vanilla extract, baking powder, salt
How to Make Gluten Free Cherry Ice Cream Sandwiches
- First, you'll need to make the dairy free cherry ice cream ahead of time by at least a day as it needs to set in the freezer.
- For the cookie base, preheat the oven to 350F.
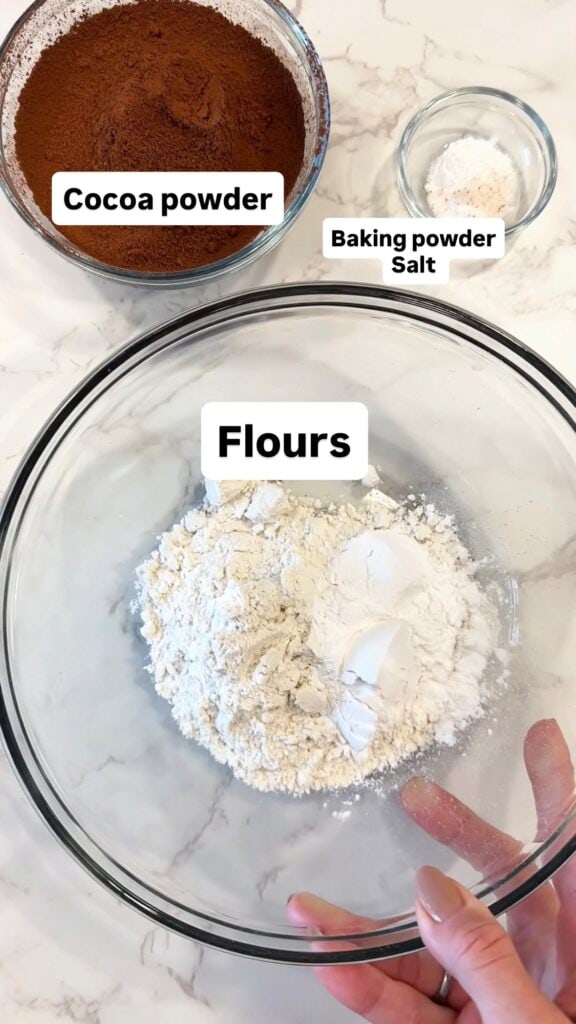
- Whisk the flours, cocoa powder, baking powder, and salt together in a medium bowl and set aside.
- Beat together the melted butter and sugar in a large bowl until combined. Add remaining wet ingredients and beat to combine.
- Add the dry ingredients to the wet and mix until just combined.
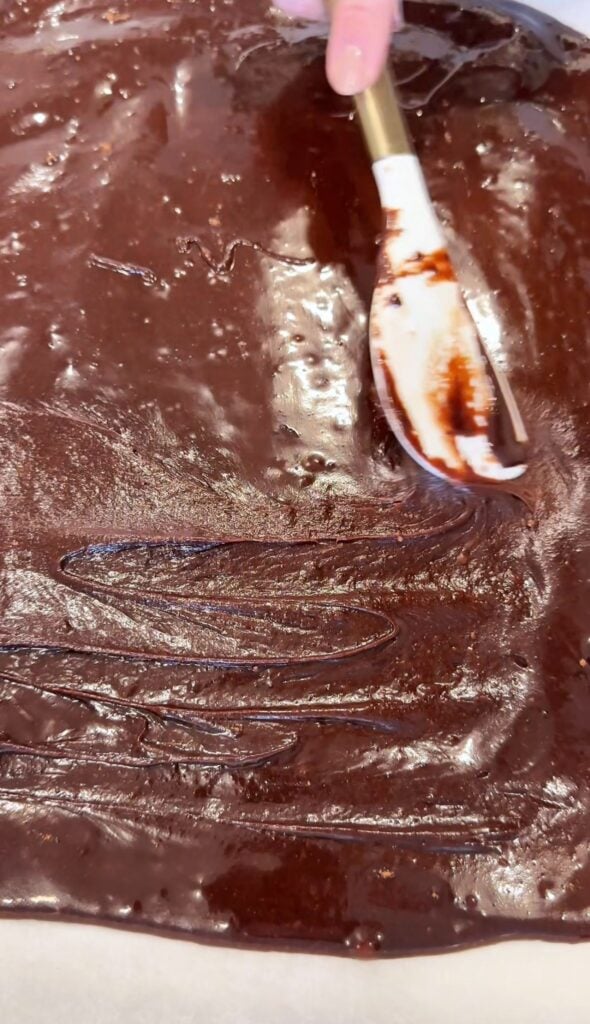
- Line a baking sheet with parchment paper then spread the batter evenly over the baking sheet.
- Bake cookie base for 10 minutes then let cool completely before cutting in half.
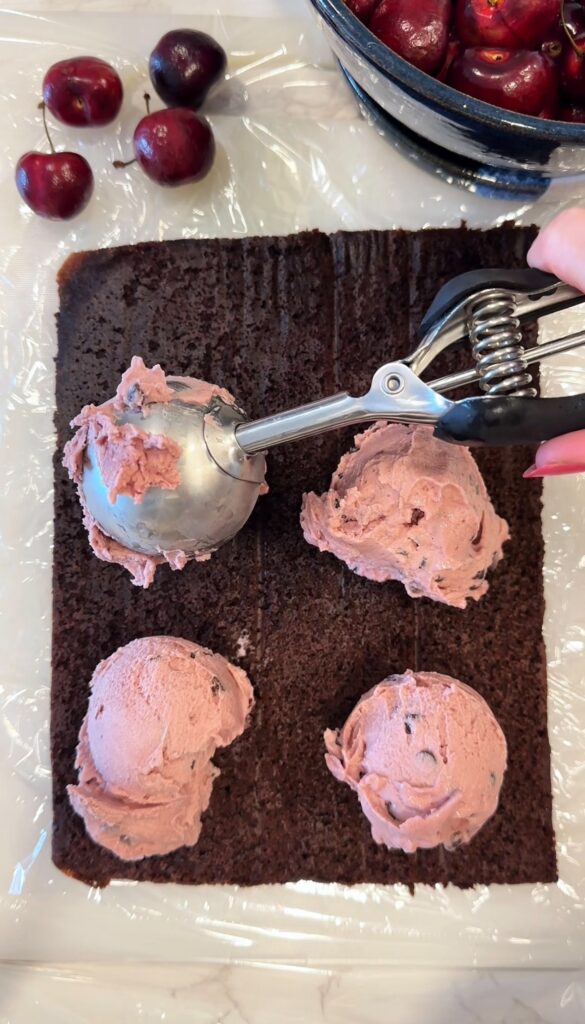
- Lay half of the cookie base on top of a large sheet of plastic wrap on a baking sheet, plate, or cutting board that fits in your freezer.
- Scoop the cherry ice cream onto the cookie base then use an offset spatula to spread the ice cream base evenly over the cookie in an even layer. Add the top cookie layer, evening out the outer edges of the ice cream layer as needed.
- Wrap tightly in plastic wrap and place in freezer on a flat surface to set for at least 3 hours, preferably overnight.
- Use a sharp knife to cut the ice cream sandwiches into individual bars.
Substitutions and Variations
- Coconut oil: dairy free or regular butter works too.
- Sugar: To keep this ice cream sandwich recipe refined sugar free, I used coconut sugar. Coconut sugar can behave slightly differently than other sugars. I have not tested any other sweeteners in this recipe, but light brown sugar should work.
- Milk: Any milk will work- dairy free or otherwise!
- Ice cream: I love making my own homemade ice cream, but you can use store-bought ice cream, as well. Buy 2 pints to have enough!
- Variations: try any variations listed for the ice cream recipe, roll edges of sandwiches in crushed almonds or chocolate chips, or drizzle melted chocolate or hot fudge over the top of each sandwich.
How To Serve and Store Gluten Free Dairy Free Ice Cream Sandwiches
Serve: let ice cream sandwiches sit out for 5-10 minutes at room temperature to soften the ice cream. Just don't let them sit out too long or they'll melt! You can also roll the edges in sprinkles, mini chocolate chips, or nuts to personalize these sandwiches.
Make ahead: these gluten free ice cream sandwiches are fantastic for summer holidays, BBQ's, or celebrations. Make a batch (or two) up to 3 days ahead of time for best taste and texture, then pull them out 5 minutes before serving.
Store: Once you have sliced the ice cream sandwiches, wrap each individually in plastic wrap, parchment paper, or wax paper. You can then place all of the sandwiches into a large ziplock bag or freezer container and store in the freezer until ready to eat. They freeze well for up to 3 months.
Tips for the Best Chocolate Chip Cherry Ice Cream Sandwiches
- Let the cookie cool completely before assembling. This is the most important step. A warm cookie will melt your ice cream immediately. Wait the full hour minimum or until the cookie is cool to the touch.
- Refrigerate cookie base if needed. You'll need to move the cookies around to sandwich the ice cream which can feel precarious since the cookie base is thin. Refrigerating the cookie for 30 minutes first will harden it up, so it's easier to move with less fear of cracking it.
- Soften the ice cream to the right consistency. You want it spreadable like thick peanut butter, not melted. One spin in the Ninja Creami will get it there, don't overspin it otherwise you'll have to pop it back in the freezer to set before using. If making the ice cream in a traditional ice cream maker or using store bought, let your ice cream sit out for 10-20 minutes to soften.
- The cherry ice cream will be slightly softer than vanilla. The fruit content means it softens faster. You'll need to work quickly and don't be afraid to get messy!
- Use an offset spatula for even spreading. This little tool will help you spread the ice cream evenly and allow you to straighten the edges. If you don't have one, that's okay! Using a flat silicone spatula will work too.
- Freeze on a completely flat surface. Even a slight tilt in the freezer can mean your ice cream layer will be uneven. Make space before you start assembling and ensure the surface you'll be placing in the freezer fits!
- Let them freeze overnight if possible. 3 hours is the minimum, but overnight makes sure the ice cream is solid. This gives you much cleaner cuts and better texture.
- Use a warm knife for cutting. Run your knife under hot water and dry it before slicing for clean cuts without cracking the cookie.
FAQ
Yes, they are gluten free as written, just be sure to check ingredient labels.
Yes, they are dairy free as written!
Although the ice cream is vegan, I have not tested an egg free version of the cookie base.
You definitely can. Be sure to grab 2 pints.
Yes and I explain that in depth in the ice cream recipe.
They are good in the freezer for 2-3 months, but the taste and texture are best within the first month.
That's okay! Double the ice cream recipe and use a traditional ice cream maker. The cherry ice cream post walks you through the full process including how to use tapioca starch to keep the texture creamy without the Ninja Creami.
More Gluten Free Dairy Free Ice Cream Sandwich Recipes
Banana Pudding Ice Cream Sandwiches
Strawberry Shortcake Ice Cream Sandwiches
Golden Milk Ice Cream Sandwiches
Blackberry Swirl Ice Cream Sandwiches
If you try these Gluten Free Cherry Ice Cream Sandwiches, I'd love to hear how you enjoyed them! Leave a rating and review below, tag me on social media, and drop any questions in the comments.
Chocolate Cherry Ice Cream Sandwiches (Gluten Free, Dairy Free)
Equipment
Ingredients
Cookie Base
- ½ cup 1:1 gluten free flour
- 2 tablespoon tapioca starch
- ⅓ cup cocoa powder
- ½ teaspoon baking powder
- ¼ teaspoon salt
- ½ cup vegan melted butter or coconut oil
- ¾ cup coconut sugar
- 1 egg
- 1 egg yolk
- 2 tablespoon milk of choice
- 2 teaspoon vanilla extract
Ice Cream
- 2 pints homemade cherry ice cream or you can use store bought
Instructions
Ice Cream
- If you are making your own ice cream, be sure to make this ahead of time so it is ready to go. If using the Ninja Creami, spin ice cream once before assembly. If using store bought, leave out for 10-20 minutes to soften before assembly,
Cookie Base
- Preheat oven to 350F.
- Whisk the flours, cocoa powder, baking powder, and salt together in a bowl and set aside.
- Beat the melted butter and sugar together until combined. Add the egg, egg yolk, milk, and vanilla and beat to combine.
- Add the dry ingredients to the wet and beat on low until just combined.
- Line a 10x15inch baking pan with parchment paper (You could get away with using a bigger pan and not spreading the batter all the way out or use a 9x13 inch baking dish. Your cookies will just be slightly thicker and sandwiches slightly smaller).
- Spread the batter out evenly over the baking pan, trying to get even edges and a nice thin layer.
- Bake the cookie base for 10 minutes.
- Let the base completely cool for at least an hour before assembling the sandwiches.
Assembly
- Place a medium cutting board or flat plate that is freezer safe (and fits into your freezer- check this before starting!) on the counter. Next, place two long pieces of plastic wrap in a cross over the cutting board.
- Trim the edges of your ice cream sandwich cookie base if desired then cut in half. GENTLY slide one half into the middle of your cutting board/plastic wrap.
- Scoop 1-1.5 pints cherry ice cream over the cookie. Work gently to spread it evenly over the cookie base and use as much or as little ice cream as you want. I like about an inch thick of ice cream.
- Adding the top part of the cookie is hard since it is fragile, but do your best to flip the other half of the cookie base onto the top of your ice cream. Line everything up then tightly wrap up the sandwiches in the plastic wrap. Wrapping tightly holds everything together while the ice cream is soft. The plate/cutting board provides a sturdy support as the sandwiches freeze.
- Place the sandwiches in the freezer for at least 4-6 hours, preferably overnight to allow the ice cream to fully set.
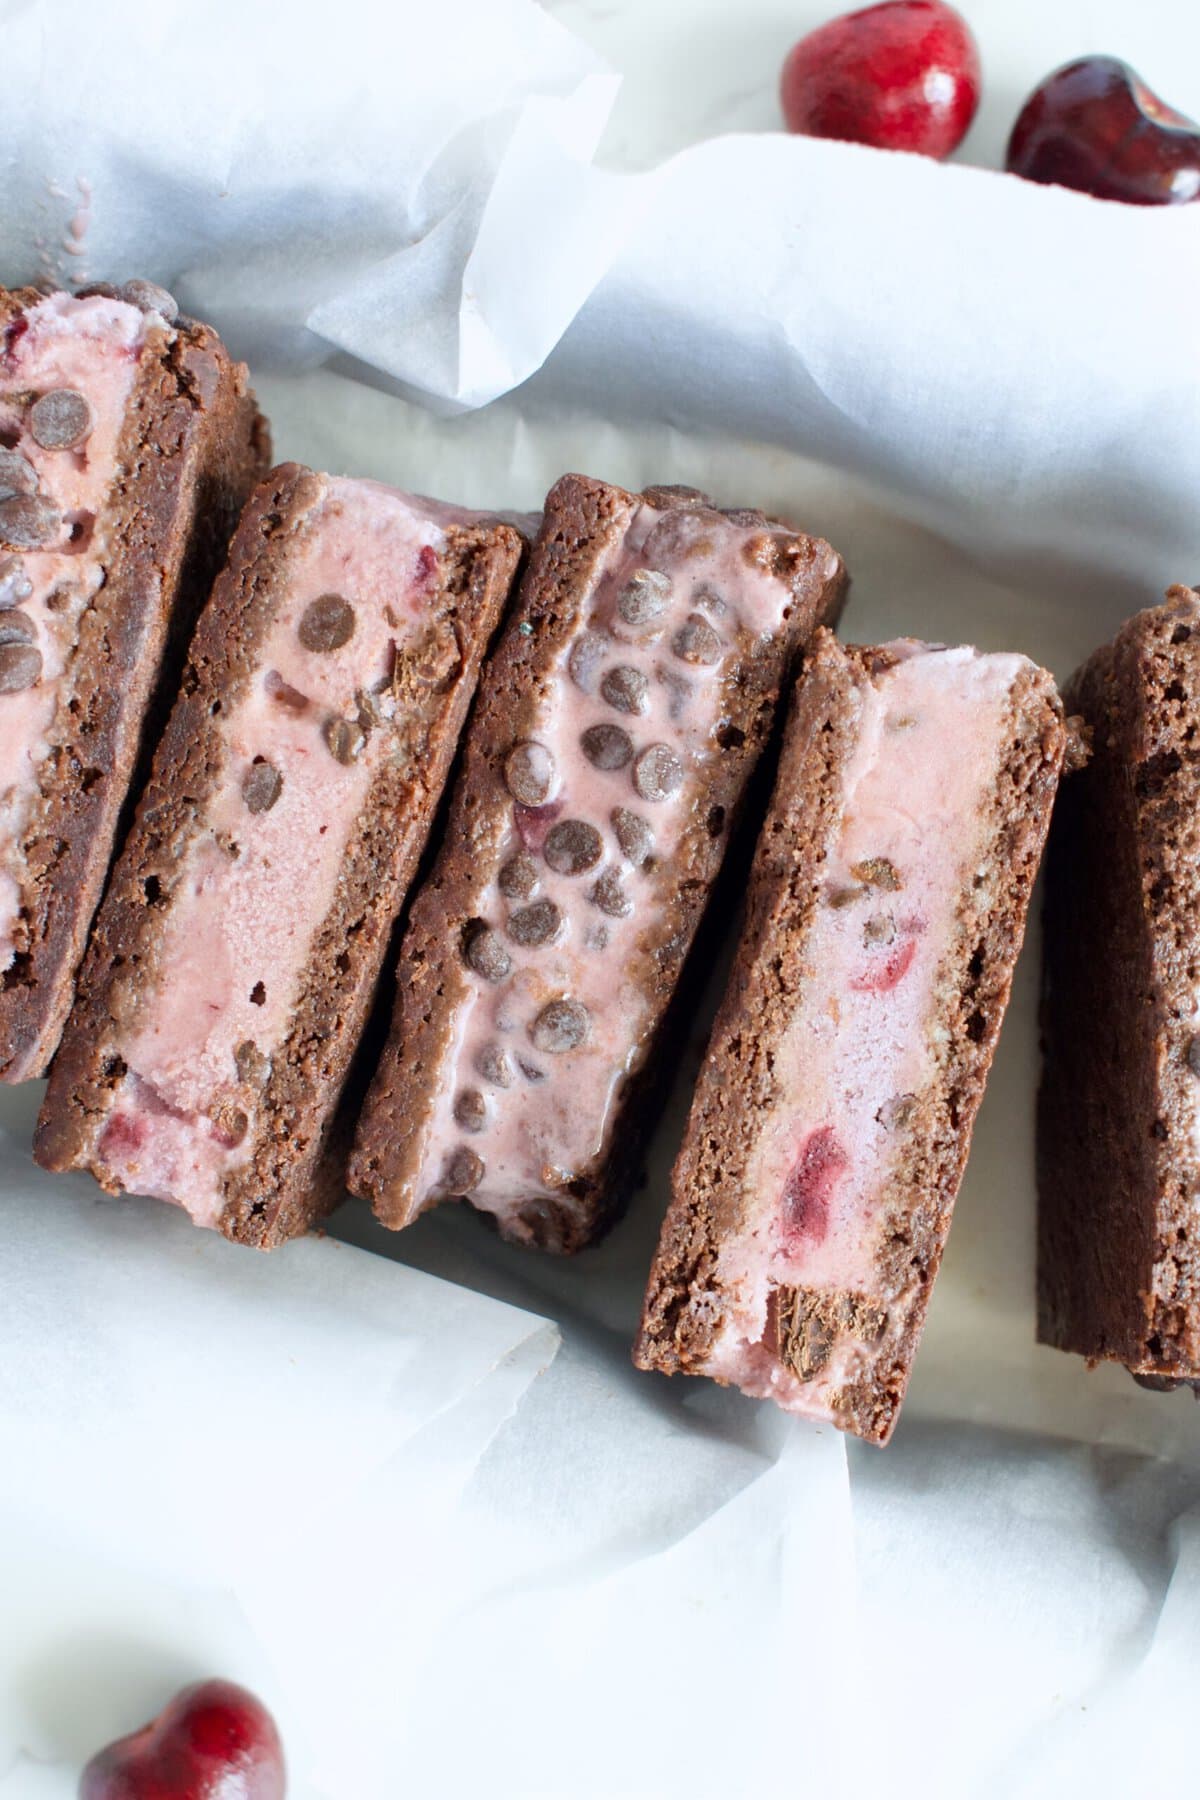
- When ready, slice into 8 sandwiches.
- I like to wrap each sandwich individually in plastic wrap or parchment paper then store in a freezer safe bag or container until ready to eat. Pull one out on a hot summer afternoon and enjoy!


Leave a Reply