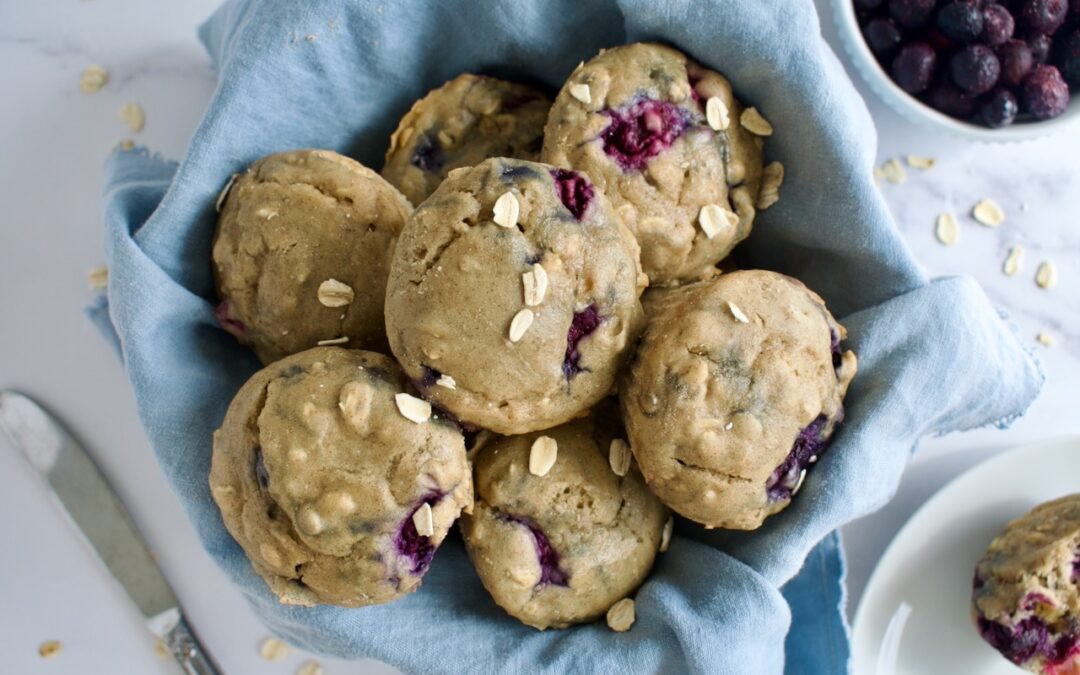
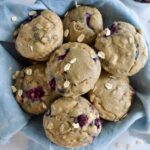
These gluten free blueberry oat muffins are the perfect breakfast muffin- filled with fiber, low sugar, and allergy friendly! These muffins are easy to make and ideal for meal prep.
gluten free blueberry oat muffins
Over this last year, I developed a new found love for oats in all forms (granola, cookies, muffins, etc), so I had to give some oat muffins a try. I don’t like when muffins have too many oats though. It can’t be overbearing! I love these gluten free oat muffins because there is only a 1/2 cup of oats in this recipe and plenty of blueberries.
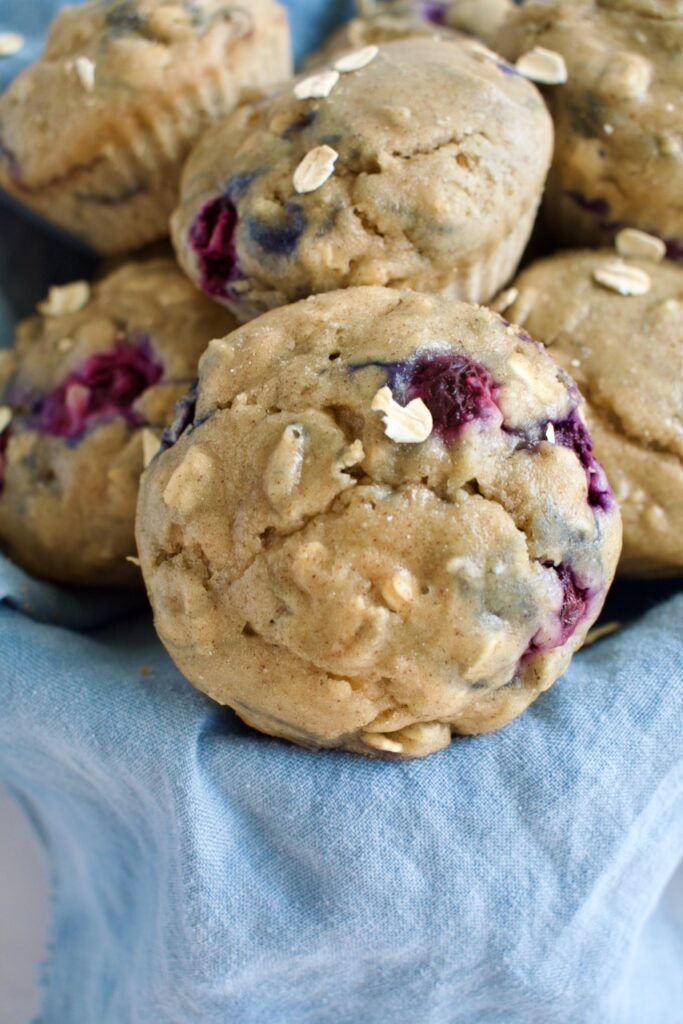
gluten free blueberry oat muffins
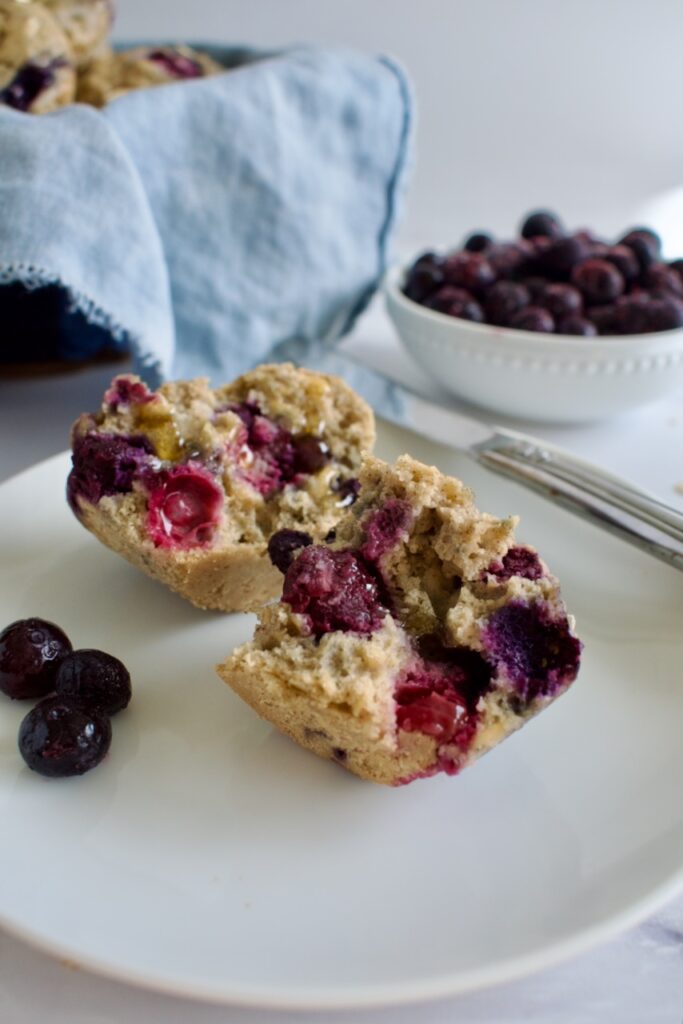
These blueberry muffins are also completely refined sugar free. They are made with maple syrup and only a touch of it. These are the perfect, healthy breakfast muffin as they aren’t sugar loaded, but are packed with fiber from the oats and blueberries, and contain a good heaping of cinnamon. If you want your muffins to be a little sweeter, I suggest sprinkling the tops with coconut or brown sugar before baking or just drizzling your muffin with honey when ready to eat.
gluten free blueberry muffins
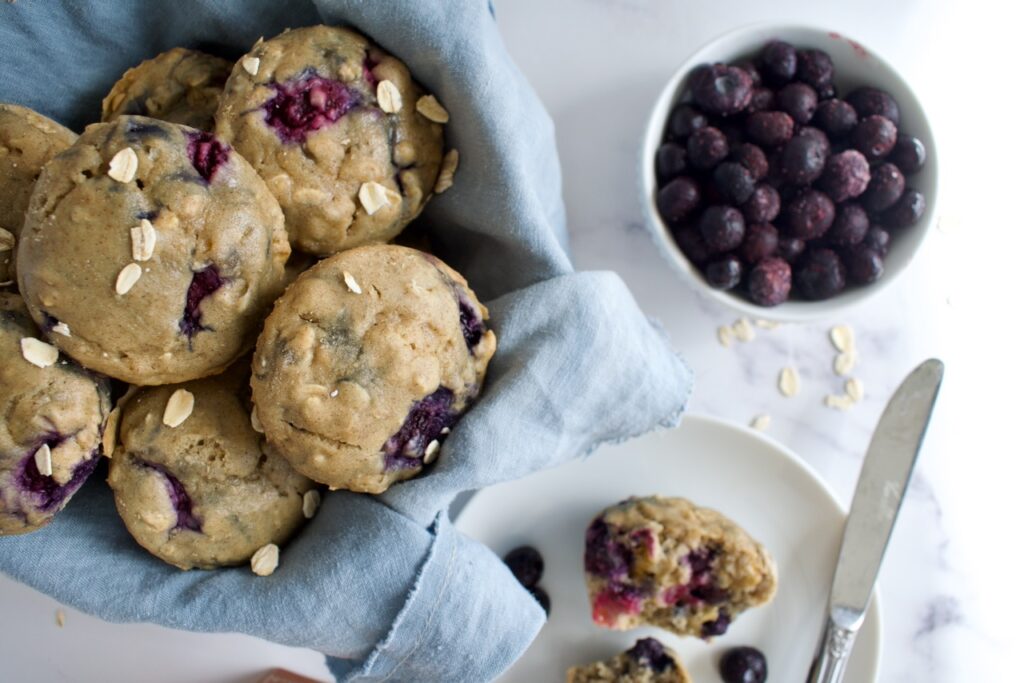
How to make gluten free blueberry oat muffins
First, you’ll whisk together all the dry ingredients. This includes a mix of 1:1 gluten free flour, tigernut or almond flour, gluten free oats, baking powder, and cinnamon
Second, you’ll beat all the wet ingredients together. This includes eggs, yogurt, maple syrup, oil or butter, and milk. You can use vegan butter and milk to keep this recipe completely dairy free.
Third, you’ll combine the dry with the wet and fold in the blueberries. It’s that simple! Just pop the batter in a muffin tin, bake, cool, eat.
These allergy friendly blueberry muffins are filled with fiber and flavor all while being gluten free, dairy free, and low sugar. These are the perfect, healthy breakfast muffin!
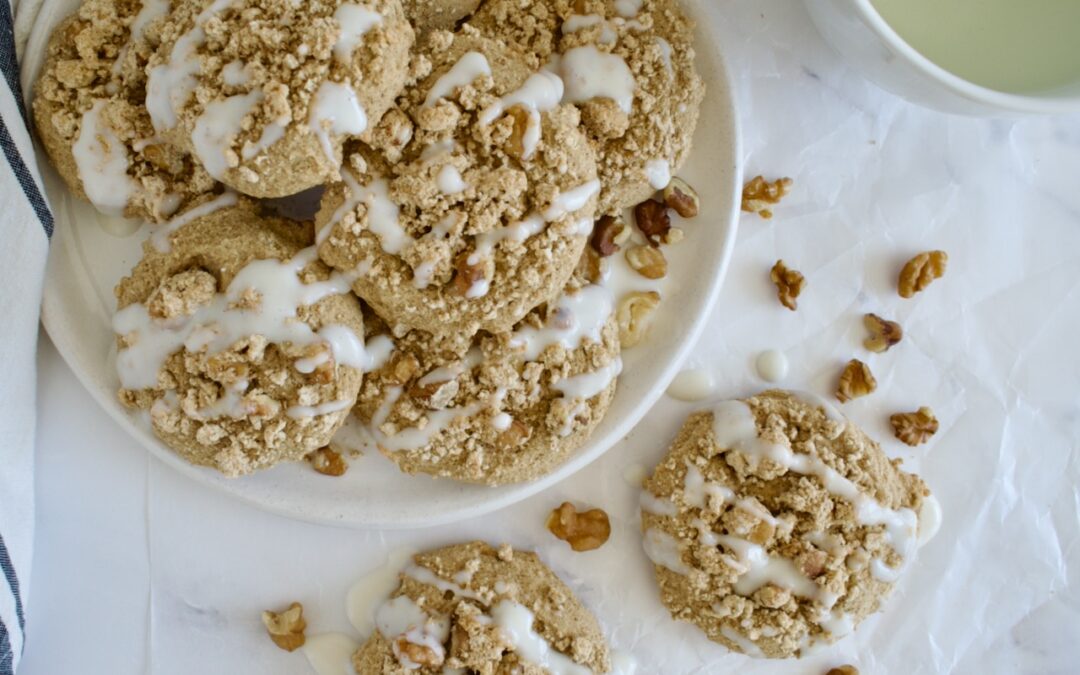
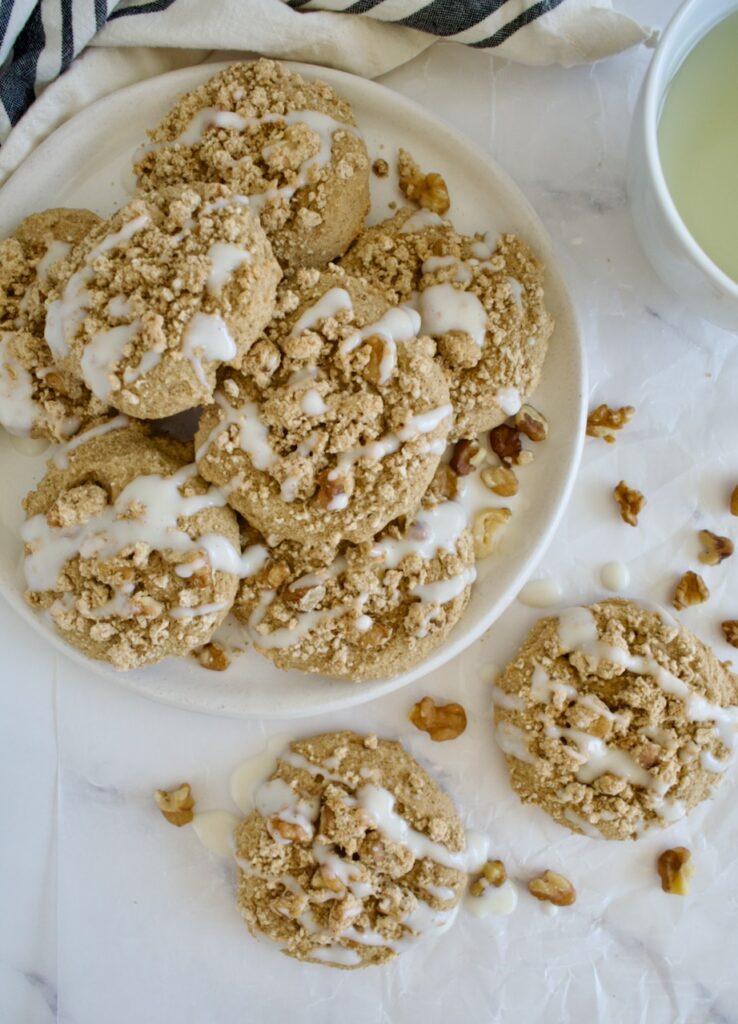
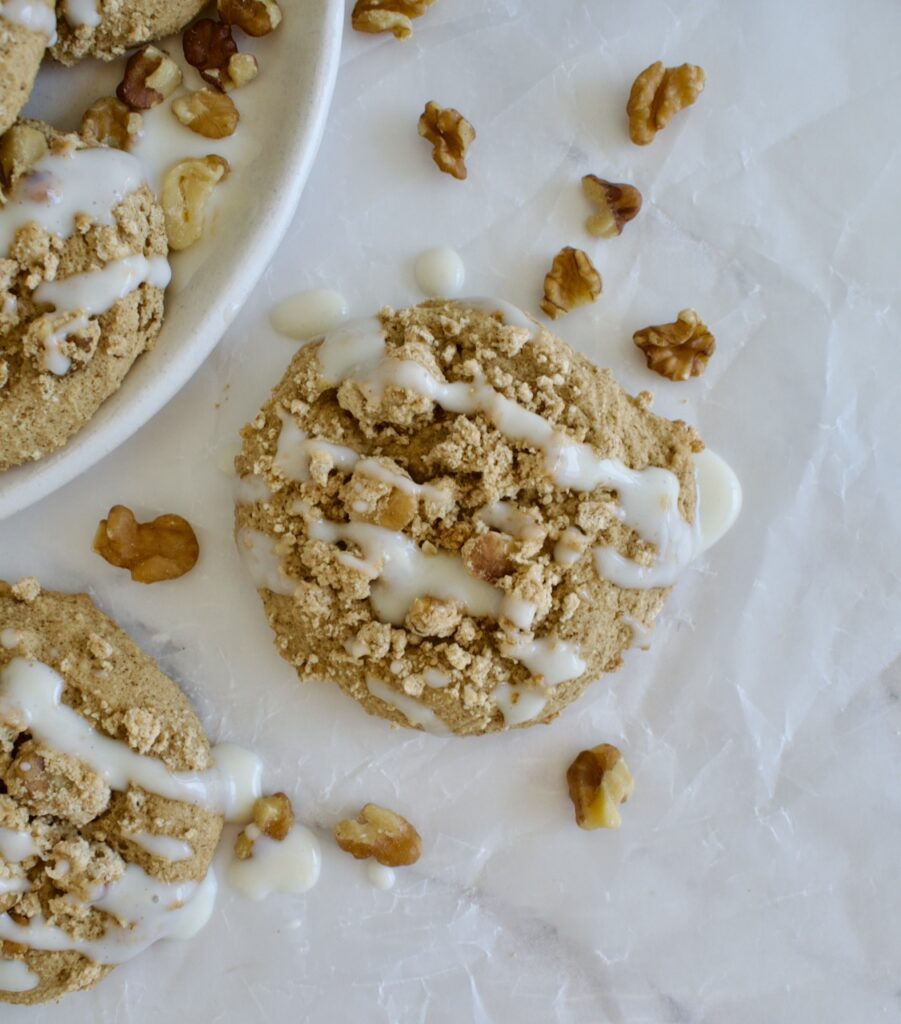
These walnut crumble cookies are the perfect mix of a soft gluten free cookie base, topped with a crunchy walnut topping. The icing drizzle brings them together with just the right amount of sweetness. These are the perfect cookie for dessert or with your morning coffee.
paleo walnut cookies
I love these paleo cookies! They pair perfectly with tea or coffee and aren’t too sweet. They contain no refined sugar, as long as you make your own powdered sugar with coconut sugar.
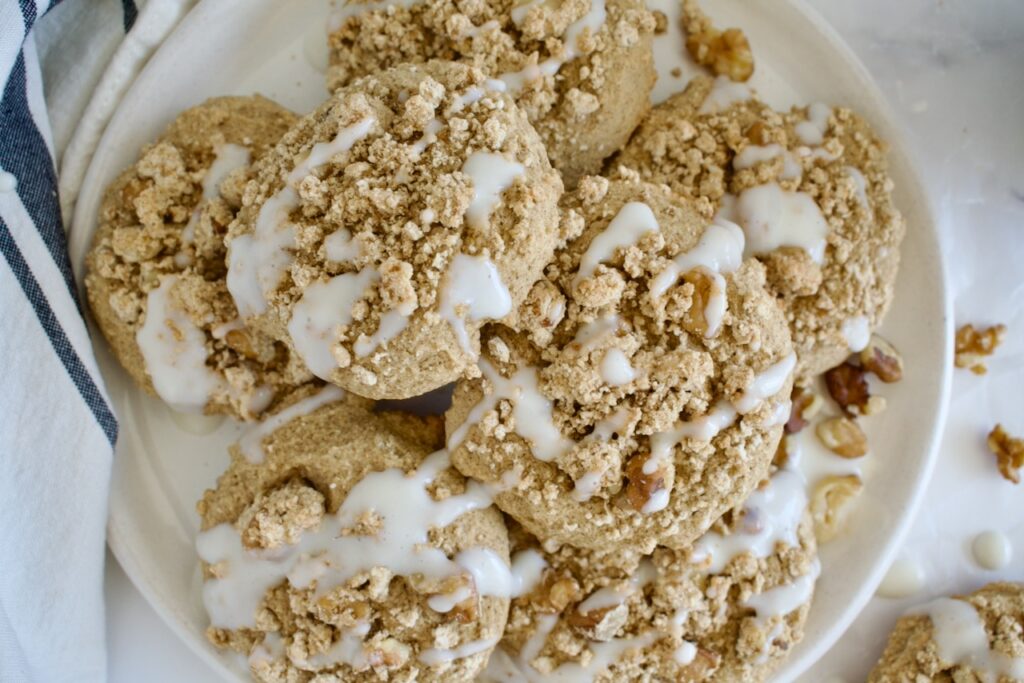
gluten free cookies
These gluten free cookies come together easily. You’ll start by making the cookie base, which is just a blend of paleo flours, olive oil, maple syrup, and an egg. The crumble topping is where the walnuts are that give these cookies the perfect crunch. The dairy free icing that pulls these cookies together is something you can’t skip! It’s just made of a mix of powdered sugar and yogurt of choice- feel free to use a dairy variety if desired.
These walnut crumble cookies are the perfect mix of soft and crunchy. They are completely paleo, gluten free, dairy free, and refined sugar free. Enjoy for dessert or with your morning coffee!
For the cookies, sift all dry ingredients together in a bowl.
Beat the oil, maple syrup, vanilla, and egg together in a large bowl on medium low speed until combined.
Add the dry ingredients to the wet and beat on low (or use your paddle attachment to combine) until just combined. Dough should be pretty wet.
Place the dough in the freezer for 10-15 minutes or in the fridge for 20-30 minutes.
Preheat oven to 350F while dough is cooling.
Combine all topping ingredients in a small bowl during this time. Everything should just come together and be slightly crumbly.
When dough is more solid, remove from fridge and form 12 balls. Place on a parchment lined baking sheet about 2 inches apart (cookies will spread) and press down into cookie shape about 1/2 inch thick.
Sprinkle the topping mix on top of the cookies and gently press down so it sticks to the cookies (it’s okay for cookies to flatten a bit more during this process).
Bake one tray at a time on the middle rack for 14-16 minutes, until edges are just golden. Let cool for a few minutes before transferring to a wire rack to finish cooling before icing.
While cookies are cooling, make the icing.
Place 2 Tbsp of yogurt in a small bowl and then add your powdered sugar 1 tsp at a time (start with 3-4 tsp, then add one at a time after that) until you get your desired consistency (the more you add, the thicker it will get so it’s less runny).
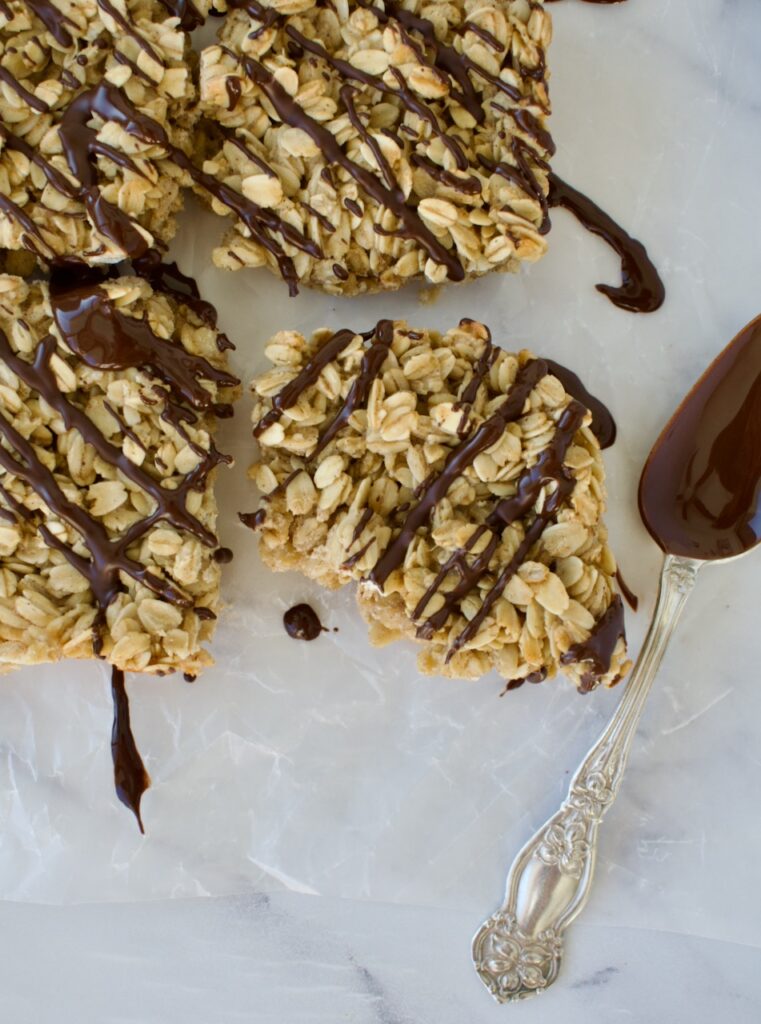
If you’re looking for an easy and healthy snack, then look no further than these Gluten Free Protein Oat Bars. Made from real ingredients and whole proteins, these gluten free oat bars are far cleaner than anything you’d find in the store.
gluten free oat bars
Snacks are my love language and I always have something in my purse for emergencies, but a lot of pre-packaged snacks and bars are filled with fake sugars, weird flavors, and gut-disrupting ingredients like seed oils. Having an easy, healthy, and high protein snack on hand for that afternoon slump is a must. That’s where these gluten free protein oat bars come in!
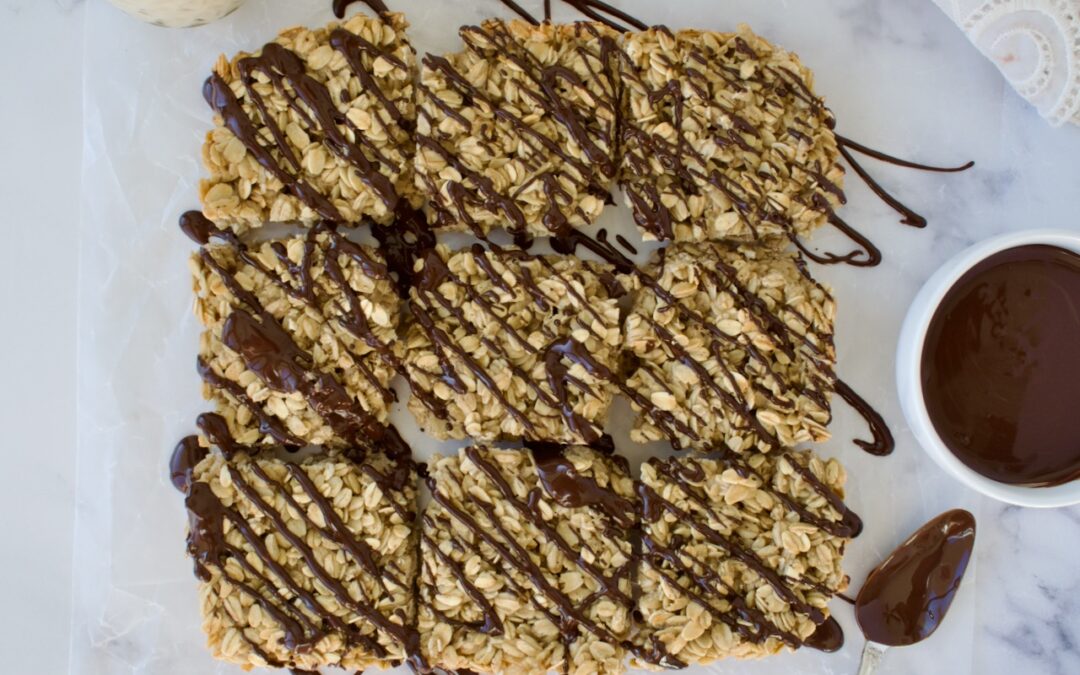
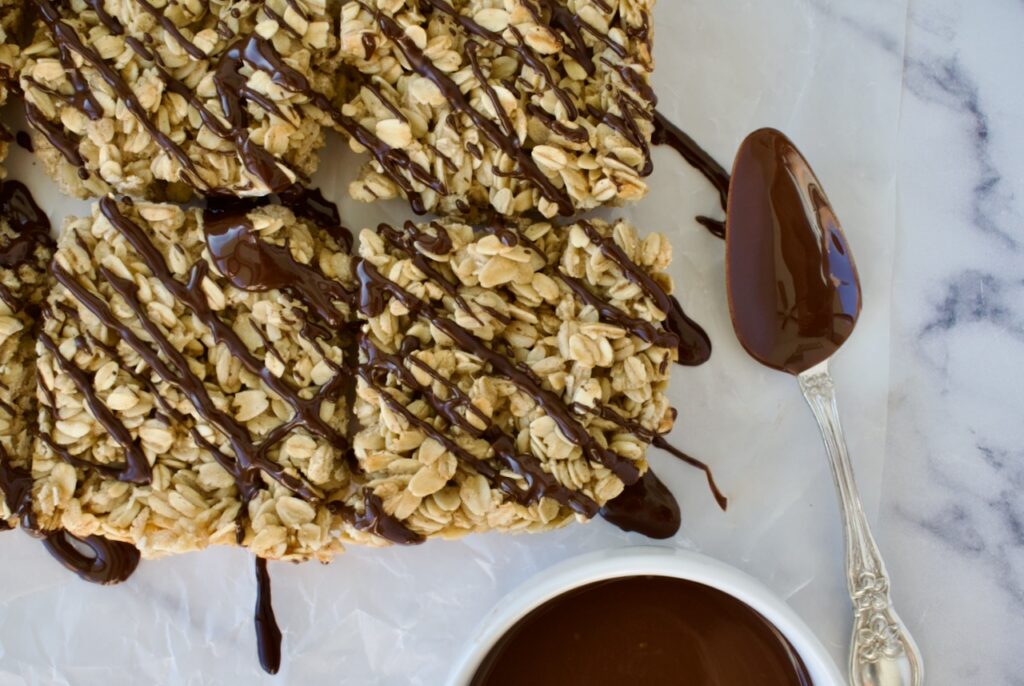
These gluten free oat bars are easy to whip up, made from real, whole food ingredients, and will last you the week. Filled with healthy ingredients, they are also dairy free, refined sugar free, and allergy friendly. Drizzled with dark chocolate for antioxidants and flavor, everyone will enjoy these oat bars. They are also a great option for kids lunches and snacks and make the perfect lunch box addition.
protein oat bars
Gluten Free Protein Oat Bar Ingredients
Gluten free oats: to keep this recipe gluten free, make sure to use certified gluten free oats.
Butter: dairy free or regular works in this recipe.
Maple syrup: a refined sugar free sweetener.
Egg whites: to boost protein content!
Vanilla extract
Pea protein(use code LEMONSNLYME20 for 20% off): this is my favorite protein as it’s gut friendly and vegan. It also helps hold the bars together.
Cinnamon: for flavor
Chocolate Chips: this is for topping the bars. I stick to dark chocolate for the antioxidants, but feel free to use semi-sweet if desired. I love the HU Kitchen brand for a refined sugar free option. Enjoy Life also makes a great allergy friendly option.
Coconut oil: for melting the chocolate and keeping it smooth.
How to Make Gluten Free Oat Bars
Making gluten free oat bars will be one of the easiest things you do this year. All you do is whisk together the wet ingredients, mix in the dry, and bake!
You’ll spread the mixture into a lined baking dish and bake for about 30 minutes. Once cooled, cut the bars and drizzle with chocolate.
Substitutions and Variations
Butter: although I have not tested it, coconut oil should work in this recipe, just make sure all other ingredients are at room temperature. I think olive oil has potential to work too, but I have not tried it.
Protein: I love using pea protein because it acts like a flour and helps with binding the ingredients together. I’m not sure if a non-vegan protein would work as they tend to dissolve. Another vegan protein should work though. If you don’t have or want to use protein powder, you can just use 2 Tbsp of gluten free flour or finely ground seeds (like chia and hemp) to keep the protein content up.
Add-ins/toppings: Make these bars your own by mixing in mini-chocolate chips, dried fruit, nuts/seeds or another fav add-in. If you use fresh fruit, this will affect the texture and possibly the cooking time as there will be more liquid in the recipe. Feel free to use white, dark, or milk chocolate for the topping as desired.
protein oat bars
Storage
You can keep these gluten free protein oat bars stored in an airtight container at room temperature for up to 5 days or in the fridge for up to a week.
Store individually sliced and wrapped oat bars in the freezer for up to 3 months. Let thaw in the fridge or at room temperature and enjoy immediately.
Are Oats Gluten Free?
Oats are naturally gluten free, but are often contaminated with gluten and wheat during the growing, harvesting, and processing experience. This is why it is important to buy oats that are labeled as certified gluten free if you have Celiac disease or a gluten allergy.
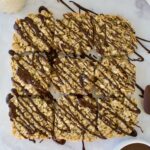
An easy and healthy snack, these protein oat bars are allergy friendly and made with whole food ingredients. High in protein and topped off with a chocolate drizzle, you can't go wrong with a batch of these for the week!
Add cooled melted butter, maple syrup, egg whites, and vanilla to a large bowl and whisk to combine.
Add the oats, protein powder, and cinnamon to the bowl and mix everything together.
Line a 9×9 inch baking dish with parchment paper.
Pour your oat mixture into the prepared baking dish and spread evenly.
Bake oat bars for 30-35 minutes, until slightly golden. Let cool completely before cutting into 9 squares.
When bars are cooled, melt your chocolate chips and coconut oil together until smooth. Drizzle over the oat bars (or dip them into the chocolate). Place in the fridge until chocolate has set.
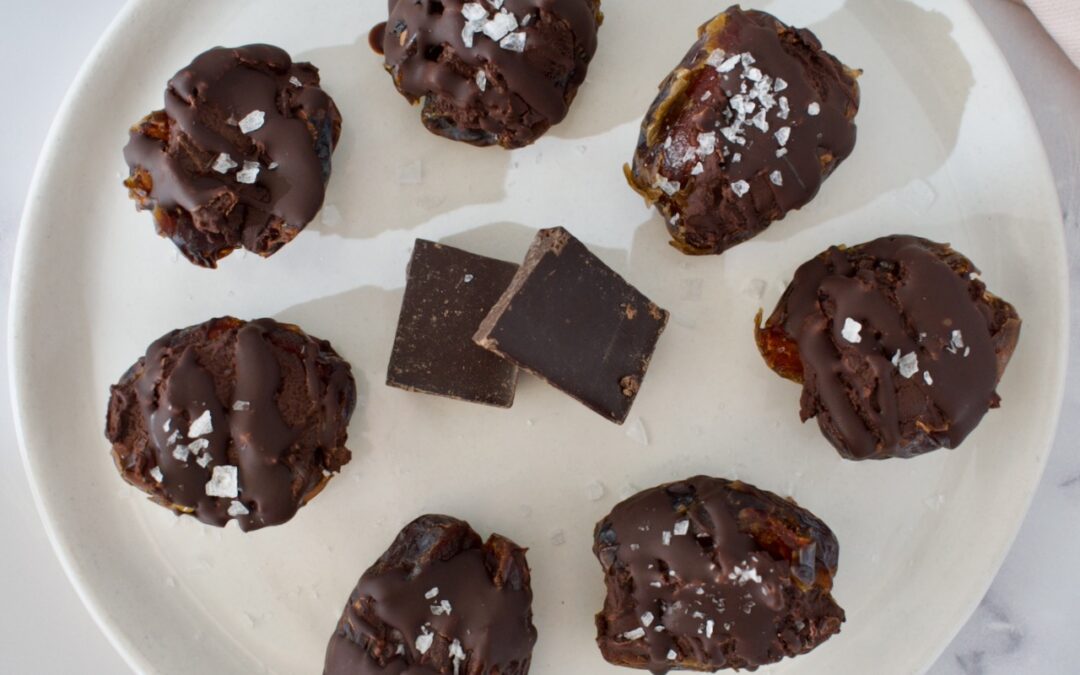
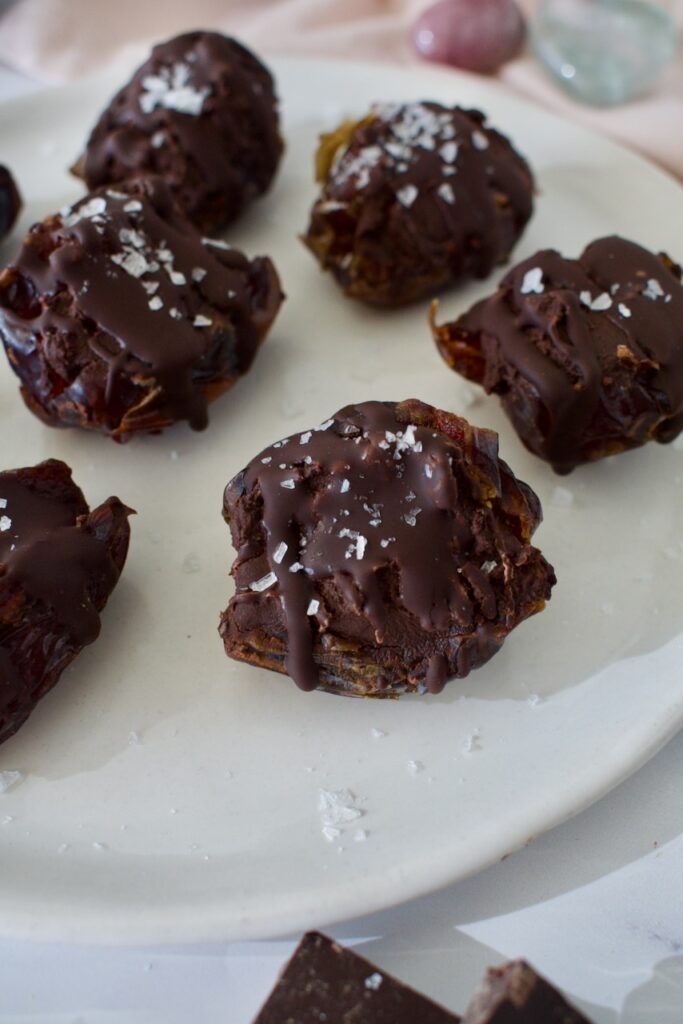
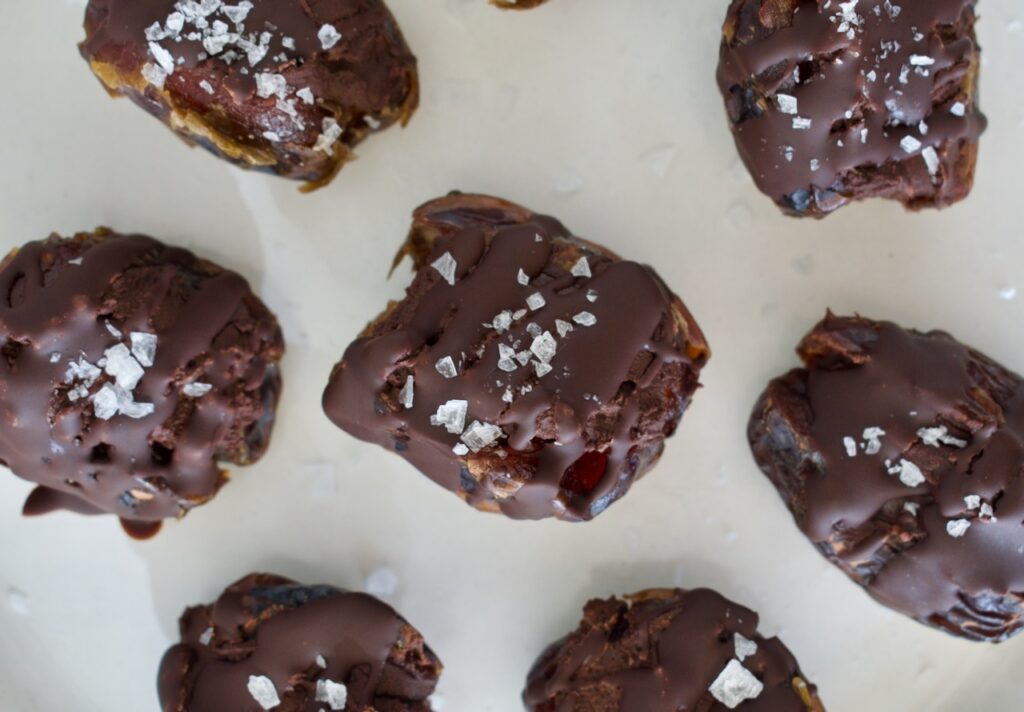
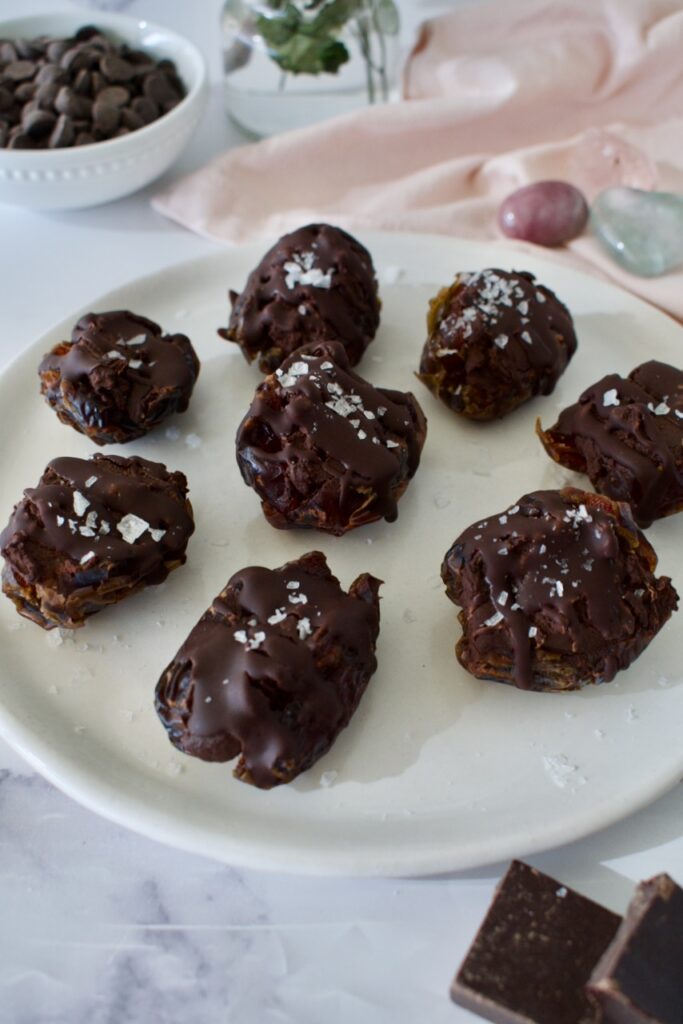
Looking for a healthier Valentine’s Day treat? Try these no-bake Protein Date Brownie Bites. Sweet dates are stuffed with a protein brownie batter and drizzled with melted chocolate for an allergy friendly treat.
vegan date bites
I love these protein brownie bites as a healthy, easy chocolate treat. They are a higher protein treat and mostly sweetened naturally from the dates. This Valentine’s Day dessert is completely gluten free, nut free, and vegan!
protein brownie bites
This gluten free treat is quick and easy to make. First, you’ll make a no-bake and vegan protein brownie batter from my favorite pea protein (use code LEMONSNLYME20 for 20% off) with cocoa powder, maple syrup, and water. This batter will be stuffed inside some Medjool dates and then drizzled with melted chocolate. I love topping these off with some flaky sea salt for the ultimate sweet and salty combo!
Can I use a different protein? Pea protein is unique in that it acts like a flour. It absorbs moisture instead of dissolving into it like many other proteins. This recipe does require pea protein or pumpkin seed protein. Both proteins can be found here.
This gluten free and vegan treat is the perfect healthier Valentine's Day dessert. Higher in protein and utilizing natural sugars from the dates, you'll love this quick and easy no-bake treat!
Course Dessert, Snack
Cuisine American
Keyword chocolate, gluten free, healthy, high protein, vegan
Mix together the protein, cocoa powder, maple syrup, and 5 Tbsp of water in a small bowl. If the batter is really dry and crumbly, add 1 tsp of water at a time until it comes together but isn't too runny.
Open your dates along one side (don't split them completely in half!) and make sure the pit is removed. Take ~1 Tbsp of batter and stuff it into the date. You should get about 10-12 dates total.
Melt the chocolate chips and coconut oil together.
Place the stuffed dates on a parchment lined plate then drizzle the chocolate on top. Finish off with some flaky sea salt then set in the fridge to set until chocolate has hardened.
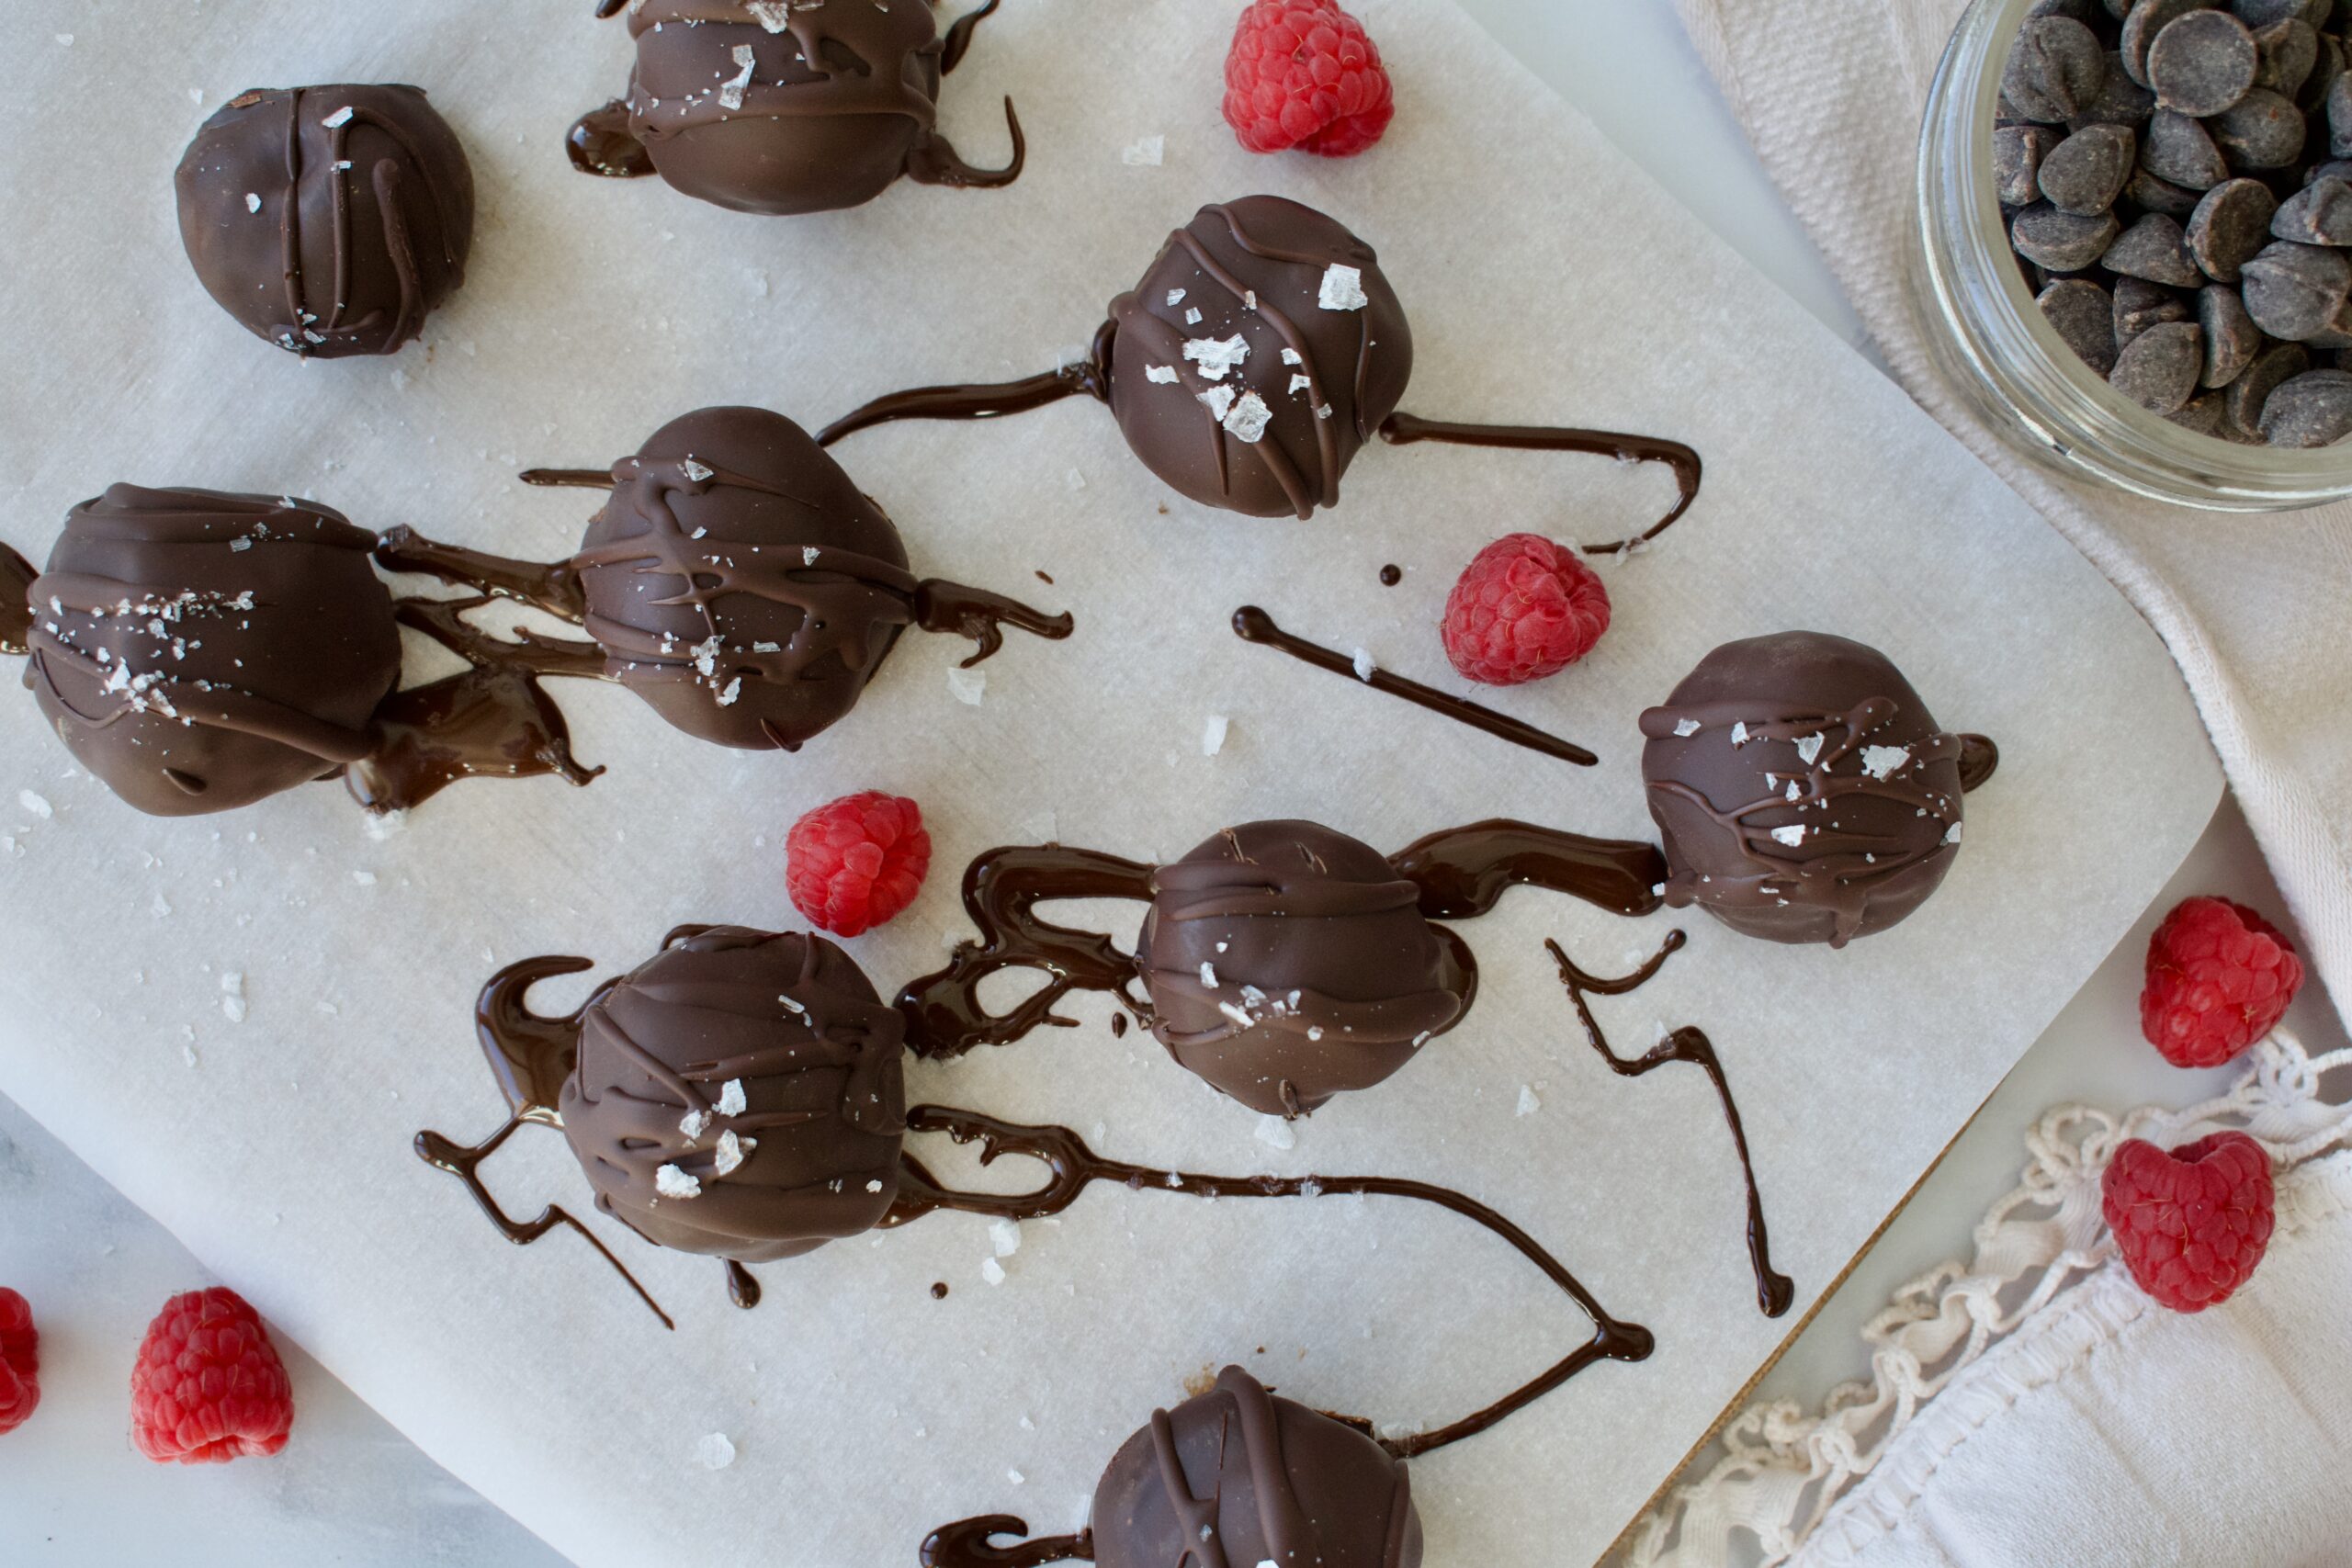
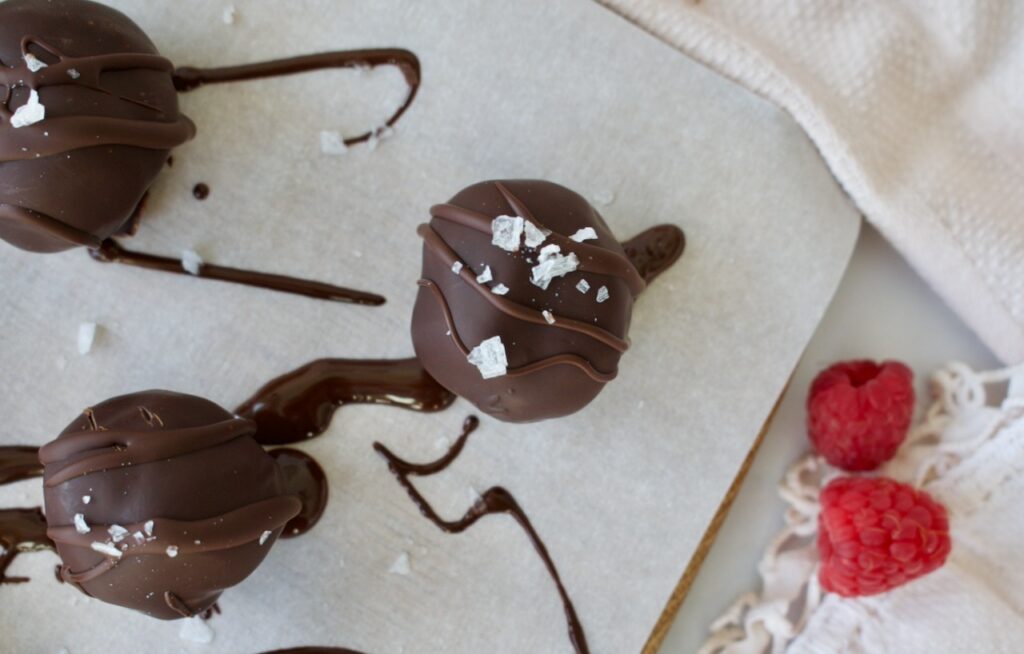
These delectable Granola Butter Truffles are completely allergy friendly. They are gluten free, vegan, and nut free since they’re made with granola butter. Perfect for Valentine’s Day or to satisfy a chocolate craving.
healthy granola butter truffles
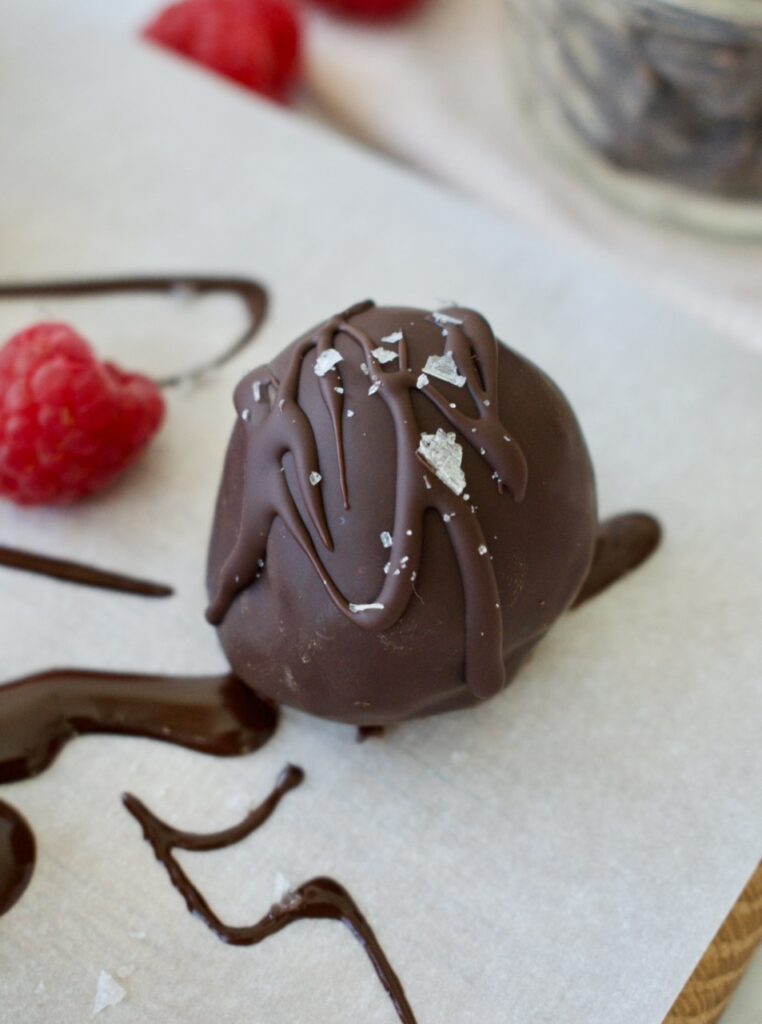
Homemade chocolate truffles are such a fun, no bake way to show your love for Valentine’s Day. Or just a fun way to enjoy some delicious chocolate! These healthy chocolate truffles are made with only 4 main ingredients (6 if you count the vanilla and salt) and are quick to whip up.
Granola butter is a nut and seed free spread made from oats that is perfect for those with allergies. If you use a certified gluten free version, it is also celiac safe. It’s a great alternative to thing like peanut butter, almond butter, or sunflower seed butter in healthy baked goods.
healthy chocolate truffles
Granola Butter Truffle Ingredients
Chocolate chips: you can use any type of chocolate chips or a bar of chocolate you want, but I love using dark chocolate. Use something like HU Kitchen chocolate to keep these truffles refined sugar free.
Coconut oil: this helps keep the chocolate shiny! Just a little fat to hold everything together.
Granola butter: I make a homemade version that is lower sugar and uses certified gluten free oats.
Vanilla Extract:
Coconut sugar: a refined sugar free sweetener to keep these truffles healthier.
Salt: adding a little flaky salt on top always enhances the flavor!
How to Make Granola Butter Truffles
These chocolate truffles are easy to make. You’ll start by melting the chocolate chips and coconut oil, then mix them together with the rest of the ingredients.
Mold the truffles and pop them in the fridge to set. You can always add the truffle batter to a silicone mold to make the forming process easier.
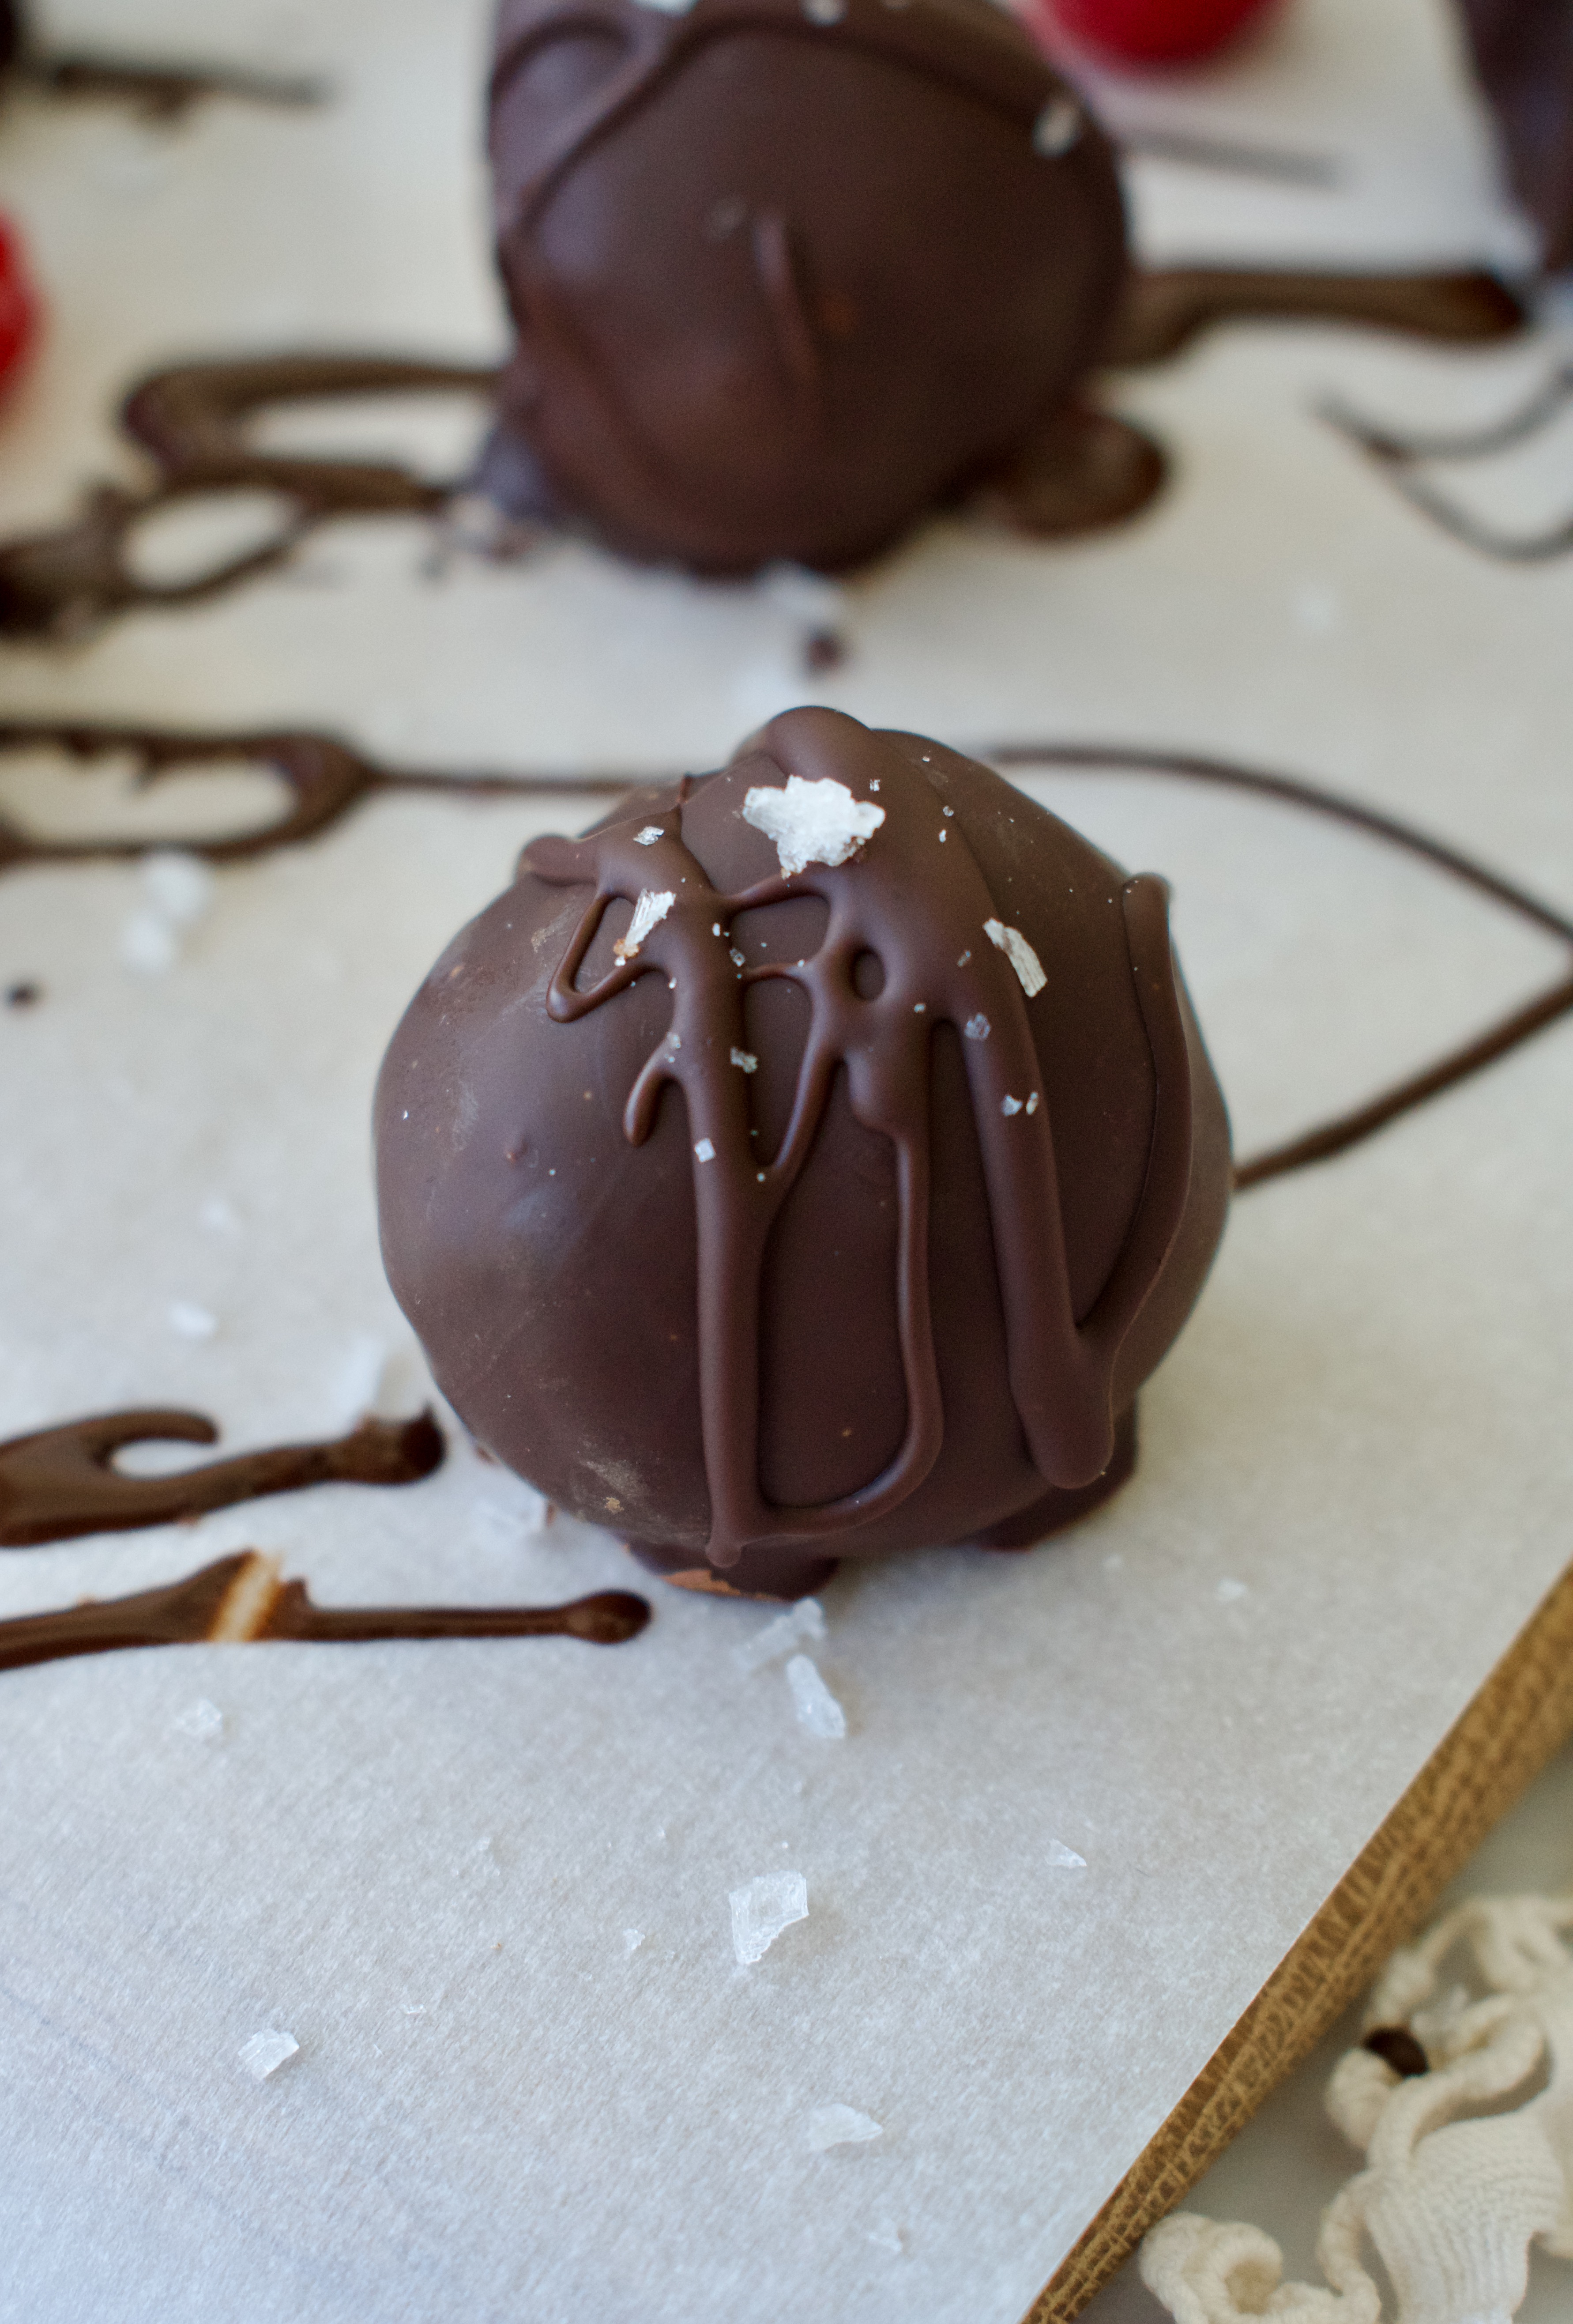
Once set, coat the homemade chocolate truffles in a layer of melted chocolate and top them off with flaky sea salt. Pop them in the fridge to set and enjoy!
homemade granola butter chocolate truffles
Substitutions and Variations
Granola butter: if you tolerate nuts or seeds, you can always use your favorite nut or seed butter like almond butter or pumpkin seed butter.
Variations: sprinkle the tops of these healthy chocolate truffles with crushed nuts, freeze dried fruit (like raspberries or strawberries), or a speciality salt that you love. You could even try mixing in a couple tablespoons of your favorite jam to the filling to add more berry flavor.
Tips for Making Chocolate Truffles
Chocolate can be finicky, it melts quickly and easily! So here are some tips when making these truffles:
After mixing the truffle ingredients together, pop the batter into the fridge for 10-30 minutes so it hardens up some and is easier to mold. Just make sure to put molded truffles back in the fridge!
When forming the truffles, if doing it by hand, work quickly as the heat from your hands will melt the chocolate. Take breaks and use the fridge as needed!
To coat the granola butter truffles, use two forks to dip them into the melted chocolate coating. Lift the truffle out of the chocolate with the fork(s) and let it drip off before placing the truffle on a parchment lined tray to set.
How to Store Granola Butter Chocolate Truffles
Keep these truffles stored in the fridge for up to 5 days. You do not want to keep them at room temperature or they will melt!
These homemade chocolate truffles are completely allergy friendly and easy to make. They are gluten free, dairy free, and nut/seed free. They're perfect for Valentine's Day or to quell a chocolate craving whenever I might pop up!
Melt the chocolate chips and coconut oil together on low over the stove or in the microwave at 30 second intervals.
Combine the granola butter, melted chocolate, vanilla, sugar, and salt together in a bowl and stir to combine.
If using a mold, pour your batter into the molds and place in the fridge to set for 30-60 minutes. If not using a mold, put batter in the fridge for 10-30 minutes, until set, but not too firm. Using a small scoop, scoop tablespoon size amounts of batter into your hand and form into a ball. Work quickly as the heat from your hands will melt the chocolate (this process will be messy). Place the balls on a parchment lined plate and set back in the fridge to set for at least 30 minutes.
Once truffles are set, melt the chocolate chips and coconut oil for the coating together in a small bowl. Coat each truffle in the melted chocolate then place back on the parchment lined plate. Sprinkle with flaky salt while chocolate is still wet then put back in the fridge until chocolate is set.
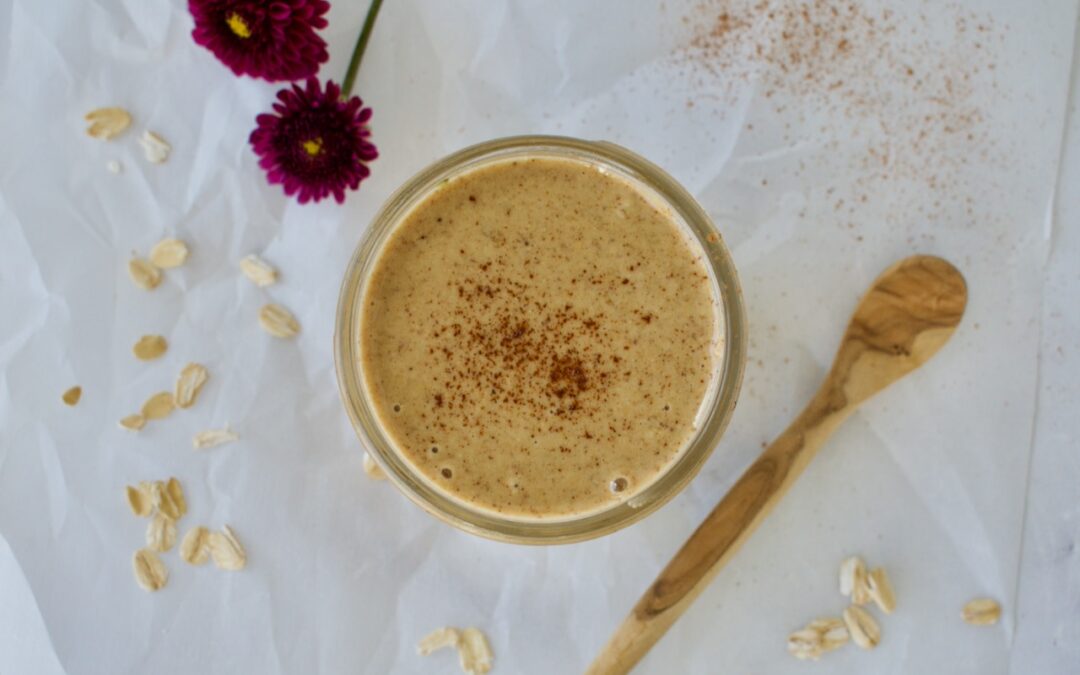
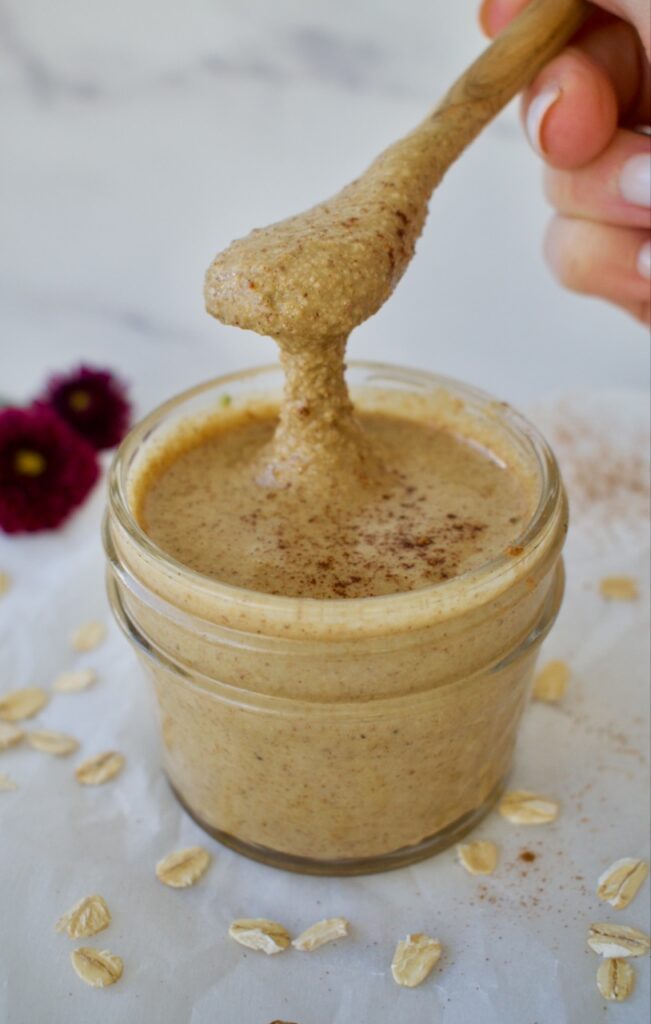
Granola butter is a nut and seed free spread alternative for those with allergies. It’s absolutely delicious and can be used just like peanut butter or almond butter. It’s perfect for baking or on toast!
gluten free granola butter
Have you ever heard of granola butter? It’s like peanut butter or almond butter, but nut and seed free. It’s made completely out of oats! I like to make mine with tigernut flour too (which is a tuber, not a nut) for added flavor, but in the recipe below, I share how to make it both ways.
allergy friendly granola butter
So, what’s in granola butter?
Homemade granola butter is made simply with oats, cinnamon, salt, coconut oil, maple syrup, and vanilla extract.
You’ll start by roasting the oats to add some richer flavor and then blend them with the remaining ingredients for a delicious nut-free spread!
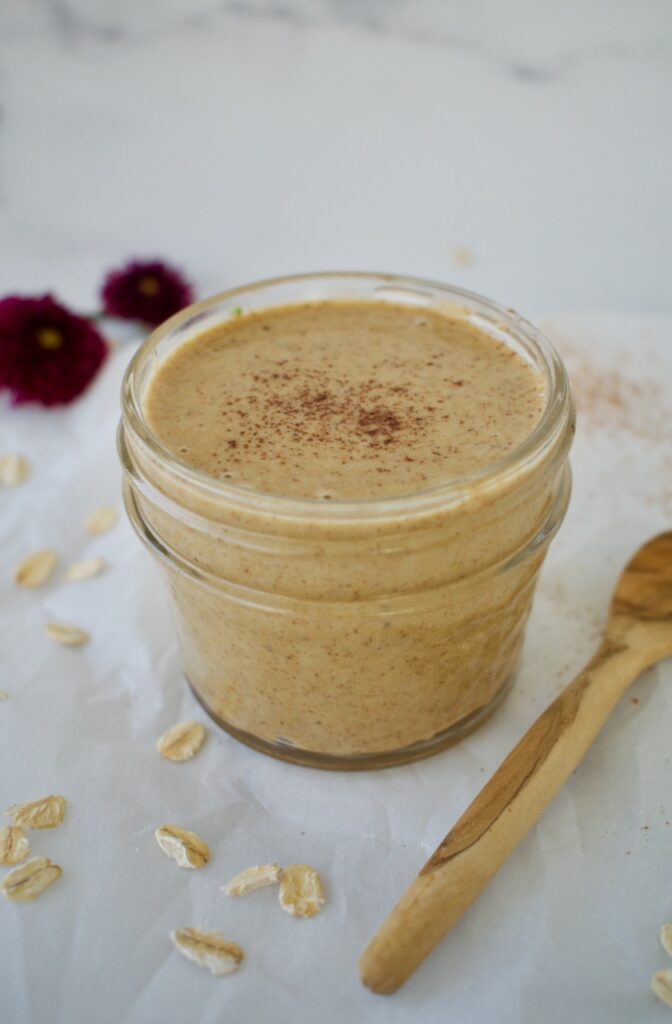
Make sure to use certified gluten free oats to keep this recipe completely gluten free and Celiac safe. Since the recipe utilizes maple syrup as the sweetener, this granola butter is also completely vegan! Allergy friendly spreads are possible and now you don’t have to miss on out a PB&J any longer- just make it a GB&J!
Want more granola butter recipes?
If you are looking fore more granola butter flavors, you have to try my Brownie Batter Granola Butter! Rich chocolate granola butter, that is completely refined sugar free, is filled with extra chocolate chips for the ultimate allergy friendly and healthy Nutella.
Granola butter is a nut and seed free alternative for those with allergies. This is the perfect allergy friendly spread so you don't have to miss out. Use granola butter in place of things like peanut butter, almond butter, and sunflower seed butter.
2cupsgluten free oatsmake sure they are certified gluten free
1cup Tigernut flour*you can use almond flour or another cup of oats
1tspcinnamon
1/4tspsalt
3/4-1cupmelted coconut oil
1-4Tbspmaple syrup
1tsp vanilla extract
Instructions
Preheat the oven to 350F.
Spread your oats evenly over a large baking pan and roast them for 10 minutes, until just beginning to golden and becoming fragrant.
Let oats cool for 10 minutes before adding to a high speed blender (like a Vitamix) or food processor. Blend oats into a flour.
If using tigernut flour, add the flour, cinnamon, and salt and blend again to combine.
Combine all the wet ingredients together in a measuring cup, starting with 3/4 cup of oil. If using tigernut flour, you will only need 1-2 Tbsp of maple syrup, but if using all oats, you will need 3-4. With the blender or food processor running on low, slowly pour the wet ingredients into the running blender/food processor.
Let the blender/food processor run for 5-10 minutes, stopping occasionally to scrape down the sides, until you have a smooth butter. Taste and adjust as necessary, adding more maple syrup as needed. If you find that the mixture is too dry or thick, add more oil until the desired consistency is reached.
Let the butter cool slightly before transferring to a glass jar. Granola butter can be stored at room temperature and does not need to be refrigerated.
Notes
*I love using tigernut flour in this recipe as it adds some natural sweetness and nutty flavor without nuts!
Hi! I'm Victoria. I was diagnosed with Lyme in 2012 and have been on a healing journey ever since. I love helping others on their road to healing through allergy friendly recipes, exercise, and overall well-being.