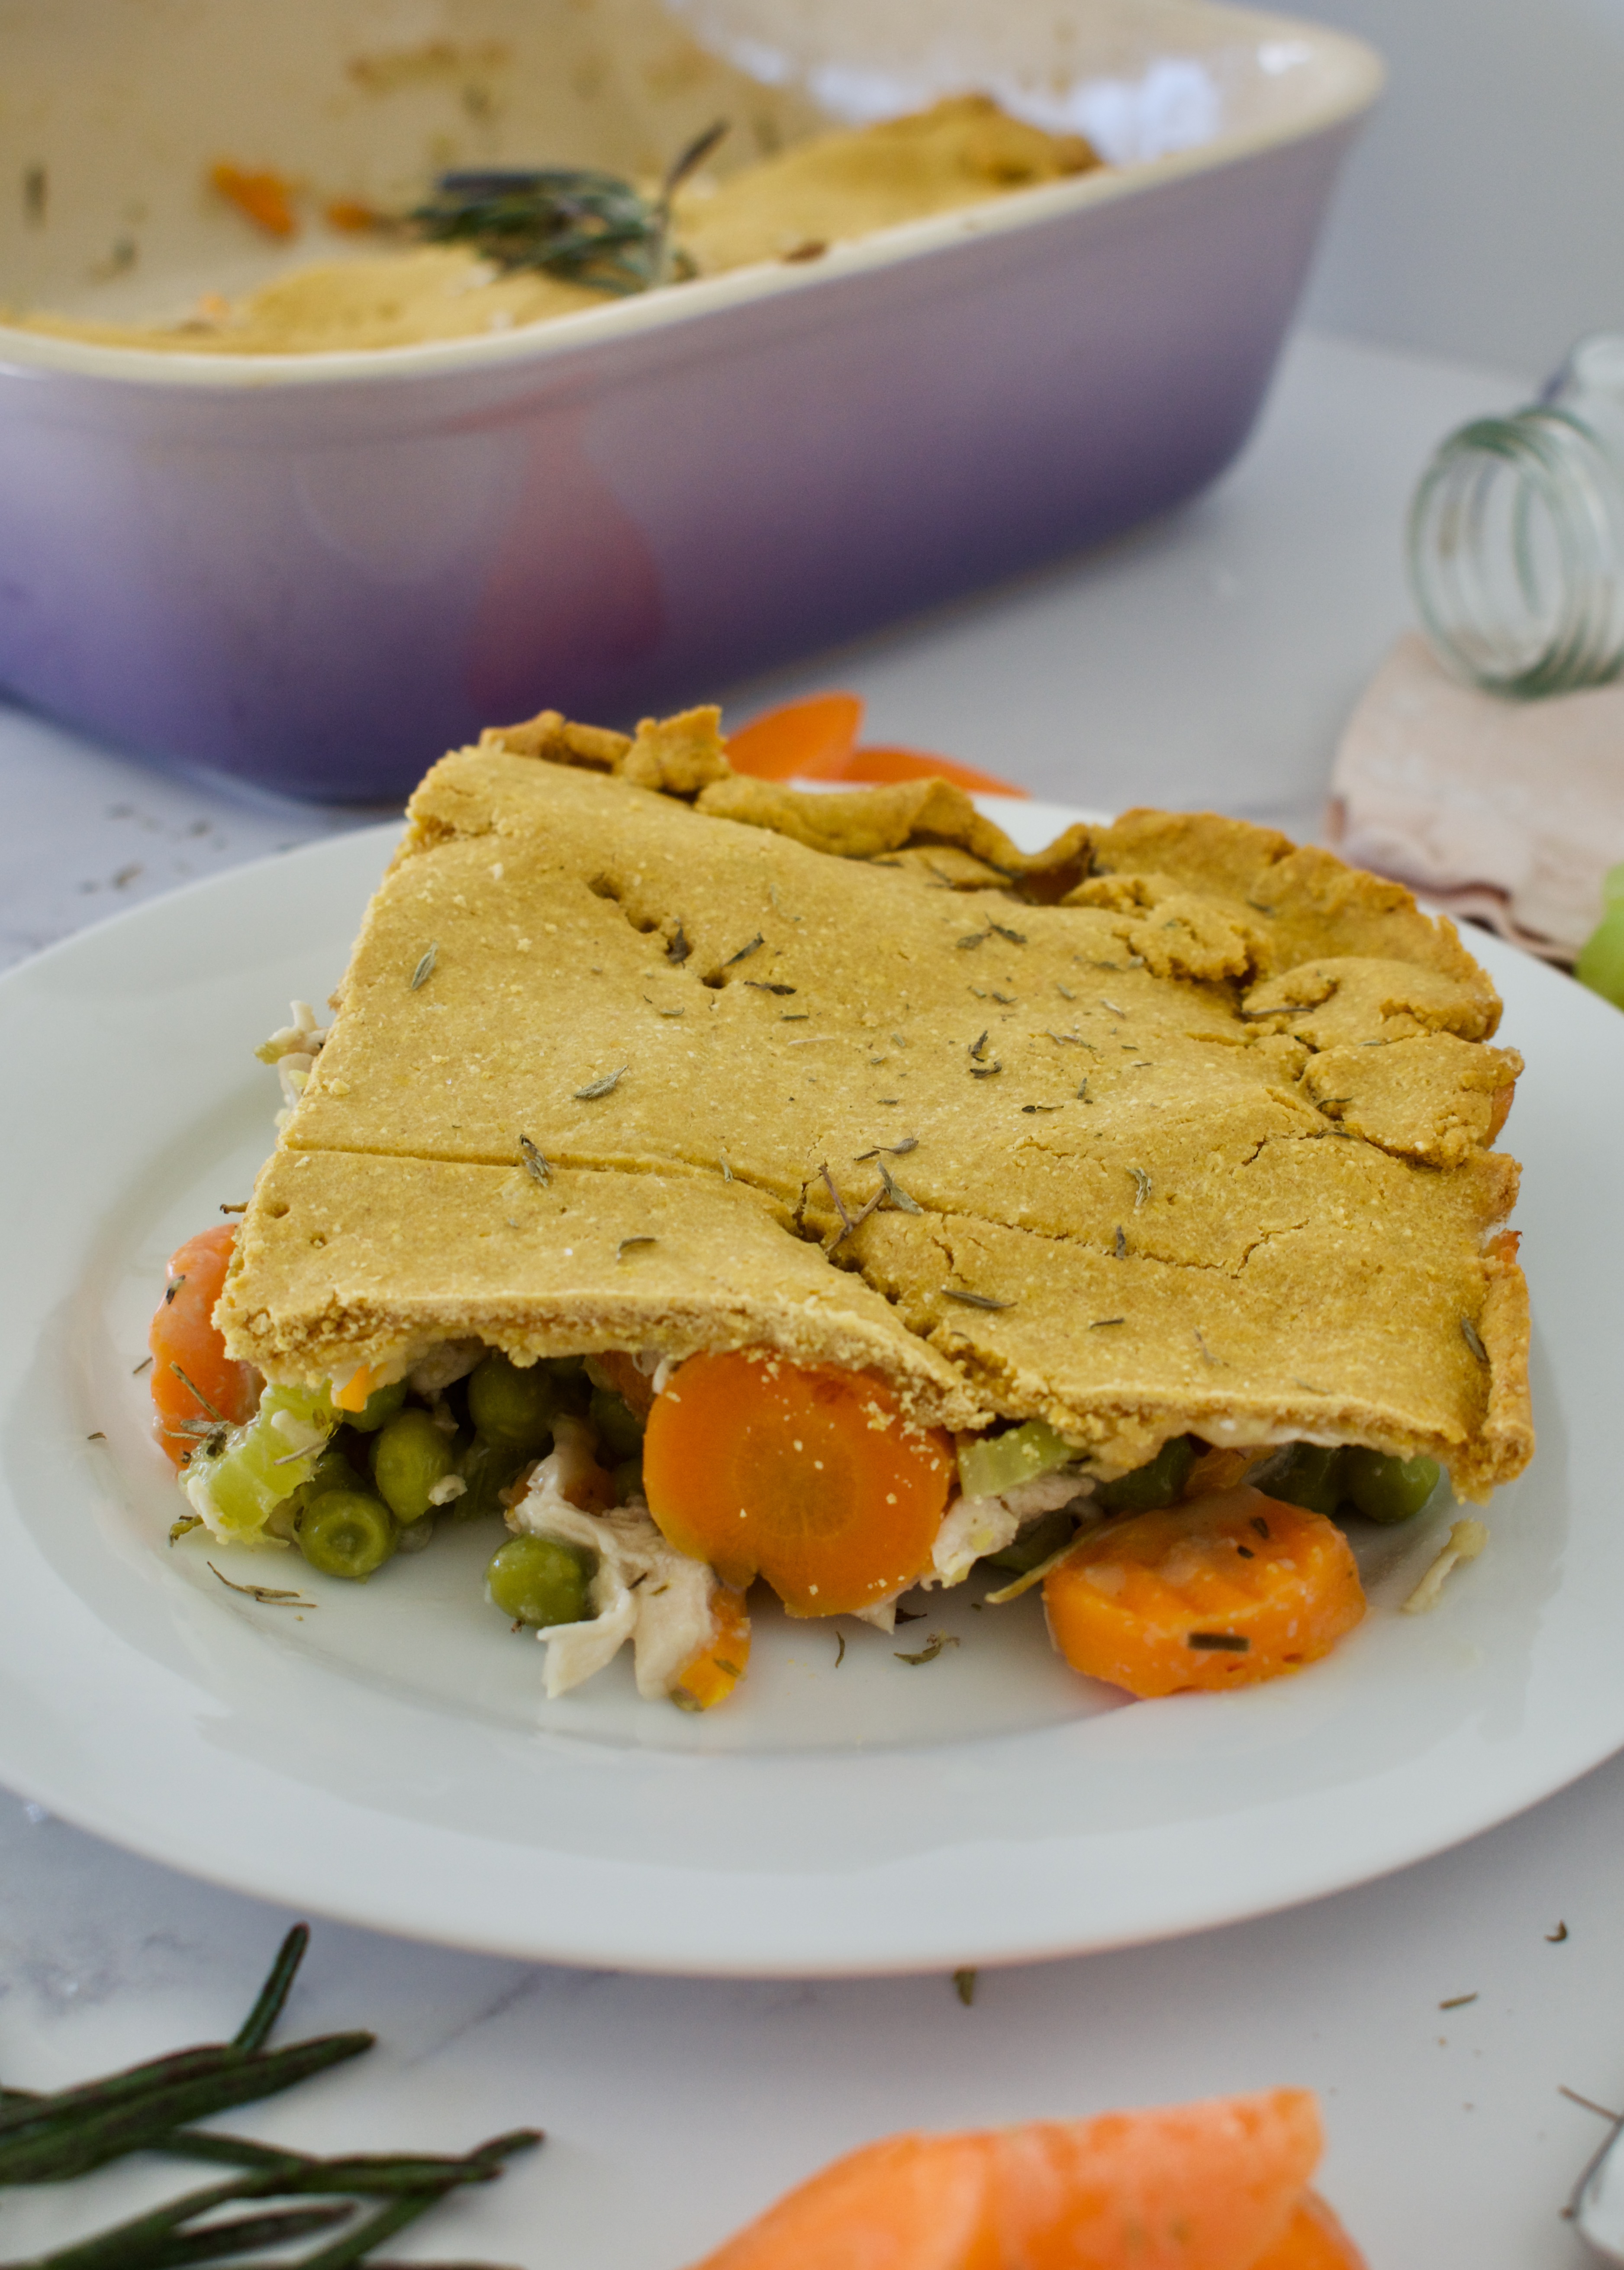
This allergy friendly Chicken Pot Pie has my heart. It’s fully gluten free and AIP. With a versatile filling, the easy crust steals the show!
paleo chicken pot pie
Chicken pot pie is a classic! I remember eating the Marie Callender’s pot pies as a kid with my dad when my mom was out of town. The creamy chicken and veggie filling, the delicious and buttery crust… mmm! Well, I re-created this childhood favorite into a completely paleo and allergy friendly version. There is no gluten, corn, dairy, or eggs. It’s completely nightshade free and AIP (autoimmune diet friendly).
Paleo Chicken Pot Pie Filling
The filling is easy to make and you can use fresh, frozen, or leftover veggies. This is a fantastic option after a holiday like Thanksgiving for using up leftover veggies and turkey.
You’ll sauté the veggies if using raw/frozen ones then add herbs for flavor, broth, and coconut milk for the creamy consistency. Using coconut milk keeps this recipe dairy free and AIP friendly. Stir in some cooked, shredded chicken or turkey then pour everything into a baking dish.
The crust is also easy to whip up and uses pumpkin puree instead of an egg to keep this poor pie autoimmune diet friendly.
You’ll mix together the dry ingredients then cut in the pumpkin and oil. Use some cold water to bring the dough together as necessary before rolling it out and shaping it over the filling.
Bake until golden and enjoy!
allergy friendly paleo chicken pot pie
Can I freeze this chicken pot pie?
I love making this dish for meal prep as it does freeze and reheat well! Once cooked, portion and freeze in freezer save containers for up to 3 months. When ready to heat, thaw and then warm in the oven at 300F for 30-45 minutes.
A comfort meal classic, made healthy and allergy friendly! These completely paleo, AIP, and dairy free version of chicken pot pie is so delicious, you won’t miss the gluten filled and artificially flavored version.
Course Main Course
Cuisine American
Keyword classic, comfort food
Prep Time 30 minutesminutes
Cook Time 35 minutesminutes
Total Time 1 hourhour15 minutesminutes
Servings 4servings
Author Victoria Faling
Ingredients
Filling
2Tbspoil of choice, for cooking
1large or 2 smaller heads of broccolifinely chopped
4-6carrotsdiced
3stalks of celerydiced
Optional: 1/2 cup peas OR use any veggie combo you want! Pot pie is great for using up leftovers
1lbs.chicken, cooked and shreddedI usually just make this in my instant pot or you can boil the chicken or used any leftover cooked chicken you have
Heat 2 Tbsp of oil over medium heat in a large pan. Add all the chopped veggies and cook, stirring occasionally, for about 10 minutes until they have softened some and broccoli is a darker green.
Add broth, coconut milk, herbs, and salt and reduce to a simmer for another 10 minutes until veggies are cooked through.
Mix in the chicken and arrowroot starch until everything thickens.
Pour filling into a 9×9 baking dish
Crust
Mix the flours, salt, and baking soda together in a bowl. Cut in the pumpkin and coconut oil until well mixed. Add the water, starting with 1/2 a cup, and mix until dough comes together. Add water 1 Tbsp at a time, you may not need all of it.
Roll out the dough between two pieces of parchment paper sprinkled with some extra flour. The dough should be about 1/4 inch thick and large enough to cover the top of your dish.
Lay the dough over the filling (if it cracks or breaks, that's fine! Just patch it up- it's rustic) and use your hands to adjust it and make sure it covers the filling. Poke some holes in the top with a fork.
Bake for about 30-35 minutes, until crust is golden brown. Let cool for 5-10 minutes before serving.
Notes
*You could make this recipe completely vegan and plant-based by using a can of chickpeas instead of the chicken!
Often I want a simple cookie recipe that doesn’t make too many and is more than a plain cookie. I love baking with tiger nut flour as an AIP alternative to other nut/seed flours. It adds a nice sweetness and makes AIP baking easier. As much as I love chocolate chip cookies, not only are there plenty of recipes for them, but I don’t handle chocolate well so enter BLUEBERRIES! You could certainly sub chocolate chips for the blueberries in this recipe, though.
I hope you enjoy this simple cookie recipe as much as I do. It’s perfect for the evenings you are craving a sweet, comforting snack but don’t want to make a giant batch of cookies you’ll never get through (or will end up eating all in one night ;).
If you live anywhere near Colorado then you know that Palisades peaches are so. freaking. delicious and that peach season is to die for around here! The peaches are so juicy and flavorful that it’s unbelievable at times.
If you haven’t picked up on it already, I love a good crisp or crumble, so of course I had to make a peach version. I thought it would be fun to make individual crumbles by using half a peach with it’s own topping. I hope you enjoy these as much as I do!
Peach Crumble Cups
Makes 10
Ingredients:
5 peaches, cut in half and pitted
1 tsp. arrowroot starch
1 tbs. honey (melted if not runny)- use maple syrup for vegan
1 tsp. cinnamon
1/2 cup cassava flour
1/4 cup coconut flour
1/4 cup tiger nut flour
1 tsp. baking powder (I make my own with 2 parts cream of tartar, 1 part baking soda, 1 part tapioca starch)
1/4 tsp. salt
1/4 cup cold coconut oil
1/4 cup cold water
2 tbs. maple syrup
Preheat oven to 425 F.
Gently mix the peach halves, arrowroot flour, cinnamon, and honey in a large bowl so the peaches are covered with the other ingredients. Place each peach half in one cupcake hole of a cupcake pan.
Whisk the cassava, coconut, tiger nut flour, salt, and baking powder in a bowl until well combined. Cut in the cold coconut oil using a knife or pastry cutter until just combined. Add the water and maple syrup and mix until combined. The dough will be wet.
Using your hands, sprinkle the crumble dough over each peach in the cupcake pan and gently press down.
Bake for about 22-25 minutes, until crust is golden brown and peaches are bubbling. Let cool for at least 10 minutes before serving. Store in the fridge for up to 5 days.
I love serving these with some fresh coconut cream on top or drizzled with coconut milk!
Who doesn’t like cookies? I mean, really, if you don’t like cookies what is wrong with you? Okay, it may not be everyone’s favorite dessert, but who says no to cookies? That’s what I thought.
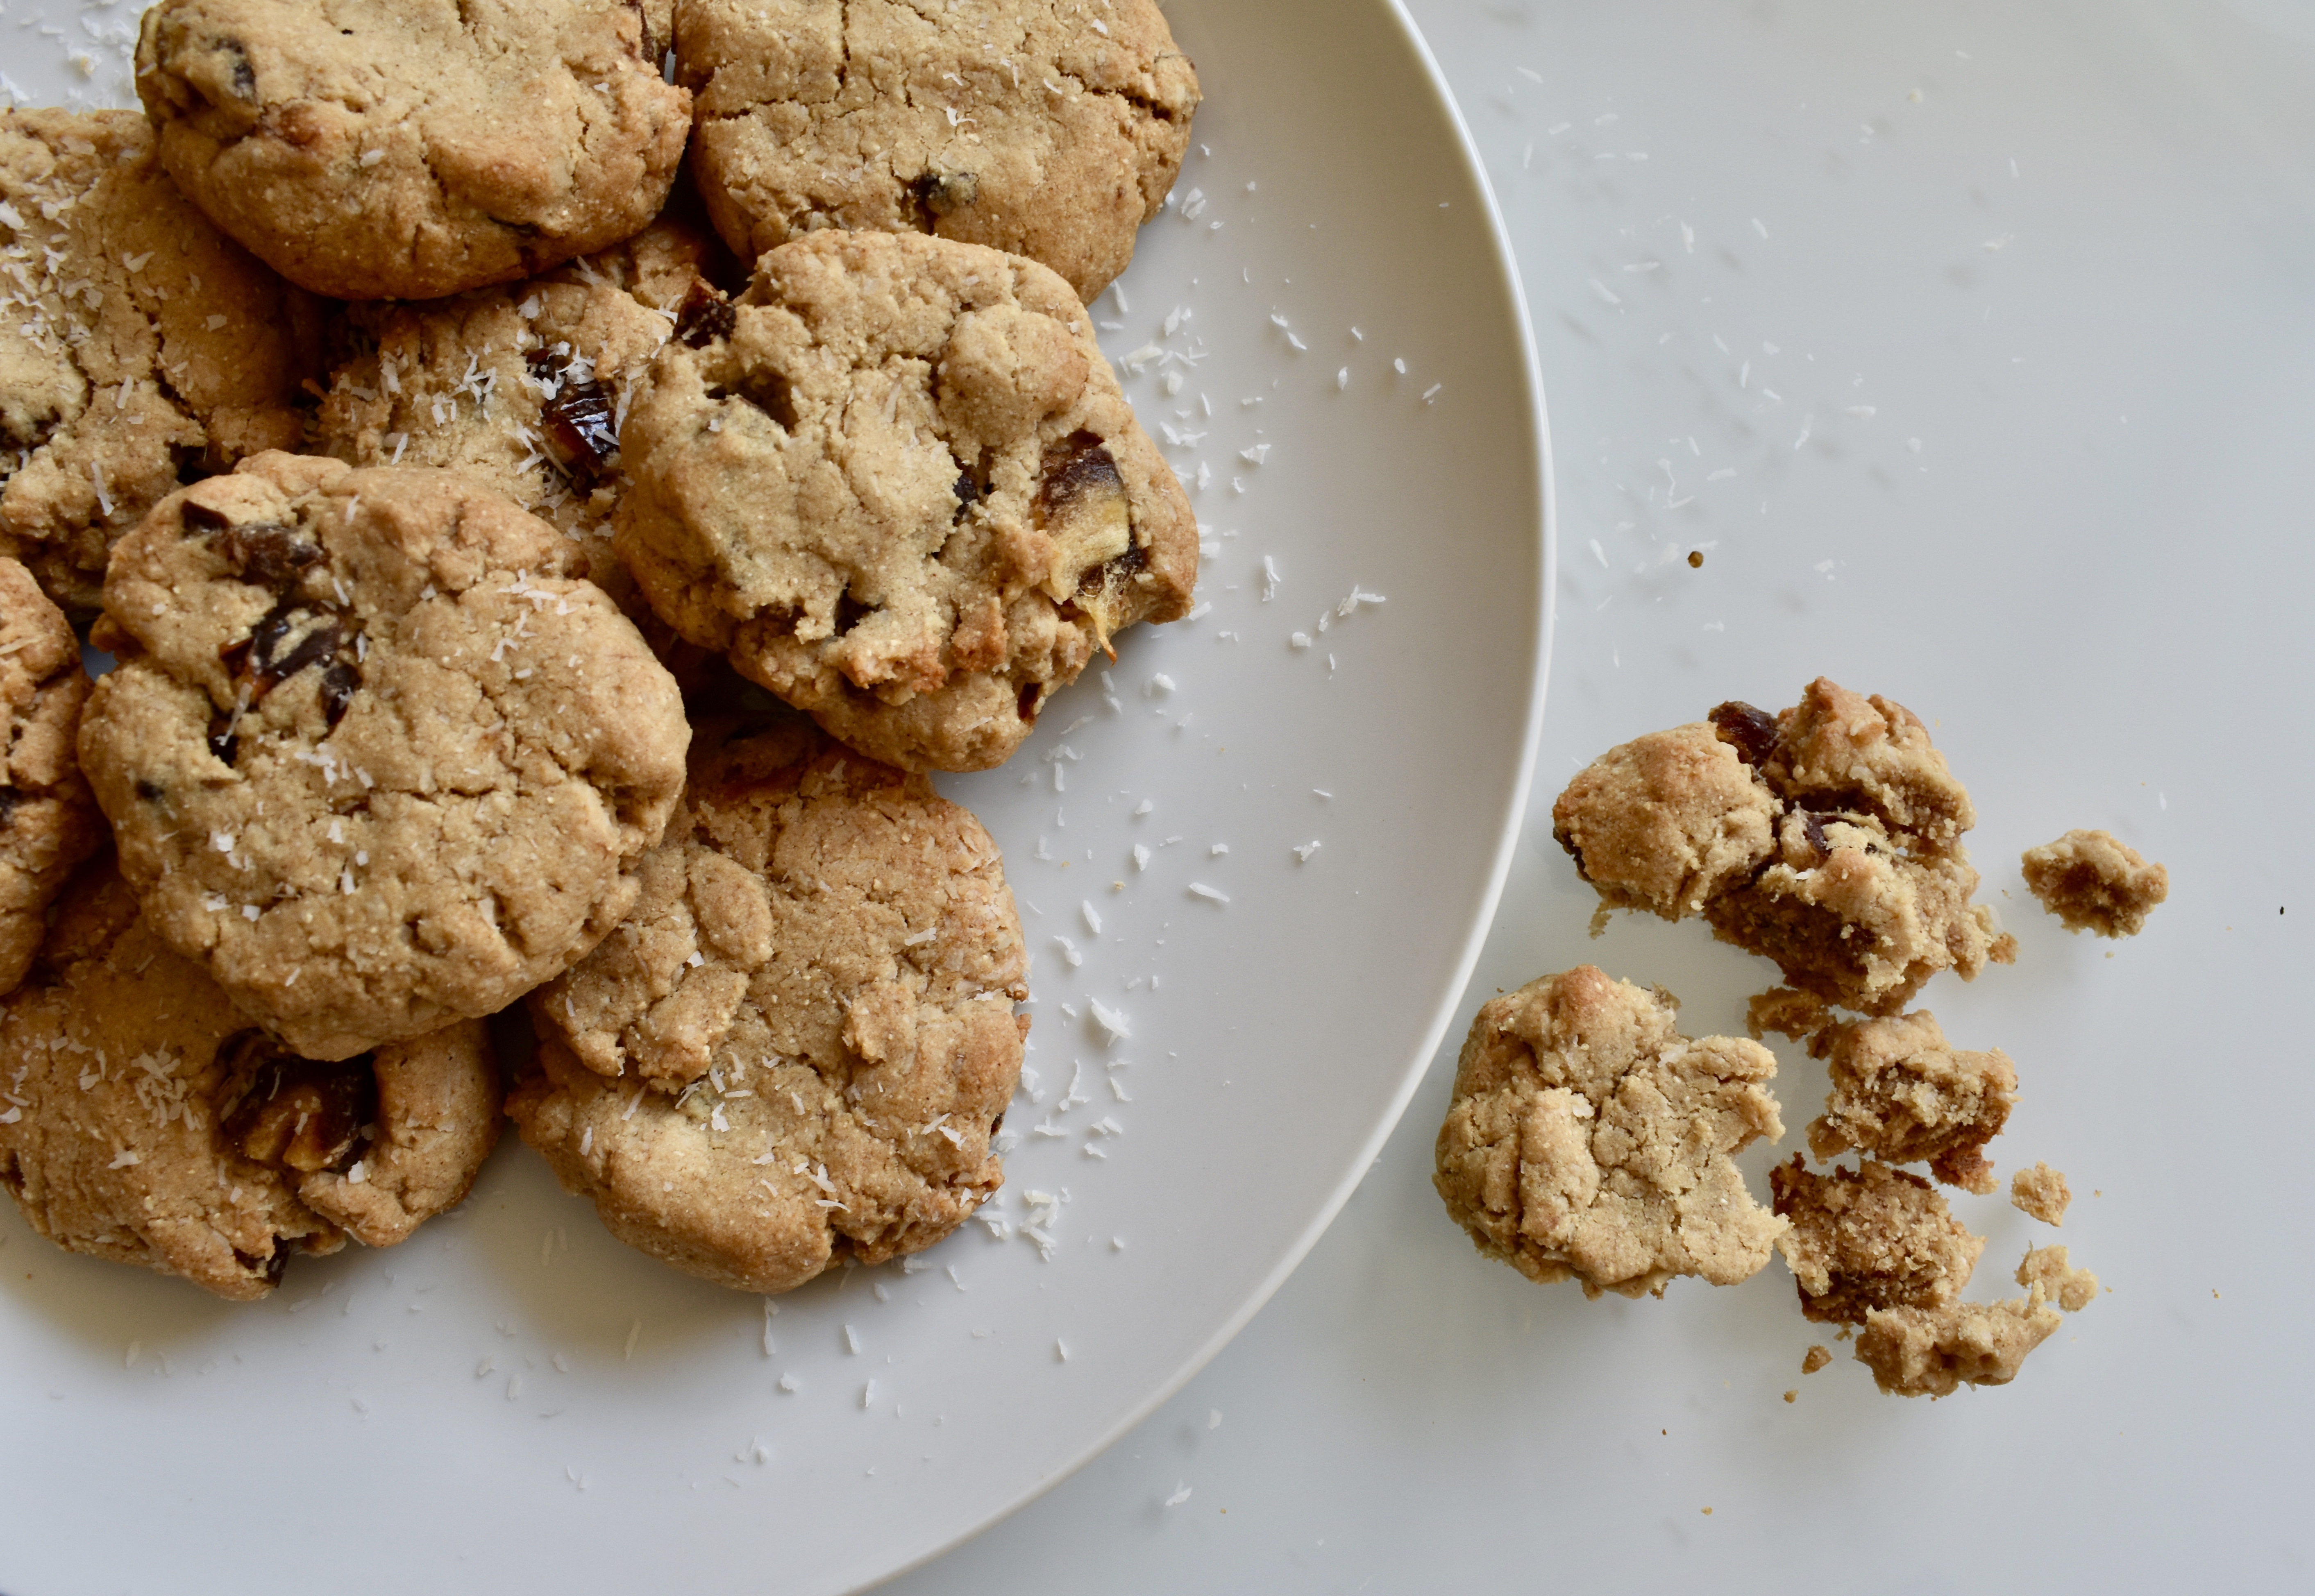
So I was originally going to call these AIP Oatmeal Raisin Cookies, which they definitely could be, but I used dates so they obviously ended up not being so raisin-y. BUT, you could definitely use raisins instead of dates and they would resemble a grain free version of the classic oatmeal raisin. I happen to love a good oatmeal raisin cookie (yes I love a good chocolate chip cookie, too). I very much miss oats, but my body does not.
Whisk all your dry ingredients together in a small bowl, making sure there are no lumps.
Use a mixer to whip the coconut oil, syrup, banana, and vanilla extract together in a large bowl until light and fluffy.
Mix the dry ingredients into the wet ingredients then fold in your coconut flakes and dates/raisins.
Drop tablespoon fulls of dough on a parchment lined baking sheet and press down gently. The cookies won’t spread much so flatten them as much as you like (I like mine to be probably about 1/4-1/2 inch thick). You should get about 12 cookies.
Bake for 18 minutes, until just beginning to golden around the edges. Let cool for 10 minutes on the baking sheet before transferring to a wire rack to finish cooling.
These store for up to a week in an airtight container. I think they store best in the fridge and then pull some out about an hour before eating to bring to room temperature.
These gluten free scones are made from sweet potatoes, giving them a naturally sweet and soft texture. Slightly different than your typical scone, this recipe packs a nutrient punch. These delicious sweet potato scones are gluten free, fully paleo and autoimmune paleo friendly, and are vegan!
paleo scones
These paleo scones are a fun, healthy alternative to traditional scones that are lovely as dessert or as a quick breakfast. Paired with some protein, they are the perfect morning addition when you’re missing out on a pastry for breakfast.
gluten free scones
Recipe Notes
Why sweet potatoes? Japanese and white sweet potatoes are great for making into a dough. Once cooked and mashed, they mix well with flour to form a sweet, malleable dough. This makes them a fun addition to baking for more nutrient dense recipes.
What kind of sweet potato should I use? Japanese sweet potatoes or white sweet potatoes are ideal for this recipe. They both offer a creamy, sweet flavor that can’t be beat. Japanese sweet potatoes are my favorite in general and for this recipe, but either variety will work.
Flours used: this recipe uses a combination of cassava flour and coconut flour to keep this recipe paleo. I have not tested these healthy scones with any type of 1:1 gluten free flour blend. If that is something you’d be interested in, let me know in the comments!
Wet ingredients: besides the sweet potato, these scones call for a mix of maple syrup, coconut butter, and coconut oil. I’ve found the mix of coconut butter and oil create a better texture than just coconut oil alone. Coconut butter is a little drier, which is perfect for scones. I think it could work to substitute the coconut butter and oil for 1/4 cup of cold butter of choice, but I have not tested this.
These gluten free and paleo scones pack a nutrient punch. Softer than your typical scones, they are still delicious, aren’t too sweet, and make for the perfect snack, dessert, or breakfast addition.
Servings 8scones
Author Victoria Faling
Ingredients
1cupcooked and mashed Japanese or white sweet potato at room temperatureabout 225-250 grams
Line a baking sheet with parchment paper and set aside.
Make sure your sweet potato is at room temperature, not cold. Beat all wet ingredients together in a large bowl until smooth.
Mix the dry ingredients together in a small bowl.
Pour dry ingredients into wet and get ready to get your hands dirty! Use your hands to mix the dry ingredients with the wet until you get a thick dough.
Place the dough onto the baking sheet and press the dough into a circle about 1/2 inch thick. Place in the fridge for 15-30 minutes, until cool to the touch and firm.
While dough is cooling, Preheat your oven to 350F.
Remove the dough from the fridge and cut into 8 triangles. Gently separate the scones on the baking sheet and bake for 30-35 minutes until just beginning to brown on top (over cooking will result in them being too dry).
Cool for 5 minutes on the baking sheet before removing to cool on a wire rack.
I love these drizzled with coconut butter and topped with fruit!
I know, I know, gingerbread season is over. I made these before Christmas, but then with traveling I didn’t get a chance to remake and adjust the recipe to perfection until after Christmas. Forgive me. But also make these. They’re super yummy and still a fun baked good to have around the house in these winter months
Are you a gingerbread fan? I love all the warming spices, but can only handle it in doses. These muffins are the perfect fix and are completely AIP and vegan. As most of you probably know, AIP baking isn’t easy but I was determined to figure out how to make these muffins work.
Gingerbread Muffins
Makes 12
Ingredients:
-1/4 cup maple syrup
-2 tbs. pureed (canned) pumpkin or 1/2 a banana mashed
-1/4 cup coconut oil melted
-3 tbs. molasses
-1/2 tsp. apple cider vinegar
-1 tsp. vanilla
-3/4 cup dairy free milk
-1/2 cup tiger nut flour
-1/4 cup coconut flour
-1/4 cup arrowroot starch
-1 tsp. baking soda
-3/4 tsp. cream of tartar
-1 tsp. cinnamon
-1/2 tsp. ground ginger
-1/2 tsp. mace
Preheat oven to 350 F.
Beat all the wet ingredients in a large bowl until combined well.
Whisk all dry ingredients in a medium bowl until mixed evenly and flour is smooth.
Pour the dry ingredients into the wet and blend until just combined.
Line a muffin tray with liners and distribute batter evenly.
Bake for 30-35 minutes until a toothpick comes out clean AND center of muffins is firm to the touch. Let cool for 5 minutes in the tray before removing and cooling completely on a wire rack. The longer you let the muffins rest, the firmer they become. They are better the next day and will store well in the fridge for up to 5 days.
I like to top them with coconut whipped cream or drizzled with coconut butter.
Hi! I'm Victoria. I was diagnosed with Lyme in 2012 and have been on a healing journey ever since. I love helping others on their road to healing through allergy friendly recipes, exercise, and overall well-being.