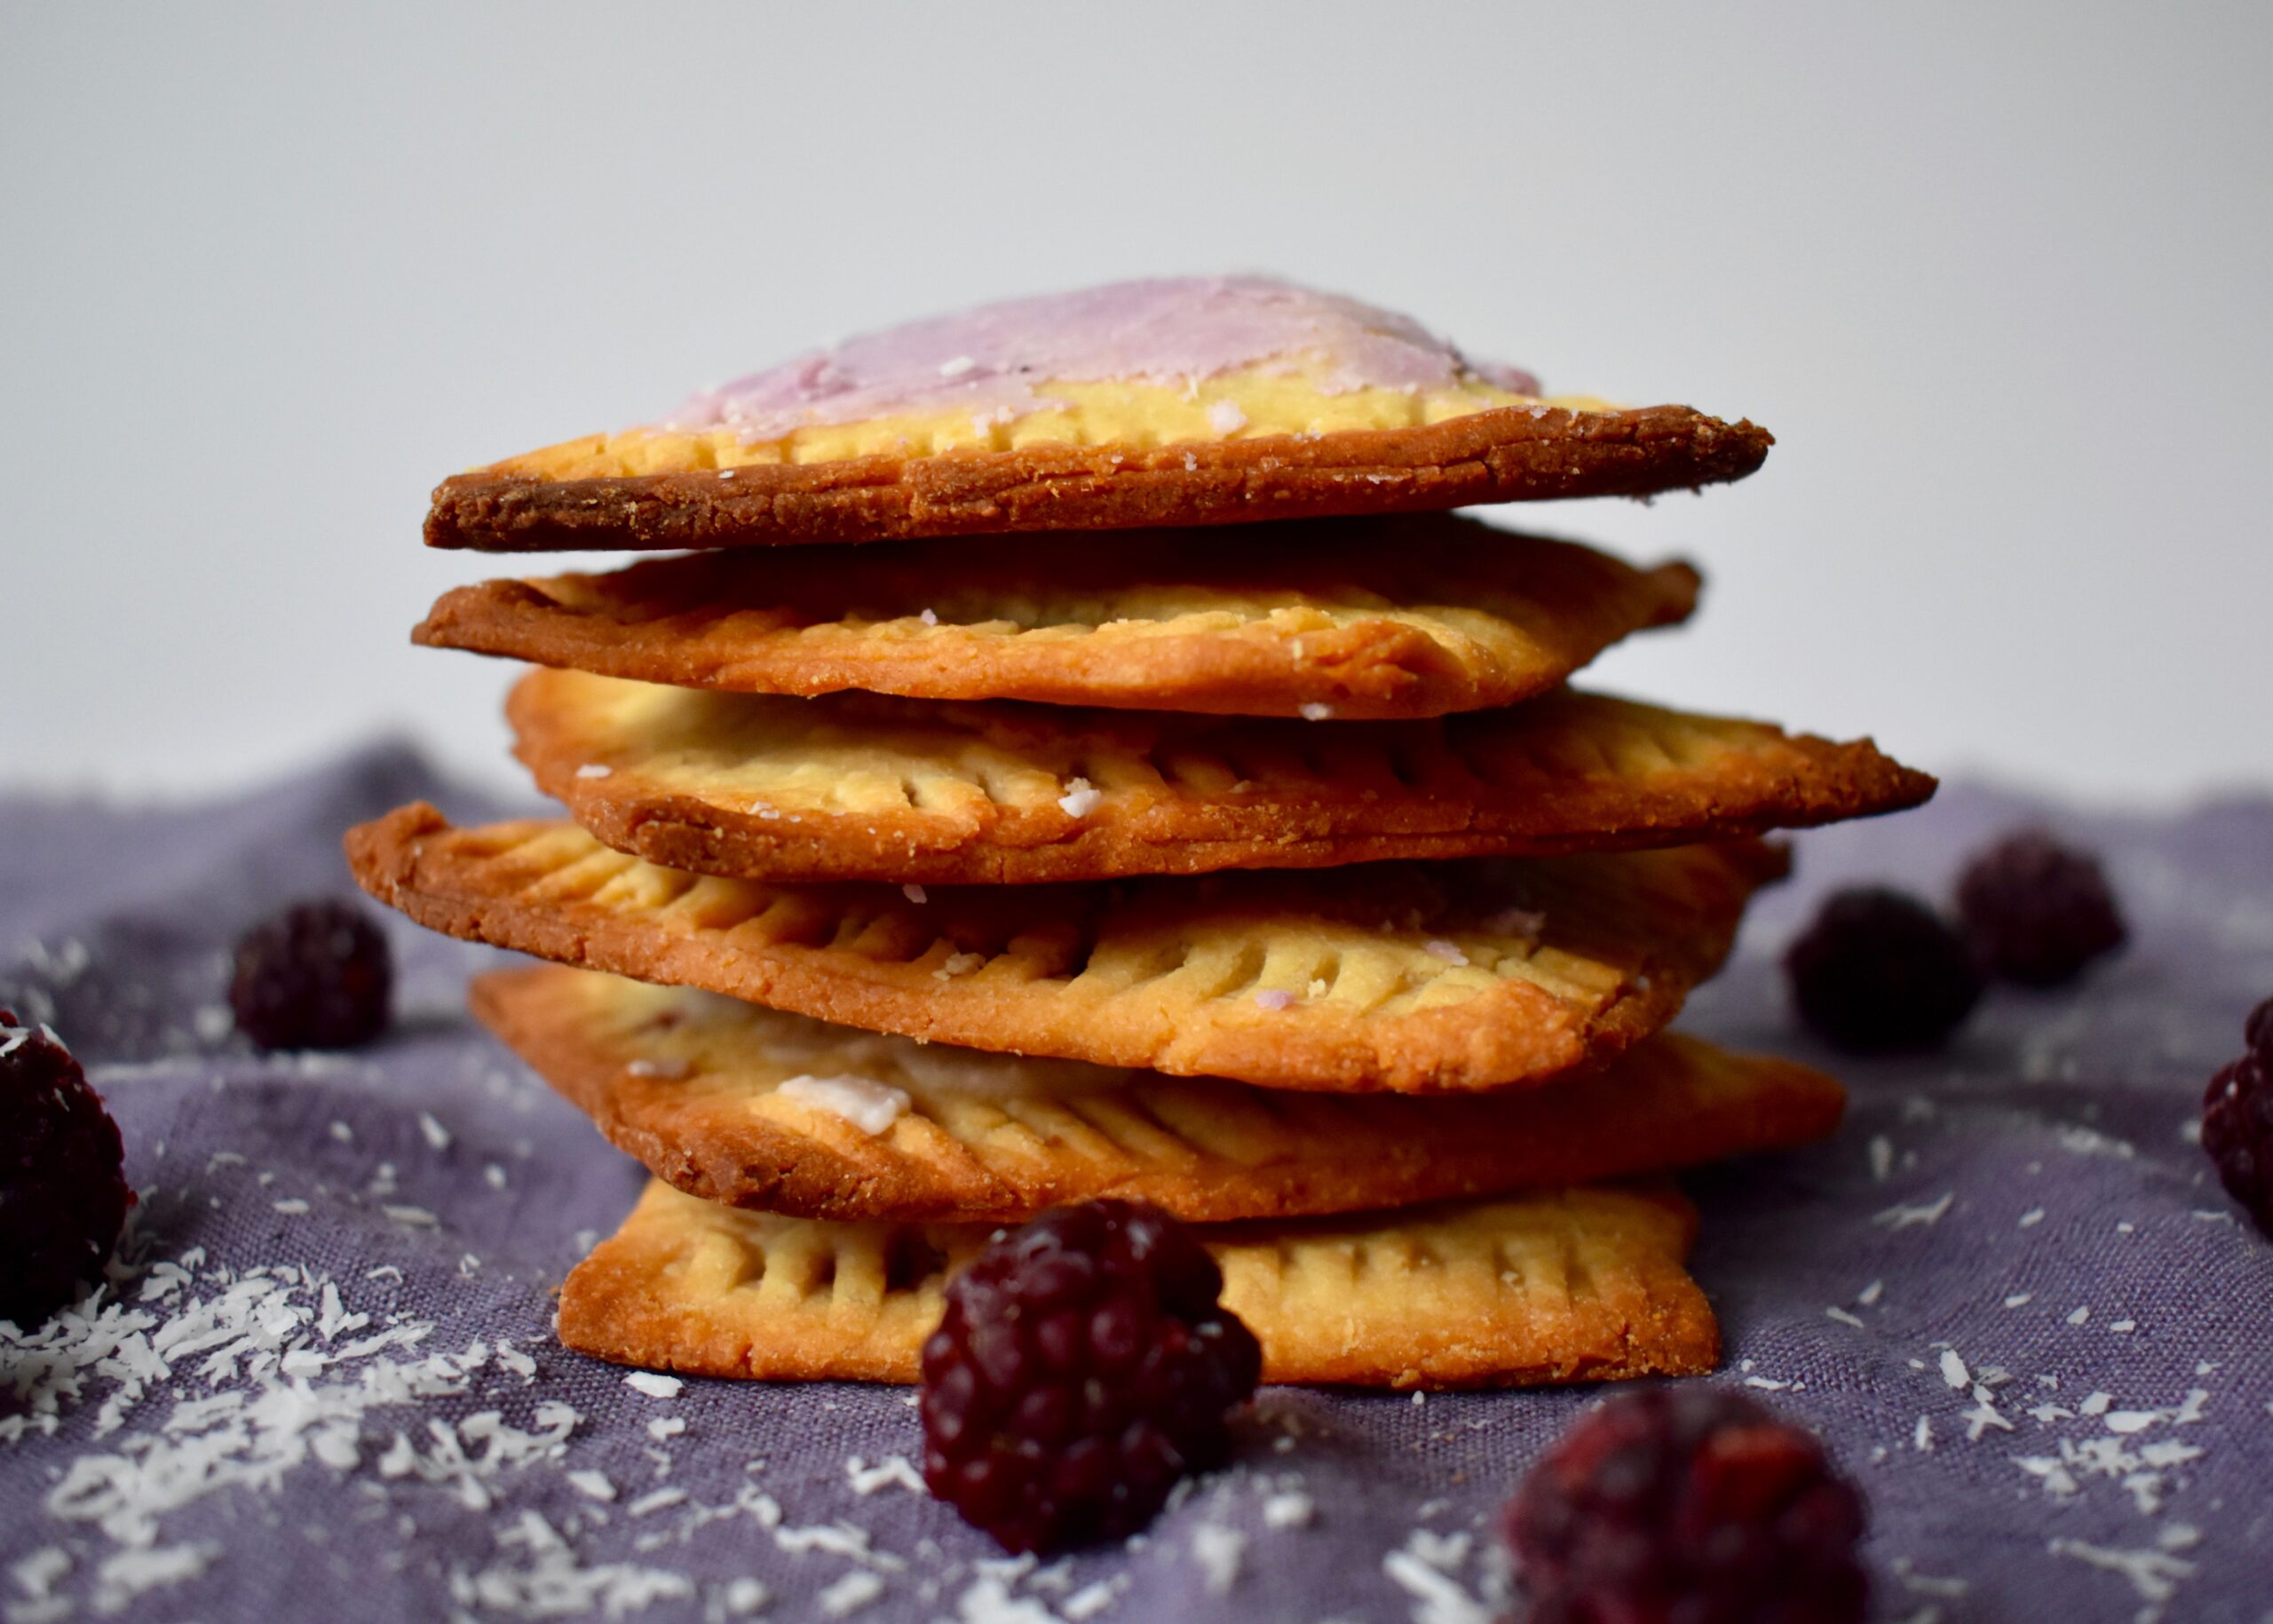
Yes, you read that right! Pop tarts weren’t a household staple in my family, I was a much bigger fan of toaster strudels. To be honest, these may resemble more of a toaster strudel since they aren’t quite as crispy as a pop tart… they are somewhere in between. Anyway, not only did my mom never really let me eat pop tarts (I’m pretty sure that’s right, she’s probably going to yell at me about this post), but I also remember not loving them. All my friends loved them so I thought I was supposed to, but they always tasted too sweet, too much like artificial sugar (ha!), and just tasted off to me. I much prefer this homemade version!

This recipe came about totally by accident. I wasn’t even trying to make an AIP version of pop tarts. Then I turned a failed bar recipe into dough and they were pretty good. I posted a picture of the botched original-recipe-turned-sort-of-pop tart on my Instagram and people said they wanted the recipe. So, of course, I had to try and make a legit recipe to post! This recipe is great because it is completely AIP and vegan, so it fits many different diets. These paleo, gluten free, and dairy free pop tarts will be a crowd pleaser.

These pop tarts have a secret ingredient in the crust: sweet potato! Yes, get your veggies in with your dessert (or breakfast, whenever you want to eat pop tarts, I’m not judging!). These are a much healthier version than the original and utilize a real fruit for the filling. They are extremely versatile, though, and you can fill them with whatever you want. I used blackberries in mine but you can use other fruit, nut/seed butters, chocolate, and more!

AIP Pop Tarts
Ingredients
Dough
- 1 cup steamed and mashed Japanese sweet potato white fleshed sweet potato will also work
- 1/4 cup cassava flour
- 1/4 cup coconut flour
- 1/4 cup melted coconut butter
- 1/4 cup maple syrup
- 2 Tbsp non-dairy milk
- 1/4 cup softened coconut oil
Filling
- 1.5 cups berries mashed*
Icing
- coconut butter optional
Instructions
- First, chop and steam your sweet potato. Let cool before mashing with a fork so that you have 1 cup of mashed sweet potato.
- Blend the sweet potato, flours, coconut butter, maple syrup, and milk in a blender until smooth.
- Transfer batter to a bowl and cut in the coconut oil until it is combined in the dough (don’t over mix). You should have a pretty soft dough at this point, almost too soft to really work with.
- Place dough in the fridge for an hour so that the dough can harden up some. It should be like sugar cookie dough- hard but malleable. If you leave it in the fridge longer or it becomes too hard, just leave it on the counter for a little until it begins to soften and become easier to work with.
- Preheat oven to 350F.
- Take half of the dough and form it into a ball with your hands, then roll it out between 2 sheets of parchment paper to be about 1/4 inch thick. Cut rolled dough into the shapes you want for the pop tarts (mine were about 3×3 inch squares). Make sure when you cut a shape, you cut two matching ones so you have the top and bottom of the pop tart.
- Repeat with the other half of the dough. You should have a total of 12-16 squares, depending on how big/small you make them.
- Using a spatula, gently transfer one cut shape (bottom of the pop tart) to a parchment lined baking sheet and transfer the other shape (top of the pop tart) to a holding tray (I used a cutting board to keep the top layer of the pop tarts separate).
- Scoop up the scraps of dough from cutting and repeat the same process. If the dough becomes too soft to work with, just place it back in the fridge for a few minutes. This may apply to the cut shapes, as well. If dough begins to soften too much on the baking sheet, just throw it in the fridge for a couple of minutes (you don't want it to get too hard that it crumbles when working with it though).
- Repeat this rolling and cutting process until you’ve used all the dough to cut your pop tarts.
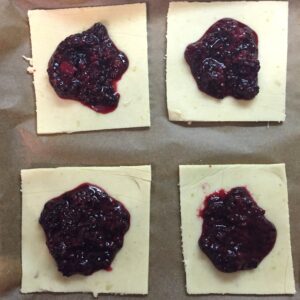
- Take about one tablespoon of the filling and place it in the middle of the pop tart dough that is on the baking sheet. Spread the filling slightly on the dough, leaving about a 1/2 inch around the edges. [See image]

- Dip your finger in water and run it along the edges of the bottom crust, place the top crust piece overtop so edges line up and gently press the two pieces of crust together with your fingers. Repeat with all the pop tarts.
- Use a fork dipped in water to crimp the edges of the pop tarts.
- Bake for about 35-40 minutes until golden brown. I’ve found that flipping them half way gets them crispier but if you want softer and more visually appealing pop tarts, don’t flip.
- Ice with coconut butter, if desired. You can also mix some berry juice with coconut butter for a colored icing.


Hi- Where was the maple syrup supposed to go into?
It goes in with the dough. Thank you for pointing out that mistake. The recipe is edited now with the right directions!
I just tried these and I am sooo impressed! Mine look exactly like yours, only mine are rectangle. I used the bottom of my box grater/cheese grater as a dough cutter- it was perfect! I love how neutral the flavor of the dough is. I used white sweet potato because that’s what I had on hand. I filled them with pulverized strawberries, and topped mine with homemade strawberry coconut butter. They are insanely delicious! I haven’t been too impressed with many other AIP recipes, but this one really WOWed me. Thank you so much for creating this! I will definitely make them again, and experiment with many more unique flavors. My batch made 6 tarts.
I’m so glad you enjoyed them!!! Yours sound super delicious with the pulverized berries and strawberry coconut butter. This is one of my favorite recipes I’ve ever made- they really taste so amazing for being AIP!
is the cocount oil supposed to go in the blender or be cut in afterwards? i can’t tell from the wording. excited to try these. thanks!!
Oops, I just re-read my directions and saw that error. I’ll fix it, but the coconut oil should be cut in afterwards!
My dough tasted delicious and my pop tarts looked great before going in the oven but then totally collapsed in the oven 🙁 Did you ever experience this? I followed the recipe but I wonder if my coconut oil was too soft or maybe the dough was just too wet in general? Any advice?
I’ve never experienced this. You don’t want to use melted coconut oil though and make sure the dough is firm enough. If it felt too wet you can always add a little extra flour.
These are magic, thank you!!!!
Yay! I’m so glad you love them!