If you're tired of traditional pumpkin pie, you have to make this Gluten Free Pumpkin Crumble for the holidays instead. A creamy, spiced pumpkin pie filling is topped with my signature crumble and a generous drizzle of homemade dairy free salted caramel sauce. It's also dairy free, refined sugar free, and nut free. Think of it as crustless pumpkin pie with a crumble topping and caramel: no rolling, no par-baking, no soggy bottom, and way easier to make.

I don't love pumpkin pie. There, I said it. It's just boring to me. But as the crumble queen, I knew I had to make some sort of pumpkin crumble situation. Pie crusts can be daunting, so I decided to skip it and just do my classic crumble topping over pumpkin pie filling for an easy, yet incredibly delicious, holiday dessert.
Caramel is one of my favorite flavors, so I knew we had to take this pumpkin crumble up a notch by adding a homemade salted caramel sauce. The rich, salty-sweet caramel takes this pumpkin dessert from basic to begging for seconds!

Pumpkin Crumble vs. Crustless Pumpkin Pie vs. Pumpkin Crisp
Pumpkin crumble is pumpkin pie filling baked in a pie dish with a crumble topping instead of a traditional pie crust. It's all the flavor of a gluten free pumpkin pie, without the work of making a crust.
- Pumpkin pie: filling in a crust, no topping.
- Crustless pumpkin pie: just the filling (boring!).
- Pumpkin crisp: filling with a topping that includes oats.
- Pumpkin crumble (this one): filling with a crumbly, streusel-style topping. Mine has no oats and no nuts.
Why You'll Love This Pumpkin Crumble
- Allergy friendly: gluten free, dairy free, and nut free as written. Corn free and soy free depending on your gluten free flour blend.
- Refined sugar free: made with coconut sugar and maple syrup, there is no refined sugar in this pumpkin crumble.
- No crust, no stress: if gluten free pie crust has ever made you cry into your flour, join the crumble train!
- Crumble-to-filling ratio: I don't skimp when it comes to crumble. Every scoop gets plenty of crumble topping.
- Homemade dairy free salted caramel: no more basic pumpkin! It's rich, salty-sweet, takes just 10 minutes, and adds another layer of flavor without cream or butter.
- Holiday friendly: this is an easy dessert to make for the holidays and it can even be made ahead.

Ingredients for Gluten Free Pumpkin Crumble
For the filling:
- Pumpkin puree: use 100% pure pumpkin, not pumpkin pie filling, which is already sweetened and spiced.
- Full-fat coconut milk: gives you the creamy texture of evaporated milk without the dairy. Shake the can well first. Light coconut milk makes a watery filling.
- Coconut sugar: adds caramel notes that complement the pumpkin flavors perfectly.
- Eggs: the filling relies on the eggs to set, so it scoops cleanly instead of being runny.
- Tapioca starch: a little bit of starch also helps the filling set and hold.
- Pumpkin pie spice, salt
For the crumble:
- Tigernut flour: despite the name, tigernut is a tuber, not a nut. It adds natural sweetness and a nutty flavor while keeping the recipe nut free. You can also use almond flour if nuts aren't a concern. See more substitution options below.
- Gluten free flour: stick to a 1:1 gluten free all purpose flour blend with xanthan gum for best results. I have linked my favorite corn-free GF flour blend.
- Coconut sugar: caramel-y, and it browns beautifully.
- Maple syrup: this helps hold the crumble together and provide sweetness. Be sure to use pure maple syrup and not pancake syrup.
- Coconut oil: holds the crumb topping together and gives it that rich flavor without butter. Use refined if you don't want any residual coconut flavor.
- Cinnamon
For the salted caramel:
- Coconut sugar: yields a super rich caramel flavor.
- Coconut cream: a dairy free alternative to heavy cream. Use 1 can of coconut cream, or refrigerate 2 cans of full-fat coconut milk overnight and scoop the thick cream from the top. For the caramel, you only want the thick coconut cream, not the coconut water.
- Flaky sea salt, vanilla extract: flaky salt cuts the sweetness and adds the salty flavor to our salted caramel.
How to Make Gluten Free Pumpkin Crumble
- Preheat oven to 350°F.
- Make the crumble first by whisking the dry ingredients (flours, cinnamon, and sugar) together. Add the melted coconut oil and maple syrup and mix until you have a wet sand texture that holds together when pinched. It is better for the crumble to seem a little wet than too dry.
- Make the pumpkin filling by whisking together the pumpkin, coconut sugar, pumpkin spice, salt, tapioca starch, and coconut milk in a large mixing bowl until smooth. Whisk in the eggs until completely smooth.
- Pour the filling into a 9-inch pie dish and top with the crumble. Break it into big and small clumps and spread them over the whole surface.
- Bake for 40-45 minutes until the top is golden brown, edges are set, and the center jiggles slightly like Jell-O.
- If the top browns before the center sets, tent it loosely with foil. I have not had to do this, but you can check the crumble at 30 minutes.
- Cool on a wire rack. The filling keeps setting as it cools, so let cool completely.
- Make the caramel sauce. You can do this while the crumble bakes or cools. Combine the sugar and coconut cream in a large saucepan on medium heat. Whisk until the sugar dissolves, then reduce the heat to medium-low. Cook, stirring occasionally, until the sauce thickens and coats the back of a spoon, about 10 minutes. Remove from the heat and stir in the vanilla and salt. Transfer to a heat-safe dish and let cool to room temperature, then refrigerate until ready to use.
- Serving: drizzle the caramel over the whole dish once cooled. It soaks into the crumble and seeps down into the filling, so every bite tastes like salted caramel. Then add extra caramel to each serving.


Substitutions and Variations
- Coconut oil: dairy free butter would also work in the crumble topping.
- Tigernut flour: almond flour, if tolerated (no longer nut free). I also get requests for tigernut/almond flour free variations. Replace the tigernut flour with an equal amount of gluten free flour in the crumble topping, then use ¼ cup total coconut sugar.
- Coconut sugar: brown sugar works 1:1, but the recipe is no longer refined sugar free.
- Homemade pumpkin puree: strain it first. Fresh puree is wetter than canned and can make the filling weep.
- Full fat coconut milk: I have not tested an alternative for the pumpkin pie filling.
- Variations: add walnuts or pecans to the crumble if you tolerate nuts. You could also sprinkle chocolate chips on top of the crumble as soon as it comes out of the oven (they'll melt into the crumb topping).
Serving Suggestions
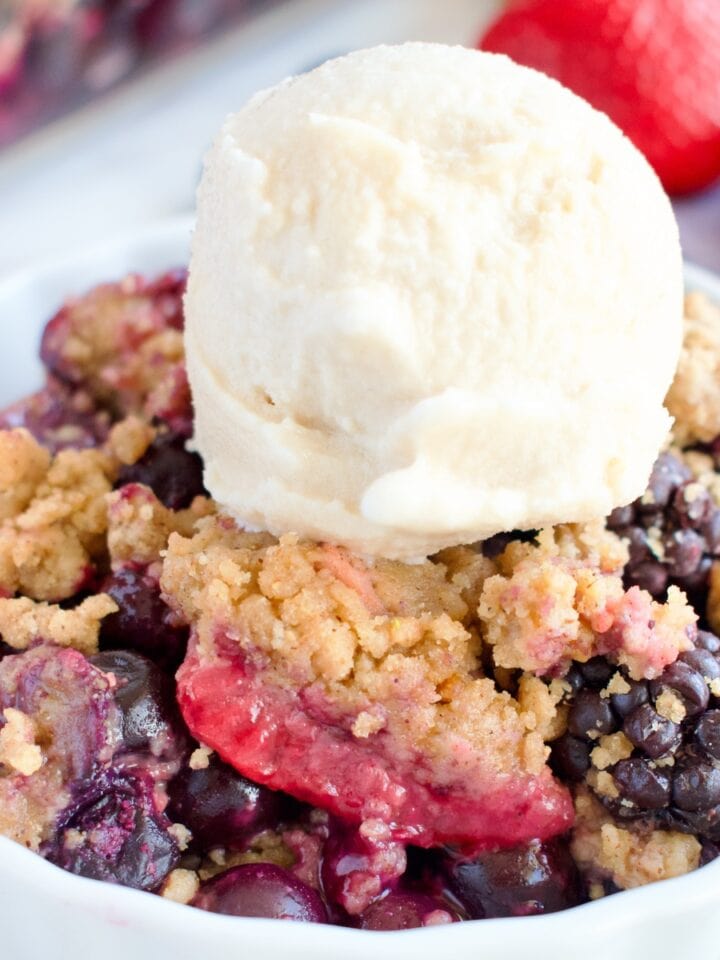
Serve it warm, at room temperature, or cold, with coconut whipped cream or with my dairy free vanilla ice cream or cinnamon ice cream. Add extra caramel sauce, as well!
Storage, Freezing & Make-Ahead
- Store: cool completely, then cover and refrigerate for up to 4 days. It's an egg custard, so don't leave it on the counter overnight.
- Make ahead:
- Crumble topping: refrigerate for up to 3 days and bring to room temperature before using.
- Whole dish: bake it 1-2 days ahead, keep stored in the fridge, then bring to room temperature or warm slightly in the oven before serving. Add caramel before serving.
- Caramel: refrigerate in a jar for up to 1 week. It firms up when cold, so warm it gently before drizzling.
- If you have leftovers: it's okay that caramel is already on it because the refrigerated crumble stays relatively crisp and the caramel enhances the flavor of the dessert overall. I like to add extra caramel to leftover slices before serving too.

Tips for the Best Gluten Free Pumpkin Crumble
- Use coconut sugar instead of maple syrup in the filling: coconut sugar adds sweetness without adding extra liquid, which helps the pumpkin custard set properly.
- Full-fat coconut milk provides the fat that makes custard silky instead of rubbery.
- Whisk filling until completely smooth: this ensures a creamy pumpkin pie filling.
- Don't over bake: pull the pumpkin crumble out while the center still jiggles. The filling finishes setting as it cools. If you over bake it, the filling can taste rubbery and the crumble can taste dry.
- Tent with foil, if needed: check at the 30-minute mark, if the crumble is beginning to burn before the filling is set, tent with foil.
- Use coconut cream for the caramel sauce: refrigerate canned coconut milk for at least 24 hours so the thick cream separates from the coconut water. Scoop out the cream for the caramel. For the pumpkin filling, use the entire can of coconut milk after shaking it well.

Recipe FAQ
Sort of! It's the same creamy, spiced filling as a gluten free pumpkin pie, but with a crumble topping instead of a crust. Crustless pumpkin pie with a crumble topping!
I haven't tested a vegan version. The eggs are what set the filling, so a flax egg alone won't work. If you experiment, expect a softer, pudding-like set. The crumble is already vegan as written.
Yes, as written. Tigernut is a tuber, not a nut. Coconut isn't classified as a tree nut by the FDA, but some people with tree nut allergies react to it. This recipe uses coconut in every layer, so it's not a good fit if you avoid coconut.
Yes. I bake it in a 9-inch pie dish, but you can use an 8-10 inch pie dish or 8x8 or 9x9 inch square pan. Note that the 8-inch pans may take a little longer to bake.
I haven't frozen this pumpkin crumble. Egg custards can turn slightly watery when thawed, so I wouldn't suggest it.
No, but I highly recommend it! The pumpkin, cinnamon crumble, and salted caramel were designed to work together, and the caramel adds a rich, salty-sweet flavor to every bite. If you're short on time, you can use a store-bought dairy free salted caramel instead.
Yes, you can bake it 1-2 days ahead. Keep covered and stored in the fridge then bring to room temperature before serving. Wait to add the caramel until ready to serve.

More Gluten Free Pumpkin Recipes
- For more pumpkin pie variations, try my Pumpkin Pie Bars with Caramelized Pecans or Pumpkin Pie Cookies.
- If you're looking for more unique pumpkin desserts, try my Pumpkin Chickpea Blondies or Turmeric Pumpkin Cake.
- If you love the pumpkin and chocolate combo, you have to make my Chocolate Chip Pumpkin Bread or Pumpkin Chocolate Chip Cookies.
If you make this gluten free pumpkin crumble, leave a rating and review below. It helps other people with food restrictions find recipes they can trust.

Gluten Free Pumpkin Crumble (Dairy Free, Nut Free)
Equipment
Ingredients
Crumble Topping
- 1 cup 1:1 gluten free flour
- 1 cup tigernut flour* or almond flour
- 1 teaspoon cinnamon
- 2 tablespoon coconut sugar
- 2 tablespoon maple syrup
- ¼ cup melted coconut oil
Pumpkin Filling
- 1 15 oz can pumpkin puree
- ¾ cup coconut sugar
- ½ cup full-fat, canned coconut milk
- 2 tablespoon tapioca starch
- 2 teaspoon pumpkin pie spice
- ¼ teaspoon salt
- 3 large eggs
Salted Caramel
- 1 cup coconut sugar
- 1 can coconut cream** or 2 cans full-fat coconut milk (refrigerated overnight)
- 2 teaspoon vanilla extract
- ½-1 teaspoon flaky salt
Instructions
- Preheat oven to 350°F.
- Make the crumble first by whisking the dry ingredients (flours, cinnamon, and sugar) together. Add the melted coconut oil and maple syrup and mix until you have a wet sand texture that holds together when pinched. It is better for the crumble to seem a little wet than too dry. Add extra coconut oil or maple syrup 1 tablespoon at a time, if needed.
- Make the pumpkin filling by whisking together the pumpkin, coconut sugar, pumpkin spice, salt, tapioca starch, and coconut milk in a large mixing bowl until smooth. Whisk in the eggs until completely smooth.
- Pour the filling into a 9-inch pie dish and top with the crumble. Break it into big and small clumps and spread them over the whole surface.
- Bake for 40-45 minutes until the top is golden brown, edges are set, and the center jiggles slightly like Jell-O.
- If the top browns before the center sets, tent it loosely with foil. I have not had to do this, but you can check the crumble at 30 minutes.
- Cool on a wire rack. The filling keeps setting as it cools, so let cool completely.
- Make the caramel sauce. You can do this while the crumble bakes or cools. Combine the sugar and coconut cream in a large saucepan on medium heat. Whisk until the sugar dissolves, then reduce the heat to medium-low. Cook, stirring occasionally, until the sauce thickens and coats the back of a spoon, about 10 minutes. Remove from the heat and stir in the vanilla and salt. Transfer to a heat-safe dish and let cool to room temperature, then refrigerate until ready to use.
- Serving: drizzle the caramel over the whole dish once cooled. It soaks into the crumble and seeps down into the filling, so every bite tastes like salted caramel. Then add extra caramel to each serving.


Leave a Reply