*This post may contain affiliate links
In case you haven't figured out yet that I am obsessed with salted caramel, let me be clear: I am obsessed with anything salted caramel!

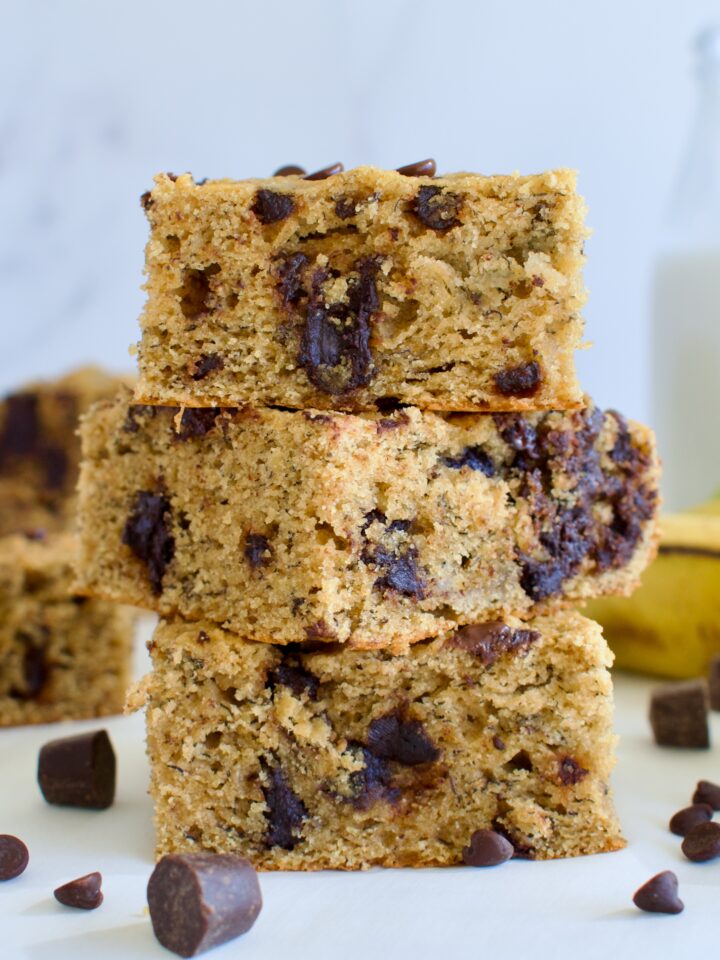
Baked goods are tough in the AIP world, especially when you and gelatin (the common egg replacer in AIP goods) don't get along. I often end up using fruits or vegetables, like banana, applesauce, or pumpkin, as the egg replacer. I find that mashed banana works best (¼ cup replaces 1 egg). I was pleasantly surprised with myself to nail this blondie recipe. The mashed banana works well for the egg replacer here without being over powering, just adding that little extra natural sweetness.
And of course, I had to jazz these up by adding a salted caramel topping. The blondies do need something on top and the salted caramel idea worked out perfectly. Don't be afraid to slather all the caramel on top!

AIP Salted Caramel Blondies
Makes 9 squares
Ingredients:
Salted caramel
7 dates
¼ cup coconut milk (I suggest using the full fat canned variety)
¼ teaspoon salt
Blondies:
¾ cup coconut flour
½ cup tiger nut flour
¼ cup tapioca flour
½ tsp. baking soda
¼ tsp. salt
½ cup coconut oil
¼ cup maple syrup
¼ cup mashed banana
⅓ cup full fat coconut milk
1 teaspoon vanilla
½ tsp. apple cider vinegar
Sea salt flakes (I use Jacobsen, but Malden is another option)
Preheat oven to 350 F.
Soak the dates in hot water for 10 minutes. Strain and blend with remaining caramel ingredients until smooth. Set aside
Combine all the dry ingredients (except for sea salt flakes) for the blondies in a medium bowl. Make sure there are no clumps.
Combine all wet ingredients in a small bowl, making sure banana is mashed very well and all ingredients mix together.
Pour the wet ingredients into the dry and mix well to combine. Do not over mix.
Pour your blondie batter into a 9x9 inch baking dish. It will be thick, you'll probably have to scoop it out and use a spatula or back of a spoon to spread it evenly.
Now you can spread the caramel over the top or use a piping bag to pipe it into a design (as I did). Sprinkle with sea salt flakes (I tend to use about 1 tsp+).
Bake for about 25 minutes, until just beginning to golden on the edges or top (if you can still see that through your design) and a toothpick comes out clean.
Let cool completely before cutting and serving. These store well in an air tight container in the fridge for up to a week. Remove from fridge about an hour before serving to bring to room temperature.
These taste amazing with some coconut whipped cream or ice cream and fresh berries.


Leave a Reply